
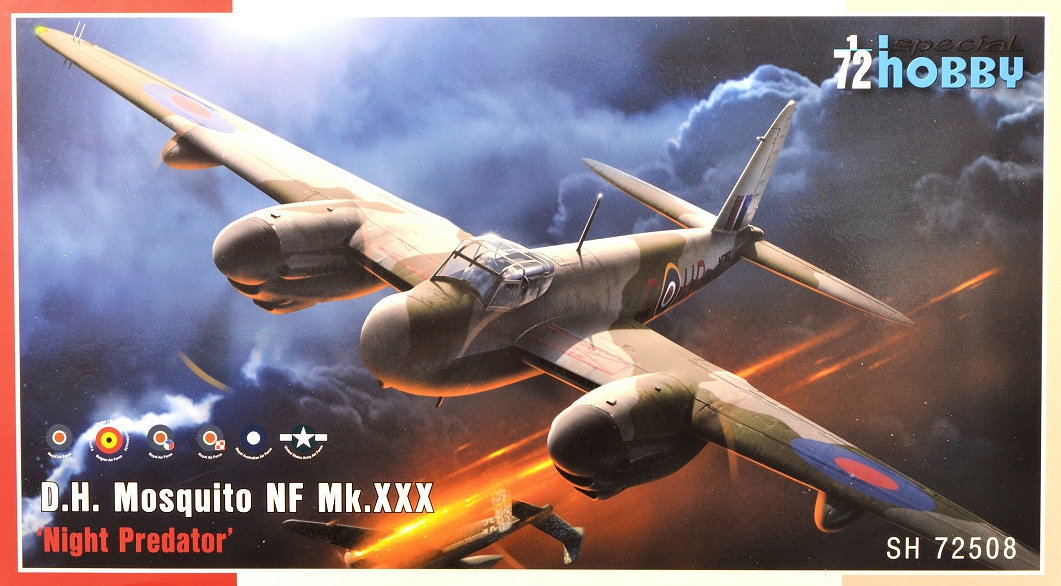
D.H. 98 Mosquito NF Mk. XXX "Night Predator"
Special Hobby has provided the 1/72nd scale DeHavilland 98 Mosquito NF Mk. XXX “Night Predator” for review. The Mk. XXX was the first night fighter Mosquito variant with Merlin two-stage compressor engines.
Looking at Scalemates.com, this is a brand-new mold for 2025. The decal sheet represents six markings for the following:
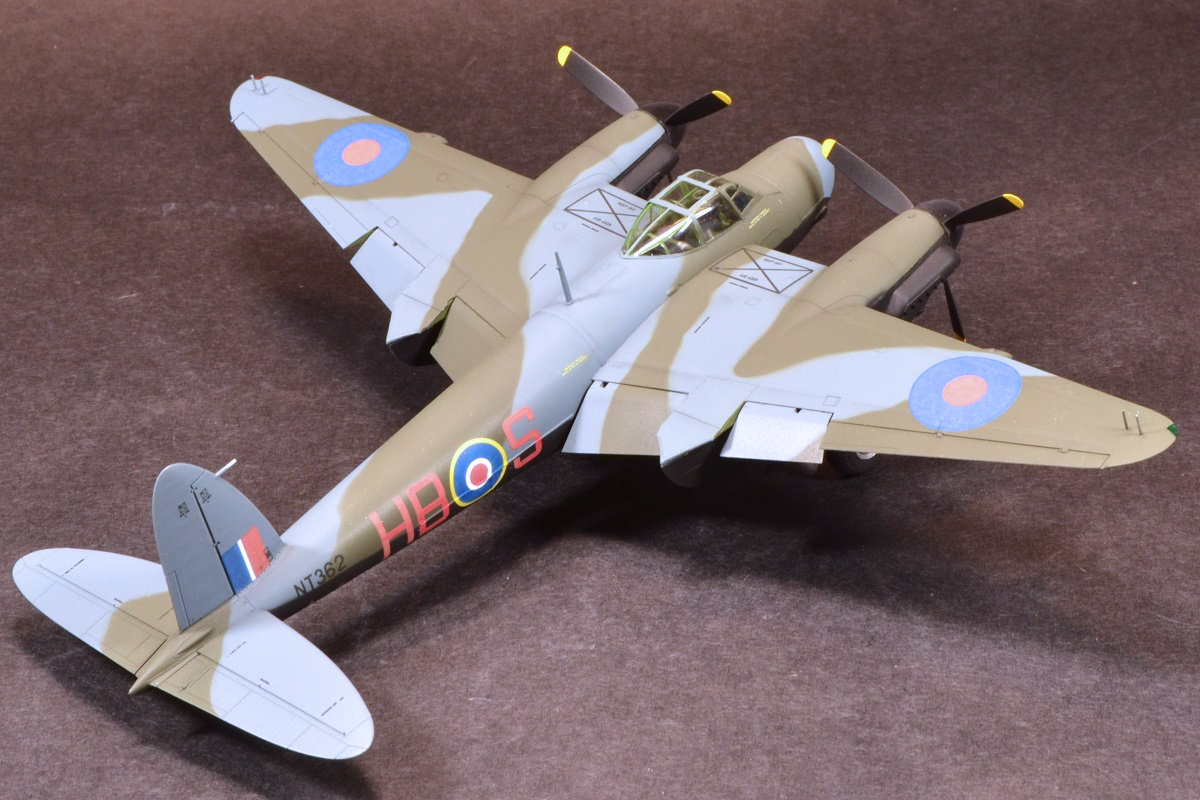
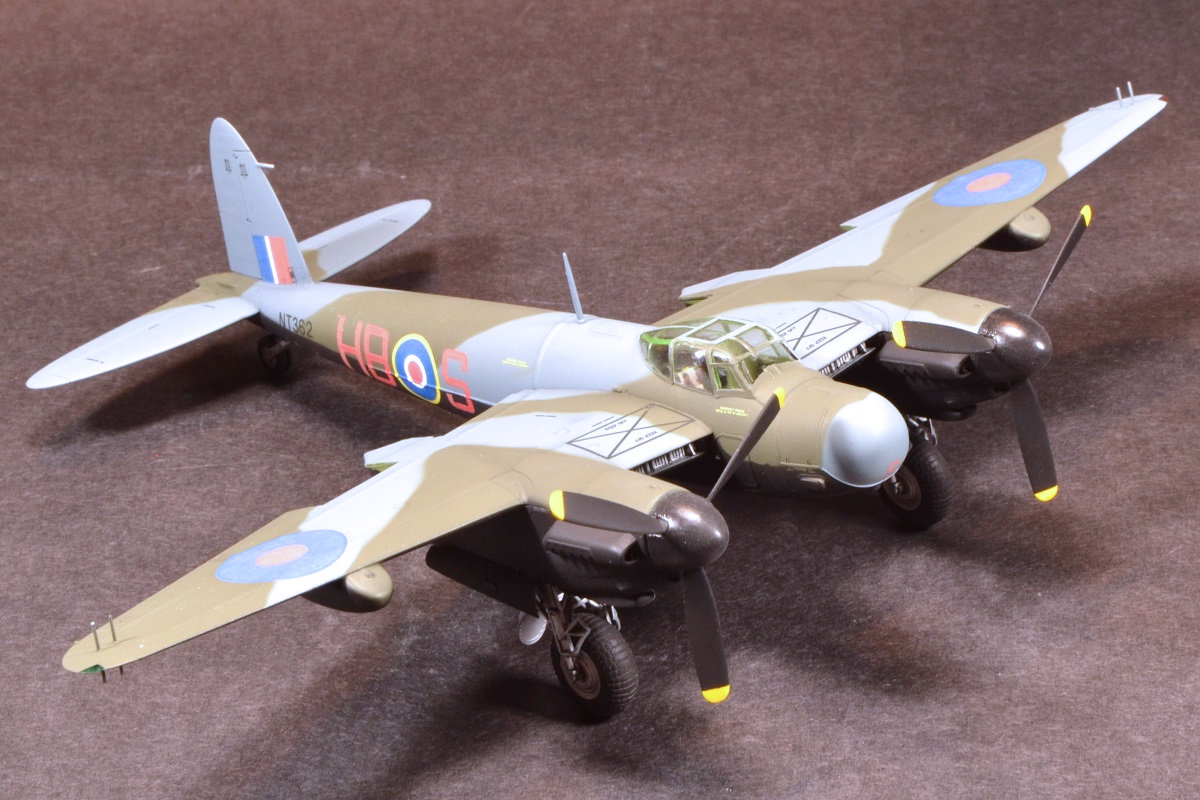
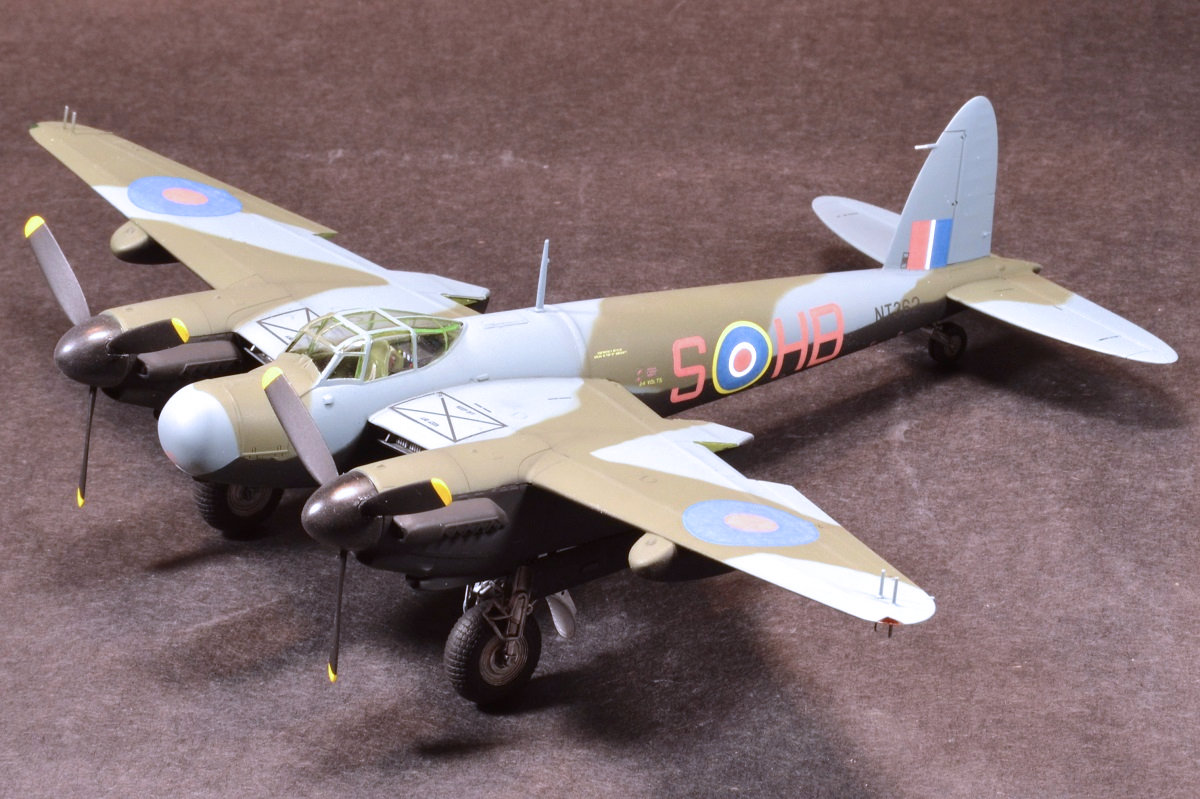
- Mosquito NF Mk.XXX, NT362/HB-S, No. 239 Sqn. RAF, West Raynham,UK, spring 1945 (Box cover)
- Mosquito NF Mk.30, NT362 /ND-A, No. 10 Sqn. BAF (Belgian Air Force) , Beauvechain base, Belgium, 1947-1950
- Mosquito NF Mk.XXX, NT321/WM-O, No. 68 Sqn. RAF, Coltisha/1, UK, February to April 1945
- Mosquito NF Mk.XXX, NT267 GIEW-J, No. 307 (City of Lw6w) Polish Sqn. RAF, Castle Camps, UK, spring 1945
- Mosquito NF Mk.XXX, NT264 GIRX-R, No. 456 Sqn. RAAF, Church Fenton, UK, Spring 1945
- Mosquito NF Mk.XXX, MV564, 416th NFS, 12th Air Force (USAAF), Pisa, Italy, December 1944
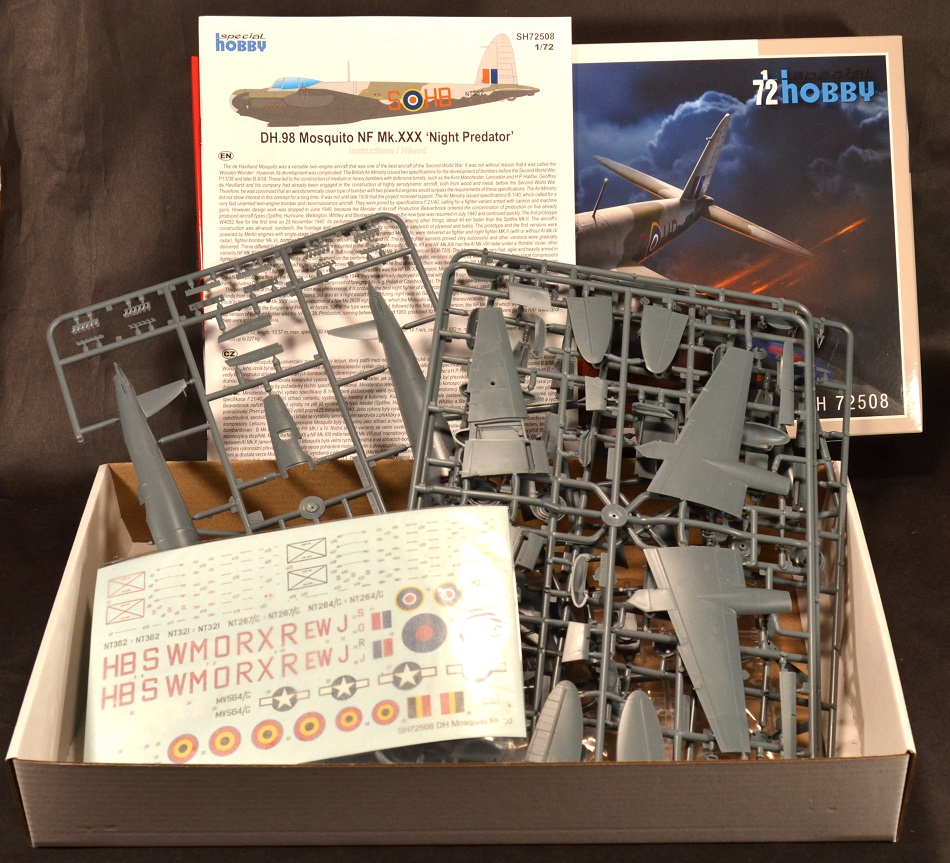
In the Box
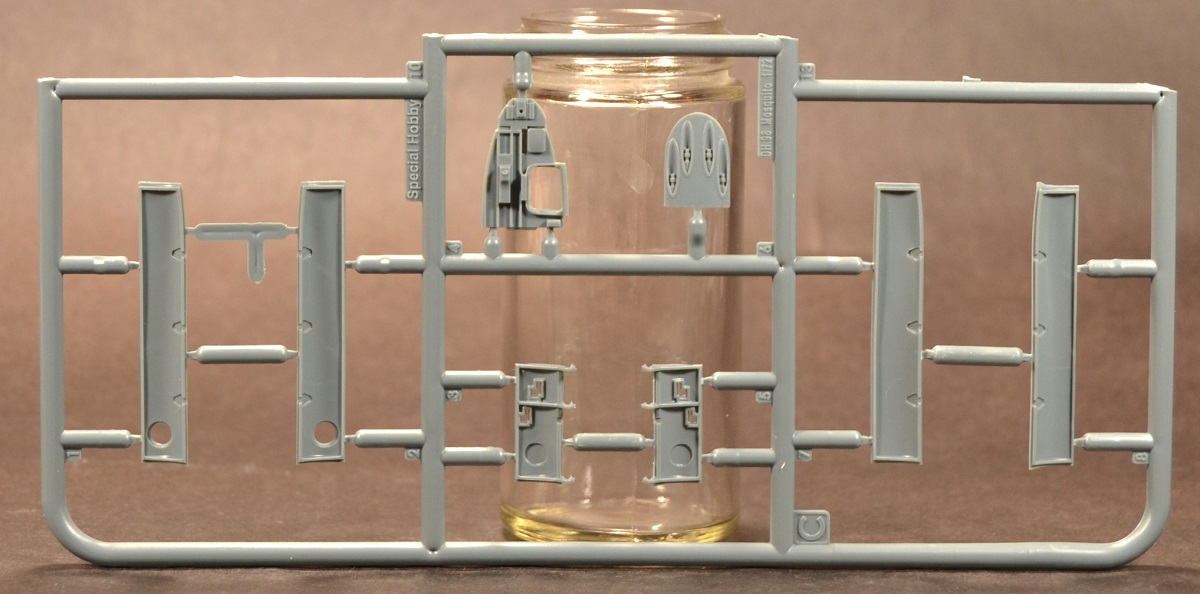
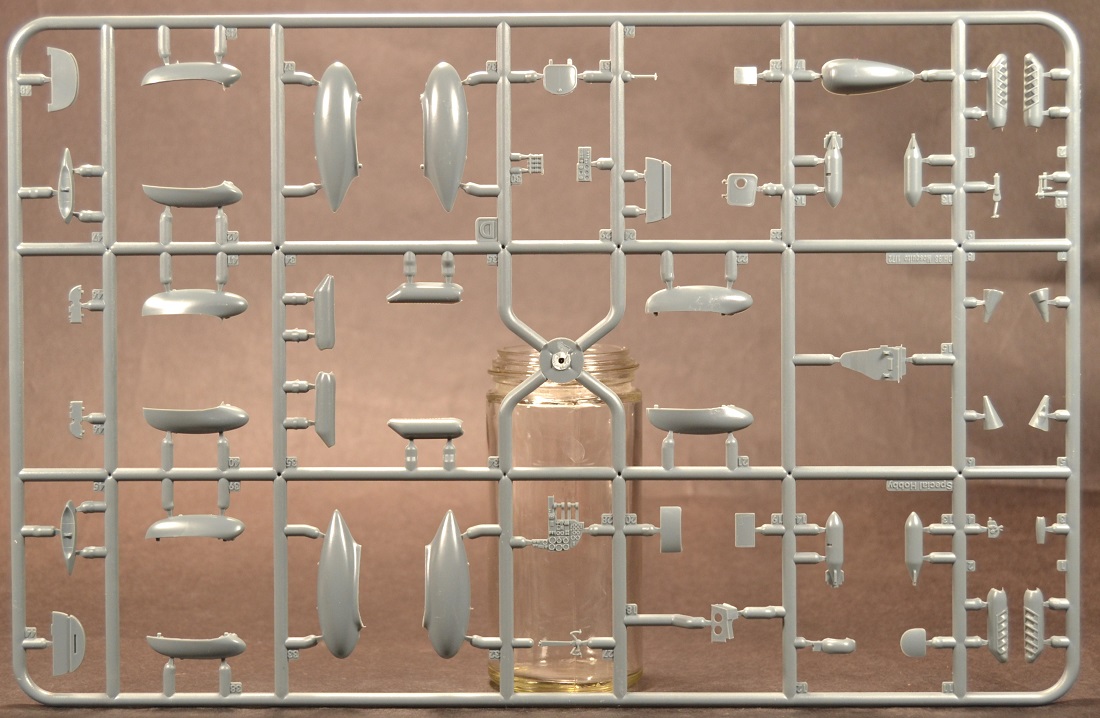
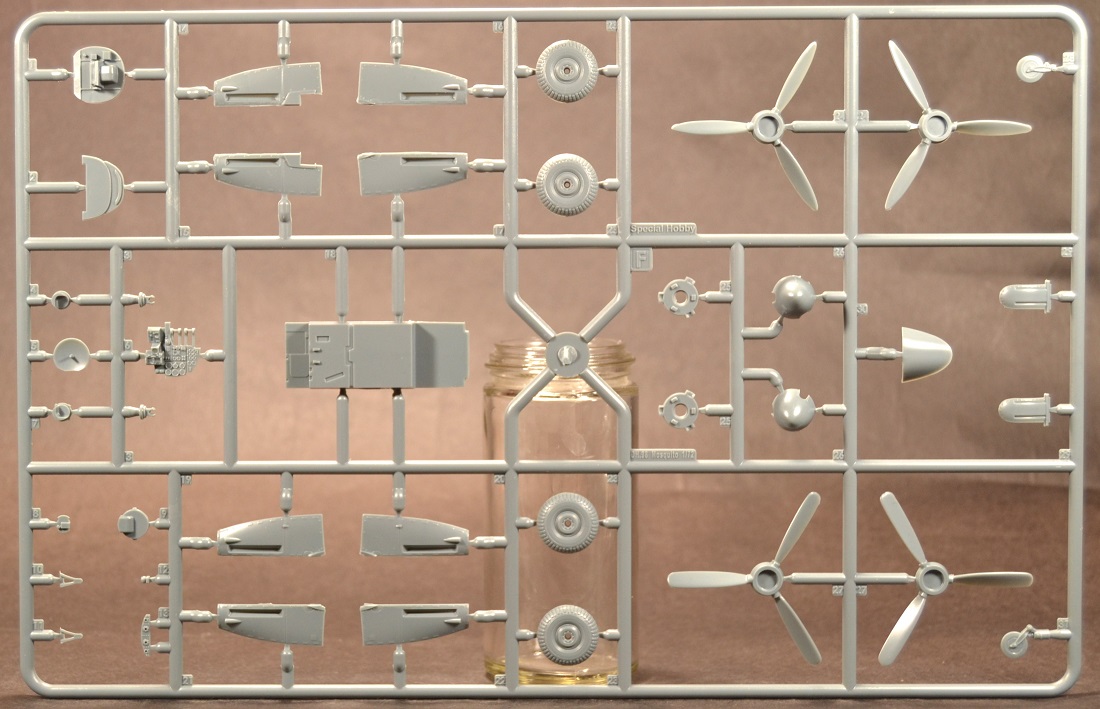
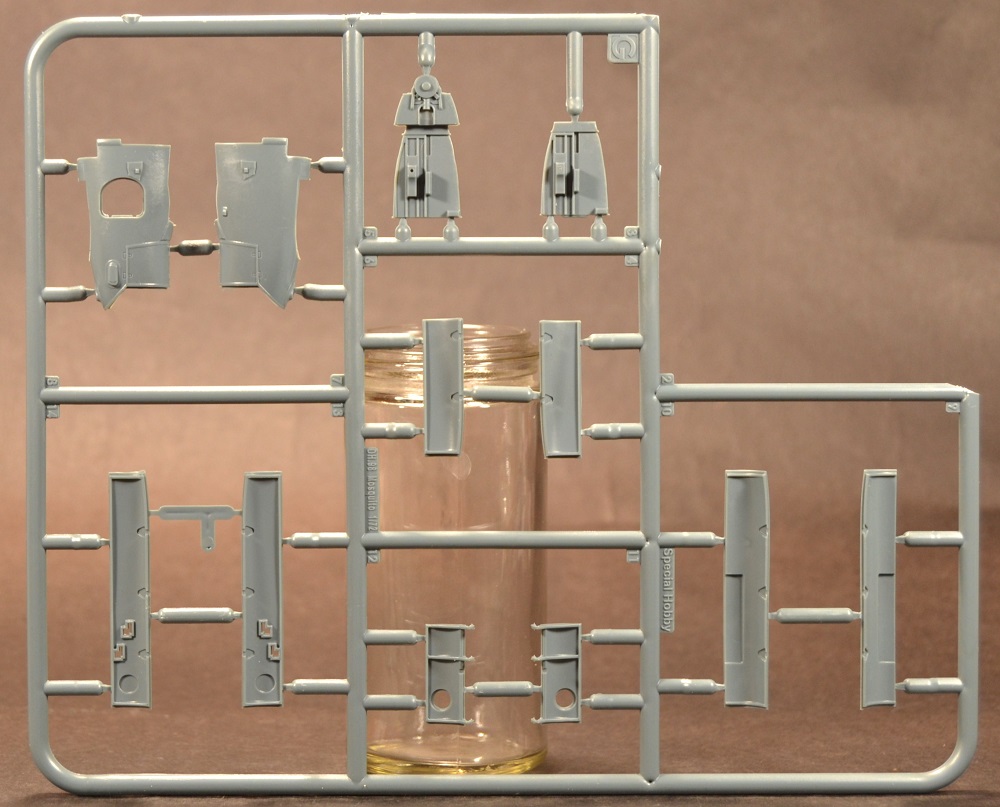
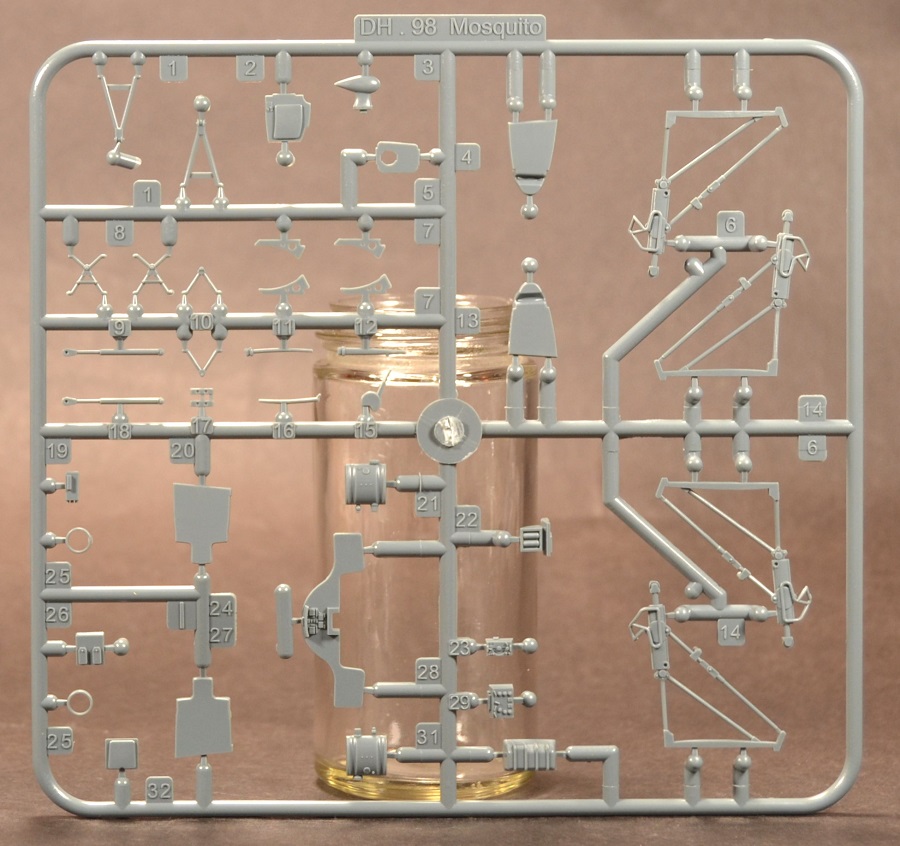
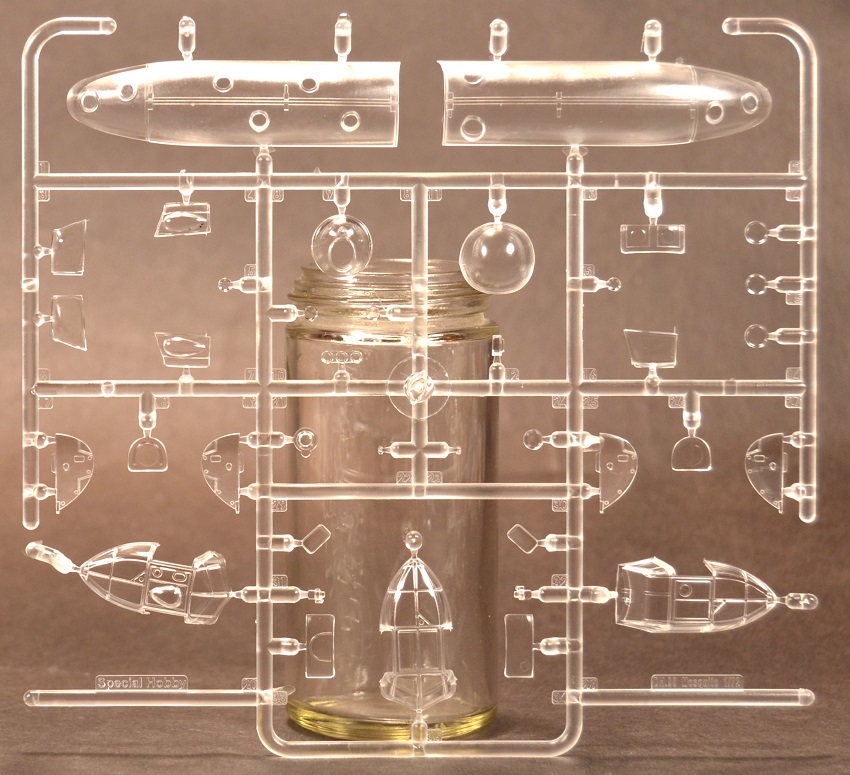
The kit box is a typical top opening with a nice illustration. All the sprues are packaged in a single clear plastic bag with the clear parts individually bagged. This is the first time Special Hobby has produced a DH 98 Mosquito and there are a lot of parts to make several variants of this plane. Sprue G is what makes this kit a NF Mk. XXX since it has the parts with the unique forward cockpit structure to house the “bull nose” radome.
Instructions are written in English and Czech and well-illustrated and easy to follow.
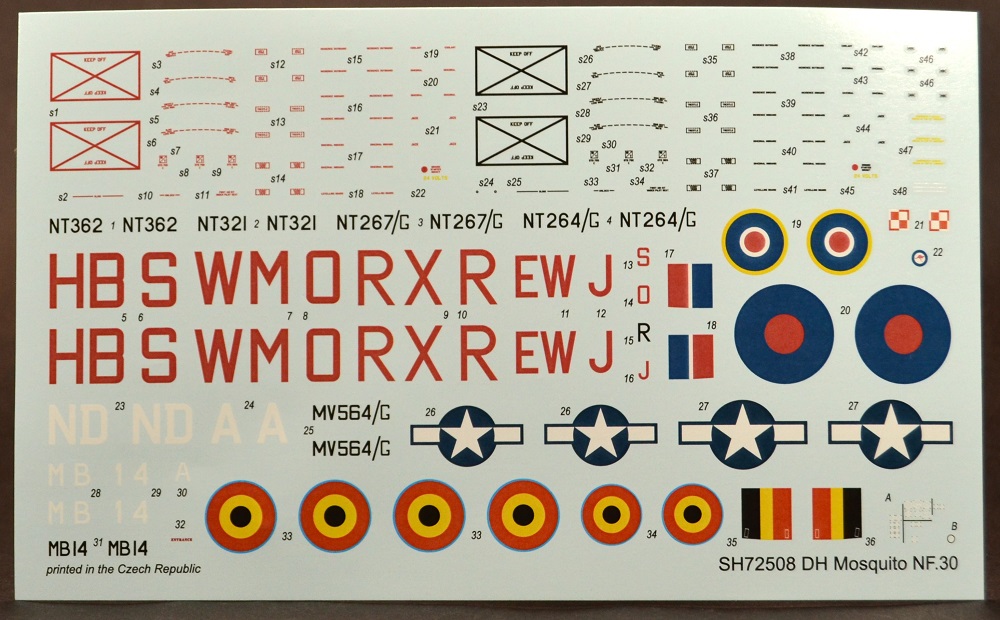
The decal sheet is well printed, thin, and in registry - but more on this later.
Review Process
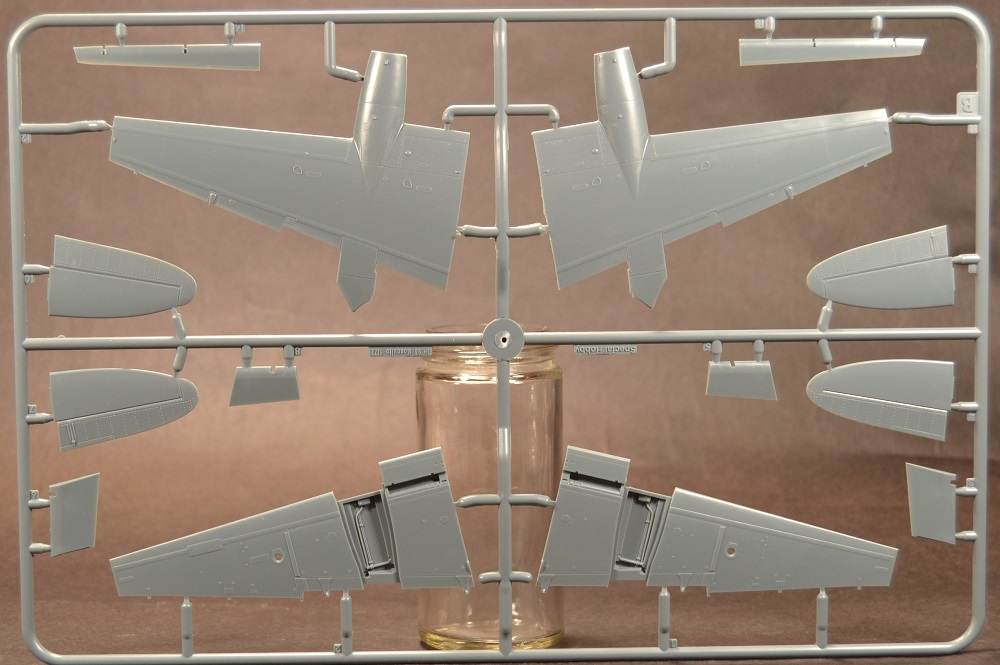
Special Hobby kits are known to have “short run” characteristics. Which means the styrene is on the soft side in material hardness, thick sprue gate attachment points, has little to no locating pins for parts alignment, and some of the recessed detail is hit or miss out of the molds. This Mosquito kit fits that reputation, however, the exterior surface detail is very good.
Before starting, make sure to decide if you want to install underwing fuel tanks (Step 15) and/or bottom formation lights (Step 4) since you will need to drill mounting holes prior to wing & fuselage assembly.
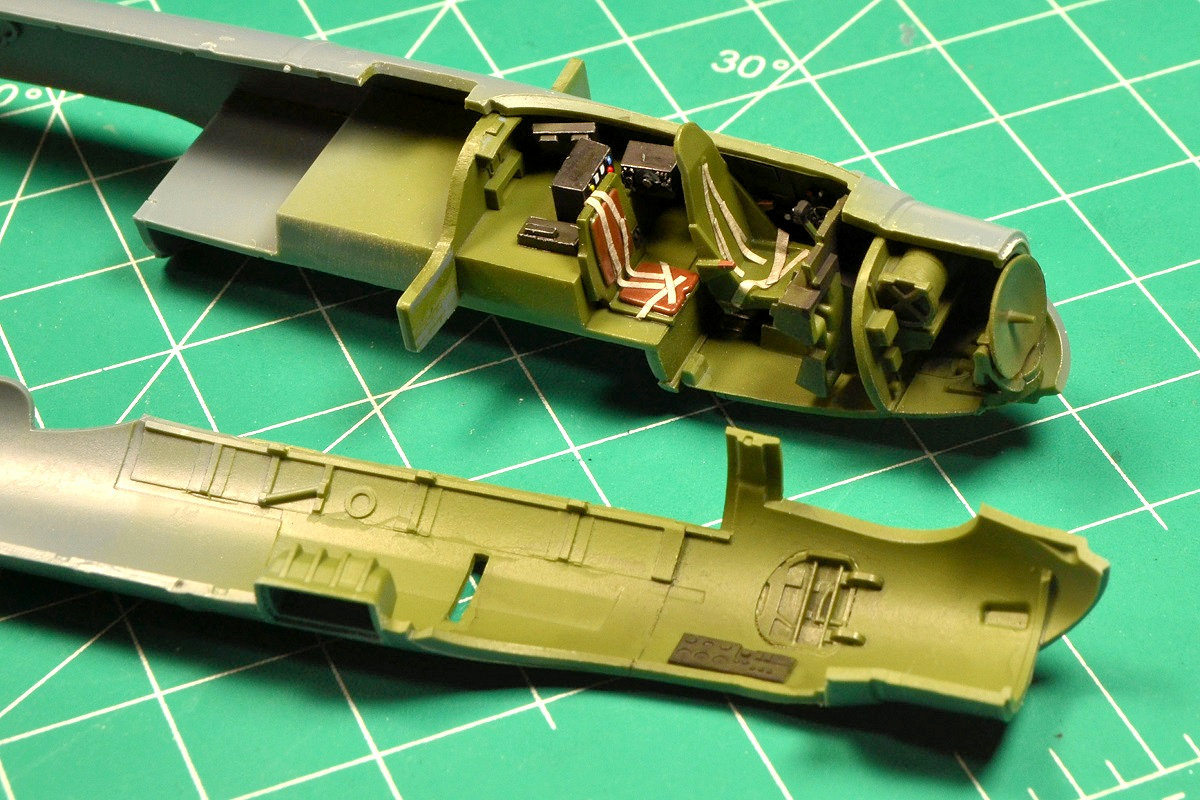
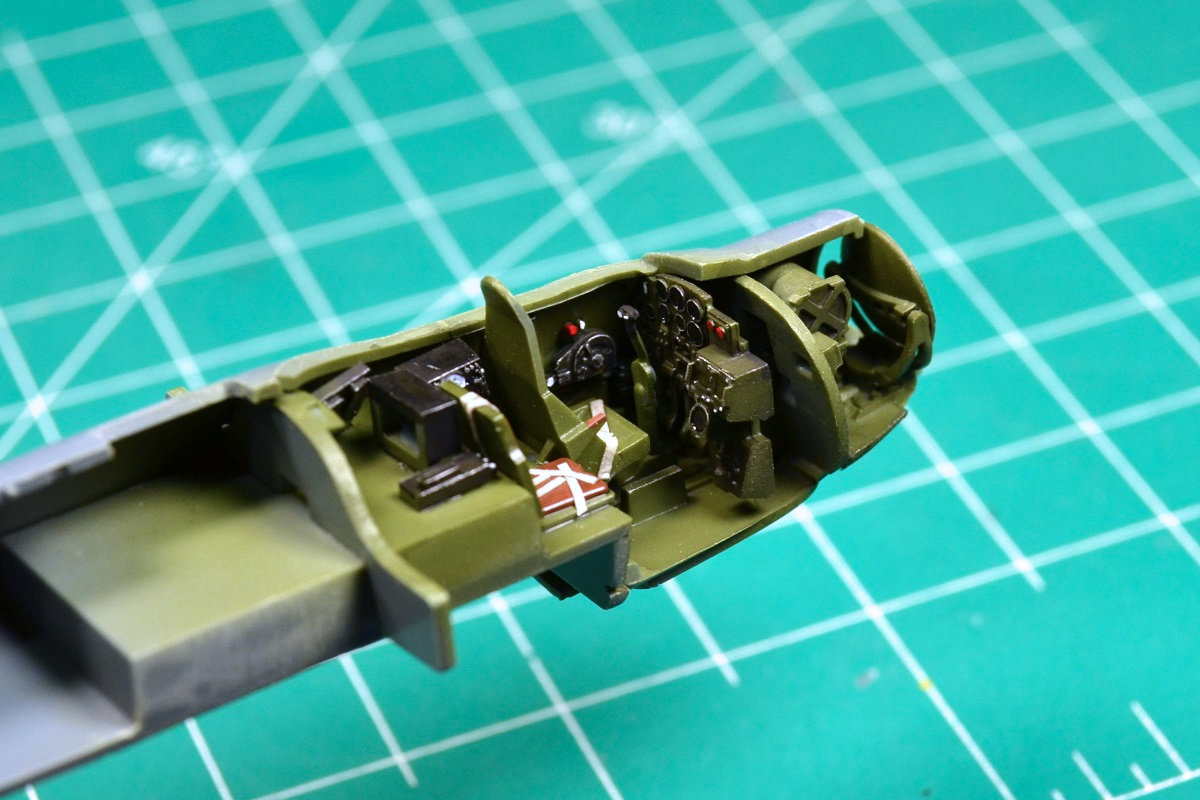
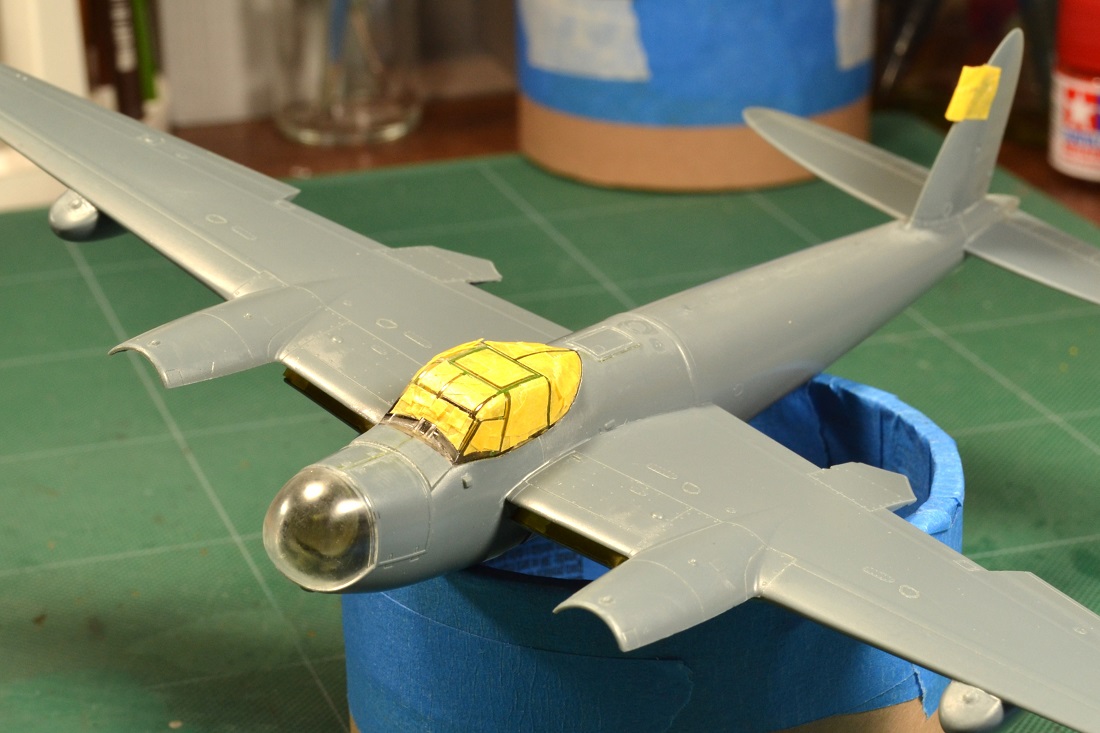
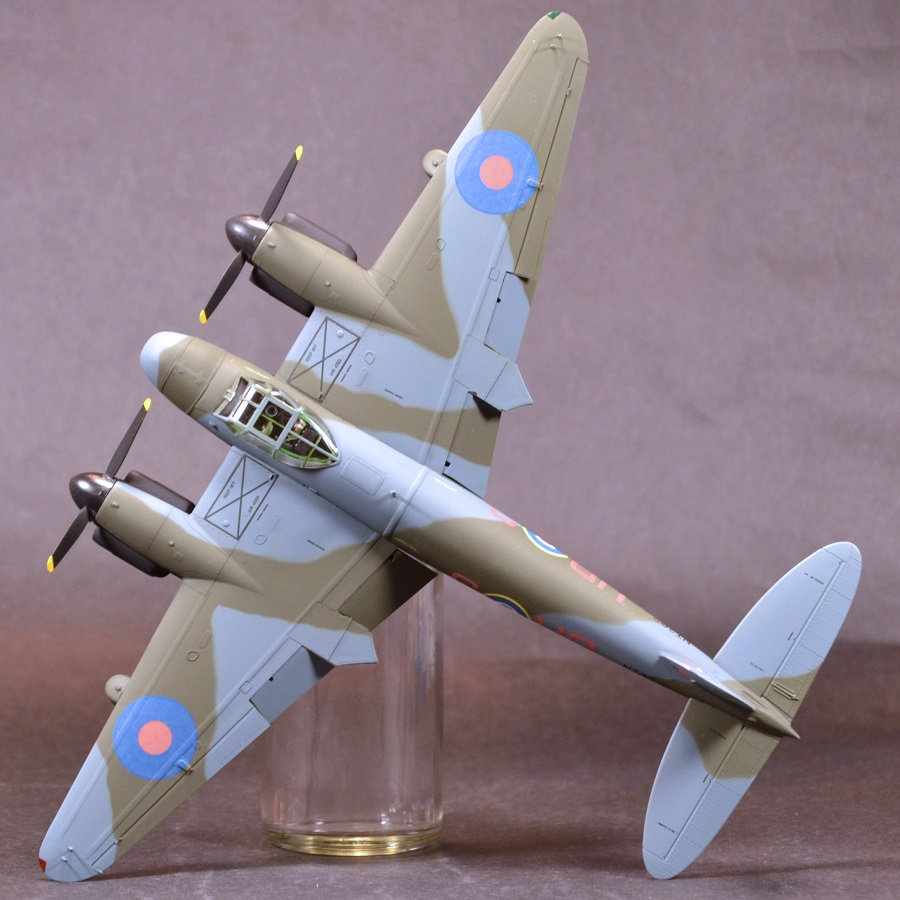
Assembly starts in the cockpit, and you do have the ability to show off the area under the nose radome since parts are provided for the radar and a clear radome used. Also, you have the chance to install the cockpit access hatch in the open position (Step 7) since it is a separate piece. I added simple tape seat belts to make the visual more complete.
Another interesting design feature is the ability to open the life raft stowage (Part I30 & D19) aft of the canopy since the stowage compartment and door are provided as separate pieces.
Assembly of the fuselage is straight forward, but you will need a good filler and sandpaper to hide all the seams. My filler of choice is CA (Superglue).
One of the great things about this kit is the ability to pose the controls surfaces (except for the elevators). Rudder, ailerons, flaps are all separate pieces.
For the landing gear, there is a major error in the instructions. Steps 16R & 16L are the same identical picture. Actuating rod part, I18, must be installed on the inboard landing gear structure and should be installed in Step 18R to part I6 instead of Step 16R. Otherwise, the gear will not fit properly in Step 21. Overall, the parts are common but just make sure part I18 is on the inboard side for both gears.
Steps 21 – 24 has you installing the landing gear and engine nacelles in a “clamshell” assembly prior to attaching the wings to the fuselage in Step 26. I would recommend attaching the wings first. By doing this, the landing gear and engine nacelles are less likely to break off during wing installation.
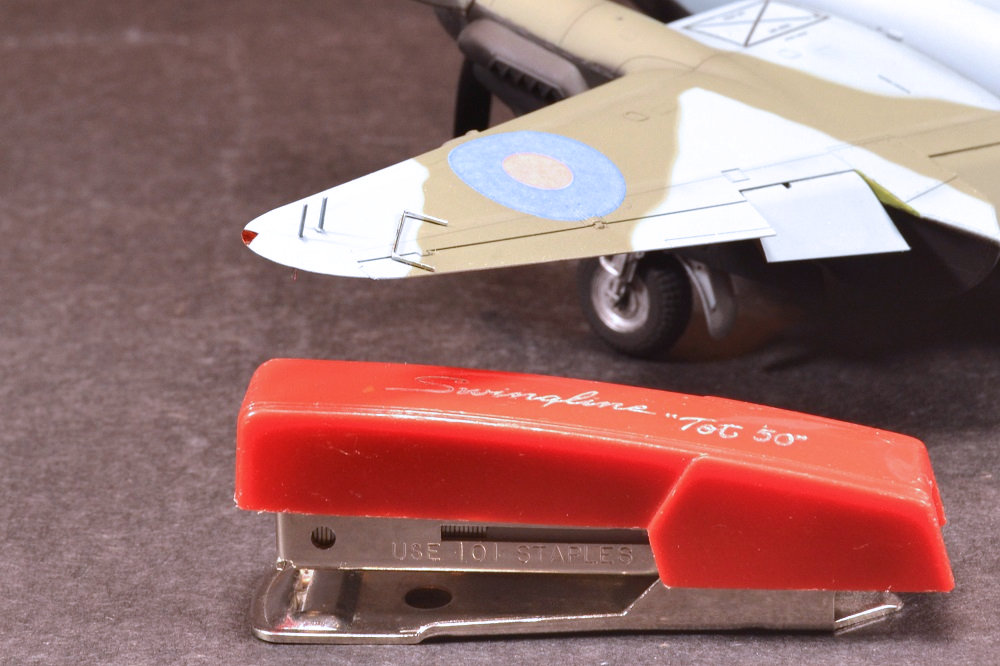
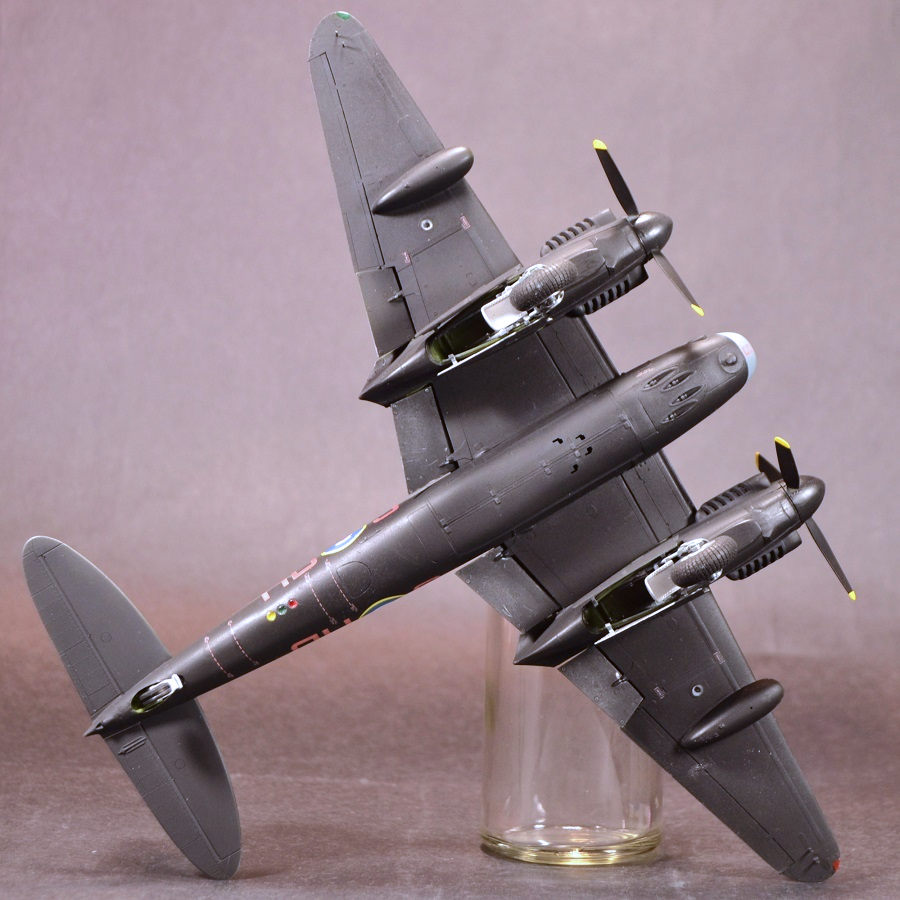
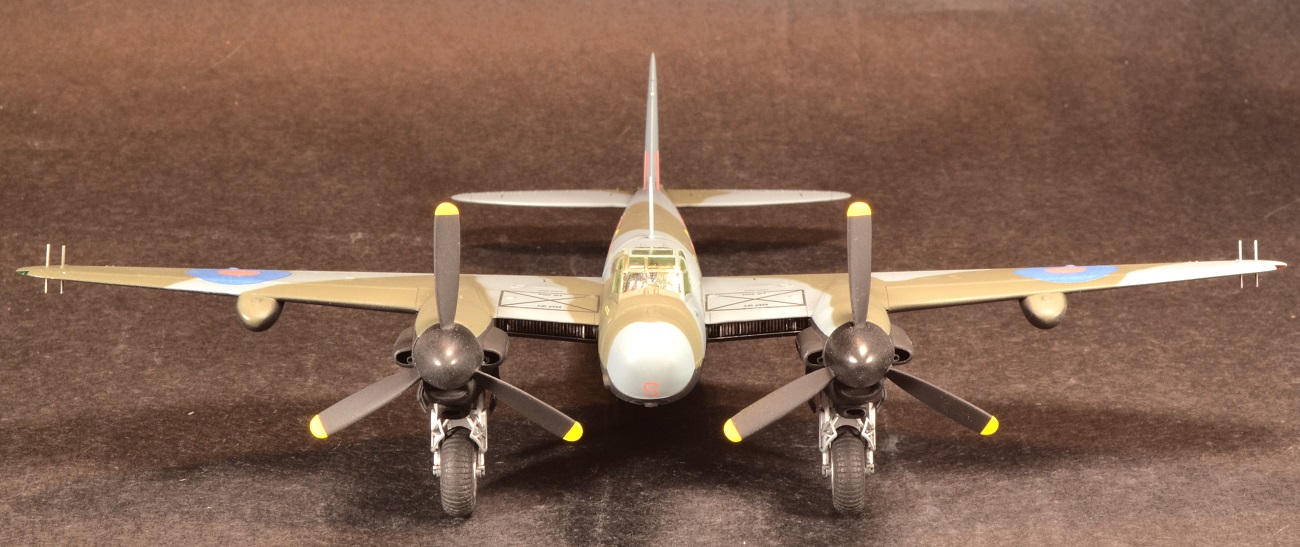
For the wing tip vertical antenna posts, I drilled out the mounting holes and used office staples. They were bonded in place with CA. The combination of metal and CA made it a durable installation to take it through exterior painting and decal application.
When it came time to paint, I airbrushed the model with Mr. Surfacer 1000 gray primer. The upper surface is Tamiya XF-82, Ocean Gray (RAF) and XF-81, Dark Green (RAF). The bottom surface is Tamiya XF-1, Flat Black. Next, clear gloss was applied for decal prep.
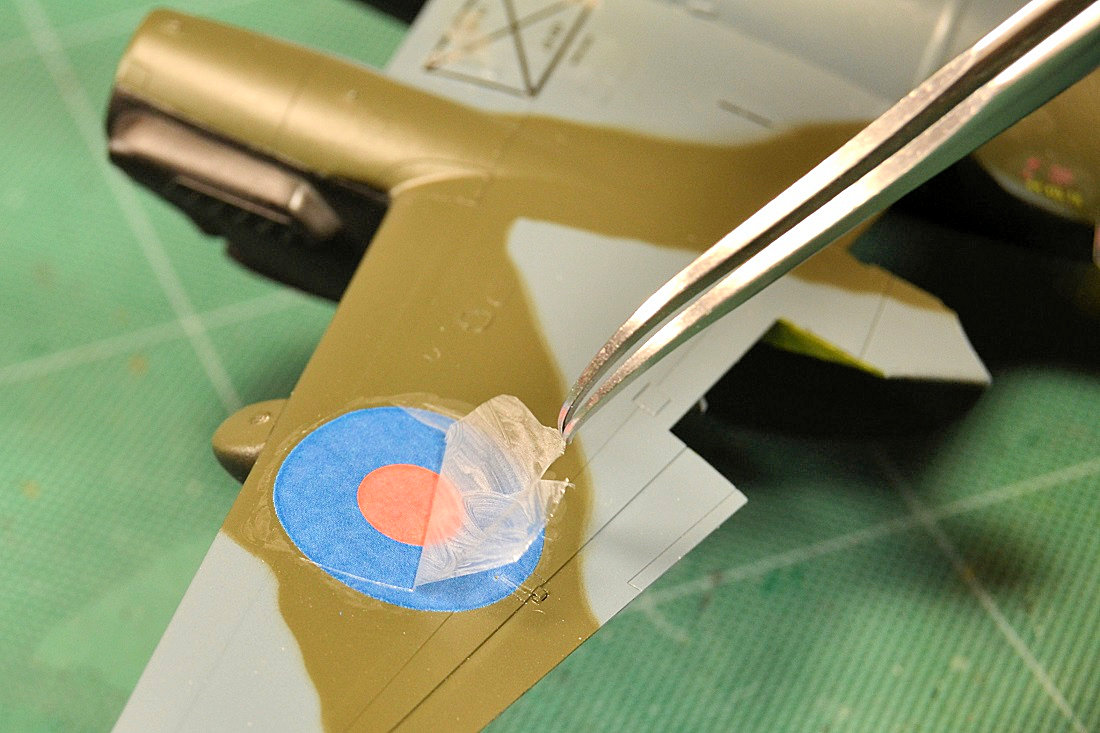
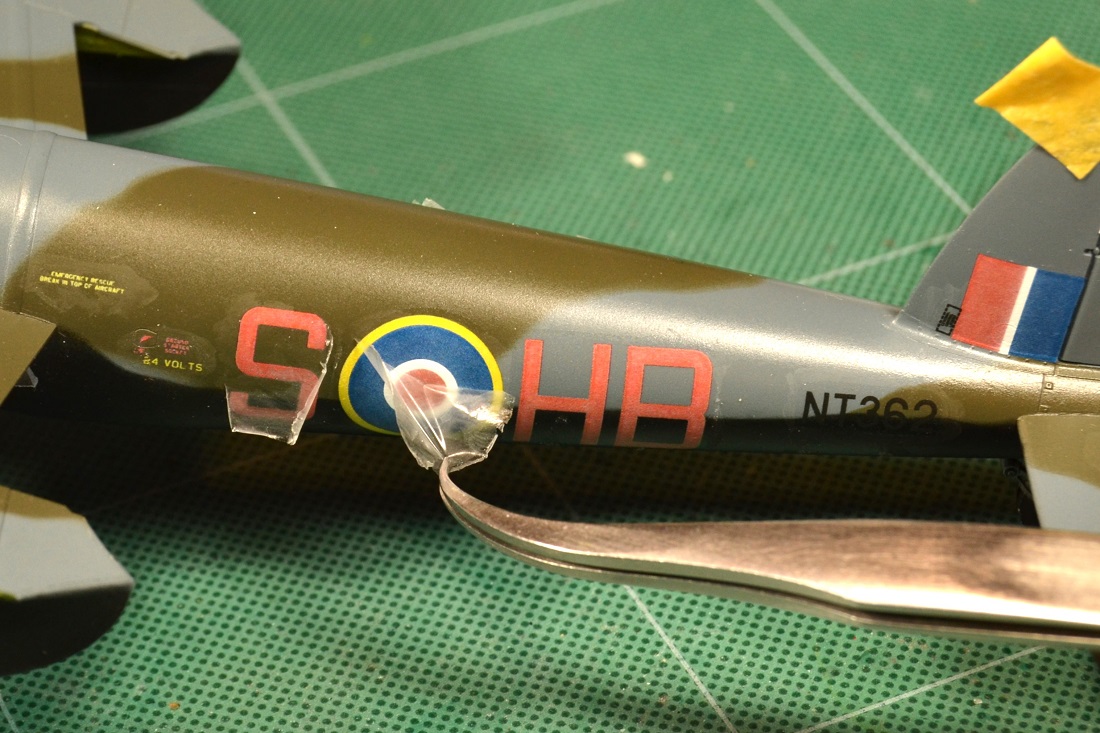
The kit decals are thin and released from the backing paper fast. Because of their thinness, I recommend placing the backing paper near the landing area and gently moving the decal to its final location. The decals did respond well to Micro Sol but I noticed some characteristics that these are not the common decals we all grew up with.
The next day I took a pair of sharp curved tweezers to an edge of one of the decals. Sure enough, the clear top carrier film started to delaminate and left behind the painted part of the decal on the surface. I had a suspicion about this since my previous kit had the same decal process. Nowhere in the instructions does it mention this.
Pressing on I proceeded to brush apply a coat of Vallejo Clear Satin finish on the decals since I did this on my last build. Once dry, this clear coat allowed the film to be more tear resistant and made it an easier removal. A nice benefit with this decal is it looks painted on without the carrier film “step” on the surface.
After all the carrier film was removed, I airbrushed a protective coat of Vallejo Clear Satin. After that, I subtly weathered using ground up charcoal applied with a soft brush. Lastly, I airbrushed AK Ultra Matt Clear to seal it all in. Any charcoal weathering that was lost from the last clear coat I lightly re-applied.
Finally, I installed the dorsal antenna post, propellers, and removed the masking tape from the clear parts and called it good.
Conclusions
This is a great new kit from Special Hobby and the potential future variants that can be built are numerous. Lots of details are in the plastic!
I recommend this kit to builders who have a few kits under their belt due to its short run nature. The decals with the removable top carrier film make the markings look painted on but it does add a level of difficulty. With lots of test fitting and patience a great looking night fighter Mosquito can be built. Its unique “bull nose” shape will draw attention on contest tables and be a great addition to fans who have an affinity to WWII RAF planes and especially the Mossie.
I want to thank Special Hobby for providing this DH 98 Mosquito NF Mk. XXX kit, and IPMS/USA for allowing me the opportunity to review.


Comments
Add new comment
This site is protected by reCAPTCHA and the Google Privacy Policy and Terms of Service apply.
Similar Reviews