
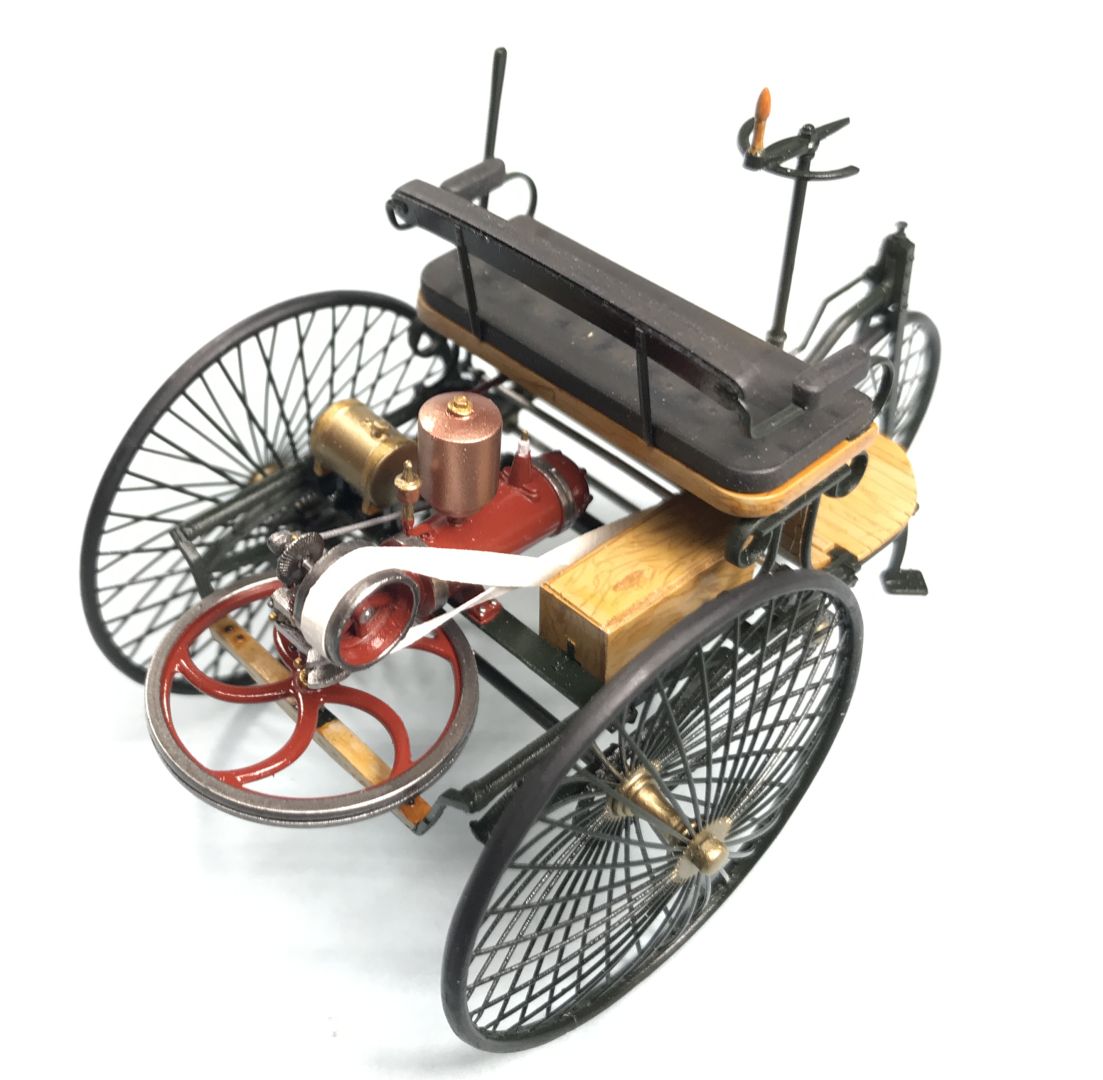
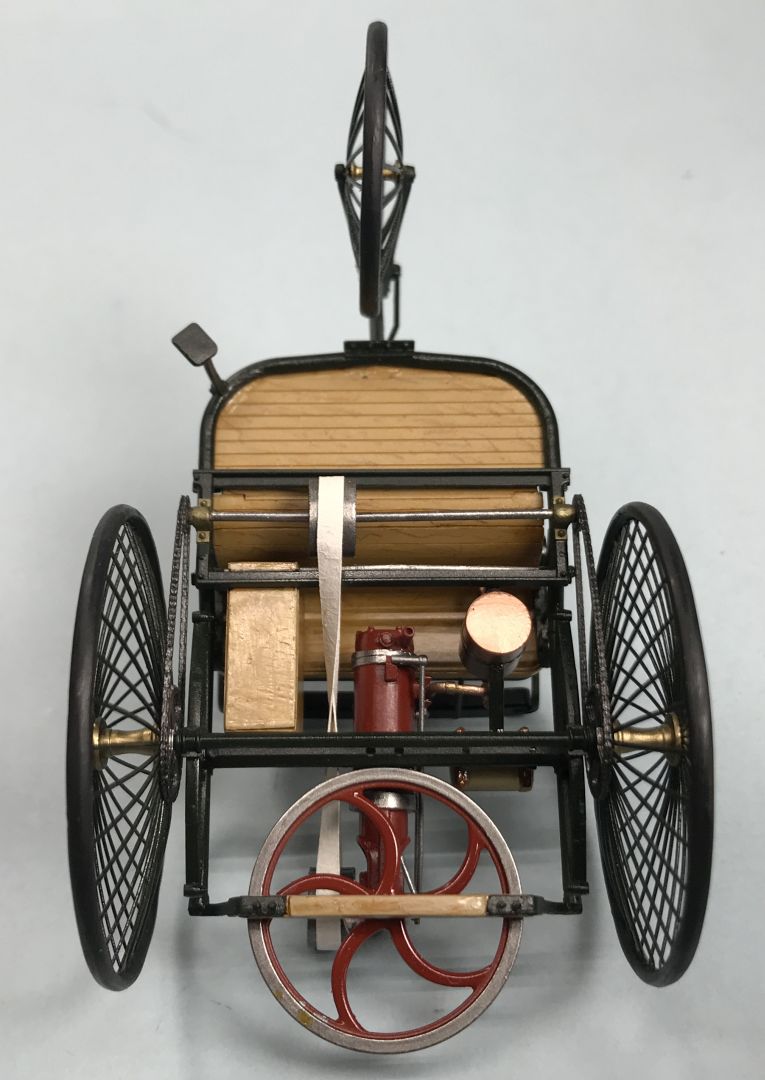
Benz Patent-Motorwagen 1886
ICM is a Ukrainian manufacturer and this kit is a 1/24 scale model of the 1886 Benz Patent-Motorwagen, the first patented production motorized automobile. The kit is all new for January of 2020.
Kit
The kit comes packaged in a sturdy box that once the liftoff lid is removed, reveals another foldup lid on the box bottom. There is 1 bag consisting of 4 sprues of grey plastic parts, 77 in total. There is also a cardboard envelope containing a sheet of 12 brass photoetch parts for the wheel spokes and chains with sprockets. There are no decals or clear parts needed for this vehicle. Also included in the box is a printed copy of part of the patent application from 1886. It is printed on heavy cardstock and is weathered to look old.
The plastic is soft, well detailed and easy to work with. There is very little flash, only on a couple of parts and very few sink marks/ejector pin marks, less than 10 that need to be dealt with. Many of the parts have mold seams that will need to be cleaned up, but because of the softness of the plastic, it cleans up quickly.
The instructions have full color first and last pages, the last being a full color 3-view of the vehicle. The inner pages have black and white drawings with red paint callouts and step numbers. Paint callouts are for Revell and Tamiya paints.
Construction
Assembly starts off with the multipiece frame. I taped the crossmembers in their locations while the main frame pieces were glued to maintain alignment and to keep the frame straight while the glue dried. All parts have pin/tab and hole/slot connections, so alignment and part locations are positive. For glue, I used a combination of Tamiya Extra Thin, Tamiya Extra Thin Quick Setting and CA (generic). Step 3 has you install the drive pulley, but I waited to install it until close to the end of construction. I glued all the crossmembers, axle, step and front wheel forks to the frame so I could paint it all in one step. This meant skipping around in the instructions, but I thought the glue joints would be better if I could glue before painting.
The engine builds up nicely and is well detailed. Careful masking is needed to paint all the different colors. There are some very tiny parts that get attached to the engine, be careful cutting them off the trees and cleaning them up. After painting all the subassemblies for the engine, I glued it together before attaching it to the completed and painted frame. The carburetor (A42 and A35) and the fuel tank were also assembled and painted before adding them to the frame.
The floorboard is made up of three parts and I glued all three together before painting them. The instructions call for part A55 to be painted steel, but in all the reference photos I could find, it was a wooden piece. The wooded box for the battery goes together well. I carefully glued the seat arm rest rails to the seat back before painting. I used the seat and its wooden base to make sure the arm rest rails and seat back were in the proper position. They are delicate but fit together perfectly.
There are two options included for the drive pulleys and belt. You can either use parts A43 and A44, which have part of the drive belt molded on them, or A45 and A46 which are smooth. If you use A43 and A44, you then attach two plastic parts for the drive belt. If you use A45 and A46, the instructions tell you to scratch build a drive belt. I chose to scratch build the drive belt as I wasn’t confident I could fill the seams where the plastic belts joined the pulleys. I used plain-old masking tape for the belt. I placed two pieces of tape sticky side to sticky side, so I had a double thickness and the cut out a strip the width of the plastic parts and painted it with a light coat of Tamiya XF-2 Flat White, so it would look a little off-white.
The drive sprockets and chains are made up of three photoetch pieces for each side. I used toothpicks sanded down to the right diameter to hold the three parts in alignment while I glued them together with CA. These assemblies fit perfectly and really look like chains when finished.
The wheels are made up of plastic centers, photoetch spokes and plastic rims/tires. There is also a jig for the assembly of the tires and it all works very well. The sprue trees for the rims have alignment pins on them that fit into the jig to hold the rim in the proper position. You have to cut the tree attachment cleanly away from the ring around the rim part to make it sit in the jig correctly. Each rim half has depressions in it for the ends of the photoetch spokes to sit in. For the rear wheels, there is a tool, C1 included to use to push the center of the spokes down. For the front wheel, you are supposed to use the hub A31 to push down the center of the spokes. I found that hard to do as the pointed ends of the hub stuck into my fingers. I ended up making a little tool out of a piece of sheet styrene, a piece of piano wire and some styrene tubing (see picture) that allowed me to push the spokes down easily. Once the ends of the spokes go into their depressions in the rim, the center stays in place and you don’t have to push down on it anymore. I ended up bending the ends of the spokes a little bit, so they would sit flatter in the depressions, your results may vary. I used a tiny amount of CA on each of the spoke ends to hold them in place. I painted each assembled wheel/spoke half before gluing the halves together. I had to sand the insides of the rims where the spokes attach to get them flat before I could glue them together. Make sure you put the hub in the center before gluing the halves together! The assembled wheel is very sturdy. The only downside to the wheels is that there is no real definition between the rubber tire and metal rim.
After painting everything, I glued the engine, carburetor, fuel tank and fuel line to the frame. I then installed the drive pulleys and attached the masking tape drive belt. Make sure you add the twist to the belt when you install it. After that, I added the battery box, footboard, seat and steering column. The drive chains and tires were then added, and the vehicle was complete.
Paint
I used a combination of Tamiya, Vallejo Metal Color and Alclad II paints depending on the color I needed. I primed the metal parts with Tamiya Grey Primer before painting. The instructions call out for the frame and tires to be painted in black. Some of my reference photos show it black, but most show them being a dark green. I decided I liked the green better and used Tamiya XF-11 J.A. Green straight from the bottle. For the engine block, drive pulley and flywheel, the instructions call out for either black or red. Most of my references show them a dark red, but I also saw black and green. I mixed a couple of drops of Tamiya X-18 Semigloss Black into some Tamiya XF-7 Flat Red to make a darker red color. For the woodwork, I painted a base color of XF-57 Buff. When that was dry, I used a brown colored pencil and drew on some woodgrain. This was then overcoated with a thin coat of Tamiya X-26 Clear Orange. The seat was painted with Tamiya XF-69 Nato Black and then drybrushed with a dark grey. I used Alclad II ALC 109 Polished Brass and ALC 110 Copper for the brightwork. I mixed up various shades of Alclad II Steel and Aluminum to get the different metal tones.
Conclusion
Overall, this was a very pleasant kit tobuild. It builds up quickly as there really wasn’t much to the actual vehicle. The completed kit is quite small, approximately 4 inches long. Some of the parts are very tiny and require care in removing them from the sprue and cleaning them up. The finished kit looks correct and if you wanted to super detail it, there wouldn’t be that much to add. It is only missing a few electrical connections and hoses. I would highly recommend this kit to anyone.
There is an interesting page about the Patent-Motorwagen on the Mercedes-Benz website that goes into detail about the automobile. https://www.mercedes-benz.com/en/innovation/milestones/corporate-histor…
I would like to thank ICM and IPMS for giving me the opportunity to build and review this kit.


Comments
Excellent Review!
Great review & excellent build Mark!
Add new comment
This site is protected by reCAPTCHA and the Google Privacy Policy and Terms of Service apply.
Similar Reviews