
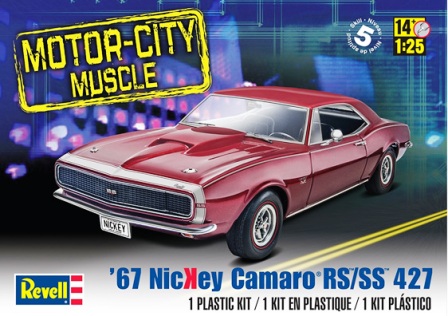
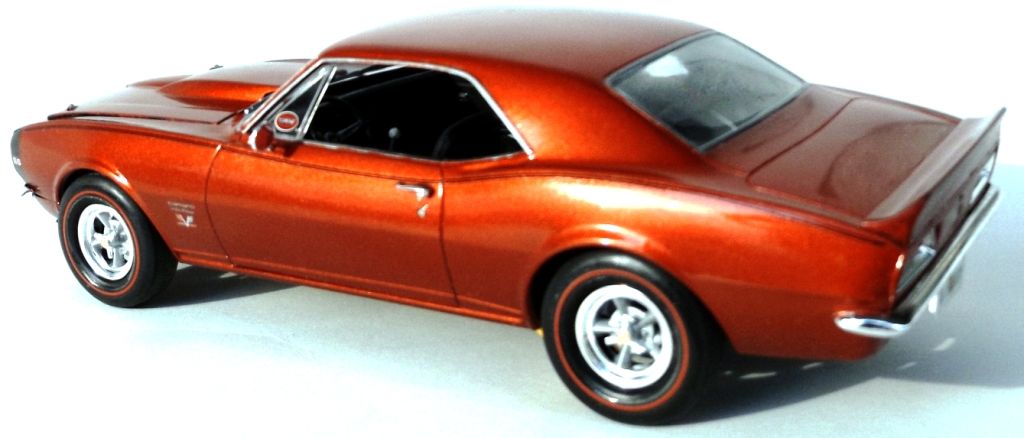
1967 Nickey Camaro RS-SS 427
When Ford released the Mustang and started the “Pony Car” era in 1964, GM scrambled to answer the market with the release of the Camaro in 1967. Savvy dealerships (like Nickey Chevrolet) jumped on the performance aspects of the platform by ordering a version which featured the high-powered 427 CID engine. Sporting iconic red line tires, this model kit does a good job of replicating those classic cars.
Construction and Detailing
This review covers the skill level 5 (ages 14 years and older) 1967 Nickey Camaro RS-SS 427 1:25 Scale Revell Model Kit #85-4377. The reason this is a skill level 5 kit is because of the large number of parts and some tricky decals (like those red lines for the tires). The kit has 128 pieces and is nicely molded in white, and chrome plated parts with clear windows, soft vinyl tires and transparent red taillights. The finished dimensions are: 7-5/16"L x 3"W x 1¾"H.
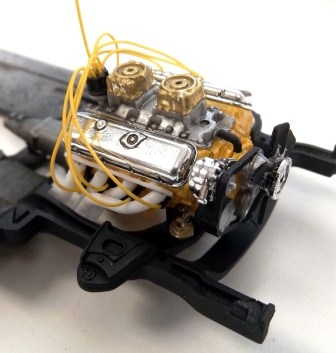
Construction begins with the motor on this kit with a respectable 20 pieces. Although it comes with a respectable distributor, I elected to add a pre-wired unit for more detail.. Additional decals make this engine a look well apportioned. Most of the accessory pieces are separate add-ons. The transmission is molded onto the block but detailing is not a problem since it’s well defined. The Nickey Camaro was fitted with headers and you have to make sure the longer unit goes on the driver’s side. Removing the chrome from parts like the carbs and adding a little blackwash to the others really helps bring out the great detail in this motor.
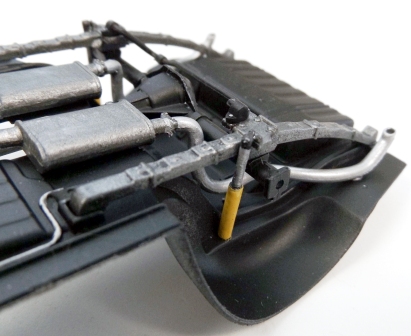
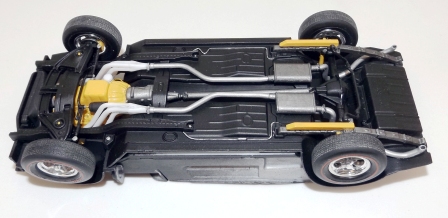
Most of the parts that need to be painted flat black are on three trees so they are easy to spray along with the combined chassis/tub part. The engine drops right into place. Adding the exhaust is simple and the suspensions are three-piece affairs with ample demarcation for shading variations. Detail painting the rear leafs and shocks will help the model standout.
The interior side panels are not separate but they don’t have much to detail anyway, so the overall look is pretty close to the original. The three piece dash/column looks great if you just glue the gauge decals to the backside of the openings and highlight the steering wheel spokes and chrome trim pieces. Same goes for the console and pedal assembly. There’s even a shift pattern decal for the shift knob. The seats have insert decals which require a lot of setting solutions to settle in but they provide a very nice accent with the white piping for the interior.
Adding the Delco decal and detail painting the battery, washer bottle and brake booster makes the engine-bay area look interesting. Using a little slow setting glue for the radiator then mating the chassis and interior tub is easy with positive attachment points and allows the radiator shroud and engine hoses to be positioned properly.
The wheels appear to be a bit shallow for the tires but the brake/backing plate assembly seems to fill in the void for the most part. The tires and wheels are really one of the highlights of the kit. Painting the centers of the wheels aluminum, adding the tri-spoke spinners (with decals) and applying the redline decals really looks terrific. The wheels pop onto the axles.
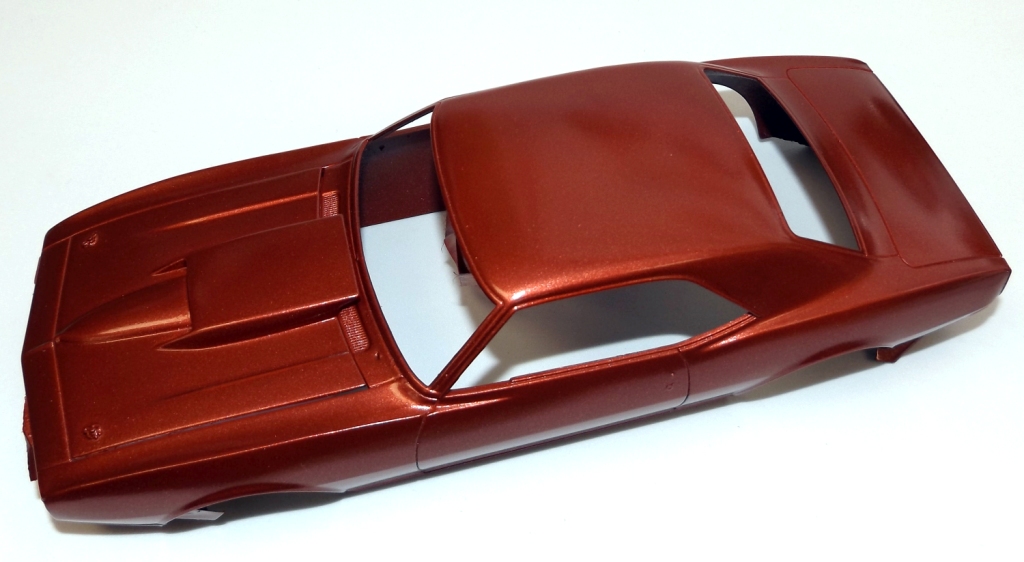
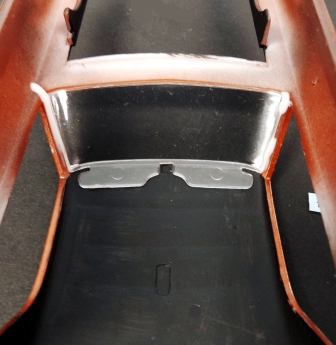
The body has some moderate mold lines and the front and rear pans are separate. I suggest taping them into place to paint them with the body to avoid shade variations. After that dries add the bumpers and other pieces to the front/rear body panels and set them aside to dry.
Adding the firewall to the frame is straight-forward and the separate horns, motors, etc., add a finished look. Installing the motor is easy and adding the radiator and hoses really looks nice in the engine bay.
The body is well molded and detailed but the effects of age appear in the form of slightly more defined parting lines that need attention. After you paint your body the window trim should be foiled or painted and then, using some white glue, you can install the windows from the inside for a clean appearance. The external decals go on pretty well except for the nose stripe that needs some setting solution to settle down. The front and rear panels grill and accessories pieces all go into place well.
Overall
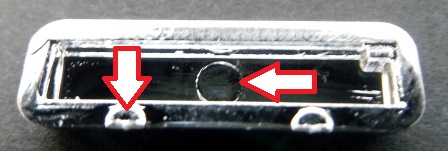
There’s moderate flash on the pieces and some of the mold attachment points will require extra care as this is an older mold design. Still, it assembles easily following the excellent instructions and produces an awesome display. The fit is very good for this kit. With a killer stance and impressive wheels and tires, adding some engine wiring may just win you a trophy.
I have to thank Revell for marketing these iconic subject muscle car kits and to IPMS for letting me review it to share with you.


Comments
Engine - Alternator and Pulley Belt
Hello, one detail that I find is missed on this kit is the positioning of the Alternator and Pulley Belt are positioned on the wrong side of the engine. The 67 Camaros built with big block engines had the Alternator and Pully Belt on the drivers side, not the passenger. Possibly done the opposite way because Revell borrowed the engine from a pre-existing kit.
Add new comment
This site is protected by reCAPTCHA and the Google Privacy Policy and Terms of Service apply.
Similar Reviews