
Bell X-1
Introduction
1947 was a much simpler time but there were complex problems to be solved. 'Let's put a rocket motor in a small fuselage shaped like a 50 caliber bullet and see if we can maintain controlled flight, faster than the speed of sound'. Sounds simple enough.
Looking back now, the X-1 was simple in shape, power and design and we are still learning from those tests.
Revell has re-released the X-1 as a model kit that captures that simplicity with great detail.
My thanks go out to Revell for providing this kit for review and to IPMS USA for letting me do the review.
In the Box
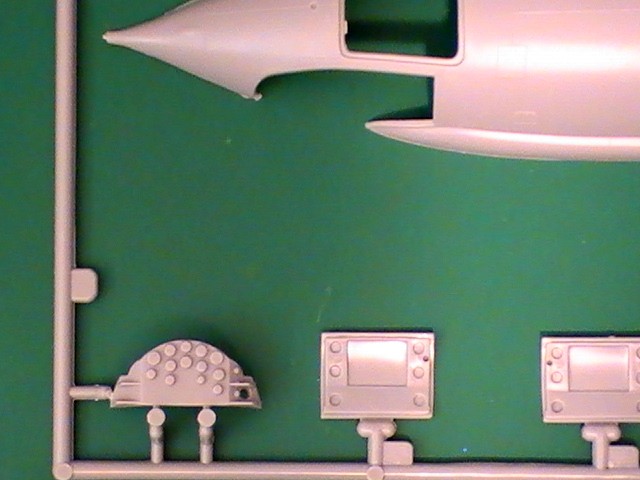
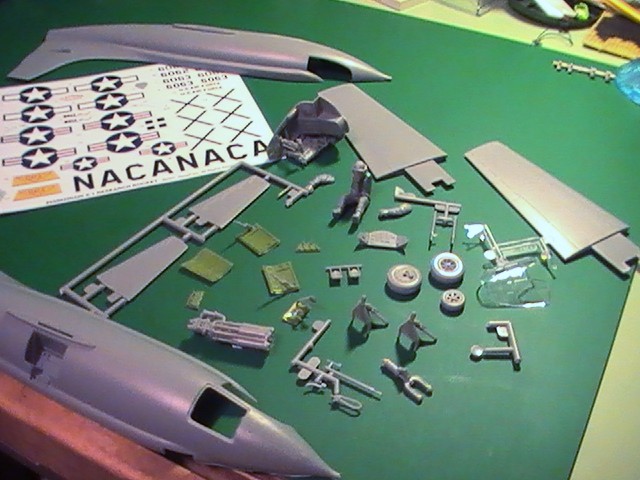
There are 49 parts in this kit molded in gray and 2 clear. At 1/32 scale, the parts are big and easy to handle and assemble for young, small hands or us 'more experienced' folks with sausages for fingers. A few of the bigger parts separated themselves from the sprues in shipping.
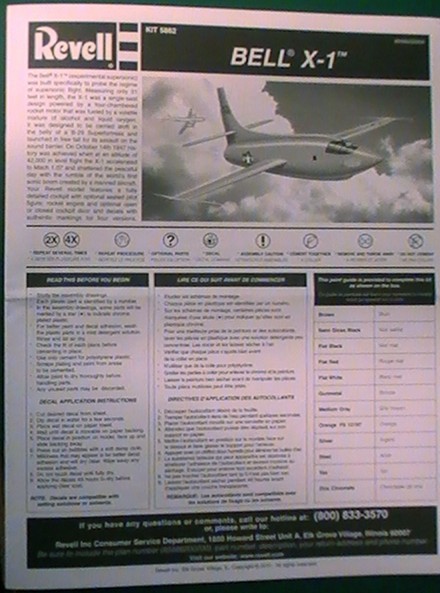
The instruction booklet is simple, large, clear and well organized. There is a short history of the X-1 program and a complete color and marking application guide.
The decal sheet is detailed and complete, containing colorful markings for 2 different tails:
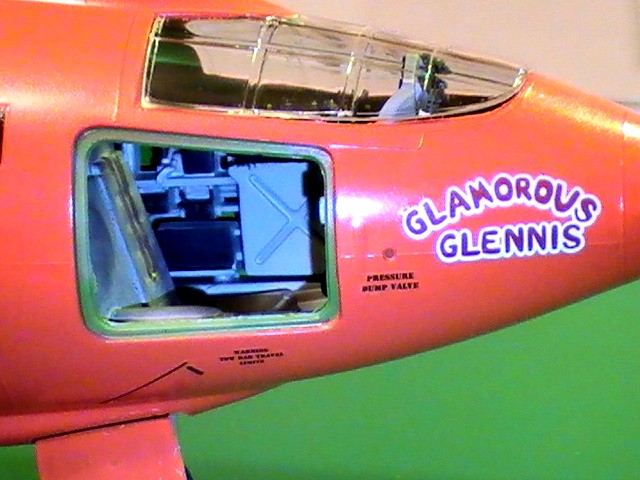
- Tail number (t/n) 6062; Markings for the original X-1, as delivered from the Bell Aircraft Co. or as it was marked for the 1st supersonic flight "Glamorous Glennis".
- t/n 6063; The second X-1 variant, painted white & marked and flown by National Advisory Committee for Aeronautics (NACA), to 'expand the envelope' of high-speed & high- altitude flight.
The Kit
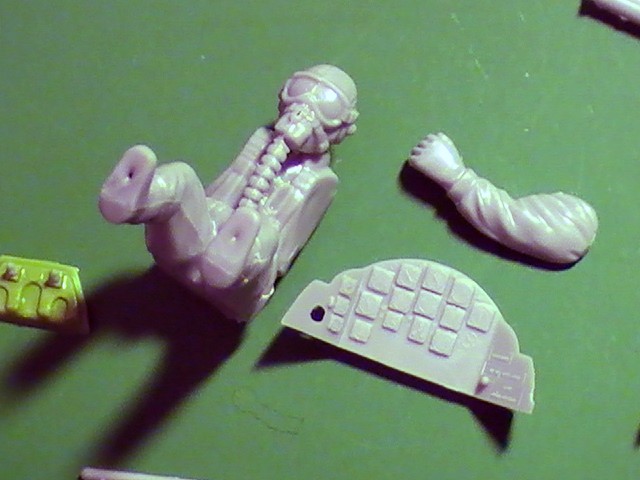
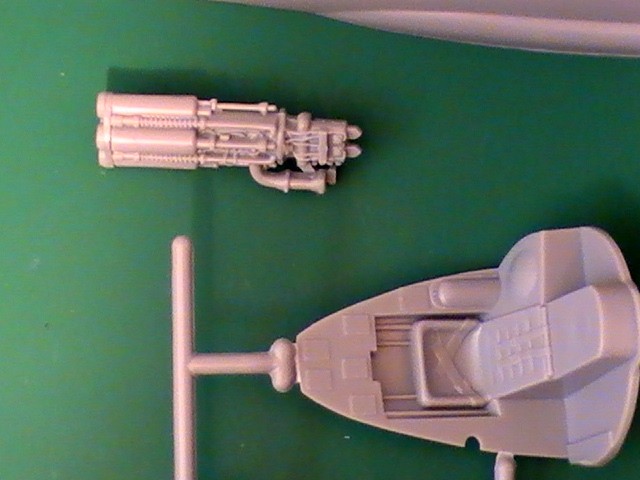
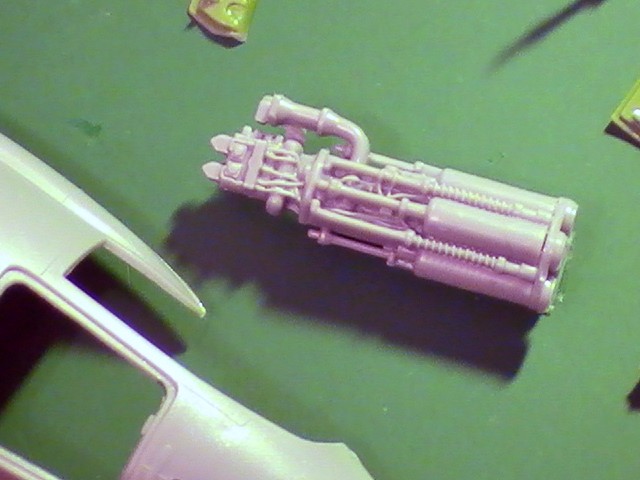
With 51, 1/32 scale (fairly large) parts, this kit is clean and simple and features a simple but nicely detailed cockpit with an optional pilot figure, a highly detailed rocket engine, fairly detailed landing gear with doors and a separate cockpit door. There is even a small piece of broom handle included (a quick search on the internet can give you the story behind that).
This kit was re-released in 1985, 2003 and now in 2011 (don't know how many times prior to 1985). There are crisp raised panel lines and raised access panels in the engine compartment and scribed panel lines for the control surfaces. There is very little residual 'flash' around the edges of the parts and the parts line up & fit together well. Again, simplicity and size are the key features, both in the subject aircraft and the kit.
Construction
This kit goes together with no trouble at all. The fuselage halves lined right up and the wings and elevators went in with just minimal trimming to open the slots. I did have to clamp the nose of the fuselage while the glue set and fill a small gap from the canopy, forward to the nose, with contour putty (where the part broke loose from the sprue in transit) but these were not big issues.
There are 2 mounting pins on the engine that fit into sockets on the inside of the fuselage and one of these pins was way too long (flash from the molding process) and broke off in the bag but again, not a show stopper.
The engine, cockpit, wings and landing gear (including the doors and actuator arms) were built up as subassemblies and painted before being installed in the fuselage. The kit includes a nice decal of instrument faces that fits on the instrument panel. The instrument faces are raised off the front of the panel so the decal floats across the front of the panel but a decal solvent/setting solution will take care of that for you.
Finishing
The 'devil is always in the details' when it comes to finishing - you can keep it as simple or make it as difficult as you want (for me, I tend to make things harder than they have to be). Since I finished (paint, decals, etc.) the cockpit and decided not to mask the canopy yet, I masked the cockpit (canopy and door openings) with tape from the inside before gluing the fuselage halves together so I could paint the whole jet 'Test Program Orange'. Once the orange was dry, I gently pulled out the tape with needle nose pliers. The final assembly was attaching the landing gear sub-assemblies. and nose gear door.
There is a lot of good detail inside the cockpit which is visible through the one-piece canopy.
I chose not to use the clear support post that makes it sit on the nose wheel. I used a block of modeling clay in the fuselage between the wing and cockpit to let the jet sit on its own gear.
Conclusions
I highly recommend Revell's Bell X-1 for modellers of all experience levels. You just can't beat kits like this.
Revell's Bell X-1 kit is a great kit for several reasons. The number one reason is the simplicity of the kit, made possible by the simplicity the subject matter. The X-1 was a rocket powered dart with an altimeter and Mach indicator. No bells or whistles (or safety features) to complicate everything. This kit brings out all the detail to the rocket motor and the cockpit. Even though the engine can't be seen after assembly and some of the cockpit detail is obscured, the modeler can learn a lot about how the X-1 was built and performed. It's kits like this, that detail the history and the technology of the time but are simple and quick to build, that gets new modelers interested in the hobby.
I'm not sure how many times this kit has been re-released in the past (and it doesn't really matter) but I'm glad to see it reappear every once in a while.
Thanks again to Revell for re-releasing this great kit and to IPMS USA for the chance to review it.

Finished model cockpit interior view
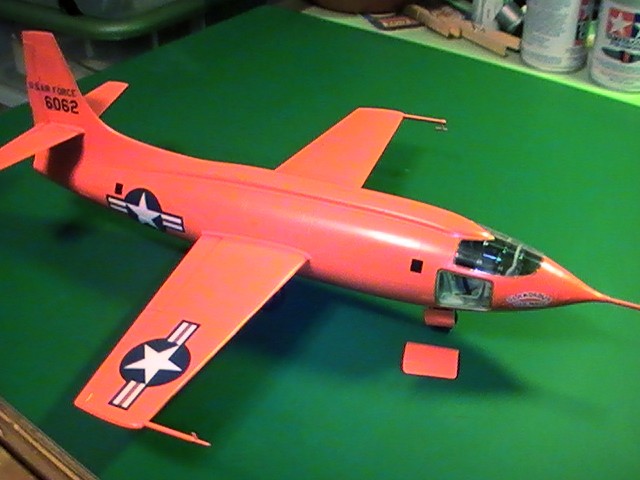
Finished model top starboard
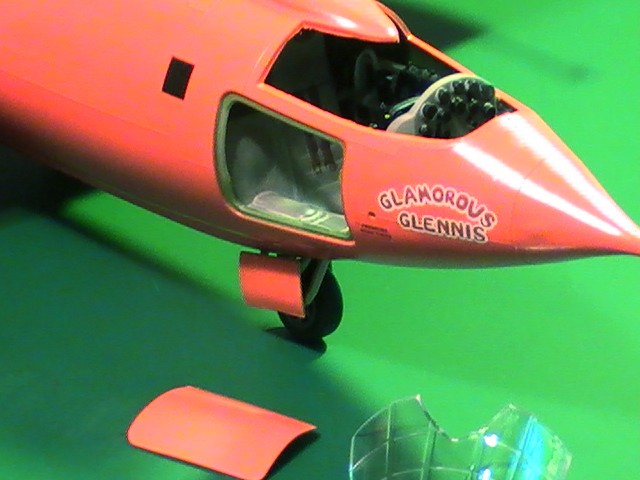
Finished model starboard nose view
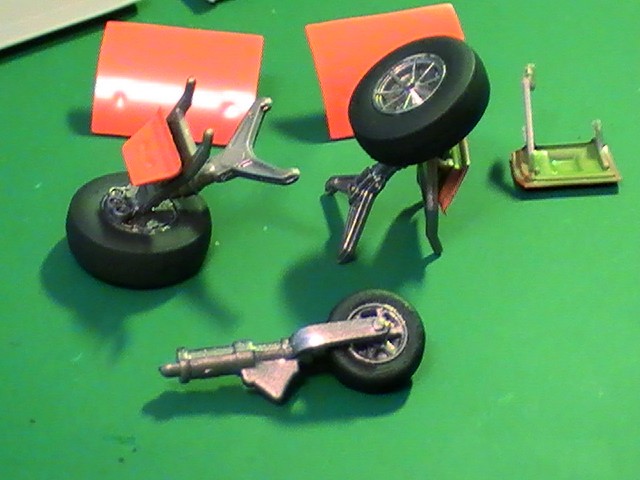
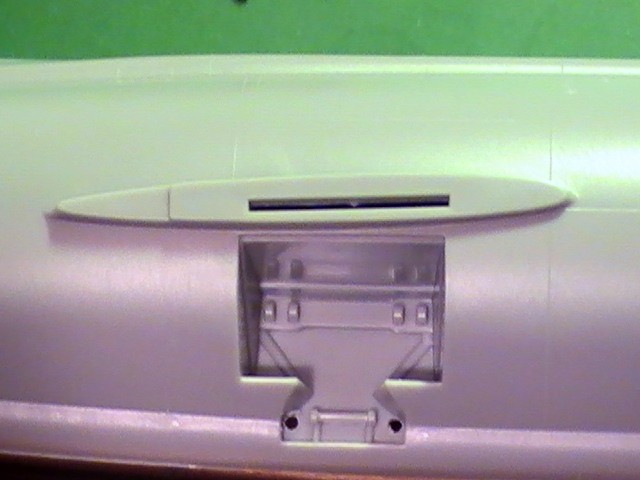
Landing gear
Rocket motor installation
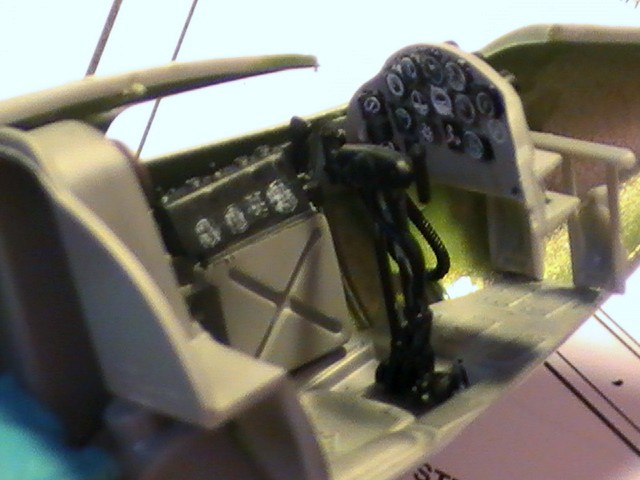
Cockpit detail
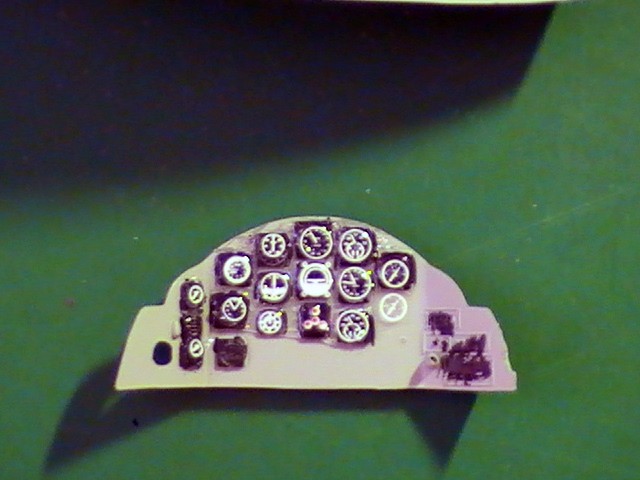
Instrument panel
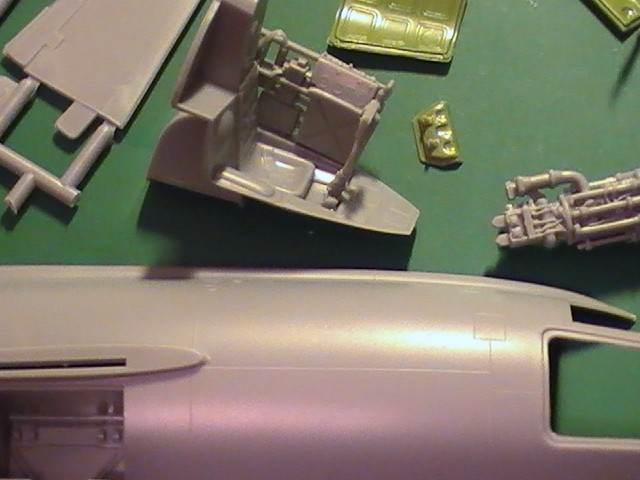
Kit sub-assemblies
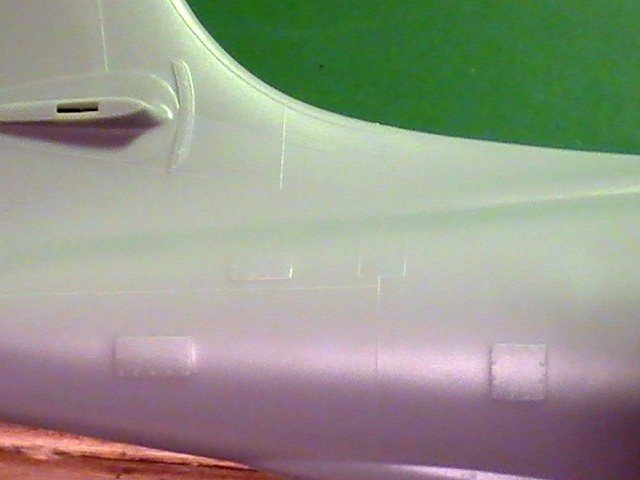
Panel lines and access doors detail
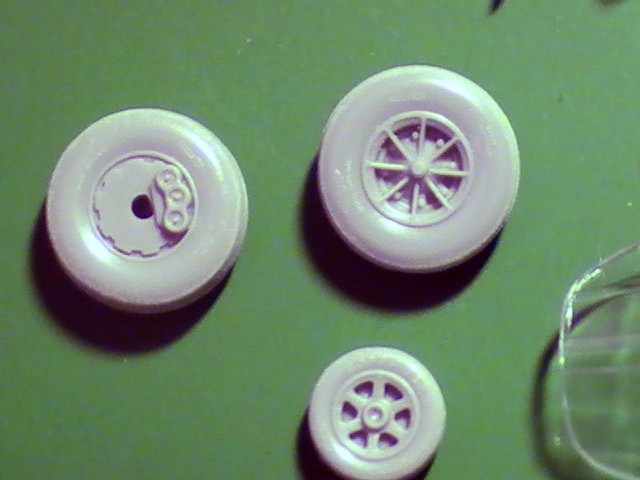
Wheels
Main wheel well

Cockpit
Pilot and instrument panel detail
Kit parts details
Instructions
Kit parts details

Kit parts details
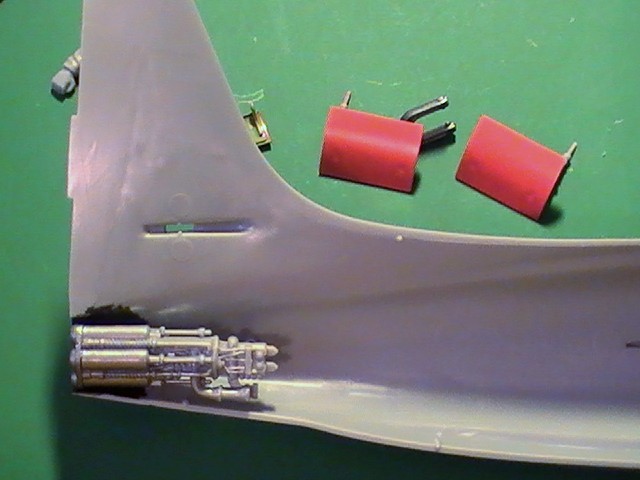
Rocket engine detail
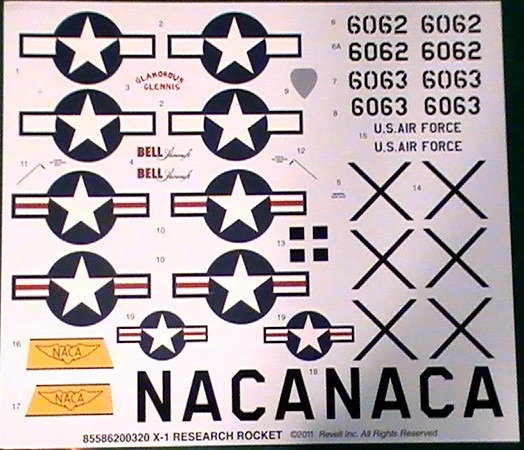
Decal sheet
Comments
Add new comment
This site is protected by reCAPTCHA and the Google Privacy Policy and Terms of Service apply.
Similar Reviews