
F4U Corsair (Folding Wing)
The F4U Corsair was first deployed in 1943. Because of the long nose, which made forward visibility for carrier landings a problem, Corsairs were given to the US Marine Corps. The Marines did a pretty good job with the Corsair, getting an 11 to 1 kill ratio. Corsairs were used as a ground attack and air support aircraft and continued like this into Korea.
HobbyFan is a Taiwanese company which produces several lines of models. AFV Club has armor in 1/35 scale, but also 1/350 and 1/700 ships and aircraft in 1/32, 1/48, 1/72 and 1/144.
The Kit
Although Corsairs were built by Brewster (F3A) and Goodyear (FG), this kit only covers F4U-1, F4U-1A, F4U1C, and F4U-1D Corsairs. There are 8 marking choices, including one set of markings for a Fleet Air Arm F4U-1. AFV Club previously released kit AF14406, which is basically the same kit, except the kit I got, AF14408 has the folding wing. But 14408 also includes the parts for the unfolded wings too, so it’s probably an even better deal. You get two models in the kit.
There are 4 blue sprues and one clear. The clear parts have three different canopies, for the different Corsair types. There are plenty of underwing armaments, tanks and bombs to satisfy any warmonger. The kit also has the cowl flaps either open or closed. Nobody else does that on this scale.
Assembly
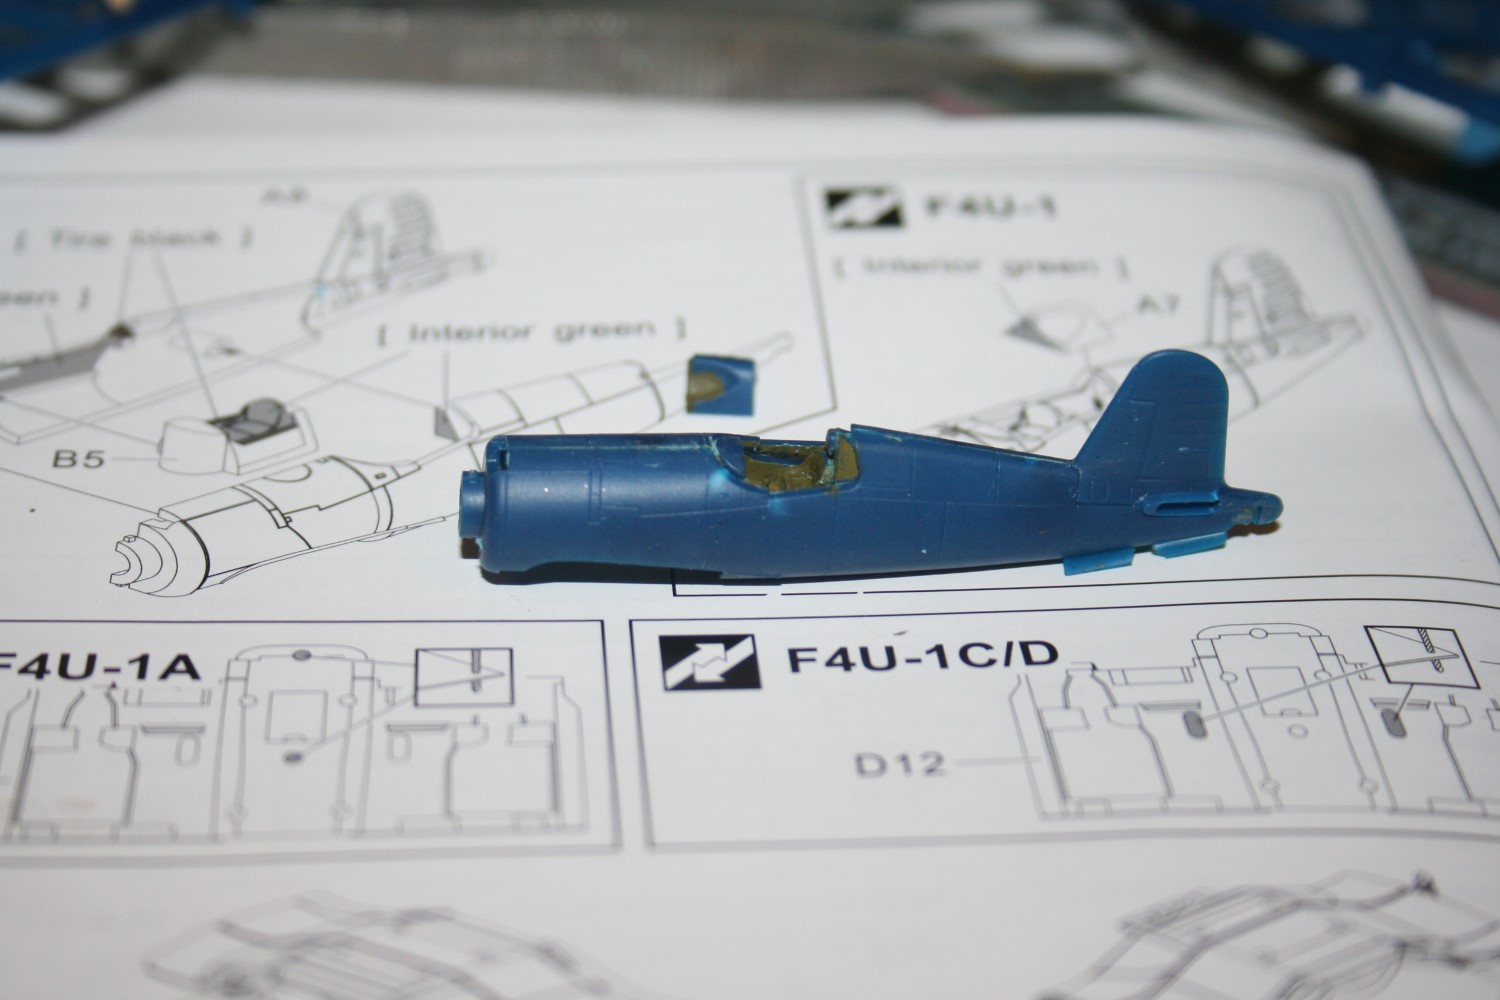
I started assembly by following the instructions in step 1. It wasn’t until I looked closely at the alternate step 1 that I was disappointed. I thought I wanted the F4U-1 “birdcage” Corsair because there just isn’t one of these available in 1/144 scale. But I looked at it, and you can’t cut the area behind the cockpit if you’ve already installed the interior. See the instruction scan below. OTOH, there are two kits in the box, and I’ll just build the other one as the -1. Problem solved.
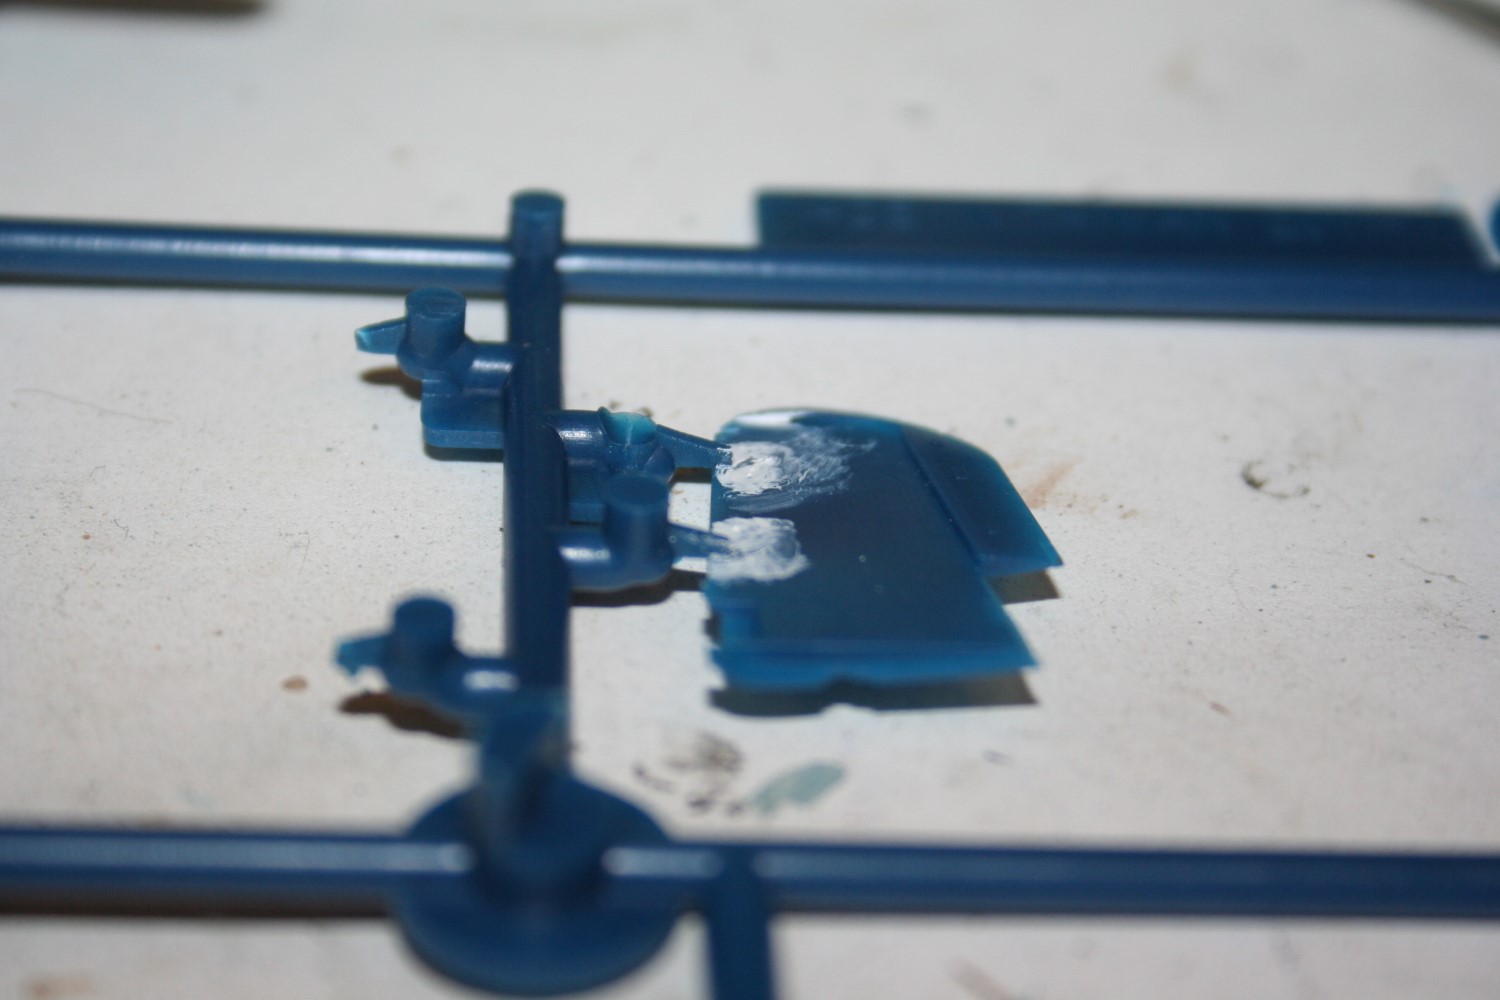
I was impressed by the engineering and fit in this kit. One super thing is that the sprue connections to the parts have a sort of bend in them, and so they don’t attach at the wing leading edge but connect slightly behind it. This makes it far easier to work the sprue attachment with a sanding stick or file to clean it up and make the fit work. And the fit is very good. The photo of the wing with the attachment painted white shows how this works. Another one was the main gear. The sprues attach at the very top of the gear leg and on the wheels. A few strokes with a sanding stick and the parts are clean and ready to install.
I did have to use a little bit of putty on the wing leading edge. The intakes on the wing and the cut out for the guns are very delicate, and I had to fix the edge of one of them. Otherwise, everything went pretty much as I’d hoped. There weren’t any areas where I had to do more than a little scraping or sanding to prevent seams from showing, and all of the parts fit.
Painting
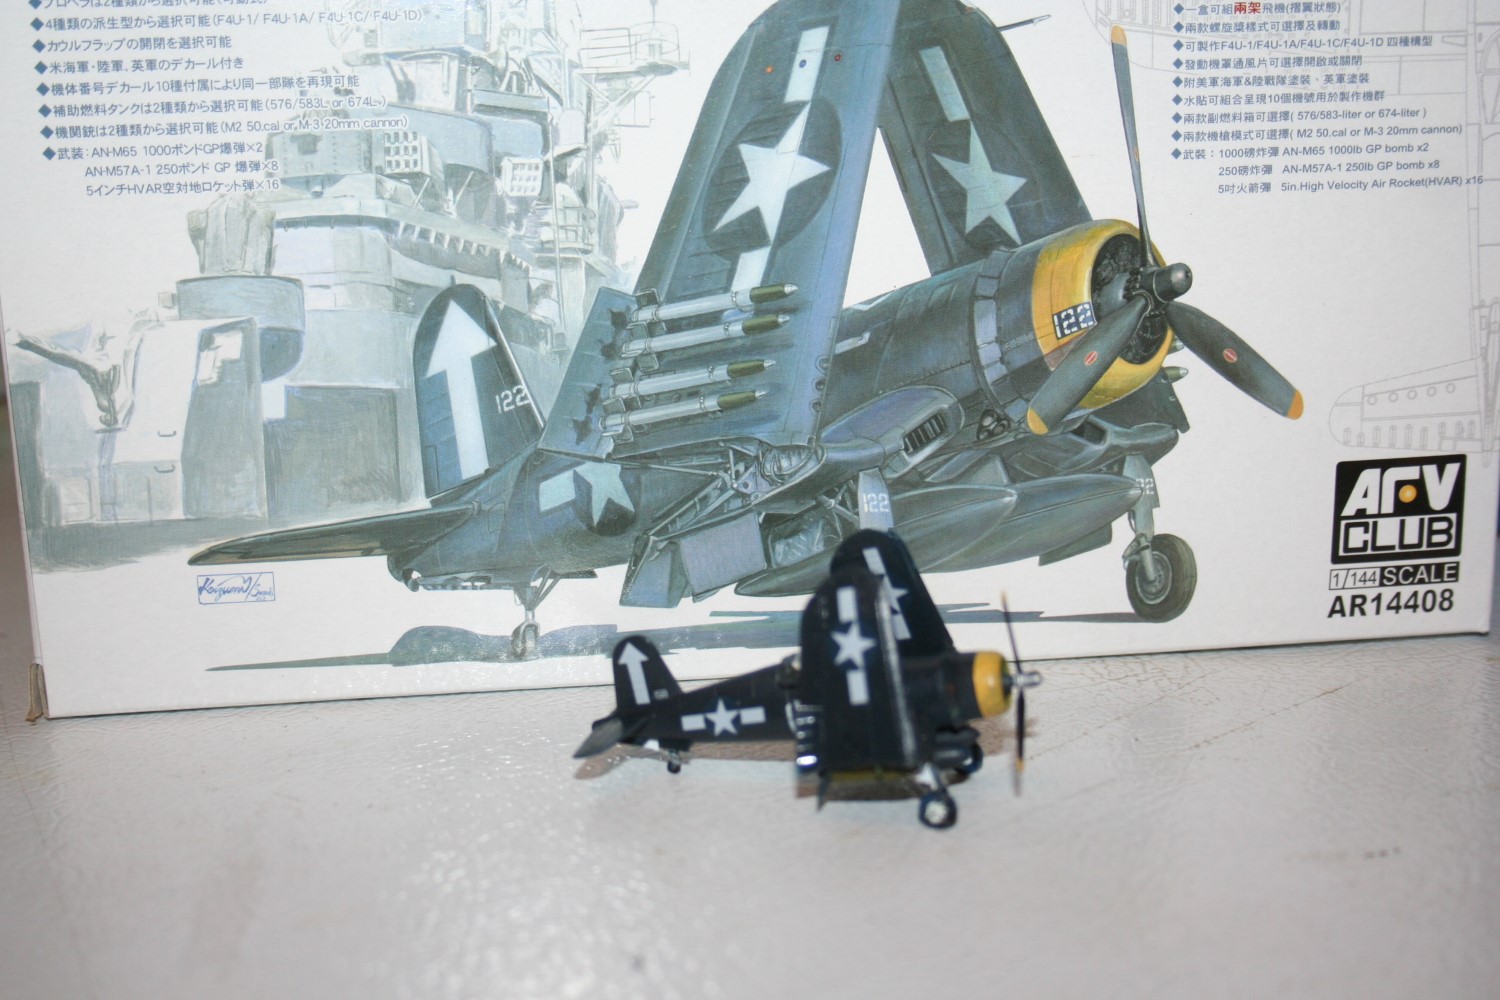
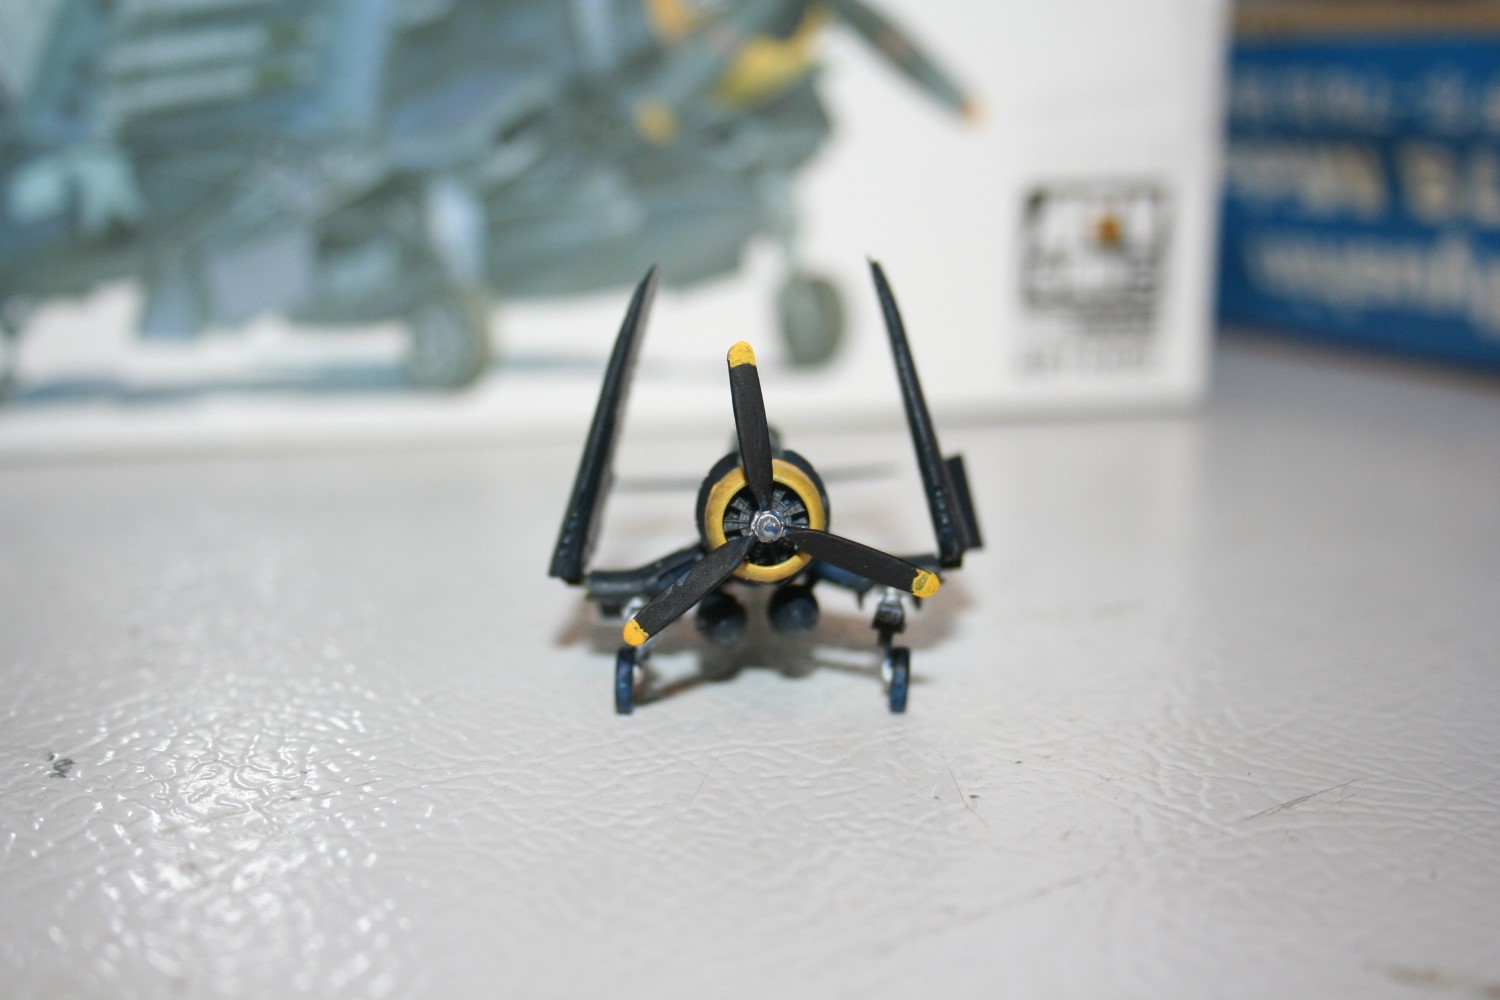
I did much of the painting before assembly. One huge advantage of the Corsair’s late war scheme is that it’s all dark blue overall. The detail painting of the landing gear, the engine, the prop, and the canopy were all done with brushes.
Decals
The decals were great, and they are high quality. I usually base my judgment of decal quality on how long the decal takes to come loose from the backing paper. These were right up there with Cartograf. The weak part of these decals was that they are very thin and flexible. As a result, I had to fight to keep the decal from folding as I moved it from the backing paper to the aircraft. The white arrows and the national insignia handled well, the numbers gave me several moments of heartburn.
Final Assembly
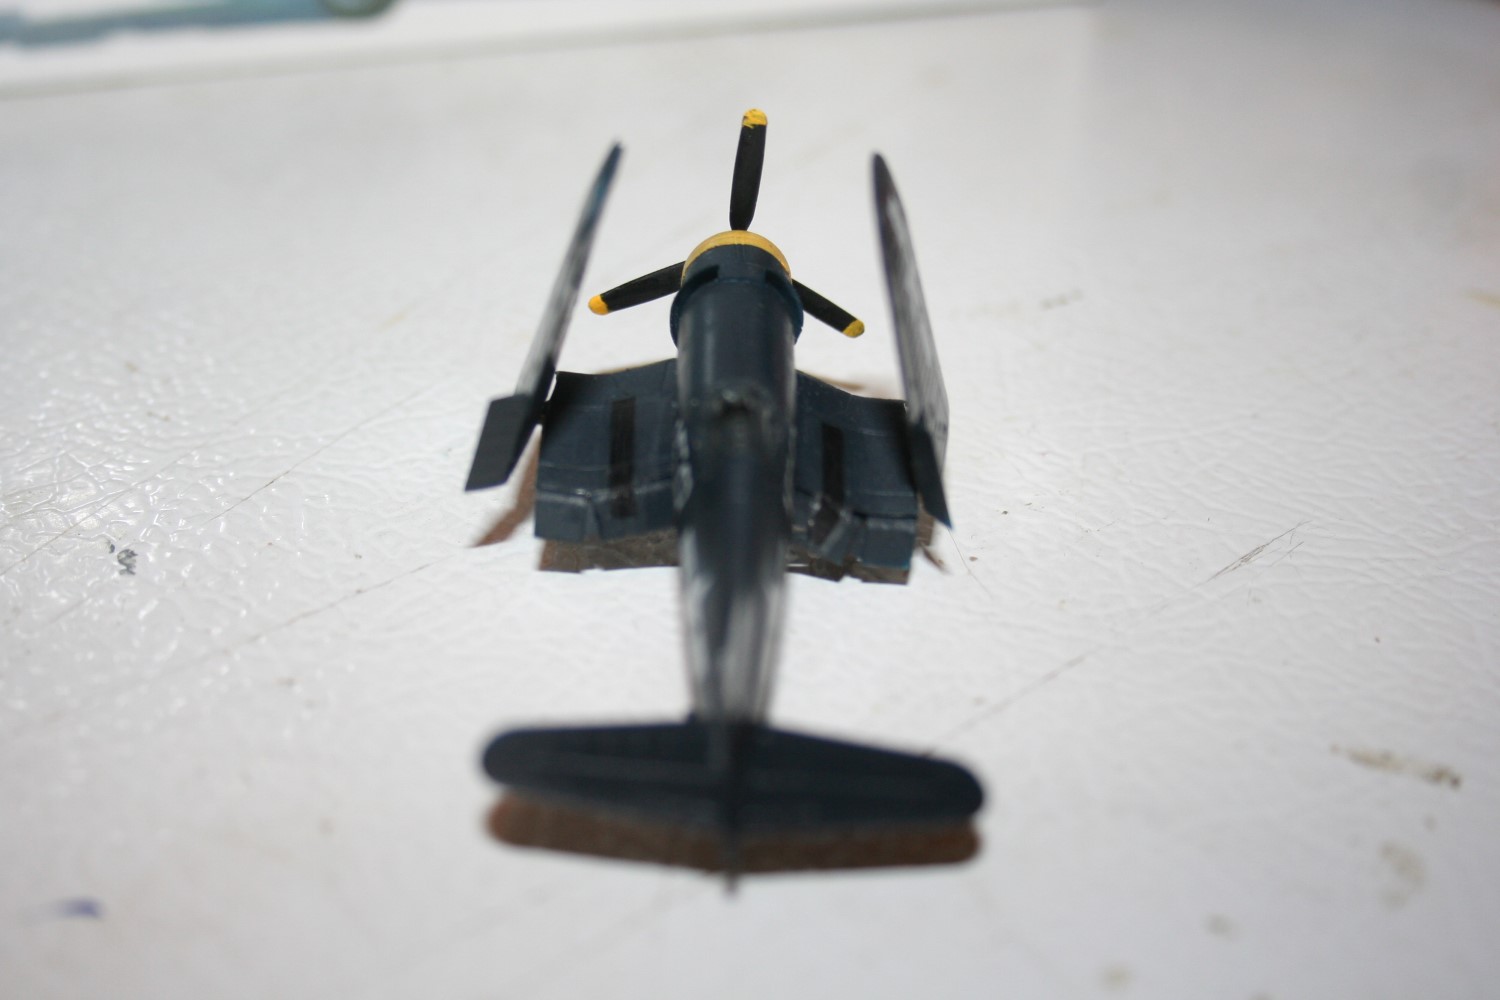
I always put the decals on before I finish the delicate parts like the propeller, the landing gear, and on this model the folded wings. The landing gear went on pretty well. The struts are thin and fragile just above the wheels, but there’s a door there to make it sturdier. The tail wheel assembly was great, it installed nicely on the first try. For some reason, the wing fold hinges didn’t fit the hole in the outer wing panels. A mild bit of work with a fine sanding stick on the hinge end made this good. I was also happy with the fact that the hinges have a little “shelf” which holds the wing at the correct fold angle.
Overall Evaluation
Very highly recommended. This may very well be the best kit I’ve built in a long time. Lots of choices for type and markings means you can build the Corsair you want. (If you read the instructions carefully). The thought and engineering that went into this kit bring a smile to my face.
How much do I like it? I’ve already bought another one.
Many thanks to HobbyFan / AFV Club for this excellent review kit, and to IPMS USA for the chance to build it.


Comments
Add new comment
This site is protected by reCAPTCHA and the Google Privacy Policy and Terms of Service apply.
Similar Reviews