
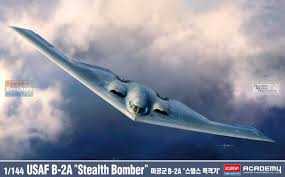
B-2A Spirit Stealth Bomber
Academy’s newest kit is a wonderful version of the B-2A Spirit in 1/144 scale. This is a great scale for this aircraft as it is a large plane. Looking inside the box, you will find four perfectly crisp gray sprues with no flash and minimal mold lines. One clear sprue is included and also a precut masking set for the canopy and a large decal sheet. Markings and stencils are included for a single plane with five choices:
- B-2A, SN 89-1028, Spirit of Nebraska, 2023
- B-2A, SN 82-1068, Spirit of New York, 2022
- B-2A, SN 82-1067, Spirit of Arizona, 2024
- B-2A, SN 88-0328, Spirit of Texas, 2023
- B-2A, SN 82-1070, Spirit of Ohio, 2020
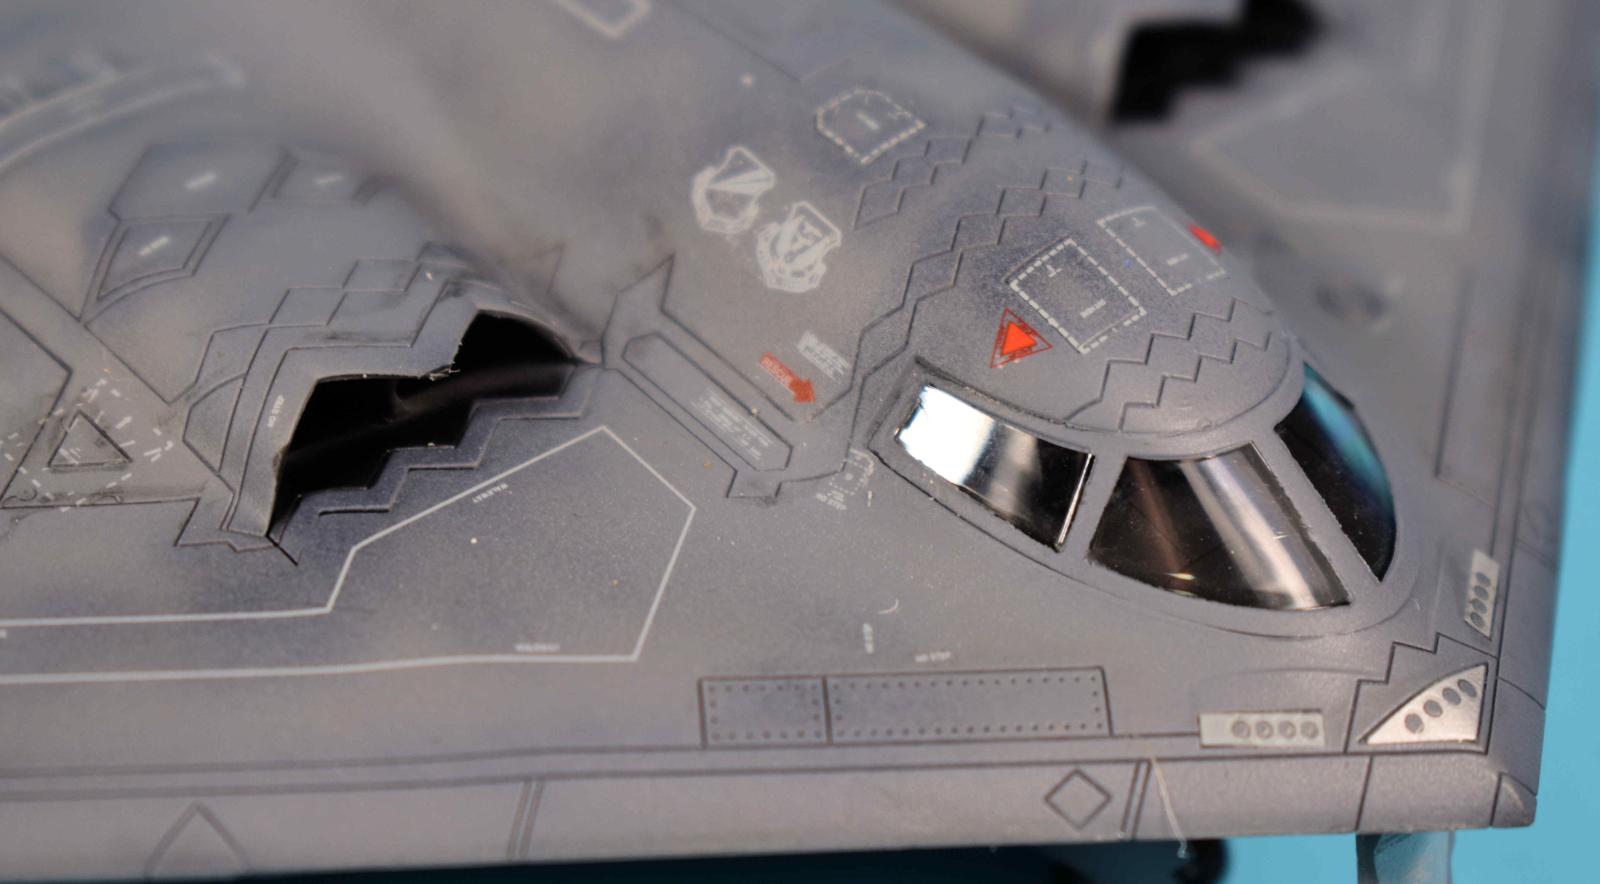
The build starts with a three-piece cockpit. Seats are molded in and honestly, when the canopy is added, you can’t see too much. I painted a couple stripes to look like seat belts and some machinery looking paint behind the cabin as references showed. Can’t see too much when closed up though. Next, the intakes and exhausts are built including the engine intakes and exhausts. Spent time here removing seams as they can show on the final model. Theses were painted flat black and the engine parts steel. Once complete, these can be installed in the top of the fuselage. Take you time cutting this out so the mating surfaces are nice and even.
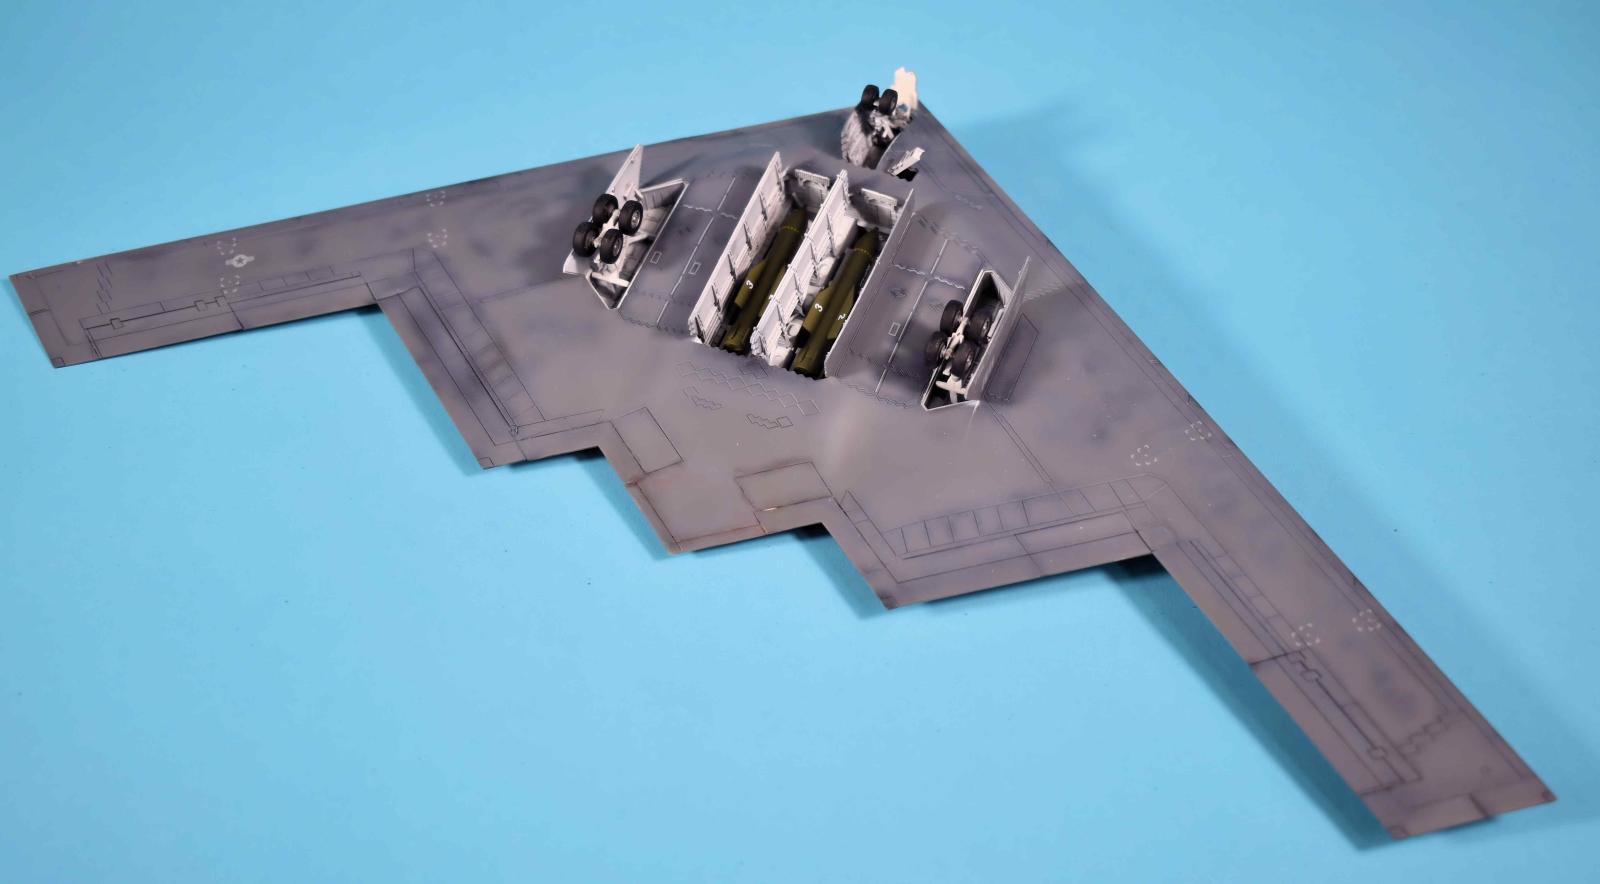
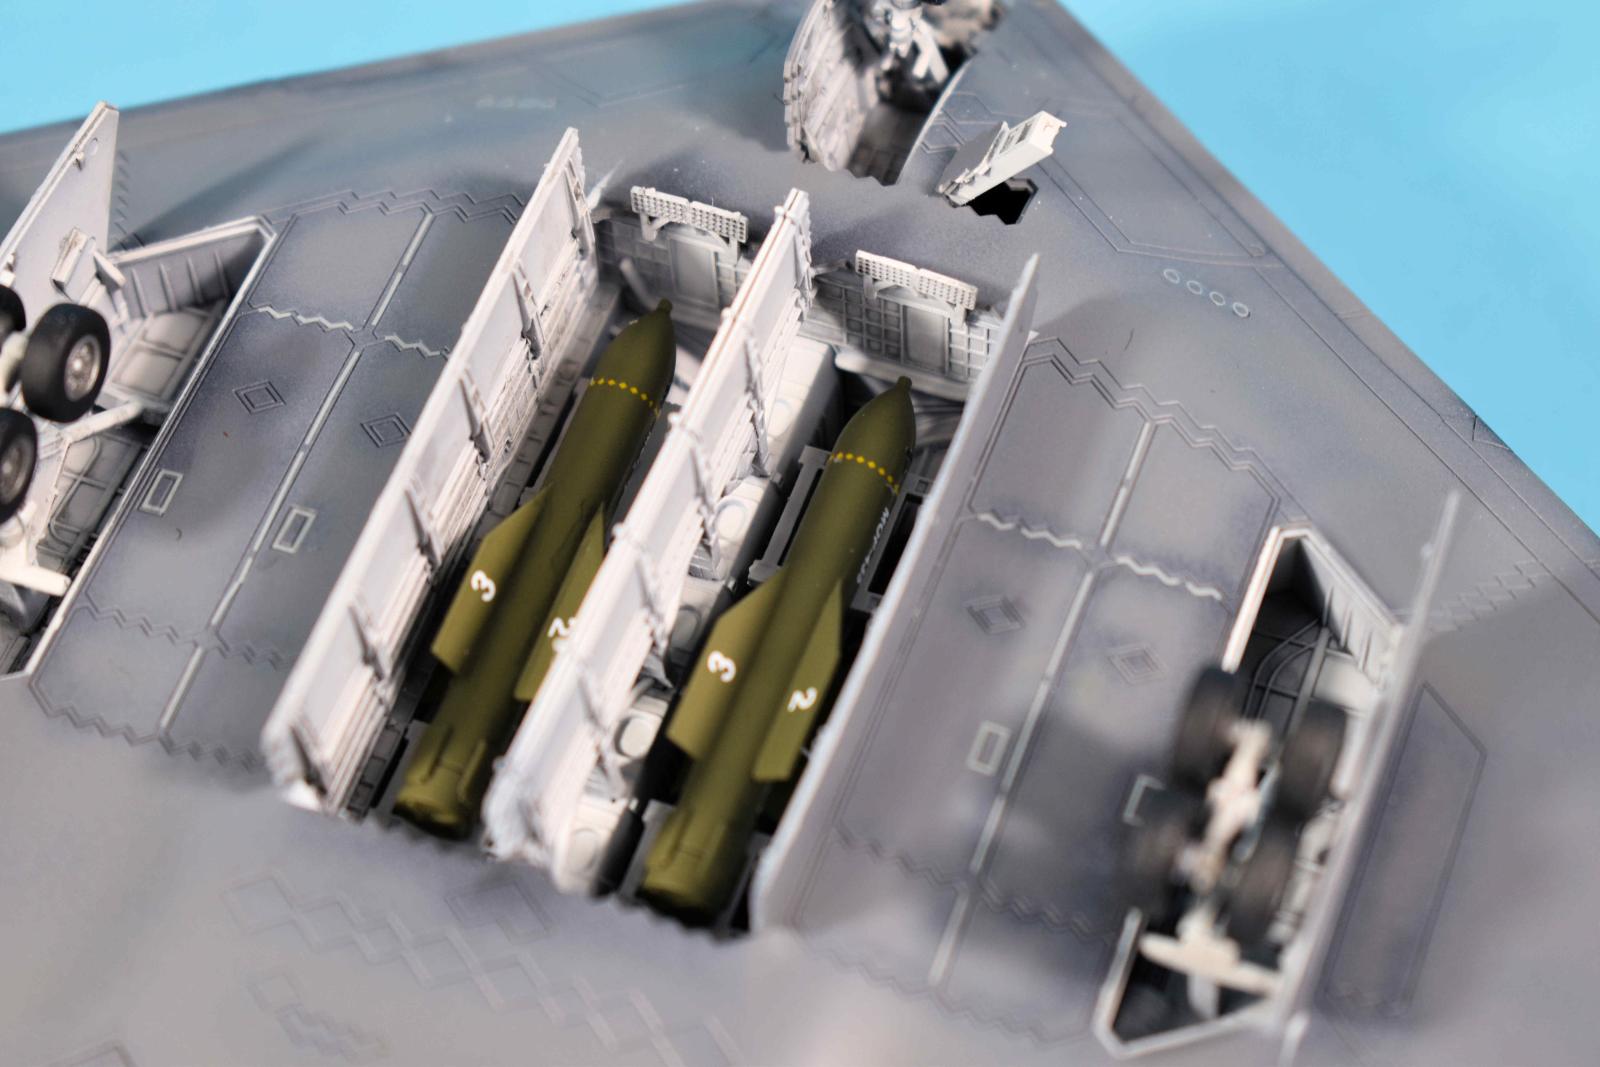
Next, you can decide a flying B-2 or parked as you can pose the bomb bay and wells open or in flying position. I wanted mine on the ground so the bomb bay is assembled and you have three choices:
- Rotary dispenser with GBU-31 JDAM
- GBU-57 MOP
- Mk-83 (and lots of them)
I left the bombs out until later. I painted the bomb bay and wheel wells white and glued them into the bottom fuselage.
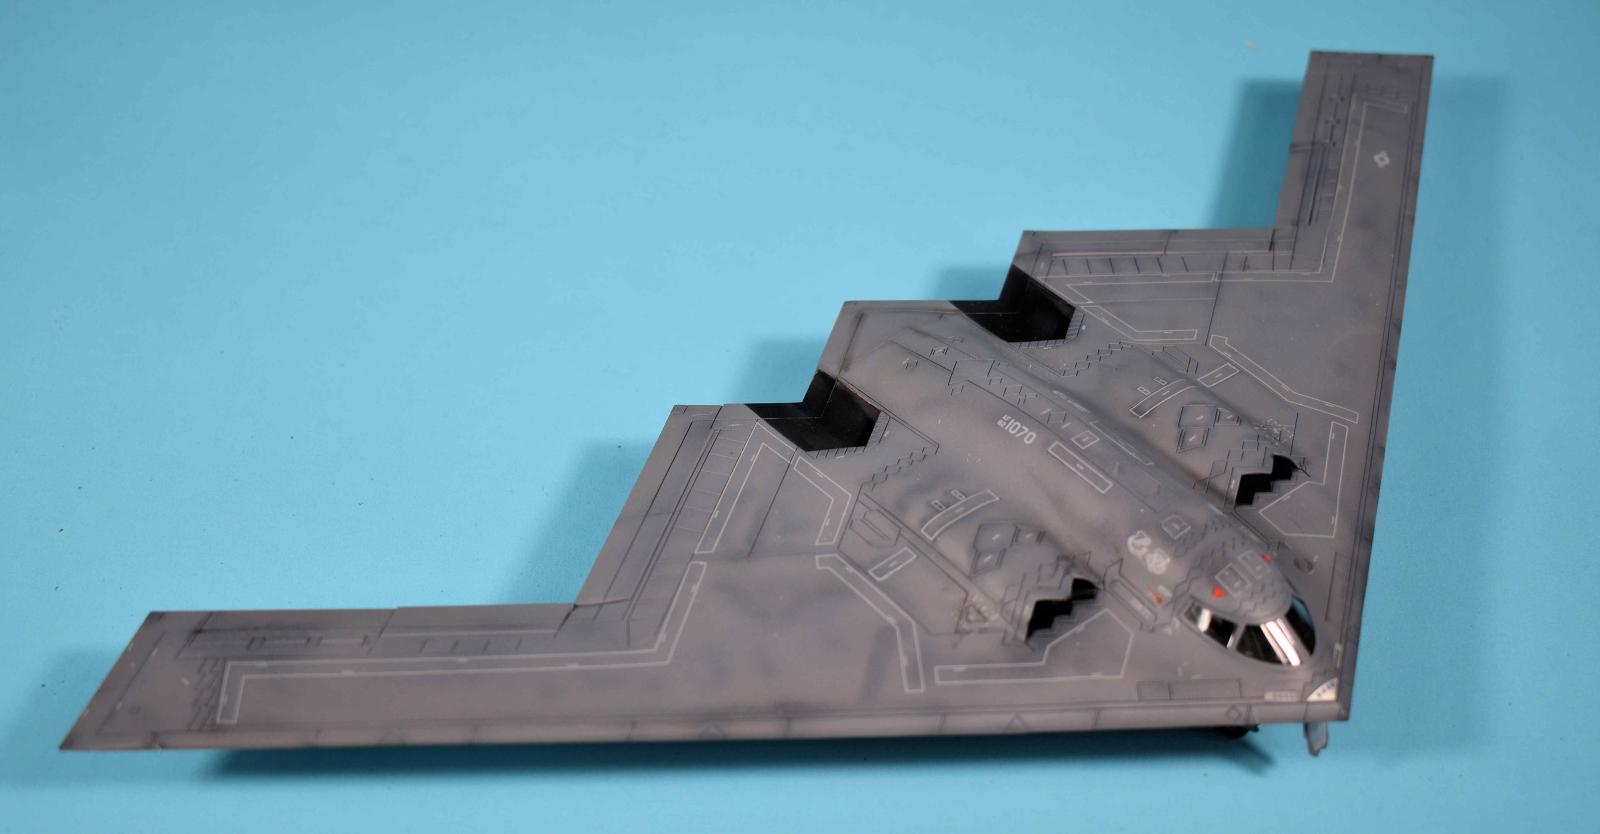
At this point, the top and bottom fuselages are glued together and they fit well. Take your time and make sure there is no interference and let it dry thoroughly. Fit is good and I used only a little putty at the back of the wing tips. The rear point is two pieces and is added next. This required putty to blend in but not too much. On the top, a panel is added and I used perfect plastic putty for a good seam line.
To finish the bomb bay, the middle parts are glued together. The bomb bay doors have the side walls built into them. Since I elected open, these were all added into place to complete everything but the bombs which are on pallets. I did add the pallets as the entire thing is white except the bombs. Some with the gear bays. All three have doors which are integrated into the side walls including the nose gear. I did add the landing gear next except the wheels. I also left off the boarding ladder and front nose gear door. Lastly, I added the canopy. Academy includes masks for the canopy that fit perfectly and the canopy slid nicely into place with just a touch of Perfect Plastic Putty.
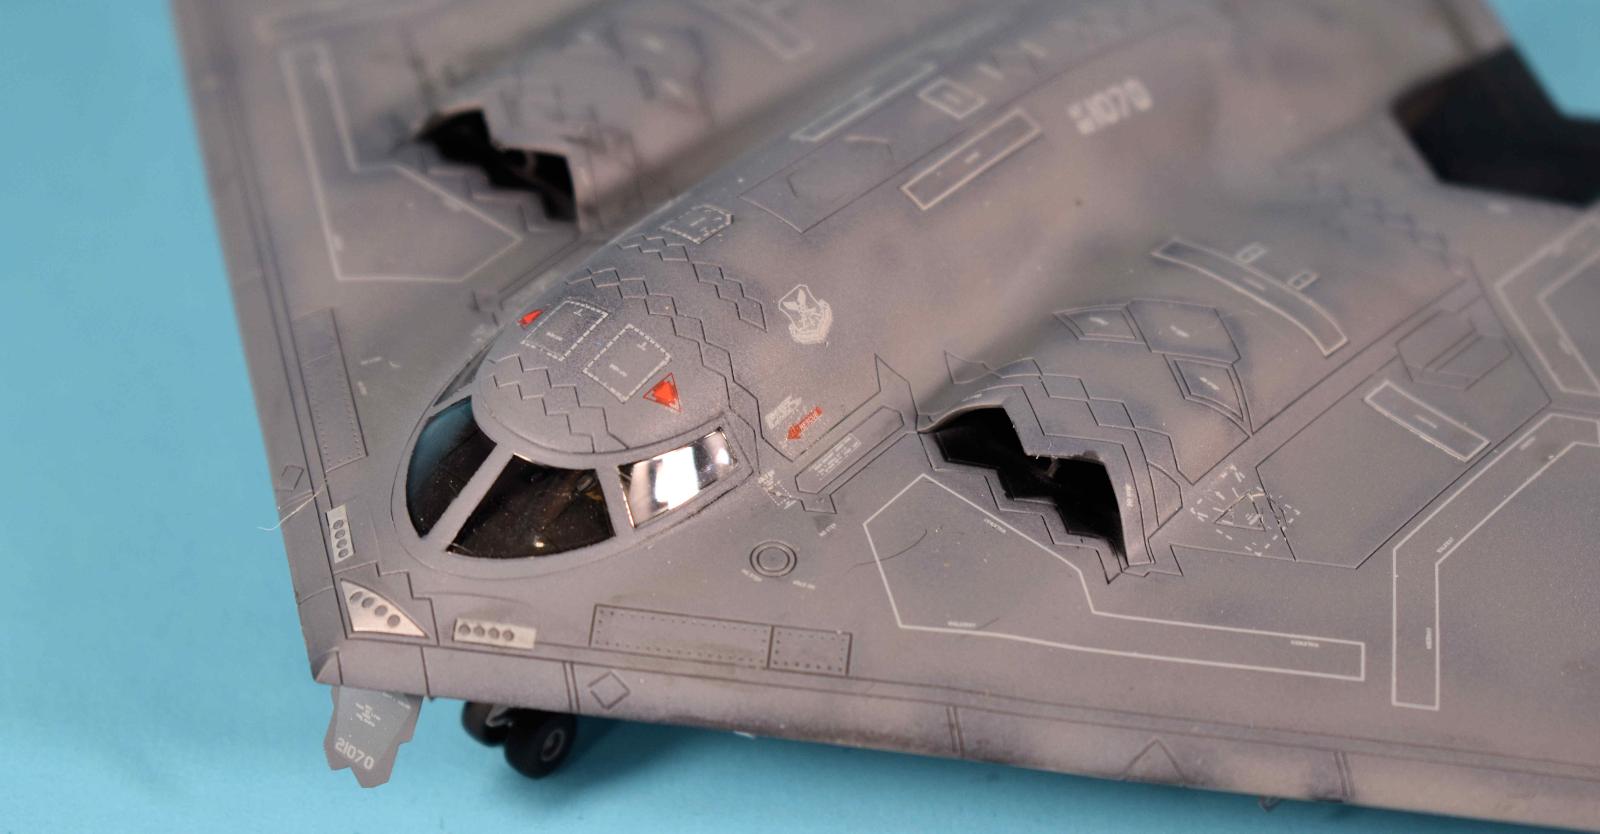
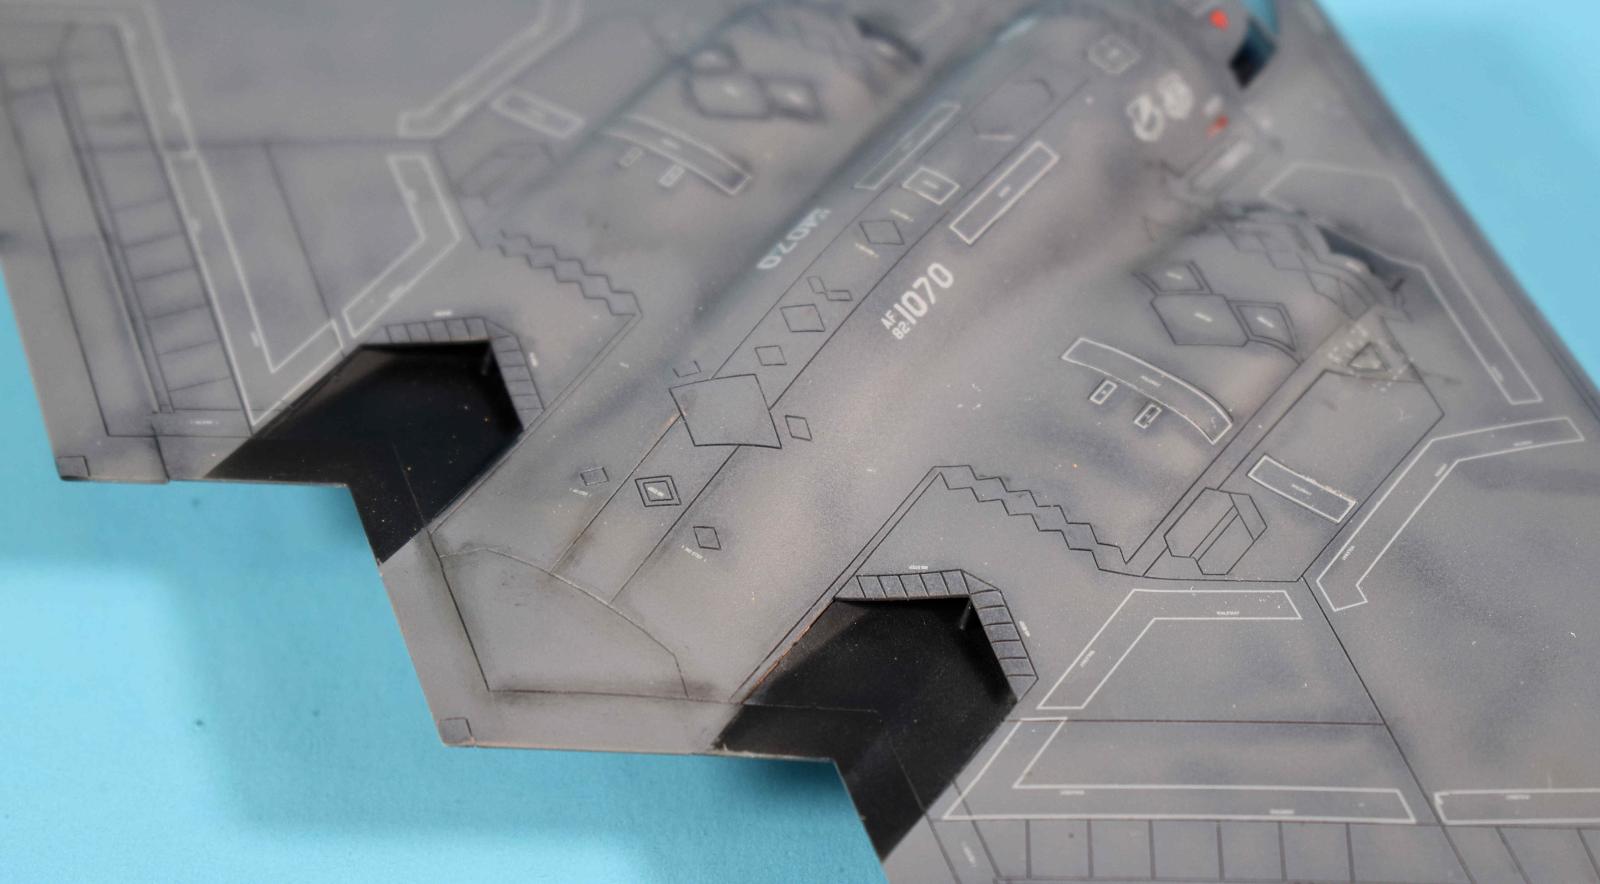
Paint was next. Due to the monotone color of the plane, I preshaded with black on the panel lines and squiggles in some of the larger areas. The overall color is FS36118 Gunship Gray. I had an excellent bottle of Aeromaster paints left and slowly built up the color to get some shading to show through. Once dry, masking occurred and the wheel wells and bomb bays were covered in white. A few touch ups and a lot of gloss coat and we were ready for decals.
The plane, for its smallish size has a lot of markings including large wing walks and the masses of separate “No Step” markings. The decals did well with the Microsol/set system and after a few setting solution round, I added the unique marking which actually go on the gear doors. To finish the kit, the wheels were sprayed aluminum for the hubs and Academy includes hub masks for the main and nose wheels for both sides. Tires were then painted rubber black. Masks really make it simple. The two bombs were painted olive drab (slightly lightened) and decaled. Then all the parts were added. I used oil washes to accentuate the panel lines. the entire kit shot with multiple rounds of DullCote.
One thing to note with the painting is that the instructions (a nice full color separate sheet) call for just the exhausts portion to be black but all pictures I found showed the black extending to the trailing edge which is what I did.
This kit is highly recommended. It is a great value for the price, includes great instructions and options and has a great masking set. Took about a week to finish the entire thing. It’s a fun build!
My thanks to Academy and MRC Academy for the review sample.

Comments
Add new comment
This site is protected by reCAPTCHA and the Google Privacy Policy and Terms of Service apply.
Similar Reviews