
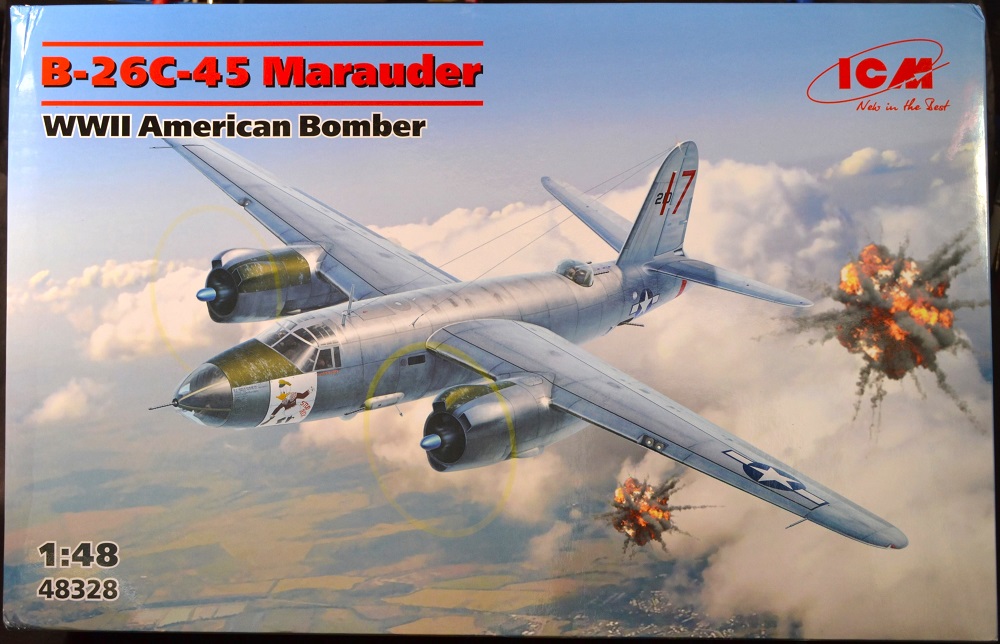
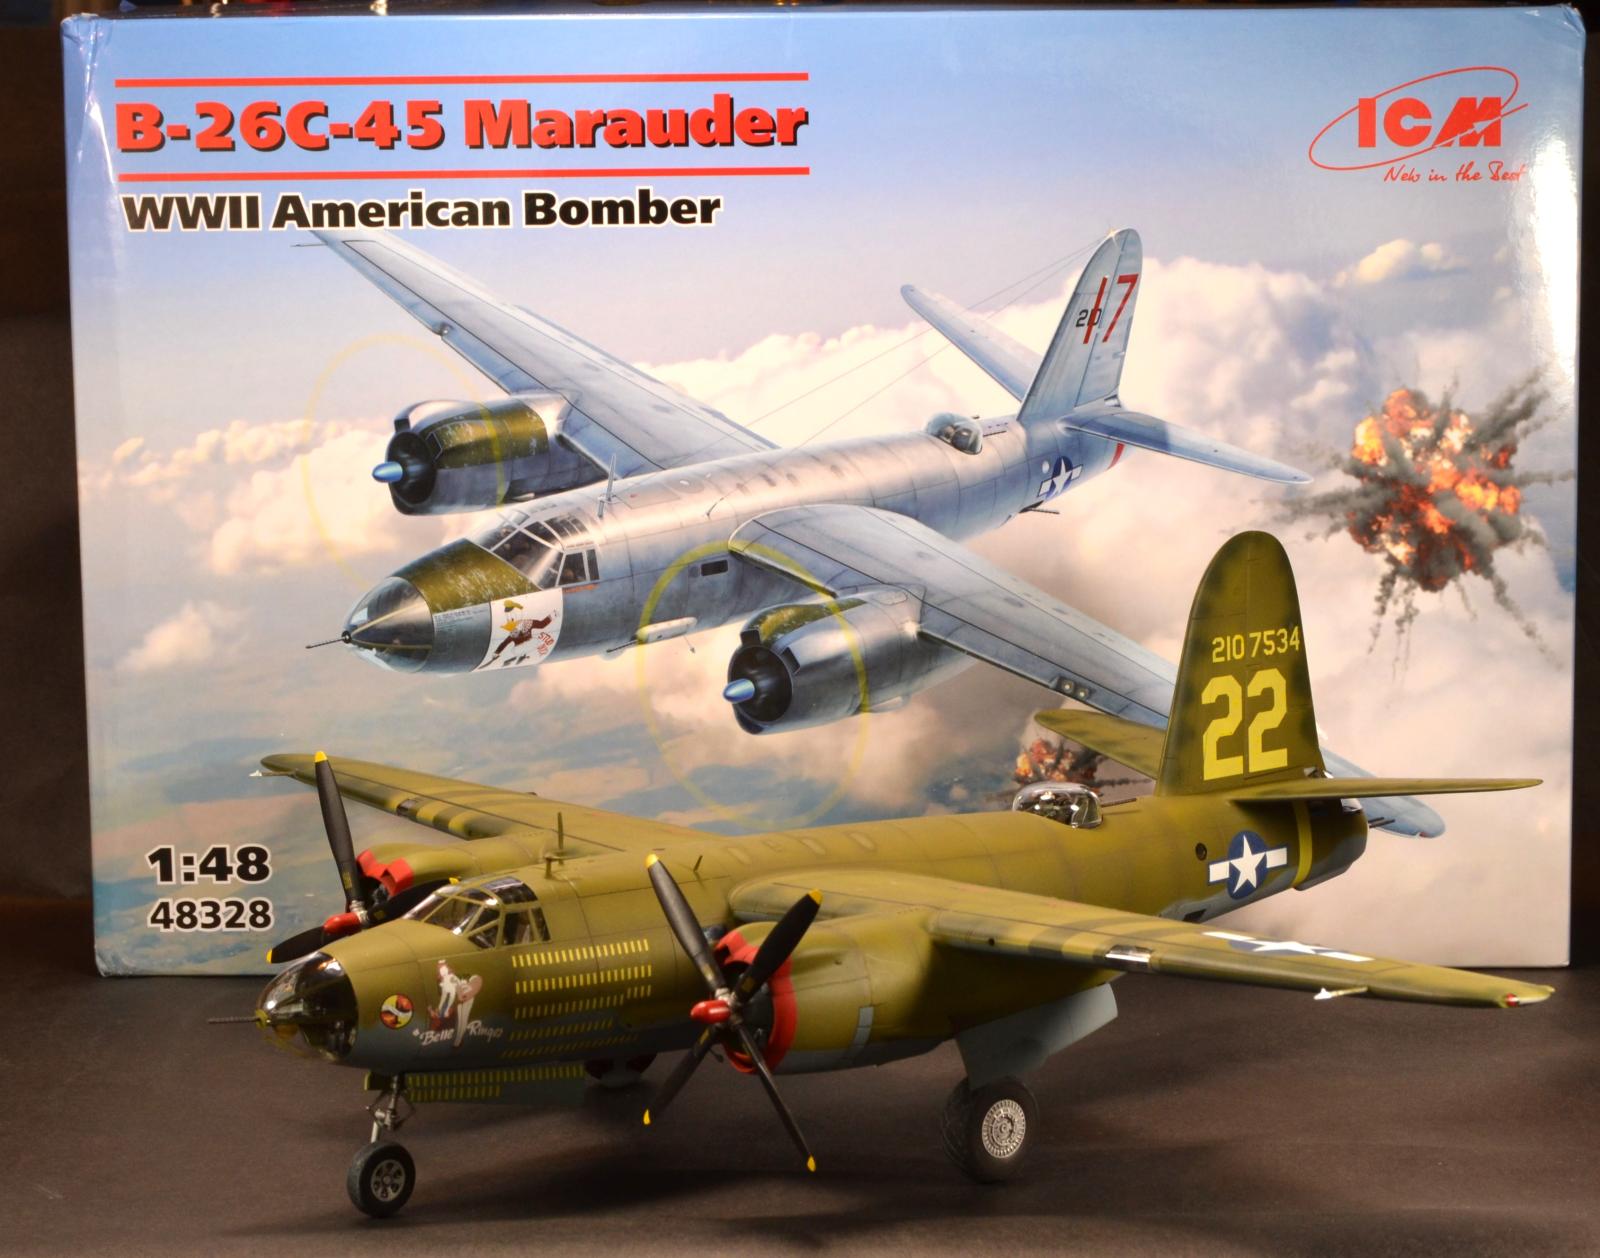
B-26C Marauder
ICM has reboxed its B-26 line of Marauders and now offers a B-26C variant.
From the instruction’s history, the “B” variant was built in Middle River, MD (near Baltimore), and to expand production capacity during WWII, the “C” variant was built in Omaha, NE. Physically, they look virtually identical.
The other ICM B-26 variants (B, G, & F) have been reviewed by fellow IPMS/USA reviewers and can be viewed at these links:
https://reviews.ipmsusa.org/review/b-26b-marauder
https://reviews.ipmsusa.org/review/b-26b-marauder-0
https://reviews.ipmsusa.org/review/b-26g-marauder
https://reviews.ipmsusa.org/review/b-26f-marauder
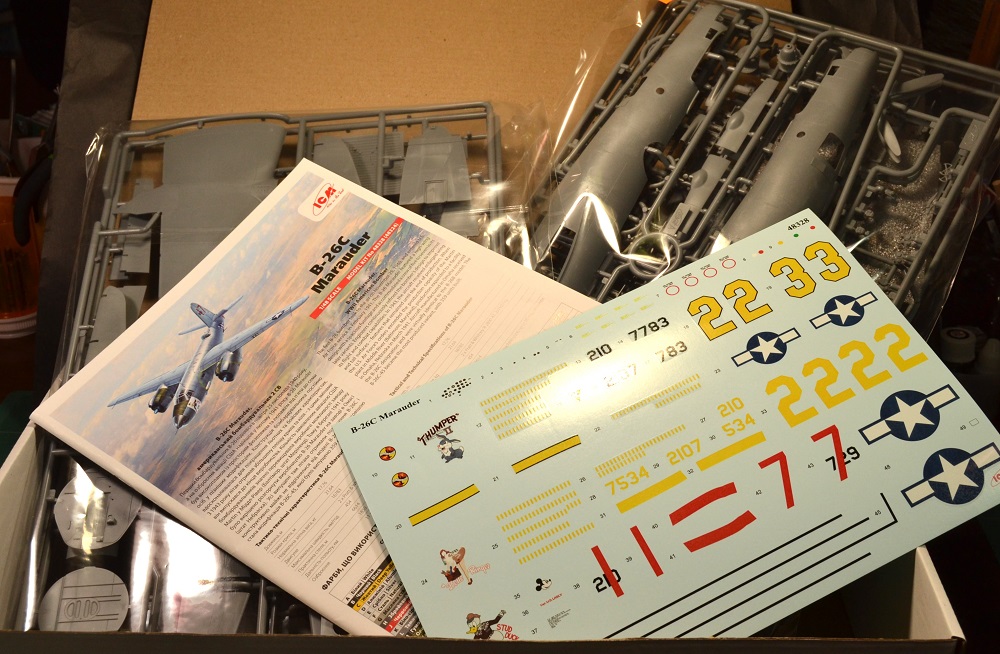
In The Box
The kit is enclosed in sturdy packaging with an illustrated cover top and an enclosed cardboard encasing. The main plastic gray sprues are in two plastic bags, and each clear sprue is in its own plastic bag for protection.
Instructions are well illustrated and easy to follow, and contain 130 steps for assembly.
For painting reference, ICM uses its line of paints, but you can easily look online to cross-reference other paint brands.
Decals are thin and in registry and are the type that can have the clear film removed once given a day to dry. Three sets of markings are provided for the following:
- B-26C-45-MO, 42-107783 “Thumper II”, 441st Bombardment Squadron, 320th Bombardment Group, 12th AF, France 1945.
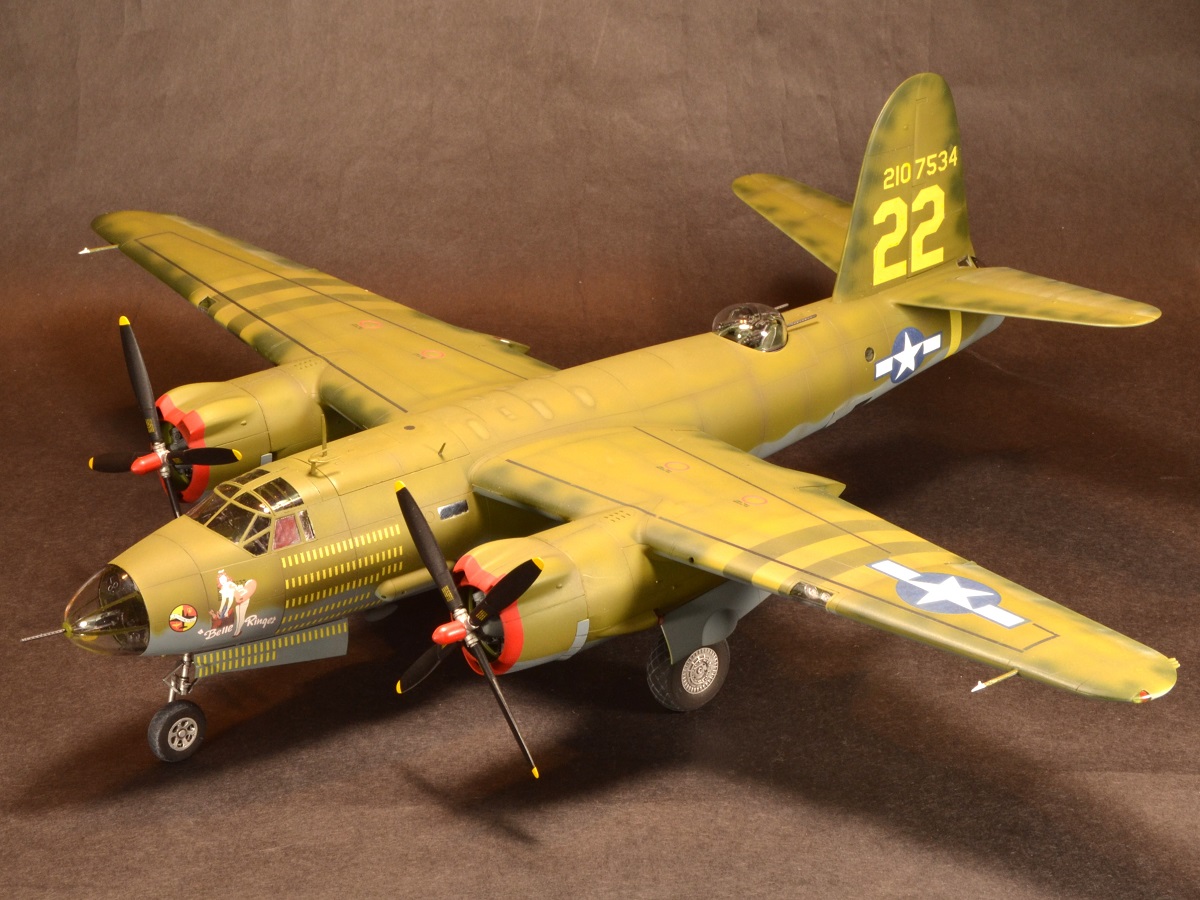
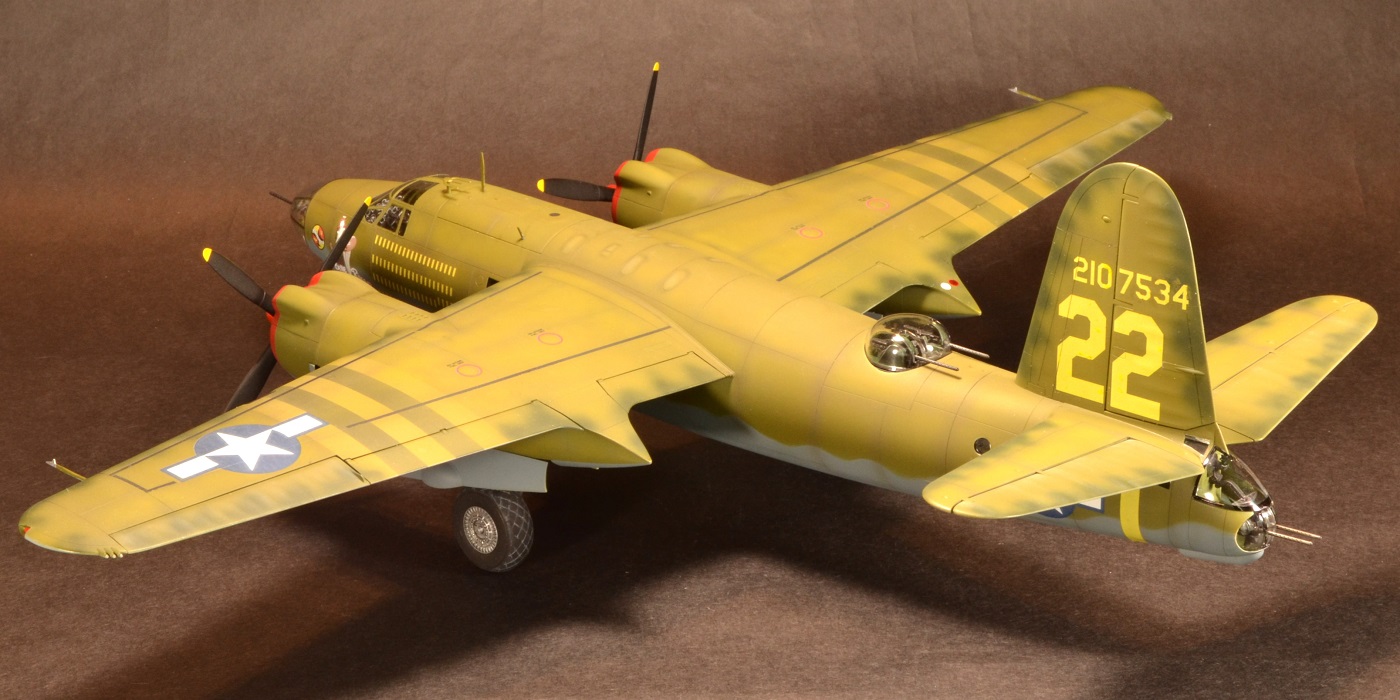
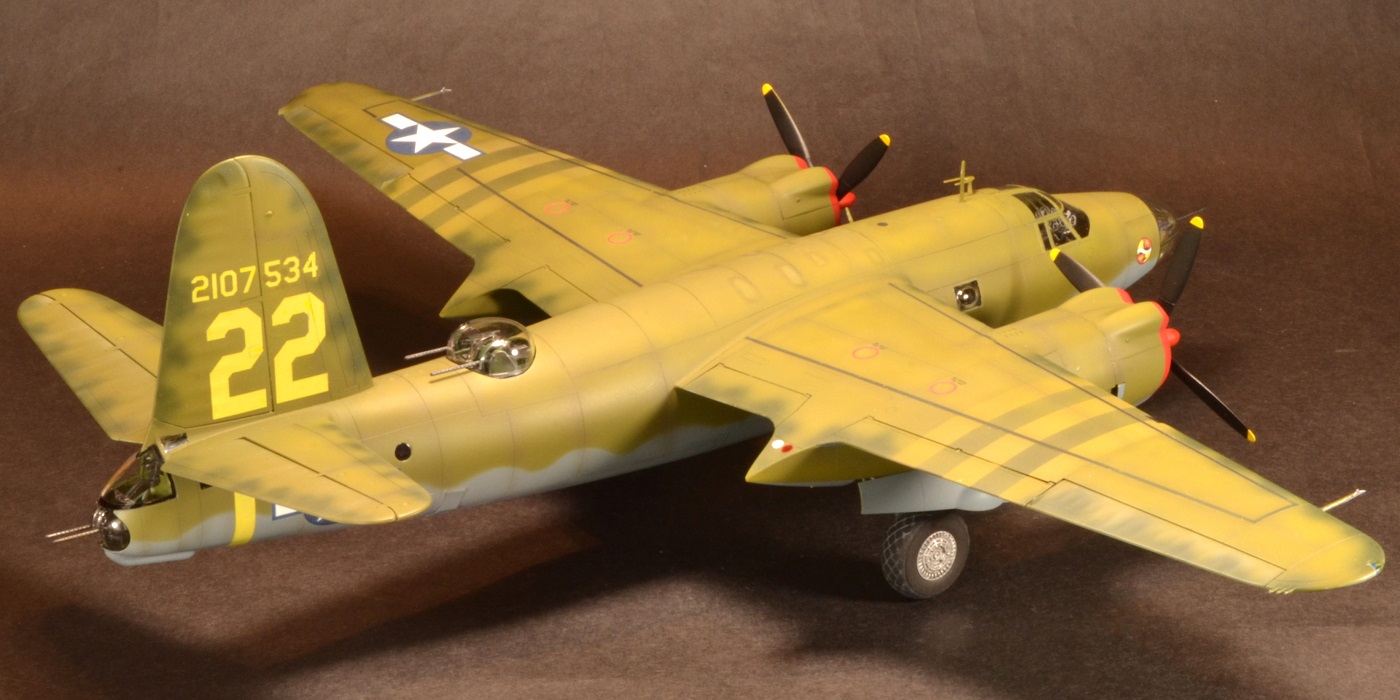
- B-26C-45-MO, 42-107534 “Belle Ringer”, 441st Bombardment Squadron, 320th Bombardment Group, 12th AF, France 1945.
- B-26C-45-MO, 42-107729 “Stud Duck”, 34th Bombardment Squadron, 17th Bombardment Group, 12th AF, Longvic, France, 1945.
For this review, I chose to do the “Bell Ringer” scheme.
Review Process
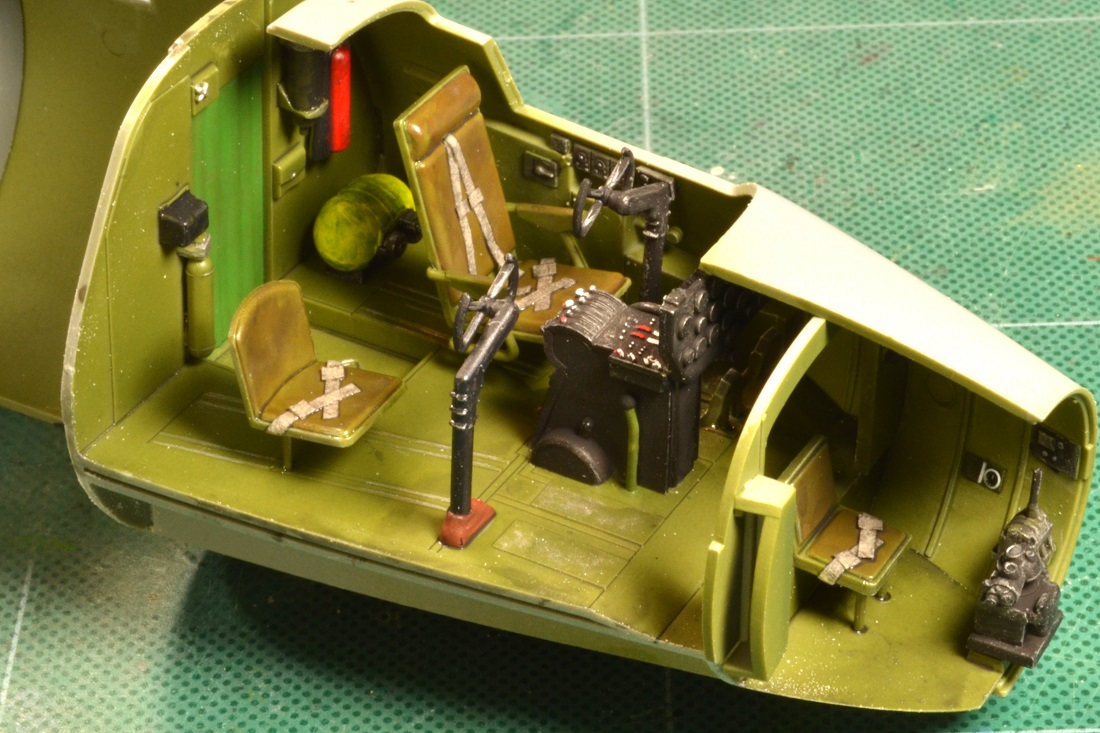
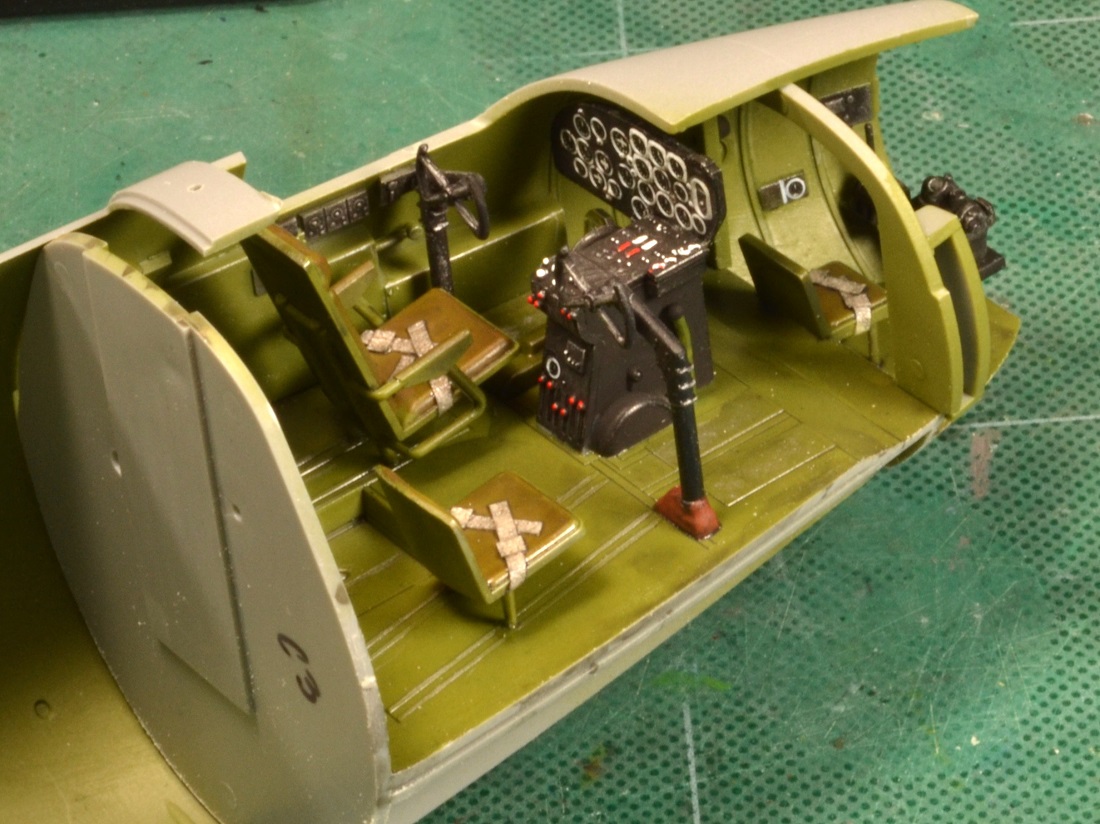
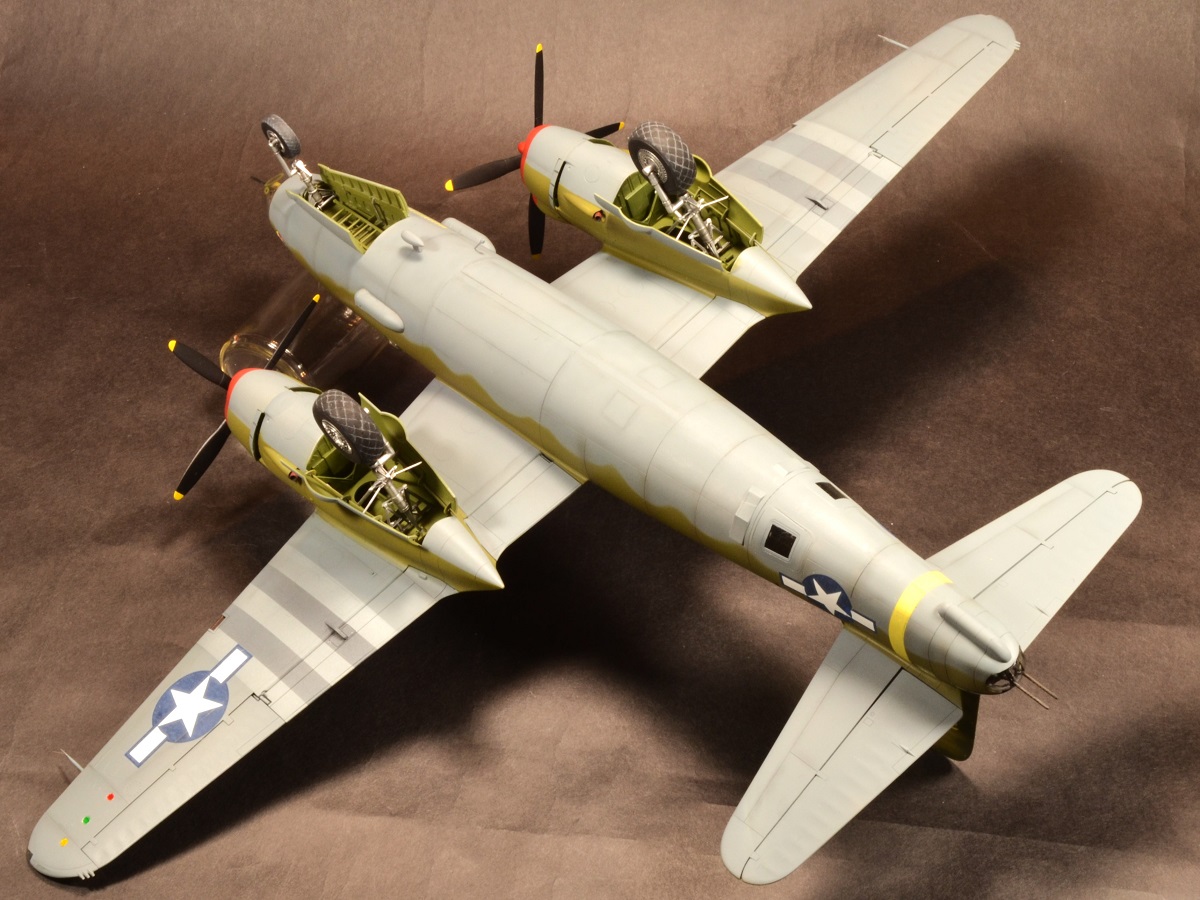
This is mostly a box stock build, but a few areas needed replacement parts due to being lost or damaged during assembly. Also, I decided to install the bomb bay doors closed to give it a more streamlined look. However, the detailing for the bomb bay is very well furnished if you want to have bay doors open to add more visual interest. Since this is my first time building this kit, I tried to follow the instruction sequence before I deviated for ease of assembly later in the process.
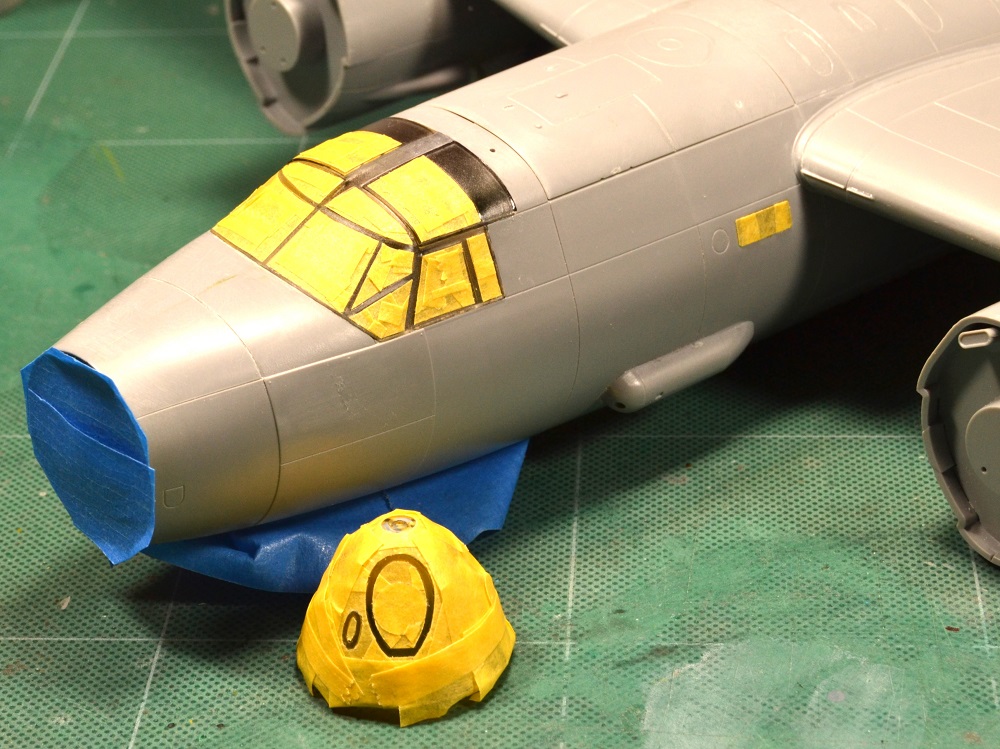
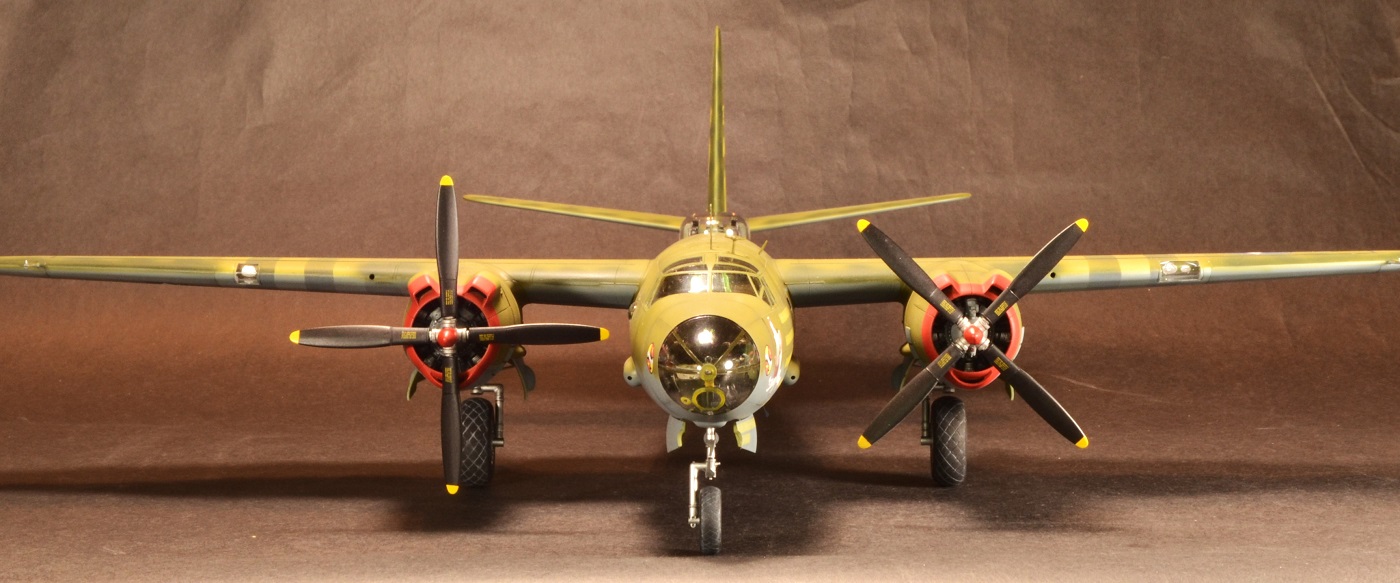
The first thing that needs to be addressed is the amount of nose weight you will need to add to avoid it being a tail-sitter. In the instructions, it recommends 50 grams to be installed aft of the cockpit bulkhead. Fortunately, the crown skin in the area is a separate piece and can be installed later once the right amount of weight is added. More on this subject later.
The assembly is very straightforward per the instructions. However, there were some areas that will need more attention. One issue is gluing the fuselage halves together. It is highly recommended to NOT glue the interior bulkheads and floor to the fuselage halves per instructions (Step 26). The bulkheads are slightly oversized and create seam gaps in the fuselage halves. Multiple check-fits will be made to find areas where these bulkheads need to be sanded. This will allow the fuselage halves to mate at the centerline. Once all the gaps have been identified and fixed, then proceed to glue all the parts together to the fuselage halves at Step 43.
The next issue arose when installing the wings to the fuselage. The wing spars (parts E6 & E12) are too tall and will need to be sanded down to allow the wings to slip over the spars. Again, multiple check-fits and sanding to reduce the size of the spars will be needed. However, once you get to that sweet spot where it all fits, there is hardly any gap at the wing-to-body fairing.
Another recommendation is the wing leading-edge pitot probes. They are molded to the bottom half of the wings and arefragile. The chances of knocking these off during assembly and losing them is very high. Consider removing them early and reinstalling at the end or find replacement probes that are more durable.
The engine molding is beautifully engineered and a magnet for those wanting to add more detail. Some of the exhaust plumbing will seem intimidating on paper but it goes together easily.
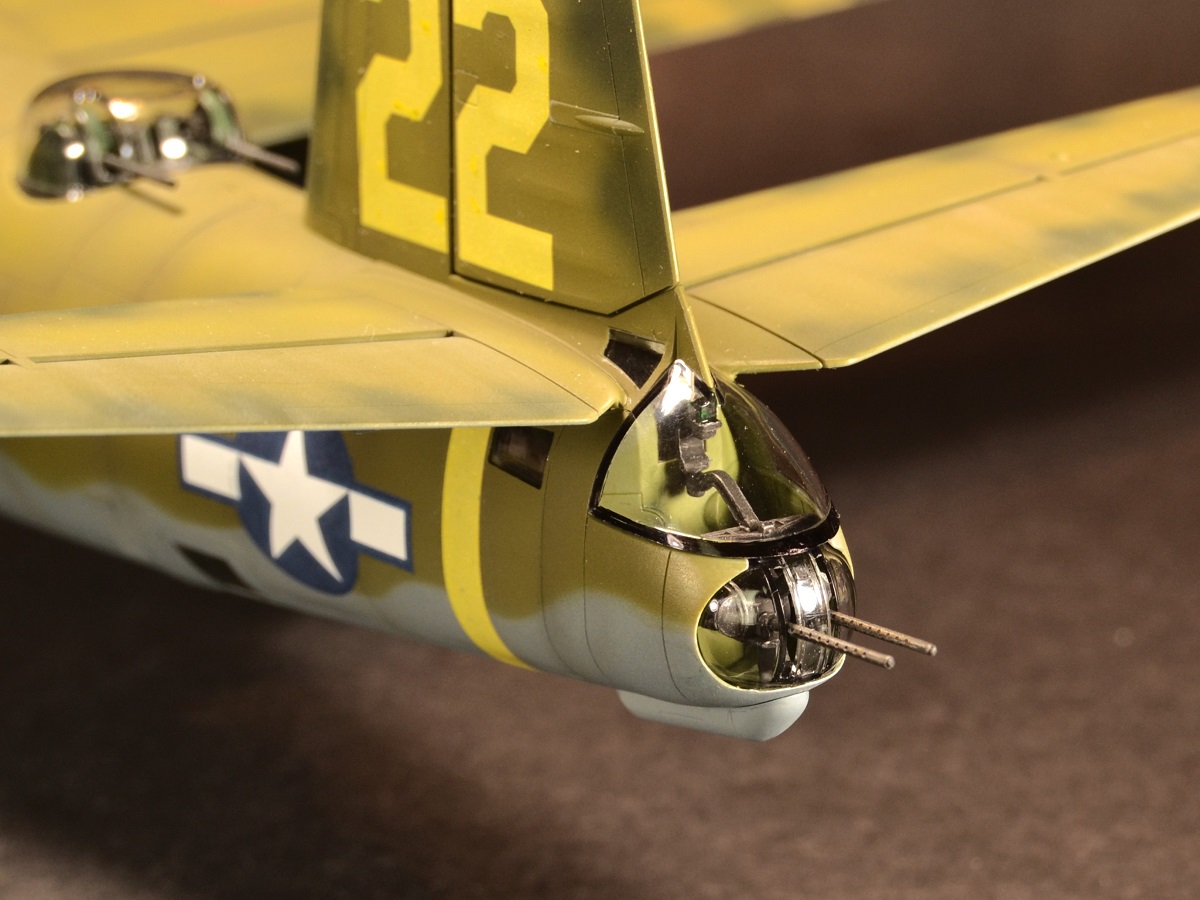
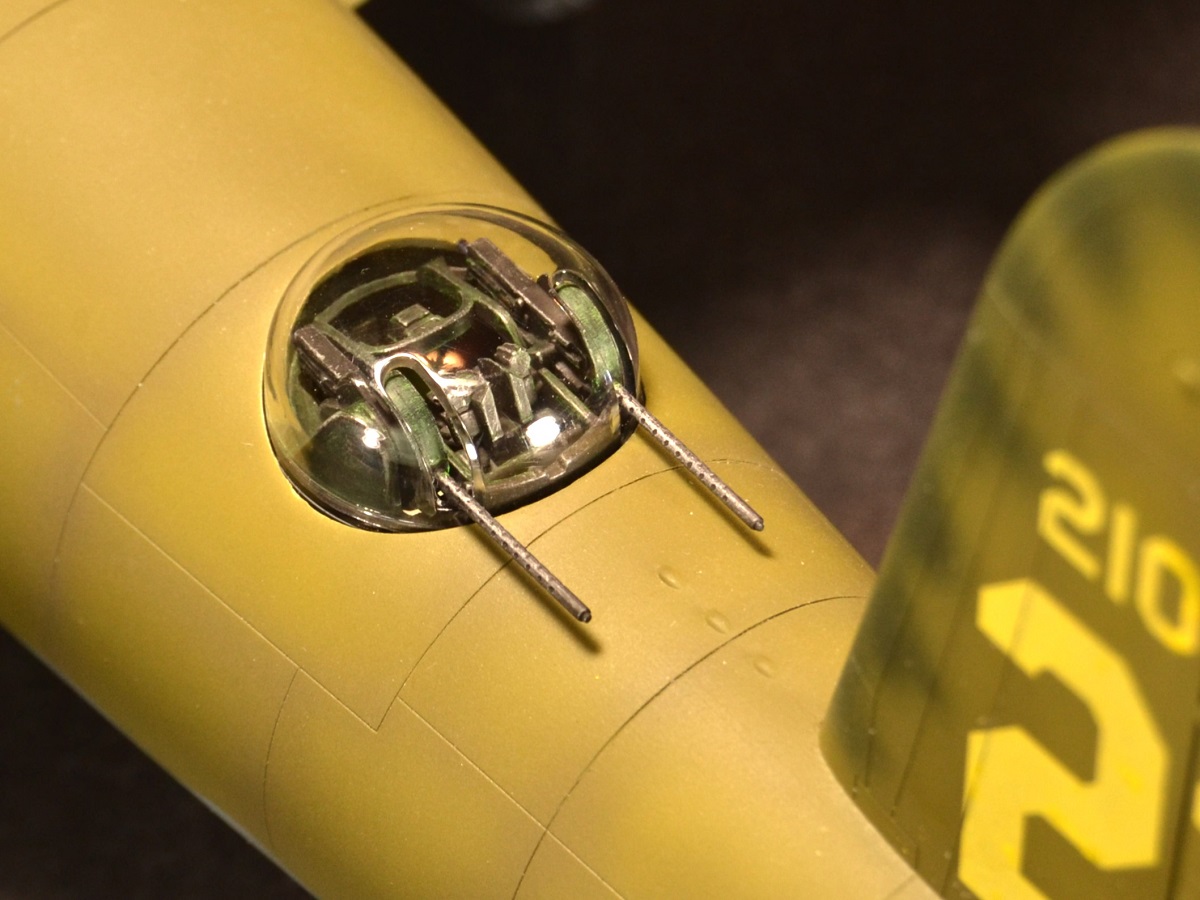
For the canopy and other clear parts, masking will take some time and patience. ICM does provide in the instructions (page 21) masking templates if you wish to cut them yourself as a single piece for each panel. I chose to mask each panel per my usual hobby technique.
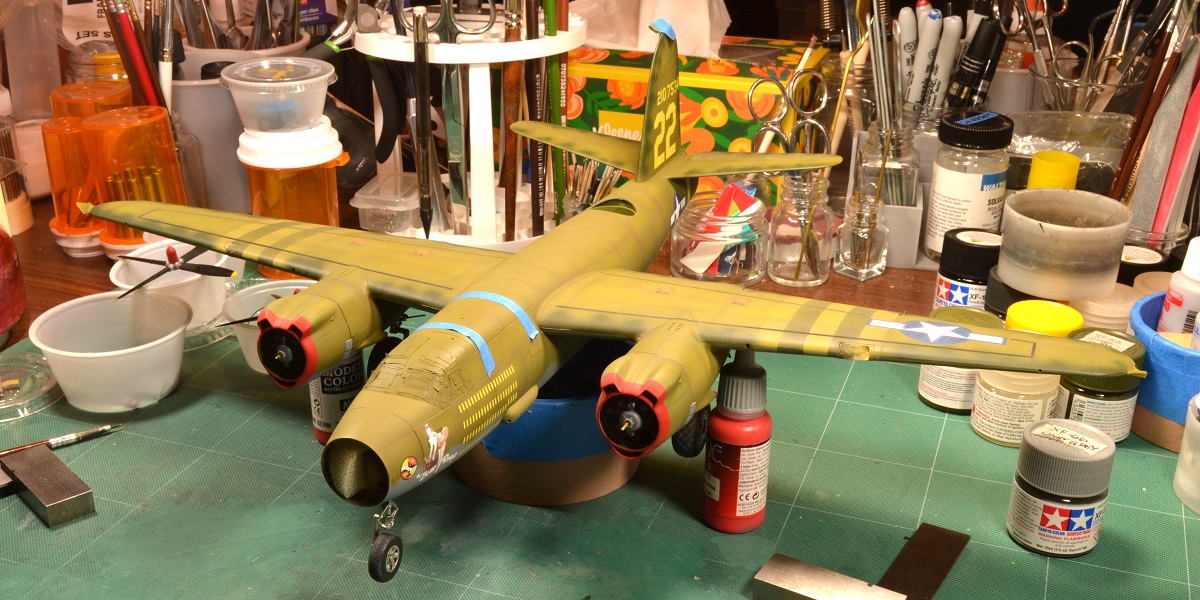
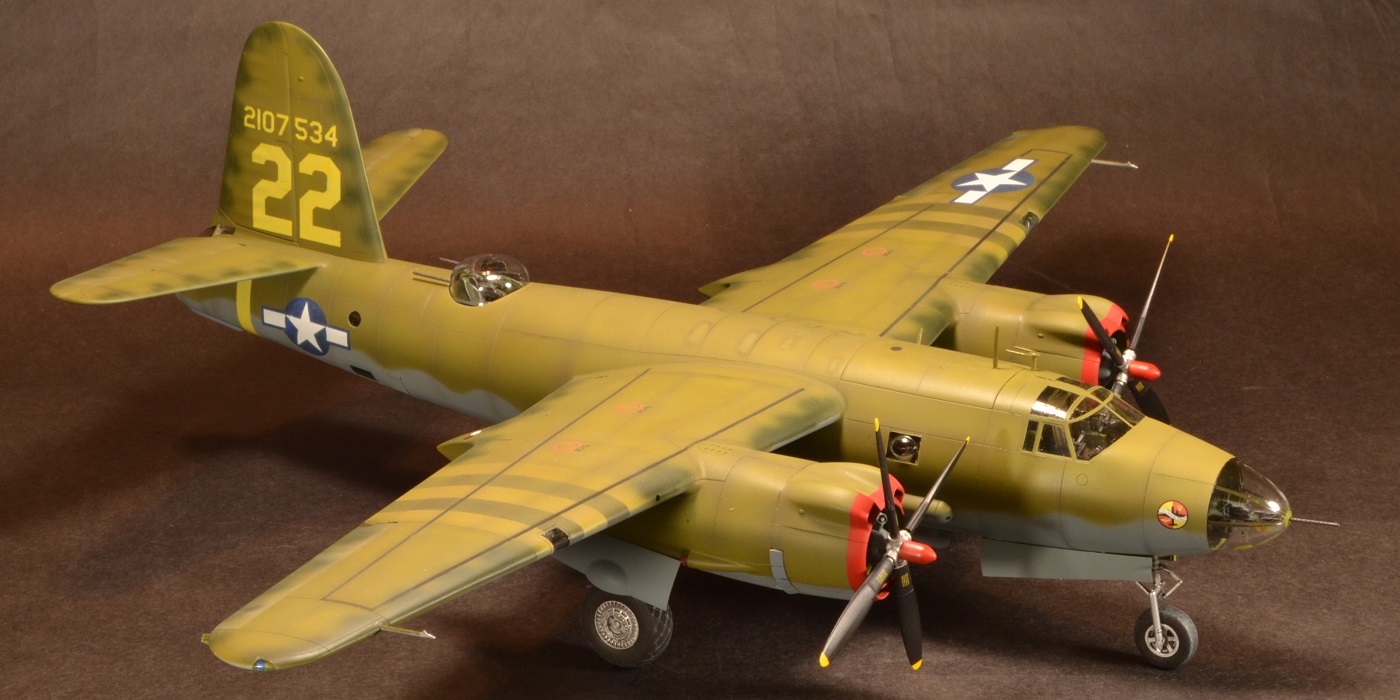
Finally, on to painting. I primed the surface with Mr. Surfacer 1000 gray. The upper color is Mr. Color 512, Russian Green “4BO” 1947, with Tamiya XF-58, Olive Green, for the wing & tail camo edges, and Tamiya XF-66, Light Grey, for the lower half.
After this, a coat of Tamiya X-22 Clear Gloss was airbrushed. Given a day to cure, the decals were applied next. The ICM decals are the type that will lift off the clear film after a day to dry. Some were successful in lifting off cleanly, while others had issues. The ones that had issues, I left the clear film on and applied Solvaset to help conform the film to the surface. The prop ID decals were very transparent for the yellow letter and could hardly be seen. So, I replaced them with some stash decals.
The next coat was Vallejo Clear Satin in preparation for minor weathering. I use ground-up charcoal applied with a soft brush. Once satisfied with the look, I sprayed AK Ultra Matt Varnish to seal it all in.
Finally, I installed the landing gear & doors, nose canopy, and propellers and considered it done.
Earlier, I mentioned adding nose weight per the instructions. This plane requires a lot of weight to be added to make the nose sit down. So much so that it makes the landing gear struts shudder/wobble with any slight movement. I highly recommend adding metal gear replacements for durability. Scale Aircraft Conversions has a set (48454) that is a drop-in replacement.
Conclusion
The question is, “Would I build another one?” Yes, yes, I would. Highly recommend to experienced builders but not impossible for beginners.
This is a very good kit to build. A straightforward assembly, but you must be willing to exercise patience for some areas where parts-fit will need check fitting often. Nothing is impossible to remedy if you exercise some basic modeling skills and self-control through the process. In the end you will have an impressive B-26C Marauder sitting on your display shelf.
I want to thank ICM for providing the B-26C Marauder kit and IPMS/USA for the opportunity to review it.


Comments
Add new comment
This site is protected by reCAPTCHA and the Google Privacy Policy and Terms of Service apply.
Similar Reviews