
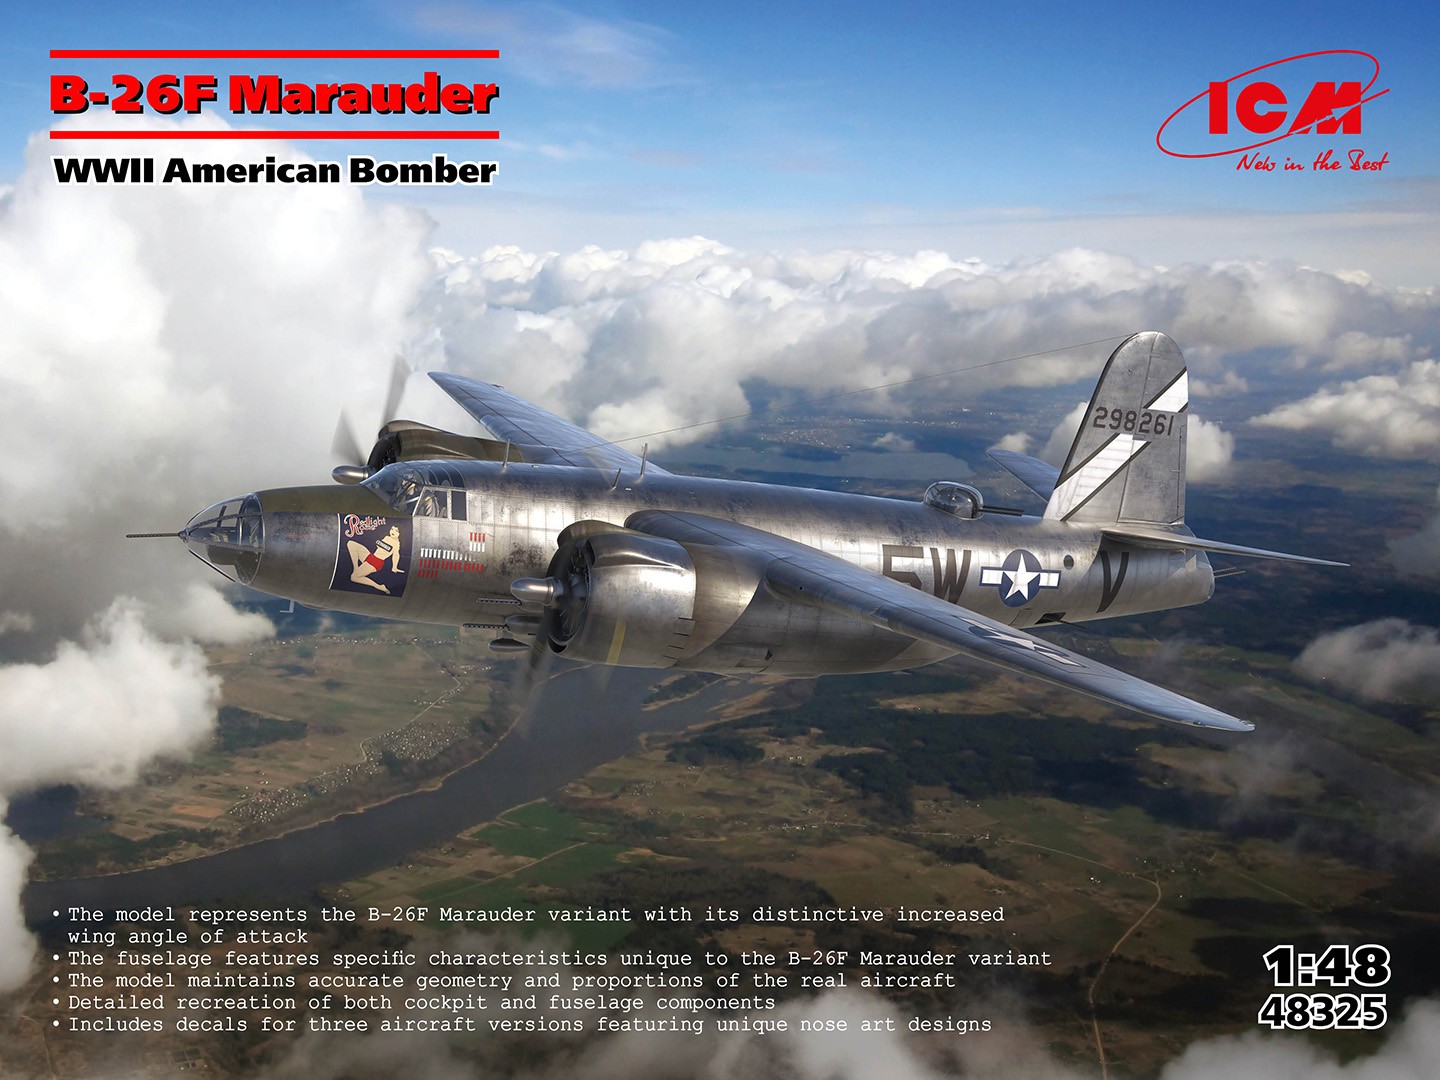
B-26F Marauder
This is the second ICM B-26 that I have been fortunate enough to review. The previous review was the -G version. See my B-26G Marauder review for my comments on that build.
History
The B-26F Marauder’s most significant modification was its redesigned wing structure. By increasing the angle of attack by 3.5 degrees, the engines gained a slight upward tilt. This change shortened the takeoff run by about 90 meters (about 295 feet), reduced takeoff speed, and decreased landing distance—though it slightly lowered the maximum flight speed.
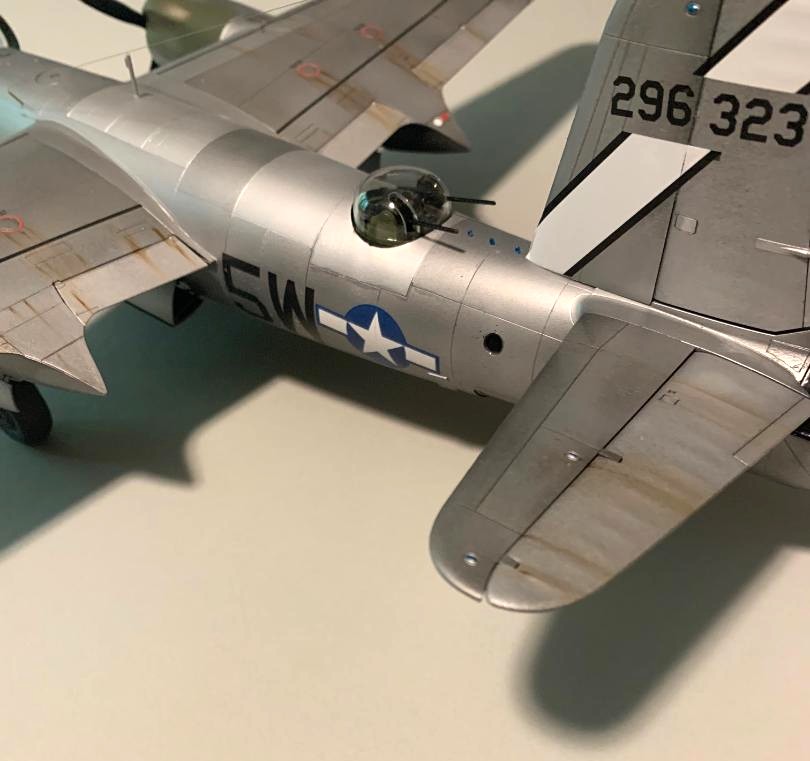
The B-26F also featured a new ventilation mast for fuel tank air access and a modified windshield design. Production began at the Baltimore factory in late February 1944, with the first units reaching the US 9th Air Force in Great Britain by spring 1945. Additional bombers were allocated to the 12th Air Force in the Mediterranean theater. The B-26F Marauder saw active combat service across Europe, with 300 units manufactured in total (serial numbers 42-96229 through 42-96528).
The Kit and What is Included
Eleven sprues are included in the box, and the -G and -F versions both share common sprues, with the instructions noting which parts are not to be used in the builds. No flash was evident on any of the parts, and the detail was sharp and crisp. Some of the parts attachments are very short and close to the sprue runners. Care was required when removing those parts.
The B-26F instruction manual follows the same format as that for the -G version. The manual includes 28 pages with exploded views for each subassembly, with parts numbered and paint colors noted. I have the habit of highlighting a part number when it is used, and when the placement of the smaller parts is deferred, the part number is not high-lighted until later in the construction. I can easily go back after the assembly process, find the part to be installed and fix it in place. There are no PE parts included, and the decal sheet includes markings for three aircraft.
Working 1–3 hours per day, I spent the first three weeks building all the various interior subassemblies. After painting and detailing the cockpit, bomb bay, and bulkheads, the fuselage halves were assembled. The front and rear bomb bay bulkheads had spars that fit through the fuselage side and then into the wings.
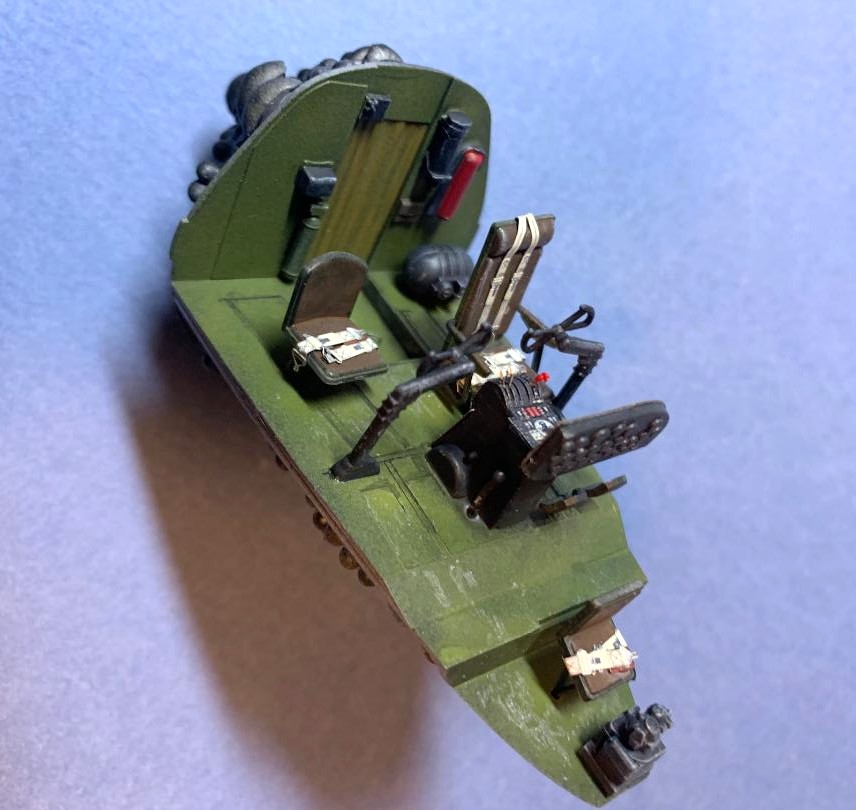
Cockpit
I used the Eduard photoetch set for the cockpit and seat belts to add some more detail. I neglected to ask permission for this change, and hope that forgiveness will be granted in the end. The ICM cockpit detail is sufficient, but I really like the Eduard photoetch products for all of my builds.
The addition of the proper amount of nose weight for this model is very important. The instructions call for 90 grams. I placed some lead bird shot in the spaces on either side of the nose gear well. The remainder of the weight was glued to the cockpit rear bulkhead (part C3). The weight and interior of the unfinished area behind the cockpit was painted black to conceal the shiny, silver lead weights.
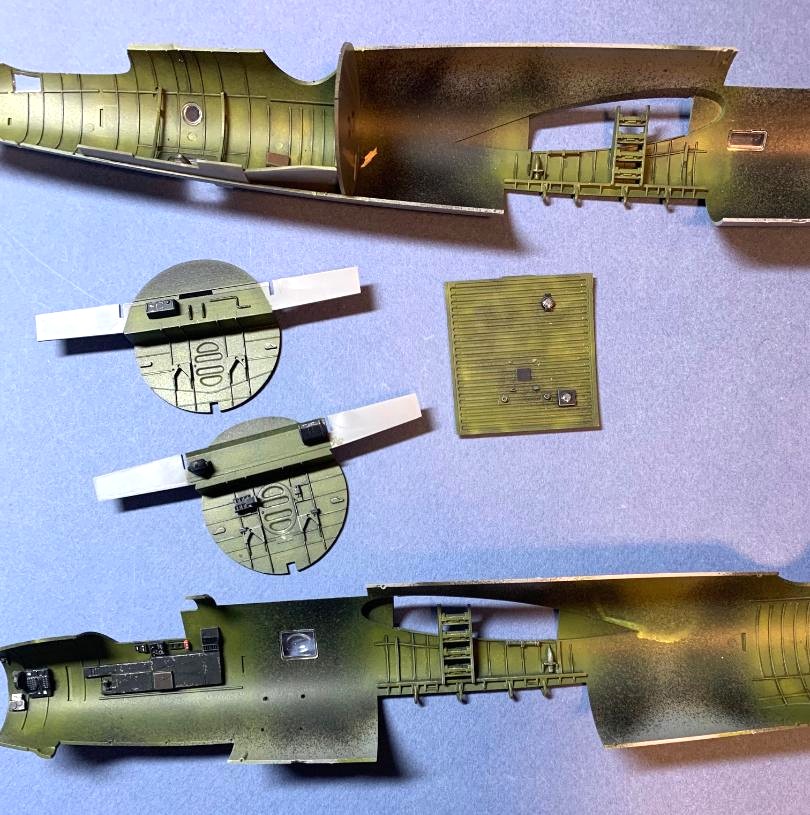
Fuselage
The bomb bay was first test fitted in place and the fuselage halves dry fitted together. The bottom seam closed nicely; however, the top seam from the cockpit to the bomb bay aft bulkhead would not close completely. Trimming the top arches of the two bomb bay bulkheads (parts K15 and K18) by about 1/16” -1/8” did help the fit and the top seam gap closed tightly. I used Tamiya quick set solvent cement to bond the halves together.
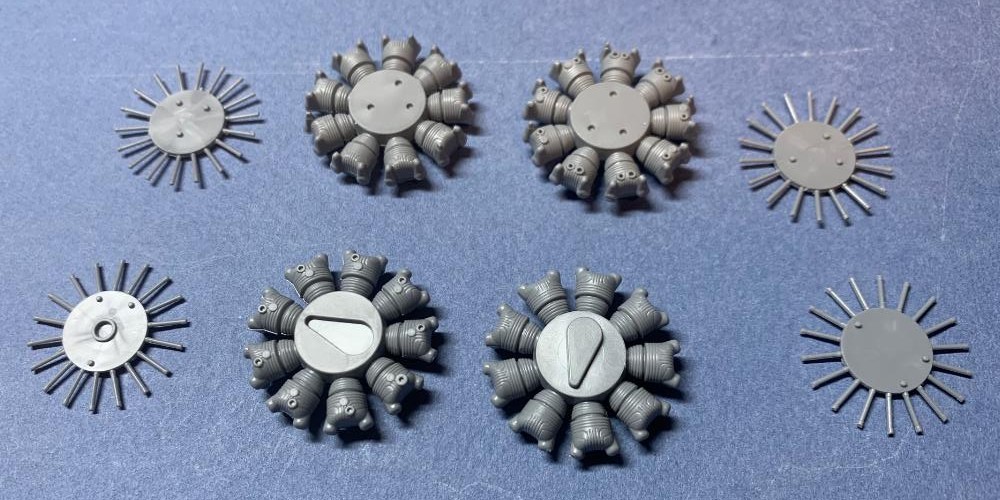
Engines and Cowlings
The two engines are made up of several parts and result in nicely detailed engines, most of which will never be seen once inserted into the cowlings. Part D5 is the propeller shaft, and I felt the fit to the propeller would be weak; therefore, I used a short length of brass tube to fit the propellers to the engines. The cowlings involve several internal panels being glued in place, and the fit was not always good as some of the panels stood a bit above the adjacent surfaces.
Clear Parts and Masking
The clear parts are common sprues for the ICM series of B-26 models, and several parts will not be used in this build. The parts are crystal clear and crisply molded.
Painting
The model was cleaned with alcohol prior to applying the primer. I used Mr. Surfacer 1500 black thinned with a self-leveling thinner. Any defects in the assembly were corrected, and the primer touched up. Once the primer was cured, I applied Alclad Gloss Black. The natural metal finish was applied using Alclad Aluminum and Duraluminum along with Dull Aluminum for the fabric surfaces.
Decals
The decals are nicely printed and are also quite thin. In past ICM builds, I found the decals moved on the backing sheet within a minute after being dipped in water and were ready to be placed. With this set, I found that when the decals are placed in the water they curl immediately and then immediately uncurl. Within seconds, the decal will float free from the backing paper. The markings were all placed without any issues. I used a decal solvent sparingly to avoid marring the NMF surfaces.
Conclusion
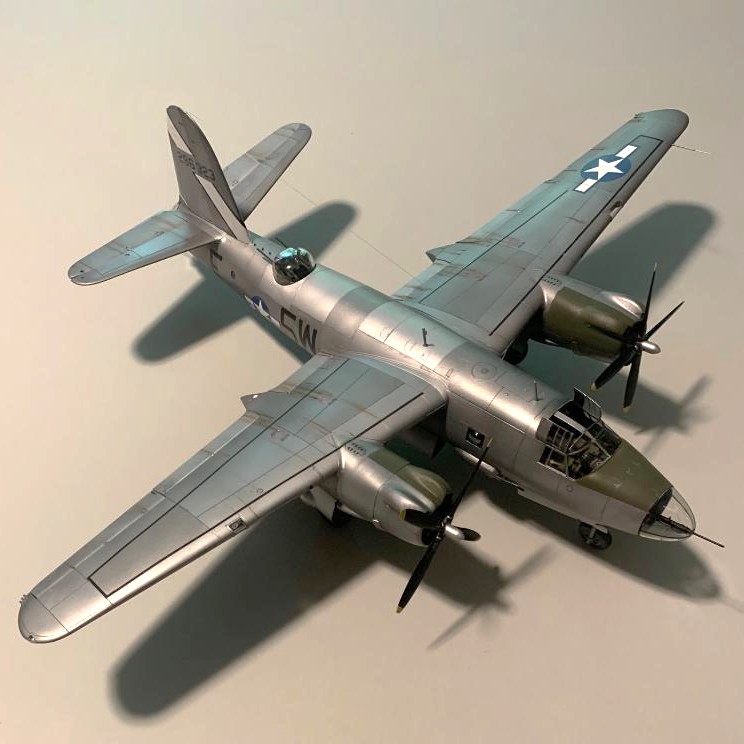
This is certainly not a kit for the beginner. This is my second ICM B-26 model to review, and once again it was a most thoroughly enjoyable effort. Assembling and fitting the various sub-assemblies took a good deal of time before the main parts were fitted together. The interior details are outstanding. Even though, with the final assembly of the fuselage, much of the detail and painting effort are lost from view, the effort, in my opinion, was still worth it.
The ICM kits that I have built are truly magnificent offerings, and each one has been enjoyable. I highly recommend the ICM B-26 series of kits to experienced modelers. You won’t be sorry.
My thanks to ICM and IPMS/USA for the opportunity to build and review this kit. This kit is highly recommended.
Comments
Add new comment
This site is protected by reCAPTCHA and the Google Privacy Policy and Terms of Service apply.
Similar Reviews