
Kawasaki Ki-61-Id Hien (Tony)
History Brief
Allied code named "TONY", the Kawasaki Ki-61-Id Hien was officially adopted by the Imperial Japanese Army in 1943. It was different than its Japanese aircraft contemporaries, mainly because of its liquid-cooled Ha-40 engine in a slender fuselage with a long thin wing. Needless to say, it was and still remains an extremely attractive aircraft. Our subject featured an elongated nose to accommodate two 20mm cannons, plus it had 12.7mm wing mounted machine guns. With a production run of 1,360 units, it was the most produced Hien variant.
The Product
My sample arrived in the standard Tamiya box featuring attractive cover art. Inside I found an all new tool kit featuring a superb, highly accurate rendering. All parts are well packaged and free of flash and ejector marks.
The highlights according to Tamiya include;
- The model accurately captures the form of the Hien's Id variant, which featured an elongated nose section to incorporate its two built-in Ho-5 20mm cannons.
- The constricted Hien cockpit is depicted with excellent detail, including Ho-5 cannons, ammunition cases, instrumentation, oil tank, canopy brace and more. It is attached after left and right fuselage halves
- Ha-40 engine and supercharger are accurately depicted. Removable cowl part allows for a inspection after completion.
- The fuselage underside radiator/oil cooler is depicted in detail, inclusive of air intake parts.
- Parts are included to construct the model with open or closed canopy as per the modeler's preference.
- Optional Venturi tube and fuel cooler parts are included in the kit.
- Comes with parts to recreate two drop tanks and their mounts.
- Includes one pilot figure, and two marking options, which recreate aircraft flown by the 244th Fighter Group (Sentai) pilot Teruhiko Kobayashi. Masking stickers in the kit aids with painting the canopy.
I agree with Tamiya's assessment of the highlights.
The Build
The build is simple and straight-forward. Starting with the cockpit in step 1, the build was simple enough and quickly found myself moving through step 2, completing the cockpit sub assembly. In steps 3 and 4 the interior fuselage halves receive bearing mounts in the engine compartment, cockpit sidewall items and radiator side fairing panels. Step 5 covers the engine build, and in step 6 the fuselage halves are mated. Note that I used the gray parts for the fuselage and not the clear half option. The engine was installed in the last step. Steps 7 and 8 involve building up the structure that fits behind the pilot's headrest and adding it to the fuselage. This is an option choice part depending on an open or closed canopy. The cockpit is then inserted from the bottom, and a couple smaller bits are also attached. The wing is built up in step 9 and attached to the airframe in step 10. In step 11, the horizontal tail planes go on along with the rudder and tail wheel. The trickiest steps are 12 and 13 which cover the exhaust stacks, radiator, and a complicated intake louvers system that wasn’t very difficult. Moving on, steps 14, 15, and 16 include building up the landing gear, gear bays, gear doors and drop tanks. The canopy masking is done in step 17, and you must hand-cut the pre-printed masks. It’s very tedious, and without this step you could literally just toss a tube of glue in the kit box, shake it up, and this thing would come out looking like a million dollars. Lastly steps 18 through 21 finish up the build by adding the canopy, building the prop and spinner, and the rest of the smaller parts. The only filler used was under the upper cowling where the firewall meets the fuselage seam, and a little on the lower engine cowling fuselage halves. The decals are very nice, and reacted well to Solvaset. The paint scheme prep and work took 10X longer than the build. And one last confession, I dropped the model and broke off the tip of the vertical tail.
The Bottom Line
Tamiya has hit another home run and set a higher bar. The fit and detail are great, the engineering is pure genius and the build enjoyable. My sincere thanks to Tamiya and IPMS for the opportunity to present this fine offering.

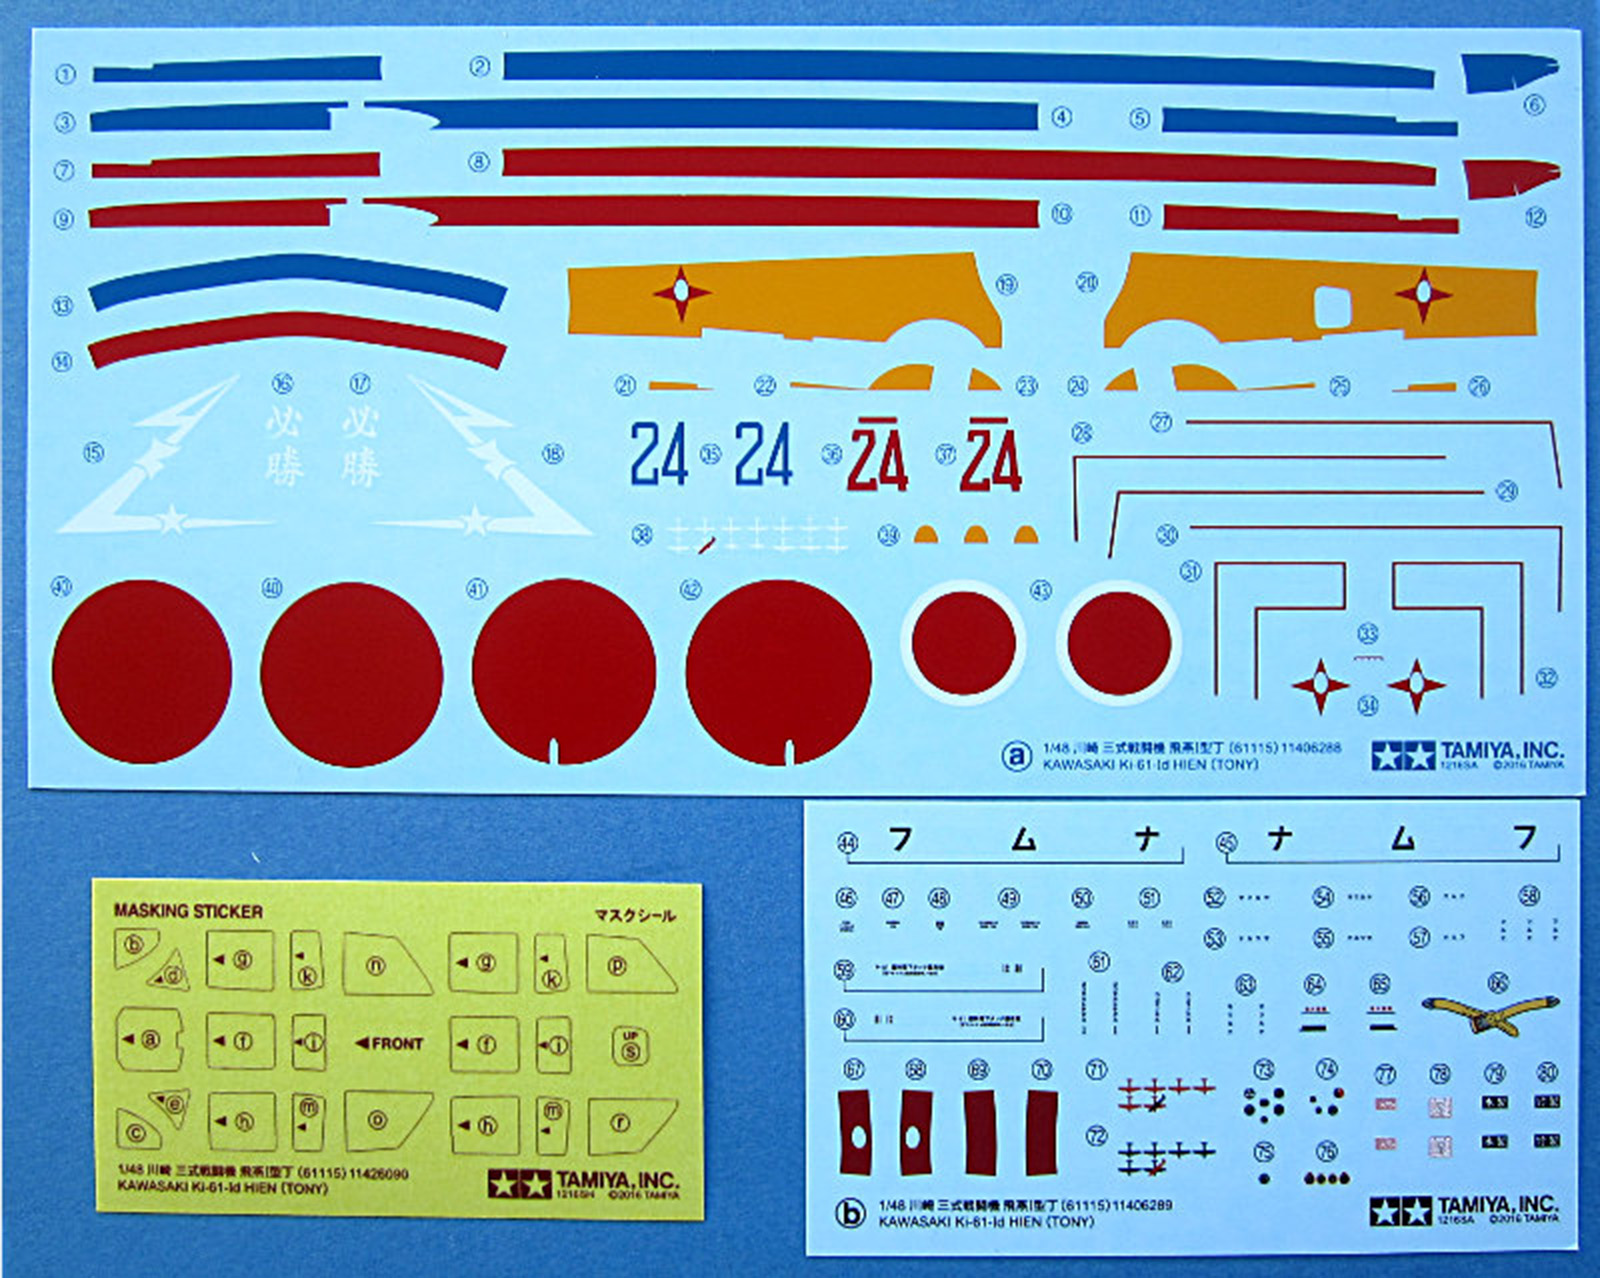
The decals included with the kit

A clear canopy half is included in case you would like the see-through look
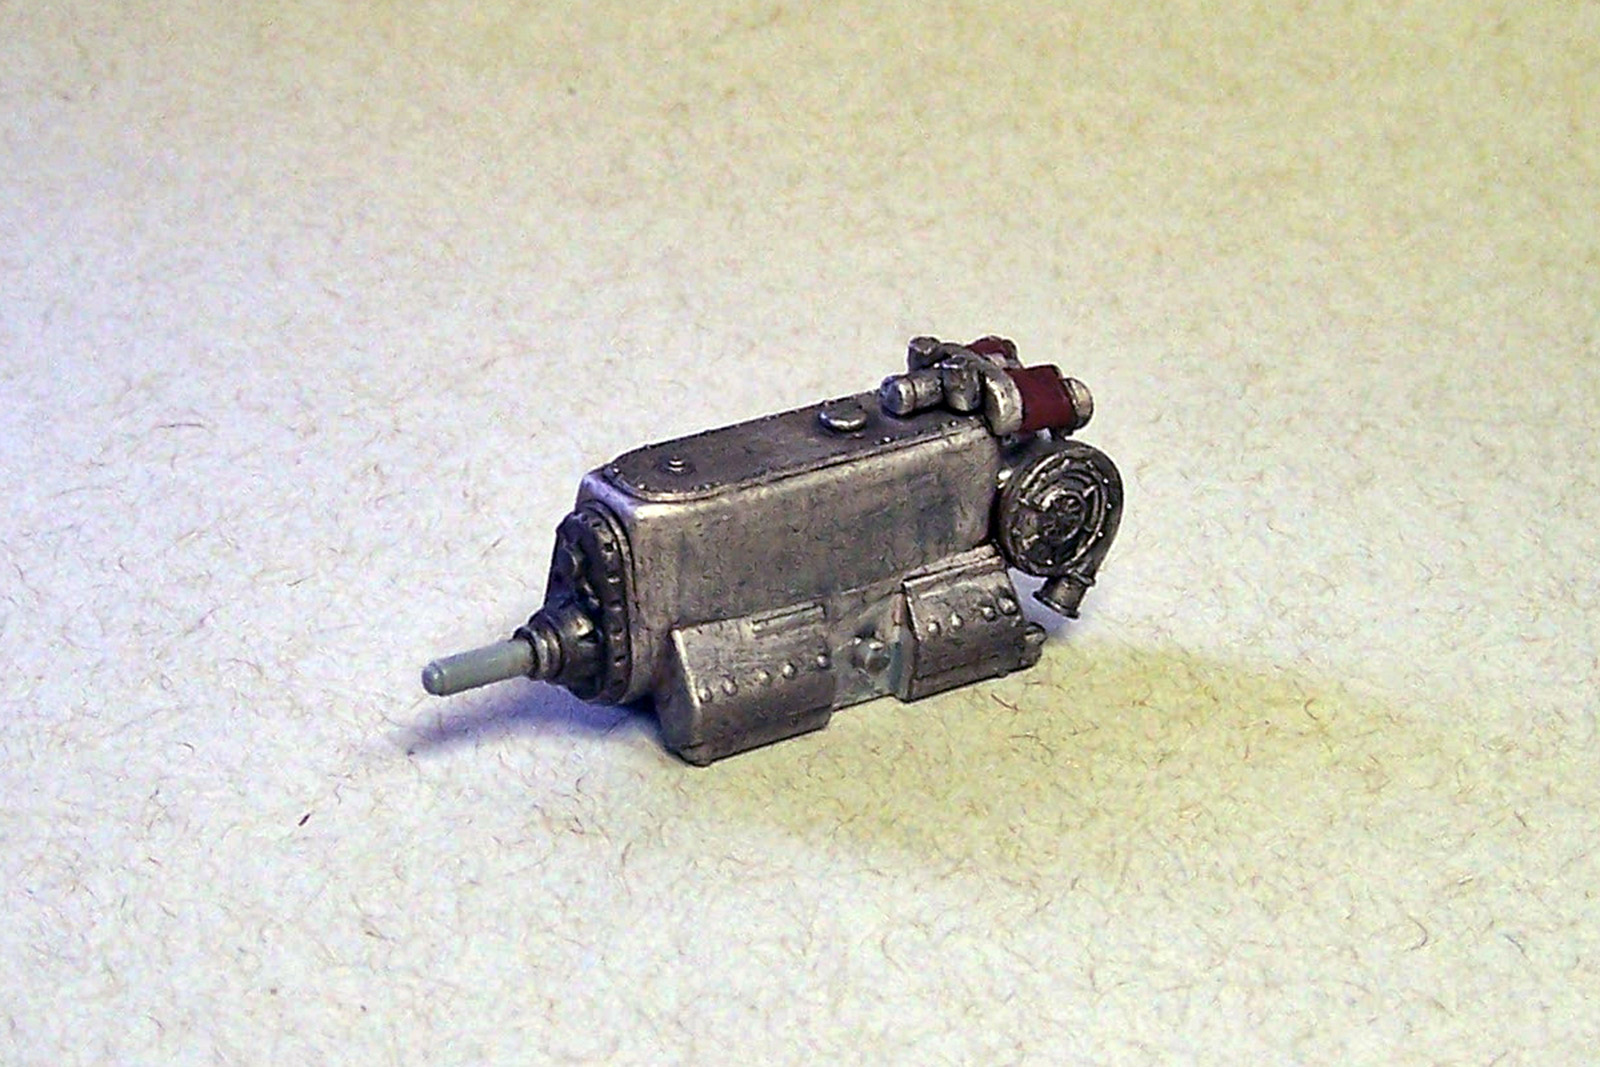
The Ha-40 engine
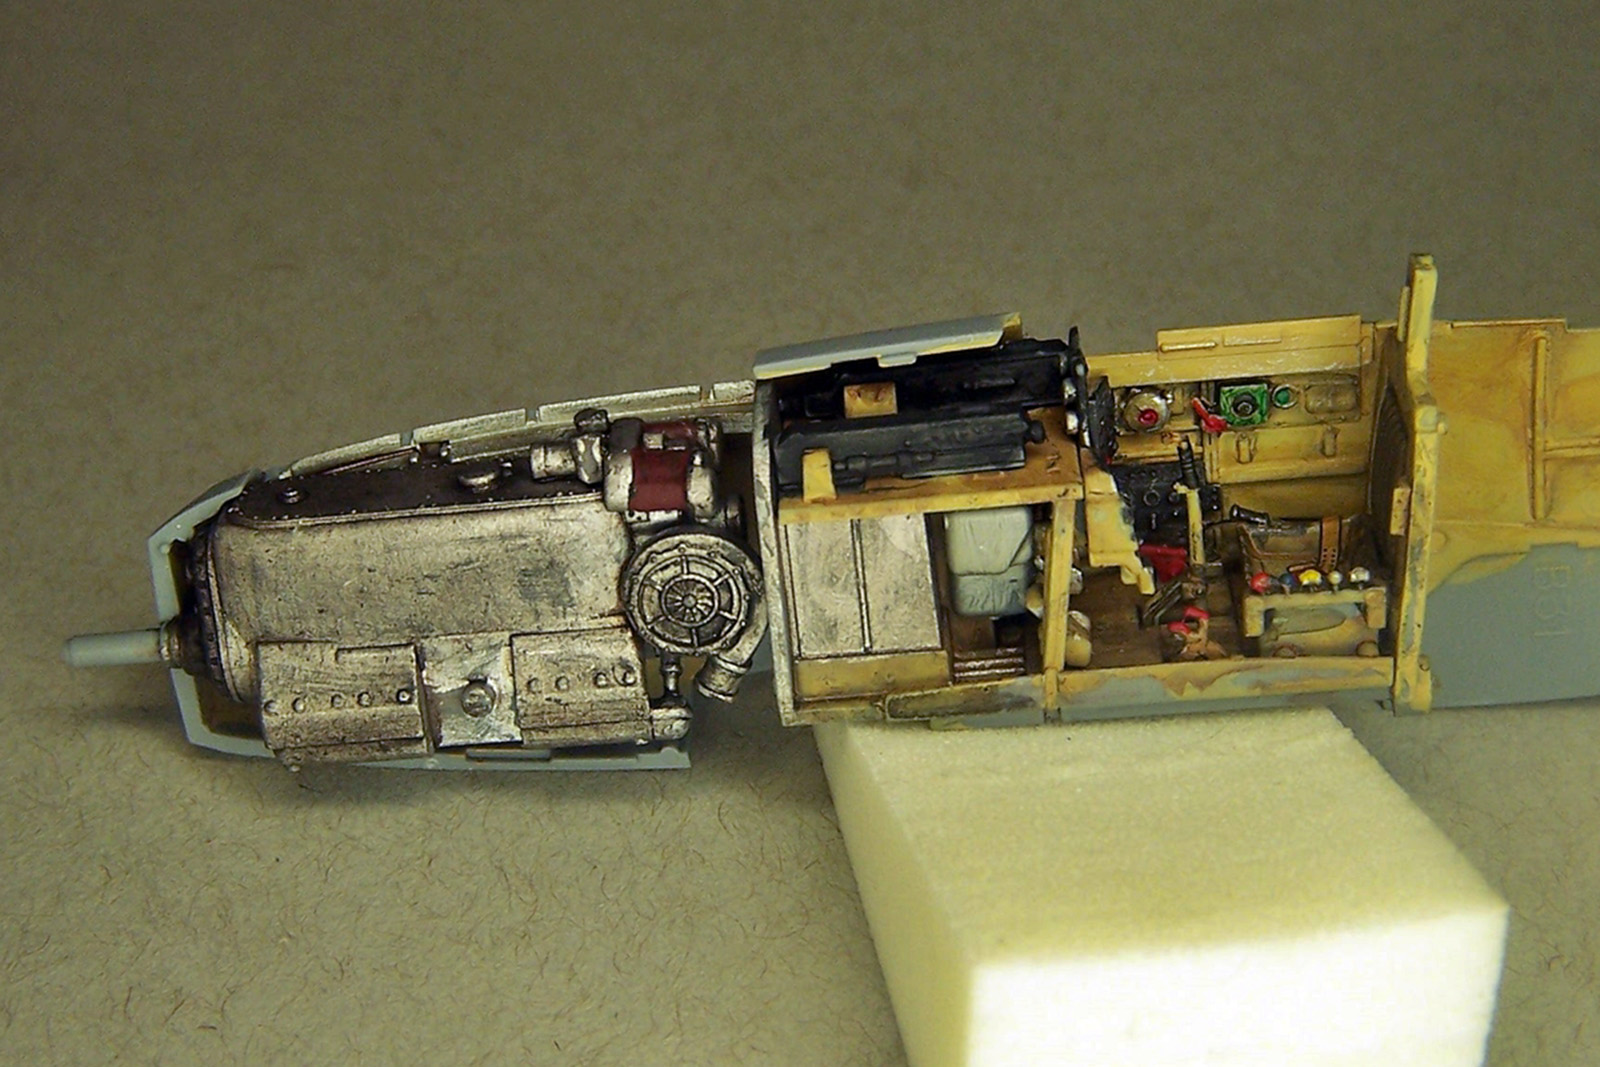
The engine and cockpit installed in the right fuselage half

A view of the cockpit, along with the sychronized cannons under the cowling
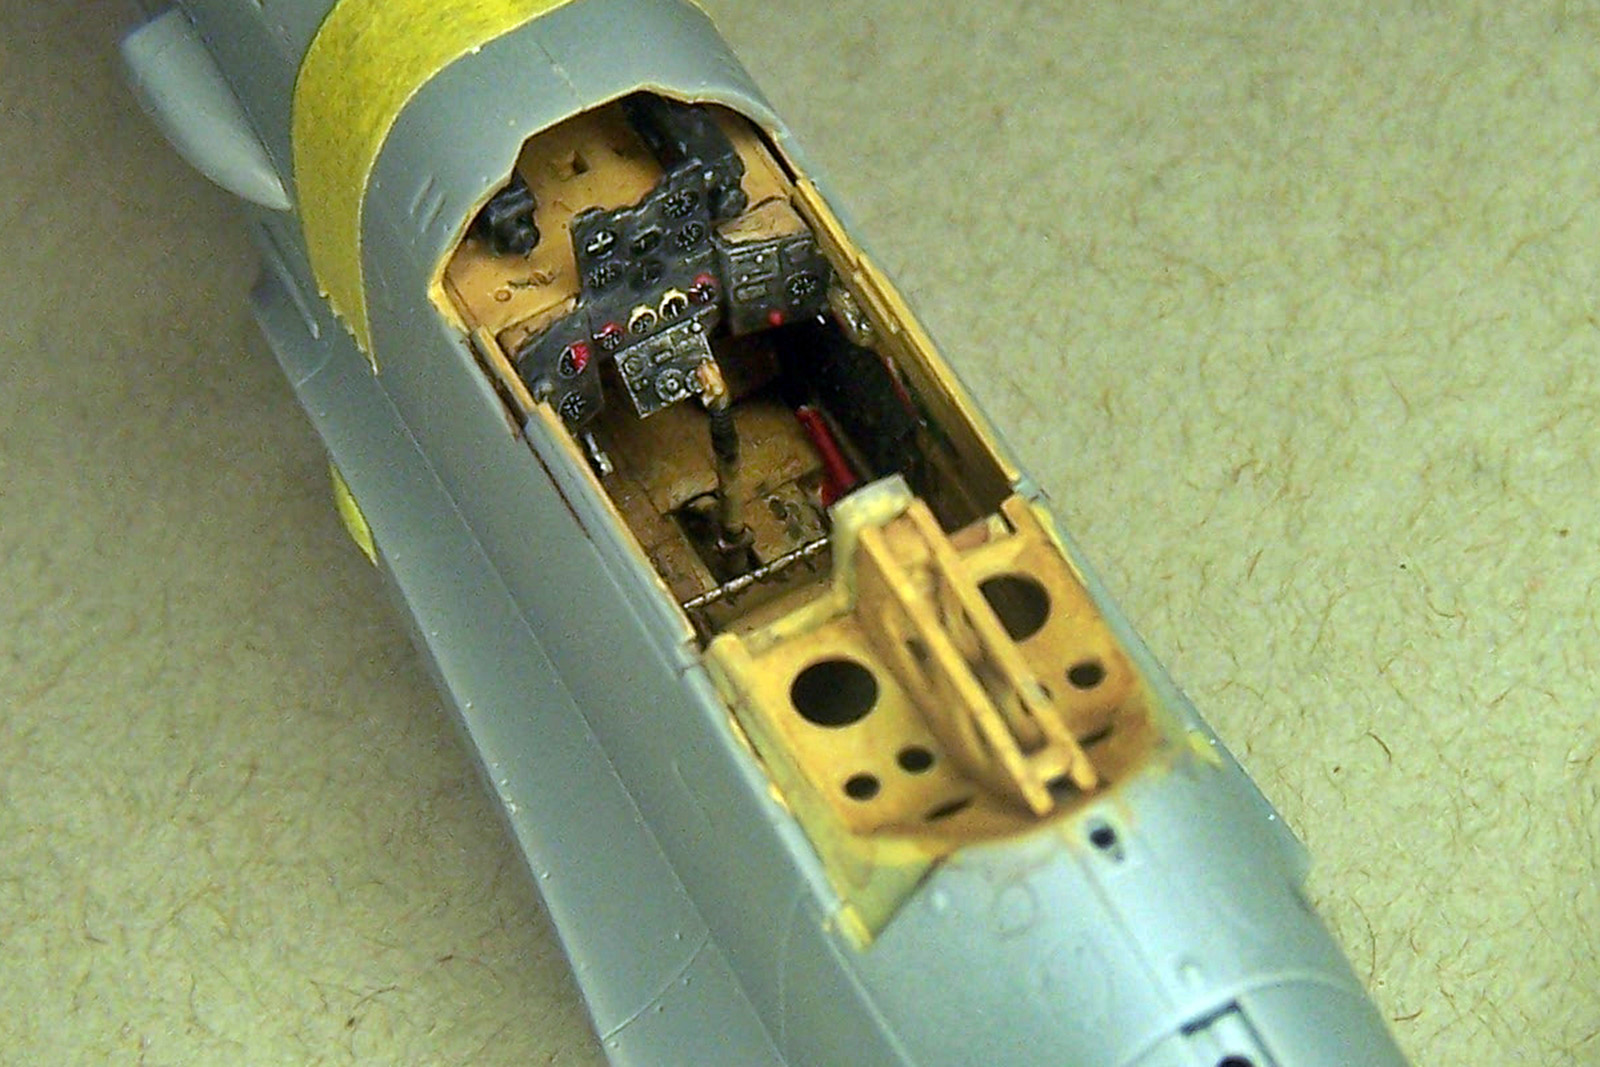
A close-up view of the cockpit
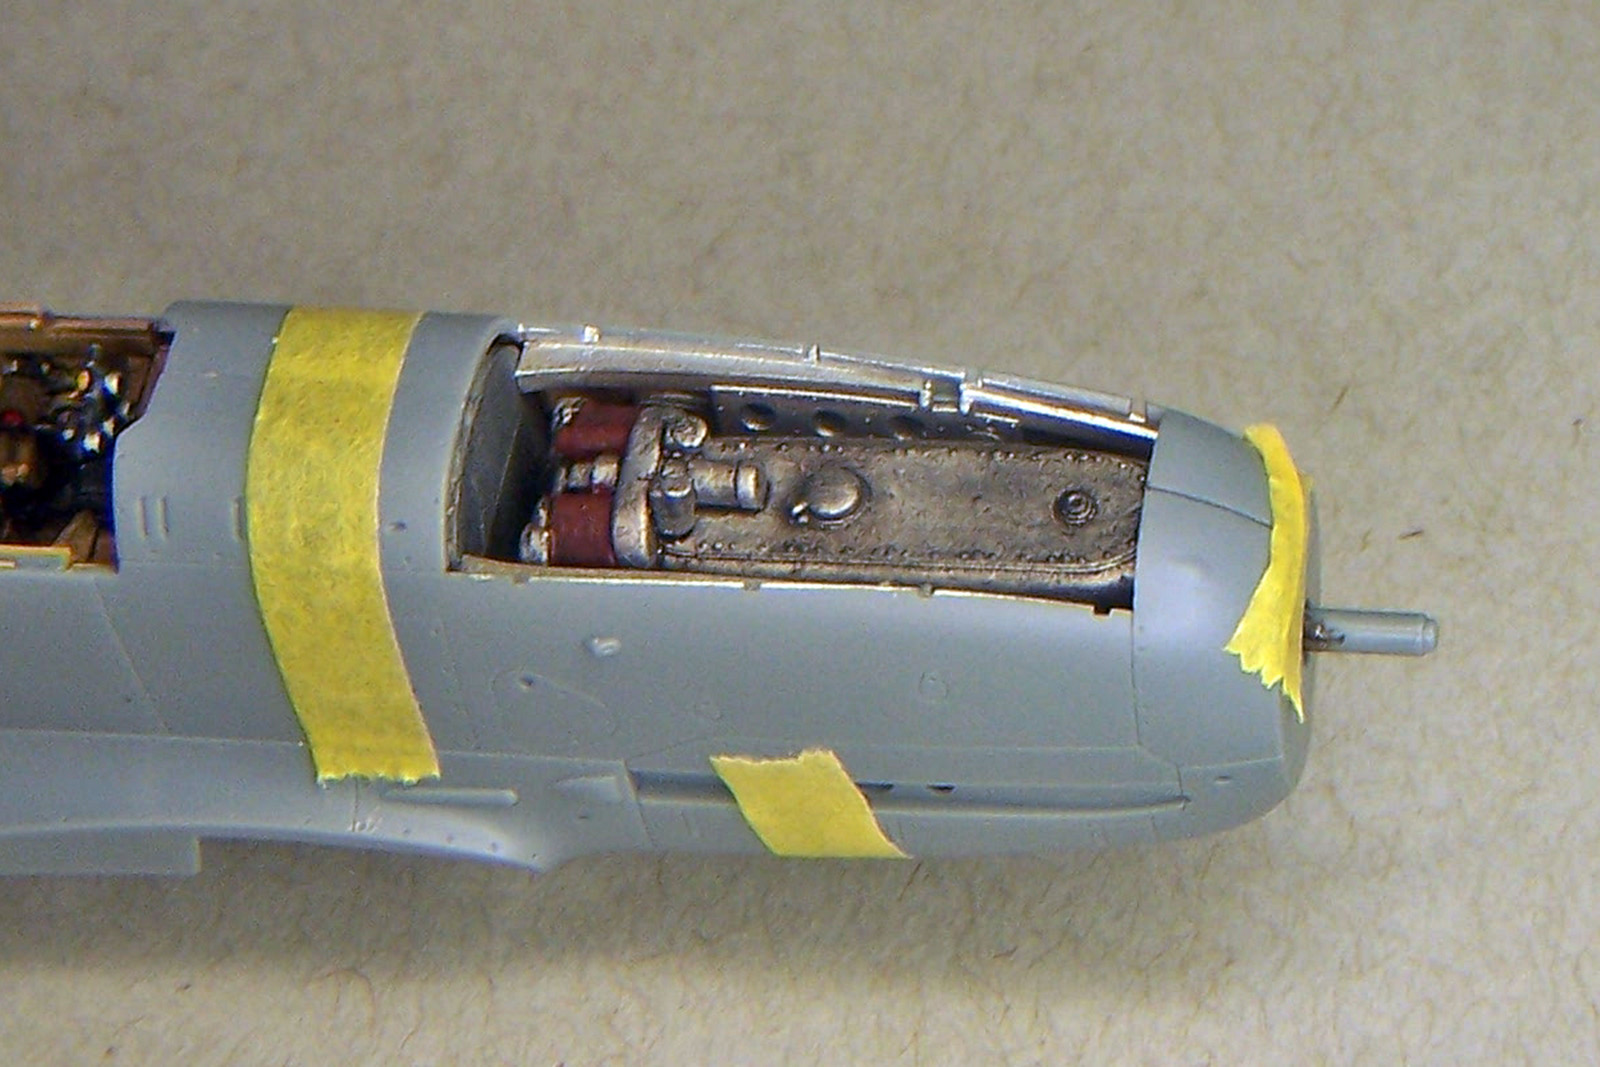
A view of the engine through the cowling

Close-up view of the cockpit, above

Completed airframe in primer awaiting paint

Completed and painted aircraft, left-rear
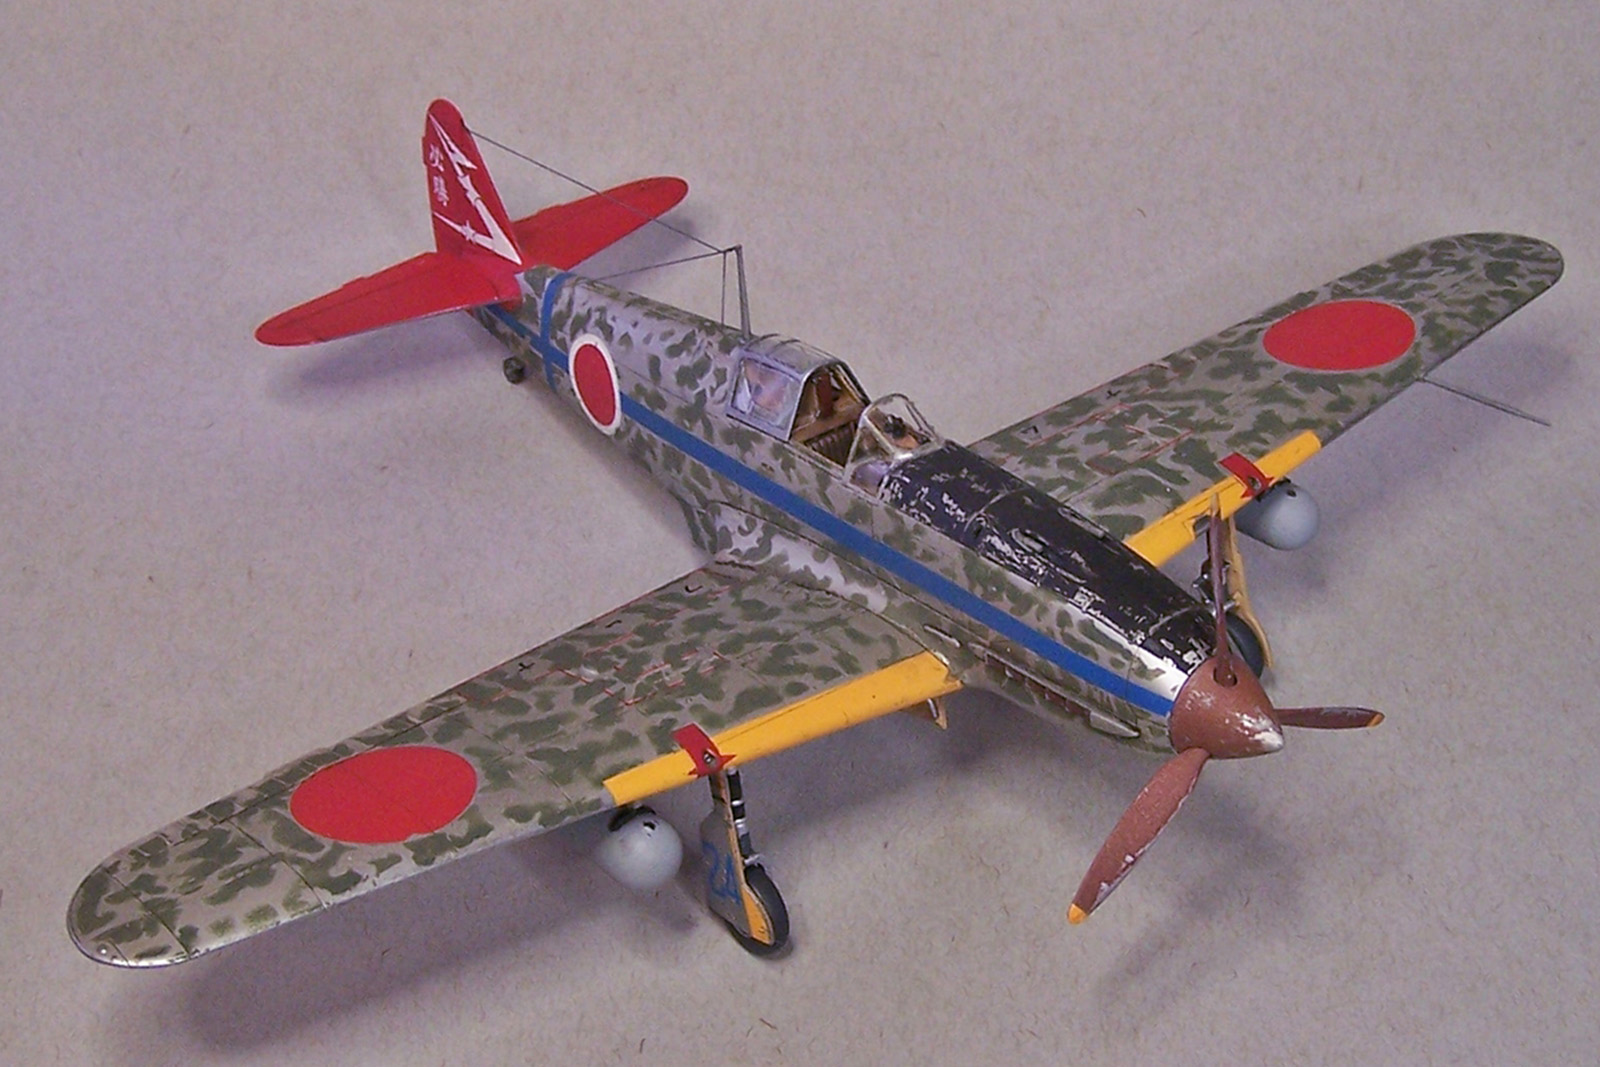
Painted kit, above-right
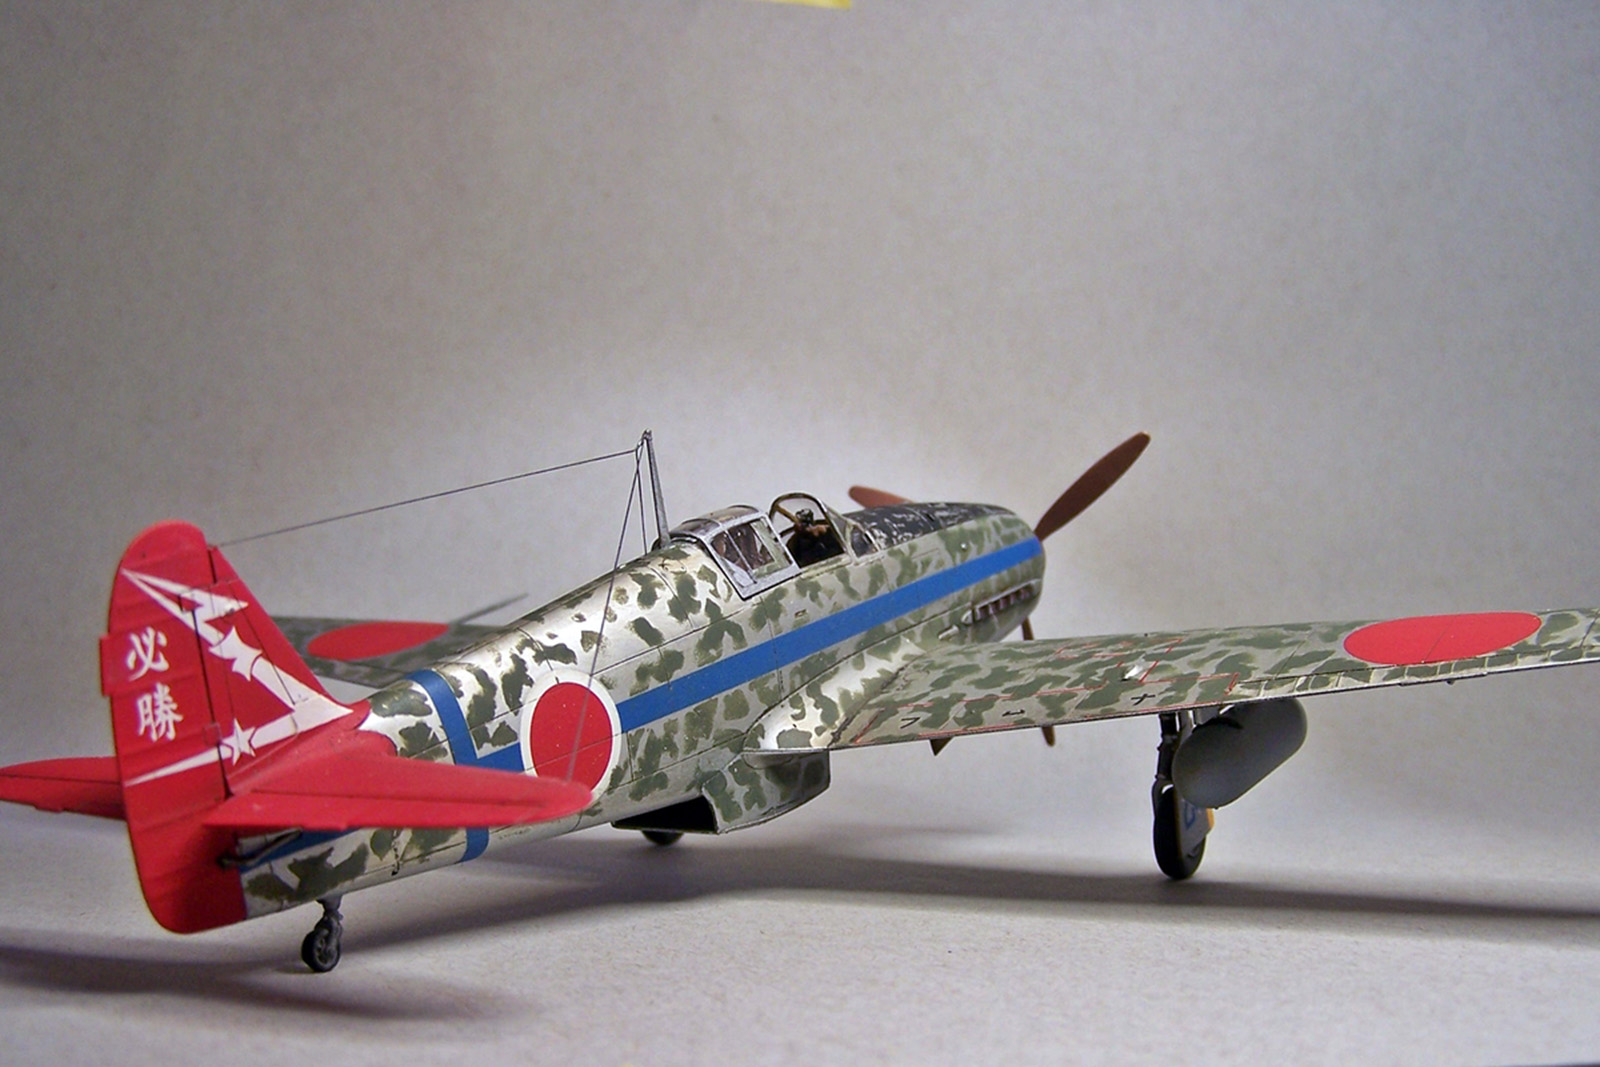
Right-rear view of painted airframe

Front-view, with view of antenna wiring showing in the rear
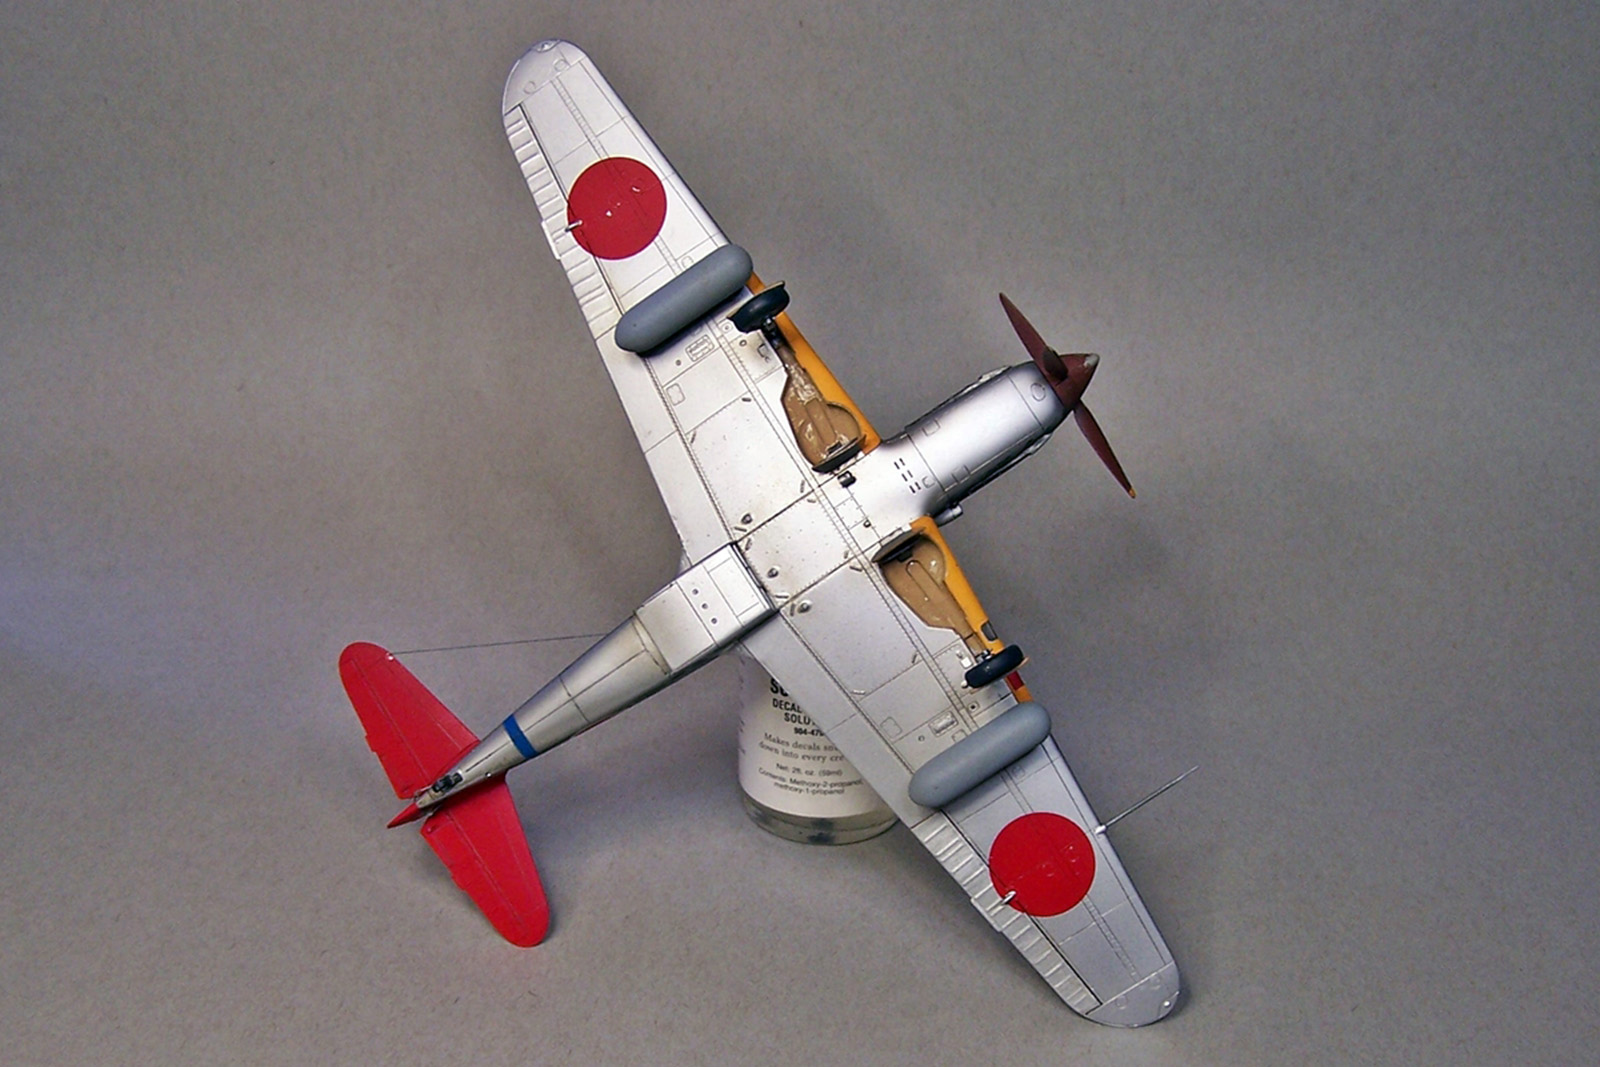
View of undercarriage of aircraft

Fore of aircraft, showing removable engine cowling

Comments
Add new comment
This site is protected by reCAPTCHA and the Google Privacy Policy and Terms of Service apply.
Similar Reviews