
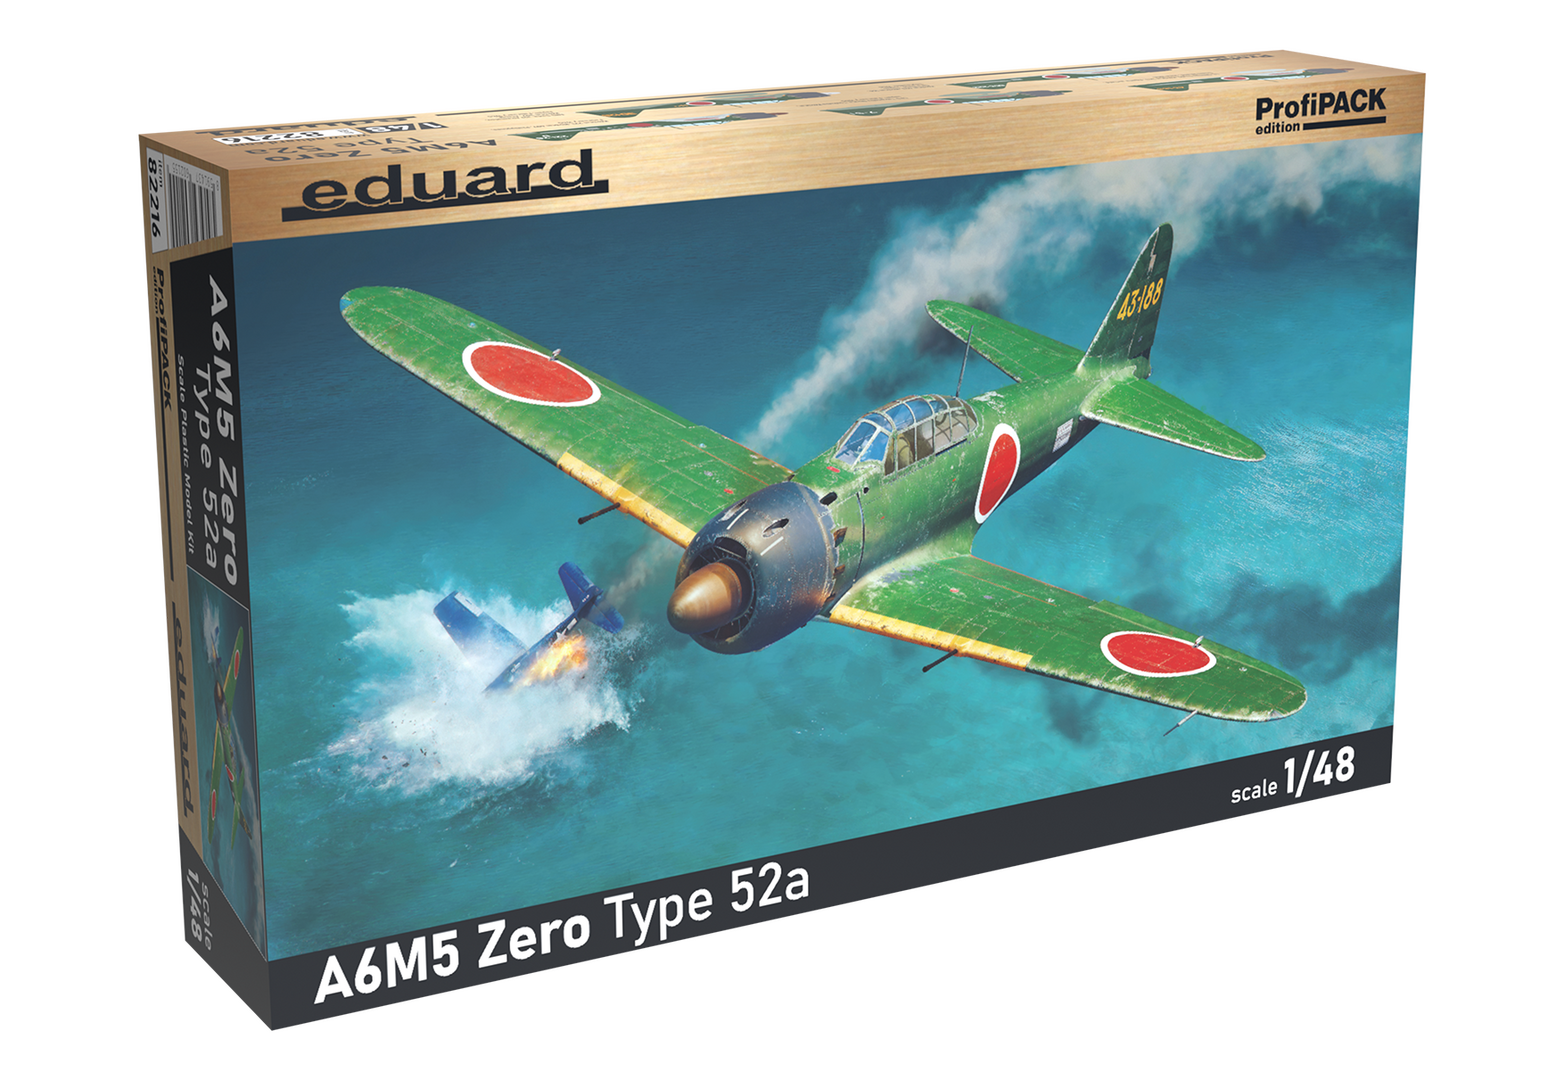
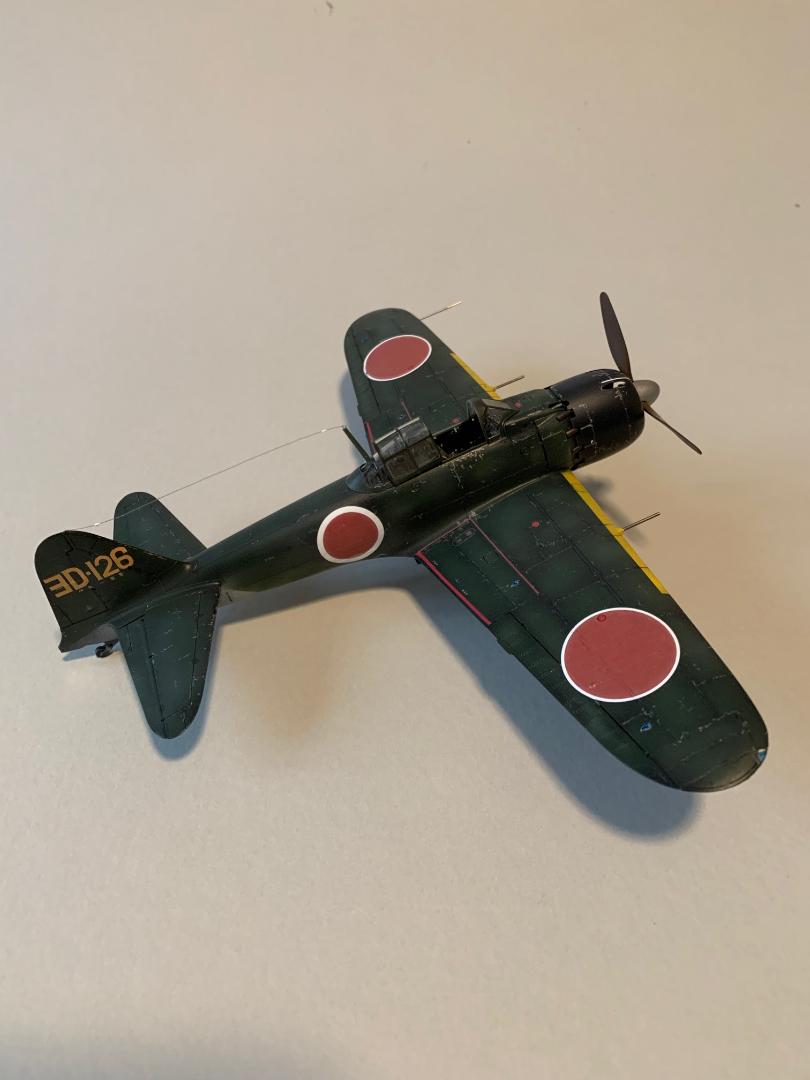
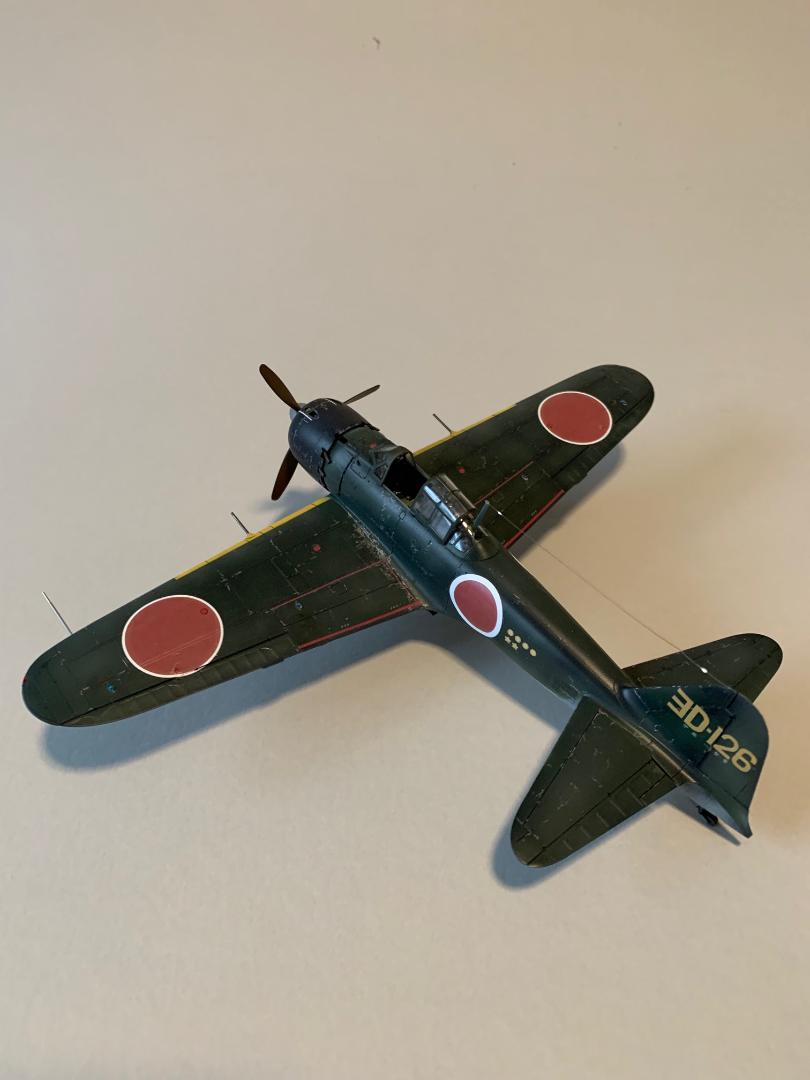
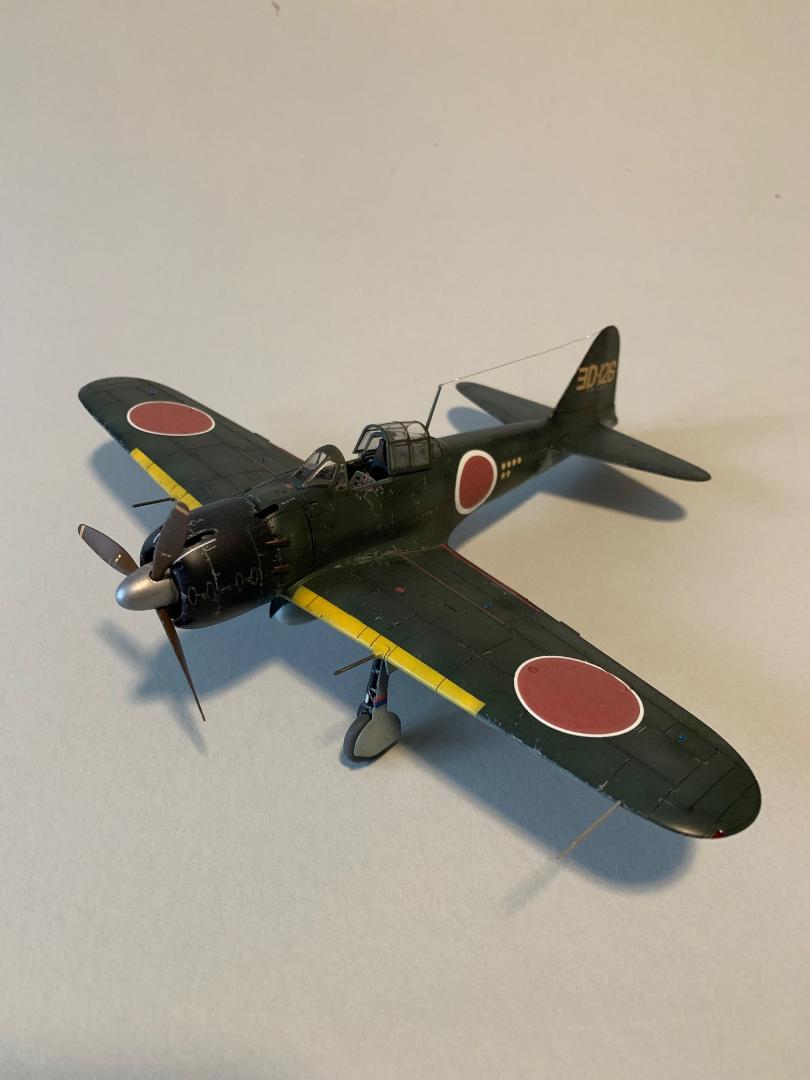
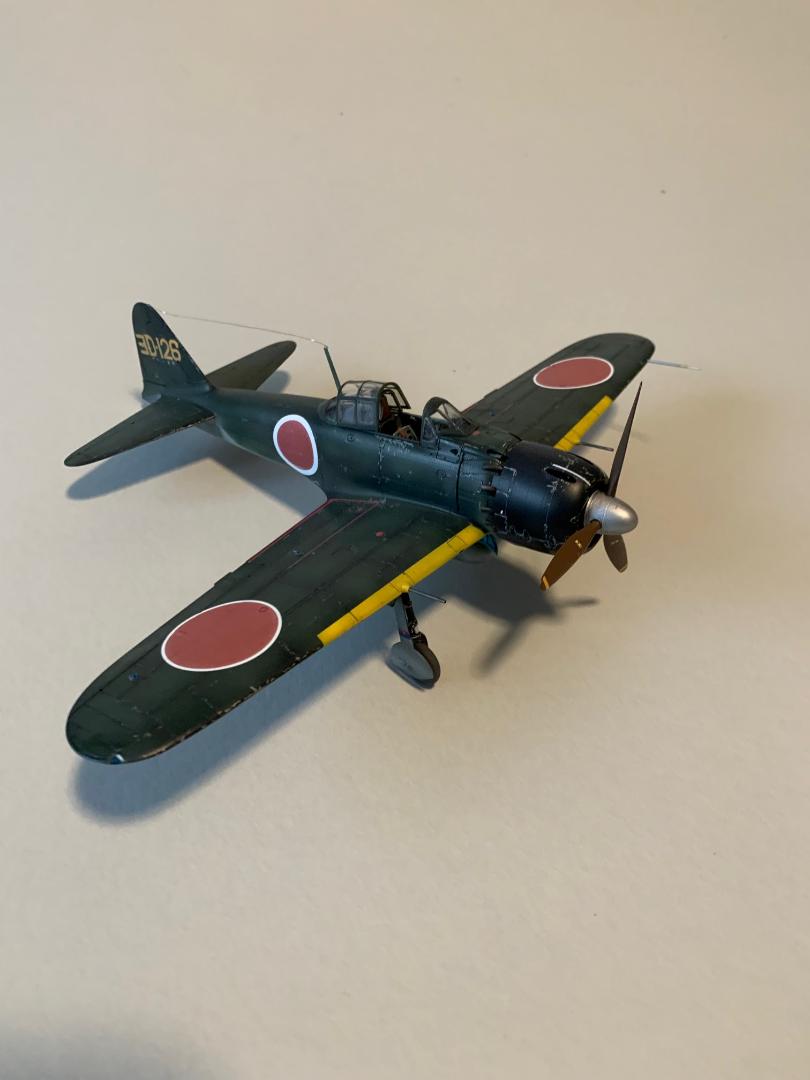
A6M5 Zero Type 42
Box Contents
There are four medium grey sprues for the plastic parts.
Clear Parts - The clear parts are very clear and crisply molded. This sprue includes several parts that will not be used in this build. The canopy is made up of three parts, and the canopy may be posed open or closed.
Instructions - There are 20 pages in the instruction booklet. Each step is shown as line diagrams with parts numbered, parts placement shown along with paint colors. As this kit may be built for either the Mitsubishi or Nakajima manufactured aircraft, the different manufacturer parts are noted. There are five different aircraft that can be built from this kit. Start by deciding which version will be built, as there are parts as well as paint color options to be used for the various versions. The instructions show the locations for all markings and stencils.
Masks - A pre-cut set of masking is included. The instructions include color-coded directions for individual mask placement. Masks are for the exterior side only.
Photoetch Parts - A small PE fret is provided and includes seat belts, miscellaneous cockpit details and two different instrument panels (Mitsubishi or Nakajima aircraft).
Decals - Two decal sheets are included for the various aircraft plus a small stencil sheet.
Construction
The cockpit construction is shown and three pages of the instructions. There are several plastic and PE parts involved and, therefore, some planning for the painting tasks is required before the PE parts are fixed in place.
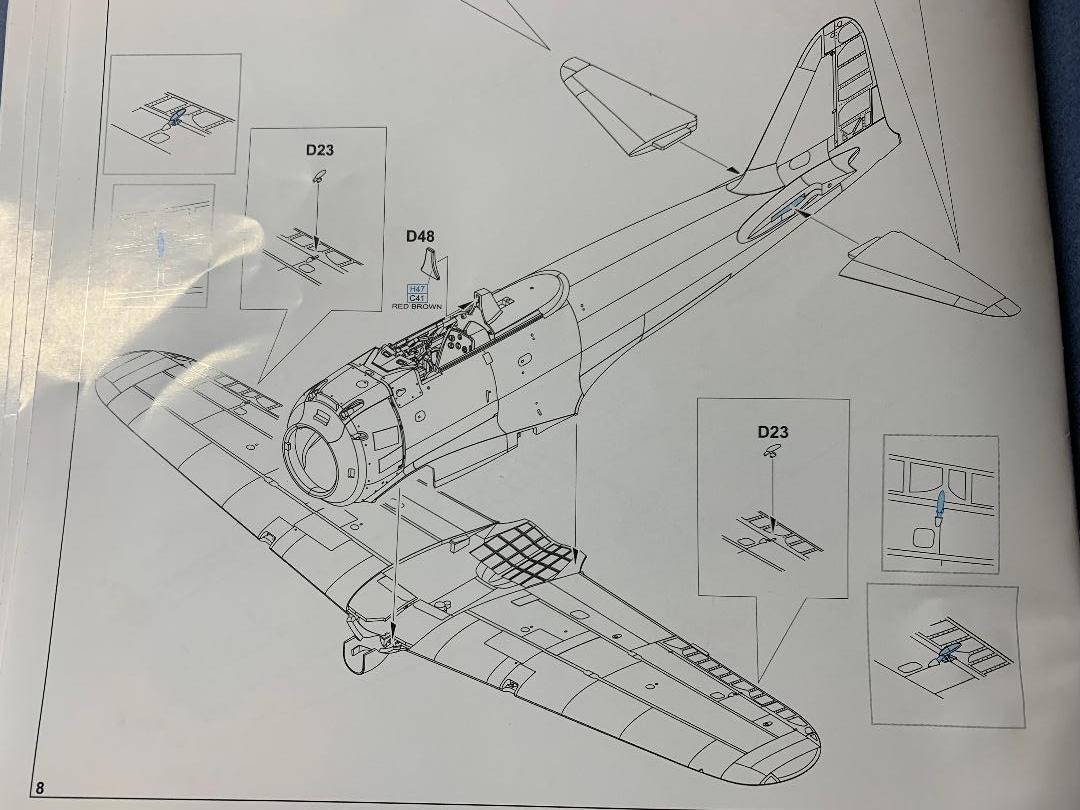
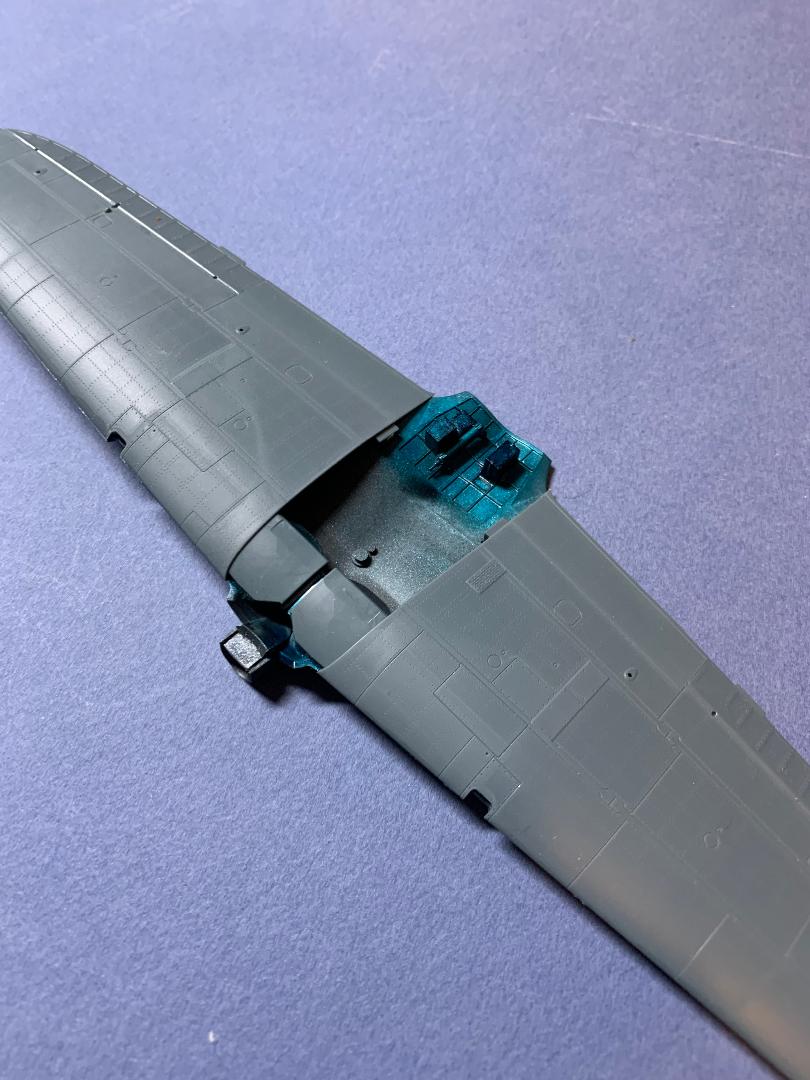
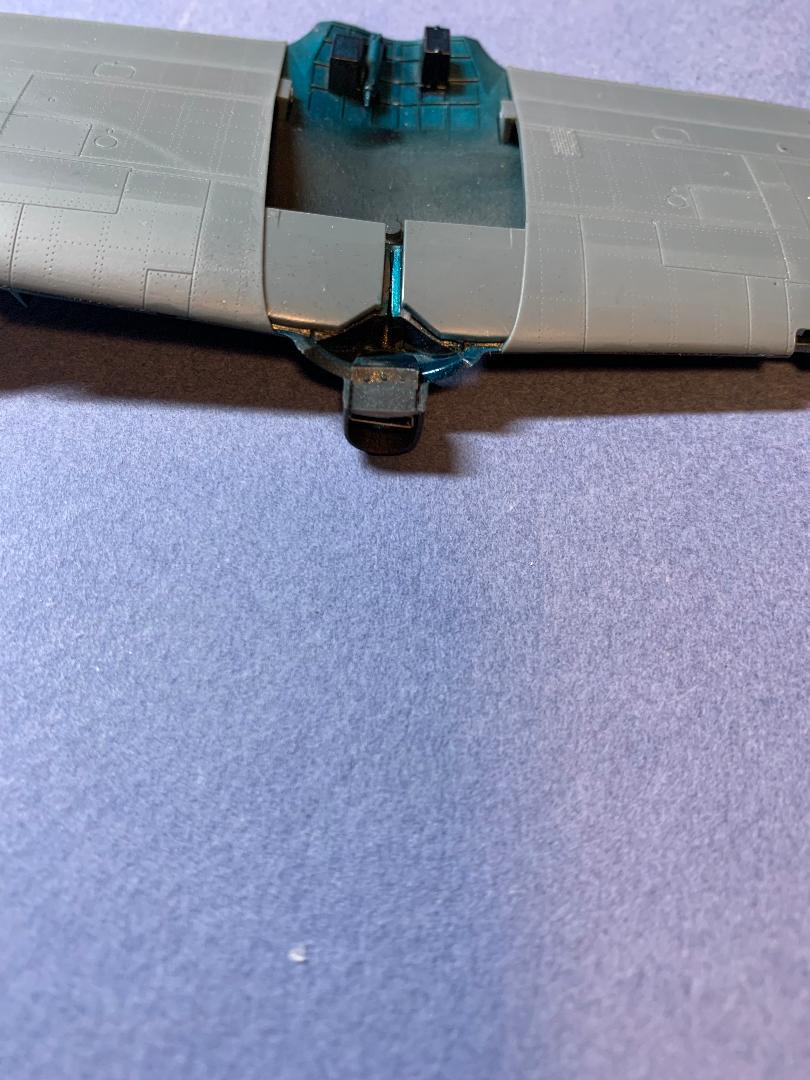
The wings are built up from a single, full span bottom plus the two upper surfaces. The various sides of the gear wells fit well. The ailerons are separate and may be posed if desired. The sprue attachments on the wings must be trimmed off for a good fit of the wing tops and bottom. Parts D38 and D39 form the top walls of the gear wells and require a bit of care to align properly. When fitting the left-wing top in place, I found that part D39 sat a bit high and required some sanding on the top surface to allow the top to close with the bottom of the wing. Aligning the top of the wings with the bottom was a bit challenging as the alignment pins are almost microscopic.
The fit of the assembled fuselage to the wing assembly initially was a problem: the fuselage would not sit properly so that the wing root joint was flush. There was an obstruction someplace. I found that part V4 installed as part of the wing assembly as shown on page 7 of the instructions conflicted with the fit if the front of the fuselage. I removed part V4 and the fuselage fit with the wing assembly as advertised.
The horizontal stabilizers are three parts each. Again, the fit is very good.
The engine is a real gem when finished. Comprised of two-cylinder banks (front face only), two push rod rings, front gear box and ignition ring. Removing the two pushrod rings requires care to avoid breaking the very delicate rods. The parts were painted before fitting everything together. The final fit was superb. A separate part for the exhaust is provided and has individual exhaust stubs.
The propeller assembly is made up of three parts. The kit came with two spinners, and both had broken from the sprue inside the plastic bag and, therefore, I did not know which was which. One spinner appears a bit blunter in profile than the other. Looking at the color profile of the model, I was building the subject aircraft that had the blunt spinner.
The landing gear struts are nicely molded with minimal cleanup required to remove the fine molding seam. The wheels and tires are three parts which allow painting the parts separately if desired. The tail wheel assembly has three parts with the smallest wheel I have ever seen. Fitting the wheel in place was a bit of a challenge to get things aligned, but it worked out.
The finishing touches included replacing the pitot tube only because the kit part is so very petite, and I am inclined to break pitot tubes no matter when I install them.
Painting and Decals
The cockpit was masked and primer applied to the model and allowed to cure for 24 hours. The undersides were painted with Tamiya XF-12 and the topsides with XF-11. The model was then sealed with Alclad UltraGloss in preparation for applying the decals.
After the gloss coat had cured for 48 hours, the decals were applied. Each decal was dipped in water until the backer sheet was thoroughly wet and set aside until the decal could be moved. This took less than a minute. MicroSet was used to place each decal, and MicroSol was used to allow the decals to conform to the surface details.
Conclusion
The side panel on the box top has a note: “For Advanced Modelers”. Boy, they are not kidding! The detail offered in this kit comes with a cost: small parts and complex assemblies. In the end, it is worth it.
History-excerpts from Wikipedia
The Mitsubishi A6M "Zero" is a long-range carrier-capable fighter aircraft that was manufactured by Mitsubishi Aircraft Company. It was operated by the Imperial Japanese Navy (IJN) from 1940 to 1945. The A6M was designated as the Mitsubishi Navy Type 0 carrier fighter, or the Mitsubishi A6M Rei-sen. The A6M was usually referred to by its pilots as the Reisen , "0" being the last digit of the imperial year 2600 (1940) when it entered service with the IJN. The official Allied reporting name was "Zeke", although the name "Zero" was used more commonly.
Sometimes considered to be the most effective variant, Model 52 was developed to again shorten the wings to increase speed and dispense with the folding wing mechanism. In addition, the ailerons, aileron trim tab and flaps were revised. Produced first by Mitsubishi, most Model 52s were made by Nakajima. In June 1943, the prototype was modified by an A6M3 and was first flown in August 1943. The first Model 52 is said in the handling manual to have production number 3904, which apparently refers to the prototype.
I wish to thank Eduard and IPMS/USA for the opportunity to build and review this kit. I certainly recommend this kit.


Comments
Add new comment
This site is protected by reCAPTCHA and the Google Privacy Policy and Terms of Service apply.
Similar Reviews