
Hawker Sea Fury FB.II
I’ve had a couple of Trumpeter and the Hobbycraft versions of the Hawker Sea Fury in my growing stash waiting for a rainy-day project to come around. I really like the brutish appearance of this big five-bladed prop driven monster. I purchased several Barracuda Studios aftermarket goodies for the Trumpy kit to do a colorful Canadian Navy Artic Research version. So, when Airfix announced their version of this aircraft, and it came up for grabs from the kit review stash, I jumped at the chance to do a review build as a warm-up for and comparison to the others. John Noack had been given the Fundekal’s Sea Fury Pt. 2 decal sheet at last year’s Phoenix Nationals for review. He emailed an offer to use them as I was in the middle of the build. You can find my concurrent review of that sheet elsewhere on the IPMS Reviews website. The Sea Fury’s colorful history is well known and extensively documented, so let’s get on with my build and impressions of this 1/48 scale plastic version.
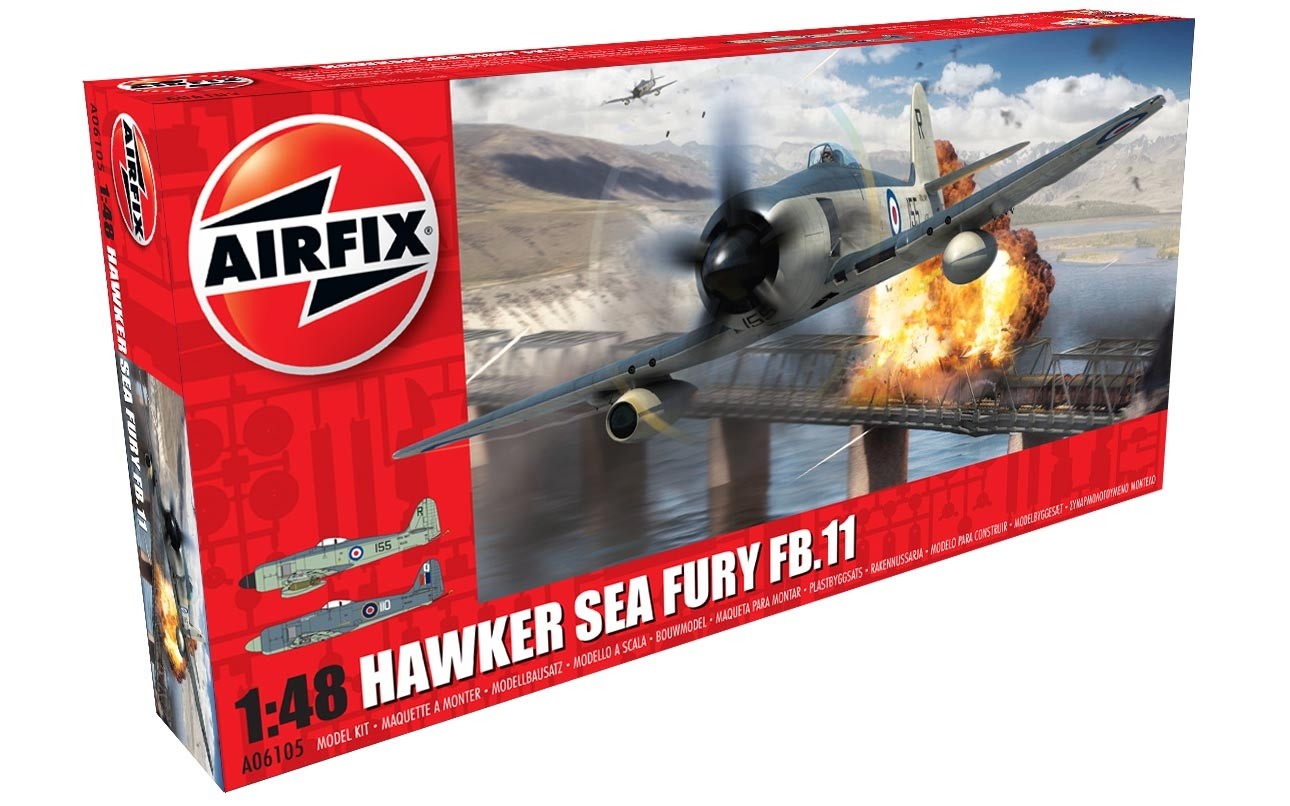
This kit issue (#A06105) is a new mold tooling for Airfix and was released in early 2018. Box cover art is a painting of a Korean War Sea Fury in the first marking option noted below, climbing out of a successful bomb run on an enemy railway bridge target, with his wingman following in the distance. The cover and side panels illustrate the two marking schemes offered on the included decal sheet. First is a Sea Fury FB.II of 801 Naval Air Squadron aboard the HMS Glory during the Korean War in 1952 and the other option is a Sea Fury FB.II of 802 Naval Air Squadron, Royal Navy Air Station Eglinton, Northern Ireland, 1948 as operated currently by the Royal Naval Historic Flight, Royal Navy Air Station Yeovilton, Somerset, England, 2017.
Upon opening the package, you get five sprues of Airfix’s soft, light gray plastic, each sealed in plastic pouches, and one clear sprue for windscreens, canopies and other clear parts in a separate plastic pouch. Also included is the nicely printed markings decal sheet, and Airfix’s new format (to me, at least) clear, easy to follow pictorial instruction booklet. The instructions indicate the previous step assemblies in red for better placement sequencing in the following step. Excellent COLOR painting and decaling illustrations are included.
Surface detail on the plastic is recessed engraving, albeit somewhat “soft” as many others have reviewed. A quick review of the individual sprues reveals crisp moldings and no flash. I made some quick side-by-side comparisons to equivalent parts from my Trumpeter and Hobbycraft versions, and the Airfix sprues are equally as good as or better than the other kits at first glance. The Trumpeter kit is significantly endowed with riveting in comparison to both of the other kits, but the heaviness of that detailing seems too much to my eye. The Airfix kit seems much more realistic and pleasing to the eye.
Notably absent from the sprues is a pilot figure. A bit disappointing, as I have come to like Airfix’s kit supplied figures for their aircraft from other kits. A nice complement of appropriate tube rockets, bombs and underwing fuel tanks are provided, but I did not install them on my example.
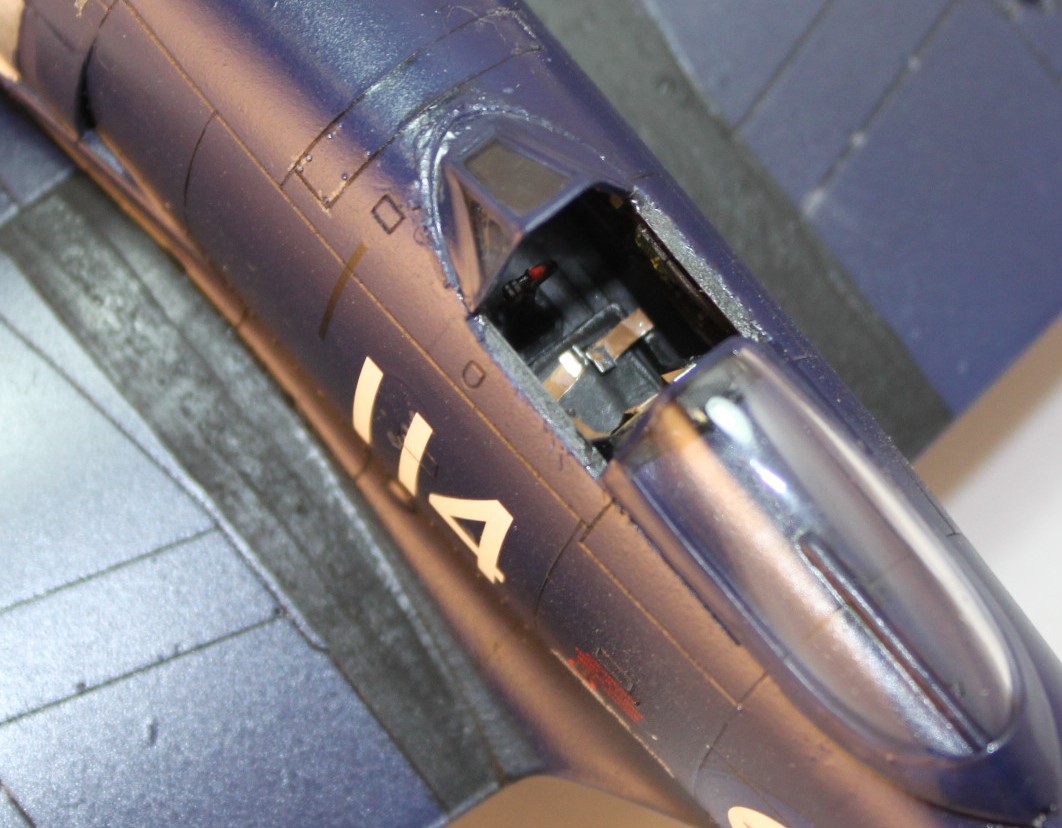
I started work on the cockpit. I built the kit-supplied cockpit and used the seat harnesses included on the decal sheet. Kit instructions are clear and detailed on assembly sequencing and color call outs.
Following cockpit assembly, I assembled the fuselage with the cockpit nestled in place, and then worked on the wing area. The instructions are clearly detailed as to the building sequence. I left the landing gear, gear doors, and tiny actuators for later final assembly. The remainder of the kit was assembled per the instructions and went together very quickly. I don’t think I used any filler or putty anywhere on the kit. Just a few seams to be sanded here and there and it was ready for paint. The wing root joins provide for a recessed insertion of the full wing assembly – a well-engineered fit sequence that requires nothing more than capillary action of liquid cement for a perfect fit and dihedral set.
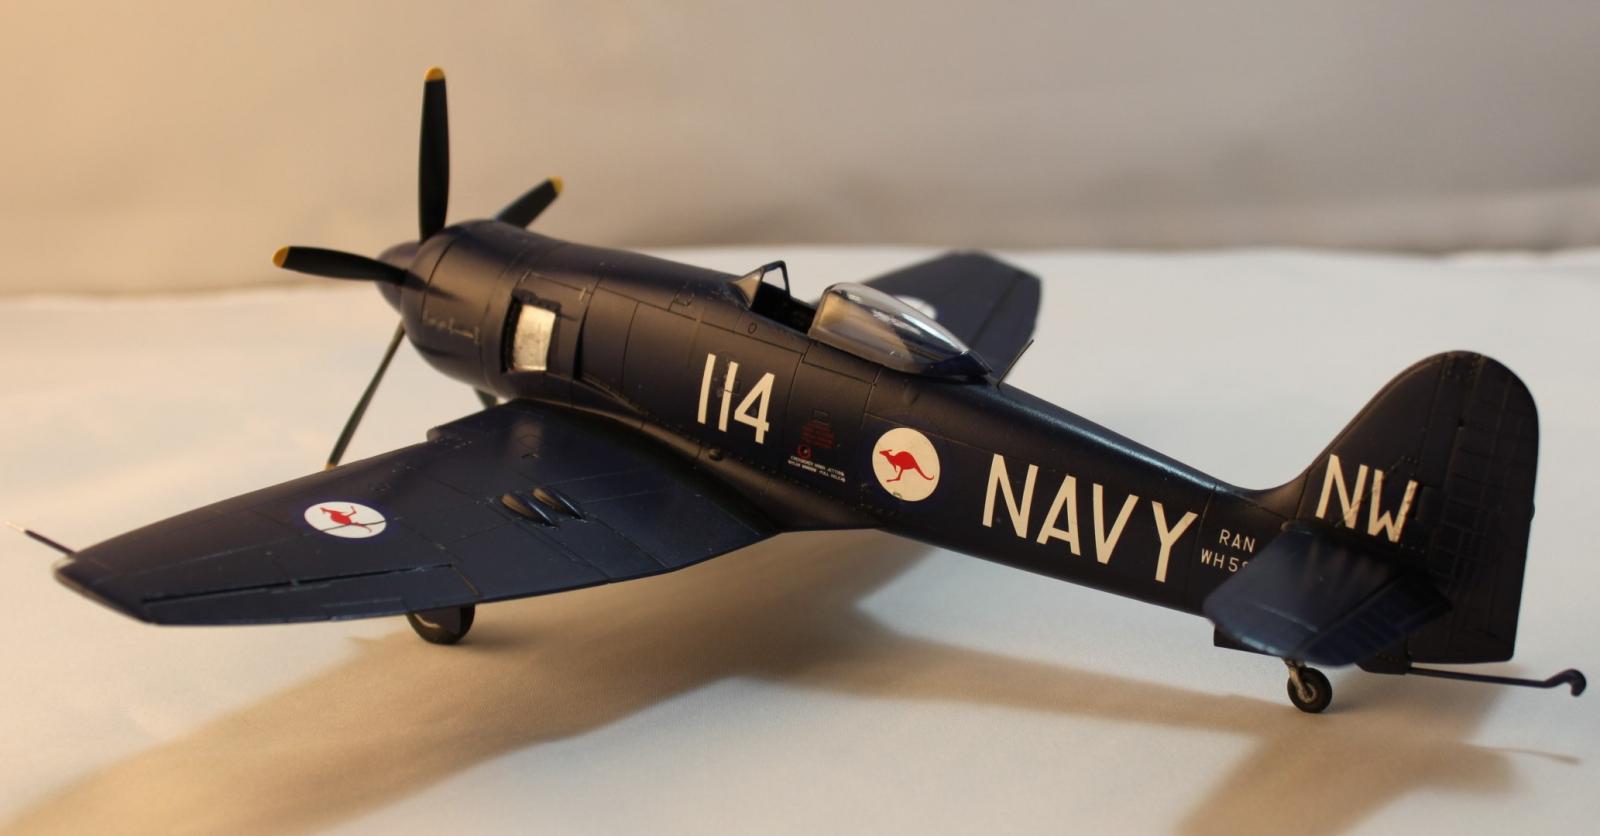
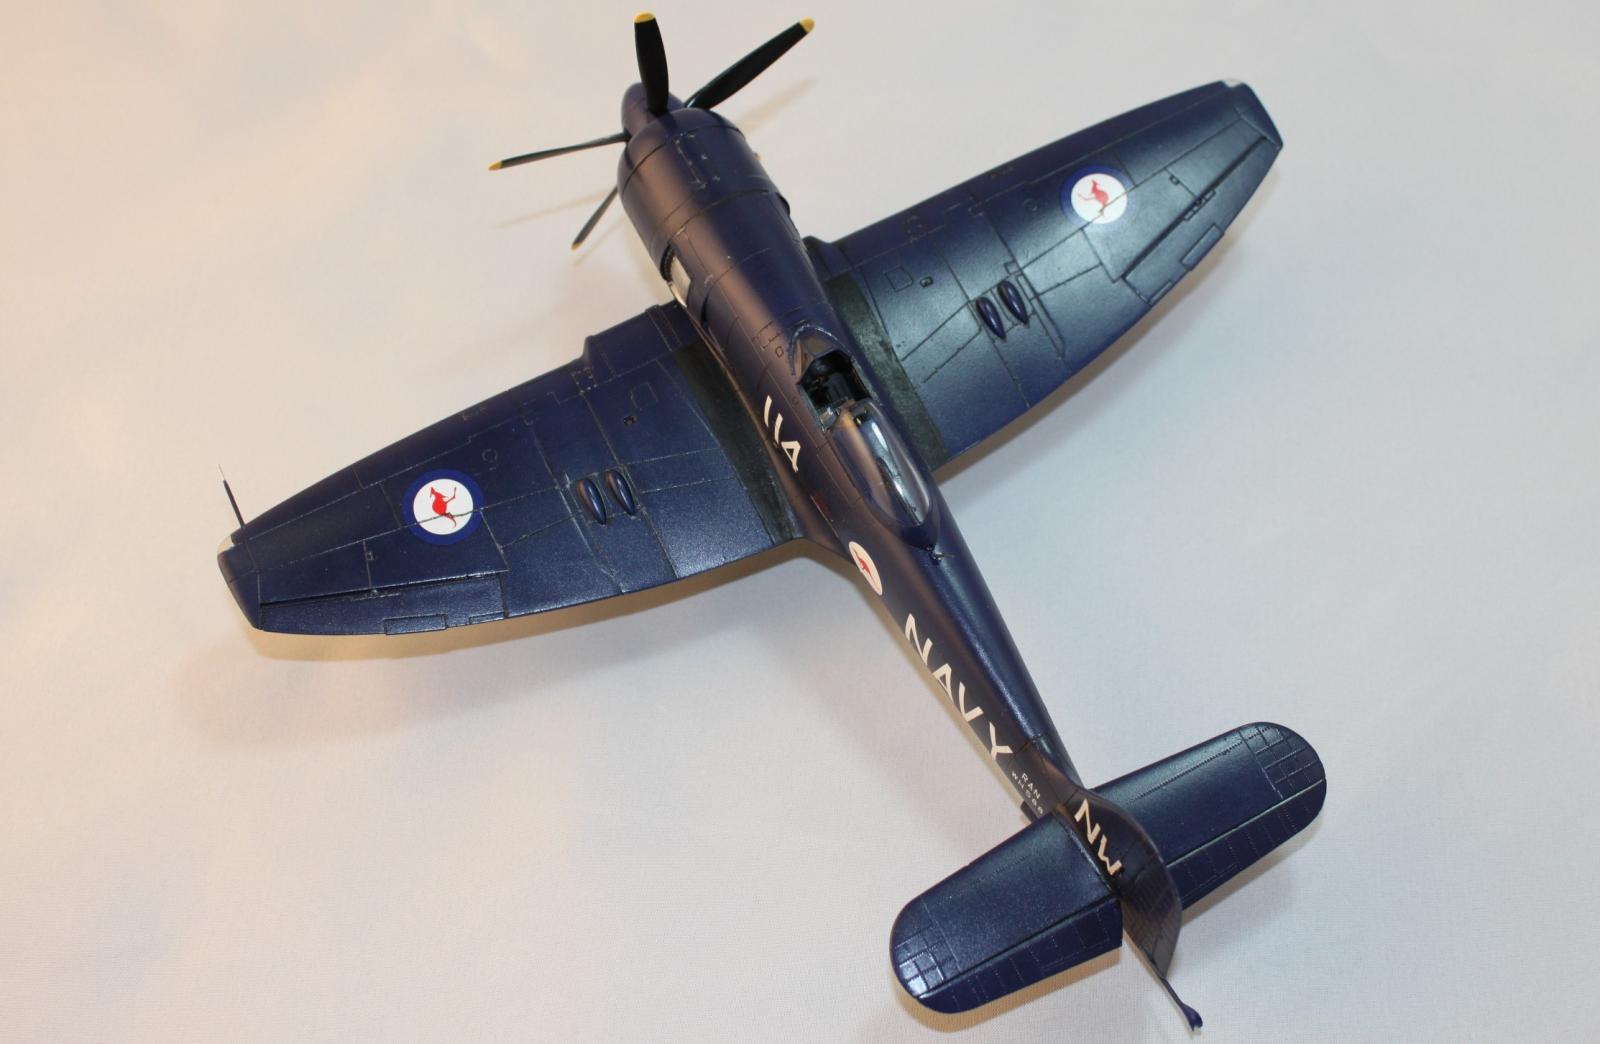
I opted for the open canopy to allow visibility of the beautiful cockpit assembly. Unfortunately, the tiny opening hides most of the detail it has to offer. Before proceeding with painting, I had made the decision to depict the aircraft in scheme #1 - s/n FN430, flown by P/O Haney of No. 1844 Squadron FAA, HMS Indomitable, Indian Ocean, August 1944. There are no invasion stripe decals included for the other scheme, so I had elected to go with the quicker painting option. However, as mentioned above, before I actually got to the painting stage, I received an email from John Noack indicating that he had a set of 1/48 Sea Fury Pt. II decals that he was given at the Phoenix Nationals by the folks at Fundekals, if I was interested in applying them as a “two-fer” review. I took a look at their on-line instruction sheet and was already partial to the all blue Royal Australian Navy schemes. (Check for my review of the Fundekals package elsewhere on this IPMS Reviews website.)
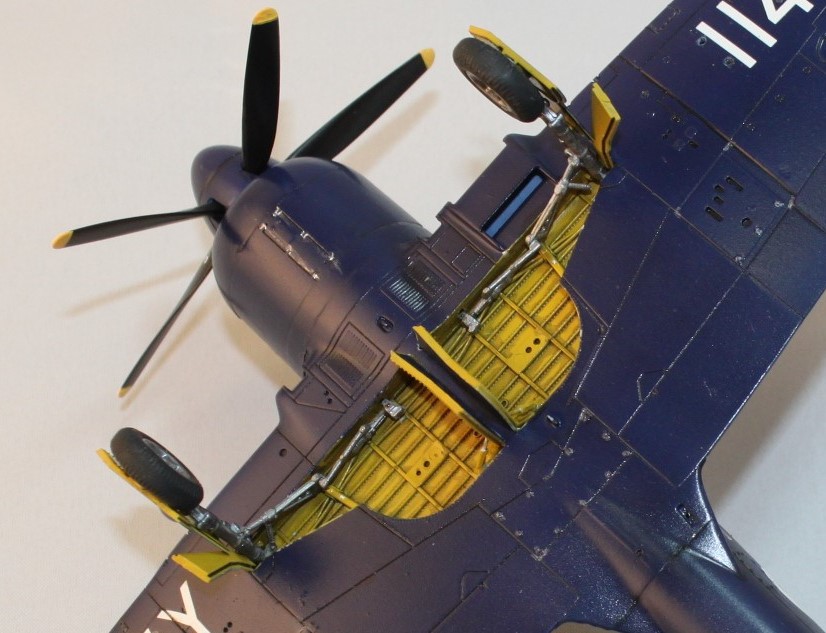
After masking the windscreen and canopy cover with Tamiya masking tape, I temporarily affixed the closed sliding canopy with some liquid masking medium and proceeded to prime the airframe with Tamiya Primer. A coat of Testor’s Acrylic Yellow Zinc Chromate Primer went on the wheel wells and inside of the gear doors. A few of days later, I shot a couple of coats of Humbrol “Oxford Blue” enamel over the entire airframe. After curing for a few days, I built up several light mist coats of Pledge Future Shine to prep a shiny surface for the Fundekals. The flat surface of the Humbrol paint soaked up a significant quantity of Future before becoming suitable for the decals. I worried that the significant layers of clear acrylic would fill in much of the surface detailing, but I find Future to be really forgiving in that respect. It really shrinks up tight as it cures, and the detailing was fine.
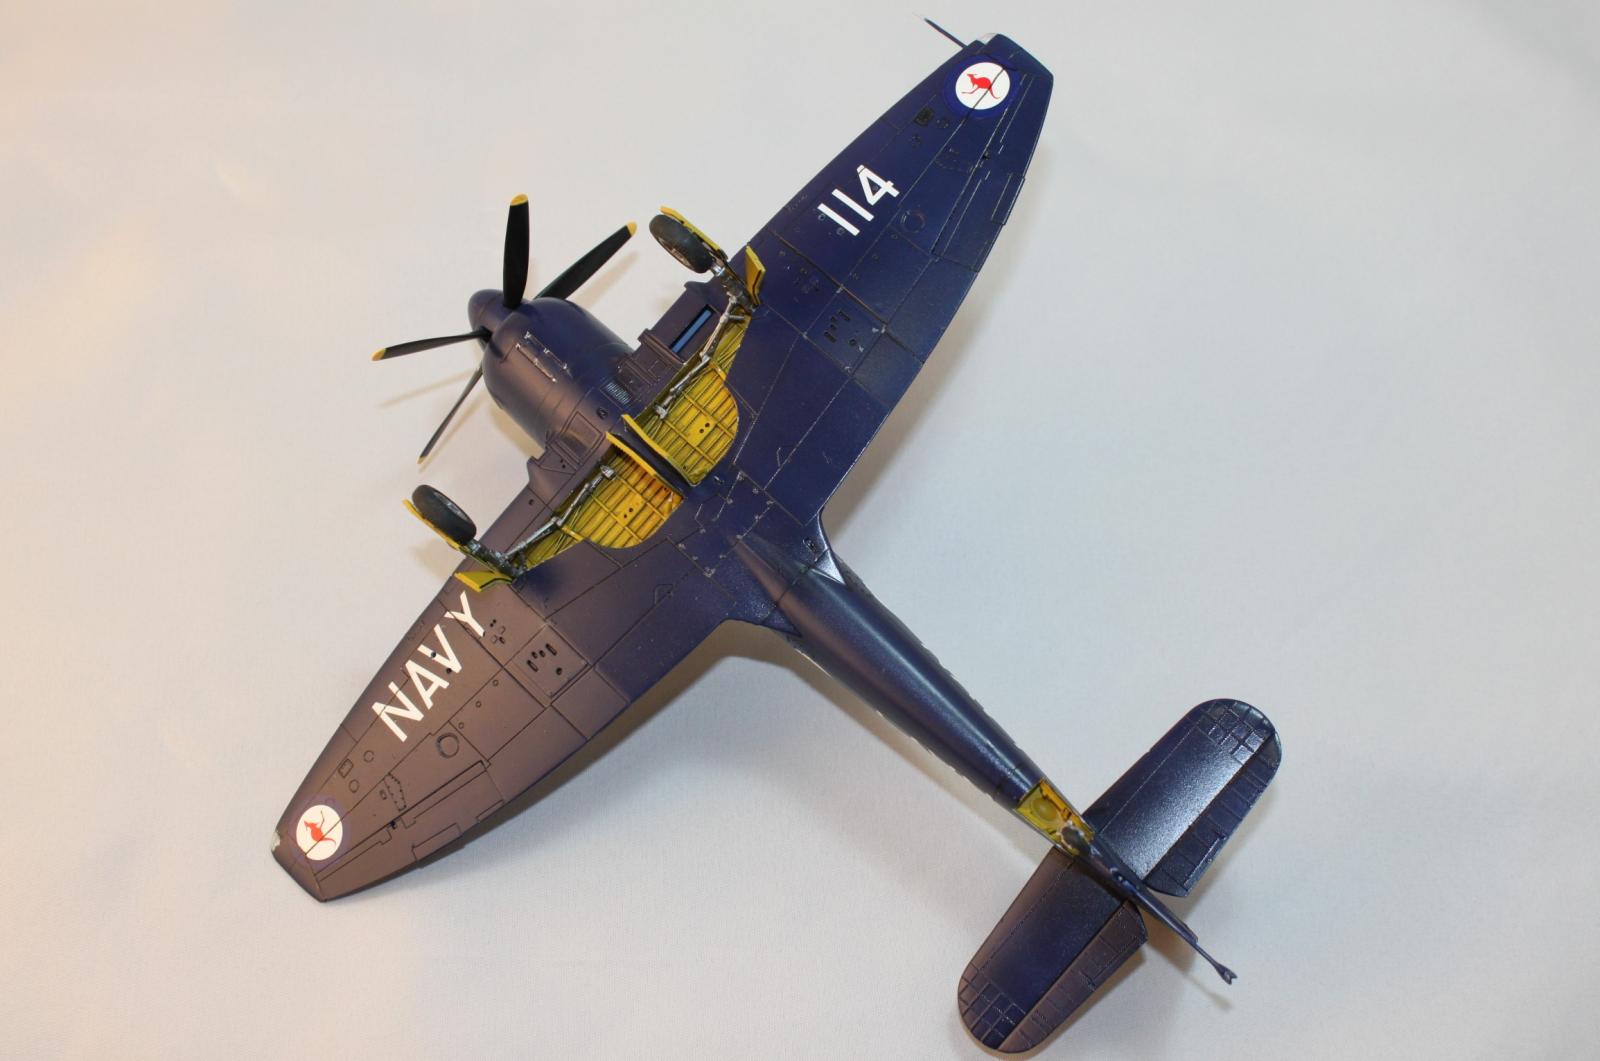
After the sealer coats of Pledge Future had cured for a couple of weeks, I applied the Fundekals and the kits stencils, all of which performed perfectly after a touch of MicroSol to settle them into the fine surface detailing. Full disclosure … I bungled the roundels by not paying close attention. Australian roundels always have the kangaroo silhouette facing forward, and I had both of the fuselage and both of the wing top markings facing backwards. After lashing myself with wet decal paper, I proceeded with a final layer of Future to set the decals and waited hopefully for a reply to my plea to Fundekals for an additional set of RAN roundels. A few days later, Wally kindly sent me the six roundels from his sheet. I overlaid them in the correct orientation and proceeded with a final light coat of Future to seal everything up prior to weathering.
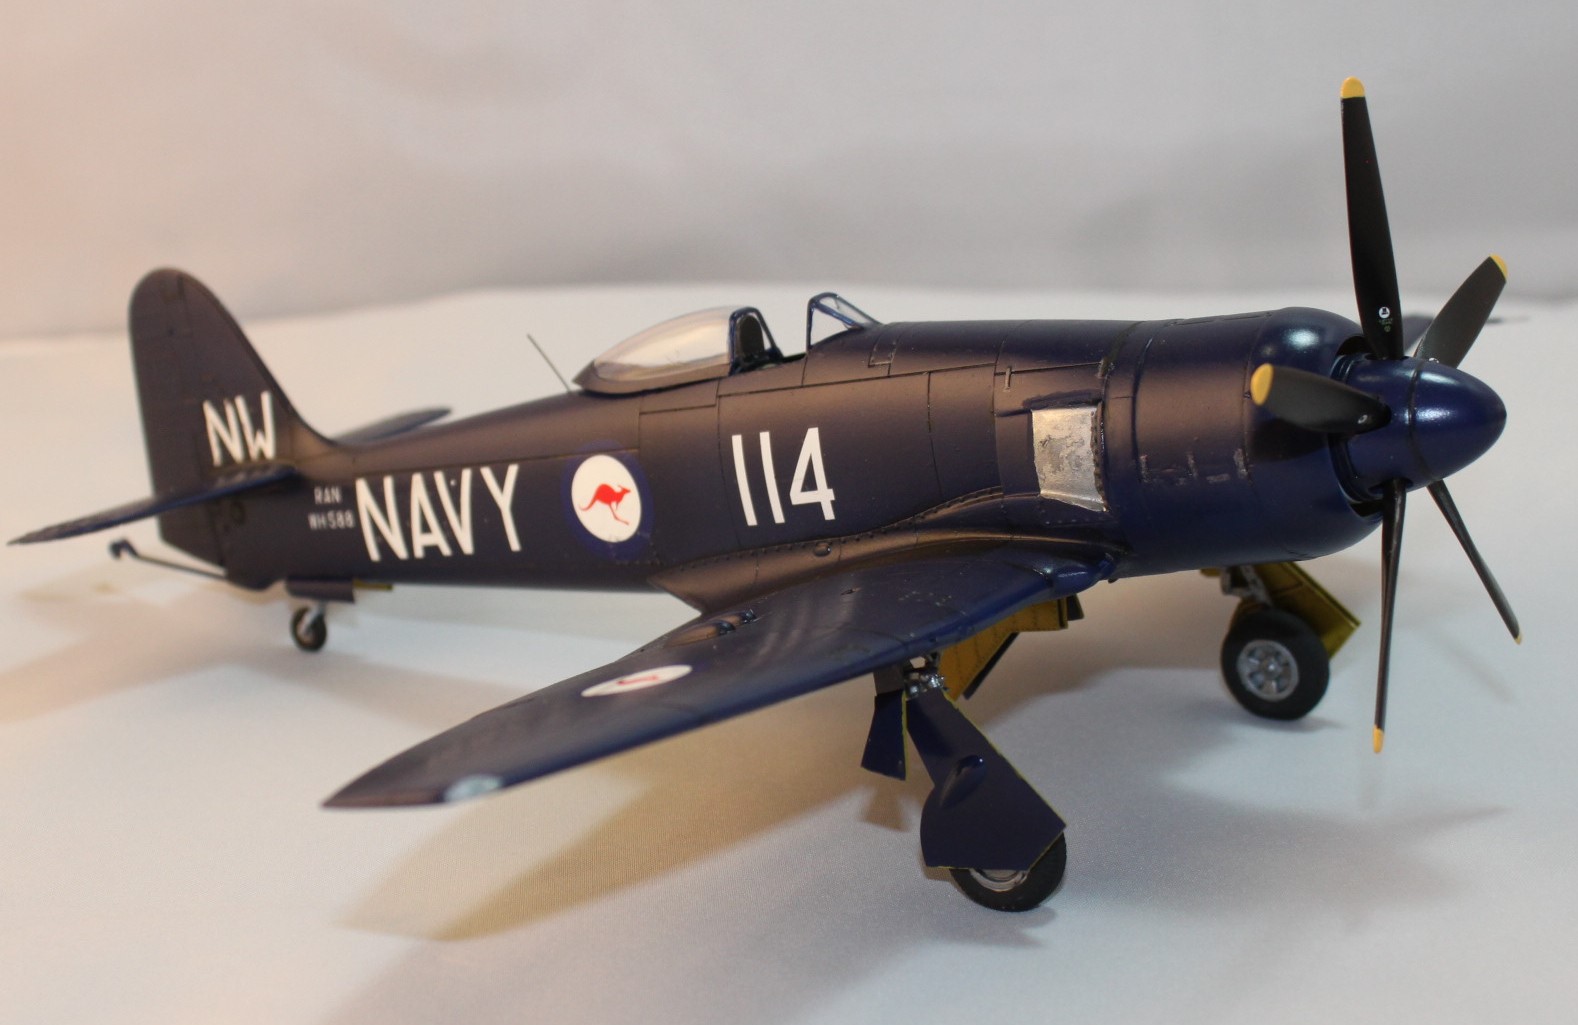
I used Tamiya Black Panel Line Paint solution to pin-wash the panel lines, recesses, etc. I’ve learned to really like this stuff. It flows well into panel lines with capillary action. There are plenty on this kit, and the contrast is realistically subtle. I went a little heavier on the wheel well areas to replicate a suitably dirty aircraft stationed aboard a Korean Era carrier. A coat of Vallejo Satin Clear toned down the shine for a realistic finish and got the kit ready for final assembly and detailing.
The gear and wheels, tail hook, nav. lights and other small details were attached, and the model was done. The last thing I did was apply Vallejo Acrylic Chrome to the exhaust panels with a brush. I wish I’d taken the time to mask and spray it. Not exactly a weekend kit, but not a difficult build. I spent about 45 hours total on assembling and painting this fine kit, not including set or dry time. If I did it again, I’d tweak the blue color a bit. My use of thinned Humbrol Oxford Blue straight from the tin seems a little too dark and needed a little moderation of the color and sheen to be more effective. I’d prefer a lighter version, suitably matched to the panel line weathering, but I was pleased with the final outcome.
Very highly recommended, and a very reasonable price point at $32.99. Order from the Airfix website or your favorite hobby shop today. Thanks to the IPMS Reviewer Corps and Airfix/Hornby for the opportunity to review this kit.

Comments
Airfix Sea Fury
Something that you seem to have overlooked in the review is that there is no gunsight provided in the kit.
Add new comment
This site is protected by reCAPTCHA and the Google Privacy Policy and Terms of Service apply.
Similar Reviews