Published on
Company
Scale Aircraft Conversions
Scale
1/48
MSRP
$17.95
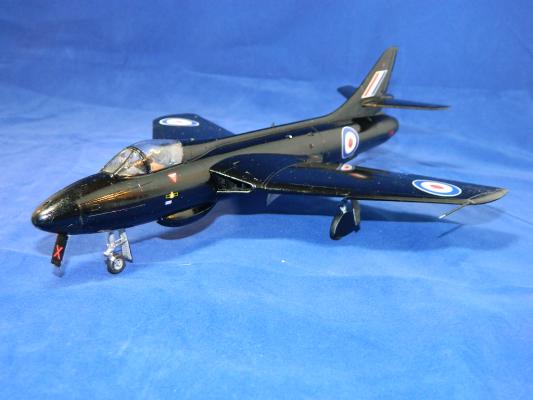
SAC once again provides a very nice set of cast metal gear to help your model stand out in public places.
This set is the usual SAC total replacement of the kit items, with improved assembly and ease of installation.
The other benefit I n this case is the axle assemblies are metal verses plastic. No broken off axles after a hard landing (just bend the gear back into place). The debris deflector is strong and in two halves and cleans up well after assembly. I only installed ½ of the deflector on the photographs as the kit is still in the construction phase, and this review is more about the gear and how it works…