Thank you to Mr. Neil Yan of HK Models and the IPMS Reviewer Corps for the opportunity to review a wonderful new model release in large-scale aircraft. This next installment covers the waist interior and fuselage assembly, which is from the ring mount around the ball turret through the Cheyenne tail turret, and closing up the fuselage. I originally thought it might be more instructive to work up the armament first, but after reviewing the kit more with some experience, I elected to skip the all of the cool-looking 50s and describe them when they get installed. Instruction steps 15 through 25 are used to construct this subassembly.
Welcome to the IPMS/USA Reviews site!
Introduction: The primary organization of the IPMS/USA Review website is by IPMS/USA National Contest Class. Within each Class there are sub-menus by kits, decals, books, etc. The Miscellaneous Class is for items that are not class specific or that cross two or more classes.
IPMS/USA Members: We encourage you to submit reviews, both here and to the Journal. To volunteer for membership in the IPMS/USA "Reviewers Corps" and submit your own reviews, please read the Guidelines For Submitting Product Reviews.
Manufacturers, publishers, and other industry members: IPMS/USA is pleased to offer your company the opportunity for product reviews. All product reviews are performed by IPMS/USA members, and are posted in the publicly-accessible section of our website. With very few exceptions, we perform full build reviews of new kit releases, aftermarket products, and supplies. If you would care to provide product samples for review, please contact John Noack, IPMS/USA 1st VP.
To learn more about IPMS/USA, please see our About Us page.
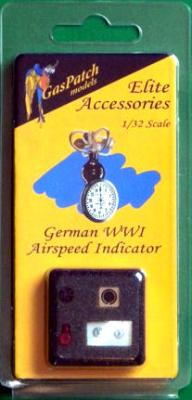
The cascade of kits, aftermarket details sets, and decals for WWI aircraft has given model builders reason to play in an appealing arena that only a few had the nerve to venture into in the past. Because most of these products have been conceived and produced in the last four or five years, current technologies have blessed builders with ever-improving quality. And, since the level of detail molded into today’s kit components – especially in 1/32 scale – is literally breathtaking, any aftermarket detail that is introduced into the fray must equal or surpass what will be found inside the kit box.
For the longest time, the only 1/48 scale model of the workhorse Sikorsky H-34 helicopter was made by Revell, whose molds at one point were rumored to be “lost at sea.” Then, after being missing in action for nearly 25 years and fetching high prices on eBay and elsewhere, the venerable Revell kit was joined by a new-tool H-34 coming from MRC’s house brand Gallery Models. The announcement was released in 2012; MRC displayed test shots and box art for two forthcoming versions in Orlando at the 2012 National Convention – a USMC version and a US Navy version. The USMC version is the subject of this review.
When you open the largish box, you are greeted by no less than 231 parts on eight sprues of light gray plastic, three sprues of clear pieces, and two frets of brass photo etch parts. Decals are provided for three different H-34’s:
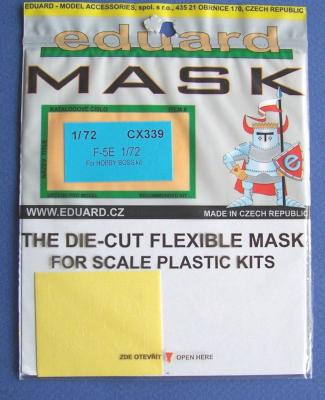
Eduard has been producing model-specific masks for a while now, but this is only the second set I’ve used. This one is a die-cut set specifically designed for the HobbyBoss F-5E kit and contains masks for the canopy, windscreen, main wheels, and nose wheel. In the package is a single page of instructions and a small square (about 1.5 inches) of masks on Kabuki type tape. You have to look closely at the yellow square since the laser cut lines are delicately inscribed.
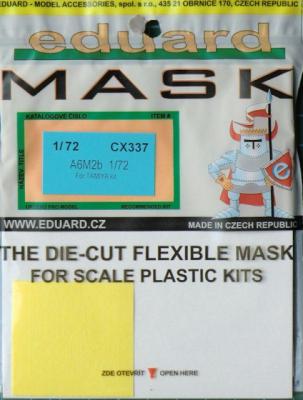
Eduard Mask CX337, A6M2b, is intended for Tamiya’s recent Mitsubishi A6M2b Zero Fighter (Zeke) (Tamiya item no. 60780) in 1/72 scale. The package consists of one sheet of diecut masks for one model and a set of instructions. The masks are for the aircraft’s canopy and main wheels. The kit comes with a closed canopy (1 part) and open canopy (3 parts).
The masks may require careful cutting at some corner points to ensure they separate cleanly from the paper backing. Use a sharp hobby knife, preferably with a new blade. With the exception of the masks used in the center section of the canopy (the portion that slides open), all of the masks fit well within their panes.
The masks for the center portion were too large, requiring some careful cutting down to size. If your manual dexterity isn’t all that great, this is a nerve-wracking task—and it defeats the purpose of masks in the first place!


