
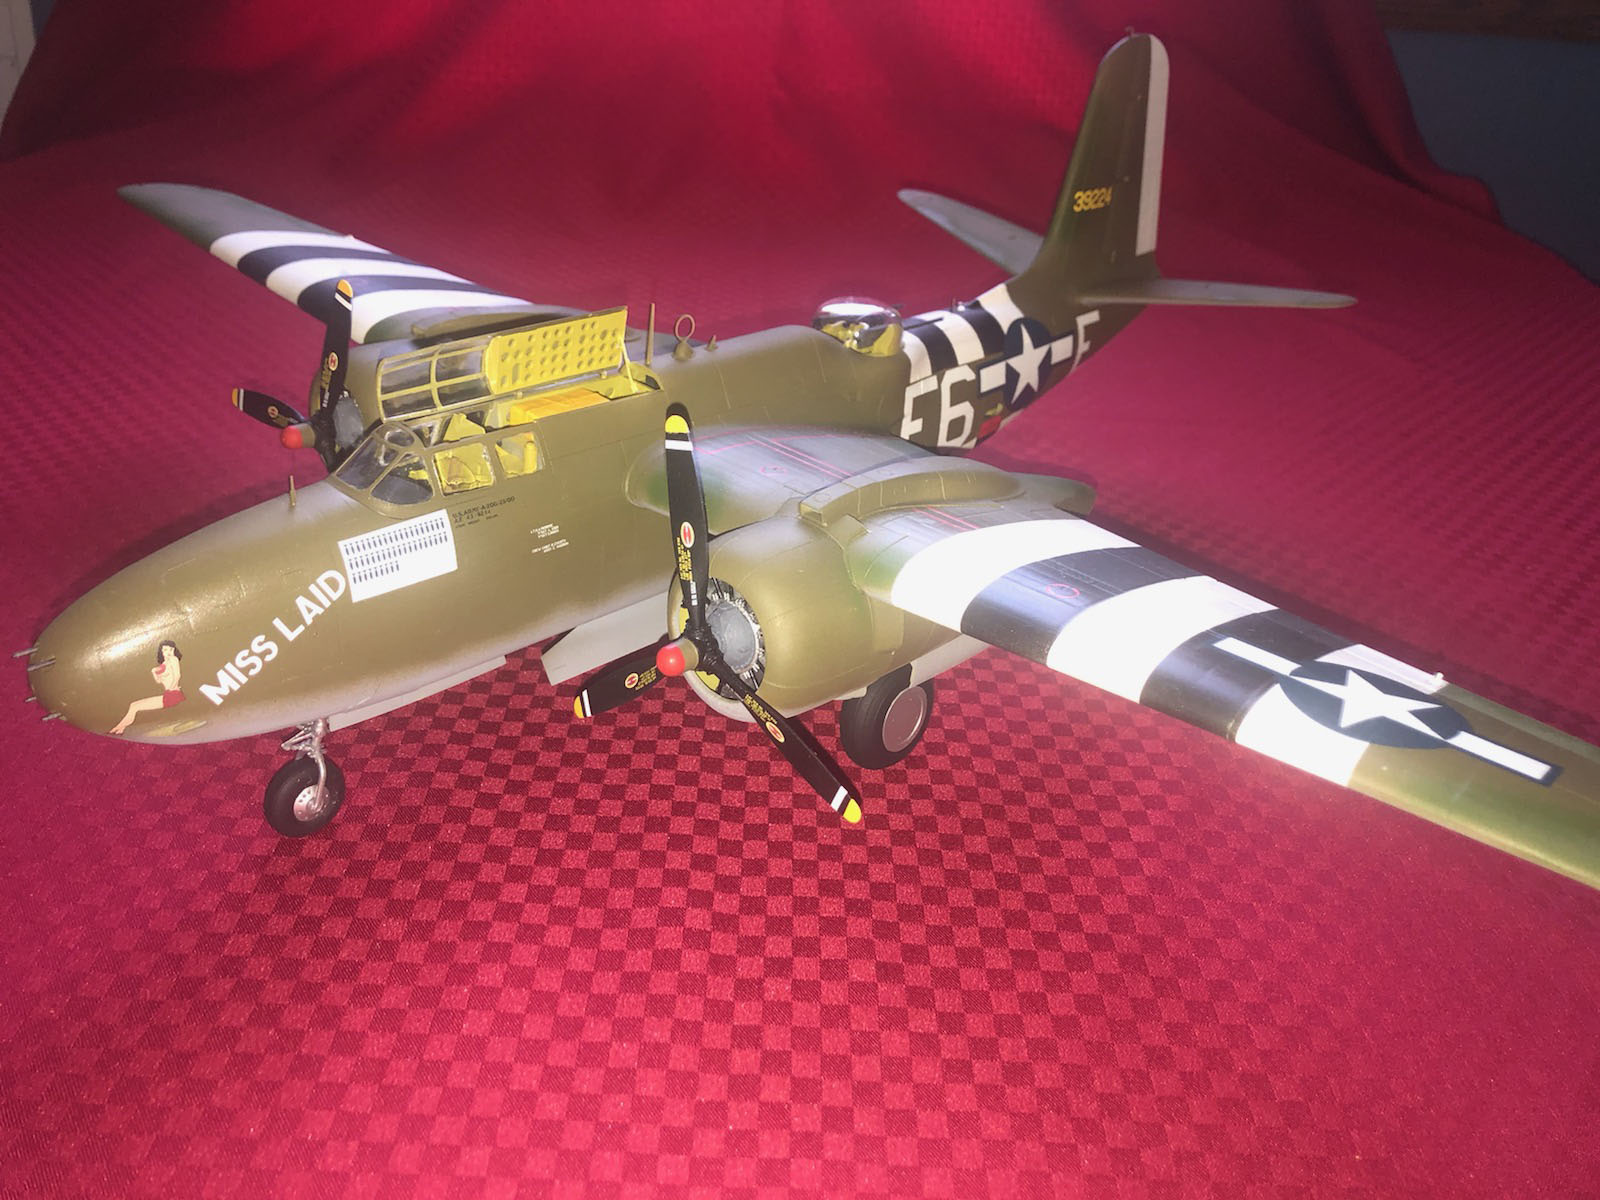
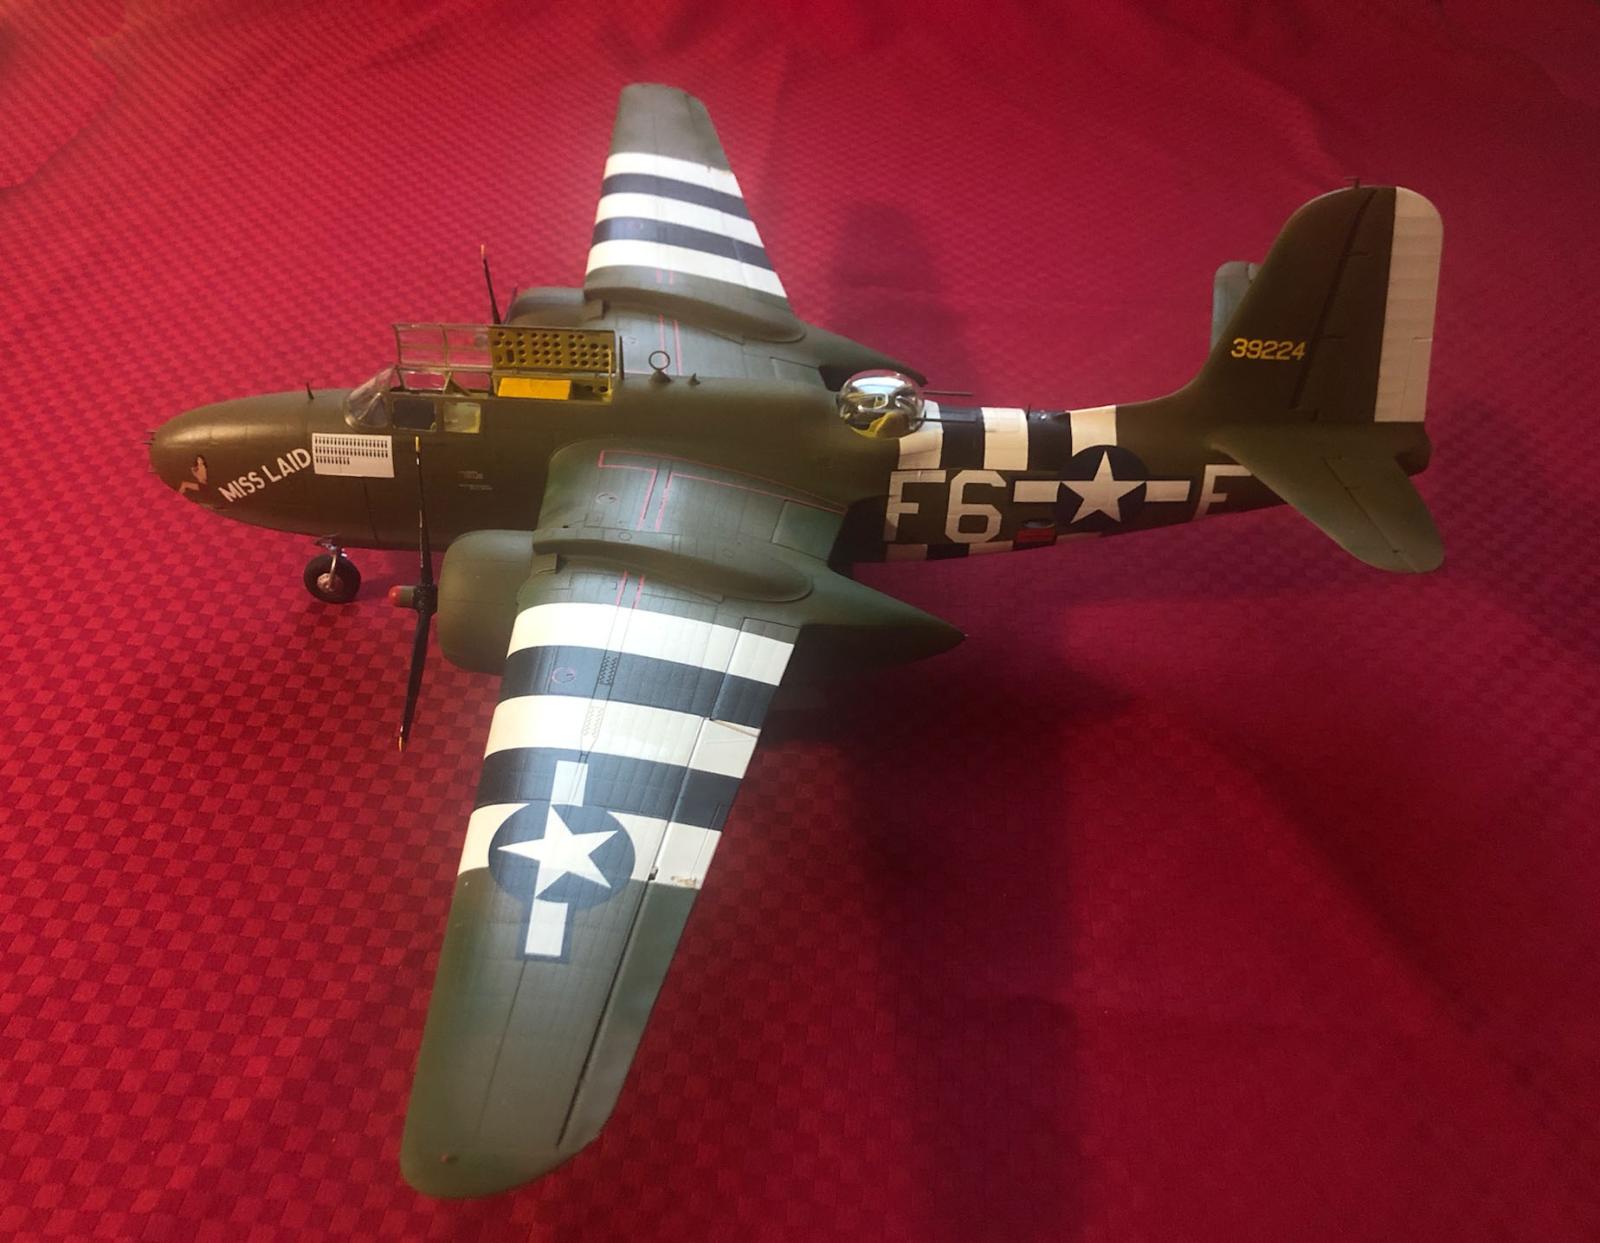
A-20G Havoc
The A-20 G of this kit was built by Douglas under the company designation DB-7. 7478 were built, with nearly a third of them going to the Soviets. It served in many theaters, operated by the English, French, Americans, and Soviets. It had a crew of three, with its first flight being January 23, 1939 and being retired by the Brazilian Air Force in the late 1950s. A P-70 night fighter variant was built as a stop-gap until the P-61 Black Widow became available. The A-20G had a top speed of 317mph, and a cruise speed of 280mph. It was powered by two Wright R-2600 engines with three-bladed Hamilton standard propellers and had a wing span a little over 61 feet with a length of almost 48 feet.
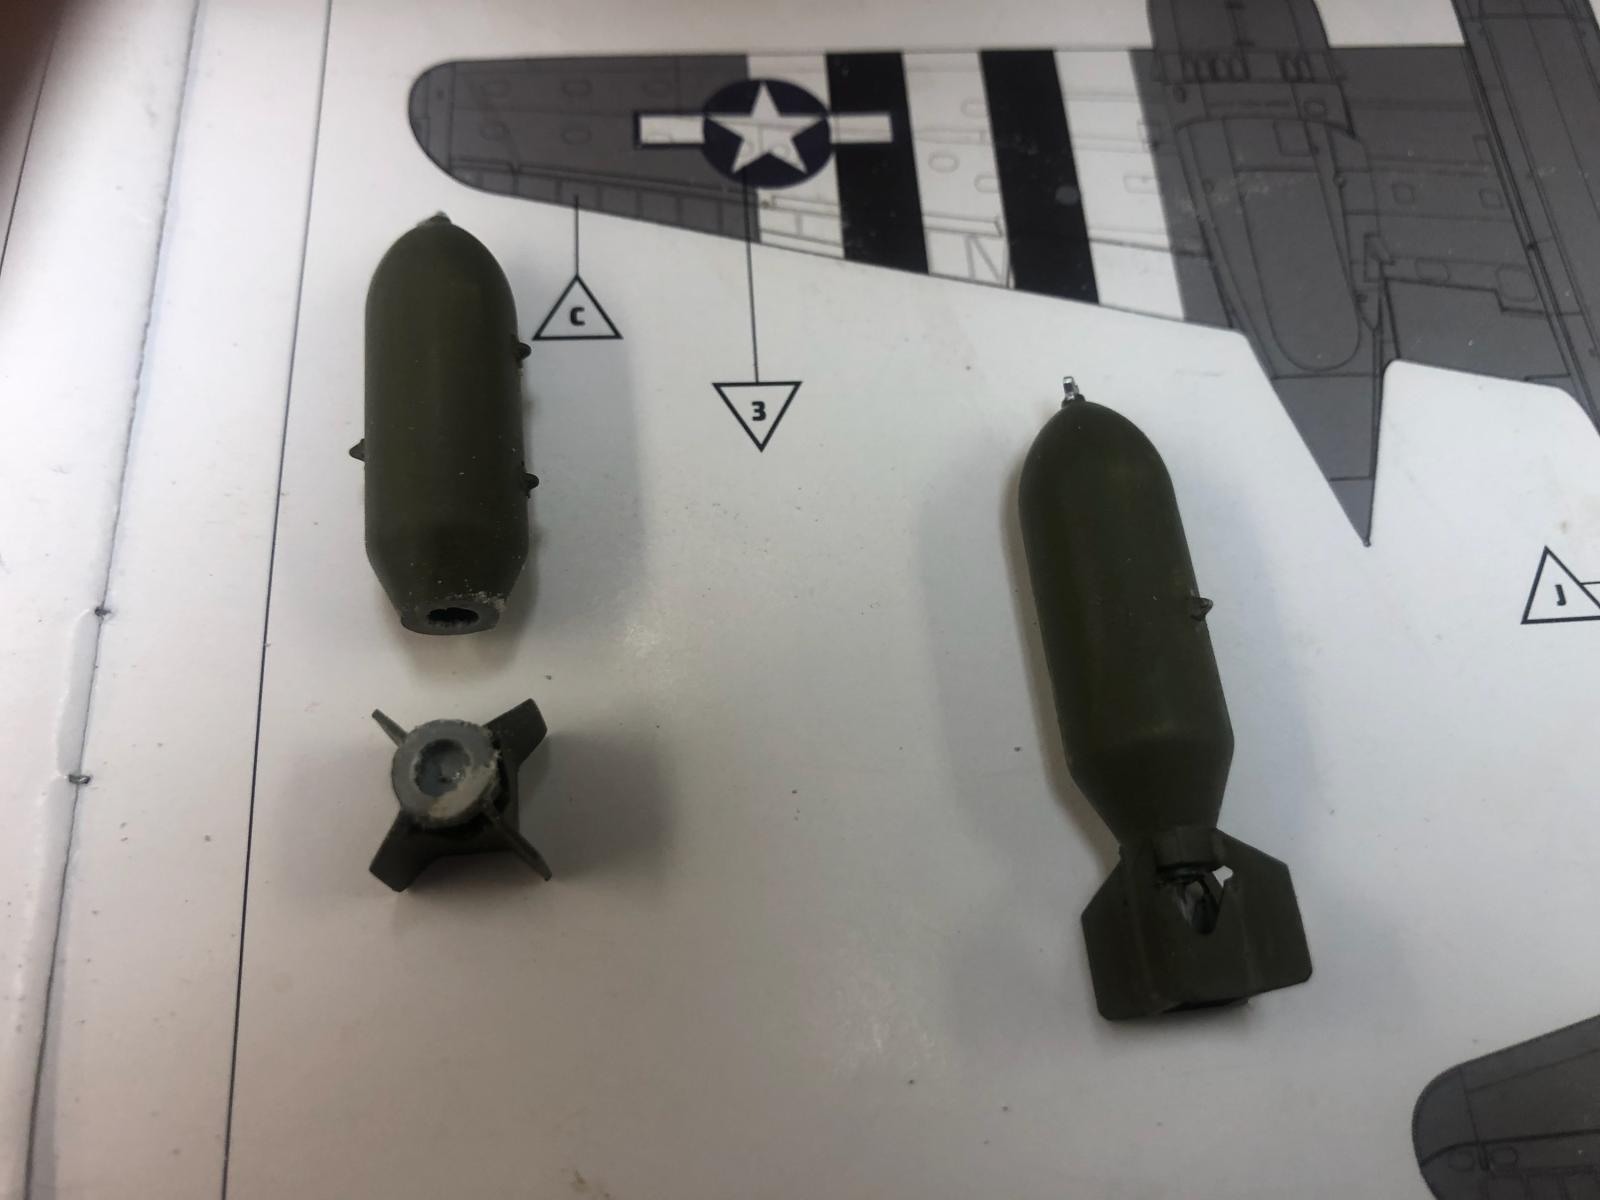
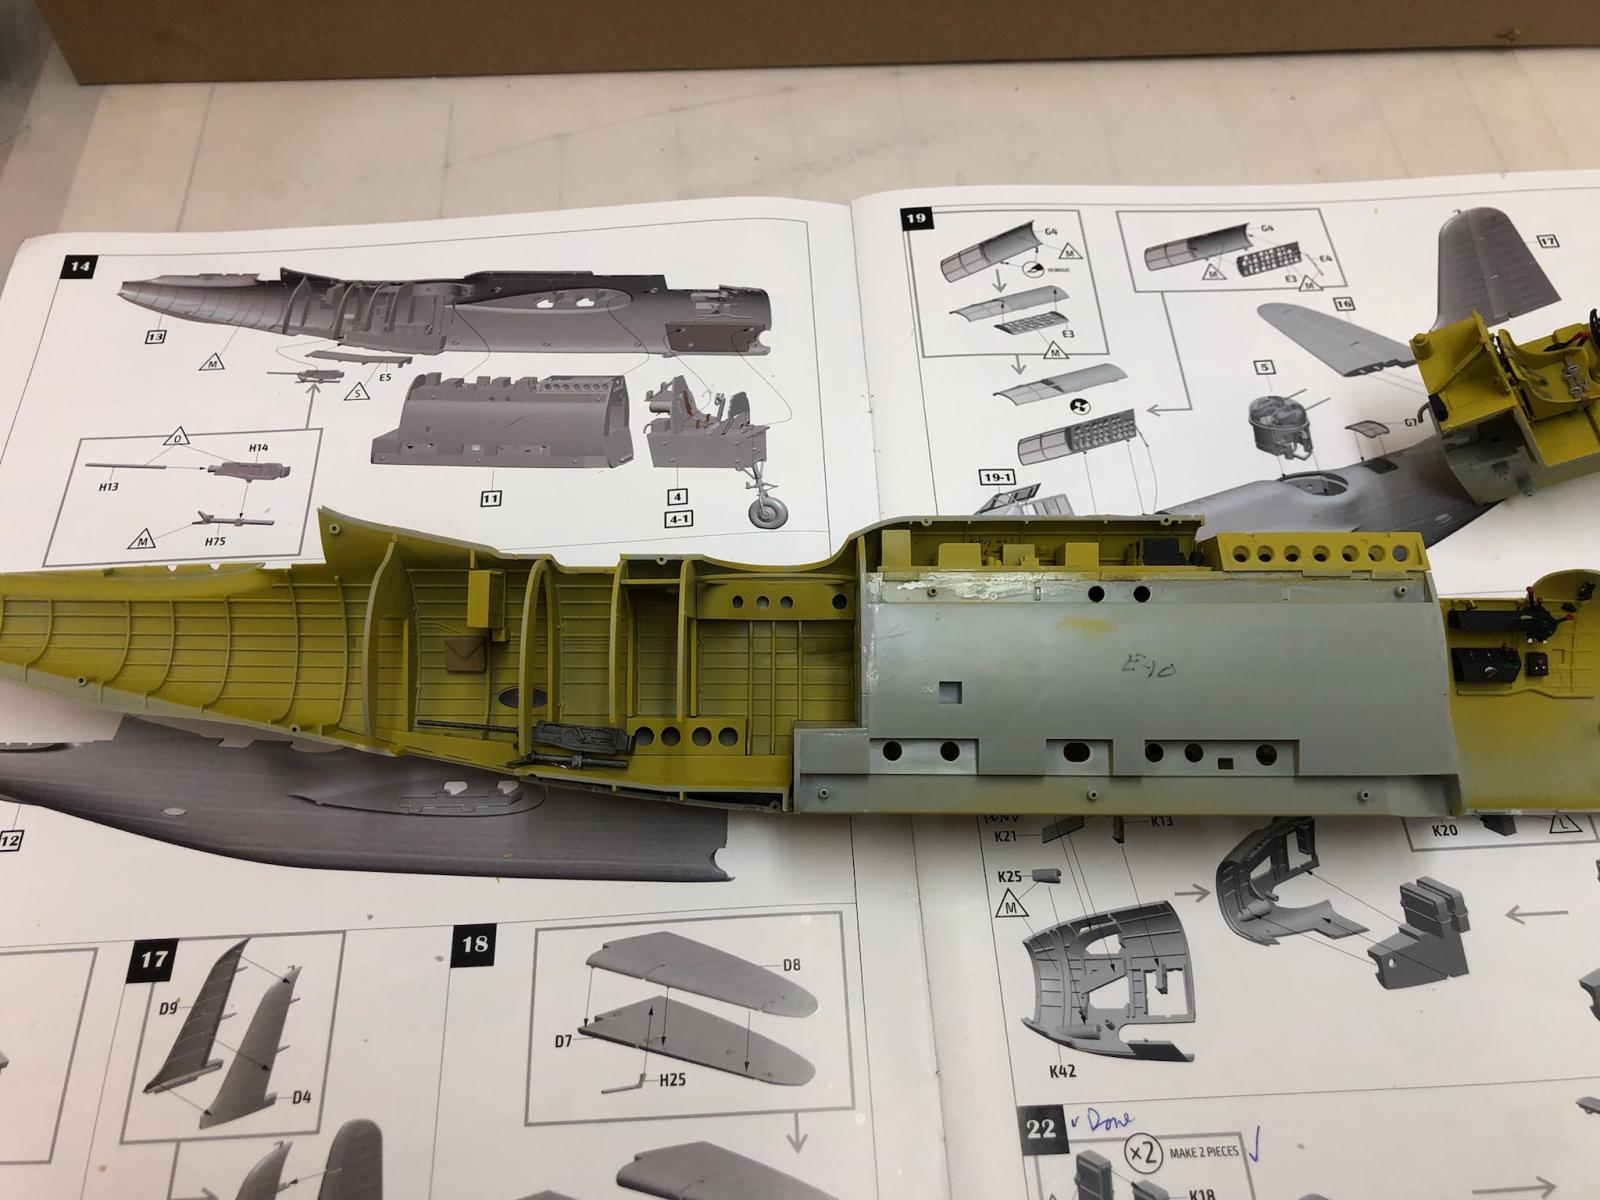
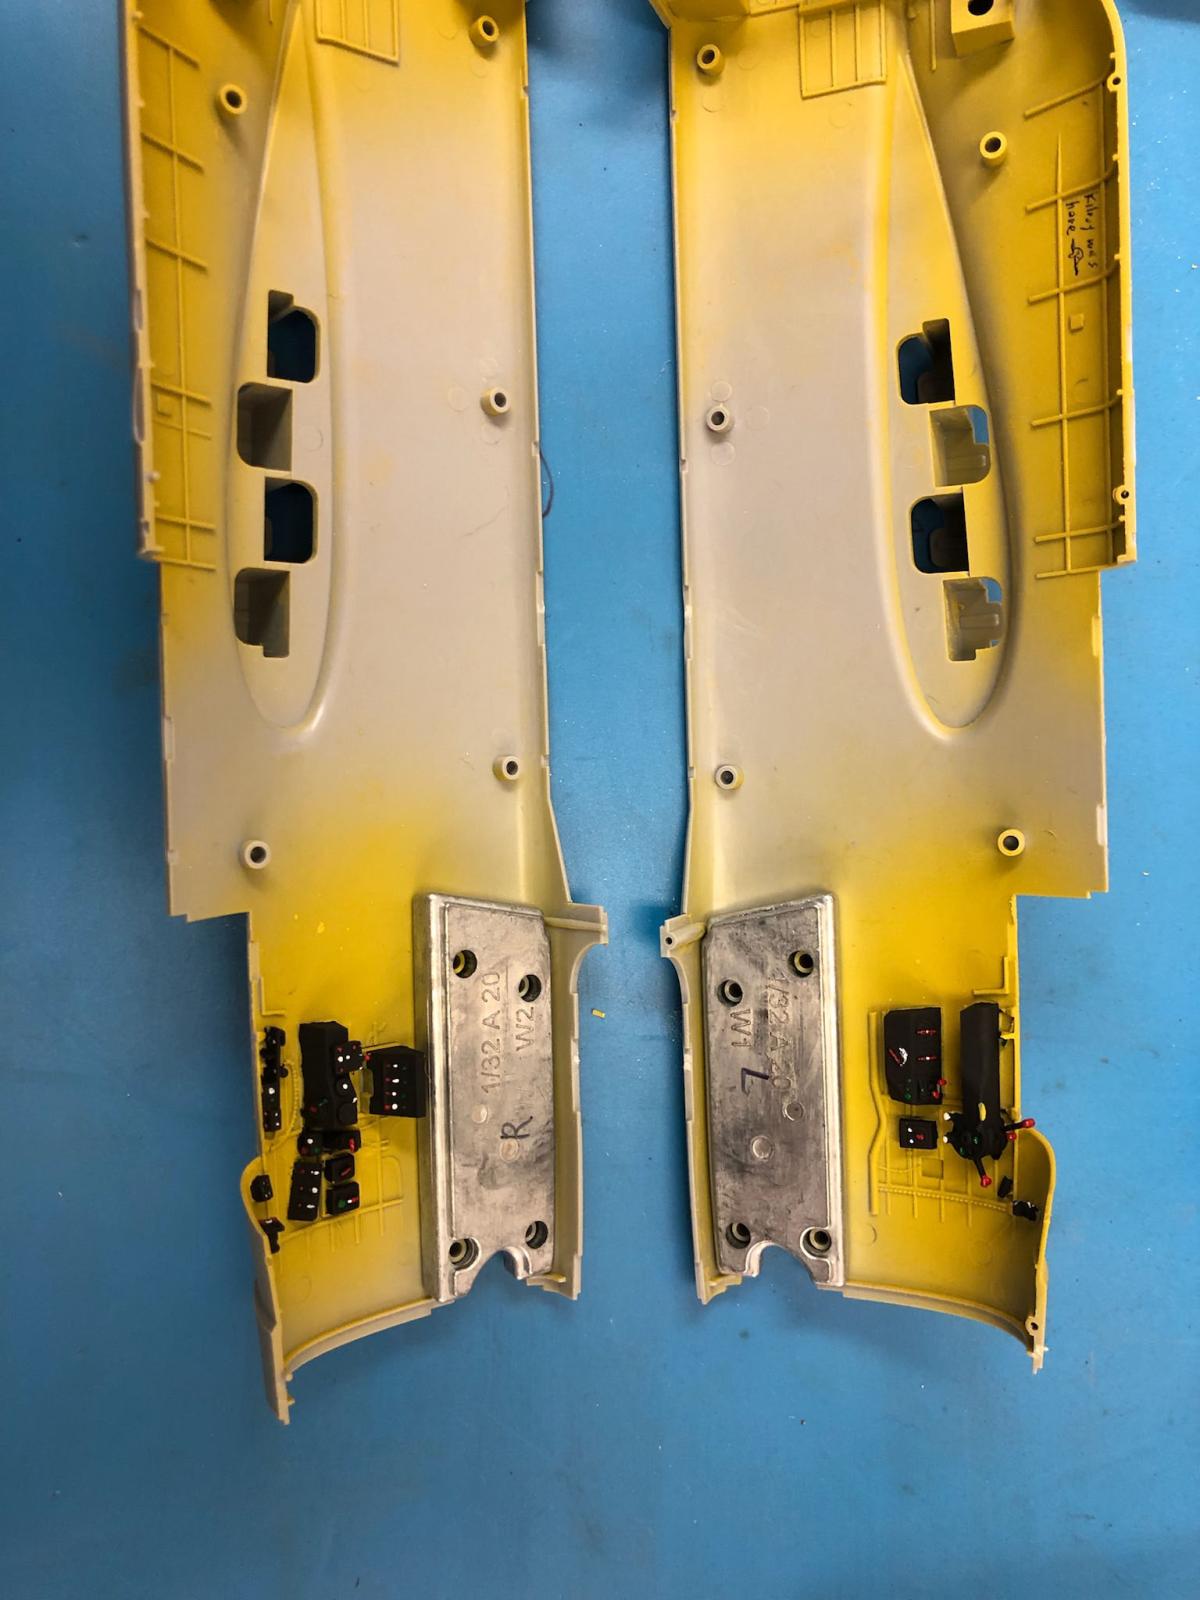
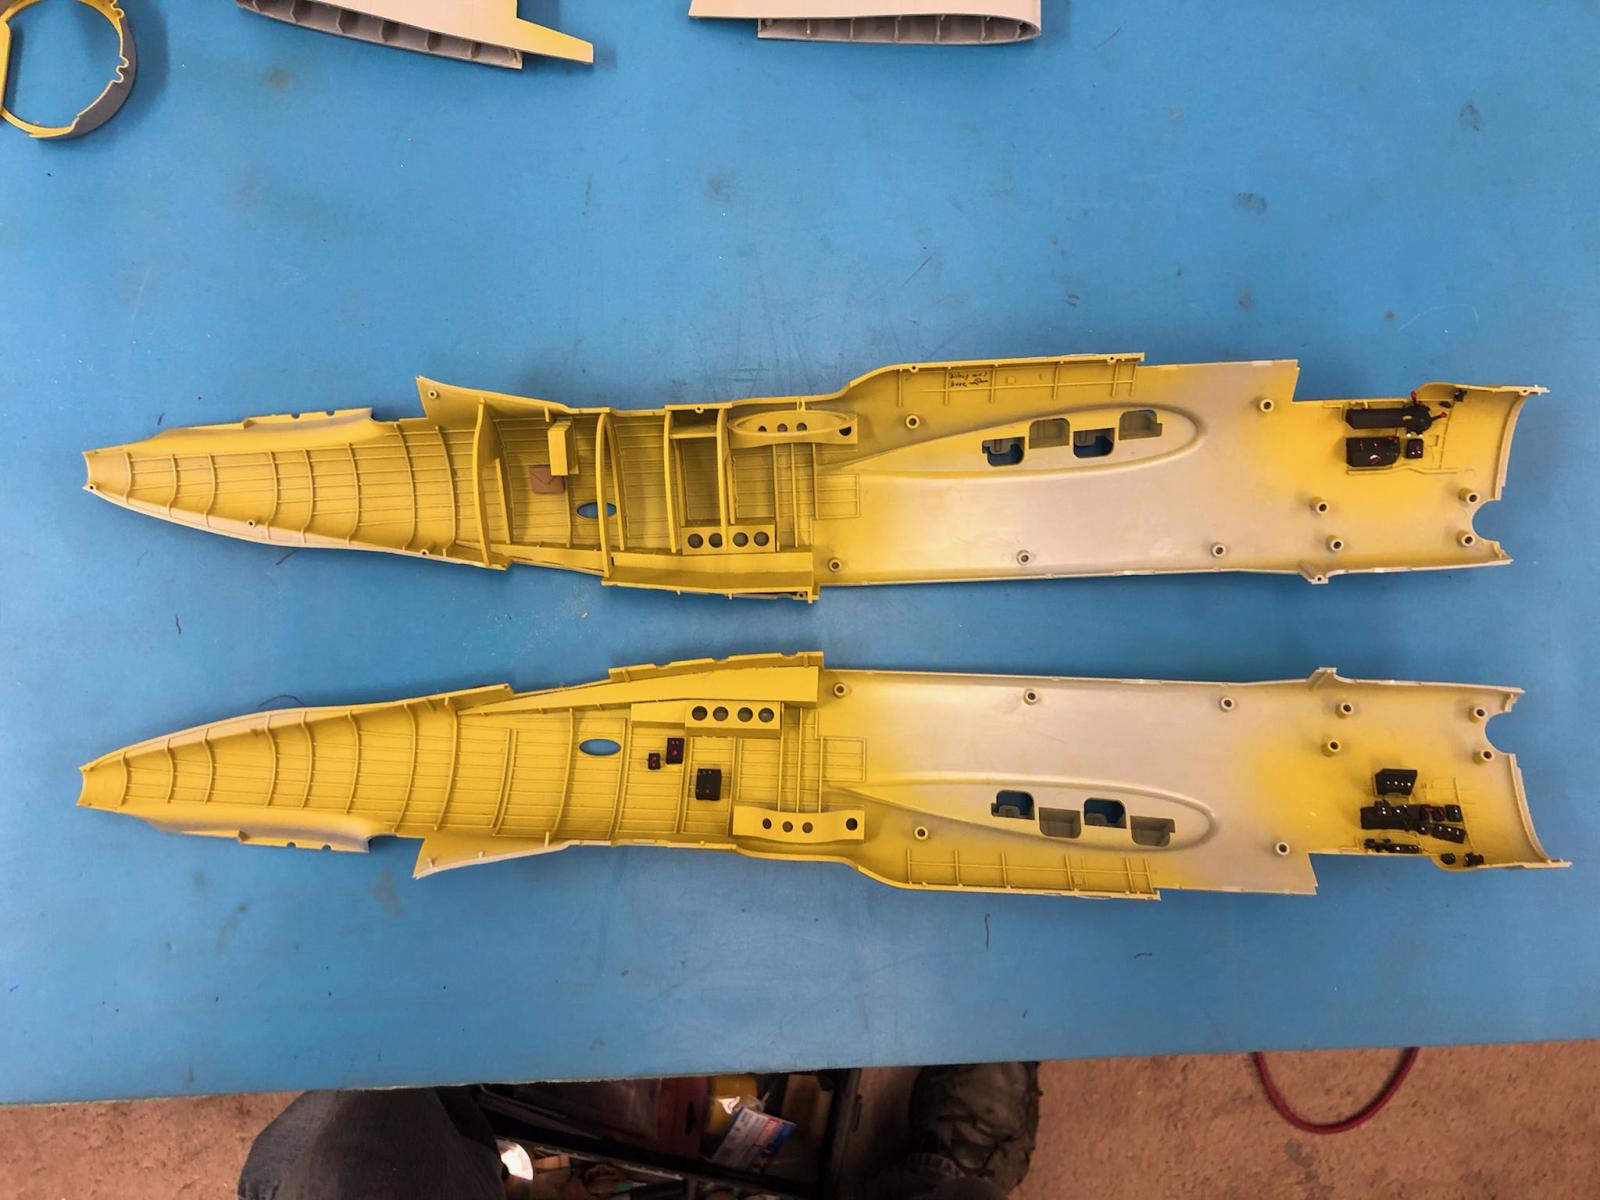
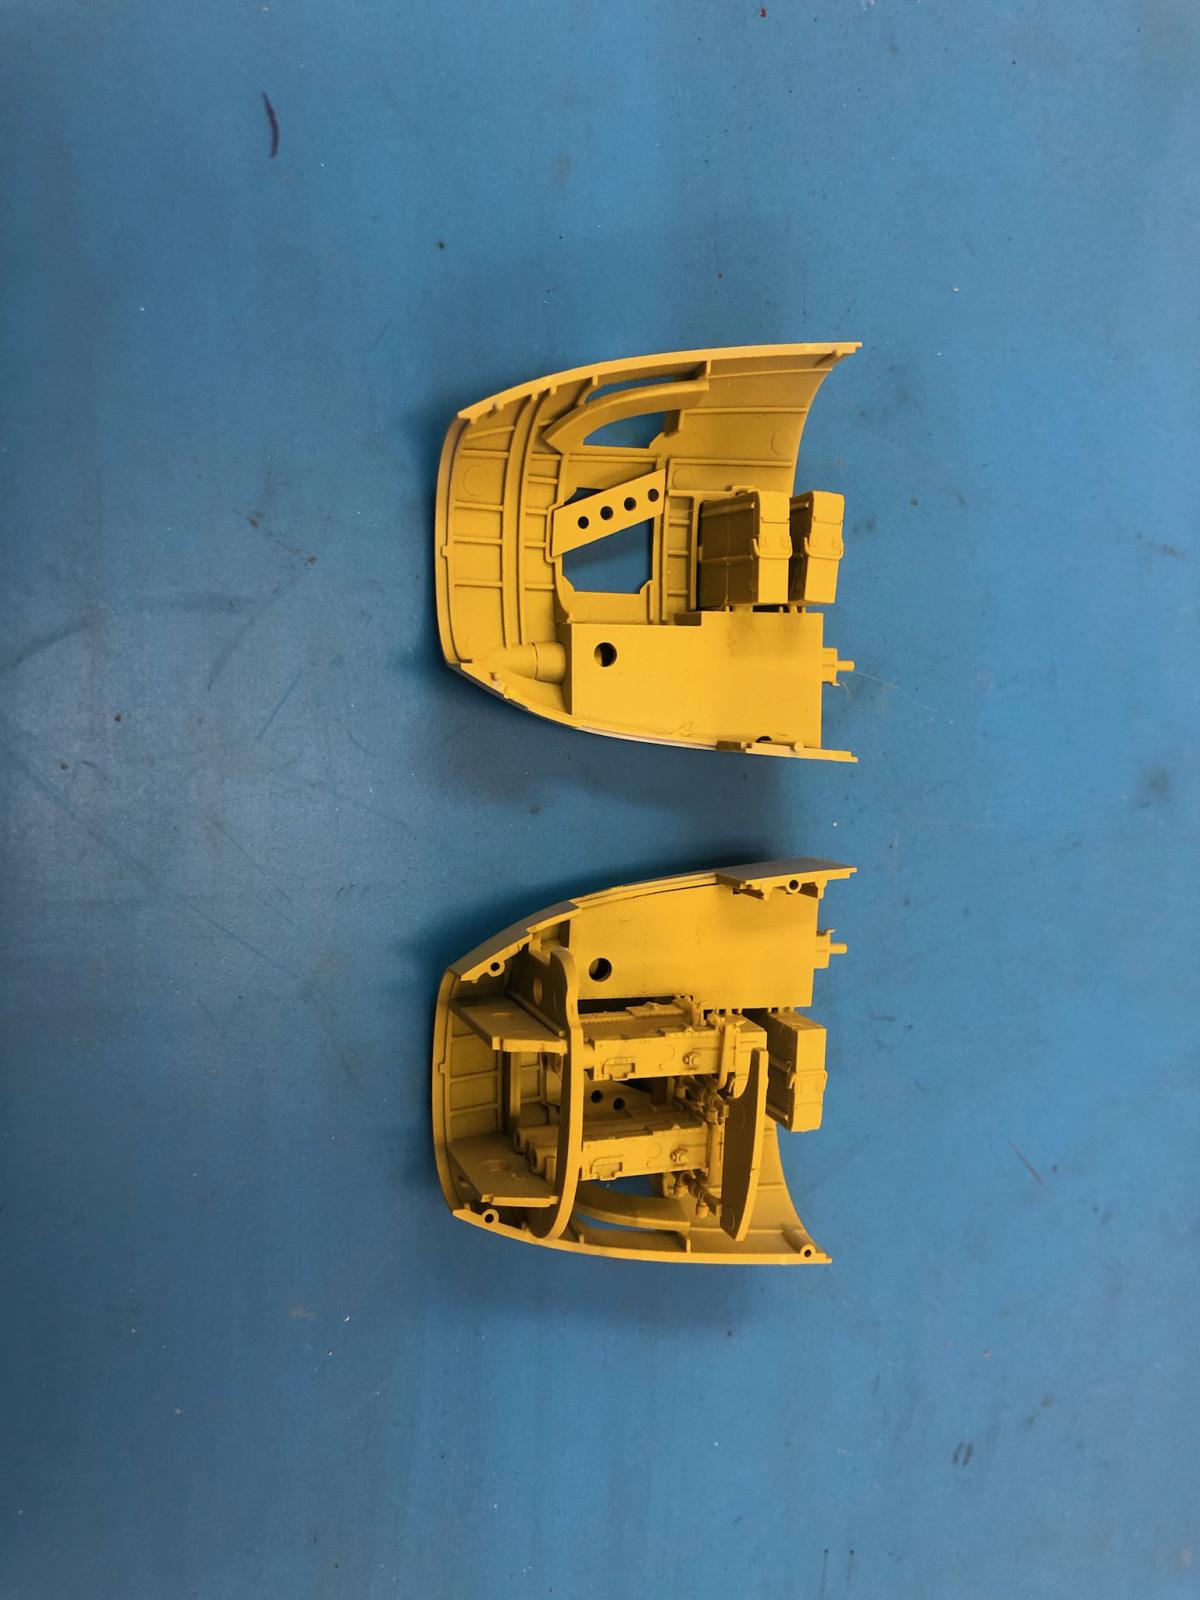
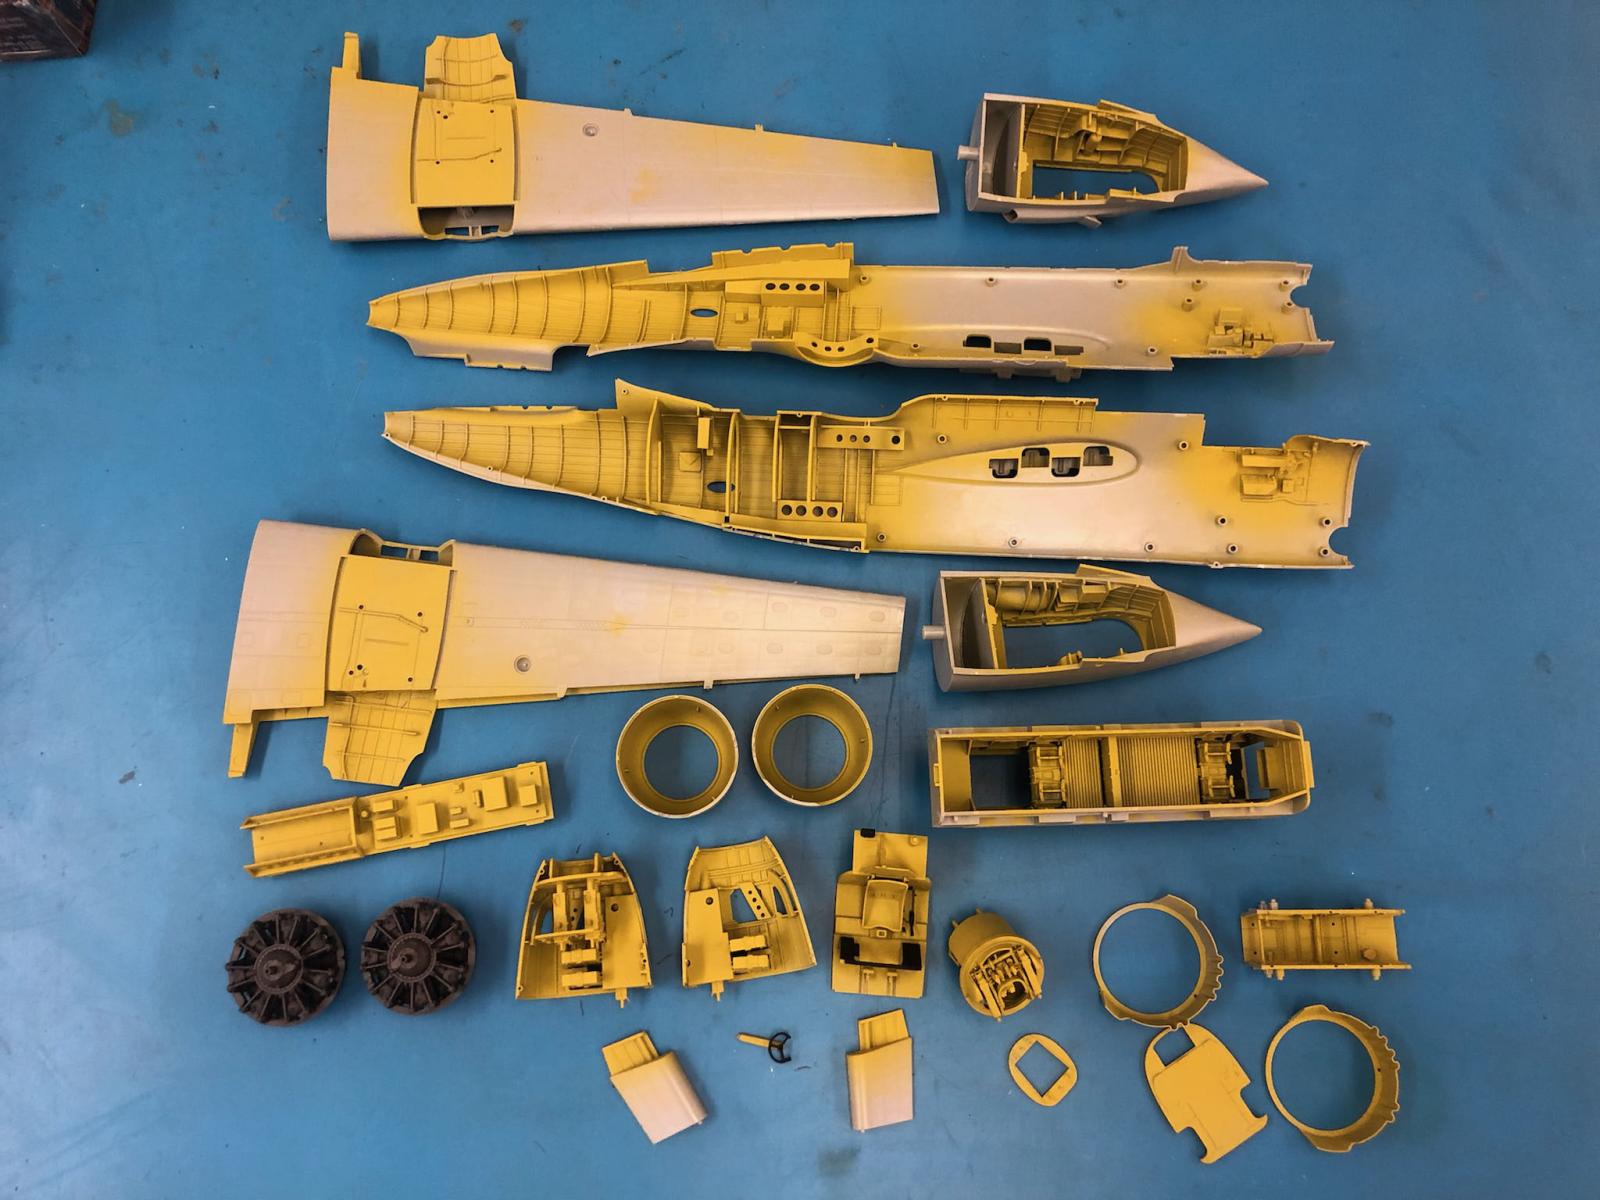
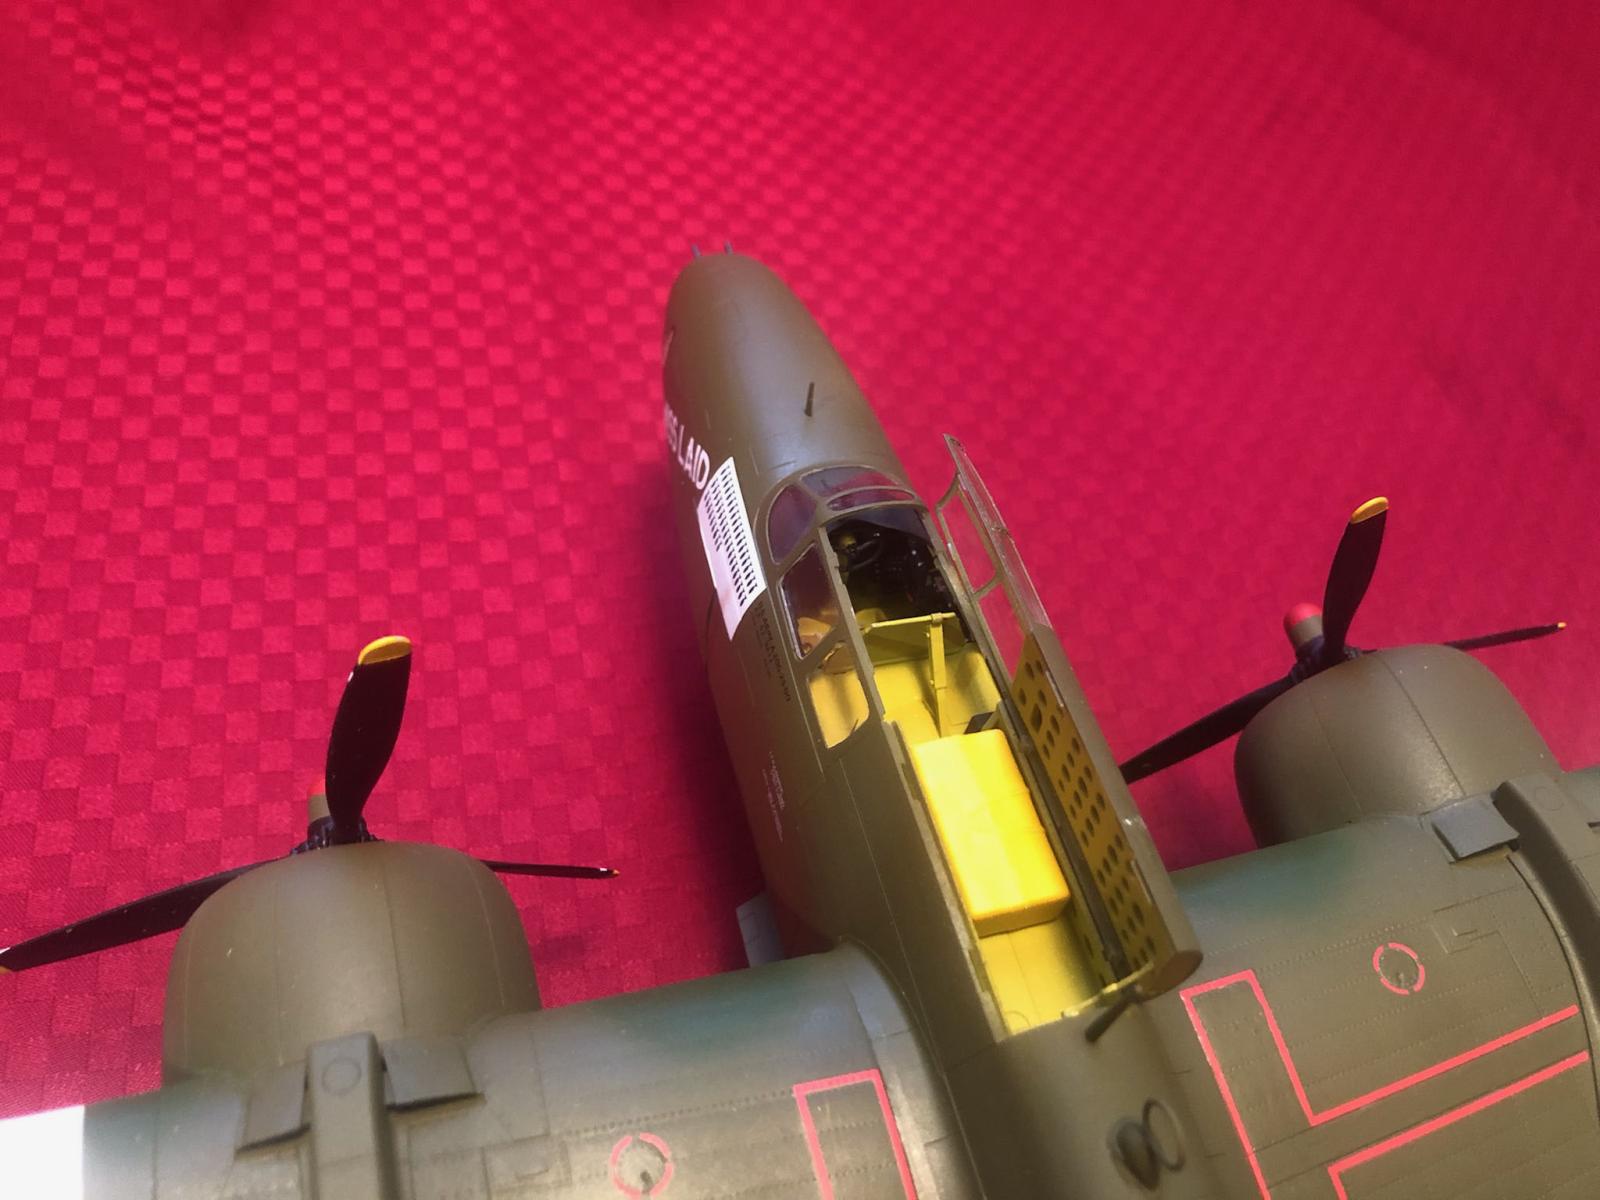
The model comes in a nice, sturdy box. It is molded in light gray plastic and boasts 554 parts. There is also a fret of photo etch. Each part tree comes wrapped in its own plastic bag and the clear parts have an added soft clear plastic over them for protection. The kit also includes two formed weights that build into the fuselage to keep the model on its nose gear. I mostly did the build in order of the instructions, leaving off only things that I thought made sense for painting. The instructions have the colors laid out for AK interactive, Gunze/Mr. Hobby, and Tamiya paint. The instructions are well laid out and clear. First off, step three: nose gear part H-1 in my kit did not have a notch in it. I added the notch. In step five, part I-22 has a temporary brace across that needs to be cut out. Also in step five, I thought it was a loose fit for the two guns for the top turret, so I centered them and glued them in place to stop them from wiggling around. The kit has a very detailed interior making most of the model double-walled. The bomb bay fit was excellent - my only trouble came when I went to put the bombs on the racks, as the fins on the bombs bumped each other. The instructions in step six show the bombs fitting without interference, so it was probably my mistake. However, to rectify my perceived problem, I cut the tail fins off and rotated them 45°
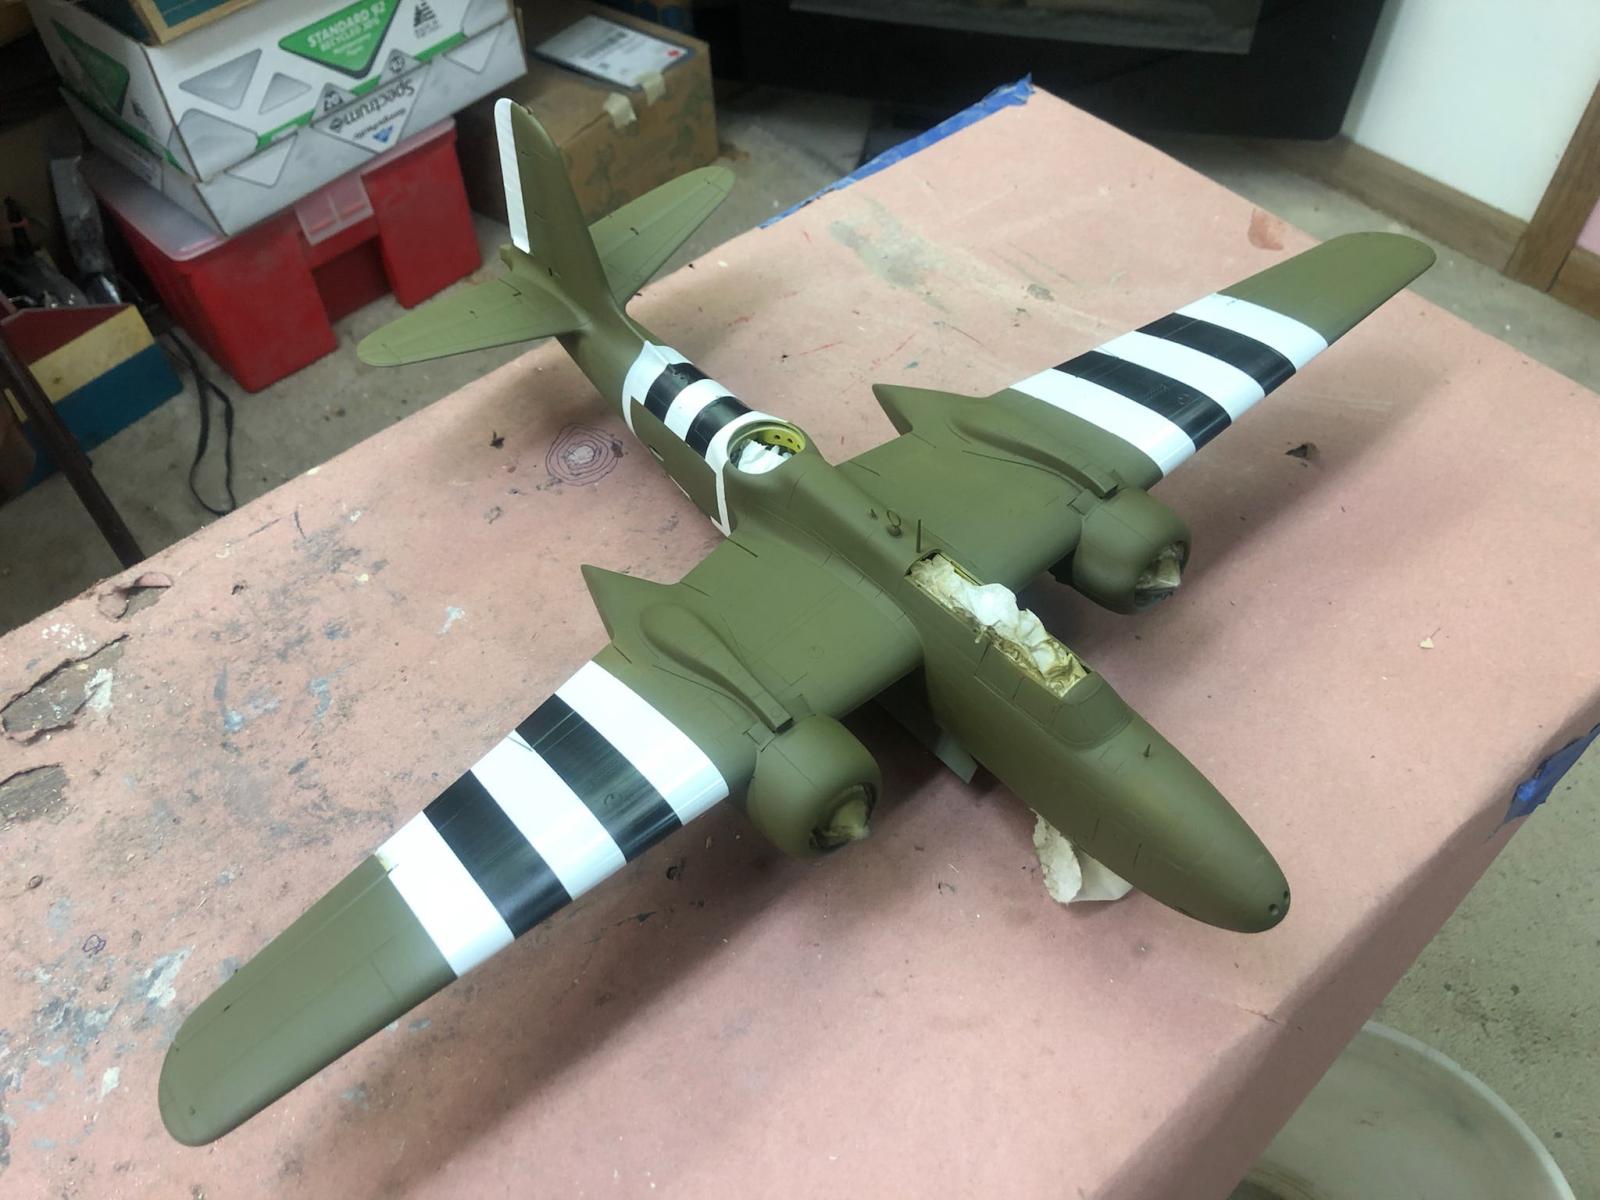
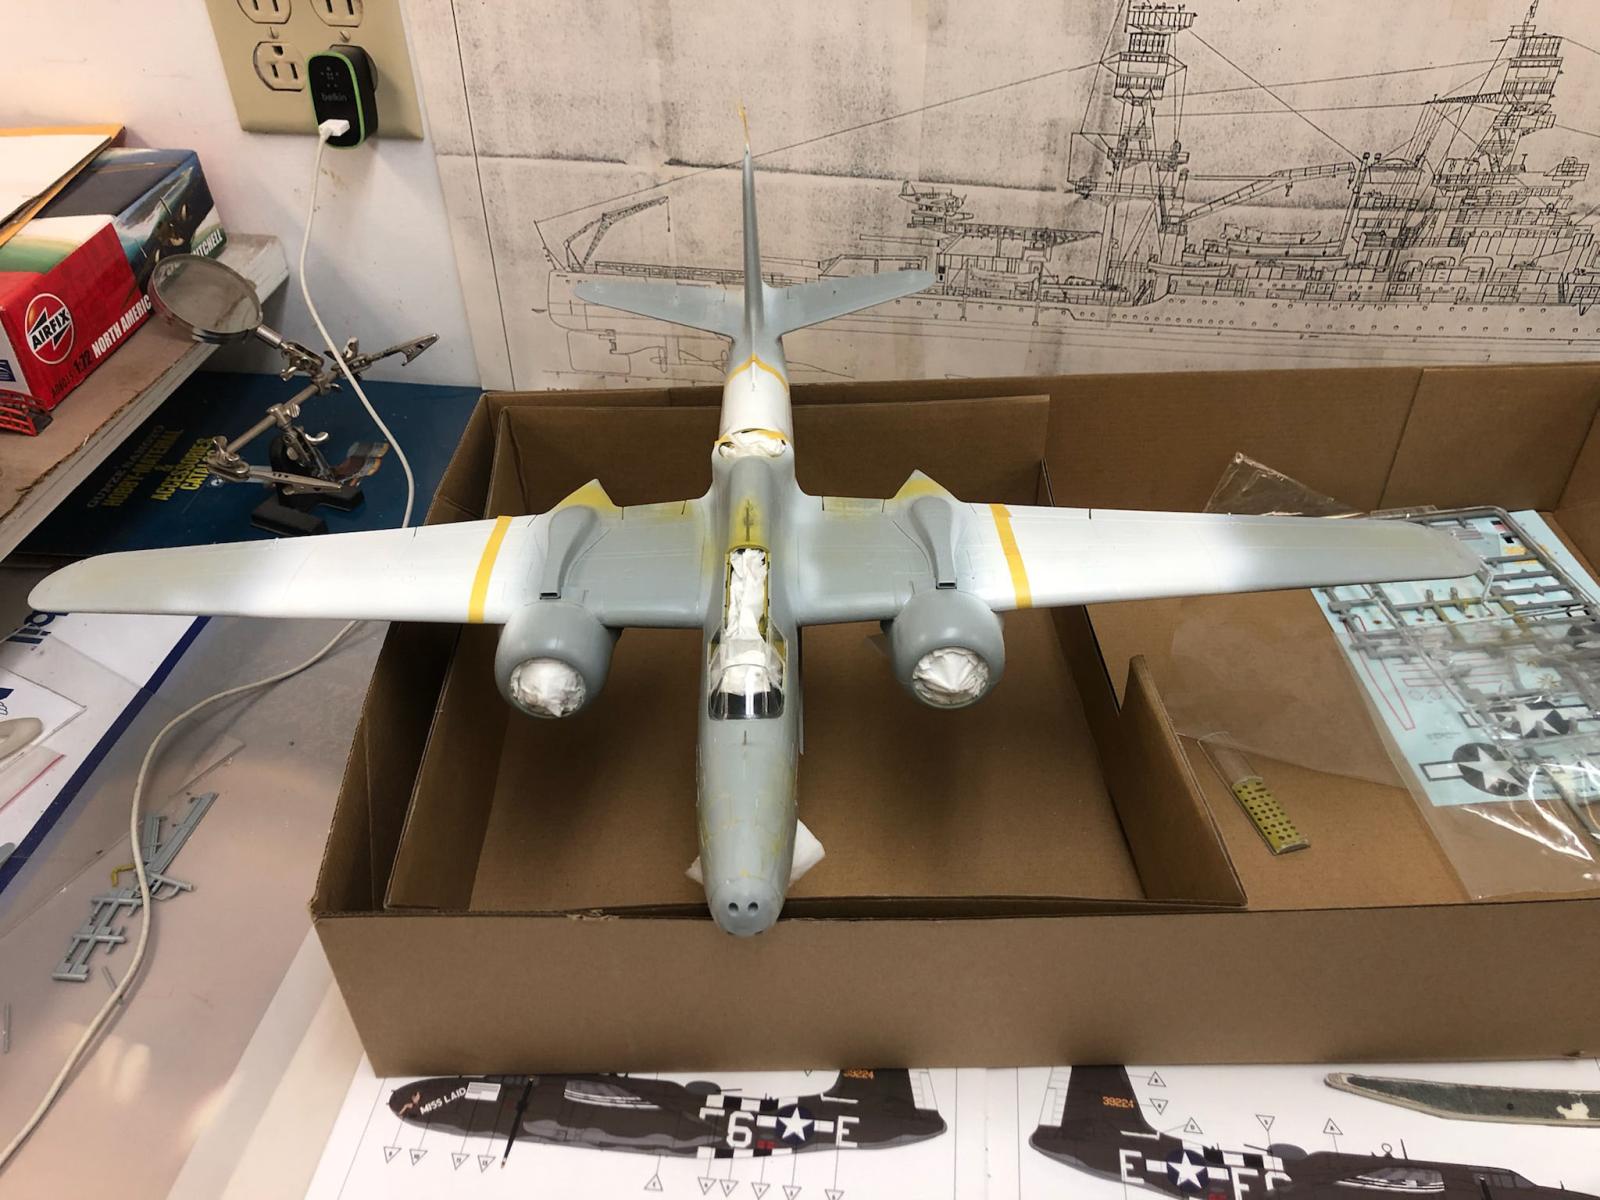
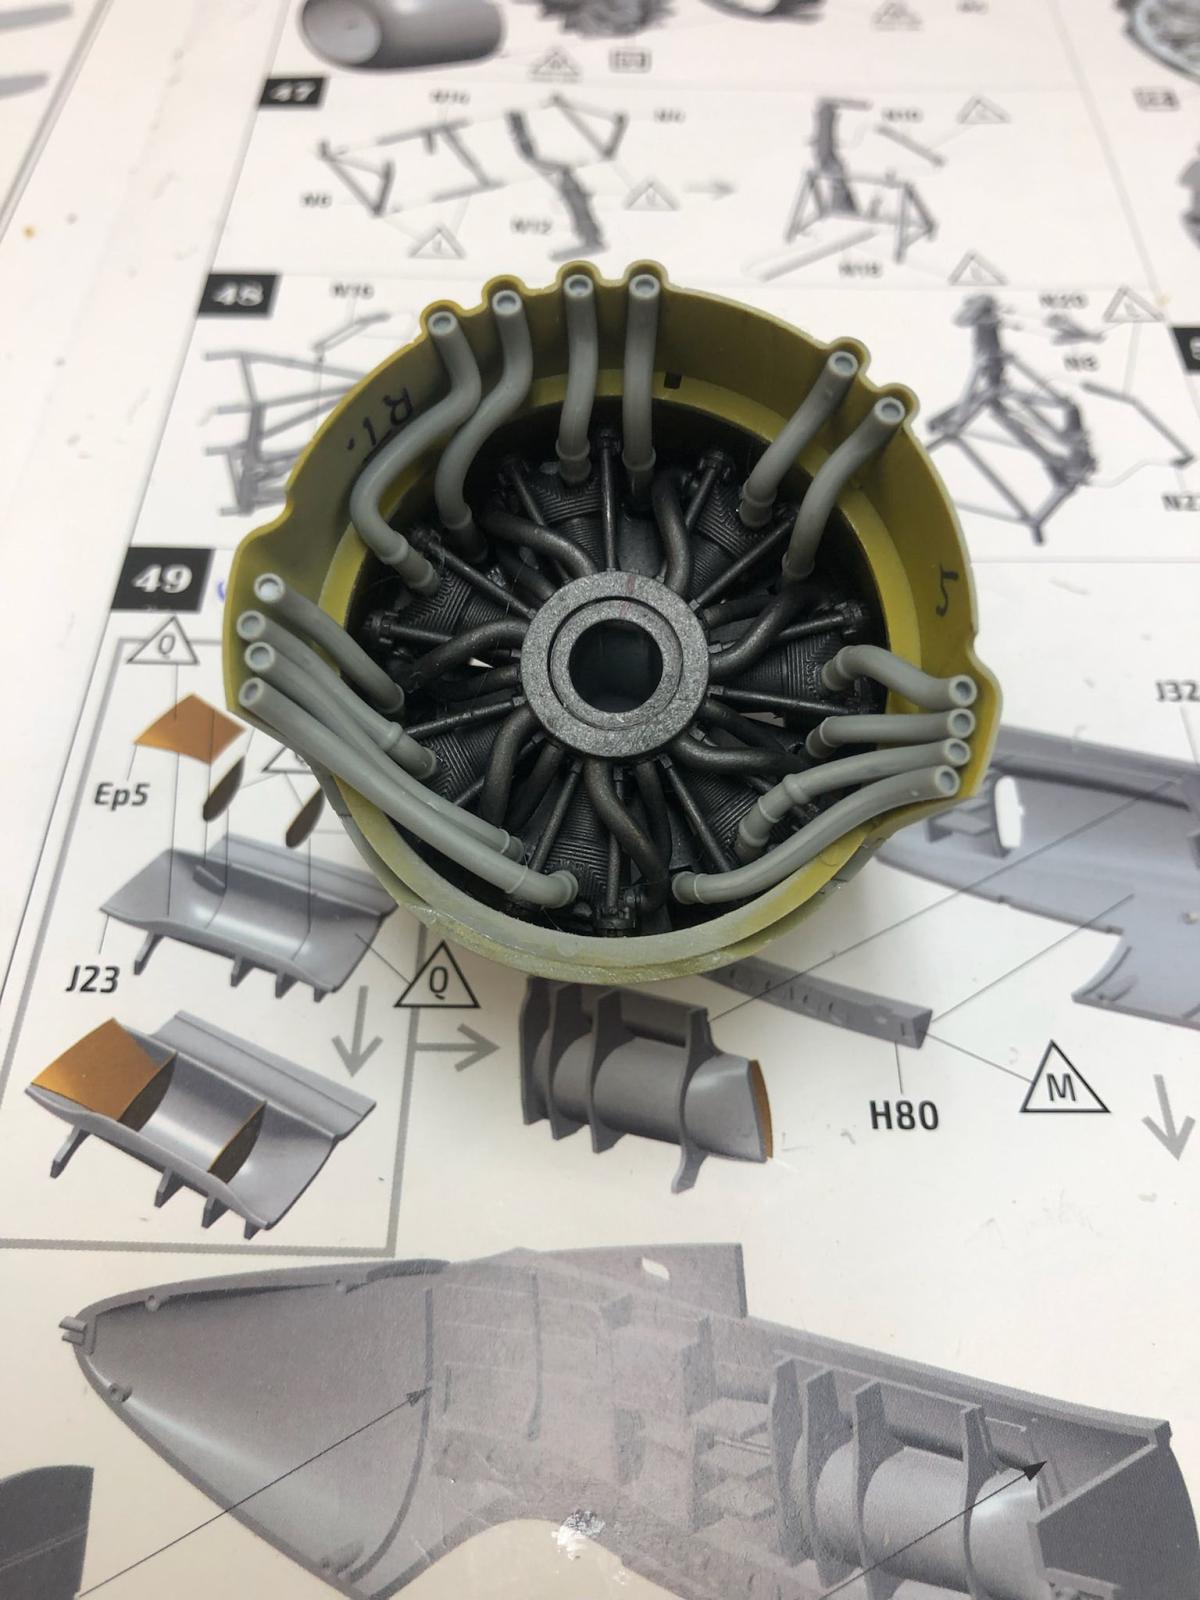
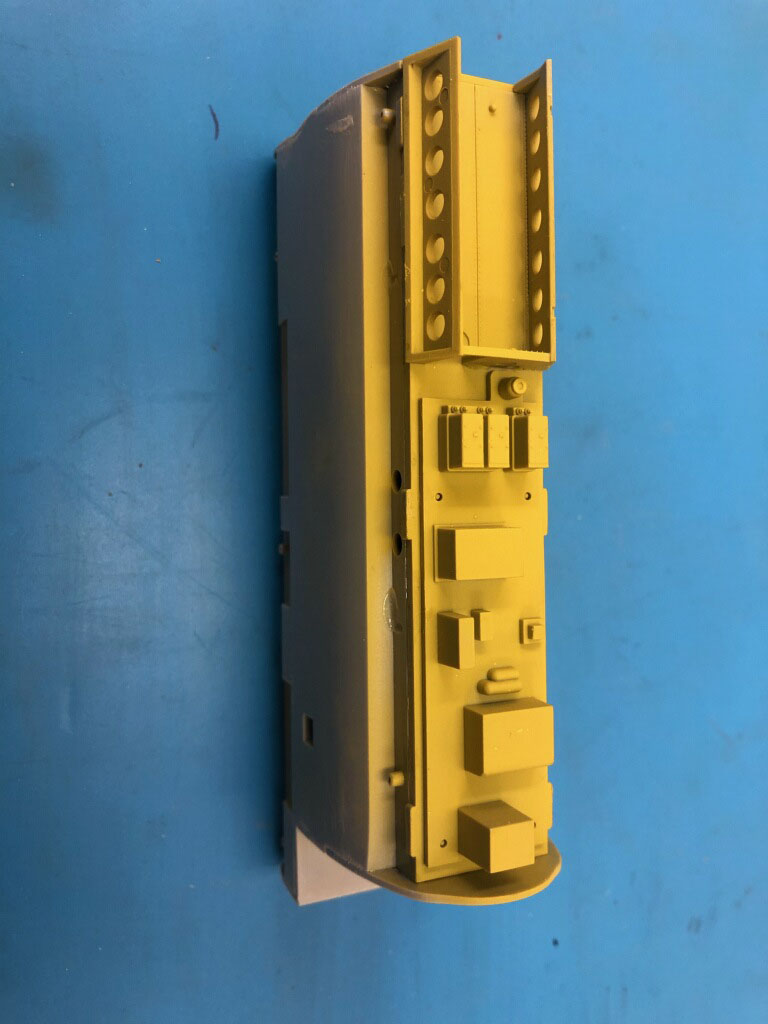
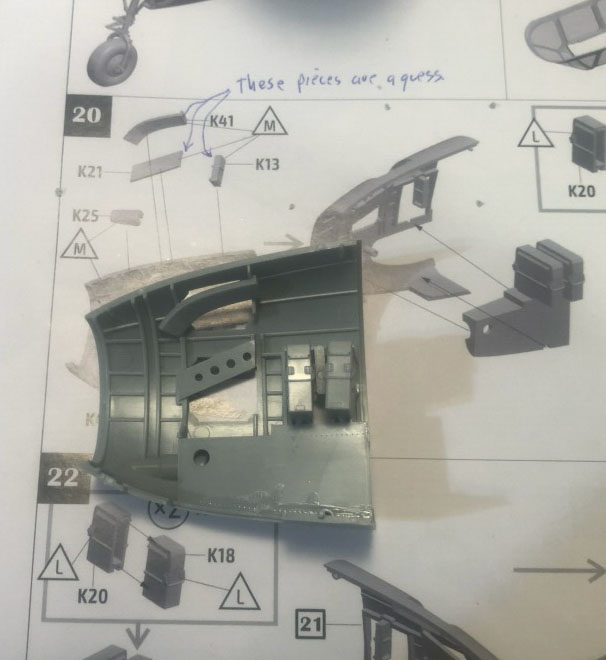
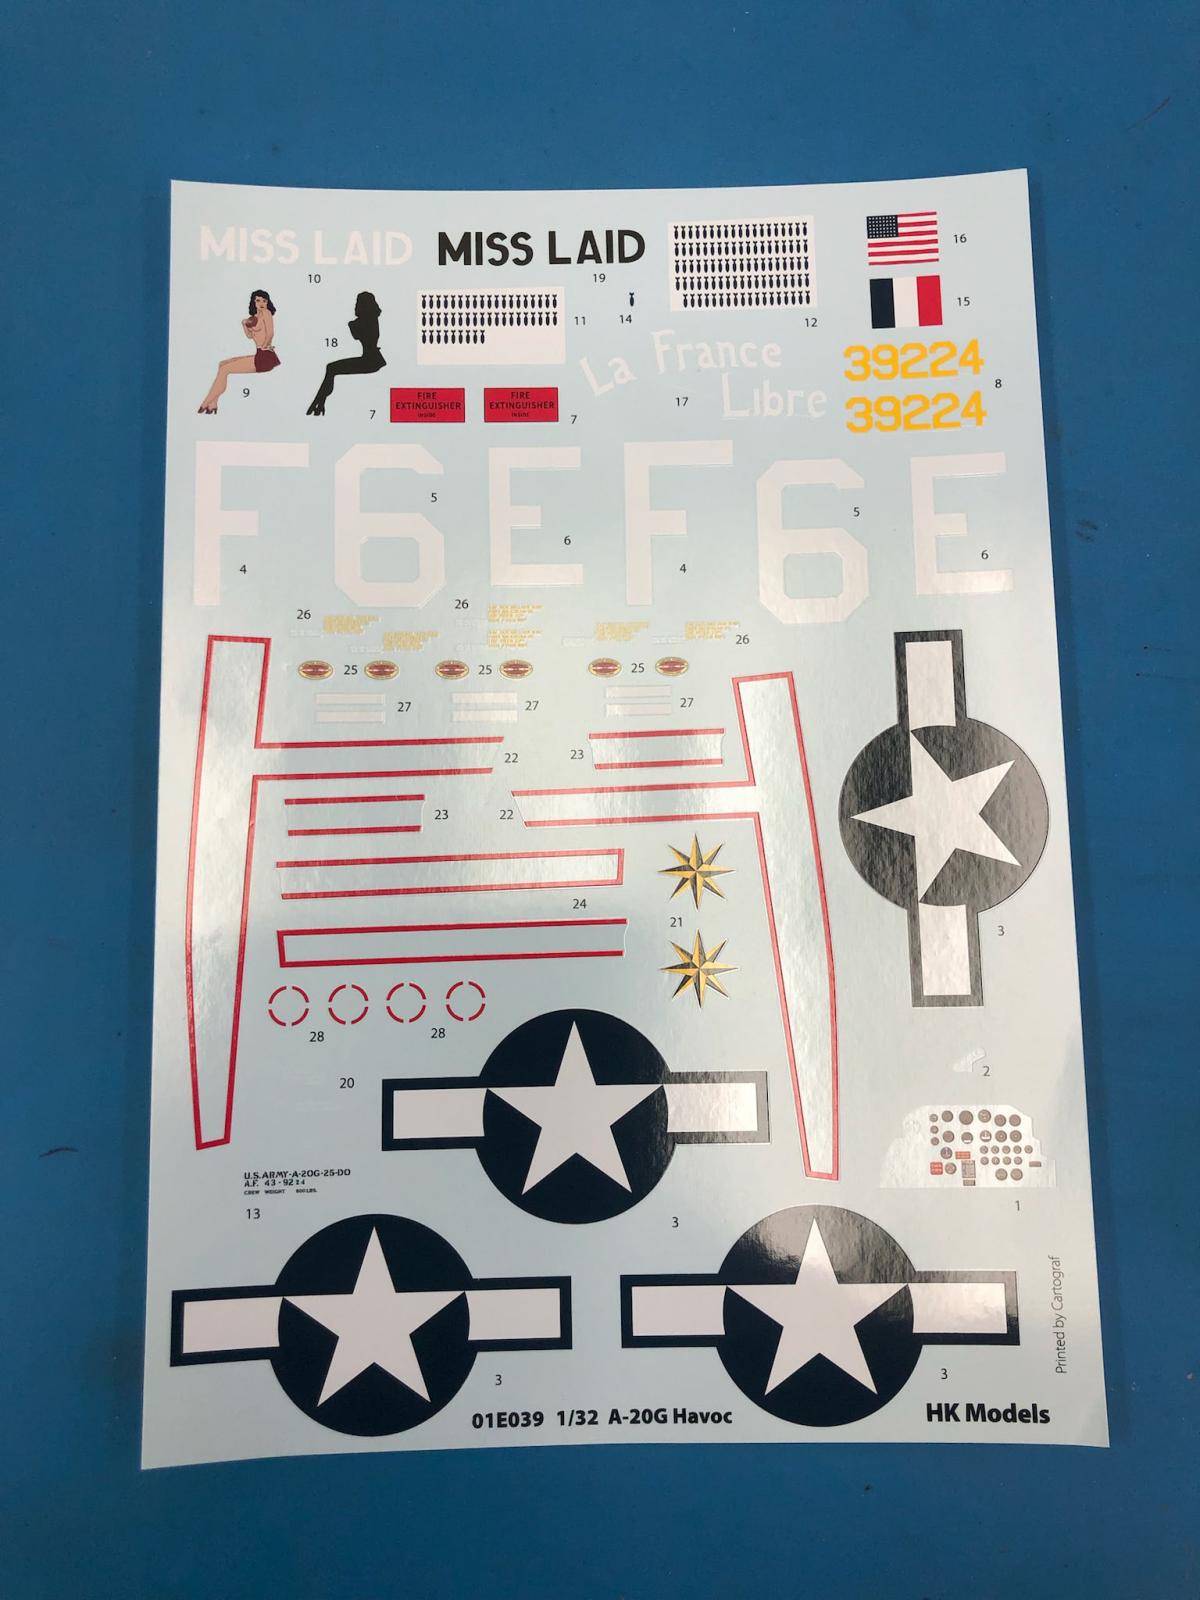
On step 20, I had a hard time figuring out where parts K-21 and K-41 exactly went, so I kinda just took a guess. I didn’t worry about it because I was gonna close the nose up on my build. On the cockpit canopy in step 19 –1, you can either make the windows open or closed. As they slide on the real airplane, you can position them wherever you want. There are two parts (H-2 and H-3) that I never found where they are attached. The nose gear doors in step 26 had no external detail on them except for the forward sections covered by photo-etch which simulates the armor plate. The engines are fairly detailed, consisting of a lot of parts. The kit also gives you the option of having the cowl flaps open or closed. They are all individual pieces, as are all the push-rod covers. The exhaust manifolds are all separate pieces that need to be installed. Pay close attention to where each one goes as the right engine is different than the left. I got a few parts in the wrong place and had to tear them out and readjust them to make them fit around the shroud, part L-21. The main gear doors can be positioned open or closed. I had difficulty getting part J-38 installed once the gear doors were glued on. After a half hour of trying, it broke in 2, so I decided to leave them off. To get part L – 21 to fit snugly against the firewall, I had to file down the stub on the wing side that it slides over. I also broke a small part of J-25 and had to fabricate my own post since it got lost to the carpet monsters. With all that plastic and the nose weights, it ends up being a fairly heavy model. You’ll feel like you got a workout manipulating it on your workbench. The decals give you one serial number with options of what it looked like at three different dates in time. I did 1 June 20, 1944 since it had full invasion stripes on it and I liked it. The next date they give you is October 5, 1944 and the top D-Day stripes have been painted out. The third option is November 4, 1944 and they changed the name of the plane. Overall a fantastic fitting model. Just be aware of the many small parts, plus careful attention must be paid to the instructions to get everything orientated correctly.


Comments
Add new comment
This site is protected by reCAPTCHA and the Google Privacy Policy and Terms of Service apply.
Similar Reviews