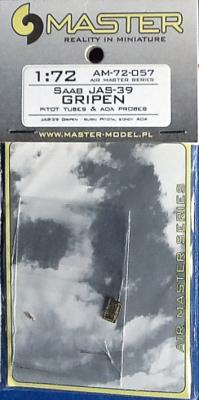
If you want to build a Saab Gripen in 1/72 scale, you currently have only one choice - the Italeri kits that include single-seat or two-seat versions. These kits have been around a little while, but are good representations of the early versions. One area of these kits that needs improvement is the sensor probes, both the pitot tubes and Angle-of-Attack (AOA) sensors. They are over scale and not the correct shape. Luckily for us modelers, this product from Master Model of Poland corrects the deficiency. Their package contains two AOA sensors, a nose mounted pitot tube, a tail mounted pitot tube, and a brass fret for the nose vortex generators. Since they are to scale, all of these pieces are extremely delicate. The two AOA sensors, mounted on the sides of the forward fuselage are "micro" sized. I quickly learned not to grab the model by the forward fuselage sides, as these sensors are also needle sharp. Ouch!
Welcome to the IPMS/USA Reviews site!
Introduction: The primary organization of the IPMS/USA Review website is by IPMS/USA National Contest Class. Within each Class there are sub-menus by kits, decals, books, etc. The Miscellaneous Class is for items that are not class specific or that cross two or more classes.
IPMS/USA Members: We encourage you to submit reviews, both here and to the Journal. To volunteer for membership in the IPMS/USA "Reviewers Corps" and submit your own reviews, please read the Guidelines For Submitting Product Reviews.
Manufacturers, publishers, and other industry members: IPMS/USA is pleased to offer your company the opportunity for product reviews. All product reviews are performed by IPMS/USA members, and are posted in the publicly-accessible section of our website. With very few exceptions, we perform full build reviews of new kit releases, aftermarket products, and supplies. If you would care to provide product samples for review, please contact John Noack, IPMS/USA 1st VP.
To learn more about IPMS/USA, please see our About Us page.
Thanks very much to MRC for providing us this little gem, and thanks to Italeri for producing it! (and the usual appreciation to Dave and Dick for sending it my way to review...)
This model requires a bit of skill, only in that it has many miniature parts which require care in installation. We'll address that more later, but the basic model is excellent in presentation and delivery.
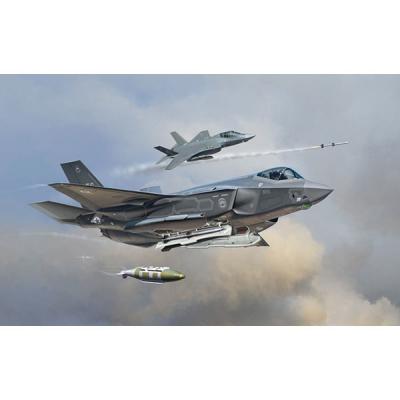
This kit was first “out the chute”, as our rodeo friends say, on the market for a decent, accurate F-35 production-representative model. I gave up on another company's 1/48 build, as I did not care for the tail plane inaccuracy (serious dihedral out of the box) and other issues. Italeri's kit is much better overall... now they need to pantograph it out of Braille-scale for us old guys. It would even make a great 1/32 kit, as it's relatively compact as fighters go. Box art is well done, and the now familiar license logo from Lockheed Martin is prominently displayed on the box.
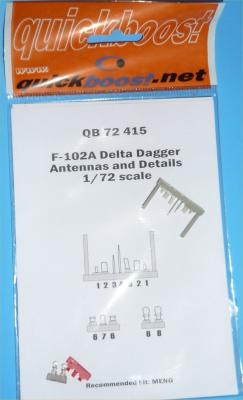
Quickboost has added the antennas and details for the F-102A to their line of resin aircraft accessories. This latest addition is molded in a smoke, red and clear resin, it’s smooth, seamless and bubble free.
Comparing the Quickboost parts to the Meng parts is no comparison because they are replacing the little sticks and nubs that are already molded onto the fuselage or as in the case of QB parts #2 aren’t even there to begin with. You know, those little things sticking out in your way as you build and that eventually tend to disappear as you handle it. The thing that I like is that they already come molded in color and I don’t have to paint them. Just remove them from the mold blocks, remove the old antennas and lights from the kit body, which ever ones are still there and super glue them in place.
I very highly recommend this product if you want a nice and detailed F-102A. I would like to thank Quickboost and IPMS USA for the chance to do this review.
History Brief
Following the Zero Model 21 (A6M2), the Model 32 (A6M3) Zero was introduced and entered service in the summer of 1942. It was powered by a Sakae 21 engine which featured superior high-altitude performance and an increased top speed. However, the Model 32’s reduced fuel capacity, heavier airframe design, and shorter clipped wings reduced the flight range. In order to fix this problem the Model 22 (A6M3) aircraft was introduced in early 1943. It came with an improved 12m wingspan to correct performance shortcomings and increase maneuverability, additional inner-wing fuel tanks to regain a longer flight range and reintroduced folding wing tips. Deployed mainly to the Solomon Islands from early 1943, The Mitsubishi A6M3/3a Zero fighter was considered by many to be the most well balanced Zero aircraft.
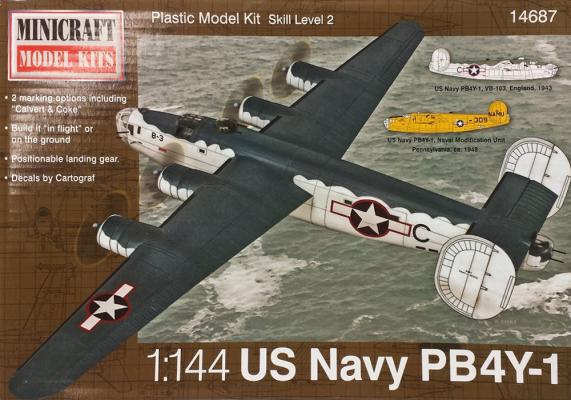
The Consolidated PB4Y-1 was the navy version of the B-24 Liberator. Whereas the Army Air Corps used letter designations to identify the various versions of the B-24 (B-24D or B-24J for example) the US Navy used the same designation (PB4Y-1) for all models until the single-tail PB4Y-2. This means that the glaze-nosed B-24D and the turret-nosed B-24J were both called PB4Y-1 in Navy parlance. The kit reviewed here is the PB4Y-1 version of the B-24D.
Minicraft’s kit comes in a small, sturdy, top-opening box. The cover illustration is of a US Navy PB4Y-1 from VB-103, England, 1943. Inside are four sprues, two in light gray, and two in clear. There are thirty-eight light gray parts and thirteen in clear. The fuselage is for a B-24J, but a replacement nose, molded in clear, is included to convert to a D model. Instructions are simple and clear, with assembly broken into six simple steps. Two large diagrams cover the paint and decal schemes. Model Master Paints are called out.


