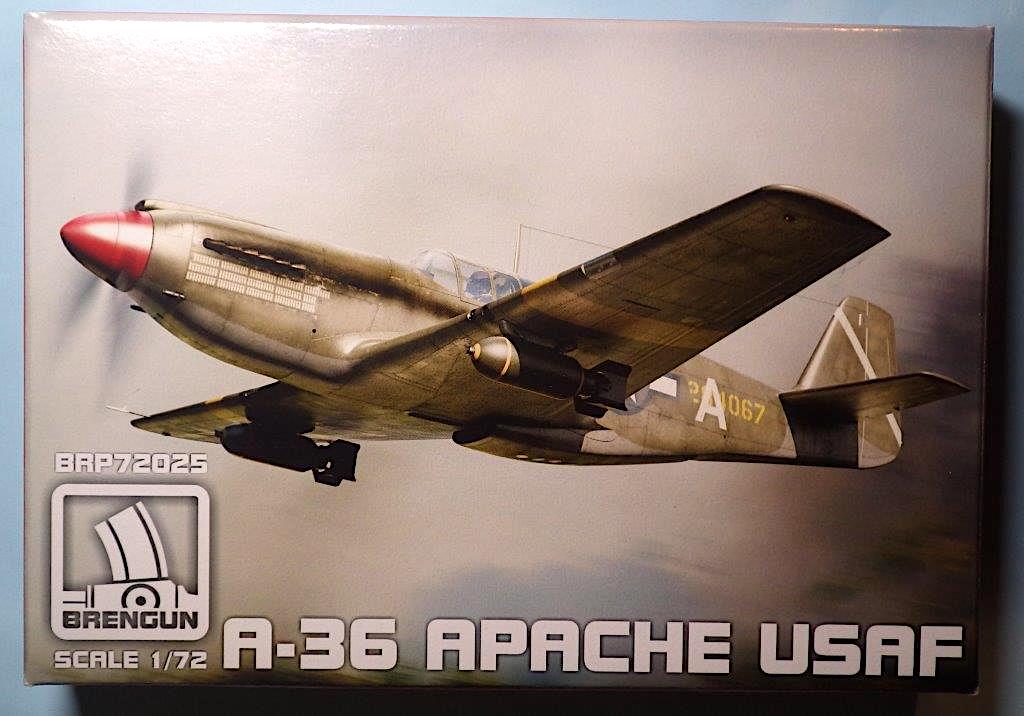
A-36 Apache USAF
Brengun, based in the Czech Republic, is known for producing a range of photo-etched and resin accessories for airplane models. They also produce a small number of 1/72nd and 1/144th aircraft model sets. One of their latest airplane kits is the North American A-36 Apache.
The A-36 Apache was a dive bomber version of the P-51 Mustang. It was based on the fuselage of the P-51A, but with completely redesigned wings strengthened to support the added stress of dive bombing. Also, to aid in dive-bombing, rectangular slats were added to the upper and lower parts of the wings. Approximately 500 bombers served in units in the Mediterranean Theater and the China Burma Theater.
The kit comes in a side opening box, with full color cover art of an A-36 in action on the front and painting and decal instructions for six different aircraft on the back. The painting instructions provide a four-sided view for each aircraft option. The parts are molded on 3 sprues of brown plastic, with a small sheet of photo-etch, one clear sprue, and a resin air intake. A small set of decals and a short instruction manual round out the kit.
The sprue parts are not numbered, but the instructions include a numbered parts map. The parts themselves are nicely detailed, but do have some thin flash that will need to be removed prior to installation. The plastic is thin, but not overly soft. Still, care needs to be taken when cleaning up the parts to make sure you don’t lose any of the fine details.
Construction starts, as usual, in the cockpit. The sidewalls are separate from the fuselage sides and you build the cockpit separately. The cockpit details are nice and include a very nice instrument panel, seat and sidewalls, but no seatbelts. Getting the cockpit into the fuselage is a little tricky, and it took me a couple tries to get the cockpit floor to sit correctly.
The plastic is very thin, so conduct your clean up with care. The fuselage needed filling all the way around the joint on both the top and bottom and the wing root connections presented some problems. Connecting the wings to the fuselage left a significant gap at the front of the wing. The gap was big enough that I used some thin Evergreen styrene strips to fill the joint. The wheel well has good details and fits into the wing snuggly. Also, the flaps can be modeled in a lowered position. The air intake is molded as a resin piece. The instructions call for adding the resin part towards the end of the build; however, I would recommend adding it before you put on the flaps. There is a small amount of clean up needed for the resin part and having to clean it up after adding the flaps could cause issues with the flaps, especially if you position them lowered. The tail wheel must be added early in the build, and it is very delicate. I knocked it off twice and decided to leave it off until the build was complete. Use care when working around that part.
The kit comes with two bombs, with separate bomb racks. The instructions show the bomb racks as being interchangeable, but they aren’t. The parts are angled, so that they will position the bombs hanging straight down. If you put the wrong ones one the wrong side, the bombs will hang off the wings at an angle. Since the parts have the same numbers, I can’t provide better instructions than to make sure you test fit them before attaching them.
The dive brakes are provided on a small sheet of photo-etch and the upper and lower wings have cutouts for where the dive brakes should go. This allows you to either model the brakes extended, or in a closed position. Unfortunately, the dive brakes on the lower wing do not fit the cut out. They are a different shape, and the “arms” that hold the brakes to the wing are further apart than the slots provided. The cutouts on the lower wing are identical to the upper wing cutouts, which match the photo-etch parts provided for the upper wing, but the lower wing photo-etch parts are shaped differently. Based on historical references, it looks like the photo-etch parts should be the same on both the top and bottom on the wings.
The decals provided are excellent to work with and finish very well with just a few drops of solvent. I chose to go with a plane based stateside with a training unit. The other options were for units operating in the Mediterranean theatre, or in Burma.
Although, this kit is not without its challenges, it has some good details and can be built into a nice model. I’m happy to see small model companies taking on subjects that the larger companies don’t consider “safe”. This kit is a welcome addition for any Mustang enthusiast, especially given the lack of recent modern offerings of these early Mustang versions in 1/72. The few shortcomings, like the wing root fit, a lack of belts in an otherwise excellently detailed cockpit, are easily overcome by the extra details provided. I would recommend this kit for an experienced builder. This can be a challenging build, but the result is well worth the effort.
Thanks to Hauler-Brengun, and the IPMS for this review model.


Comments
It's hard to tell, but it…
It's hard to tell, but it looks like a P-51D wing (wing leading edge at fuselage) to me. It is also described as "new tool", but isn't the issue with the dive brakes/recesses the same as the old Condor kit?
Add new comment
This site is protected by reCAPTCHA and the Google Privacy Policy and Terms of Service apply.
Similar Reviews