Thank you, Quickboost, for furnishing this review sample and thank you, IMPS/USA, for allowing me to do the review.
What's New
History Brief
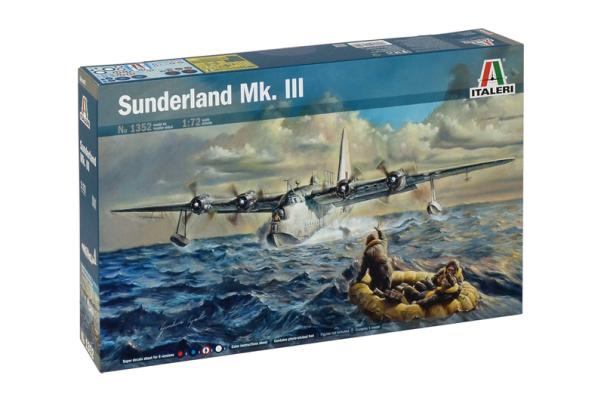
The Short Sunderland, one of the most famous seaplanes of World War II. It came into service toward the end of 1938, equipping the Royal Air Force squadrons of Coastal Command. The Mark III turned out to be the definitive Sunderland variant, with 461 built. Most were built by Shorts at Rochester and Belfast, a further 35 at a new (but temporary)[N 3] Shorts plant at White Cross Bay, Windermere;[22][23] while 170 were built by Blackburn Aircraft. The Sunderland Mark III proved to be one of the RAF Coastal Command's major weapons against the U-boats, along with the Consolidated PBY Catalina.
First things first, I want to thank Aires for supplying this Quickboost item for review and IPMS/USA for allowing me to write this review.
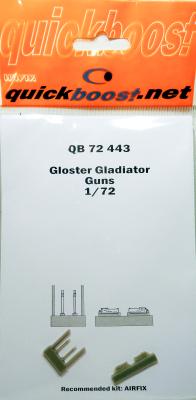
The last biplane fighter to enter service with the Royal Air Force was the Gloster Gladiator. Even though it was not a first-line fighter almost from the beginning, it was used in nearly all theaters during World War II. It epitomized the best of the biplane era with an enclosed cockpit, top speed of 257 mph and four .303 Browning machine guns. Two of the guns, with 600 rounds each, were located in the forward fuselage with the barrels protruding between the cylinders of the radial engine. The other two guns, with 400 rounds each, were located just forward of the cockpit, over the wing root leading edges, and they fired between the cylinders via a trough in the fuselage.
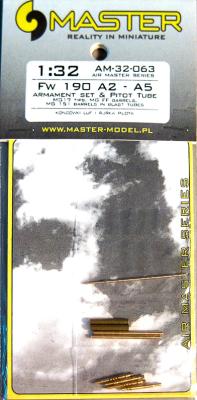
The Focke Wulf 190 was a heavily armed aircraft with lots of guns and a long pitot tube. The early Fw 190s had their MG-17s in the cowling and wings, along with MG-151 guns on the inner wings. If that isn’t enough, they had a long, fragile pitot tube.
Master provides you with one pitot tube that requires no clean up and has the need strength to hold up to some handling. For the MG-151, Master provides you with the wheel well protective tube as well as the barrel for the gun. The MG-17s for the cowlings are represented by the tips only, while the wings have the barrels. Make sure you don’t confuse them.
All the gun tubes and the pitot tube have hollow ends in them. They are beautiful renditions of the real thing. The best aspect of the turned-brass parts is the complete lack of mold and seam lines. The lack of cleanup makes this an easy addition that will provide a realistic pitot tube and gun set while also providing good strength.
Highly recommended
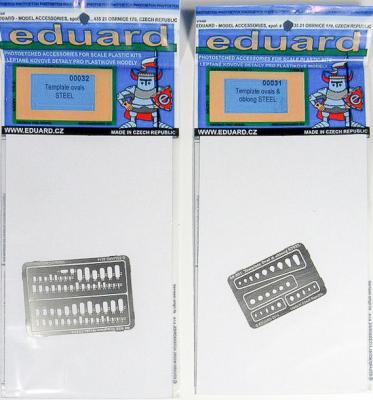
In recent months Eduard Models has been releasing some very useful tools for the modeler, like this series of templates. I have previously reviewed three other sets in the range: http://web.ipmsusa3.org/content/shapes-templates
This first set reviewed in this article is “Ovals and Oblong,” part number 00031, with a total of 25 shapes. There are four subsets of shapes: two oval subsets, a teardrop subset, and a circle with a flat edge subset. The last shape is very useful when scribing fuel/oil caps onto airplanes or vehicles.
The next set is “Ovals,” part number 00032, with a whopping 60 oval templates. Their dimension ranges from 1x1.8 mm to 2.8x7.6 mm. You will be hard pressed to claim there was an oval shape you couldn’t find in this template set.
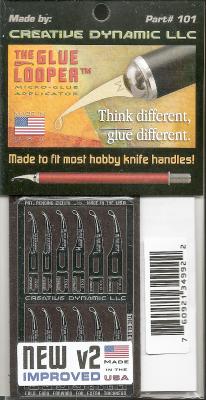
How does one apply glue in a small area with maximum control over the quantity applied and with precise application? Glue Looper has provided a tool that addresses both location and quantity.
Please note that Glue Looper provides very clear and specific instructions for the use of the product, so you won’t see a lengthy repeat of those instructions in this review. Also, please note that Glue Looper provides a “how to” video on their website. We all know that a picture, in this case a “moving picture,” is worth a thousand words, so take advantage of this video prior to using Glue Looper. Go to https://www.creativedynamicllc.com to view the video.
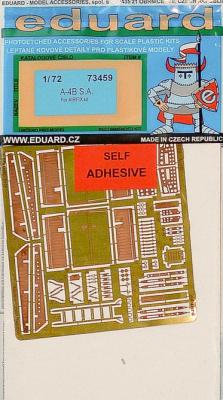
This photo-etch detail set provides a higher level of detail for the relatively recent release of the Airfix A-4B kit. It contains two frets of parts. The smaller of the two is self-adhesive with some of the parts pre-painted. These parts are meant largely for the cockpit and ejection seat. The larger fret is meant to be used largely on the airframe and isn’t self-adhesive. The detail on all of the parts is crisp, as we’ve come to expect from Eduard.
Starting with the cockpit, I discovered that the set’s self-adhesive parts had run out of stickum. When I received the set, it wasn’t newly issued, so I’m assuming the adhesive has a shelf life which had run its course in the interim between IPMS receiving the set and my getting it for review. Smaller parts, such as the rudder pedals and seat belts, just fell off the backing paper when they were cut from the fret, their adhesive gone altogether.
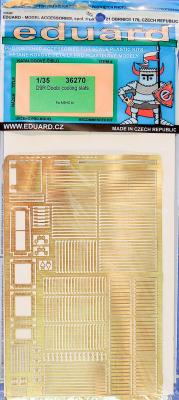
This is one of three photoetch sets provided by Eduard for the Meng 1/35 scale D9R Armored Bulldozer kit. The Meng D9R kit itself has previously been reviewed [Meng D9R Review]. The Eduard Exterior set has also been reviewed [D9R Exterior Review], as well as the Eduard Interior Photoetch set [D9R Interior Photoetch Review].
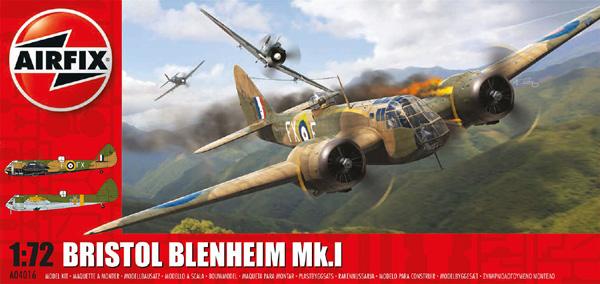
When the Airfix Bristol Blenheim Mk I showed up on the kits available for review, I quickly put my name in the hat for it. I had seen the results of a 1/48 scale kit and was eager to try my hand and add to my RAF Battle of Britain collection.
A few paragraphs of history: The Bristol Blenheim was a British light bomber aircraft designed and built by the Bristol Aeroplane Company that was used extensively in the early days of the Second World War.
It was adapted as an interim long-range and night fighter, pending the availability of the Beaufighter. It was one of the first British aircraft to have all-metal stressed-skin construction, to utilize retractable landing gear, flaps, a powered gun turret and variable pitch propellers. A Canadian-built variant named the Bolingbroke was used as an anti-submarine and training aircraft.
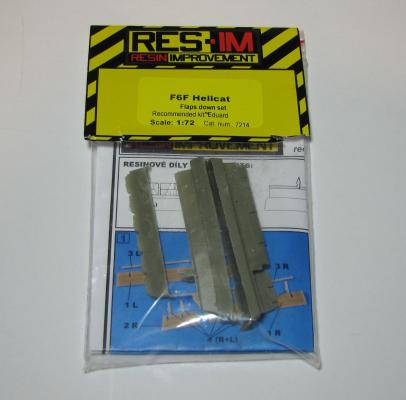
This set by RES-IM is for the Eduard 1/72 Hellcat series and if you like posing your cats with the flaps down then this is the set for you. The small zip lock bag contains 3 resin plugs with all 18 parts on them. The flaps are on one, hinges on another and a new inner wing surface on the last. The parts can be removed easily BUT, care must be taken when removing as the hinges are small (one of mine tried to get away!) and the inner wing surface is pretty thin.

