
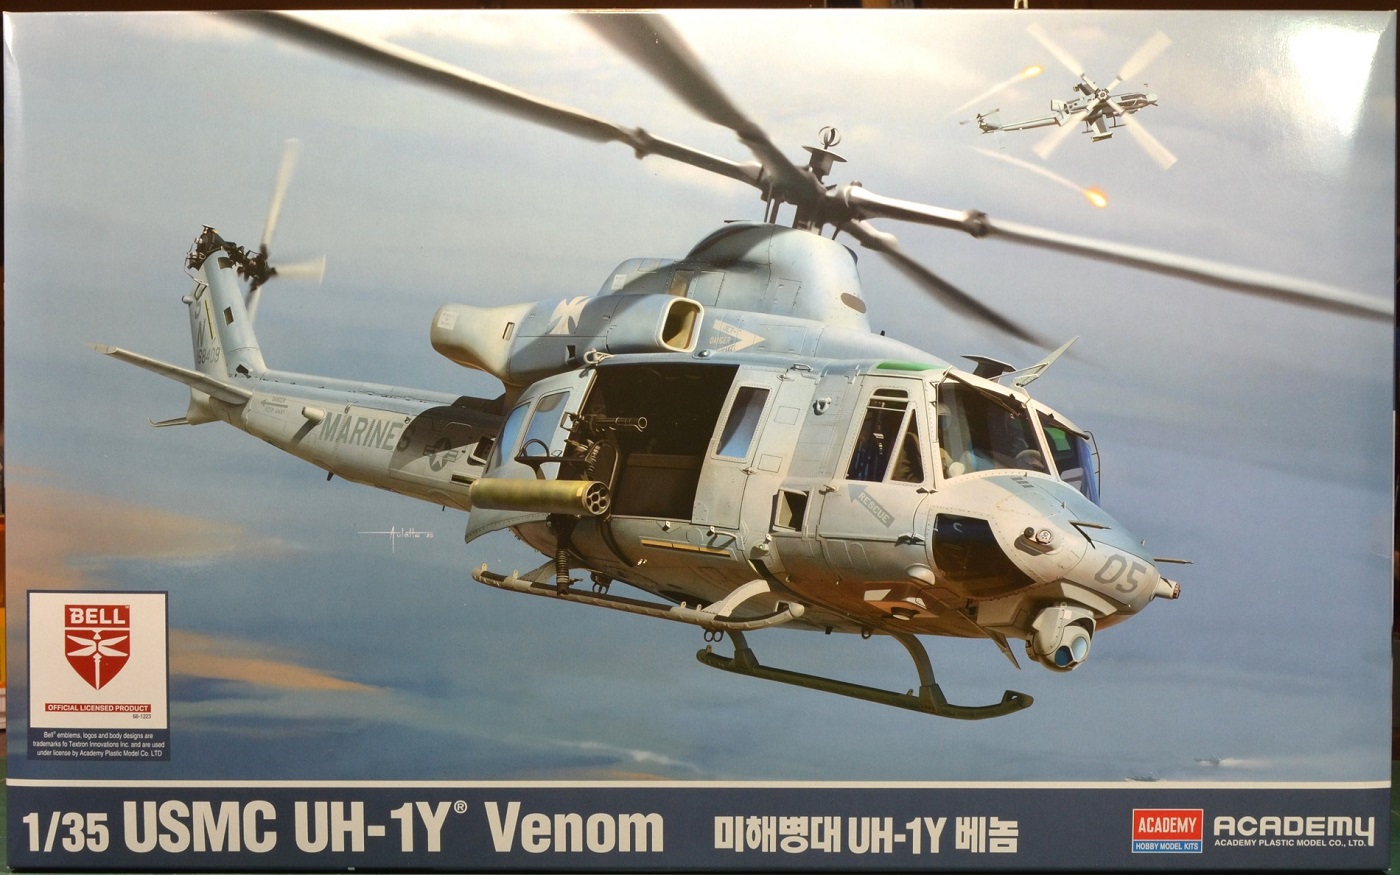
USMC UH-1Y Venom
In the Box
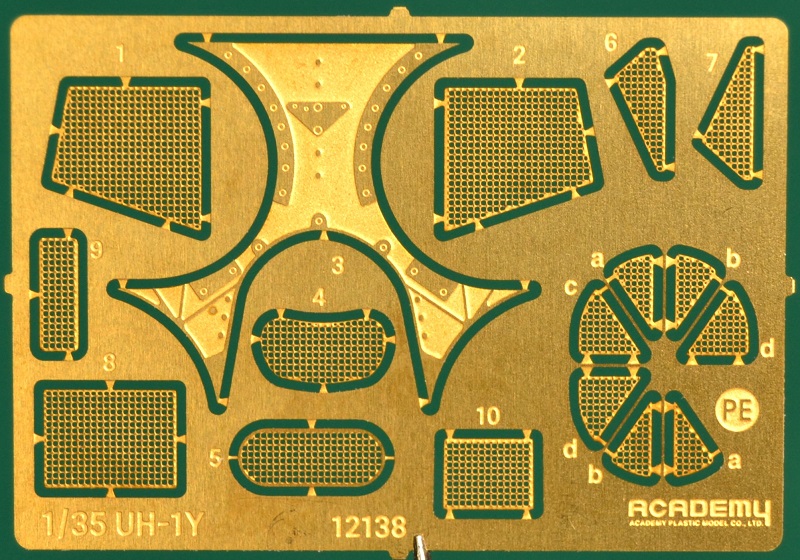
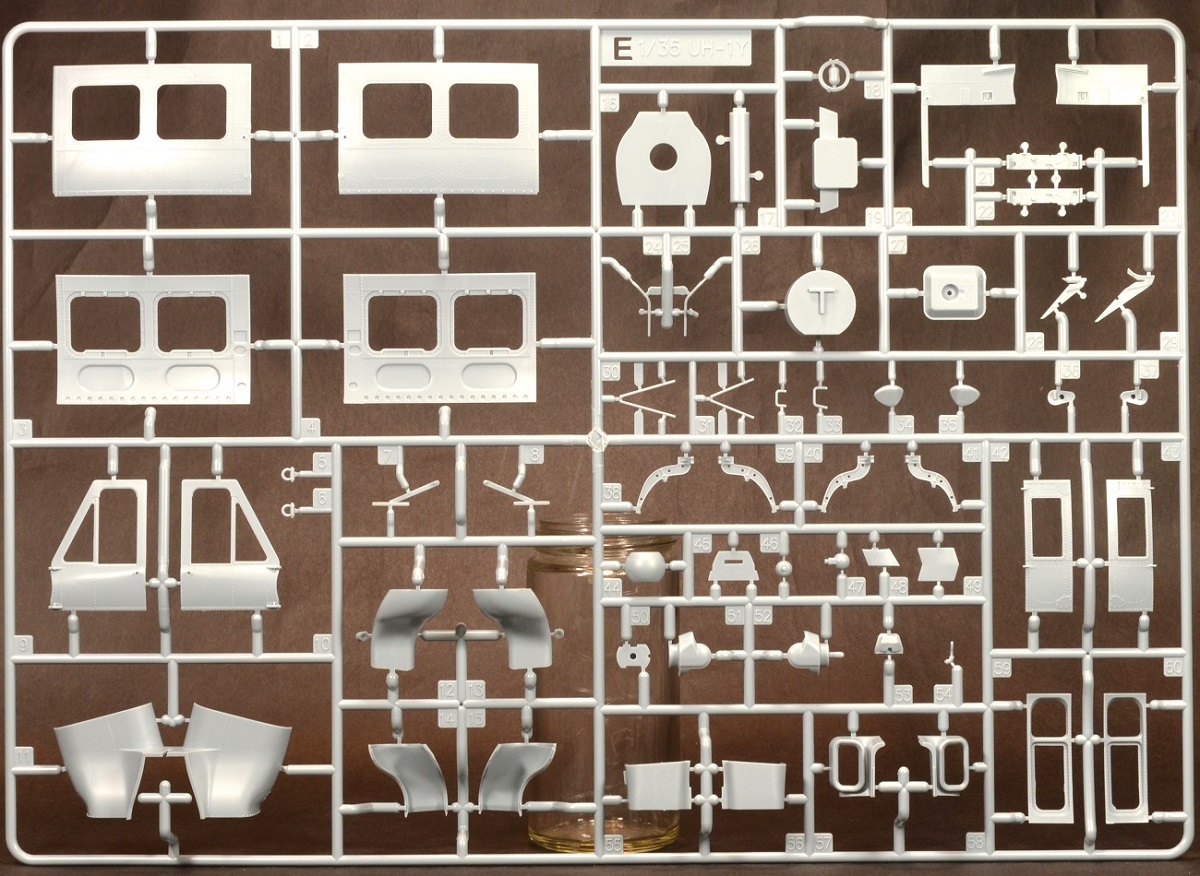
The kit is a typical top opening box with 11 gray sprues, 1 clear parts sprue, 1 photo-etched (PE) sheet, and 1 die-cut masking sheet for the clear parts. Academy takes advantage of slide-molding to add more detail in raised rivet and recessed panel lines and the results are impressive. Also of note, sprue B & D comes from the AH-1Z Viper kit (Kit No: 12127) since in real life both helicopters use the same parts. For a list of unused parts, see page 14 in the bottom right of the instructions.
The box art is beautiful. For modelers who are wavering on owning this kit, it will help push them over the edge to build this Venom or add it to the collection.
Instructions have 22 steps over two separate sheets (Manual 1 & 2). It is well illustrated and easy to follow. Also, the images are larger and easier to read for those of us with aging eyes. On another separate sheet is the decal placement guide. Again, it is very well illustrated and easy to read.
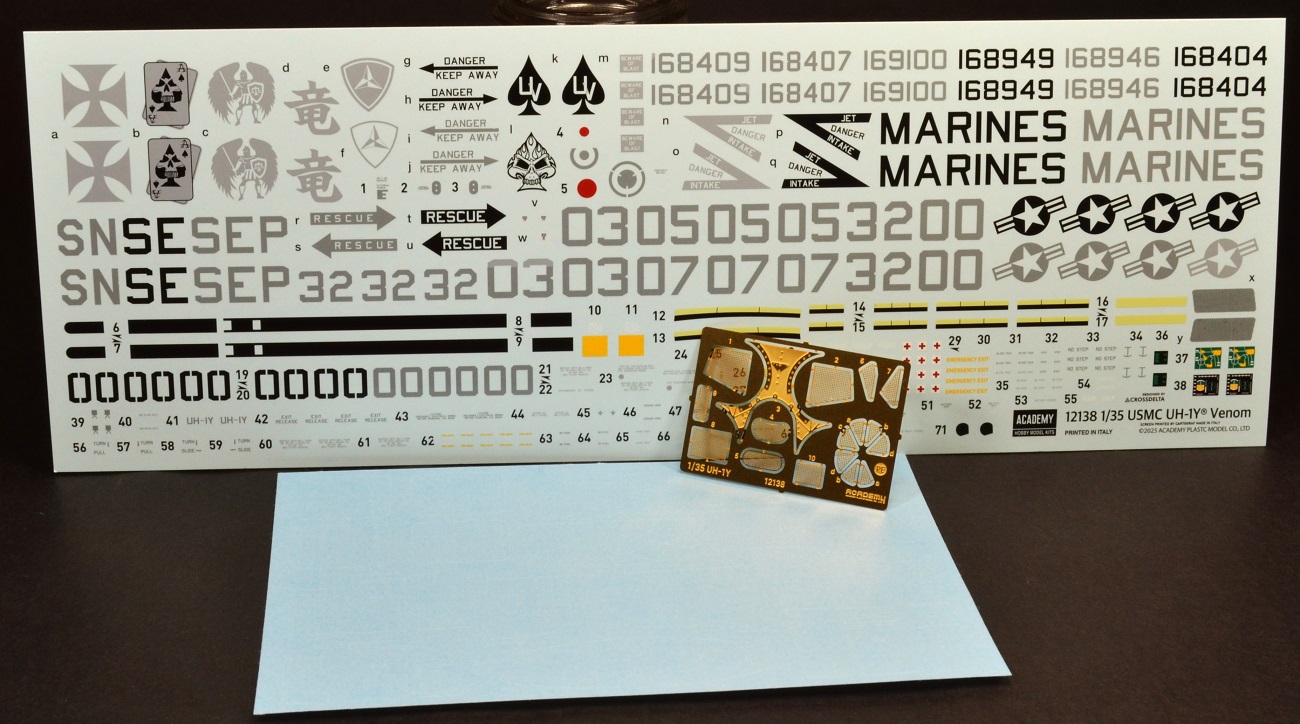
The decal sheet is printed by Cartograf with perfect registry, thin, and very little edge film.
For decal markings, there are five paint schemes covering seven helicopters. They are:
- USMC UH-1Y 168409 SN-05, HMLA-169, Iwakuni, 2017
- USMC UH-1Y 168407 SN-03, HMLA-169, Iwakuni, 2017
- USMC UH-1Y 169100 SN-07, HMLA-169, Iwakuni, 2017
- USMC UH-1Y 168949 UV-00, HMLA-267, MCAS Miramar, 2017
- USMC UH-1Y 168949 SE-00, HMLA-469, MCAS Miramar, 2019
- USMC UH-1Y 168946 SE-00, HMLA-469, 2017
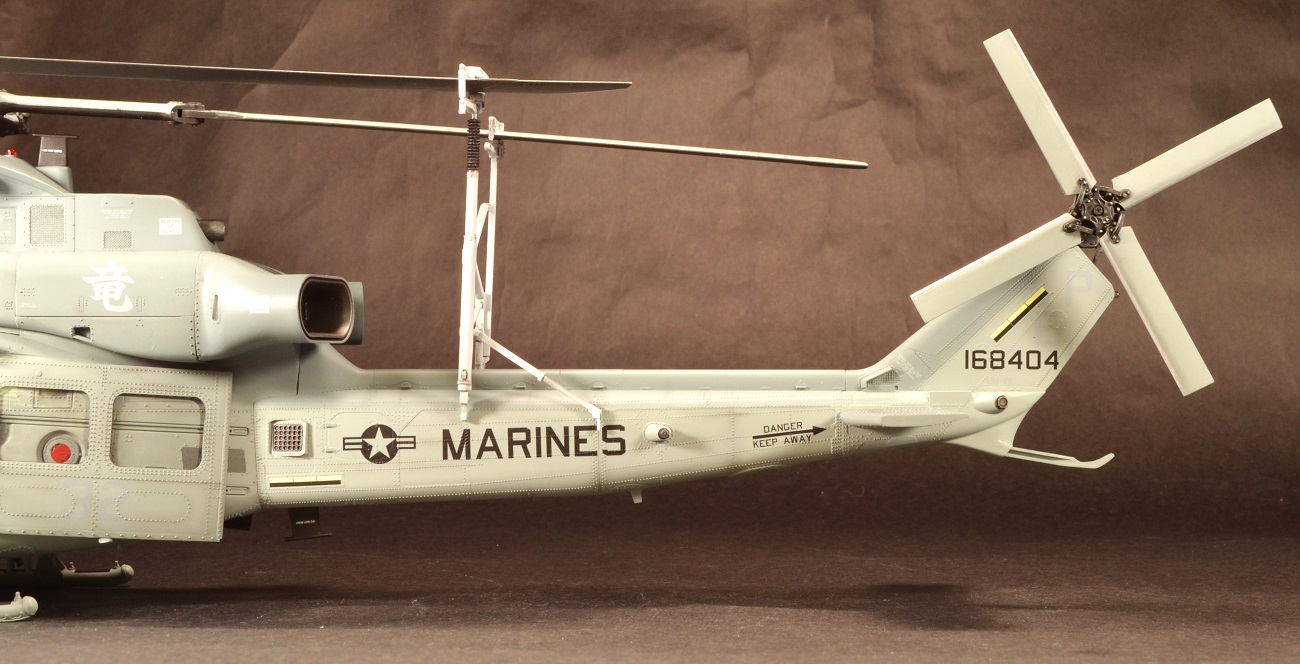
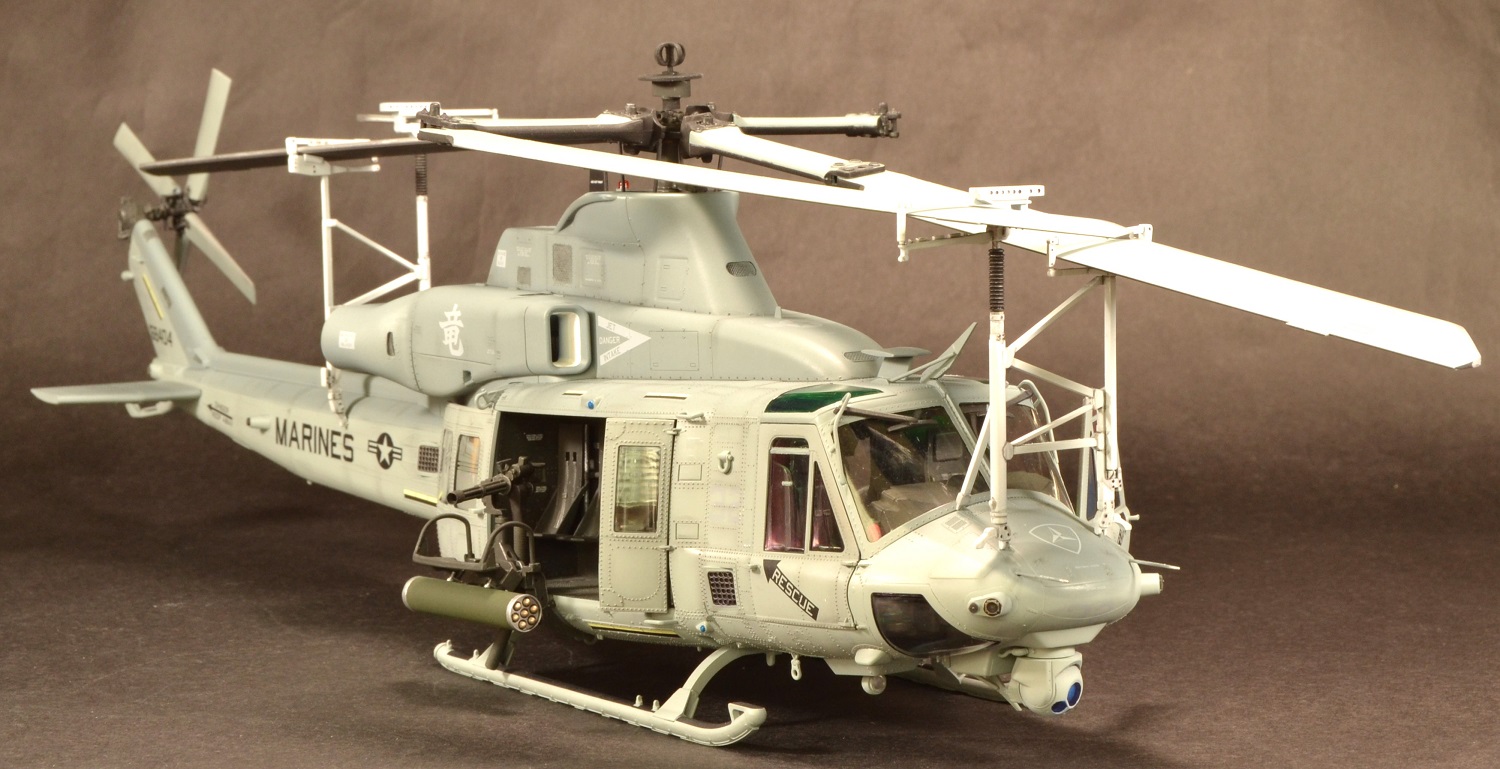
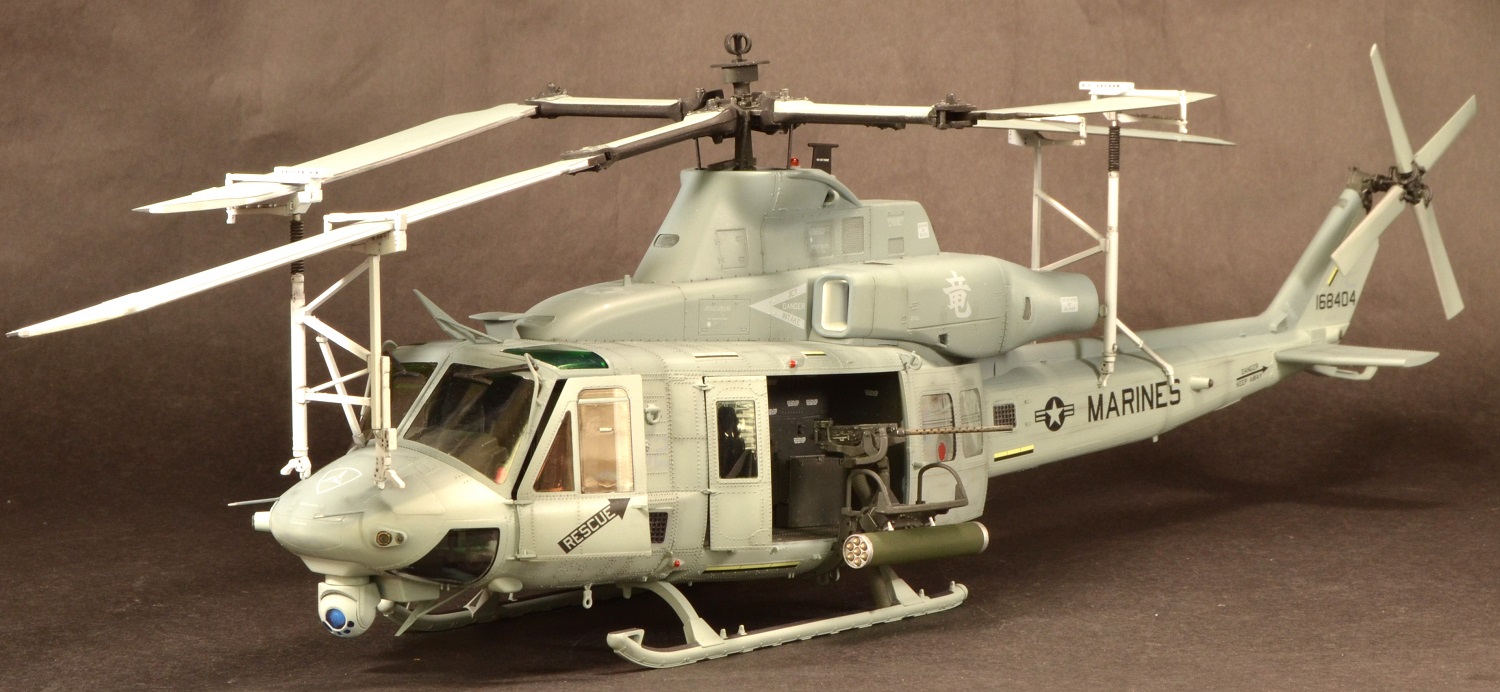
- USMC UH-1Y 168404 EP-32, HMLA-369, 2020
Note: For PE and masking guide placement, see top of page 2 of the instructions. Also, for other PE parts placement, see Step 9 & 13.
Review Process
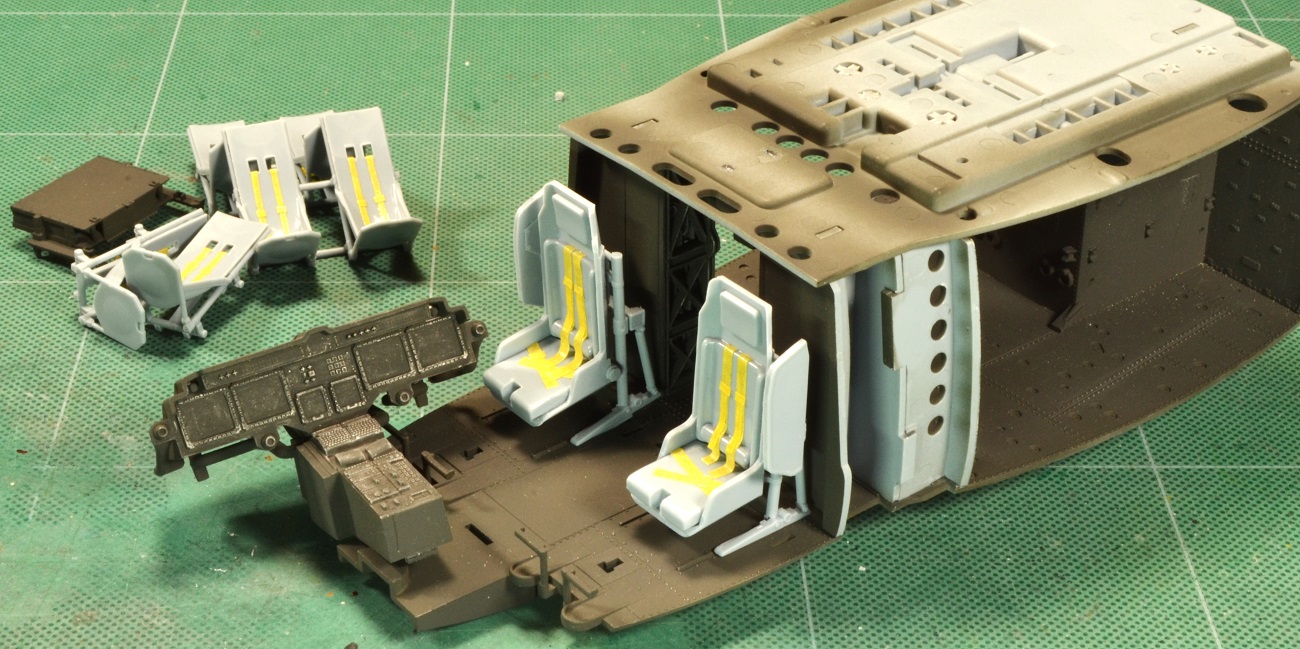
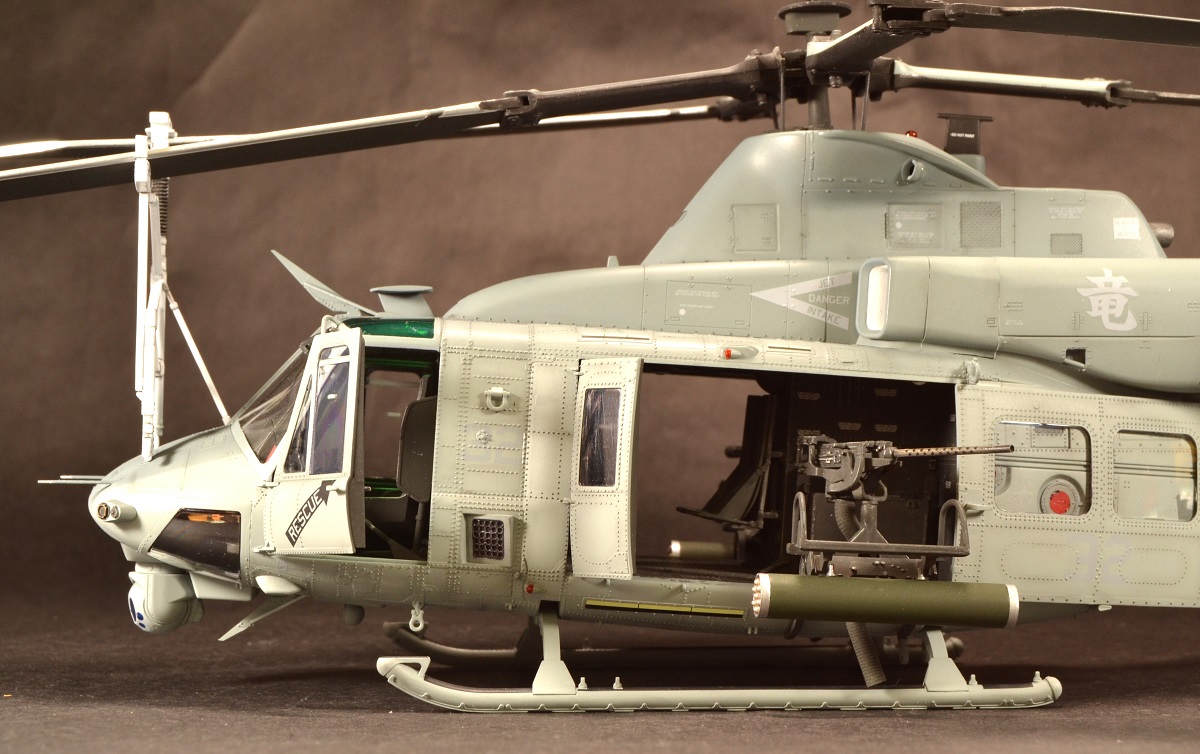
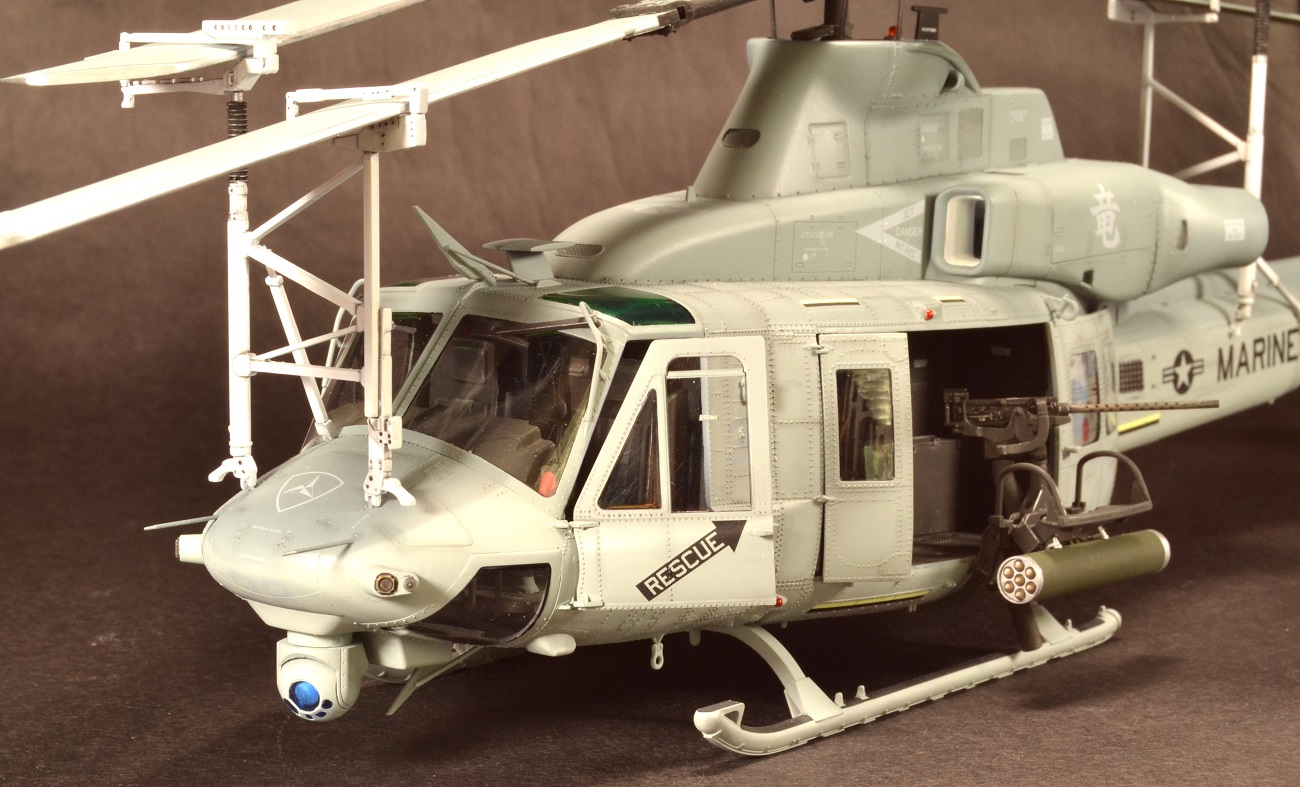
This is an out of the box build. No aftermarket parts were used. I did add simple tape seat belts to add more visual interest, and I replaced the nose probes with sewing pins (filed down at the tips) to add some durability since the probes are fragile and prone to breakage during assembly.
Starting with the interior, I painted all the parts Tamiya NATO Black (XF-69). Then I dry brushed the area with flat white to bring out the raised surface detail. Take note of the sub-steps within each step as it will require you to add holes and make configuration choices (noted as “OPTION”) as you go along.
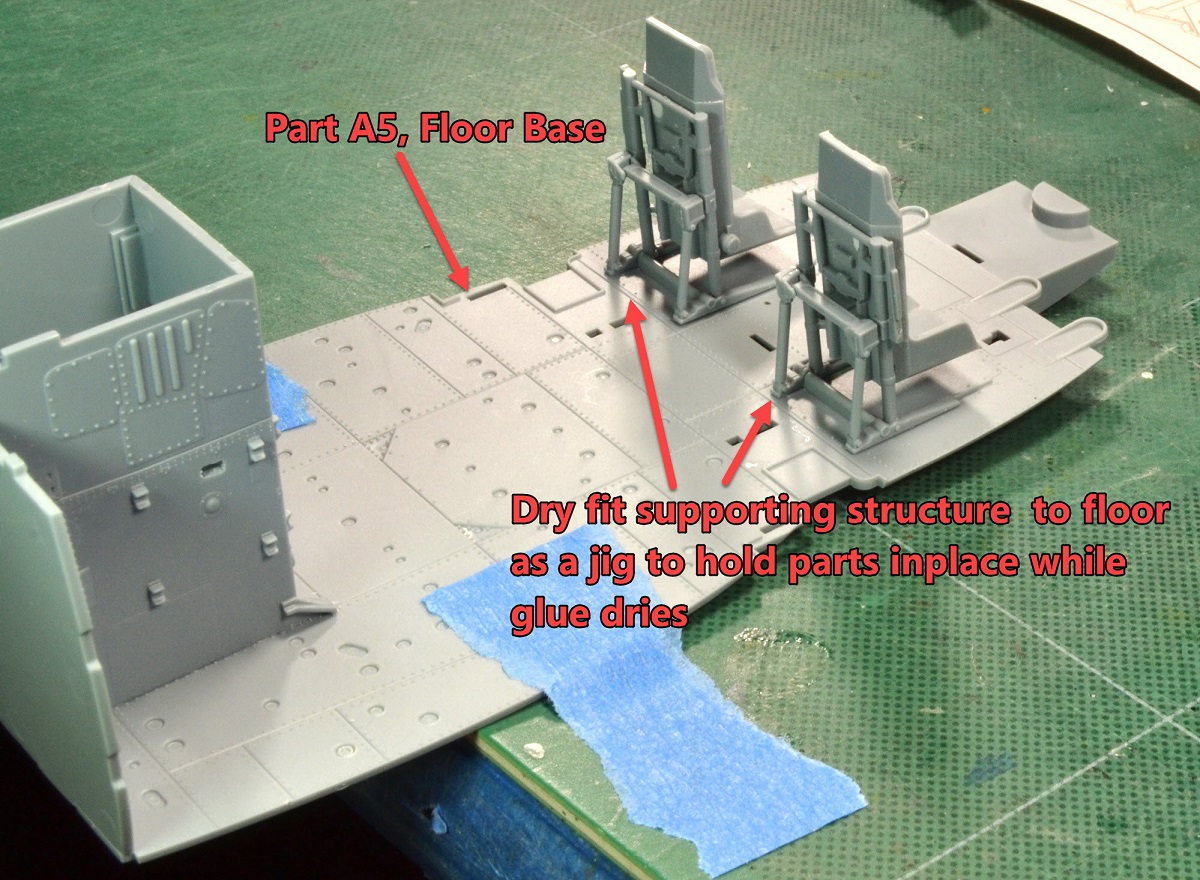
Troop seats were assembled and tape seat belts added. Next were the pilot & co-pilot seats. Assembling these two seats is very fiddly due to all the delicate supporting structure. To make it easier, I used the floor (part A5) as a jig to hold parts F-40, 41, & F23 together while dry-fitted into the floor slots. This acted as a 3rd set of hands to help get the seat alignment right as I installed the rest of the parts and then let the glue cure.
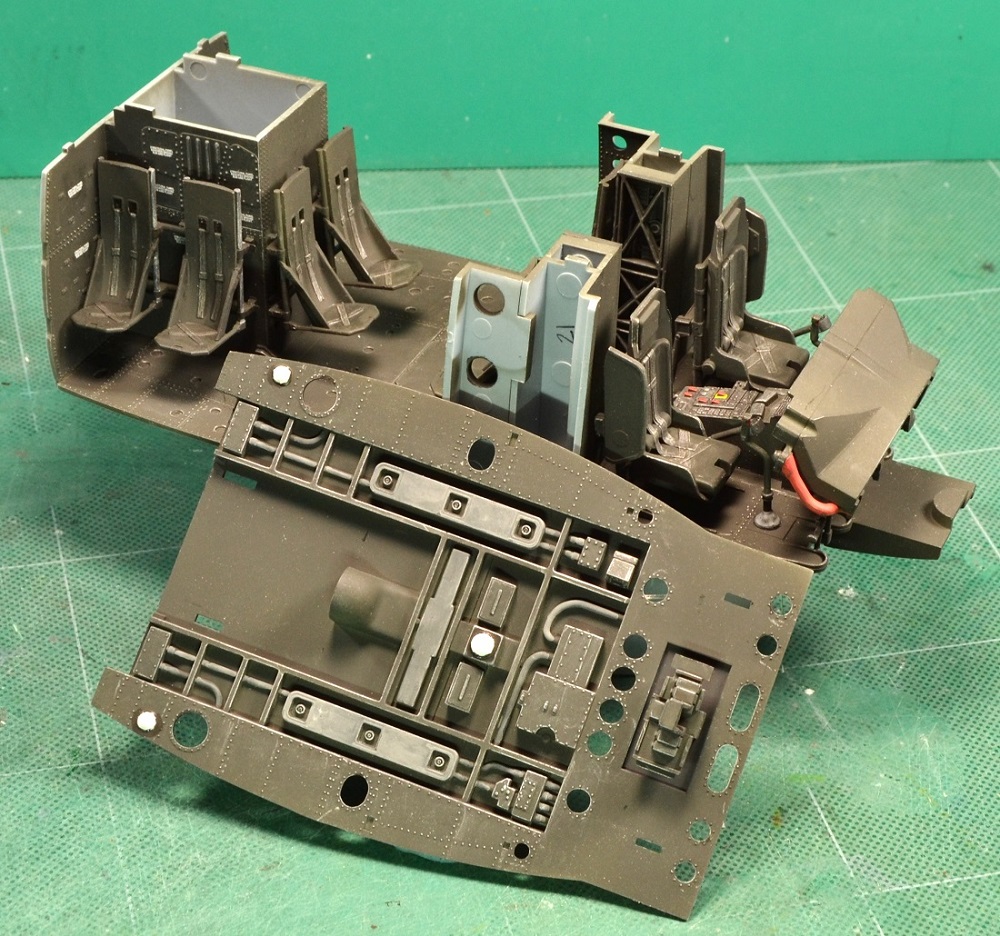
To help get all the interior walls and equipment racks to line up correctly, I used the ceiling (part A4) from step 7 along with the floor and used the attaching slots to align the parts as the glue cured at the floor attach points.
From experience, some helicopters with a long tail boom are tail sitters. To mitigate this (in Step 7), I added some weight in the empty cavity of the glare shield (C31). The weights will then be captivated by the instrument panel (C11). I also added some weight to the center panel (C30) for insurance.
The flexible air hoses (C6, C7, F46, F63) attached to the instrument panel I painted a salmon pink based on internet reference photos.
For the ceiling (A4), I painted the airduct plenums with some gray and painted the dome lights white. After that, it was time to assemble all the interior parts together per step 7.
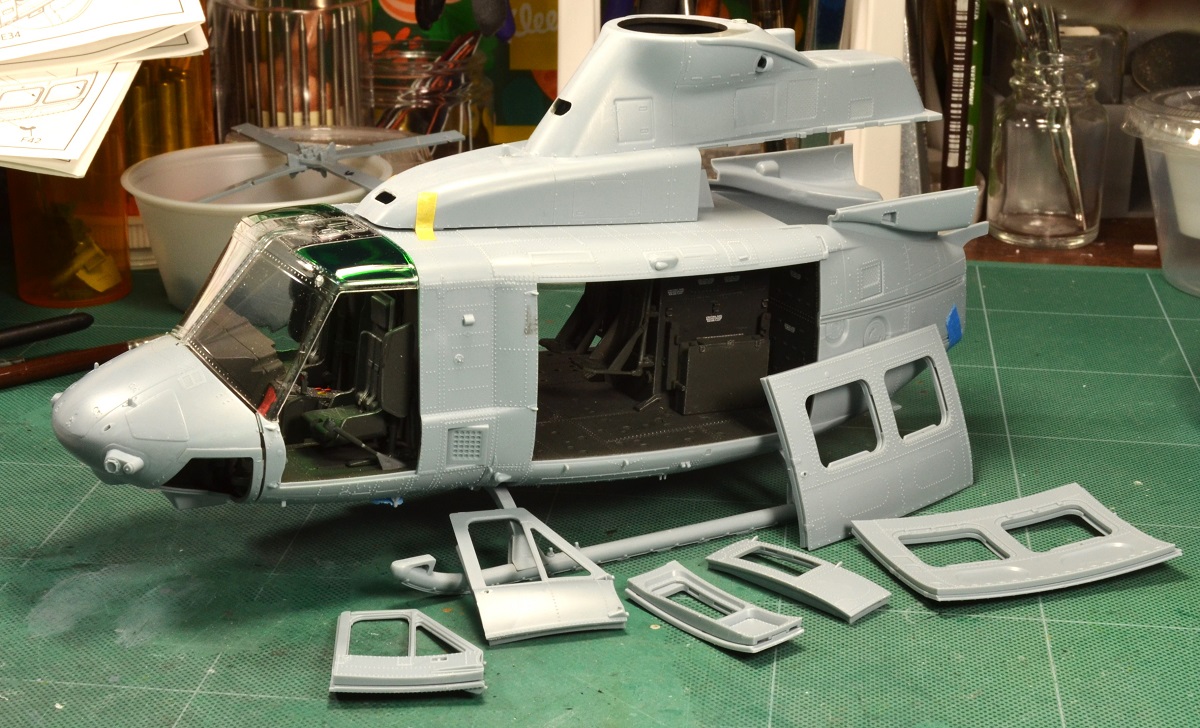
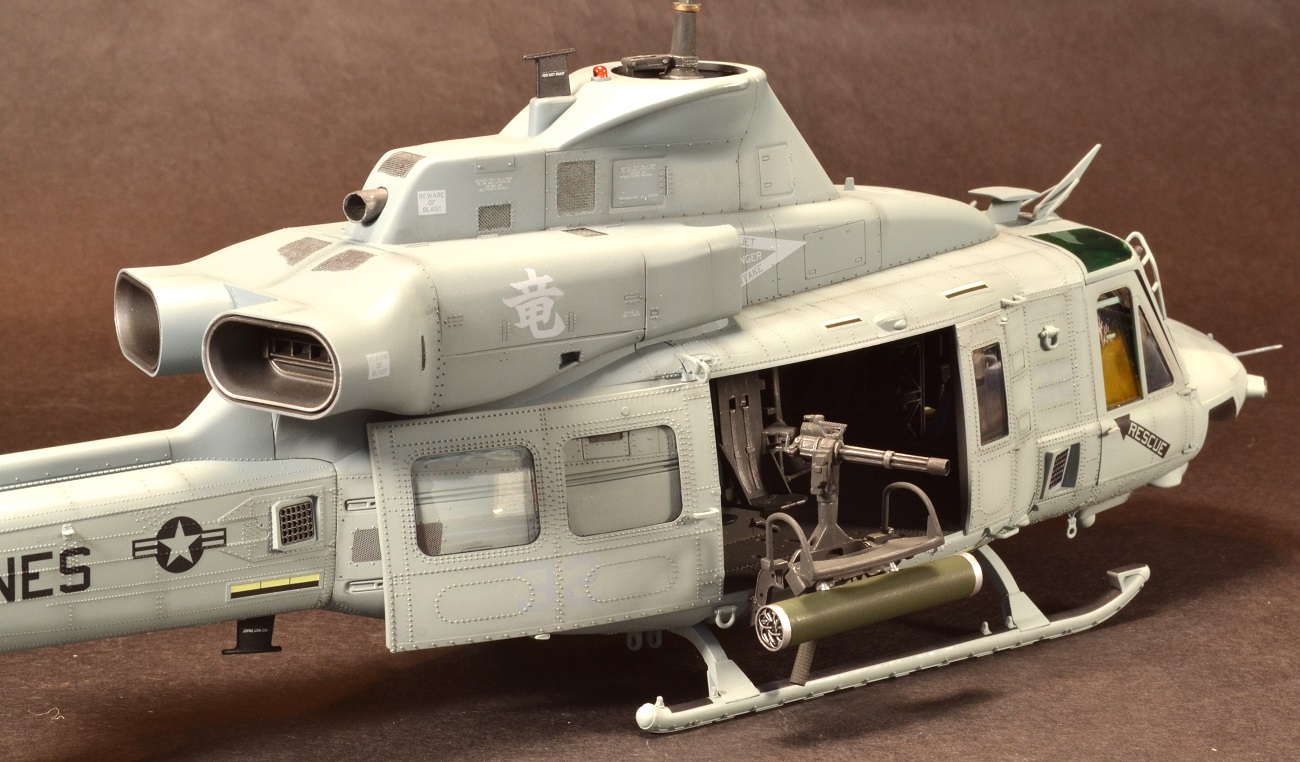
Next, I assembled the exterior body parts (A1 & A2) per step 8. A problem area is the center seam line. The top seam line is an easy fix since it will be covered by the engine cowling. The bottom seam line is another beast altogether. Helicopters are known to use lots of panhead rivets to attach the skin to internal structure. These raised rivet details create problems when next to seam lines since they are near impossible to sand and not lose any rivets.
The solution I used was to fill the seam line with “soft” stretched sprue. Taking sprues from either Airfix or Special Hobby (soft plastic hardness) I stretched spue over a candle flame to the desired thickness to match the seam width. Next, I placed a small section into the seam and applied Tamiya Extra Thin Cement. The cement will allow the stretched sprue to soften, and I then pressed it down to the plastic surface with a flat-skinny metal blade. Sort of like “ironing” the sprue to the surface. Once cured, I was able to lightly sand any minor raised spots with sandpaper and keep most of the raised detail.
Assembly of the rest of the main cabin and engine cowling/exhaust pretty much followed the instructions. I did wait to install some of the antennas and shackles until closer to exterior painting to not knock off any of those parts prematurely.
In step 10, the pilot/co-pilot’s canopy was tinted with Tamiya Clear Green, X-25. This was done only on the interior side of the canopy, so, masking and airbrushing must be done prior to installation the part.
Step 15 is where assembly of the tail boom begins. This is a nicely detailed part due to the use of slide-molding. I decided to install the tail rotor hub later in the assembly since it is fragile.
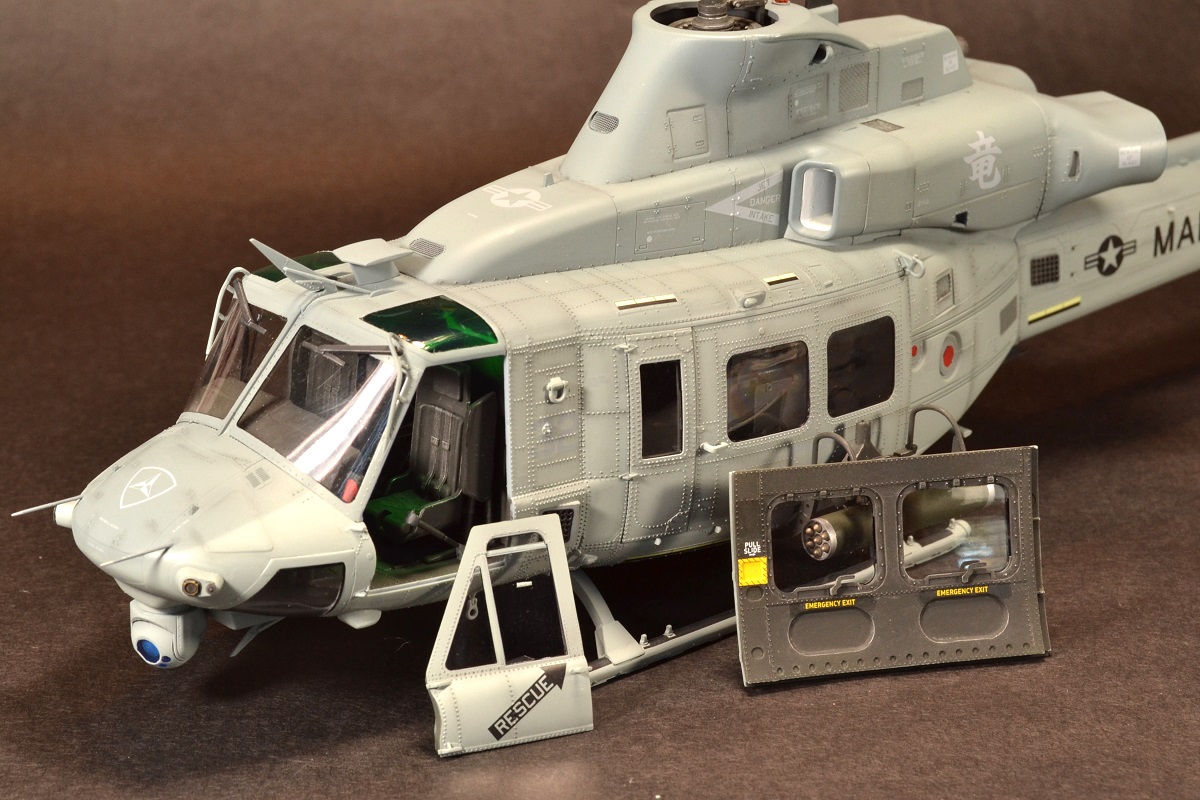
Step 16-17 assembles the doors. Decisions must be made at this time for doors open, closed, or a combination of both. For doors closed, all the interior structure will need to be installed but the downside is the guns cannot be mounted. For doors open, the sliding cabin doors will not need interior parts.
Assembly of the rockets and guns happen next in step 18. Once completed, I set them aside until final assembly.
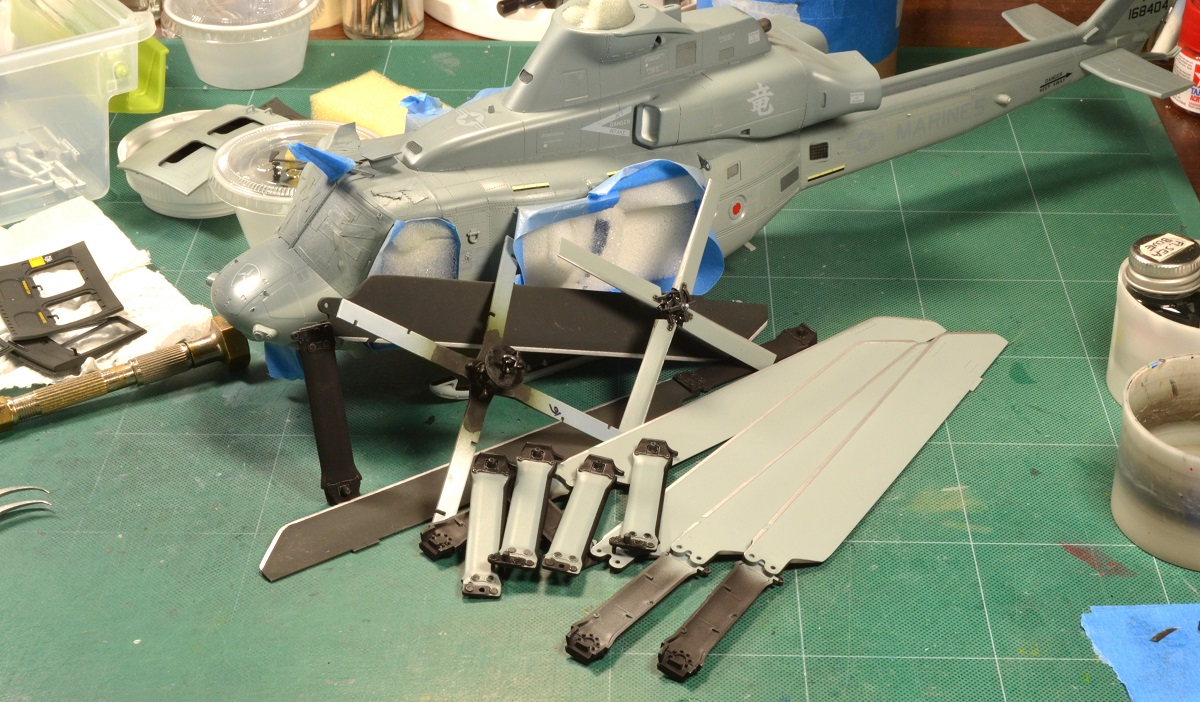
Rotor assemblies commence in step 20-21. Here, another decision must be made; Do you want the rotor blades in spread or stowed configuration. If stowed, the assembly of the supporting structure will need to be completed in step 22b.
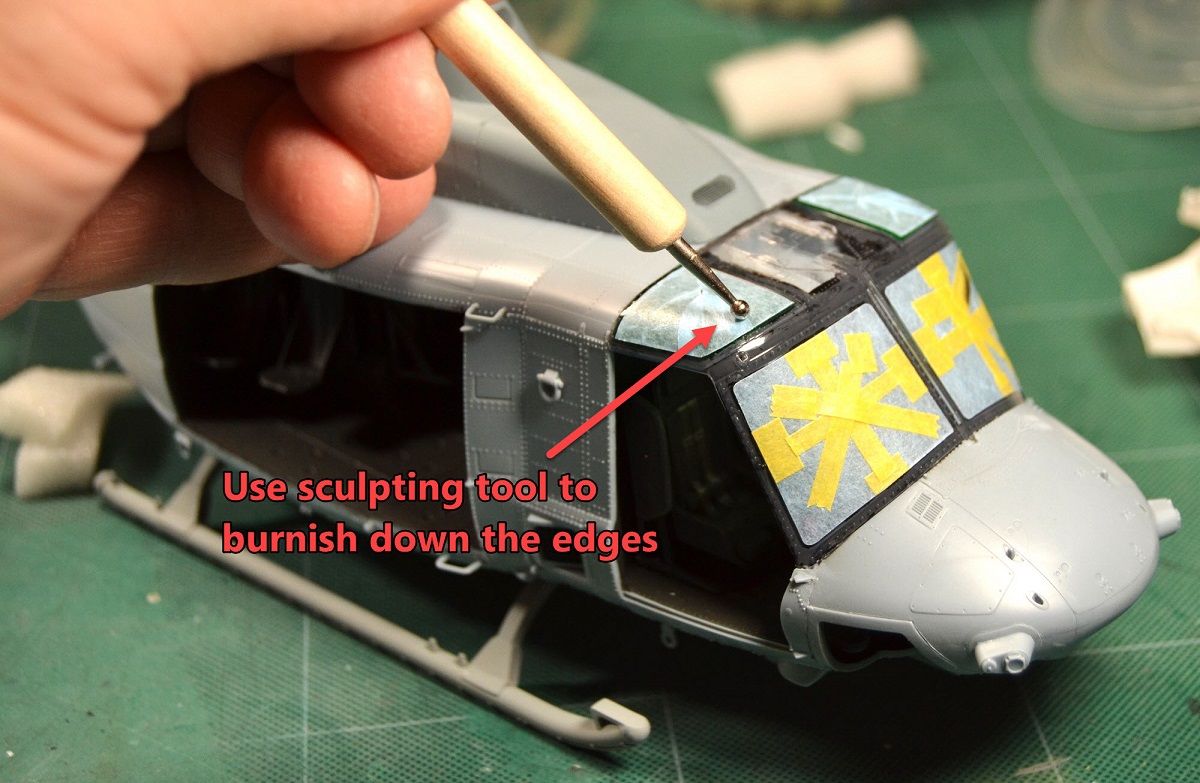
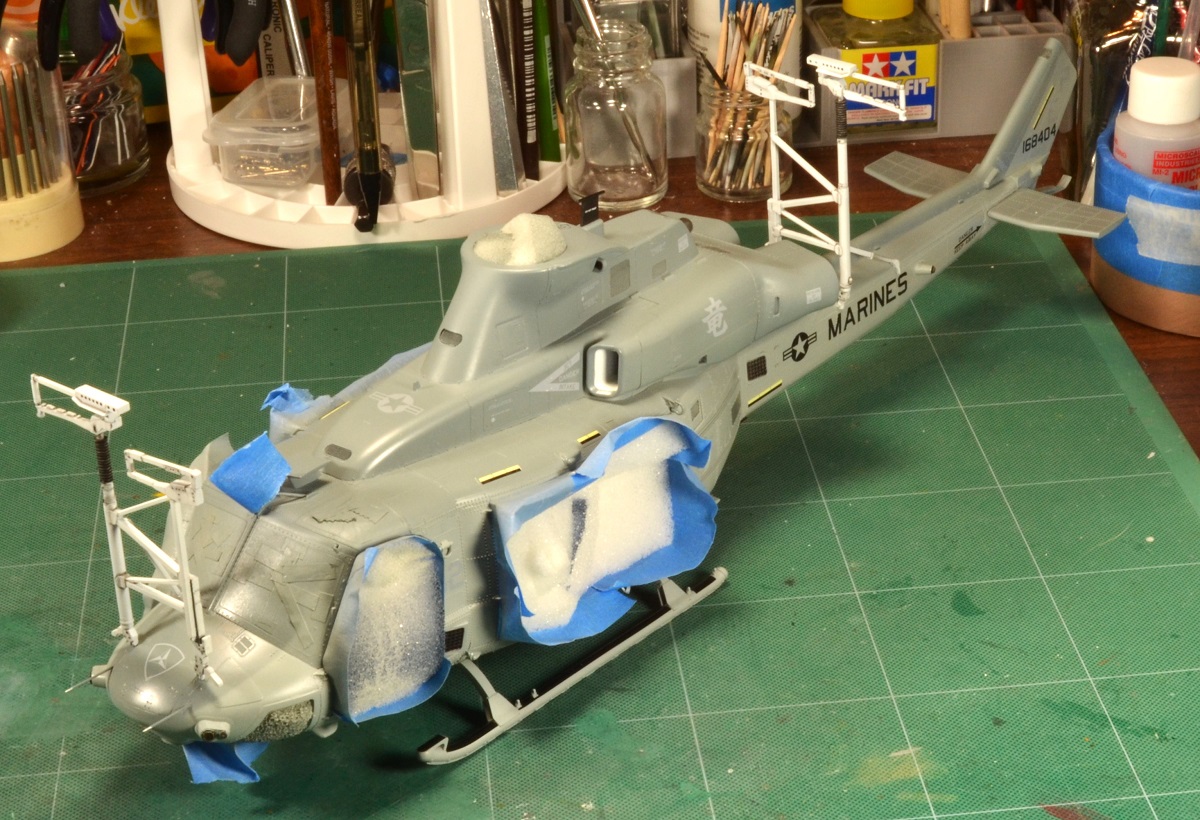
Prior to painting, I used the kit provided masking for the windscreen and canopy. Due to the complex curves in these areas, I decided to cut the masks into 4 parts and added relief cuts to allow the masks to curve over the surface. Once done, I added Tamiya tape over the gaps. Also, due to some gaps in the doors, I played it safe and masked off those openings with painters’ tape and foam.
Painting the exterior parts was an exercise in mixing Tamiya greys to get close to the right shade. For Dark Ghost Gray (FS36320) I mixed equal parts Light Grey (XF-66) and Light Blue (XF-23). For Light Ghost Gray (FS36375) I mixed equal parts Sky Grey (XF-19) and Light Blue (XF-23) and I added a lesser amount of white (XF-2).
Recommendation
Paint the gray colors on a piece of scrap plastic first. Then take a gray colored decal from the decal sheet you are not using and place it on the gray samples. This needs to be done to make sure the decal will not disappear once applied in case the gray shade(s) happens to be the same color as the decal. If it is, then either darken or lighten the gray colors. I had issues with the decal stencils having low contrast next to the Light Ghost Gray color and this exercise will help you identify this problem early in the painting stage. Because of this, I used the black “Stars and Bars” and “Marine” decal on the tail boom to make sure it can be read.
Before decal application, I gloss coated the model with Tamiya Clear (X-22). This will aid in decal application along with a decal softening solution (Micro Sol, Solvaset). Do note that there are lots of raised detail and using decal softening solution will be a necessary aid to help it conform over the raised details along with the complex curves.
Once decaling was done, I airbrushed a protective coat of Vallejo Clear Matt. Next, I subtly weathered using ground up charcoal applied with a soft brush. Lastly, I airbrushed AK Ultra Matt Clear to seal it all in. Any charcoal weathering that was lost from the last clear coat I lightly re-applied.
Finally, I installed the antennas, wiper blades, rotors, guns, rockets, and doors and called it good.
Conclusions
This is a great new kit from Academy! The detail is incredible, and the assembly was straight forward.
I highly recommend this kit to builders who have a few kits under their belt and especially to helicopter lovers. Due to a few complex assemblies with small parts, it may challenge a beginner. But for a helicopter enthusiast, this is a must buy and build.
It is a big helicopter once completed and will garner attention on the contest table or in your collection. It sits 20 inches long (front to back) by 16.5 inches wide (rotor diameter), so, make sure to have plenty of space in your display cabinet. Also, the plethora of 1/35th scale military figures available in the hobby will add a human touch to the model for scale and drama if a diorama/vignette is in the plans.
I want to thank MCR and Academy for providing the UH-1Y Venom kit, and IPMS/USA for allowing me the opportunity to review.
Again, Highly Recommended!

Comments
Add new comment
This site is protected by reCAPTCHA and the Google Privacy Policy and Terms of Service apply.
Similar Reviews