
T-800 Terminator, Part 5 - Modifications and Changes
In this second to last part, I want to go over some of the modifications we can do to the Terminator. First, let me say, these are not needed as the kit is fantastic by itself. That being said, I can never leave well enough alone so here we go.
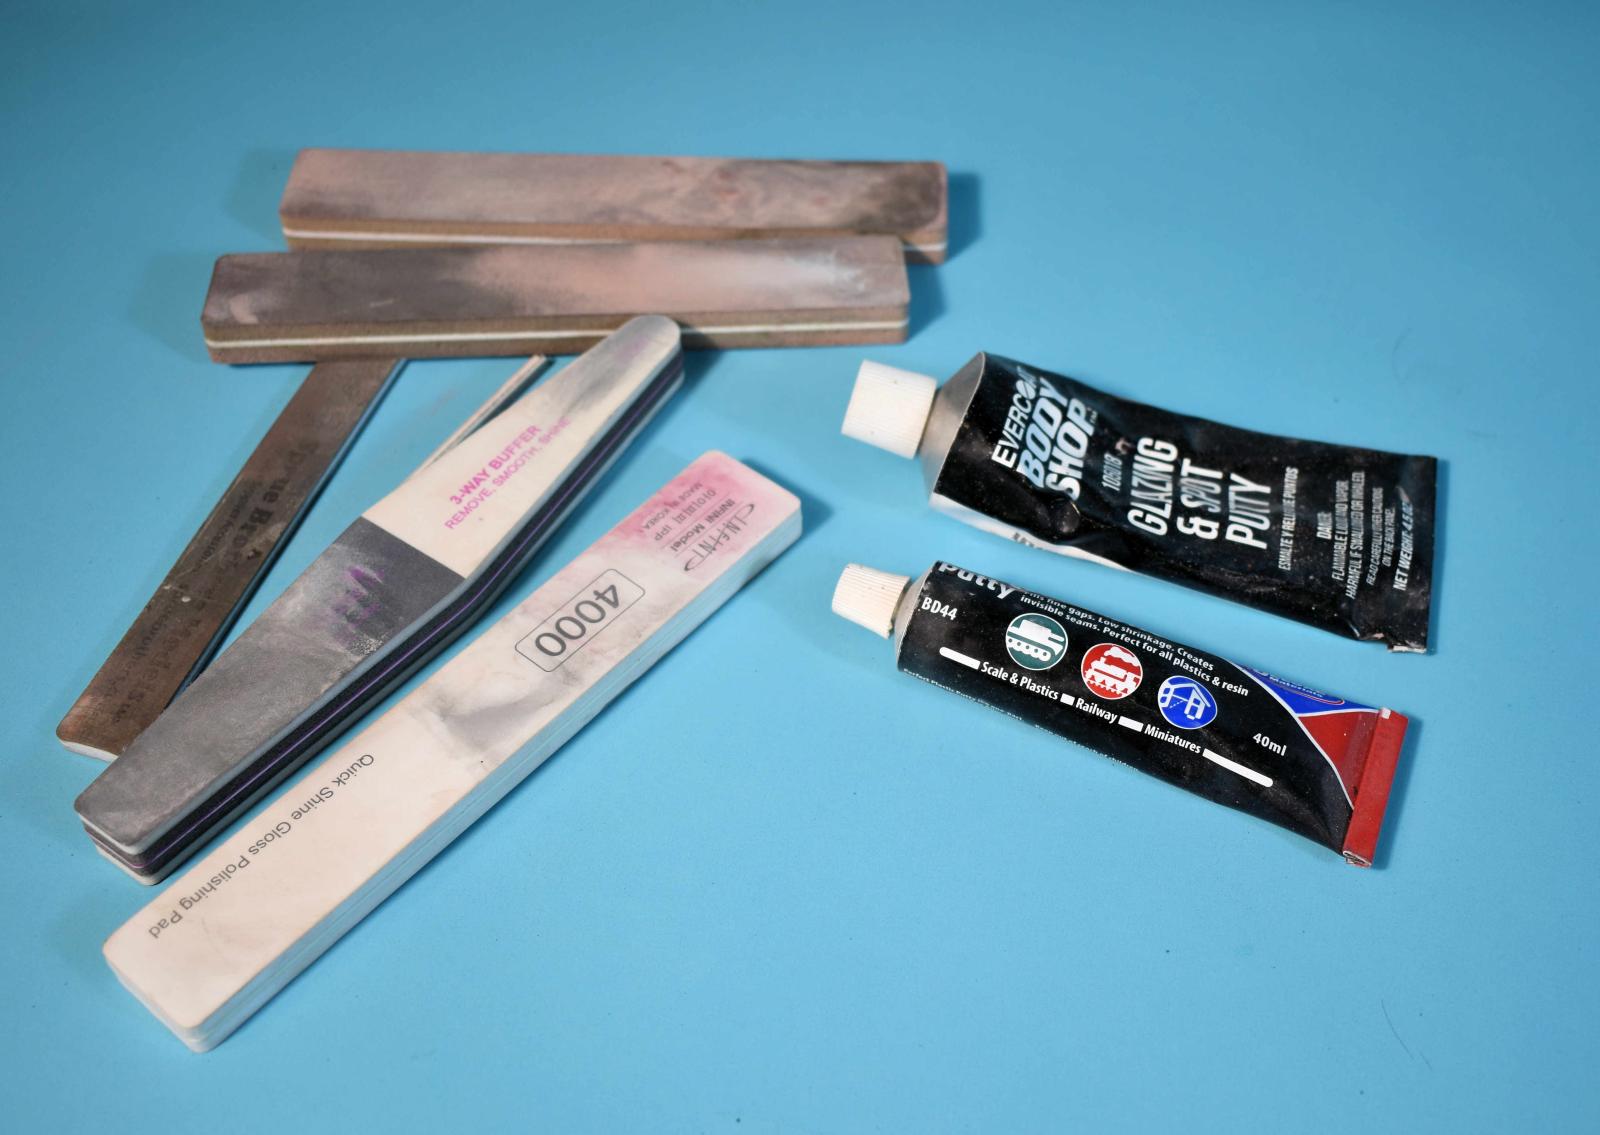
Looking at the kit, there are parts of metal and plastic. I wanted to deal with plastic parts and when they are made, they are molded and have faint seam lines and then are chrome plated over that. My first step was to use sanding sticks and progressively finer grits to get the seams removed. Polishing the parts will produce a finer finish. The only difficult part to this is getting through the really good chrome plate. Once the seams are good and smoothed, I used a primer to prep the pats for painting. I like Tamiya Super Fine. It dries quick and hard but does have an odor. This was allowed to dry overnight.
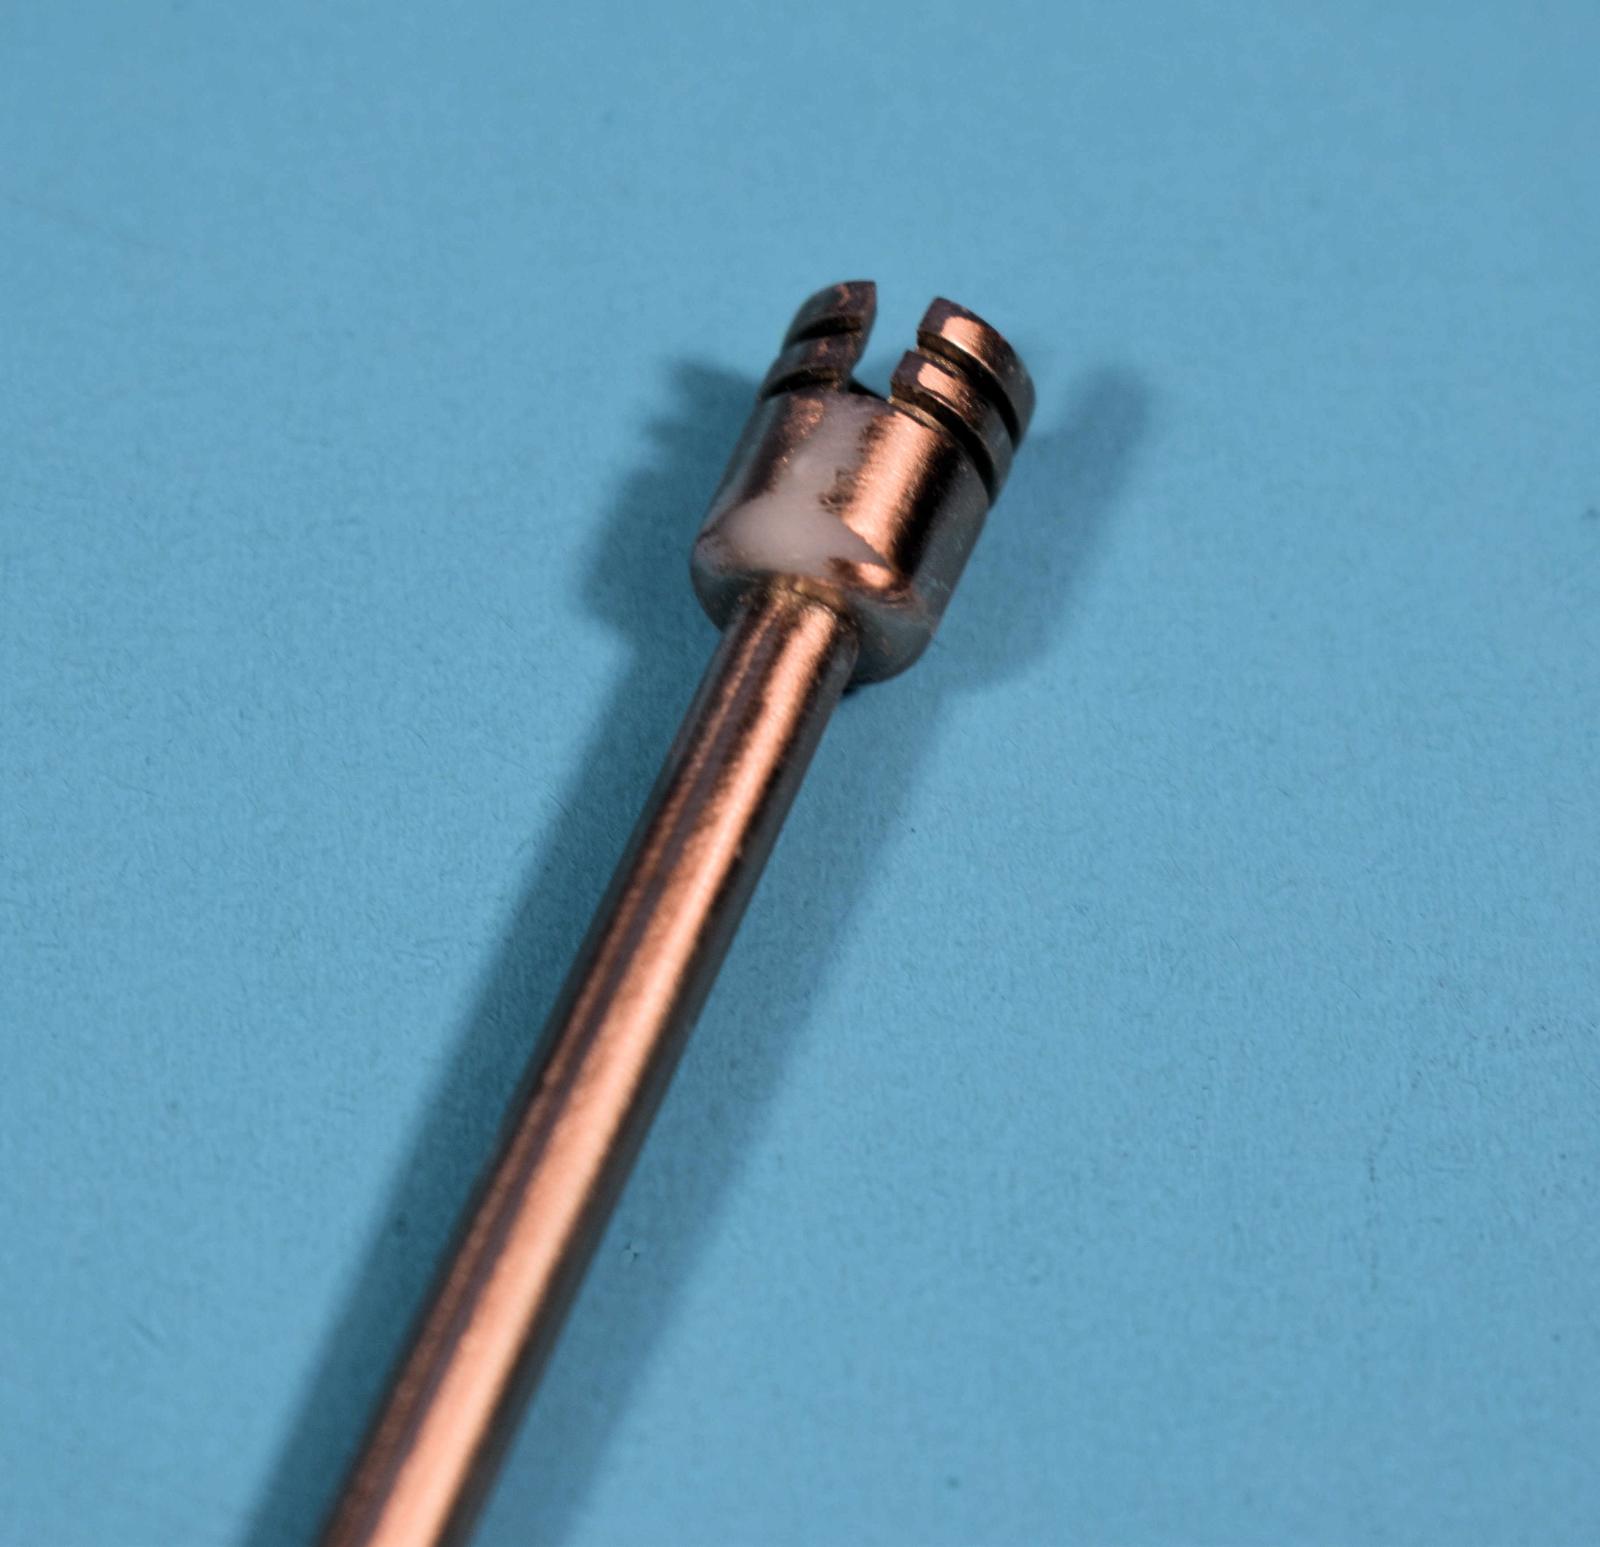
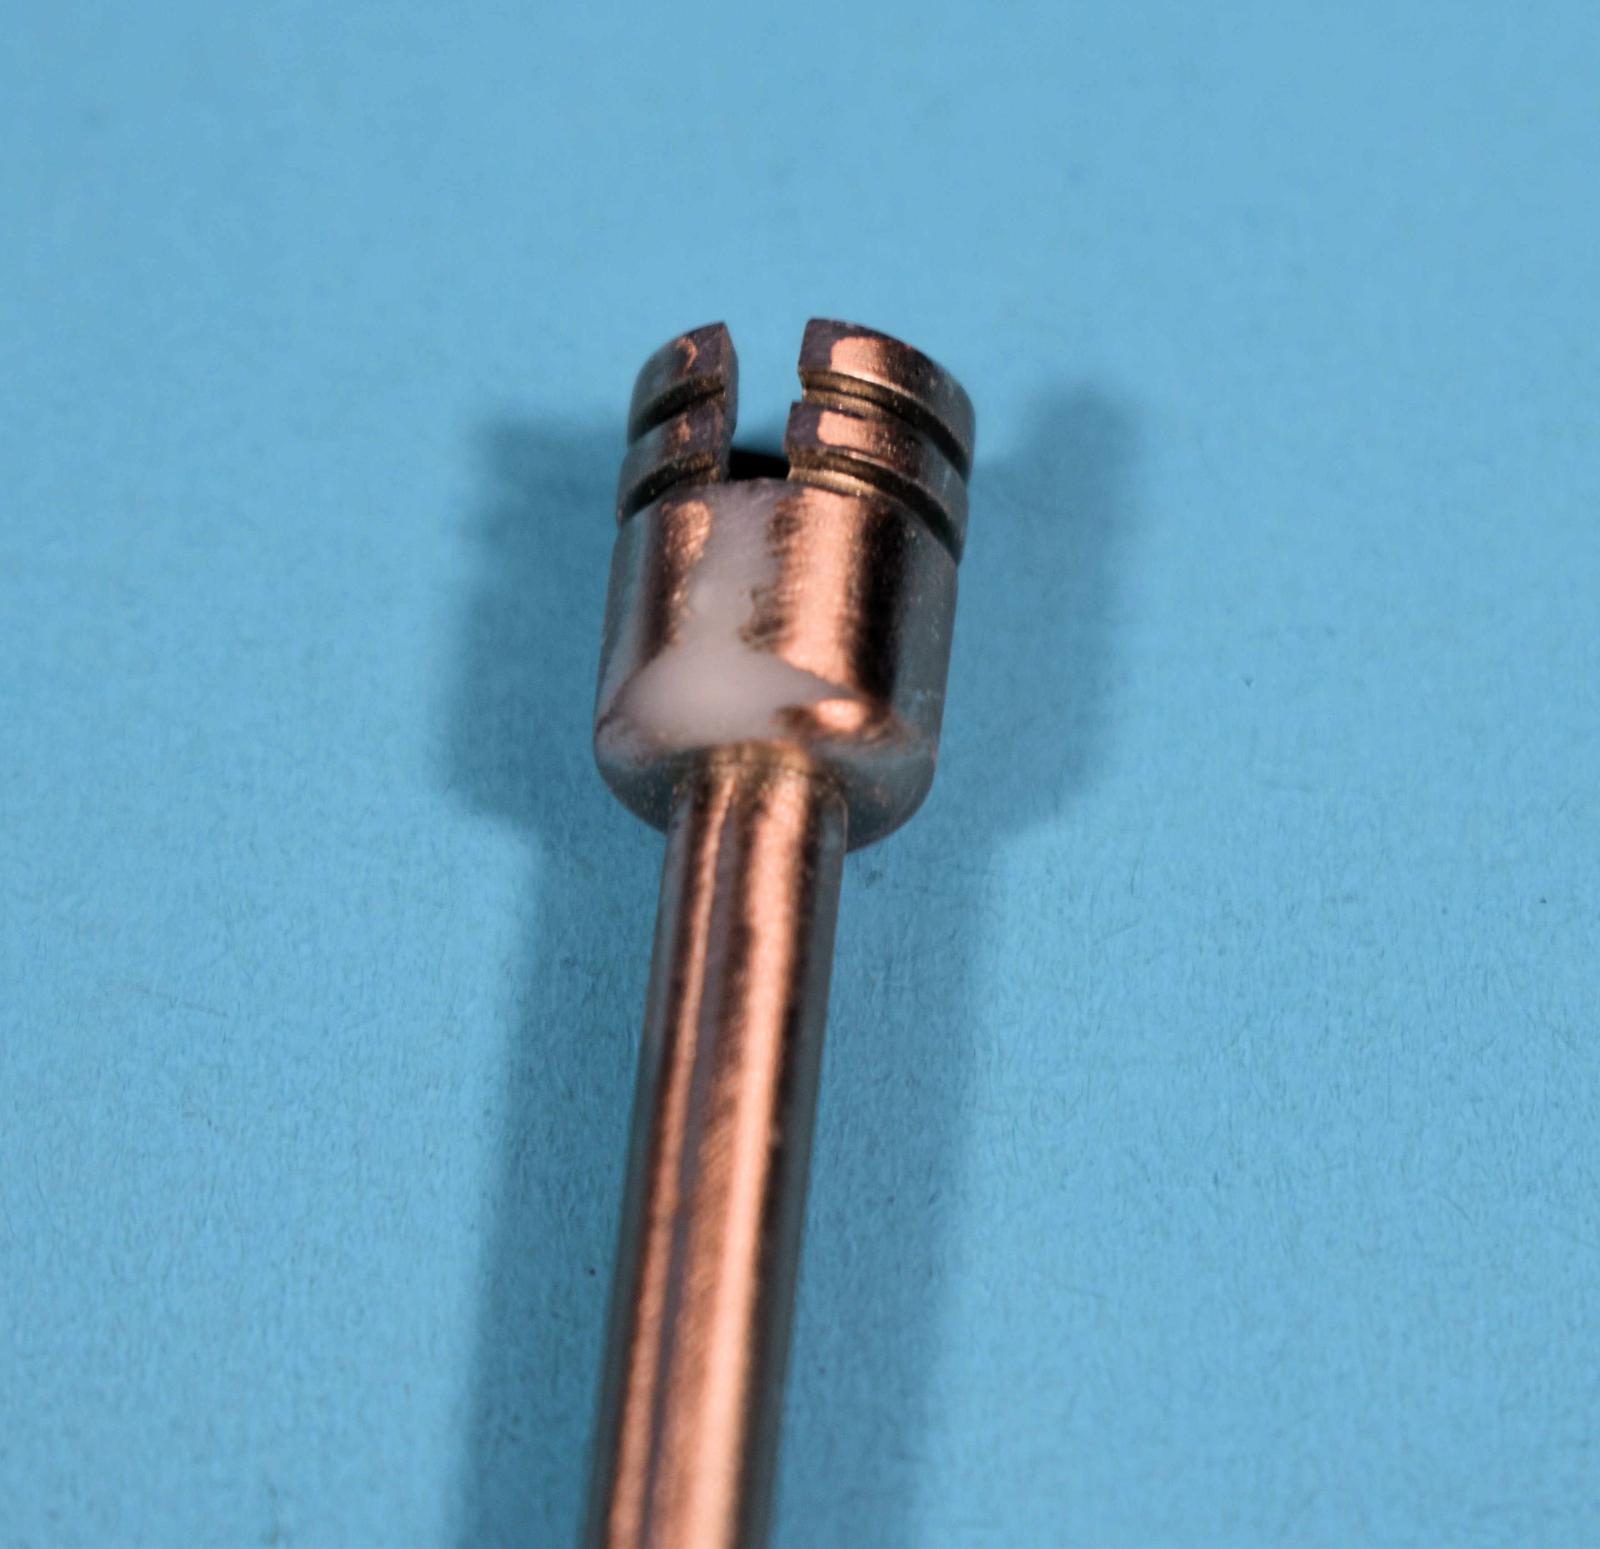
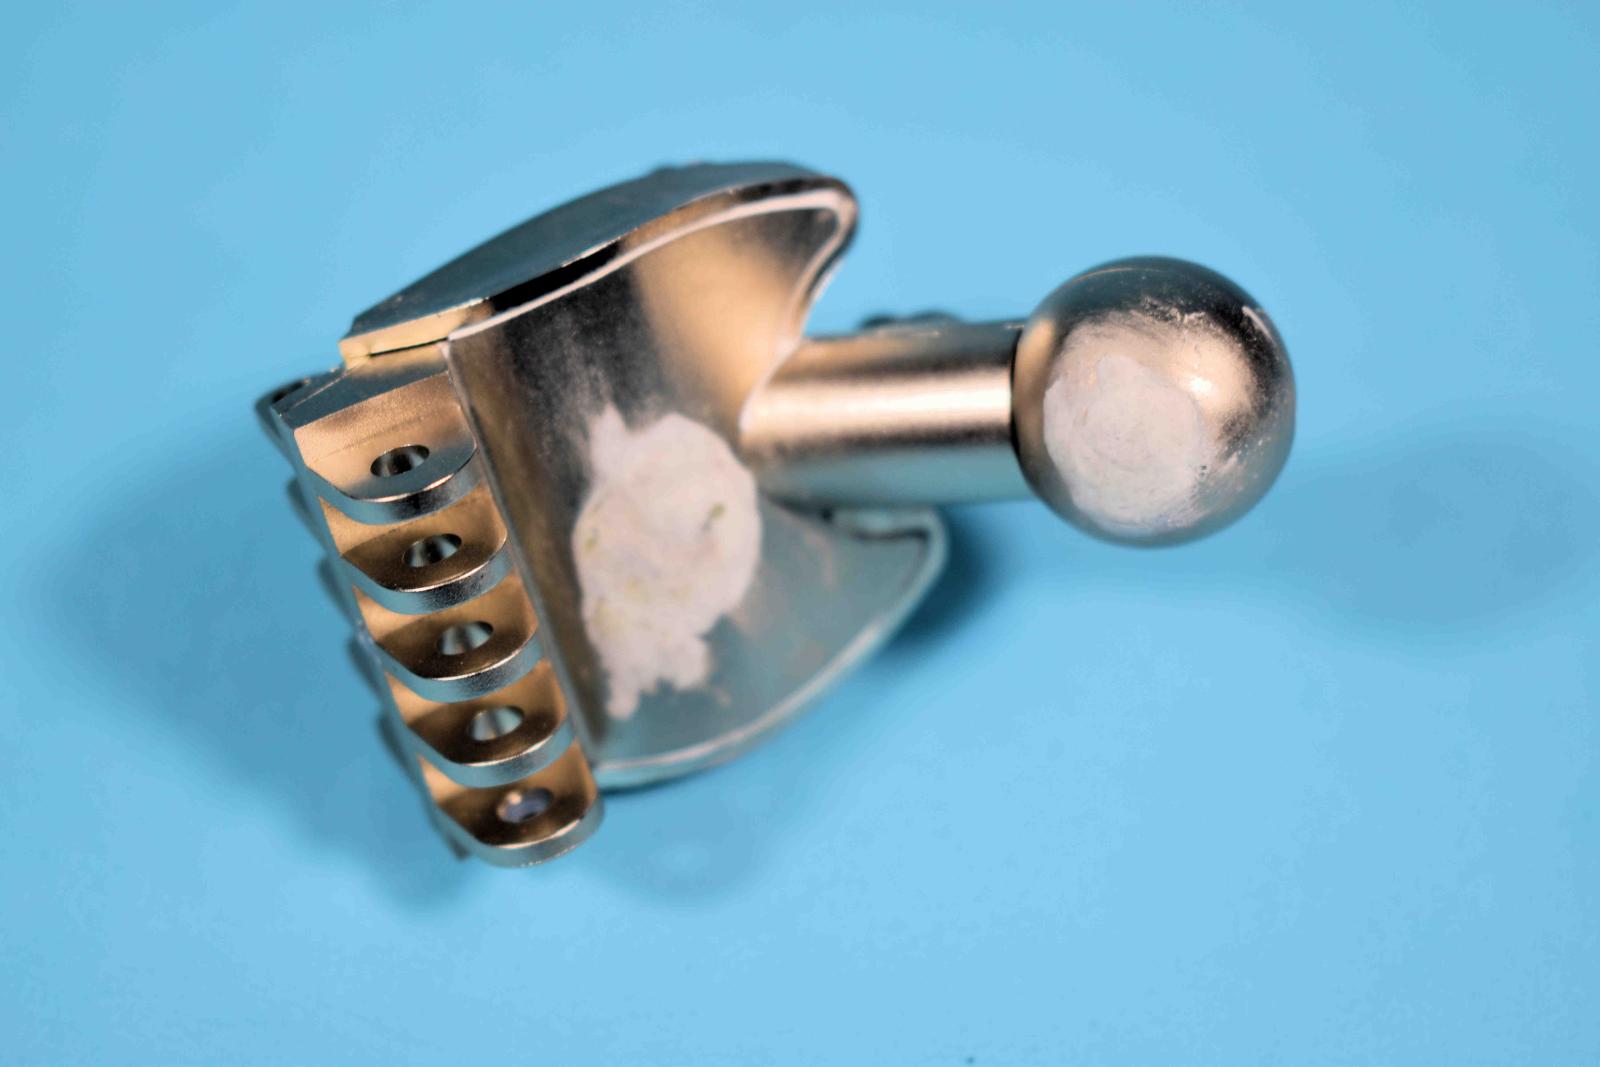
On some of the larger parts, just sanding wasn’t enough and as an example, the heel of the foot had a recess for screwing the foot together and adding the heel. To fill this, I first used Apoxie Sculpt, a two parts curing white putty and that smooths with water. The recesses were filled and smoothed. After this dried, I went through a series of priming and puttying with glazing putty until smooth enough. Once smooth, I went us several grades until smooth and ready for paint.
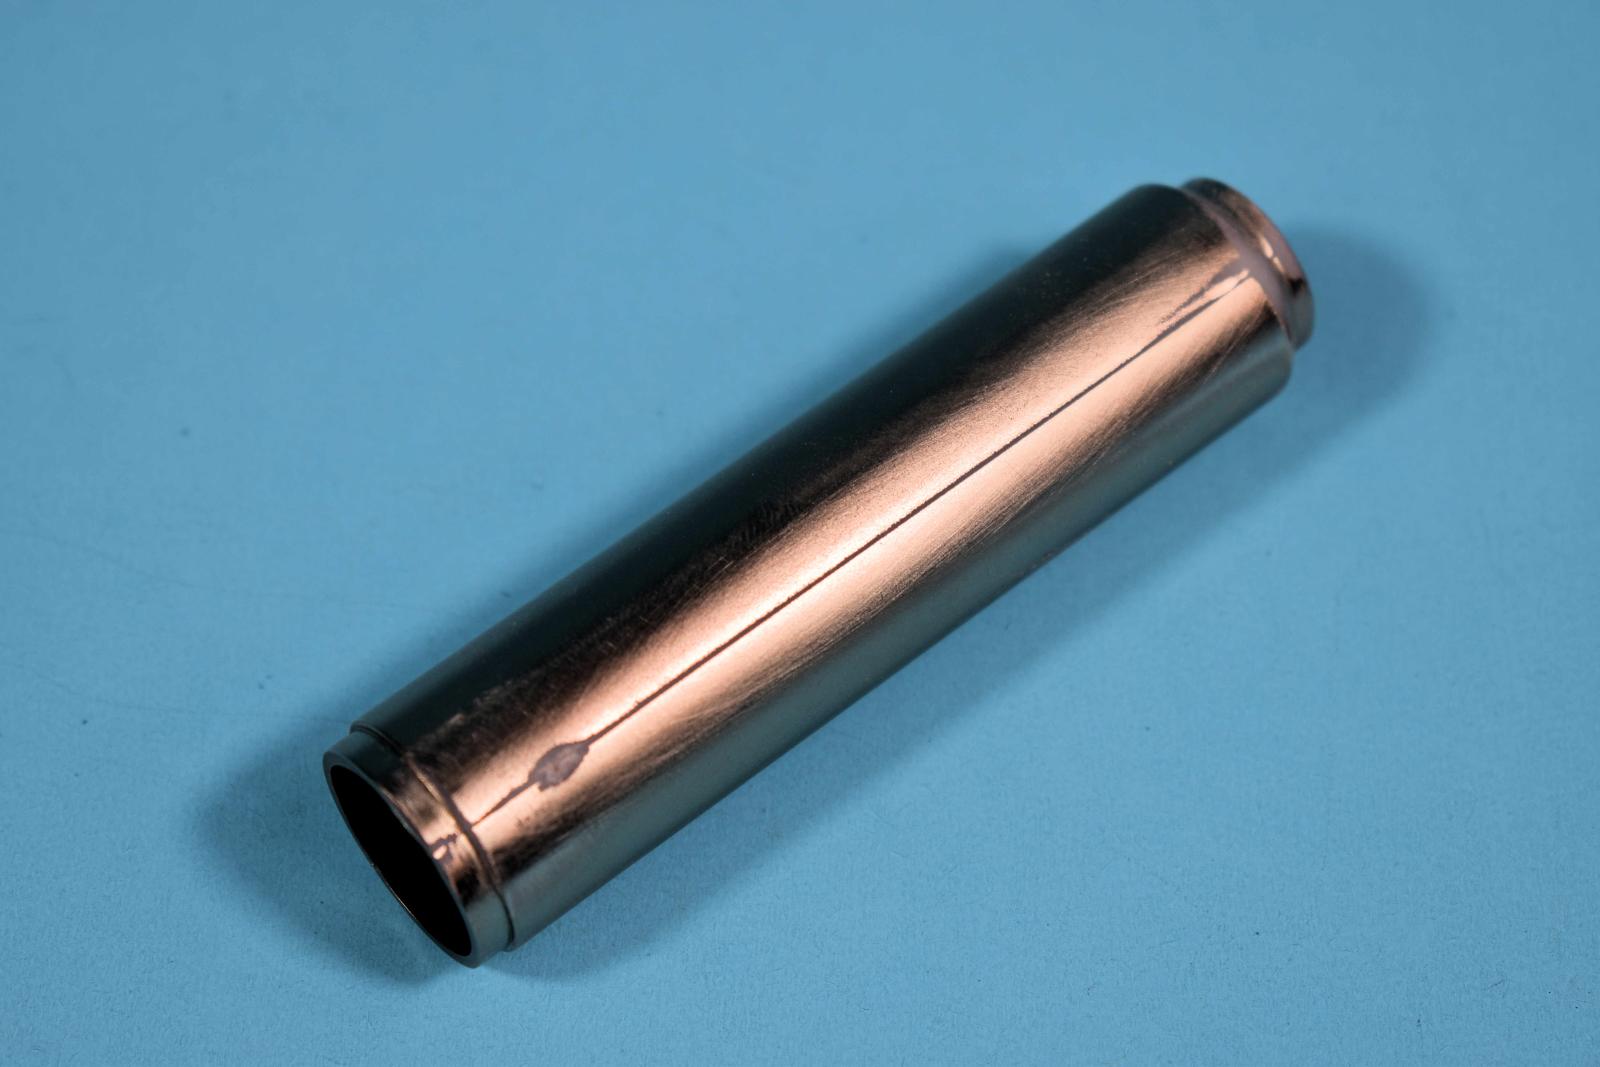
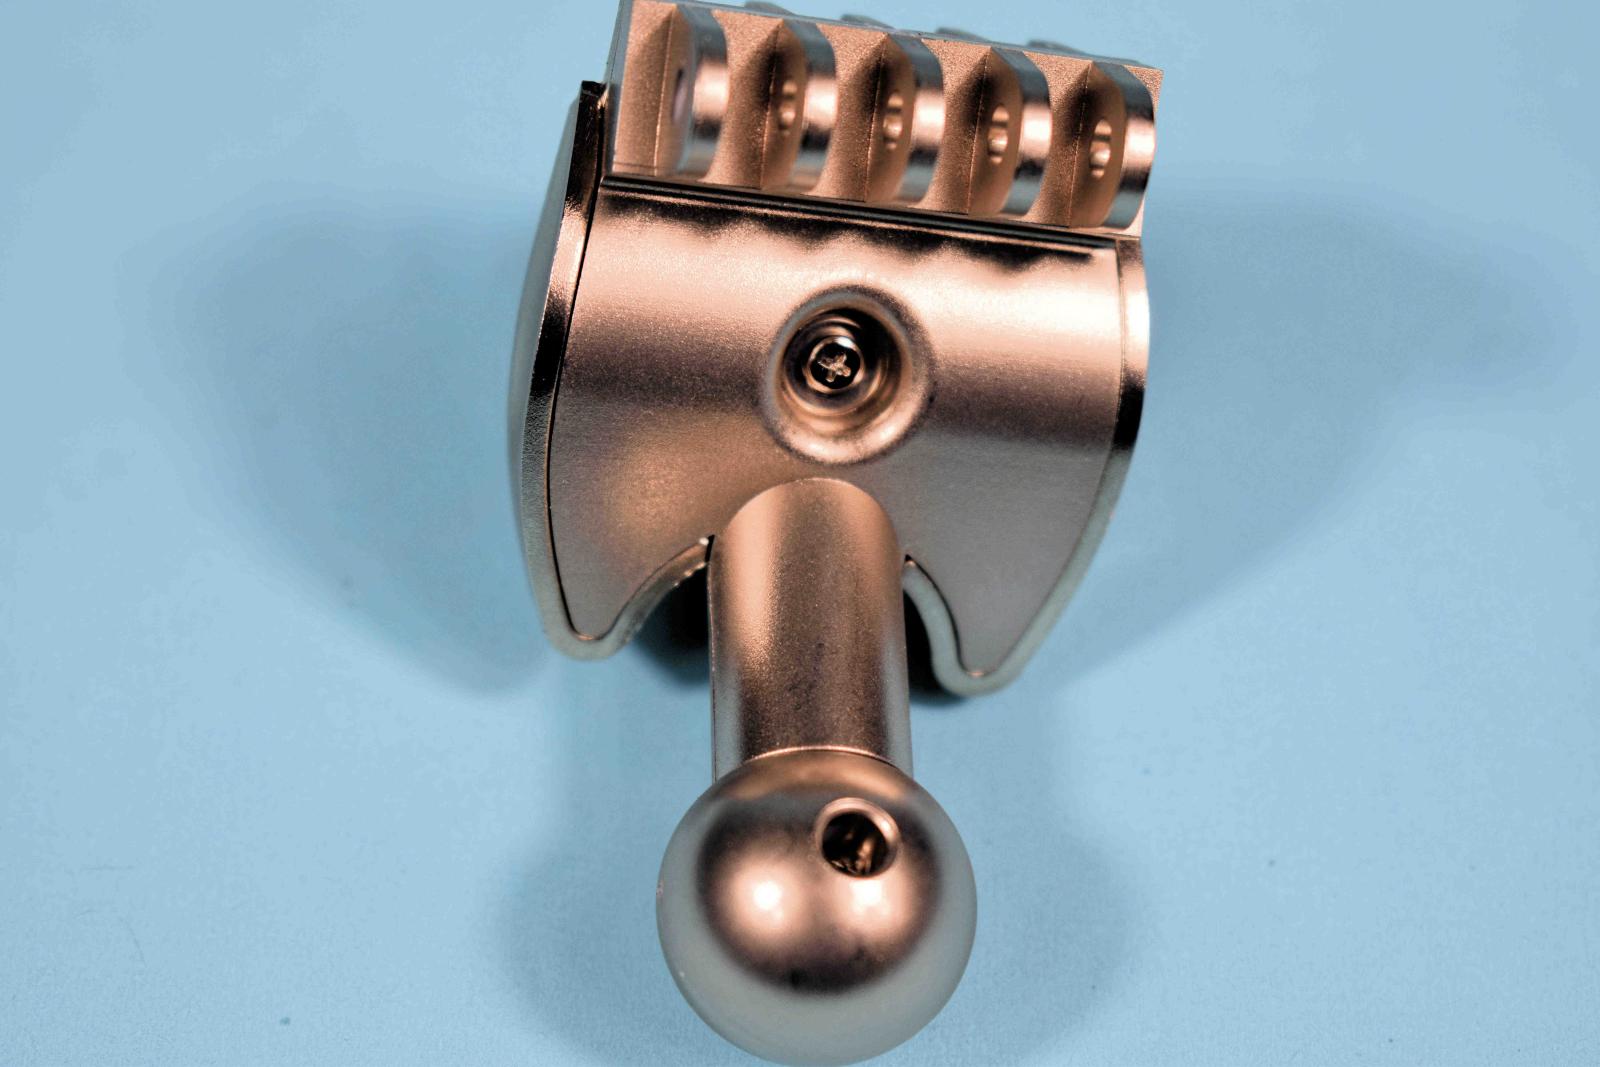
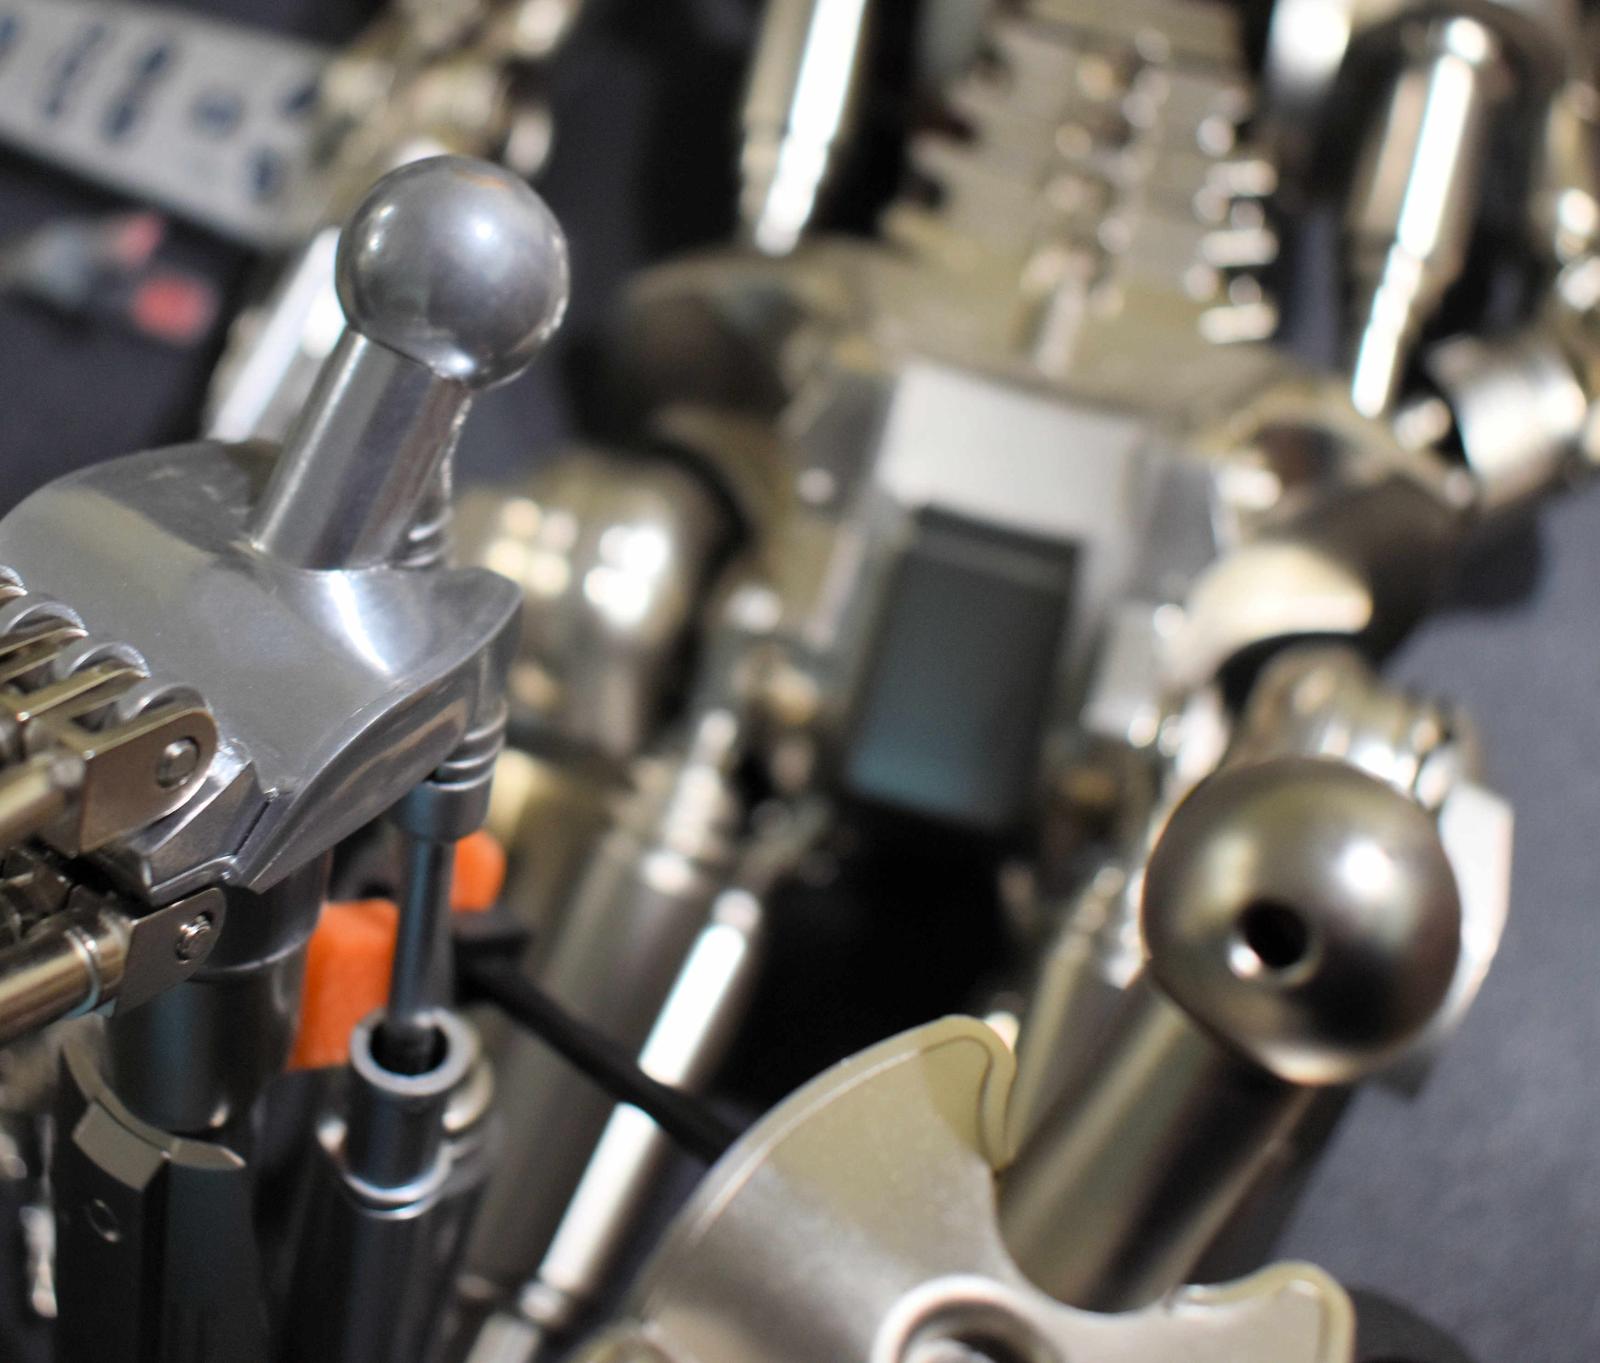
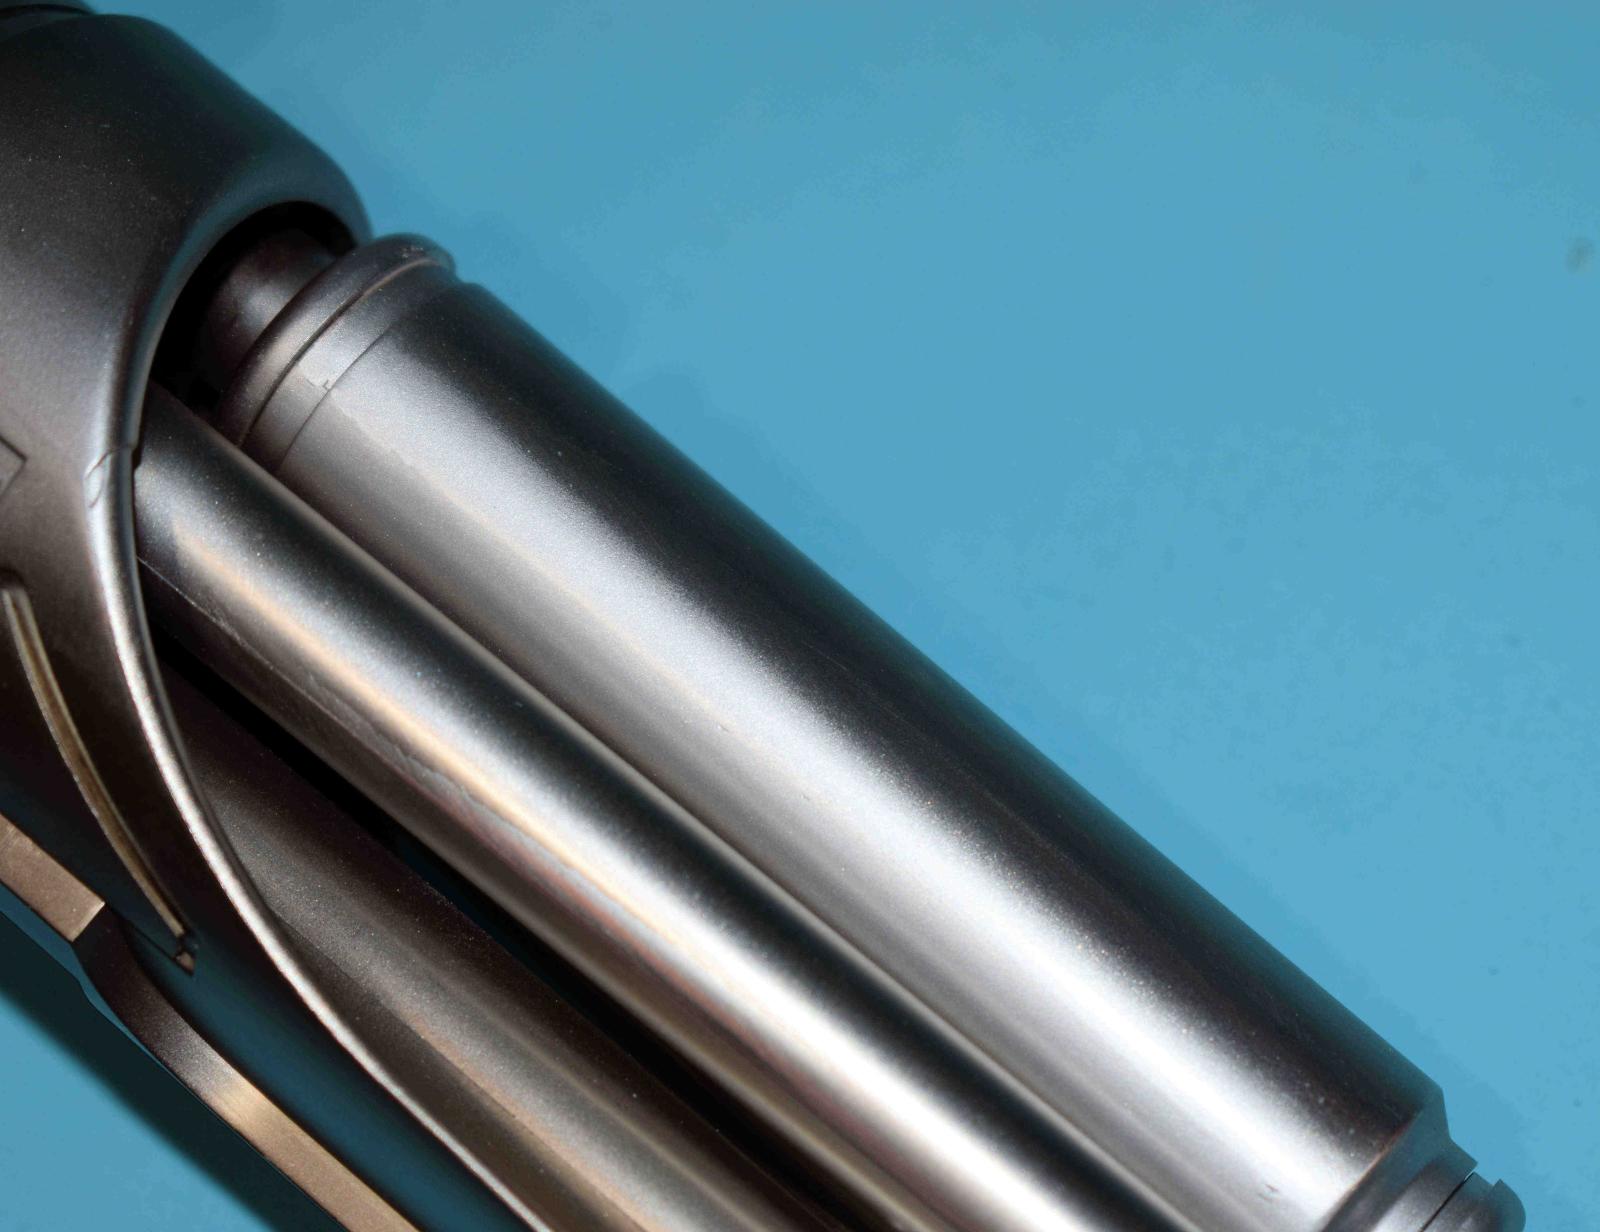
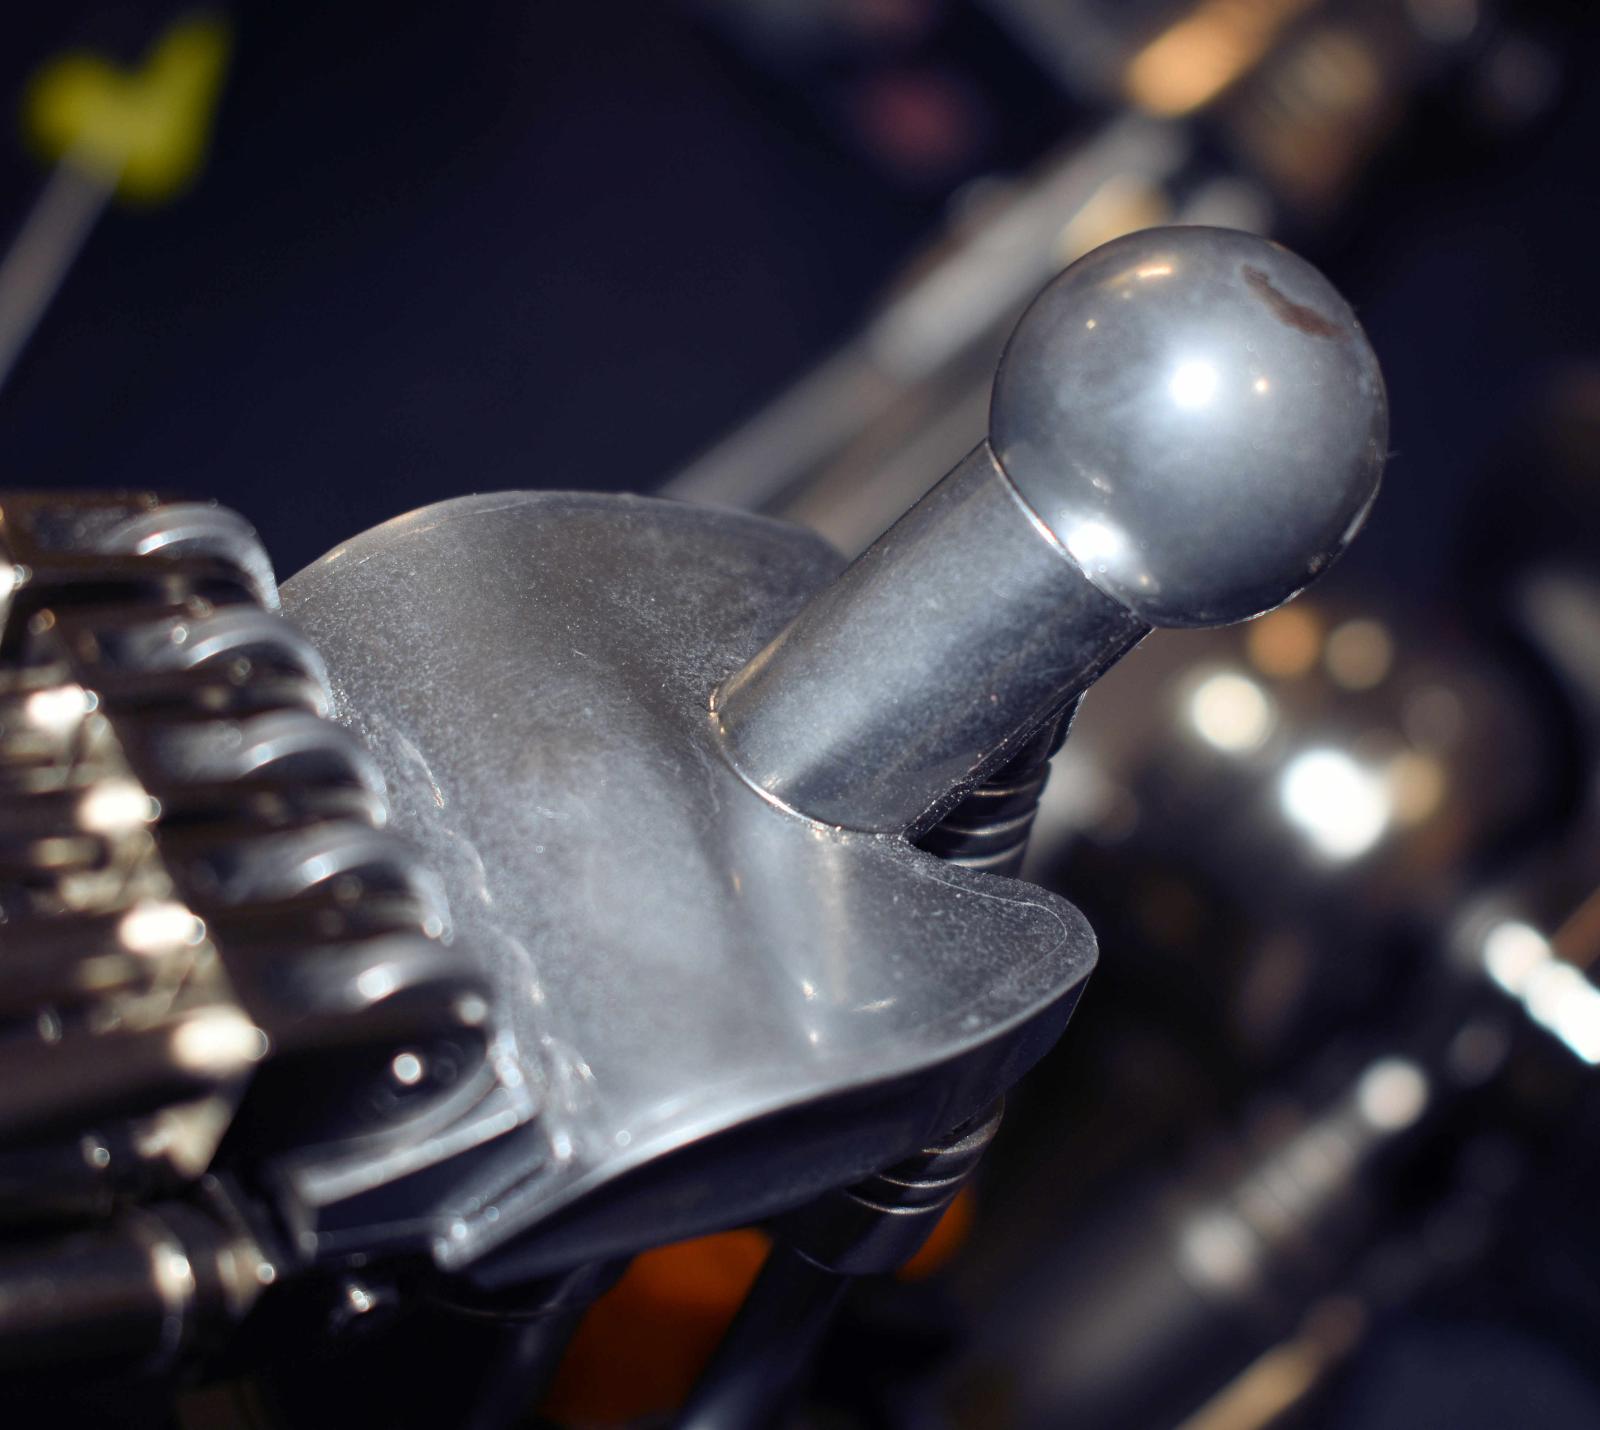
I followed the same process for most of the plastic parts. The kit has many cylinders and pitons and I included photos of several. I did vary some of the color because I wanted to but that was my own choice. A really valuable reference to anything Stan Winston (the effects artist who realized Jim Camerons vision) is a book called the Winston Effect. It covers the thought behind pieces and has wonderful pictures of the making of both T1 and T2 movies including hints on color and the like. In going through the book, you can see there is a variation in hues of the Terminator. Some parts are bright chrome; some look like flatter aluminum and some slightly different. I did not try to match each specifically but did vary the color. So what did I use the paint the parts. Read on!
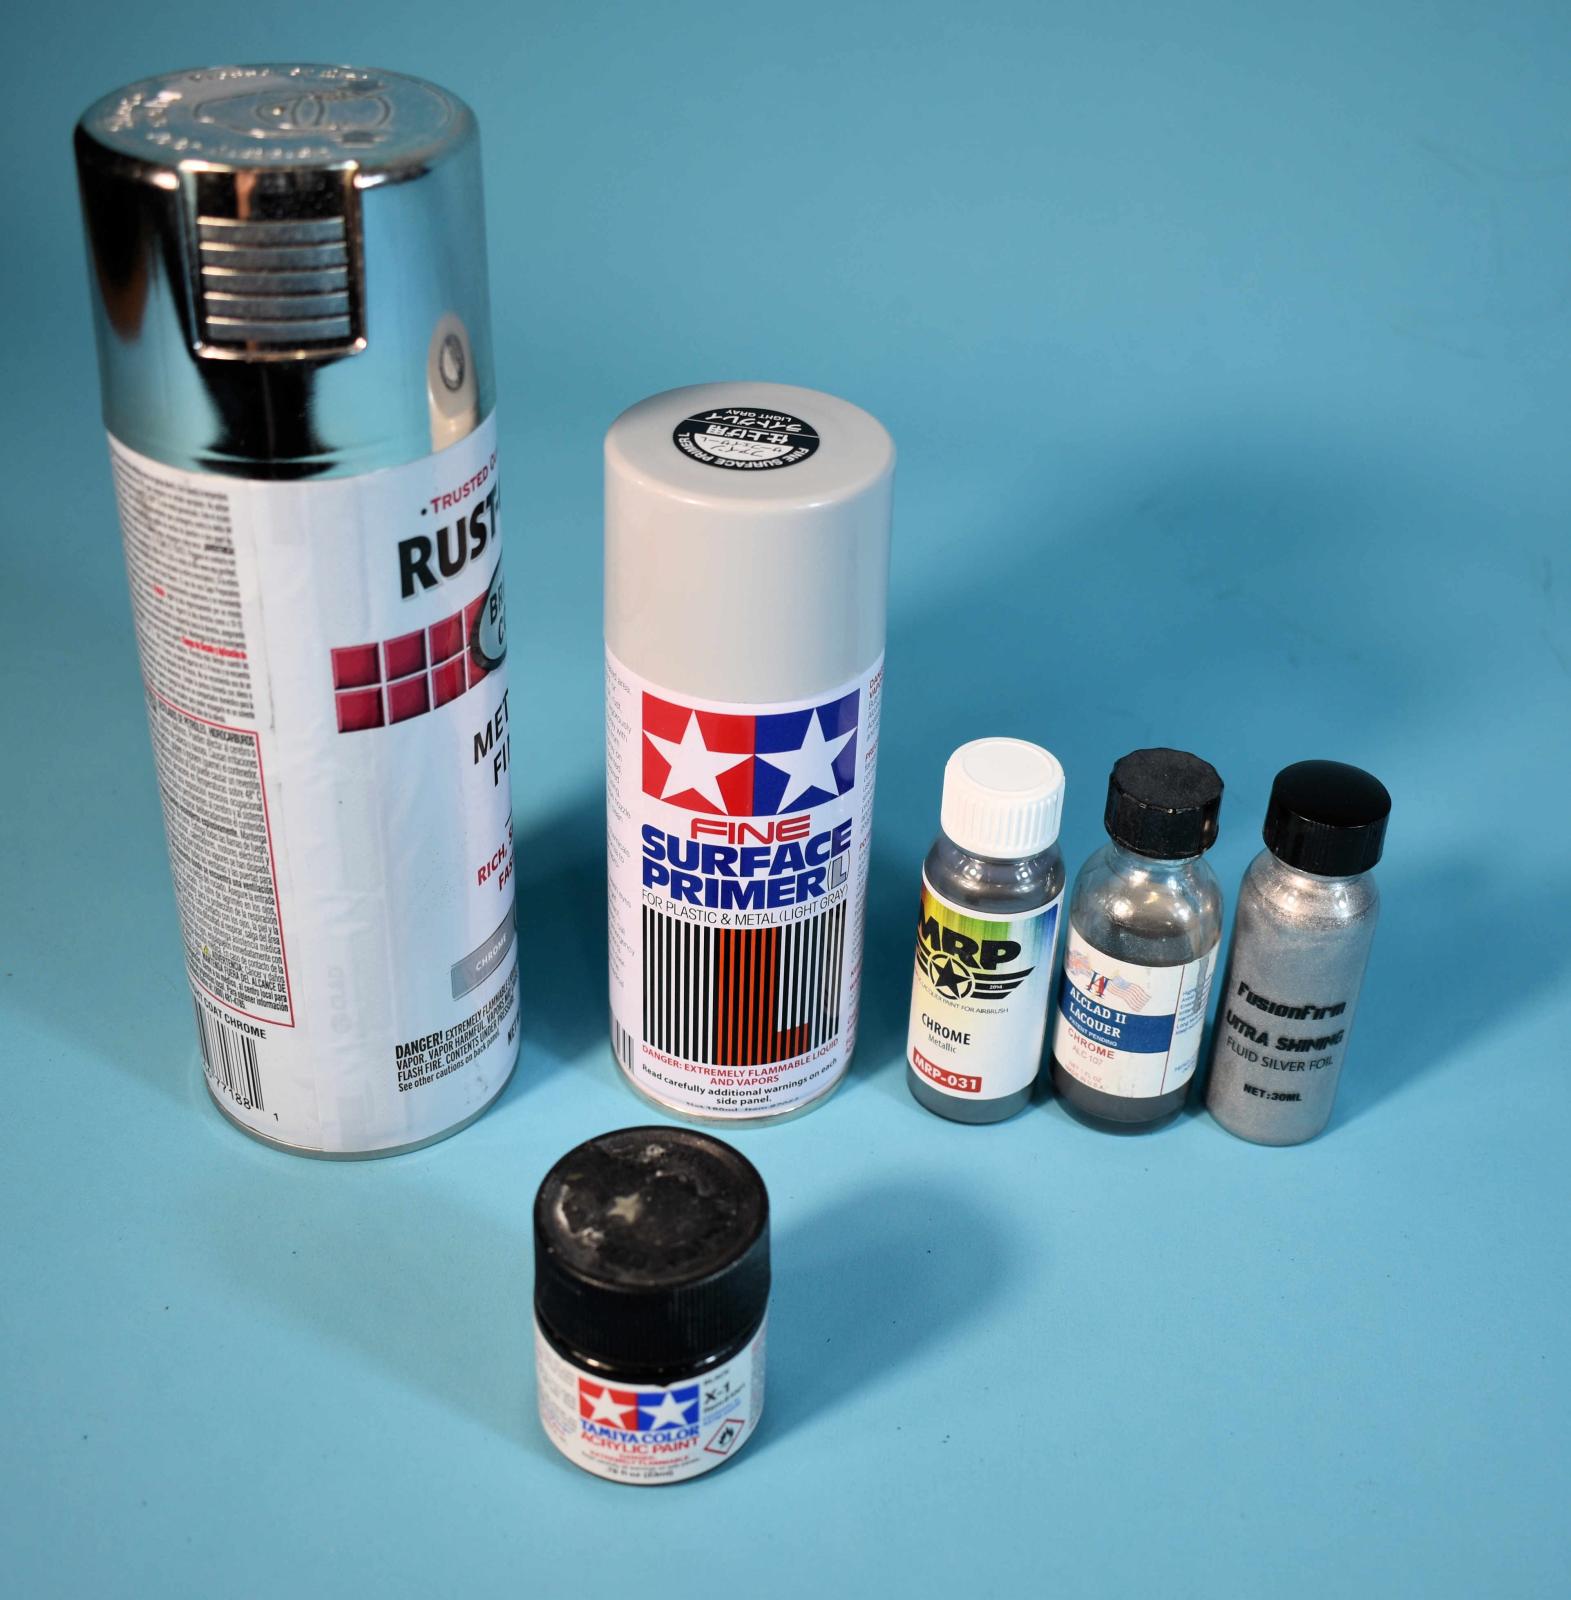
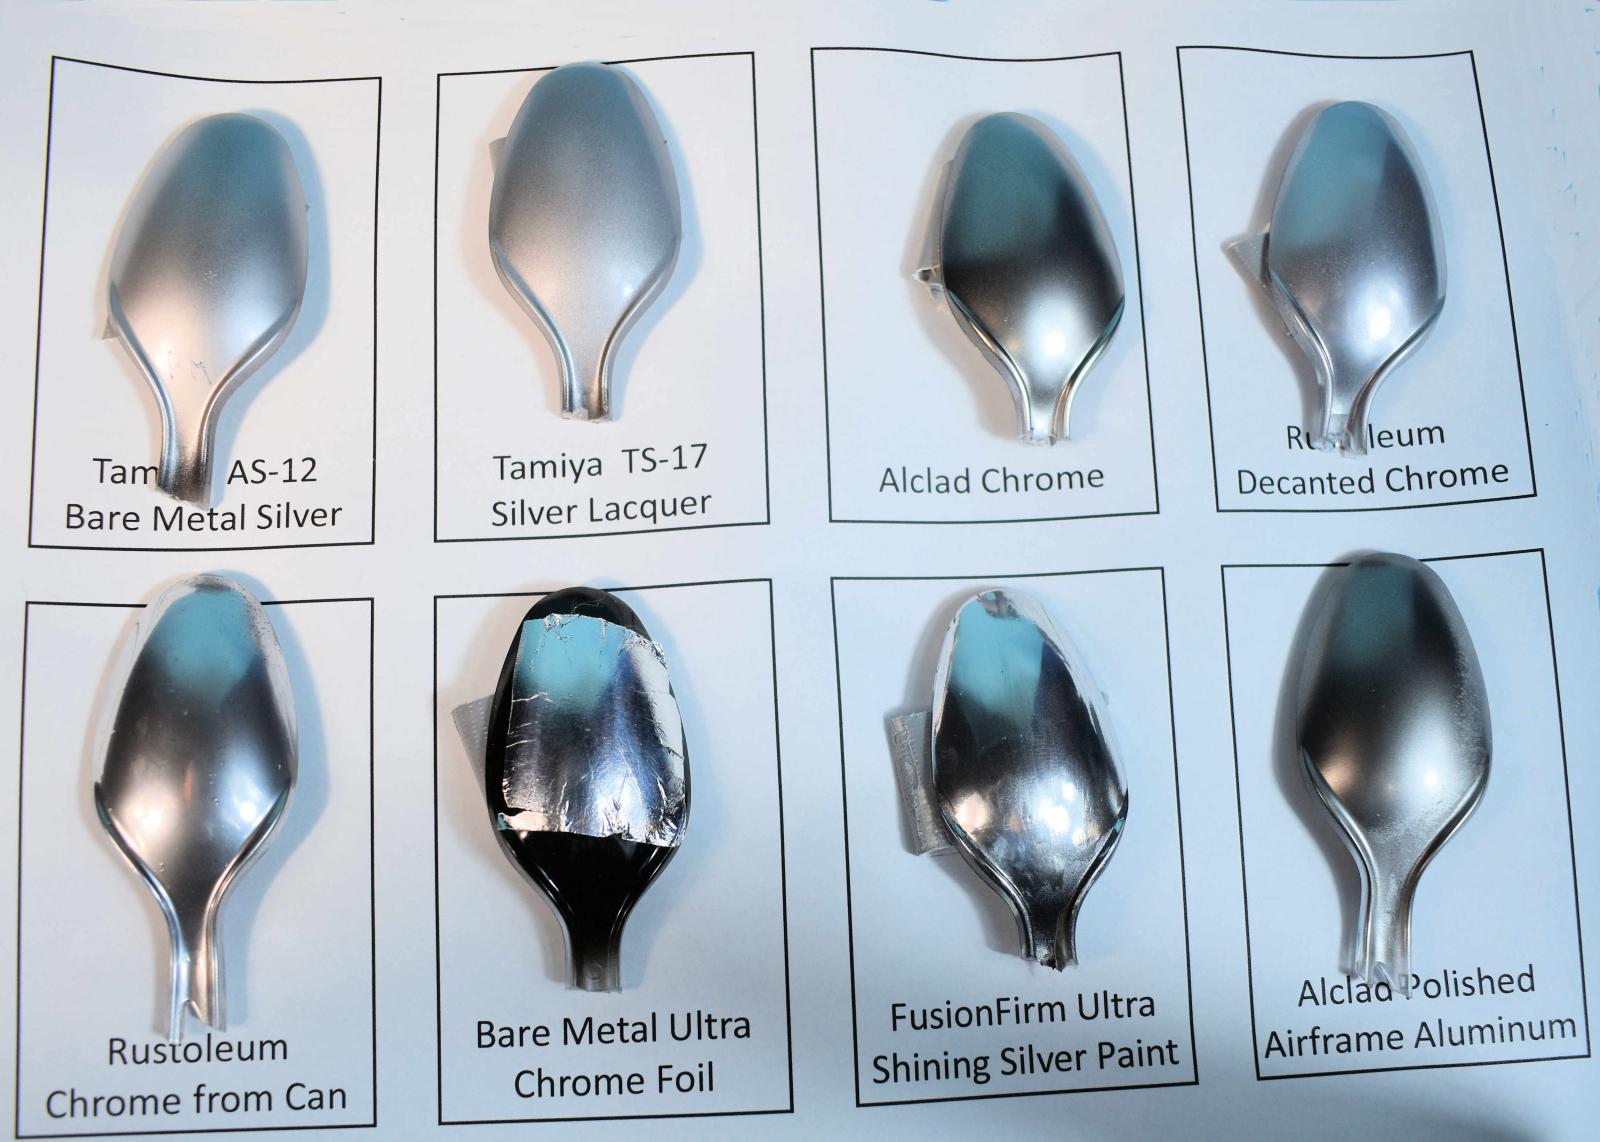
Onto the paint, I did a dive into the various examples of chrome paint out there including:
- Tamiya AS-12 Bare Metal Silver
- Tamiya TS-17 Silver Gloss
- Alclad Chrome
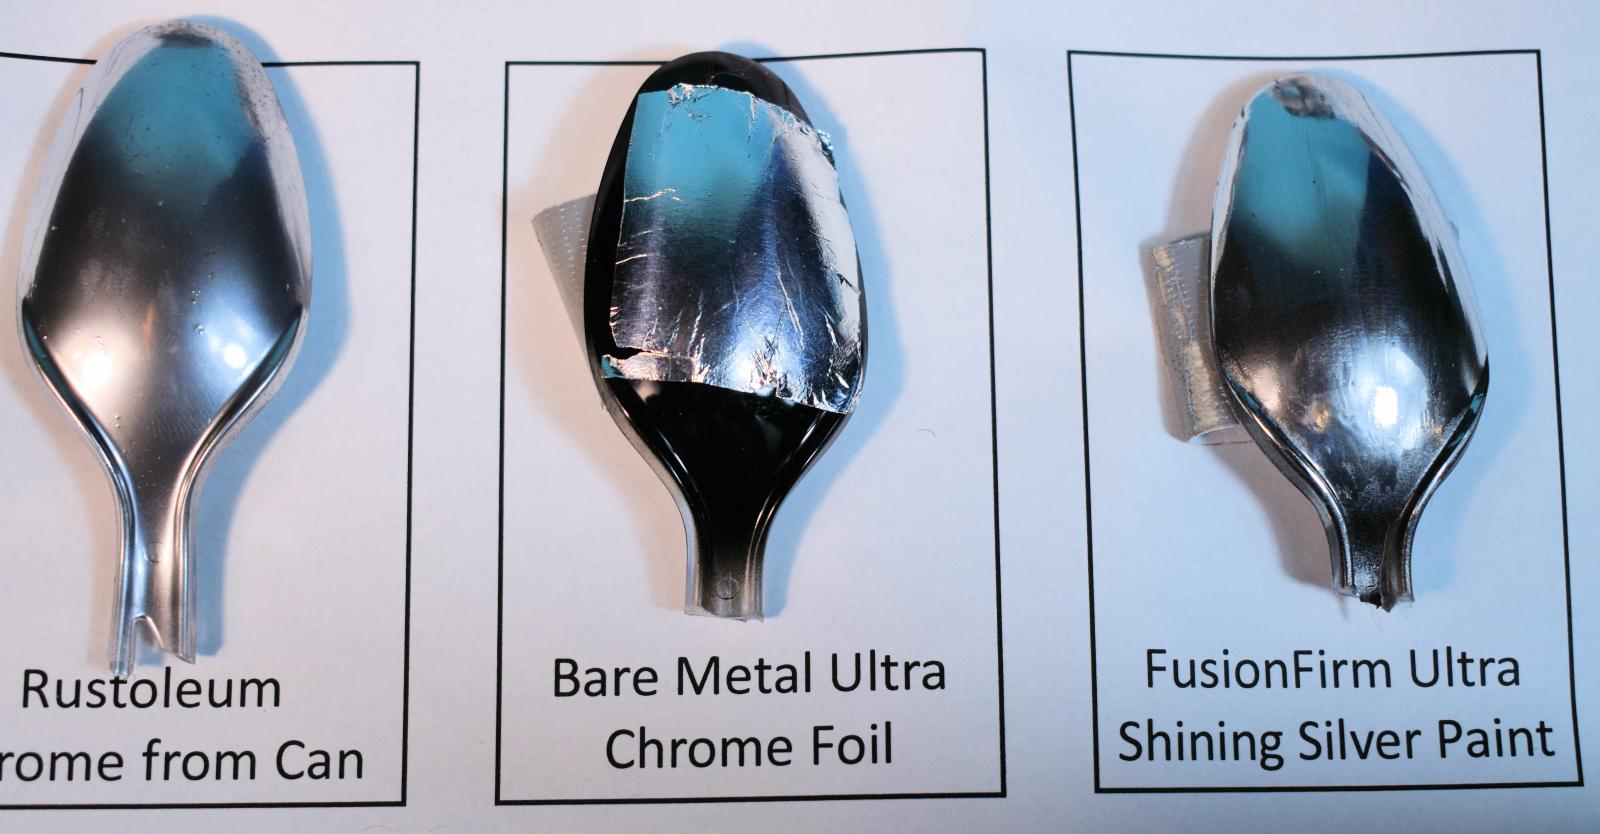
- Bare Metal Foil Ultra Chrome
- Alclad Polished Airframe Aluminum
- Fusion Firm Ultra Shining Silver
- Rustoleum Chrome - Spray Can
- Rustoleum Chrome - Decanted
This is by no means an exhaustive list of chrome of silver paints. Both Tamiya paints and the Rustoleum were decanted into glass jars and allowed to outgas so they could be airbrushed. To test these, I grabbed some spoons and primed them with Tamiya Extra Finer Primer. Once dry, I primed them with Tamiya Acrylic Gloss Black thinned with lacquer thinner. This is applied with a tack coat and then a wet coat so a shiny and hard finish. This was let dry for a day. All the silvers were applied per directions.
My opinion of results is as follows. Ther Tamiya BMS and Gloss Silver do not match the chrome BUT, they make a great base coat as they dry rock hard, they dry quickly and can be polished. The color may not match chrome but if you want some variety in silver/chrome, these are excellent contenders. The decanted Rustoleum and Alclad Chrome and Polished Airframe Aluminum were Ok but I elected not to use them. The Bare Metal Foil is good on color but not easy to do for larger areas. This is great for small patches such as sprue connecting points of the like. My two favorites were Rustoleum straight from the can and Fusion Firm. The Rustoleum chrome sprays well and give a good-looking result. Not totally chrome but good. The Fusion Firm is something I heard about online and ordered from Amazon. It gives great results and is actually brushed on and self-levels very well.
So, some cylinders are gloss aluminum, some Rustoleum chrome. Many of the shaft are chrome because, in my mind, they move and get shiny like most cylinders. I included a variety of shots of some of the colors.
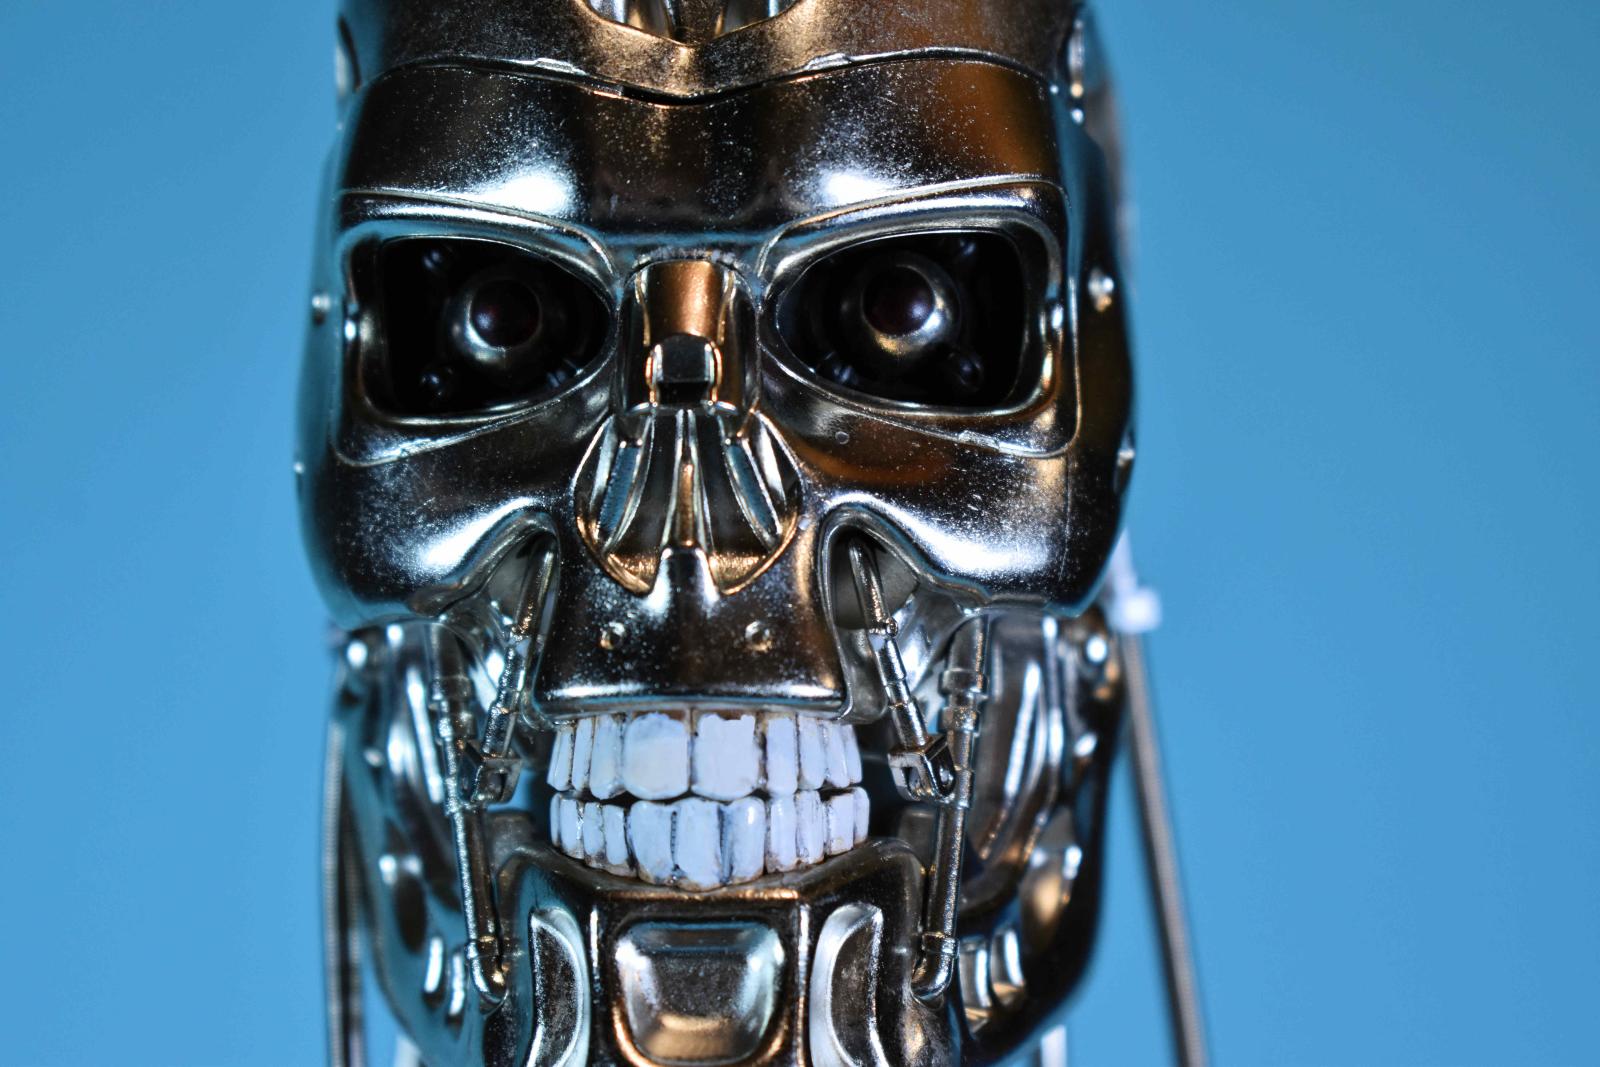
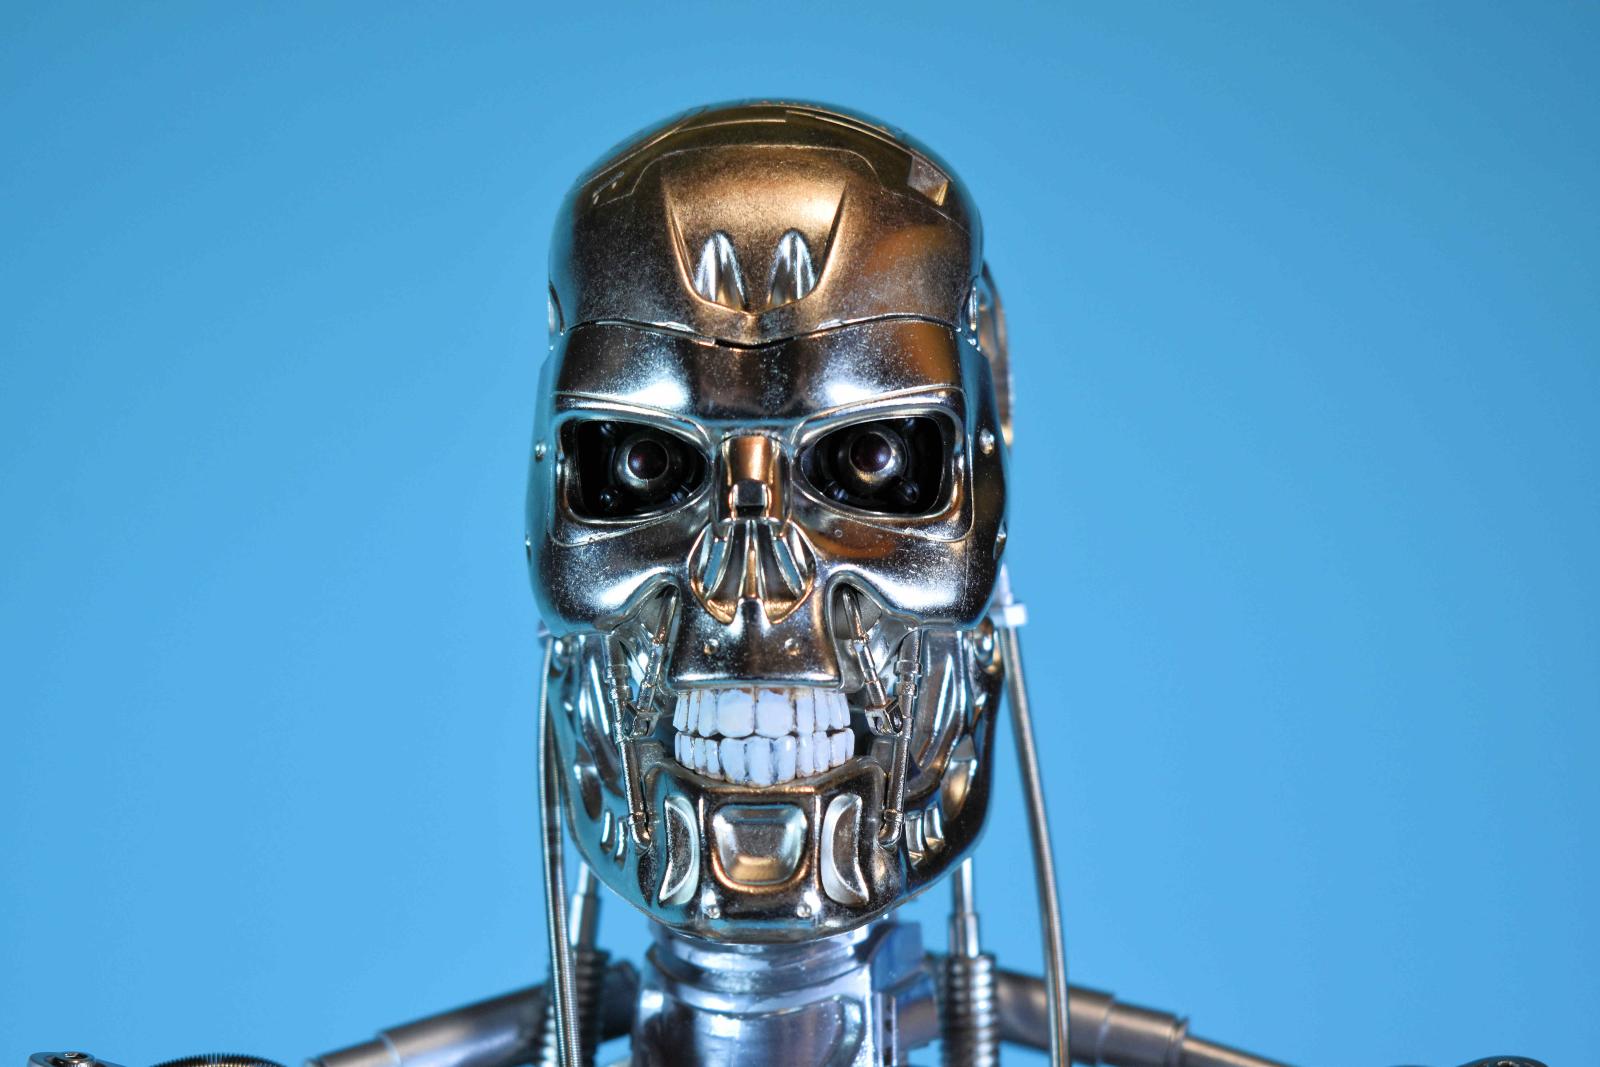
Lastly, the teeth. Pics from the book show a definition between the teeth, not exactly chicklets but some. I used a draftsmen pen for the separation, used watercolor pencils for aging and white for the majority. Once dry, I gloss coated the entire affair and done.
In the last section, we’ll cover the finish and get him on his feet.
Comments
Add new comment
This site is protected by reCAPTCHA and the Google Privacy Policy and Terms of Service apply.
Similar Reviews