
Superset Converting the F-14D to A F-14B VF-143 Pukin’Dogs
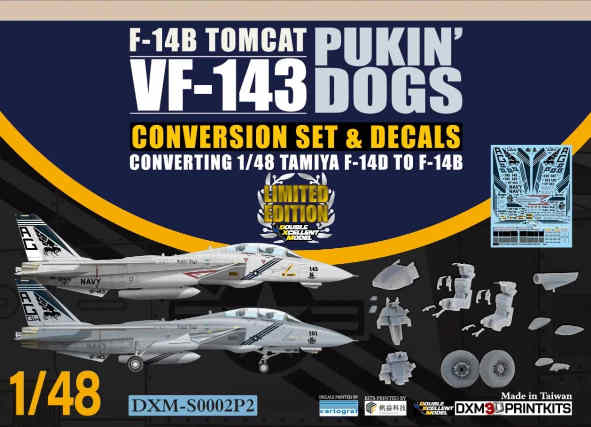
DXM Double Excellent Model) Is a hobby company out of Taiwan and has been making decals for a while. They have now branched out into conversions also to augment their decals. This set is a conversion of the Tamiya F-14D kit inot an F-14B kit and includes two options, early or late and these sets can also be bought with decals which contain a couple options each. You can get the conversion by itself or with a specific set of decals and they are listed below:
- DXM-S0002- F-14B Conversion
- DXM-S0002P1- F-14B Conversion with VF-32 Fighting Swordsmen Decals
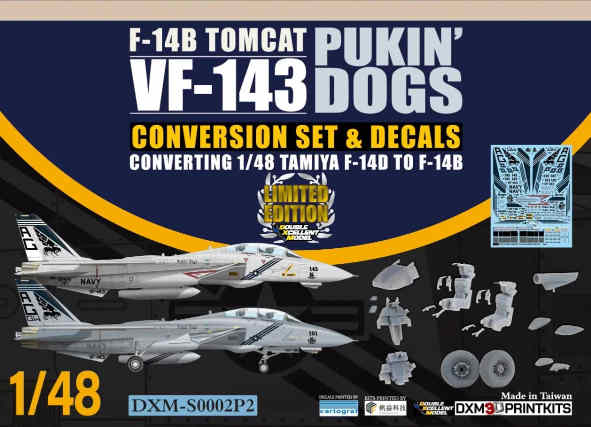
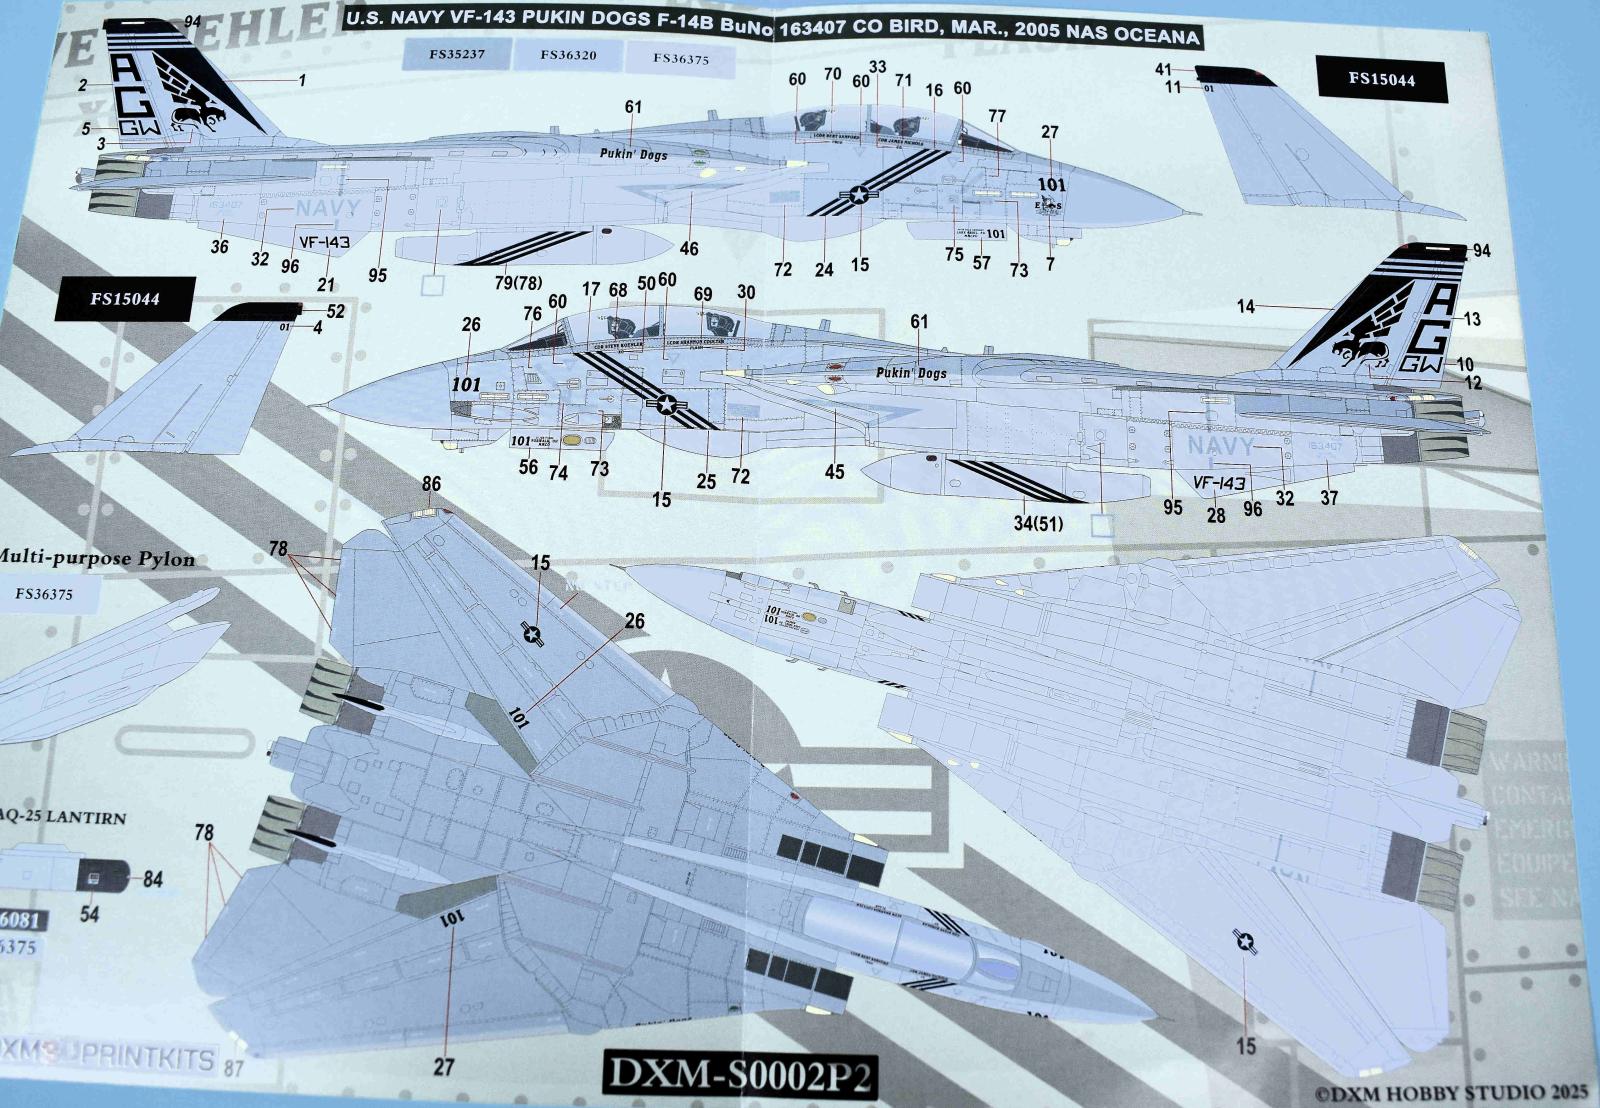
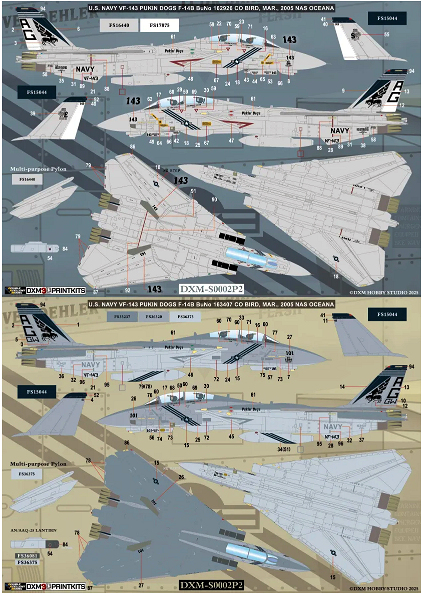
- DXM-S0002P2- F-14B Conversion with VF-143 Pukin’ Dogs
- DXM-S0002P3- F-14B Conversion with VF-11 Red Rippers
- DXM-S0002P4- F-14B Conversion with VF-101 Grim Reapers
For this review, we will use the VF-143 set. The conversion involves the following:
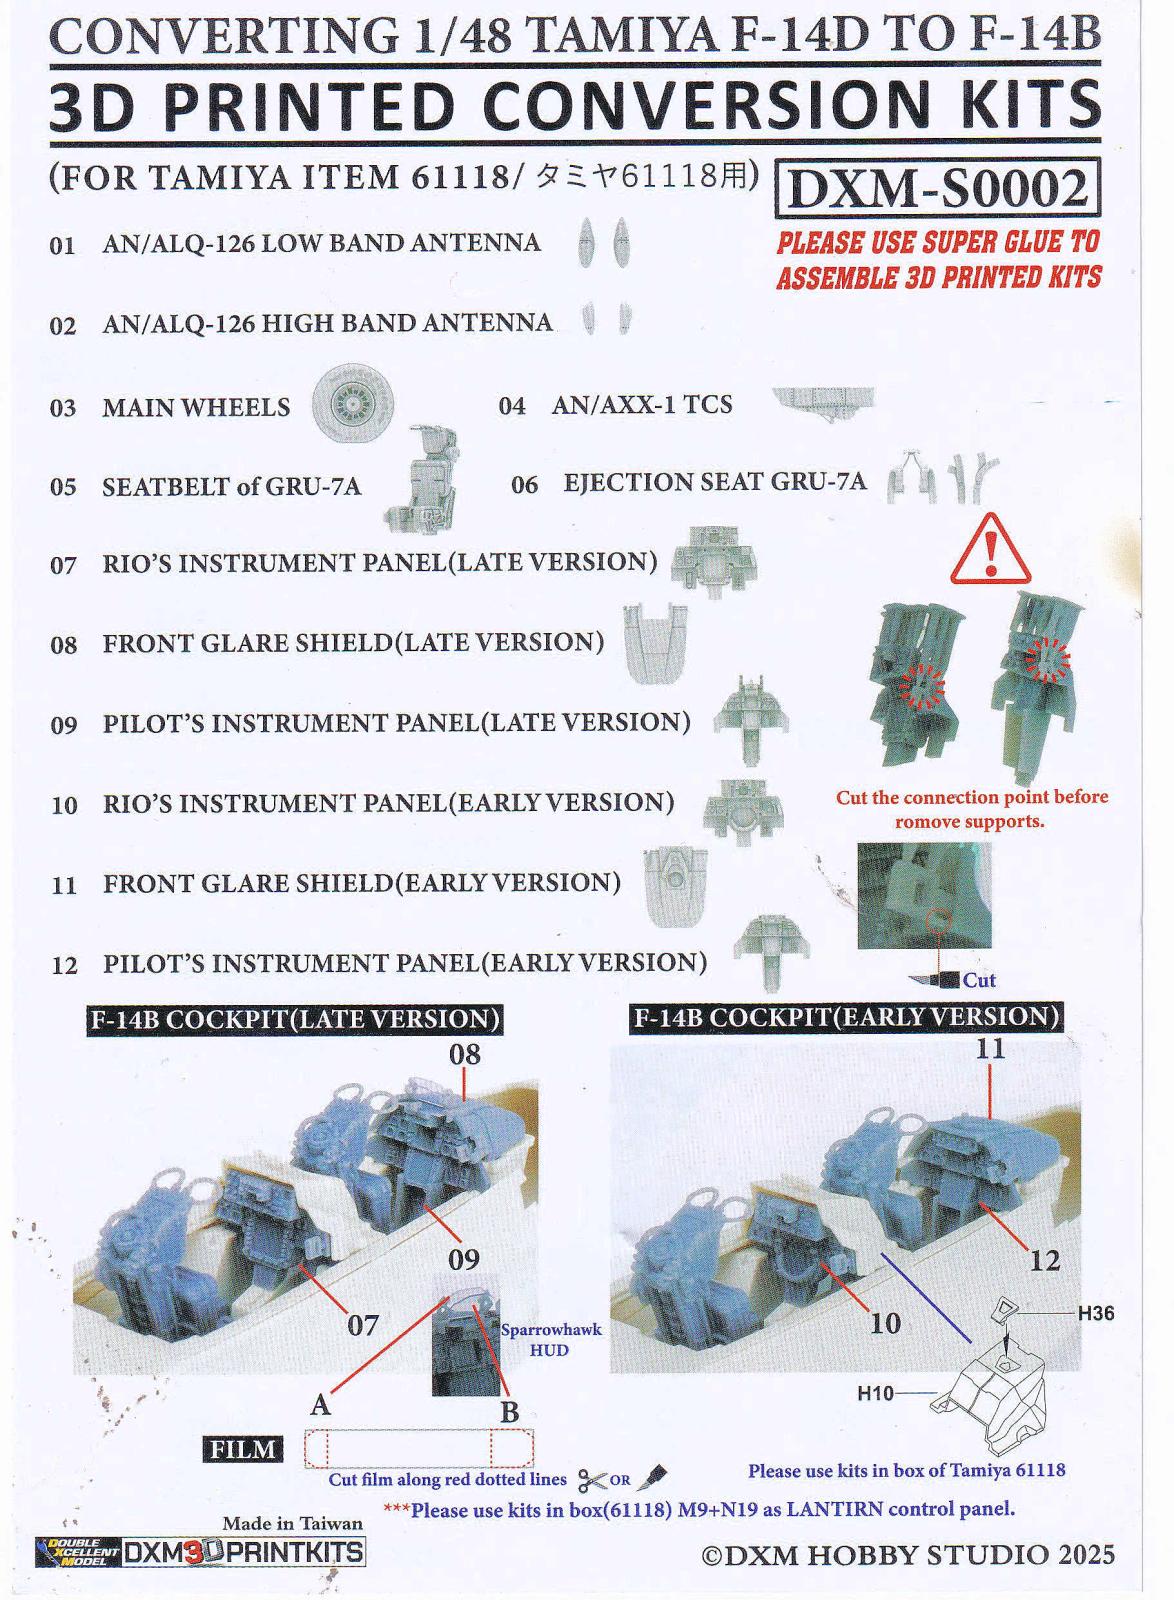
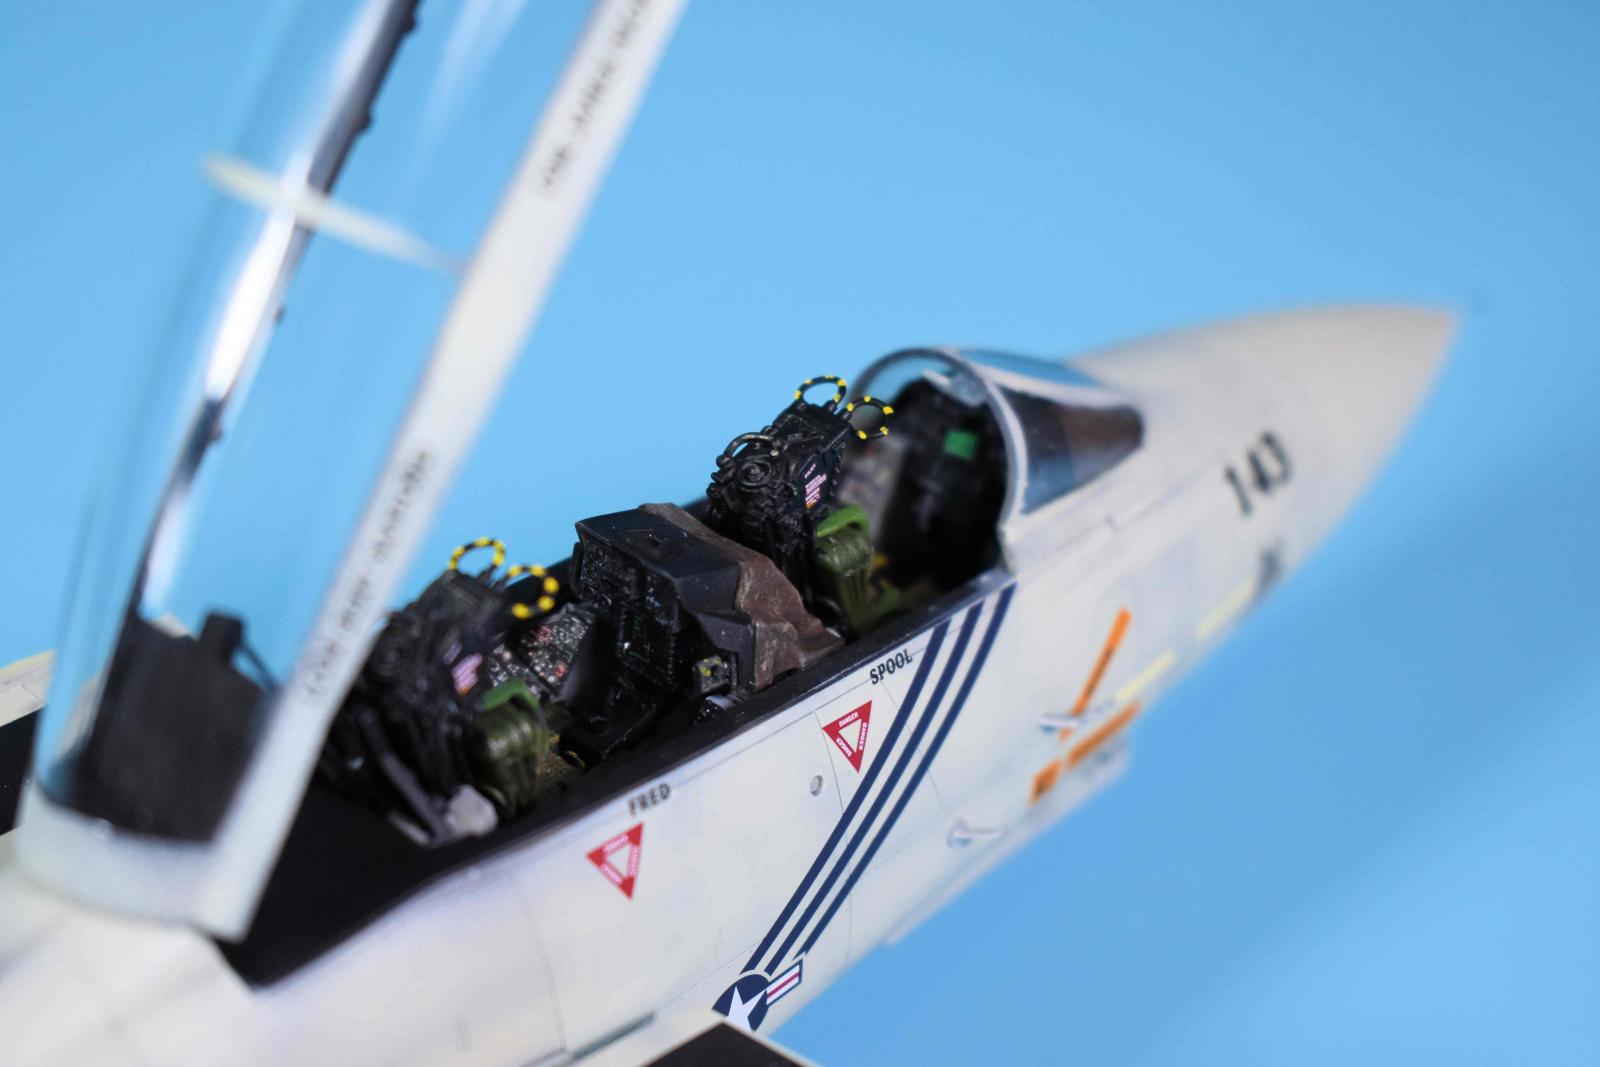
- New Ejection Seats
- New Instrument Panels
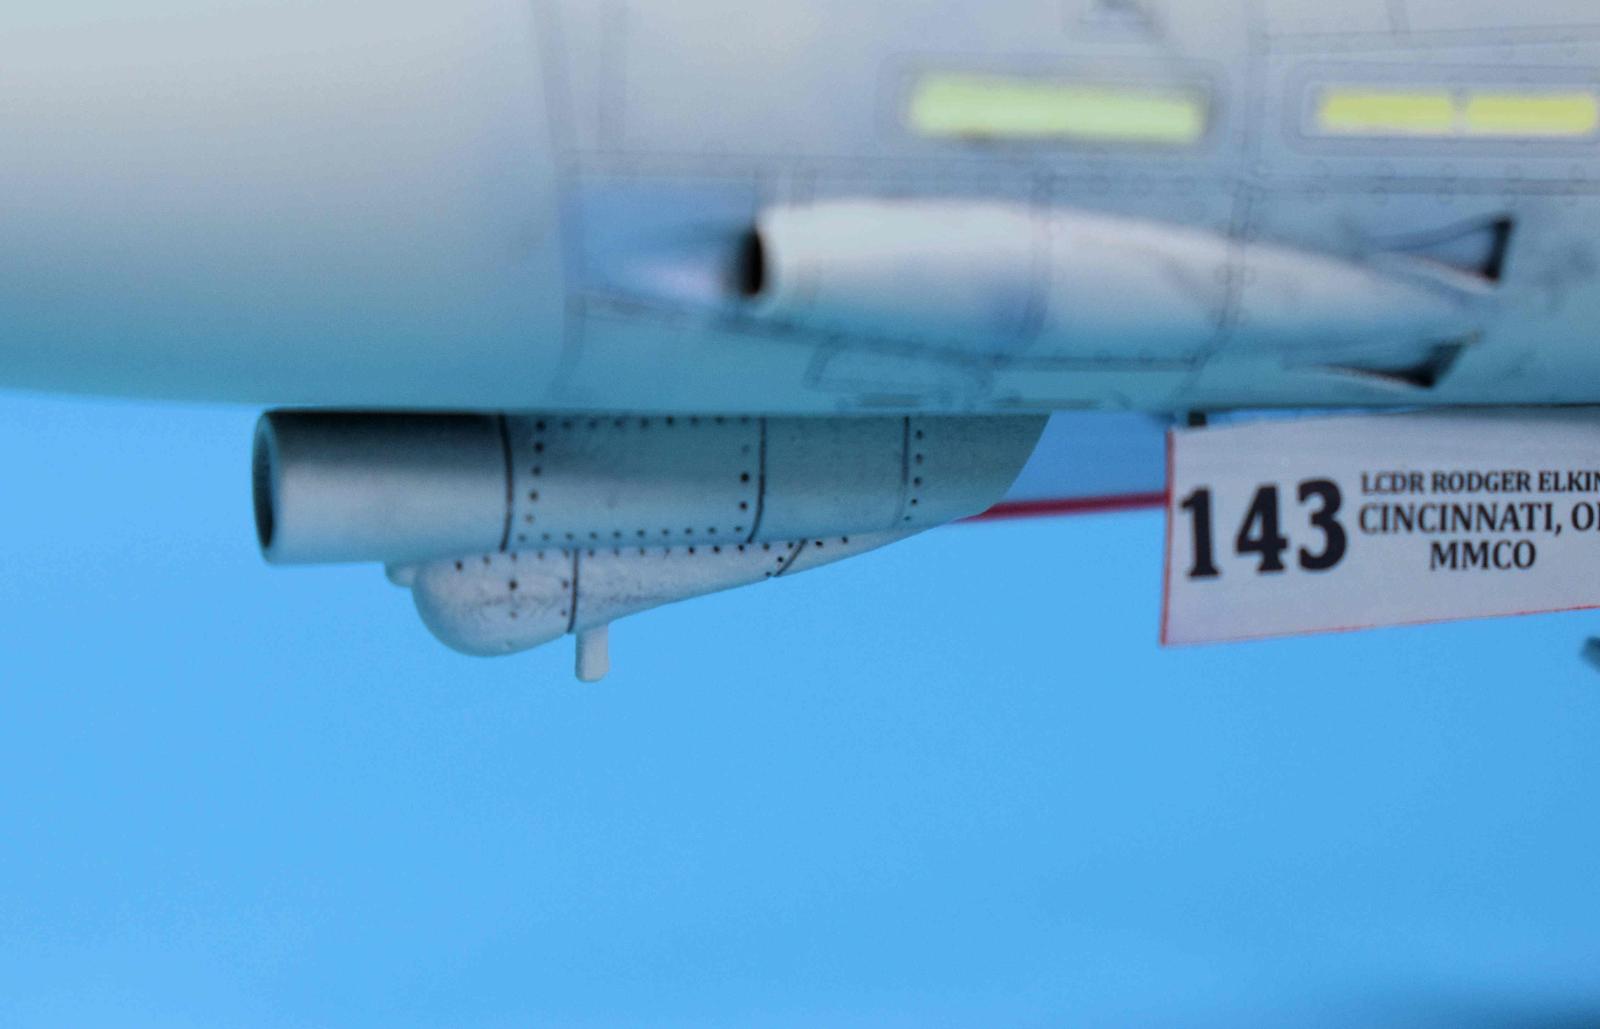
- Addition of the AN/ALQ Wing Antennas and Chin Pod
- Decals
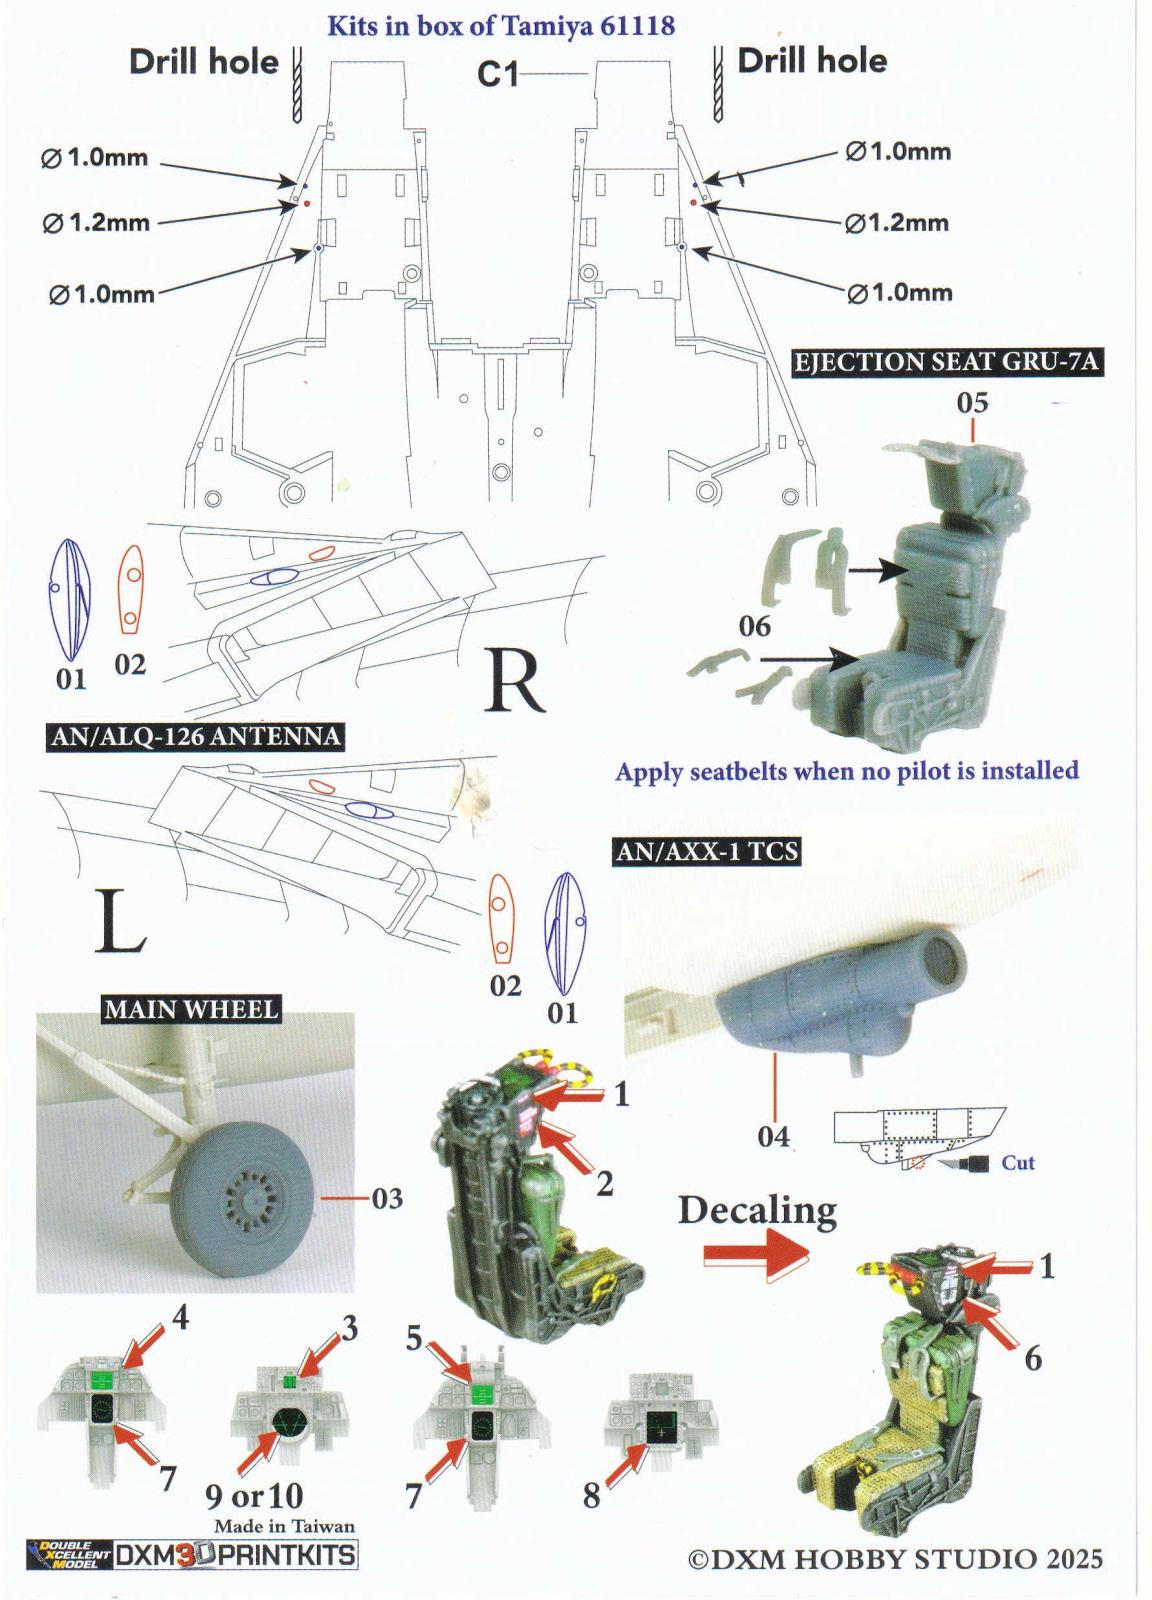
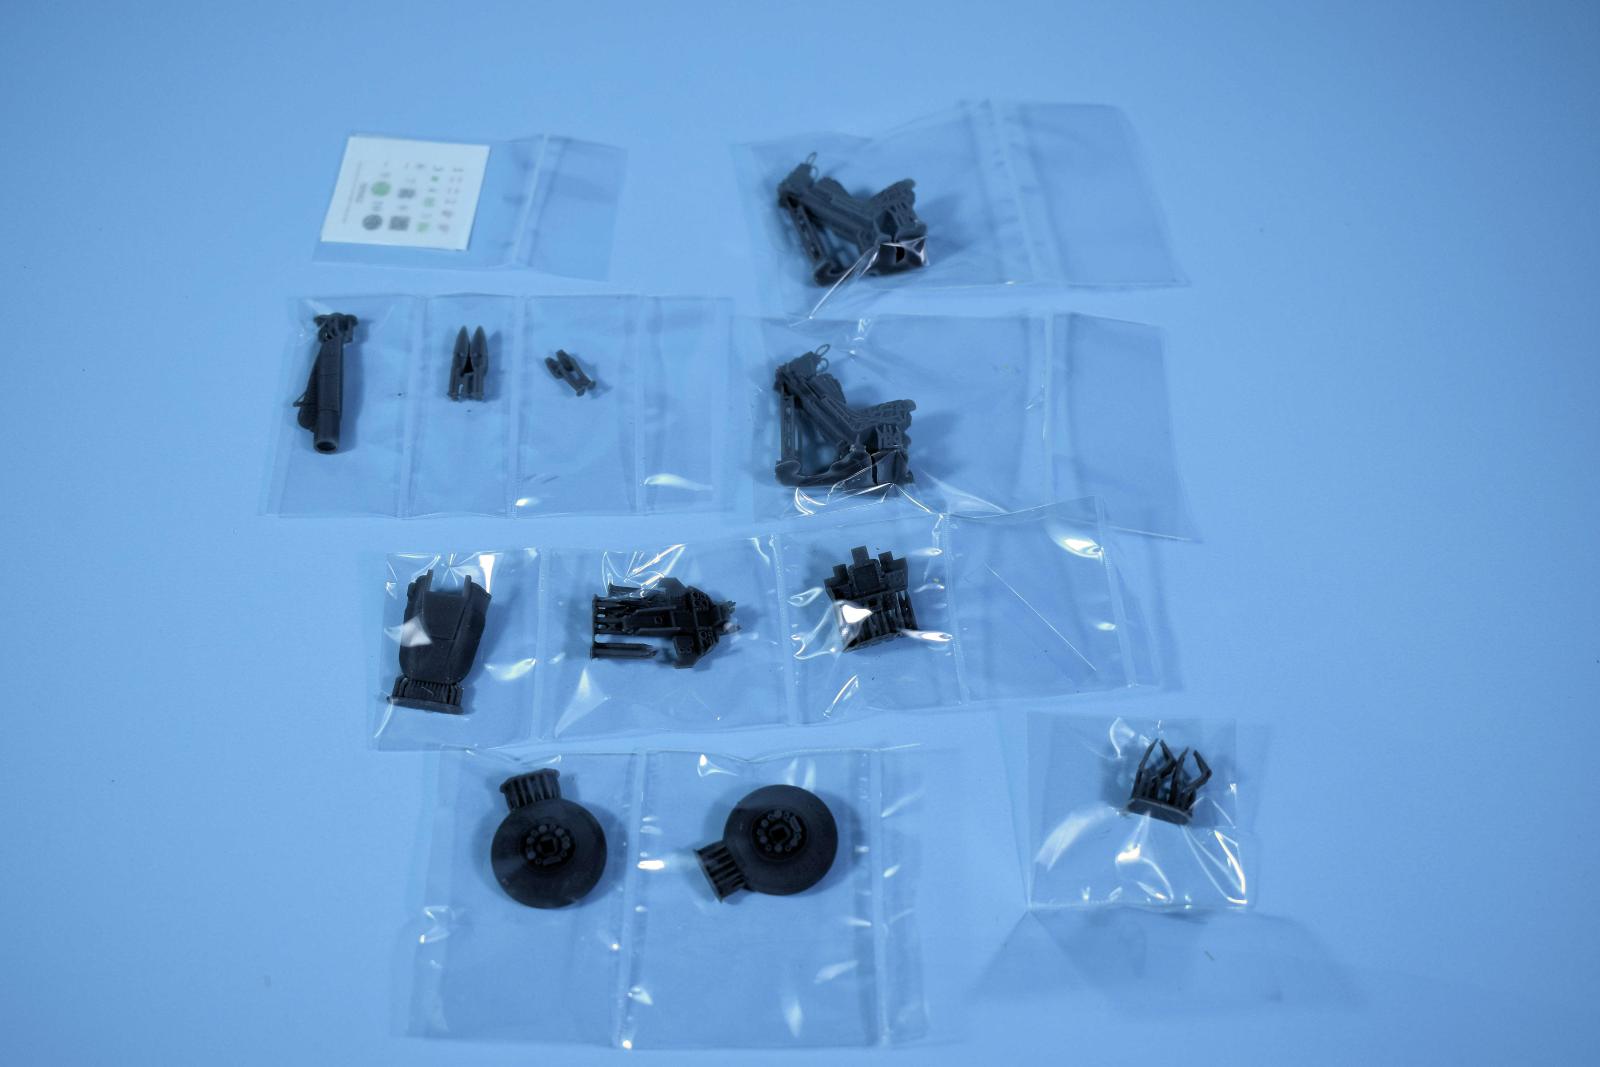
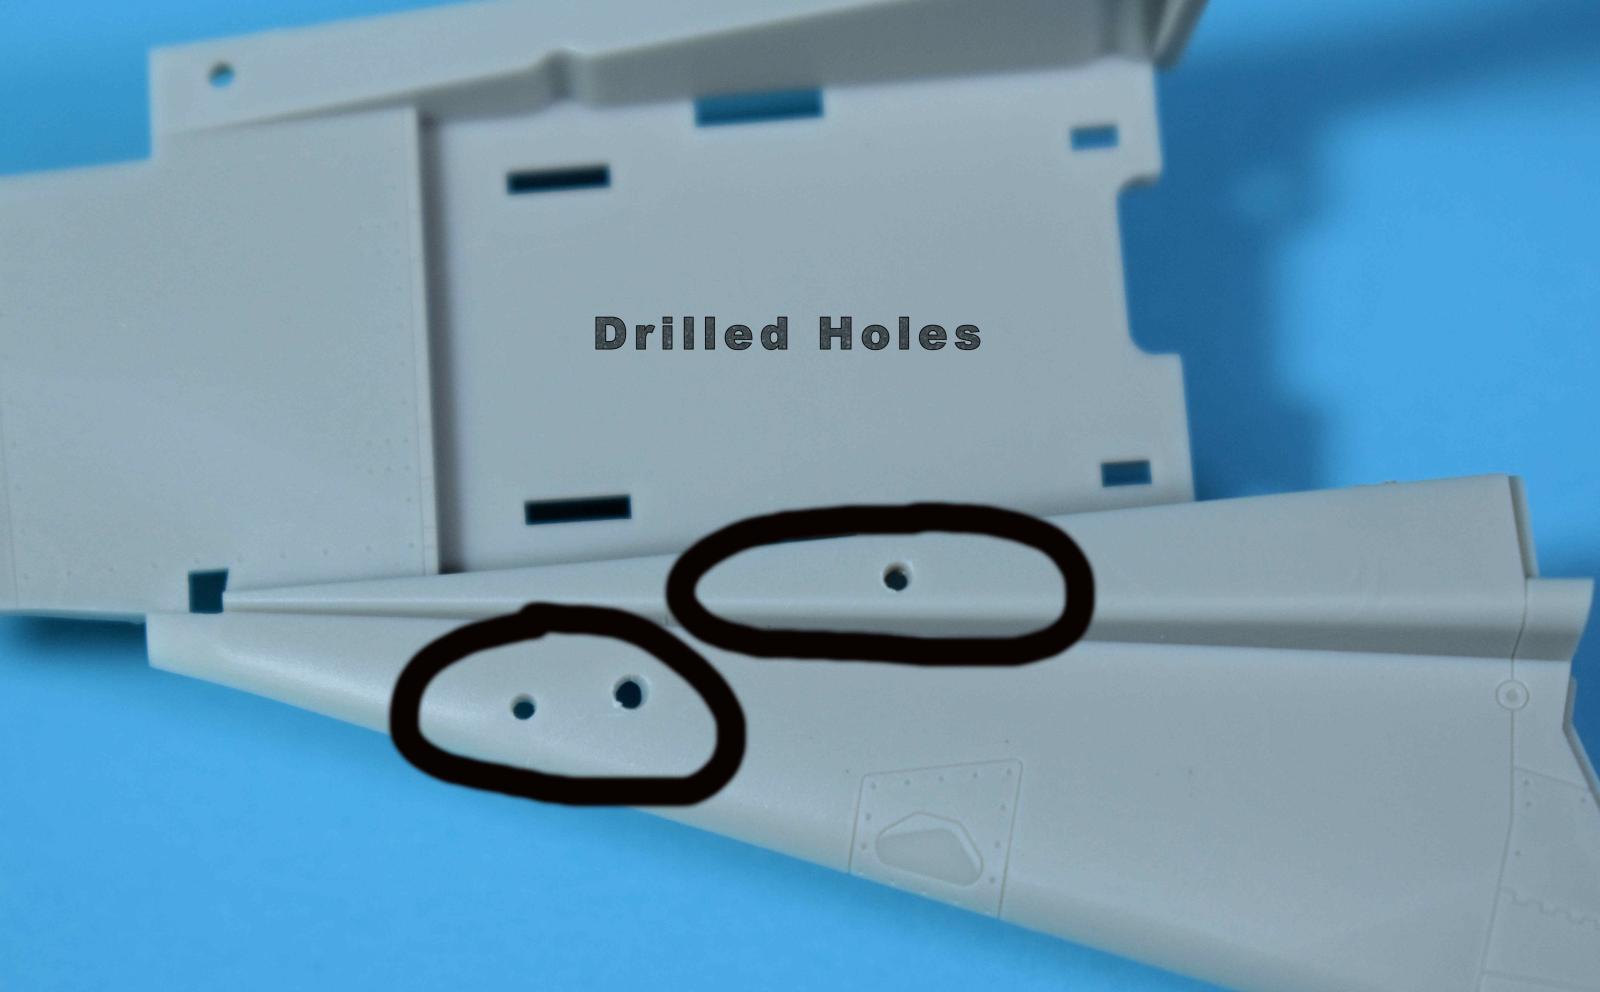
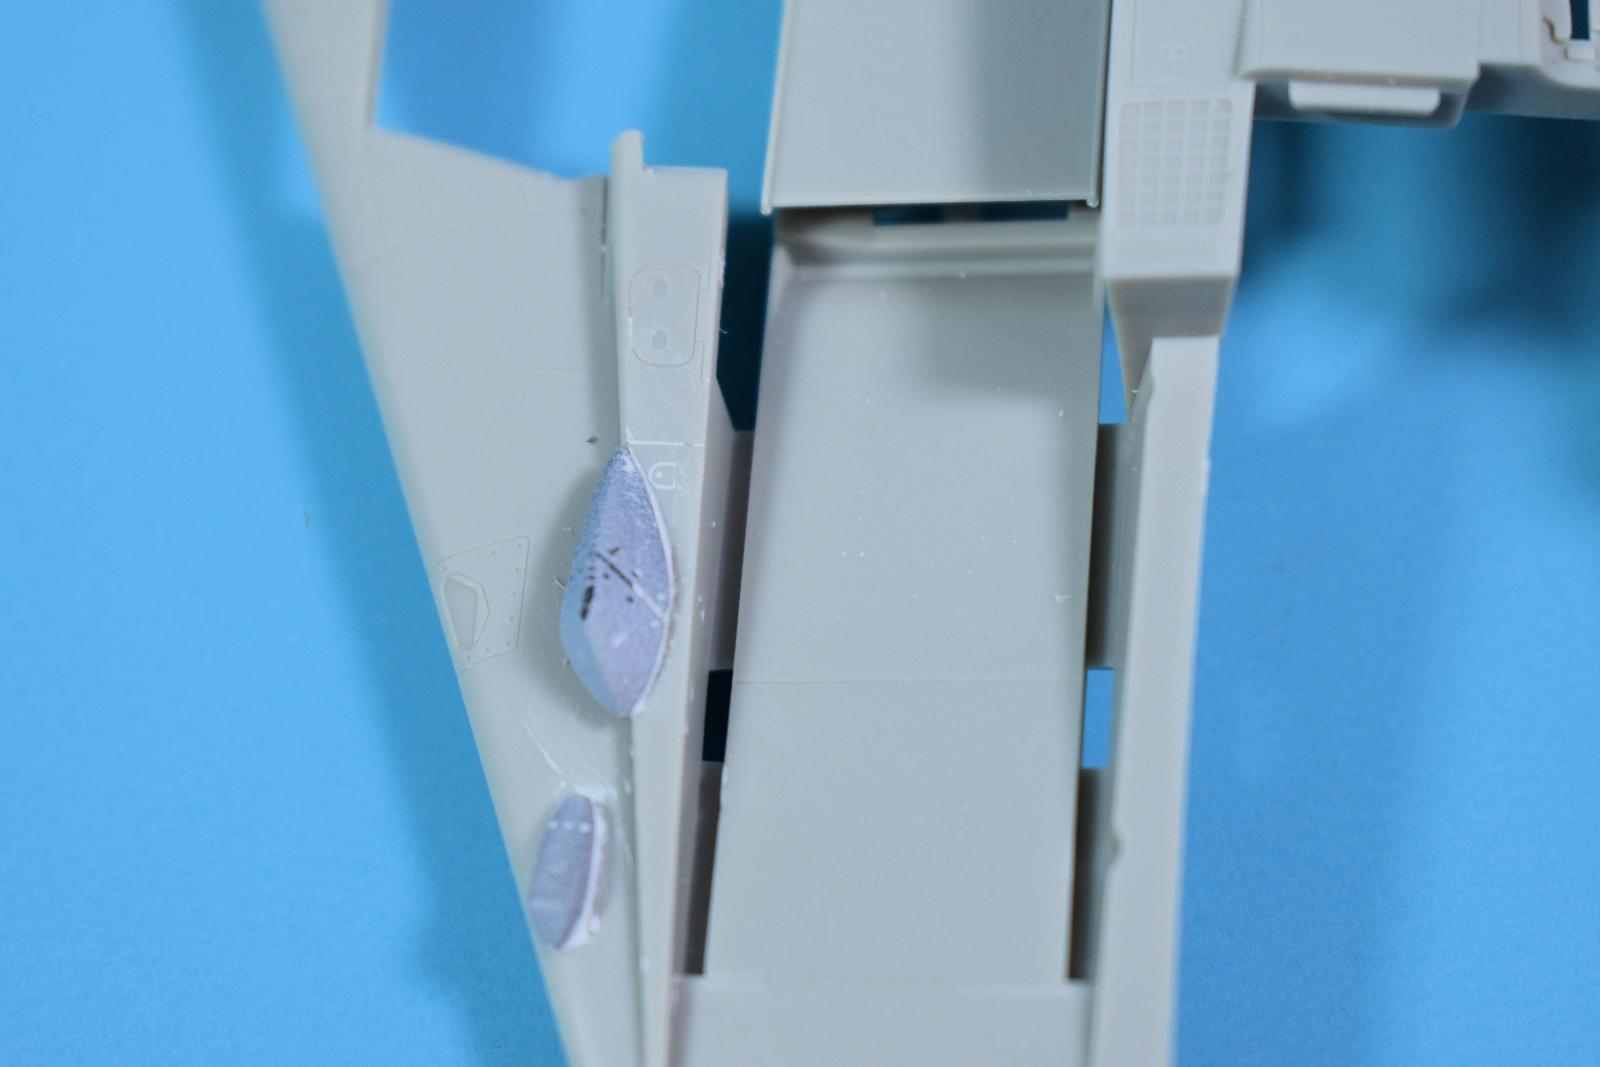
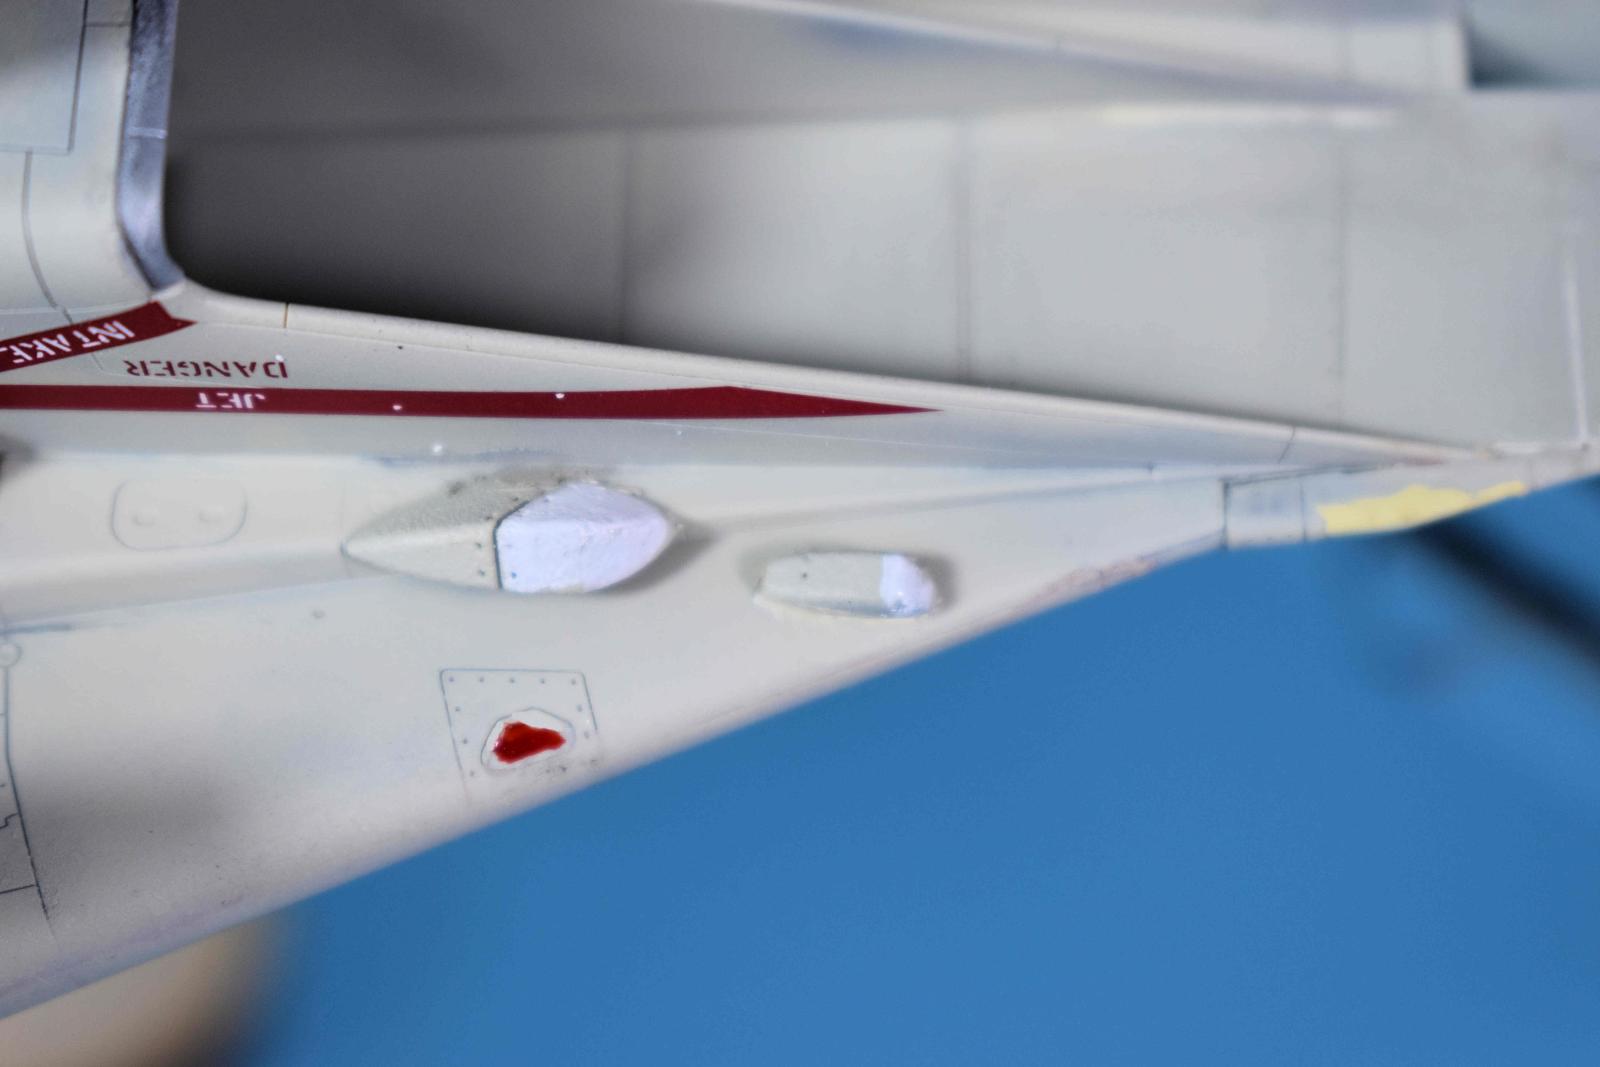
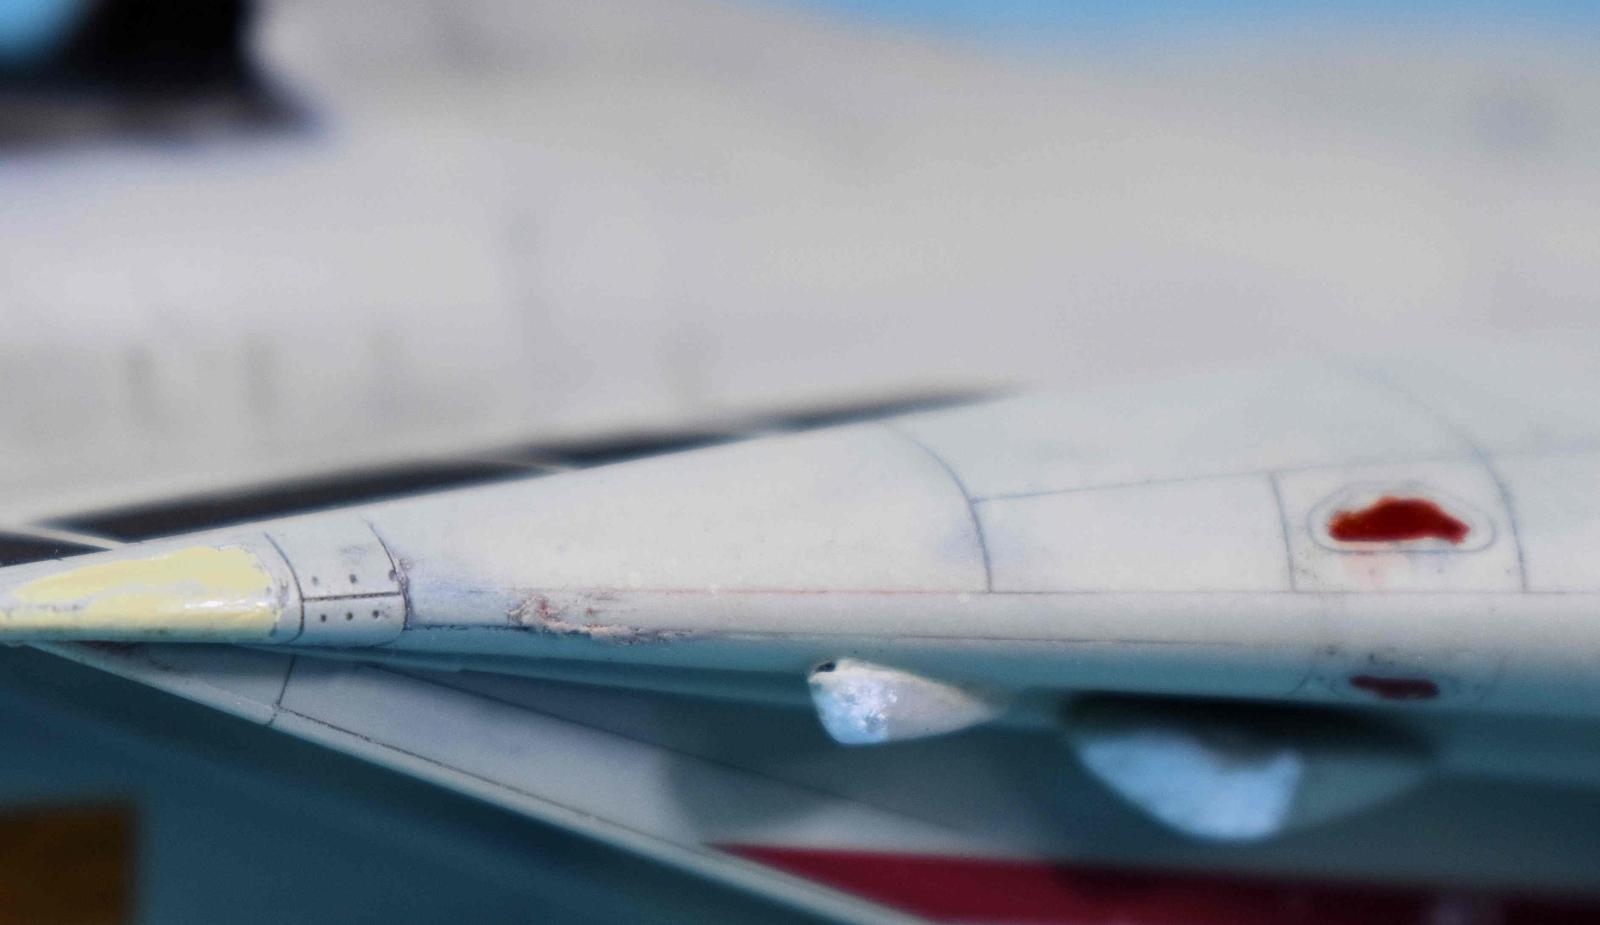
Inside the package are twenty 3D printed parts in dark gray resin. The printing is perfect with no lines and small connection points. These were separated and then you need to make a choice. The set comes with both early and late configurations for the F-14B which changes which instrument panels to use. There are great instructions for either choice. I chose the late version. All parts were freed of their supports and then nub sanded and primed with Tamiya Fine Gray primer. The only other prep needed was to predrill the bottom fuselage for the characteristic AN/ALQ 126 high and low band antennas. This was done and the test fit required a slight hole enlargement but they then fit right into place.
Next up was painting and this follows the Tamiya instructions. Once the paint was complete the seats and the instrument panels got a coat of clear gloss. DXM includes markings for the seat and also decals for the screens on the instrument panels which is a great touch. These were all flat coated and weathered and the instrument panels slid right into the cockpit Also, make sure the correct cowlings go over the instrument panels as some are kit parts while others are DXM. These were painted and added and the F-14B cockpit was done.
To finish off the seats, there is a set of 3D printed belts which were painted and added. They look good but I will say that if you are using a Quinta cockpit set, the ejection rings and belts would make things easier. Painting the yellow/black striping is small. Outside, the last piece to add is the AN/AXX-1 TCS chin pod and it slots right into place.
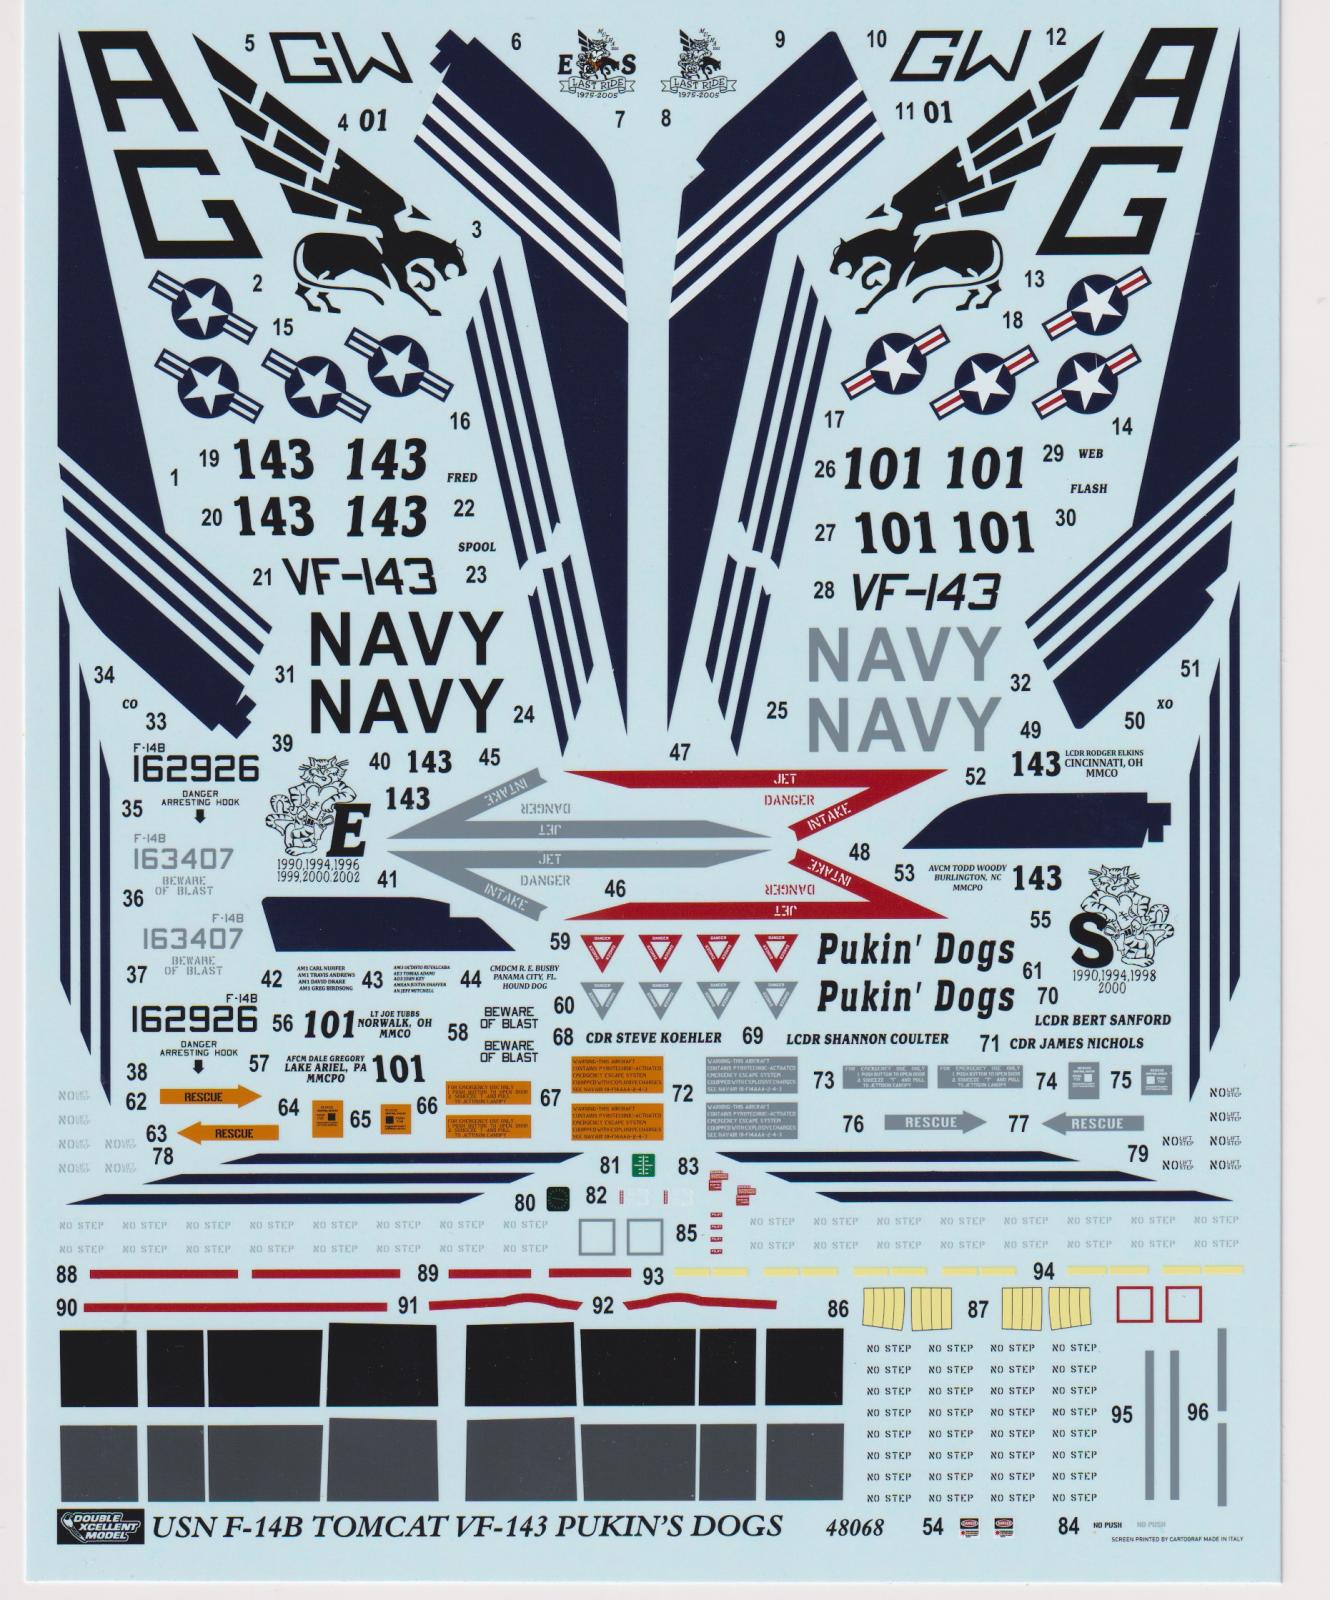
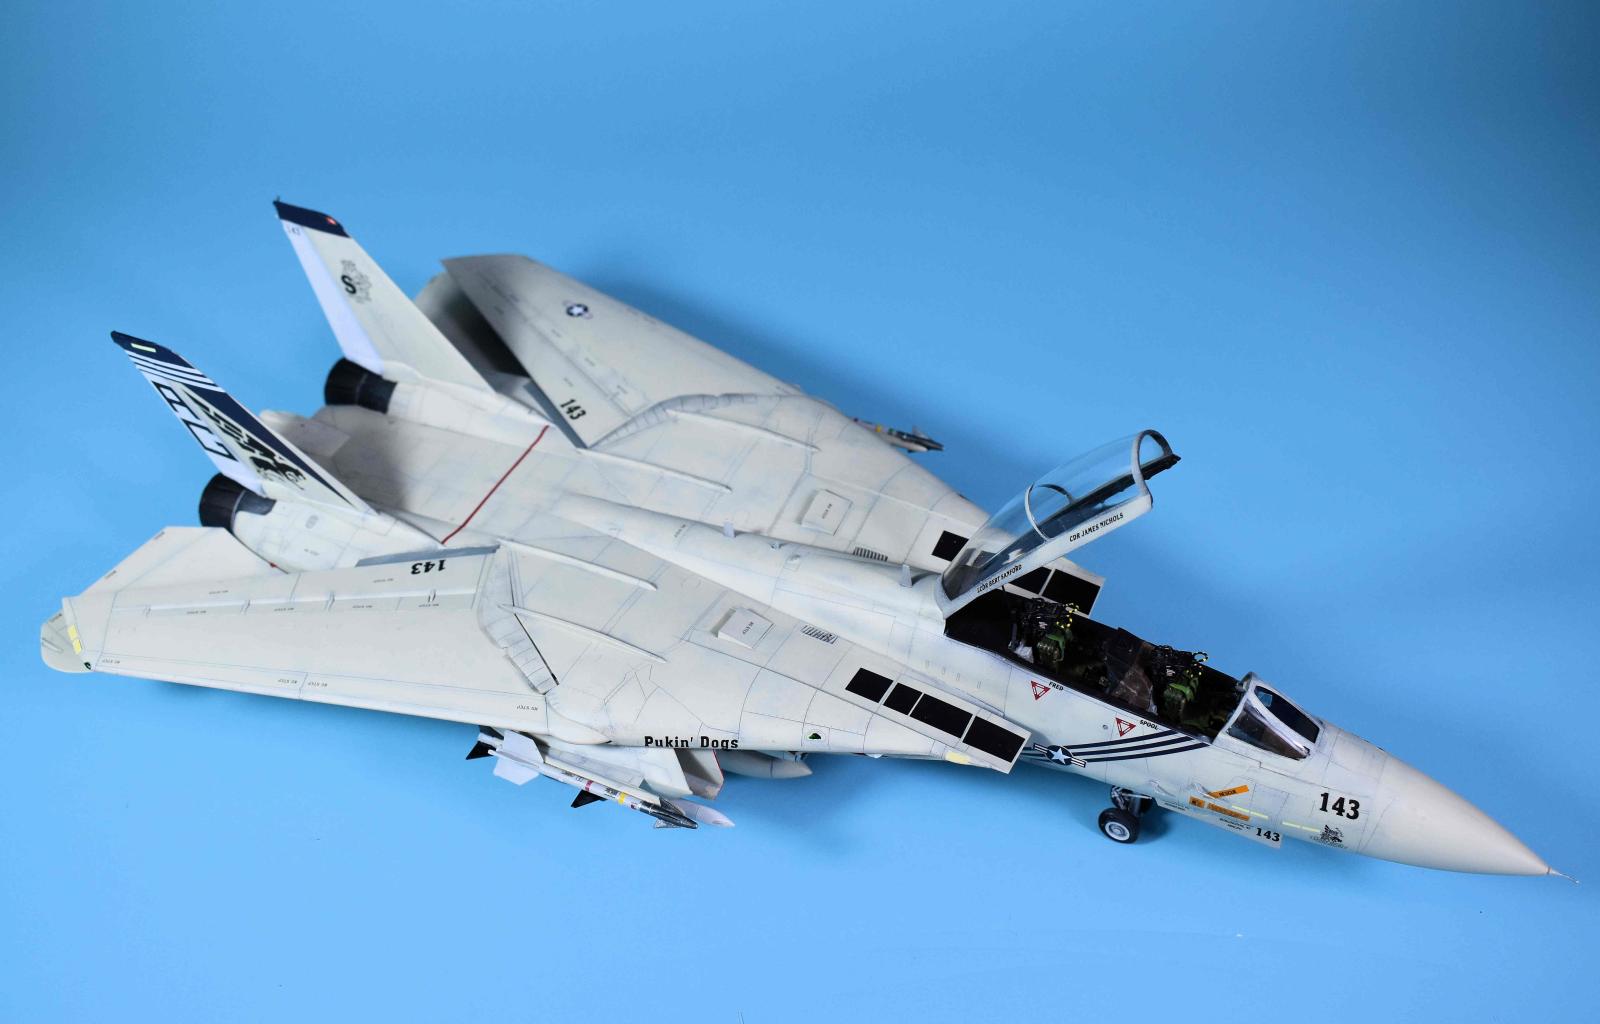
The rest of the conversion was painting in prep for the decals which was a simple over all light Gull Gray scheme (there is another version in the tactical scheme). The decals were phenomenal! First, they are printed by Cartograf and were perfectly in alignment. They went on using MicroSol/MicroSet perfectly and snuggled down nicely. This was more of a high viz scheme but both sets and associated stencils are included for each.
To finish, I had to add the seats and had a little issue. Once painted, it must have widened them just enough to make the hard to slide into the cockpit. I little coercion and this was good.
The conversion came out really well. If you want to get your feet wet doing a conversion, start with a great kit from Tamiya and then using this wonderful set can’t go wrong. Fit and finish are great with perfect 3D printed parts. The decals are perfect and there are lots of choices. Highly recommended!
My thanks to DXM for the opportunity to review this set.
Comments
Add new comment
This site is protected by reCAPTCHA and the Google Privacy Policy and Terms of Service apply.
Similar Reviews