
SKYMECHMAN TRENT 900 LED Turbofan Engine Model Building Kit Aircraft Engine for Kids
StirlingKit is a manufacturer/supplier of high-quality scale model kits, ranging from propellor, jet and automotive engine types. They cater to modelers ranging from beginners and kids, to advanced builders.This model was based off the Rolls-Royce Trent-900, high bypass turbofan engine currently used on the Airbus A380 and A350. The model was primarily designed for kids (under supervision) with an interest in jet engines and aviation. It was motorized and contained a rechargeable battery embedded within the stand. A USB cord was included to charge the battery.
This is the first IPMS/USA review of a StirlingKit model. Included below are links to the product, Turbofan engine kits, the official website and a 12% discount code for all of their products:
Product link: https://bit.ly/47Cmb94
Turbofan engine kits: https://bit.ly/3JTMvBG
Official website: https://www.stirlingkit.com/?ref=IPMSUSA
12% discount code for all products on Stirlingkit: IPMS
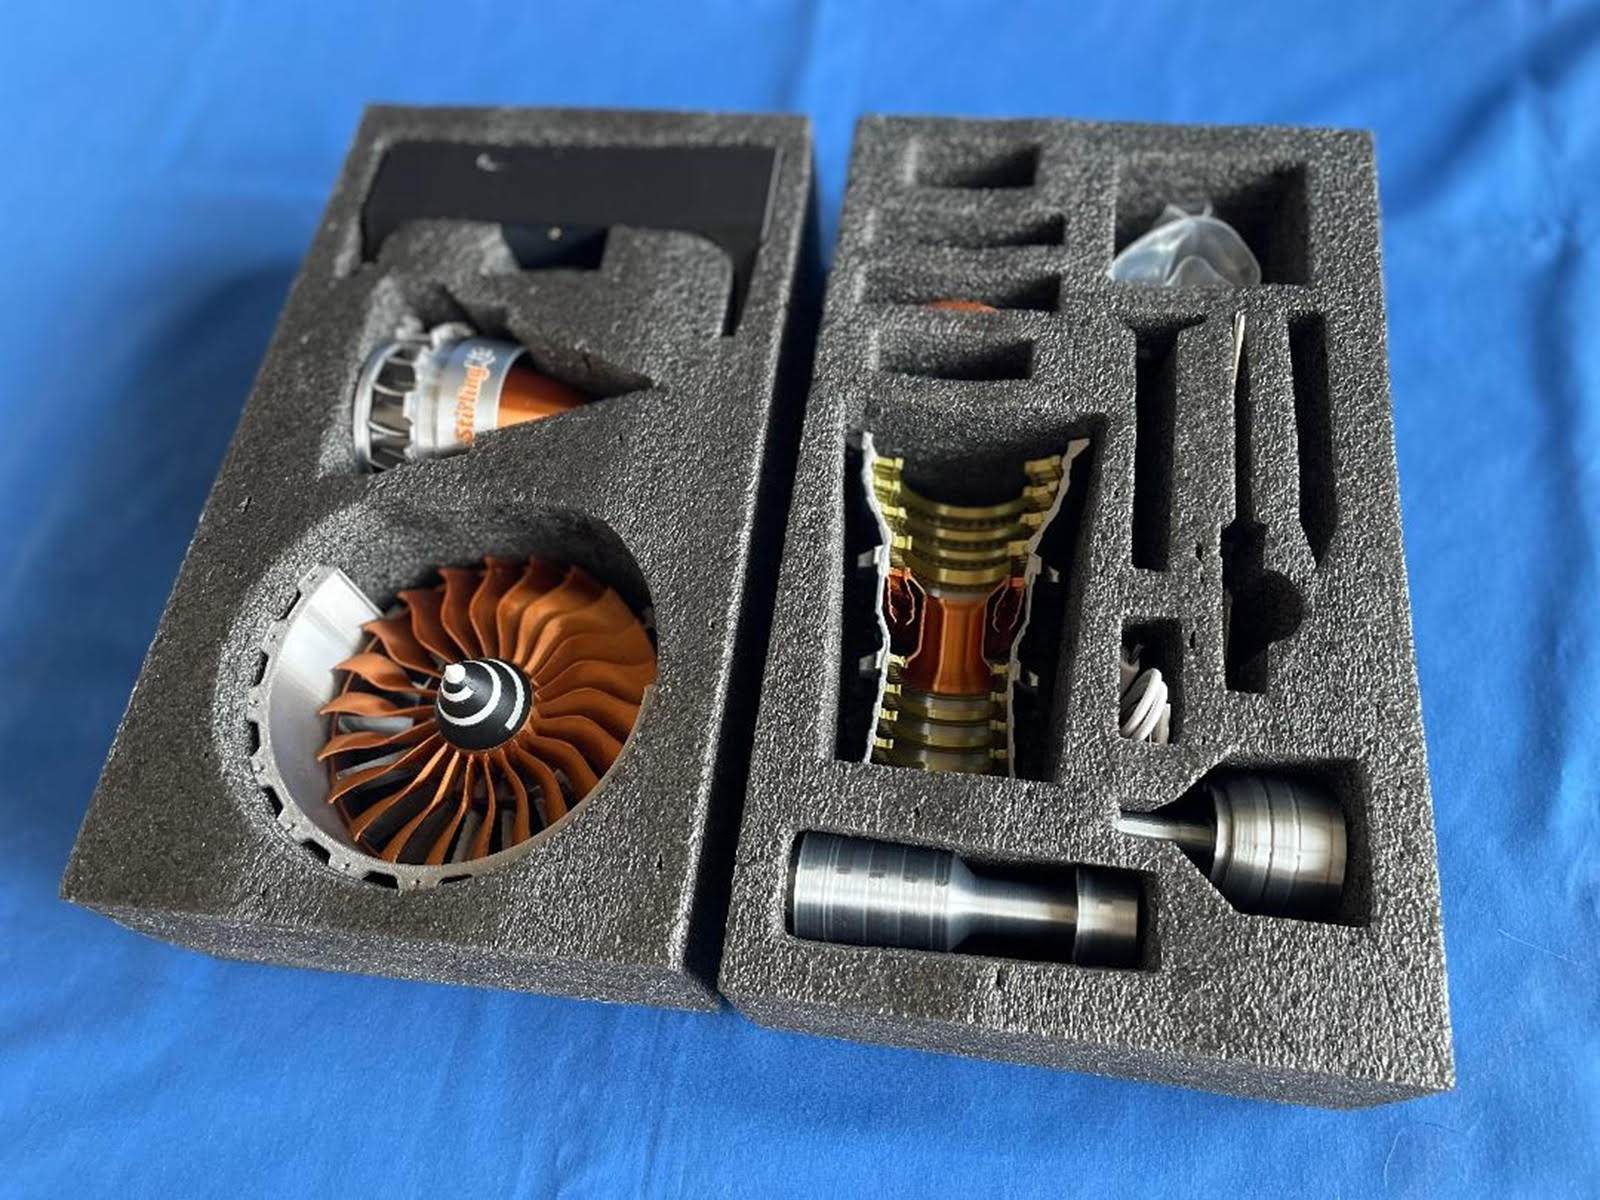
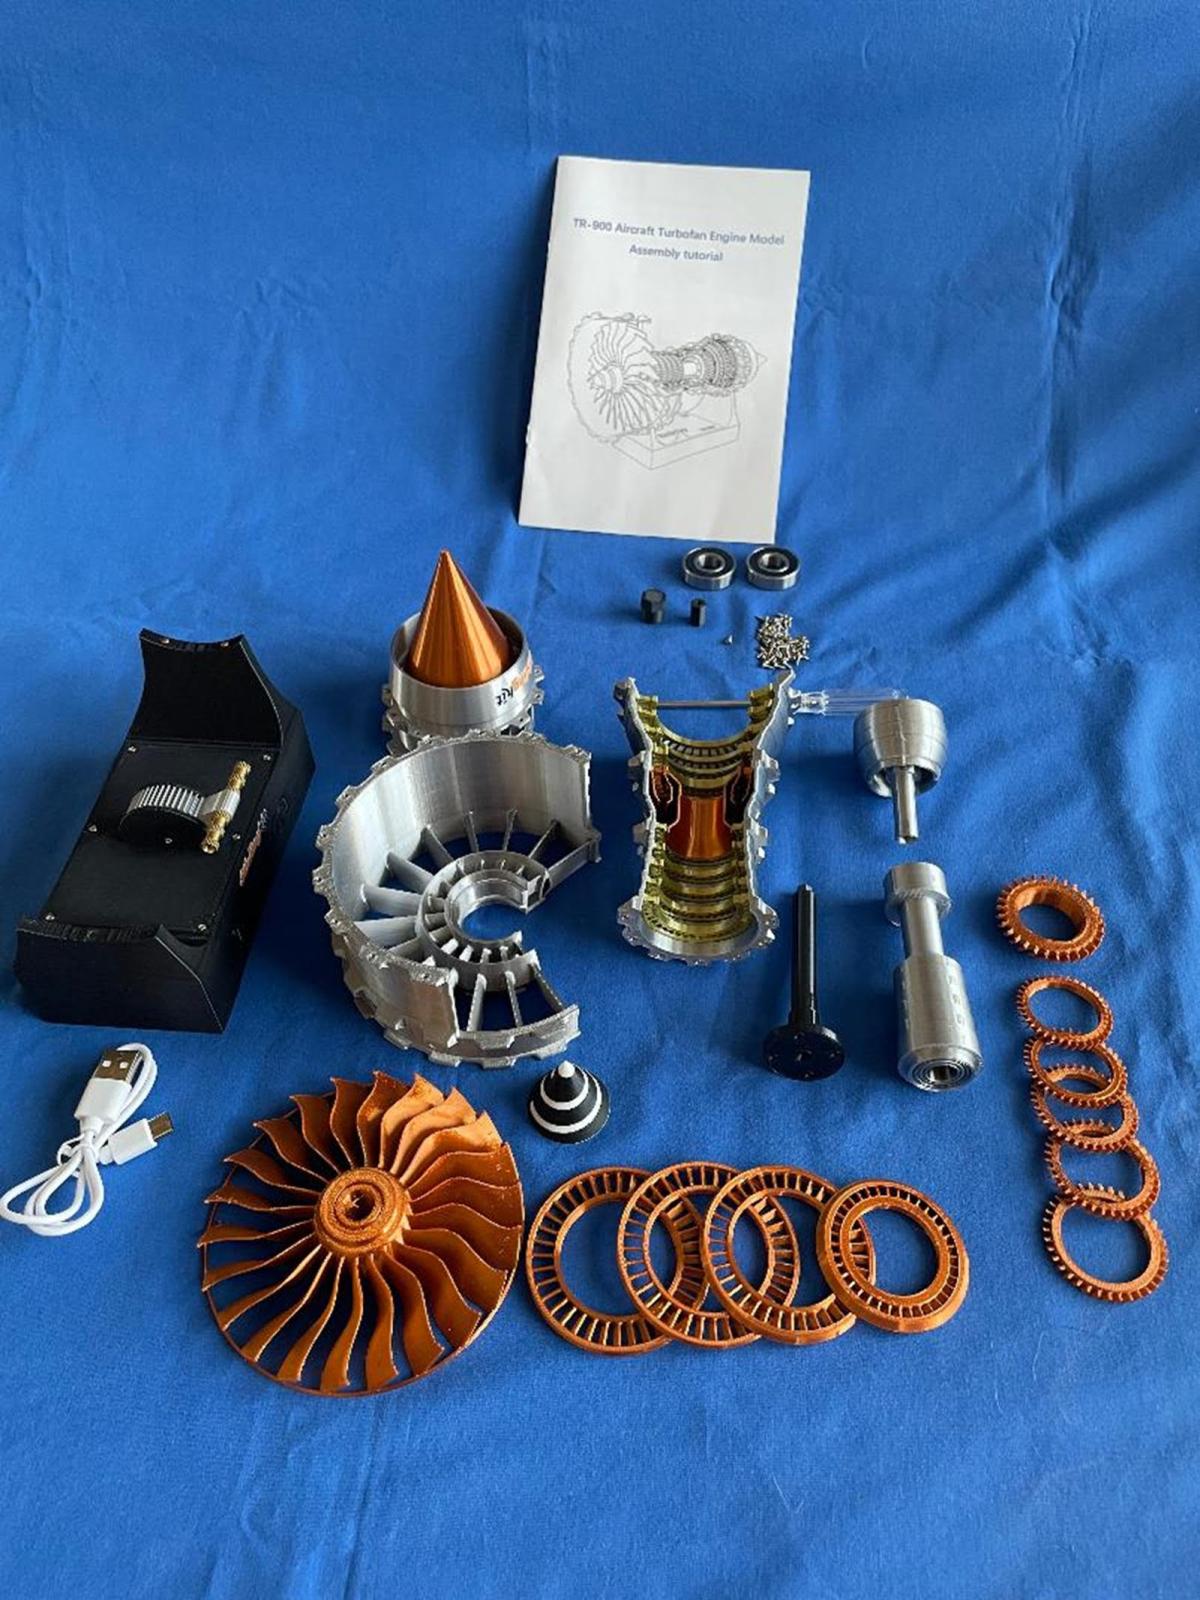
The individual parts were beautifully protected by two soft foam sleeves. Most parts were packed individually, except for a few smaller parts like the compressor rings and turbine blades. Also included were a generous bag of screws and a screwdriver.
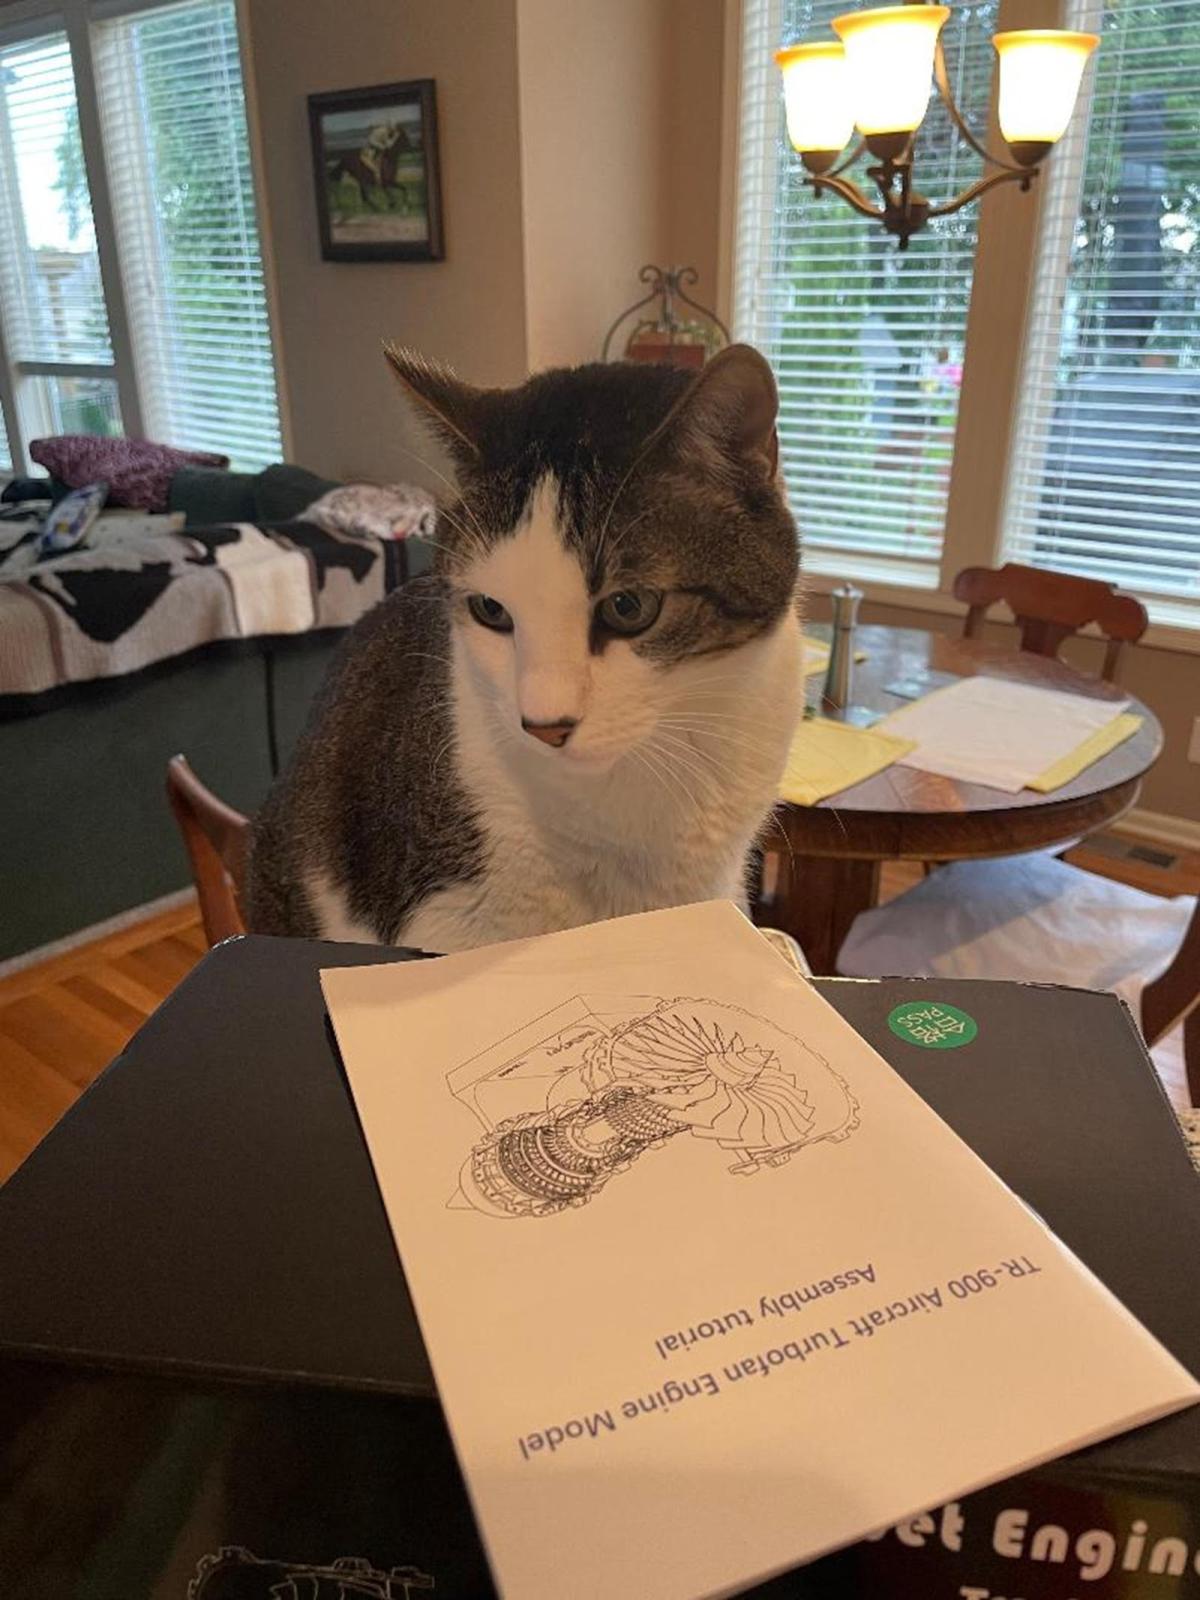
A full color and glossy instruction manual were located at the top of the box. It started with an introduction of the Trent 900 turbofan engine, the model size and the 3D printed materials it was made of, as well as an assembly tutorial. Each building step detailed the parts to use and which order to install them. The last page was a troubleshooting guide if the completed engine did not work properly.
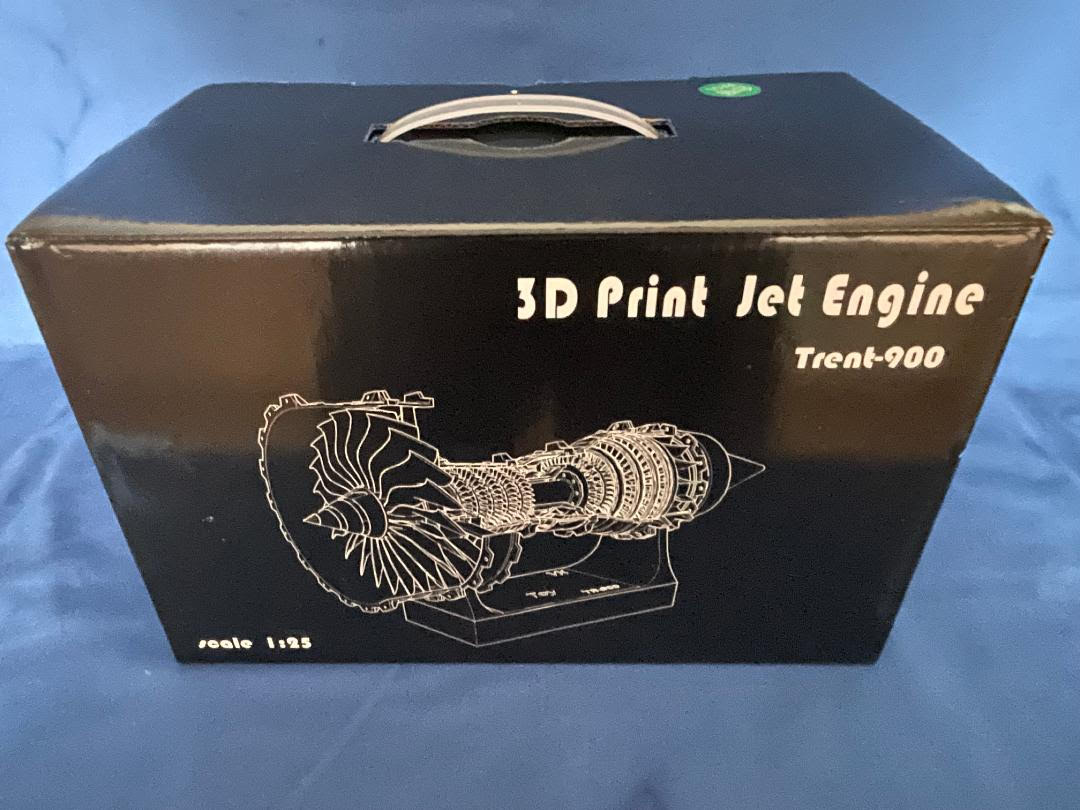
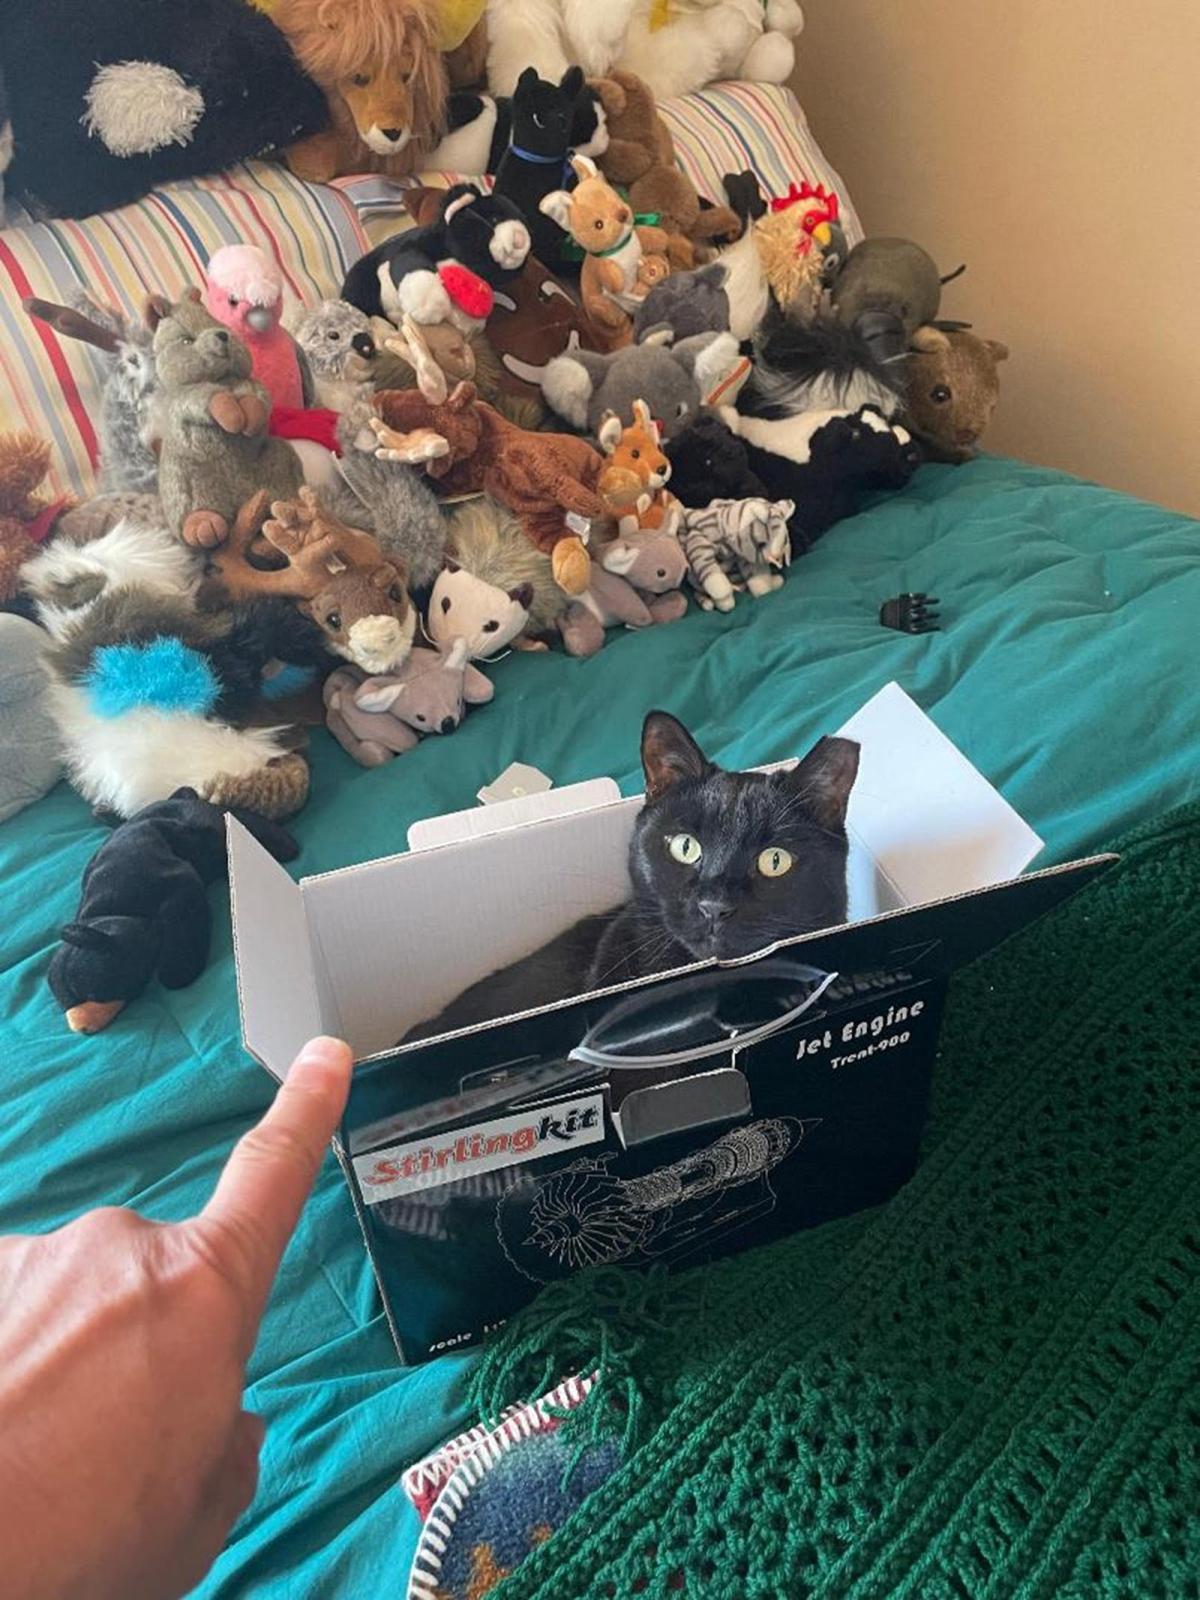
The unassembled model was presented in a strong, attractive black box that included a carry handle. Once the model was built and the soft protective foam sleeves removed, it could be used to safely transport around to show off to your other modeling friends.
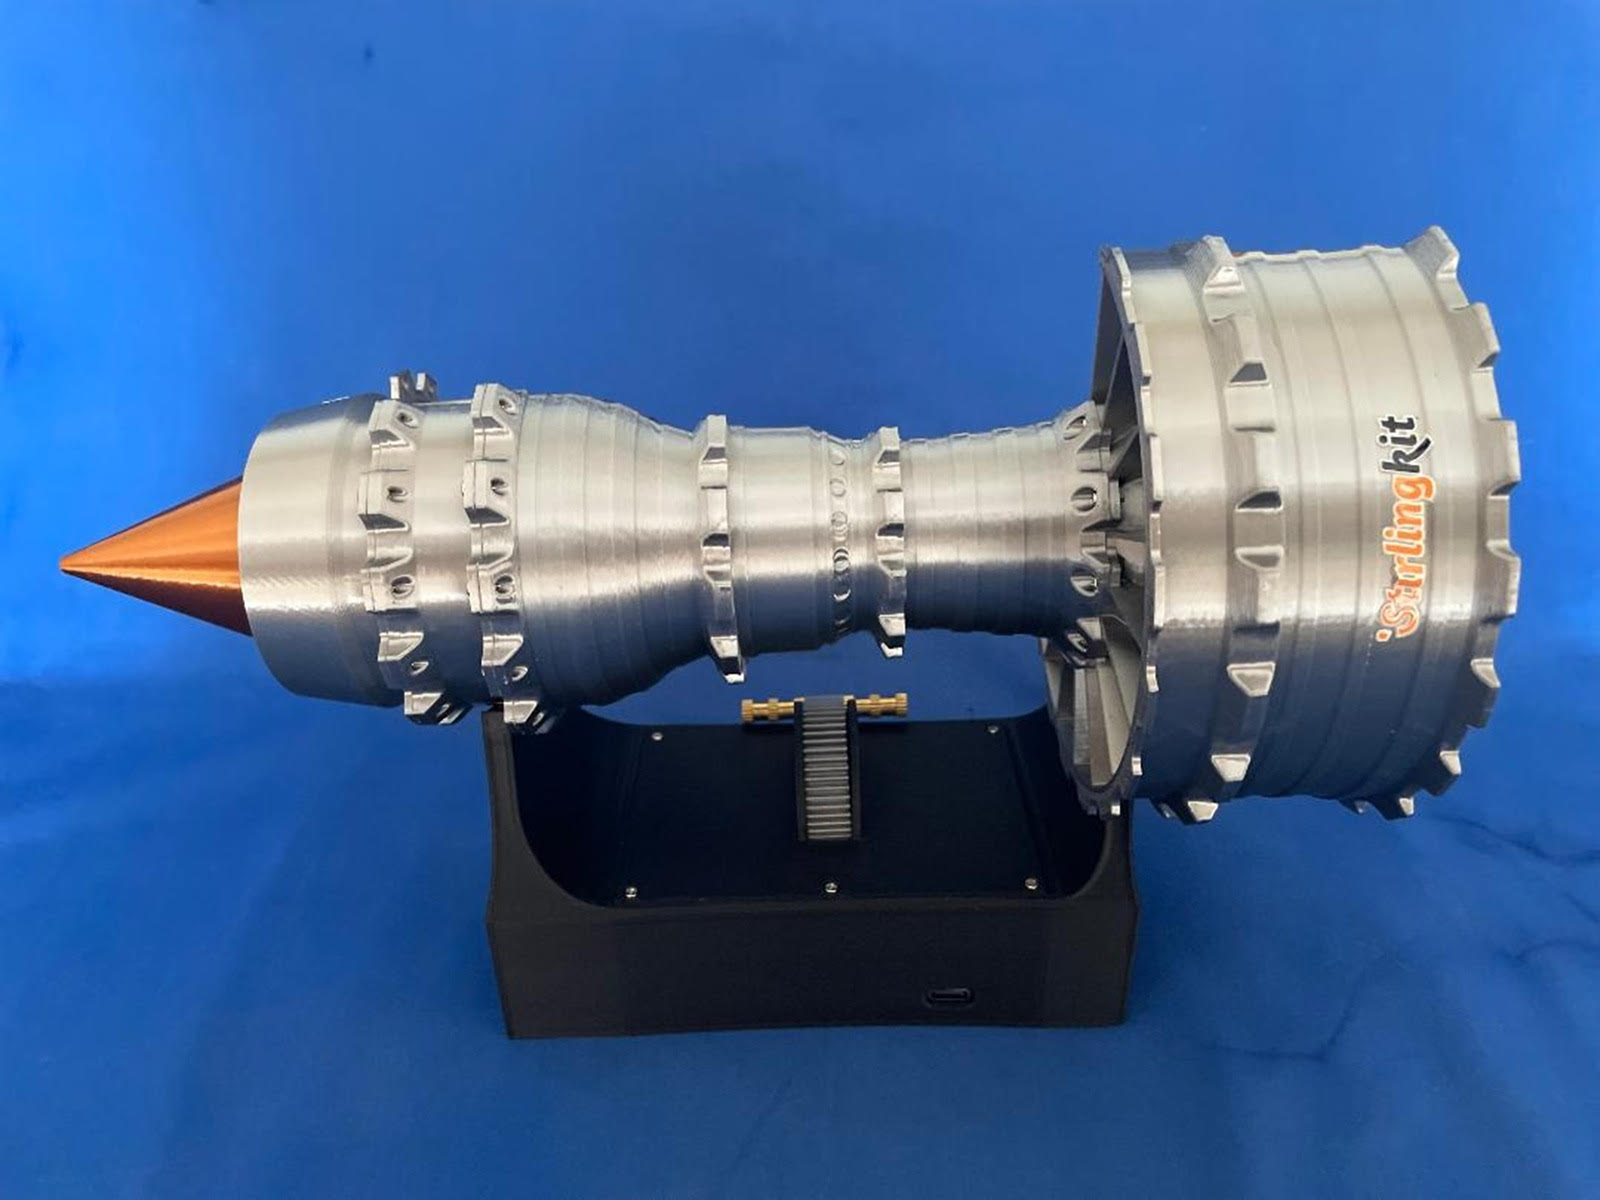
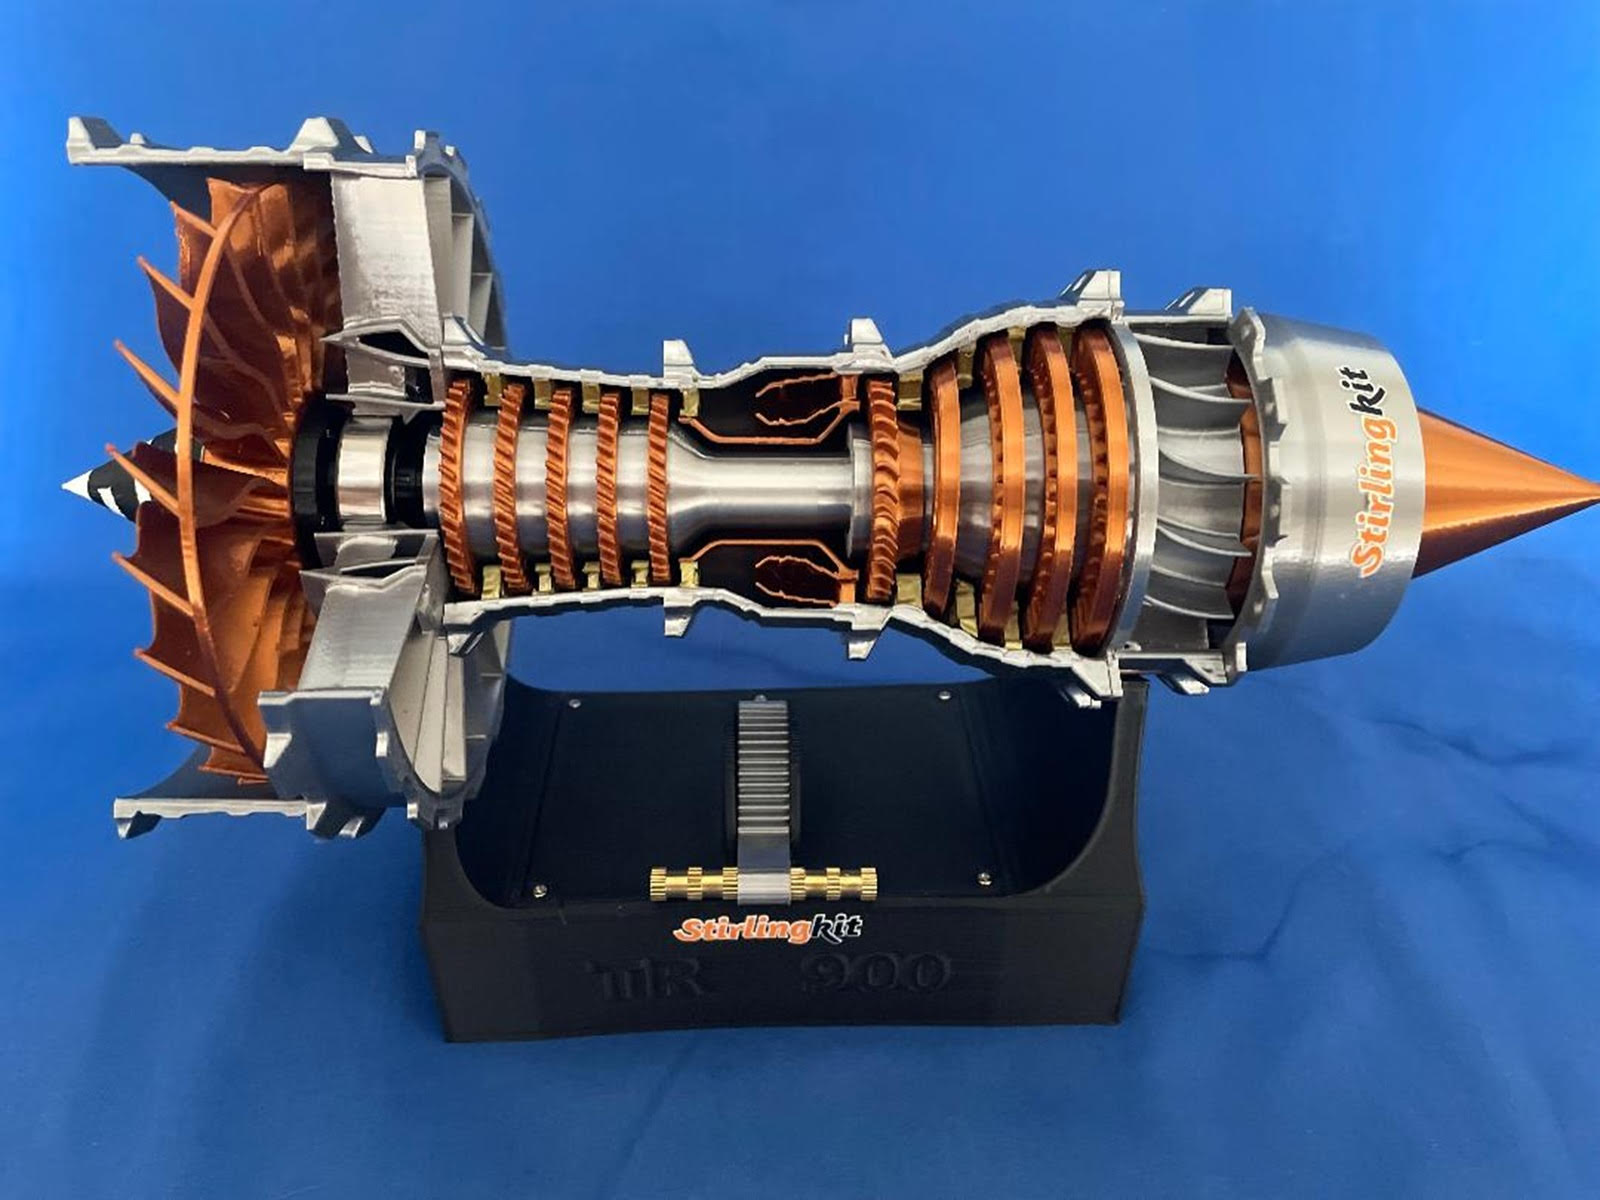
It was evident that this was a 3D-printed model, due to the printing striations in each part. However, I thought the printing quality was quite acceptable considering the audience the model was intended for and the price point. The components of the engine were printed using PLA metallic colored material. I had never seen colors like this used before and was incredibly impressed with how they looked.
Assembly followed a logical path, and throughout this review, I have attempted to use the same wording for each part as shown in the instruction manual.
I started with five low-pressure turbine (actually compressors) blade disks. Each disk was pressed onto the shaft and fit snugly against a step, ensuring proper positioning. This was followed by sliding on a turbine disk on the other side of the shaft. Pictures clearly showed the correct way to install these parts and the completed assembly.
Step two consisted of attaching the high-pressure turbine fan disks onto their shaft. Again, steps molded into the plastic shaft guaranteed a precise fit. The low-pressure shaft was then mated with the high-pressure shaft. This completed assembly was pressed gently into its engine housing. This housing already had turbine stator blade semicircular disks installed, although several needed to be seated into their slots. The manual instructs the builder to make sure every component lines up and does not rub or interfere with rotation.
Two steel bearings were included in the bag of screws. The first one was inserted into a recess in the large air inlet housing. This housing and the high and low-pressure housing were screwed together using 9 screws, leaving one screw hole open. Be careful not to overtighten the screws as the plastic was somewhat soft, and it was easy to strip the holes.
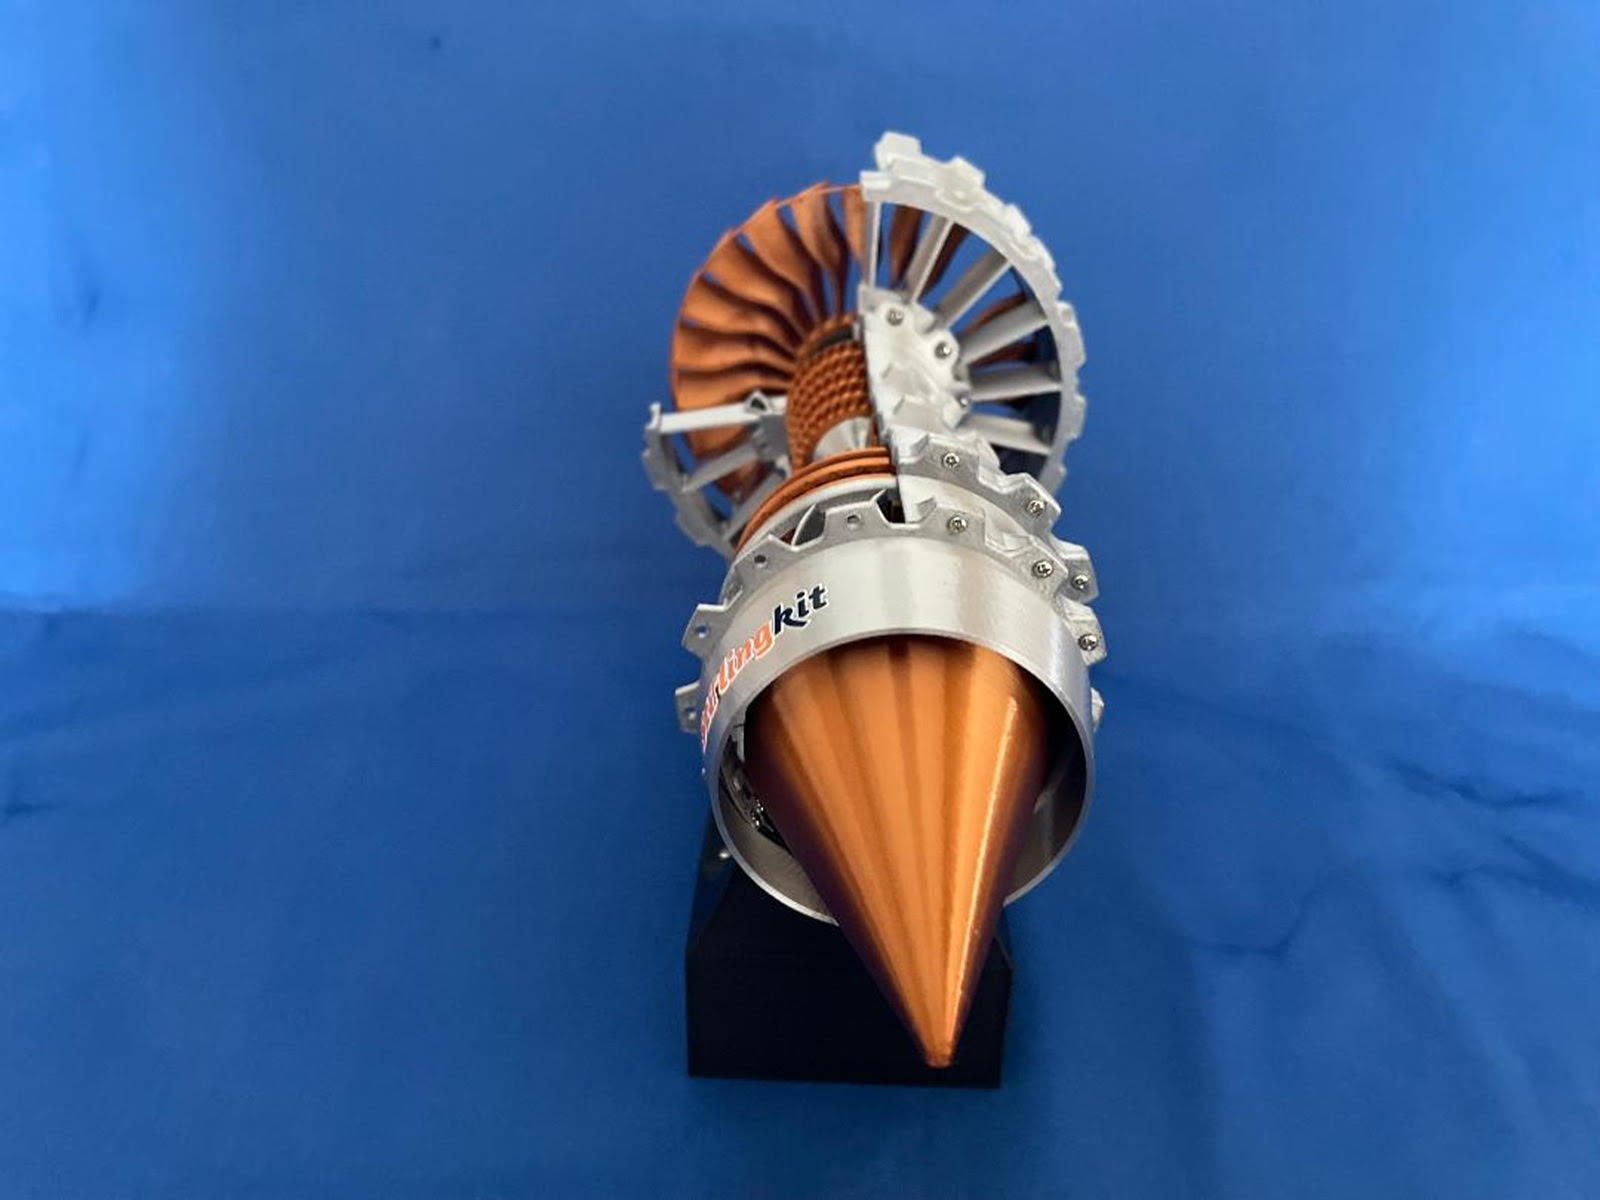
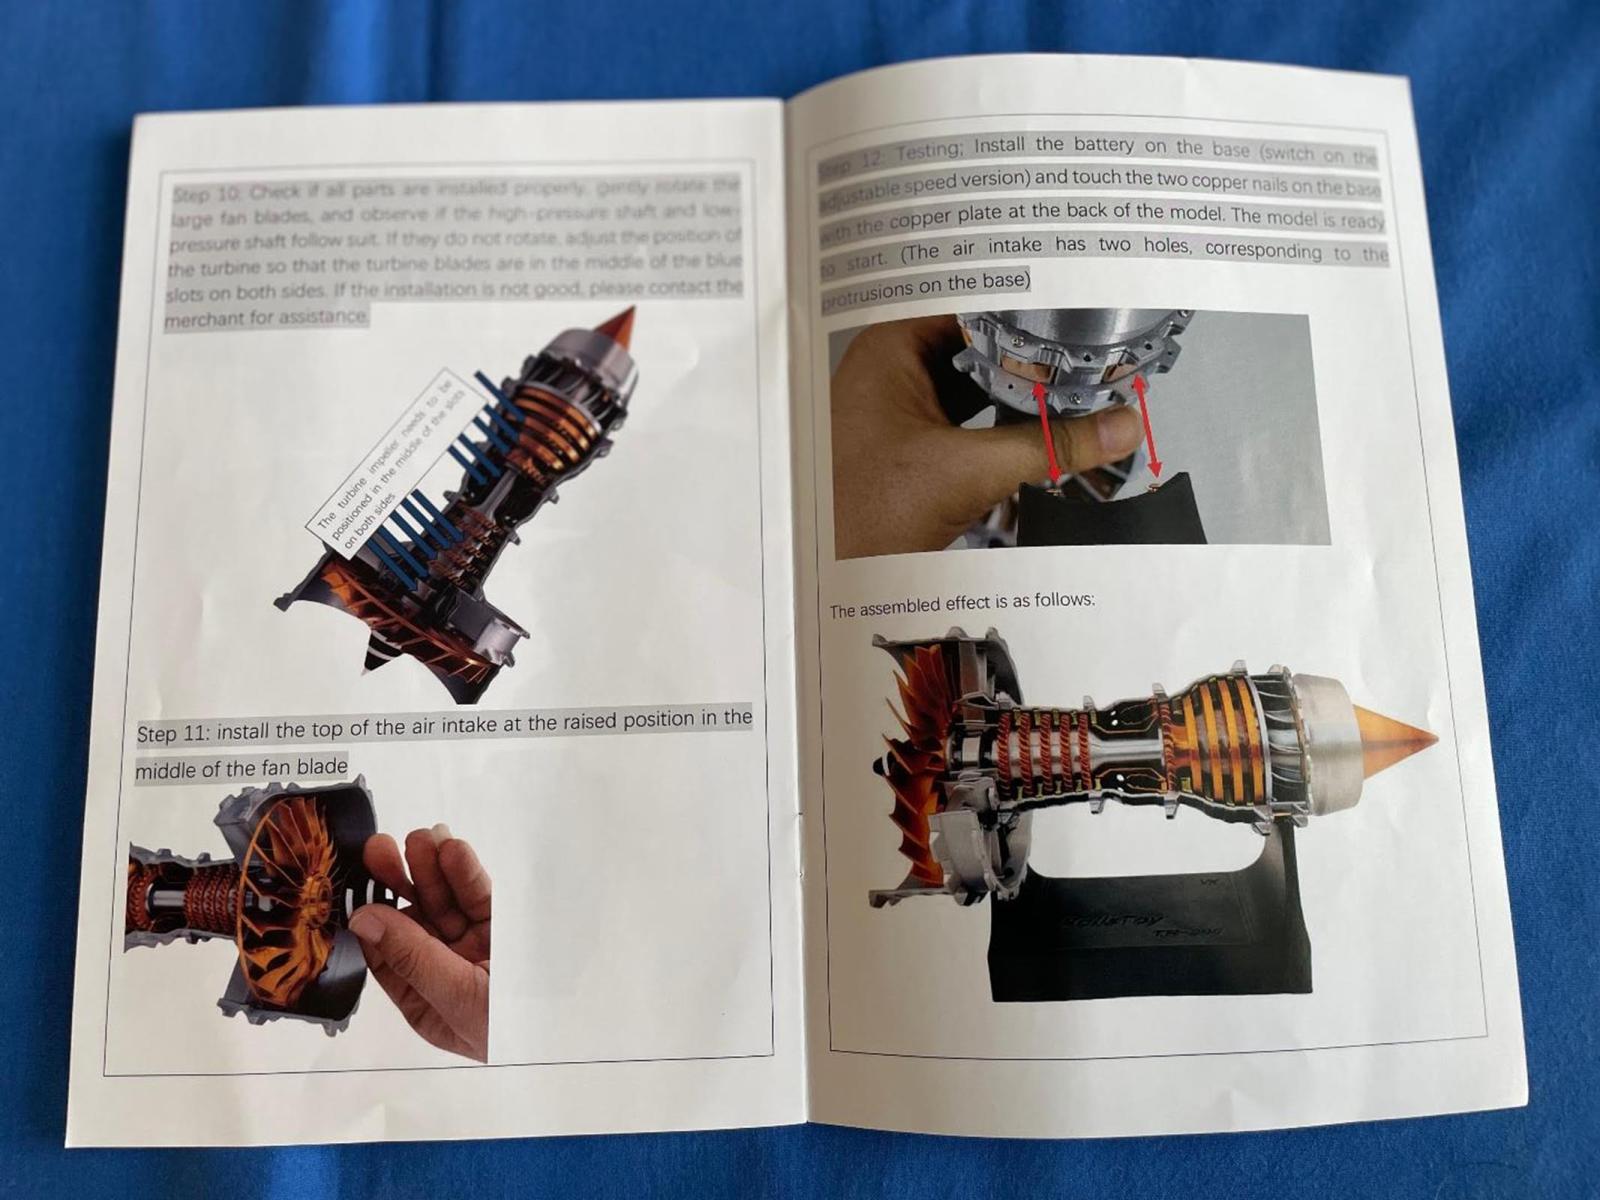
The high bypass fan blade disk was screwed to its axle using four screws. I had to study Step 6 a little while fitting the fan axle and seating it into the air inlet housing and bearing. Initially, I didn’t have it seated quite right, but after studying the picture in the manual again, I just needed a little more force to press it into the correct position. Periodic test rotations were important to make sure the assembly was going together correctly.
At the rear of the engine turbine section, a hexagonal sleeve and collar were inserted that would mate with the engine tail components containing an electric motor. Another bearing was placed in its recess. Sixteen screws were used to attach these two assemblies. Again, the modeler was encouraged to check all assemblies to make sure no binding occurs between the rotating parts. The final assembly step was to attach the spinner to the front of the fan blade disk.
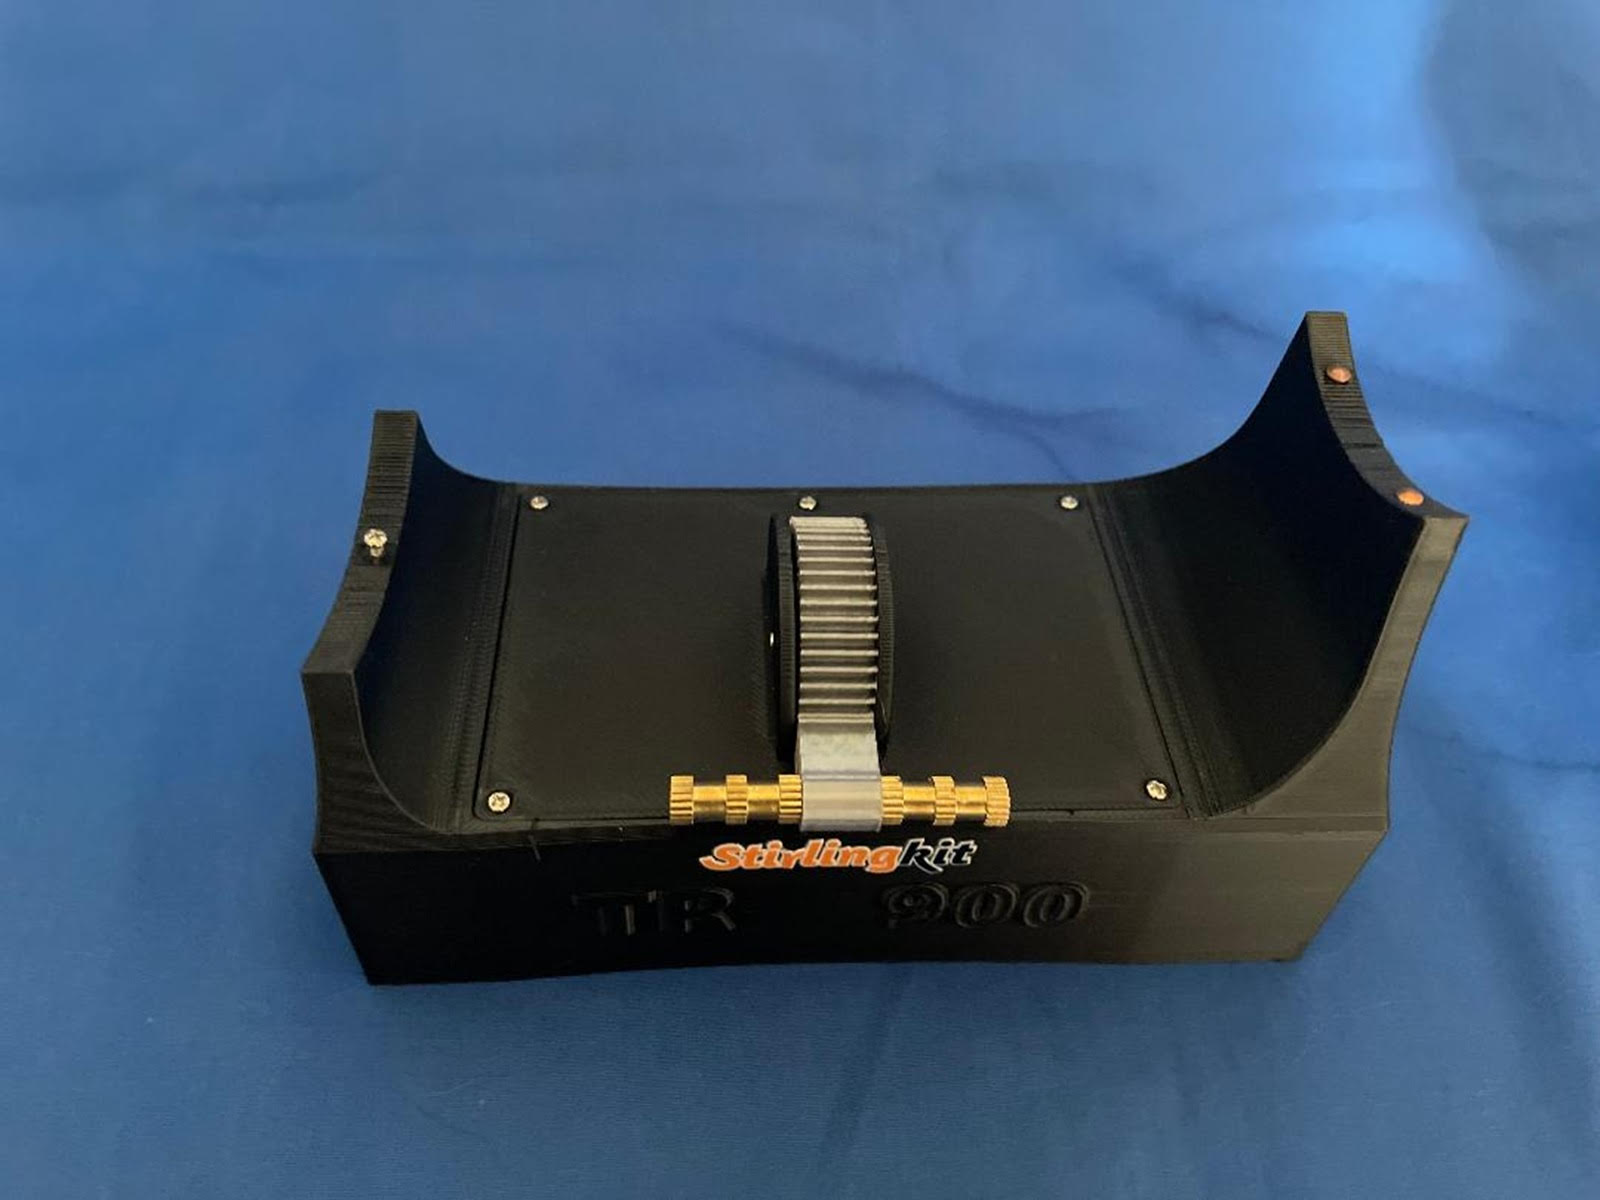
While assembling the model, I plugged in the 3D printed stand to make sure it was fully charged, even though it did have some charge when the kit arrived on my doorstep. The stand was factory built and included a throttle (Power Lever). A raised “SterlingKit” sticker sat right above an embossed “TR 900” on the front of the stand.
The completed Trent 900 was placed on the stand in Step 12, lining up two copper studs in the stand and plates on the engine. It was suggested to line up two holes in the air intake with two studs on the stand, but there were no studs, and the engine would not stay seated. The manual picture did show the ends of the studs poking through the air intake holes. I improvised and used one of the remaining screws to secure the front of the engine, which worked well. This was the only need to deviate from the rest of the build.
Now the real fun begins:
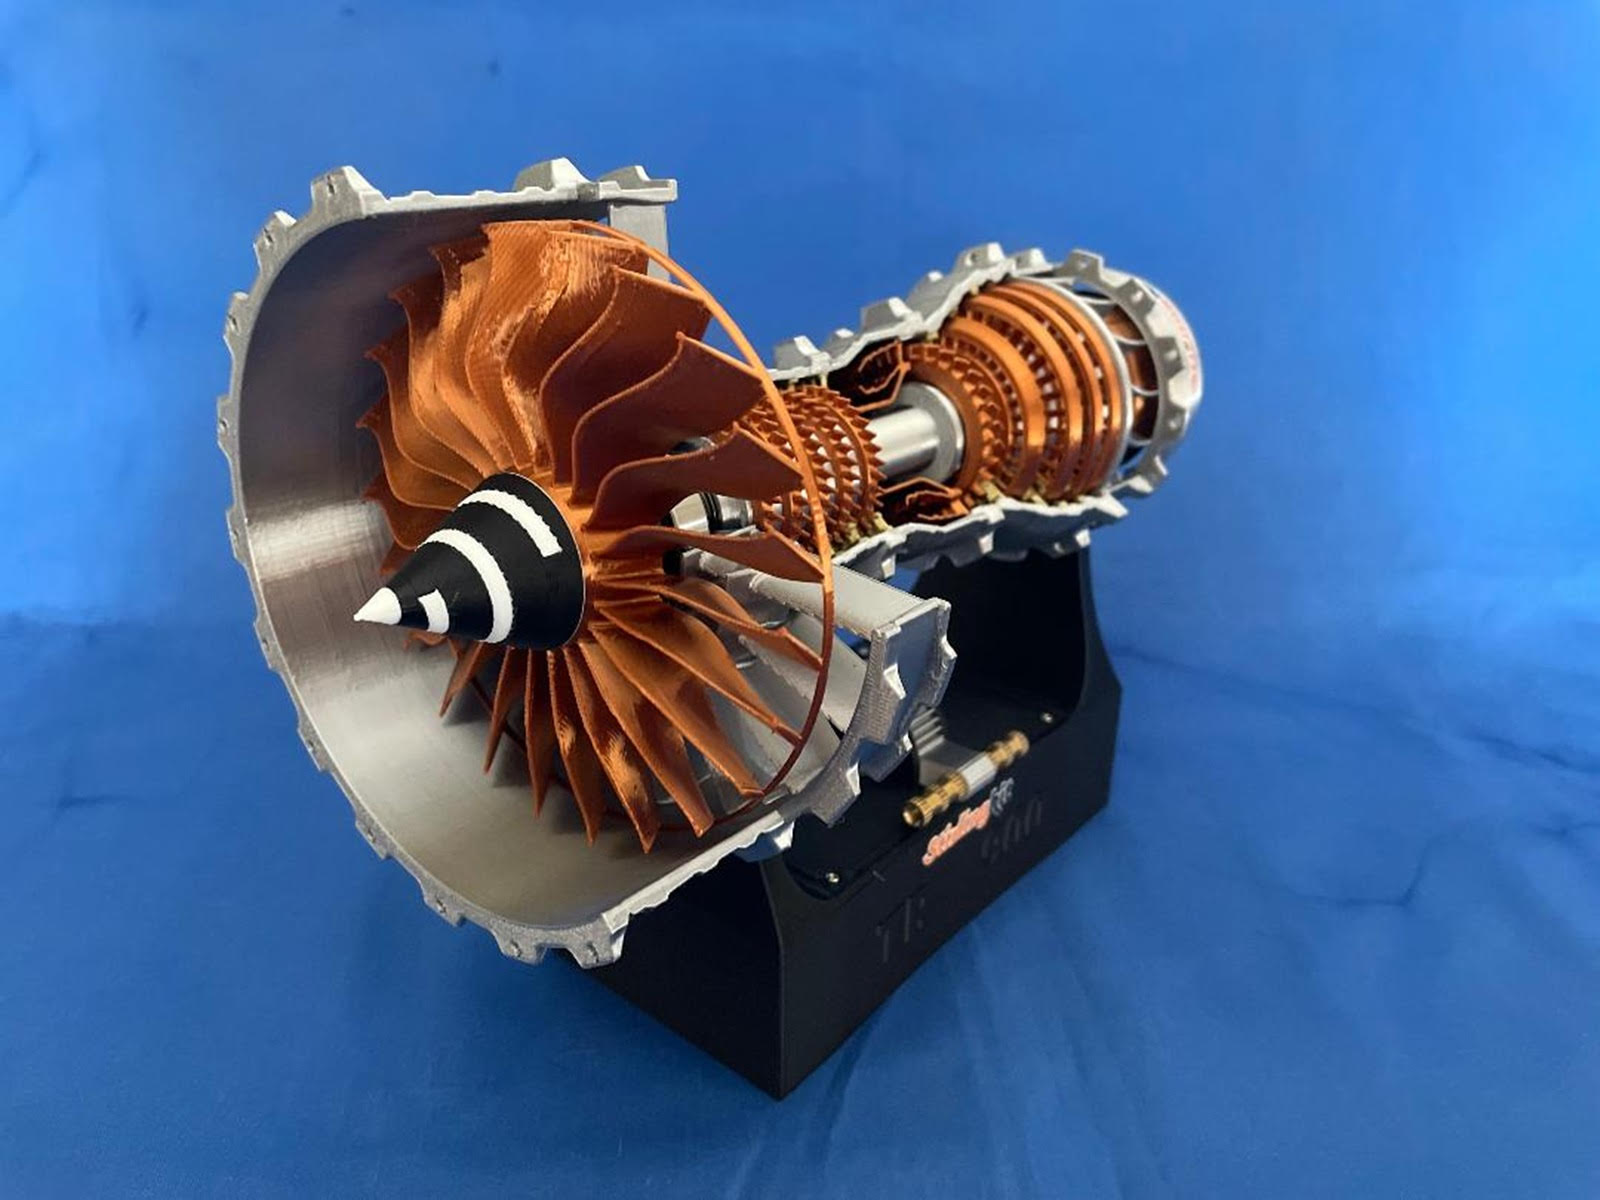
Advancing the power lever lit up a red LED light inside the stand and started the big Rolls-Royce turning. The further the lever was pushed up, the faster the engine rotated, and vice versa, when the lever was retarded. A blue LED light in the exhaust area became brighter the faster the engine rotated. The only thing that might have improved this model would have been adding the jet engine sound. Other than that, and for the price, this was a fantastic model.
I had a blast assembling the Trent 900 engine. I will have lots of fun revving the engine over and over again, with the engine spooling up and down, noise from me included!! It only took a few hours and I would absolutely recommend the model to all ages, but a youngster might benefit from adult help. I am just sorry that I didn’t have kids to enjoy building this model with, but I did get some help from our cats, Avatar and Muchea!!
I was thrilled to be entrusted by Sophie from SterlingKit and the great folks at IPMS USA, with building and reviewing this outstanding kit. I very much look forward to the opportunity of assembling and reviewing other kits from this company.
Comments
Add new comment
This site is protected by reCAPTCHA and the Google Privacy Policy and Terms of Service apply.
Similar Reviews