
P-40N Warhawk - ProfiPACK
Eduard has provided this beautiful new release from their P-40 range for review, in the form of this 1/48 scale model of the P-40N Warhawk. This is based on the original release from a few months ago. The kit contains six gray sprues, one clear sprue, one Photo Etch fret, one mask set, one decal sheet, and an instruction guide.
Assembly
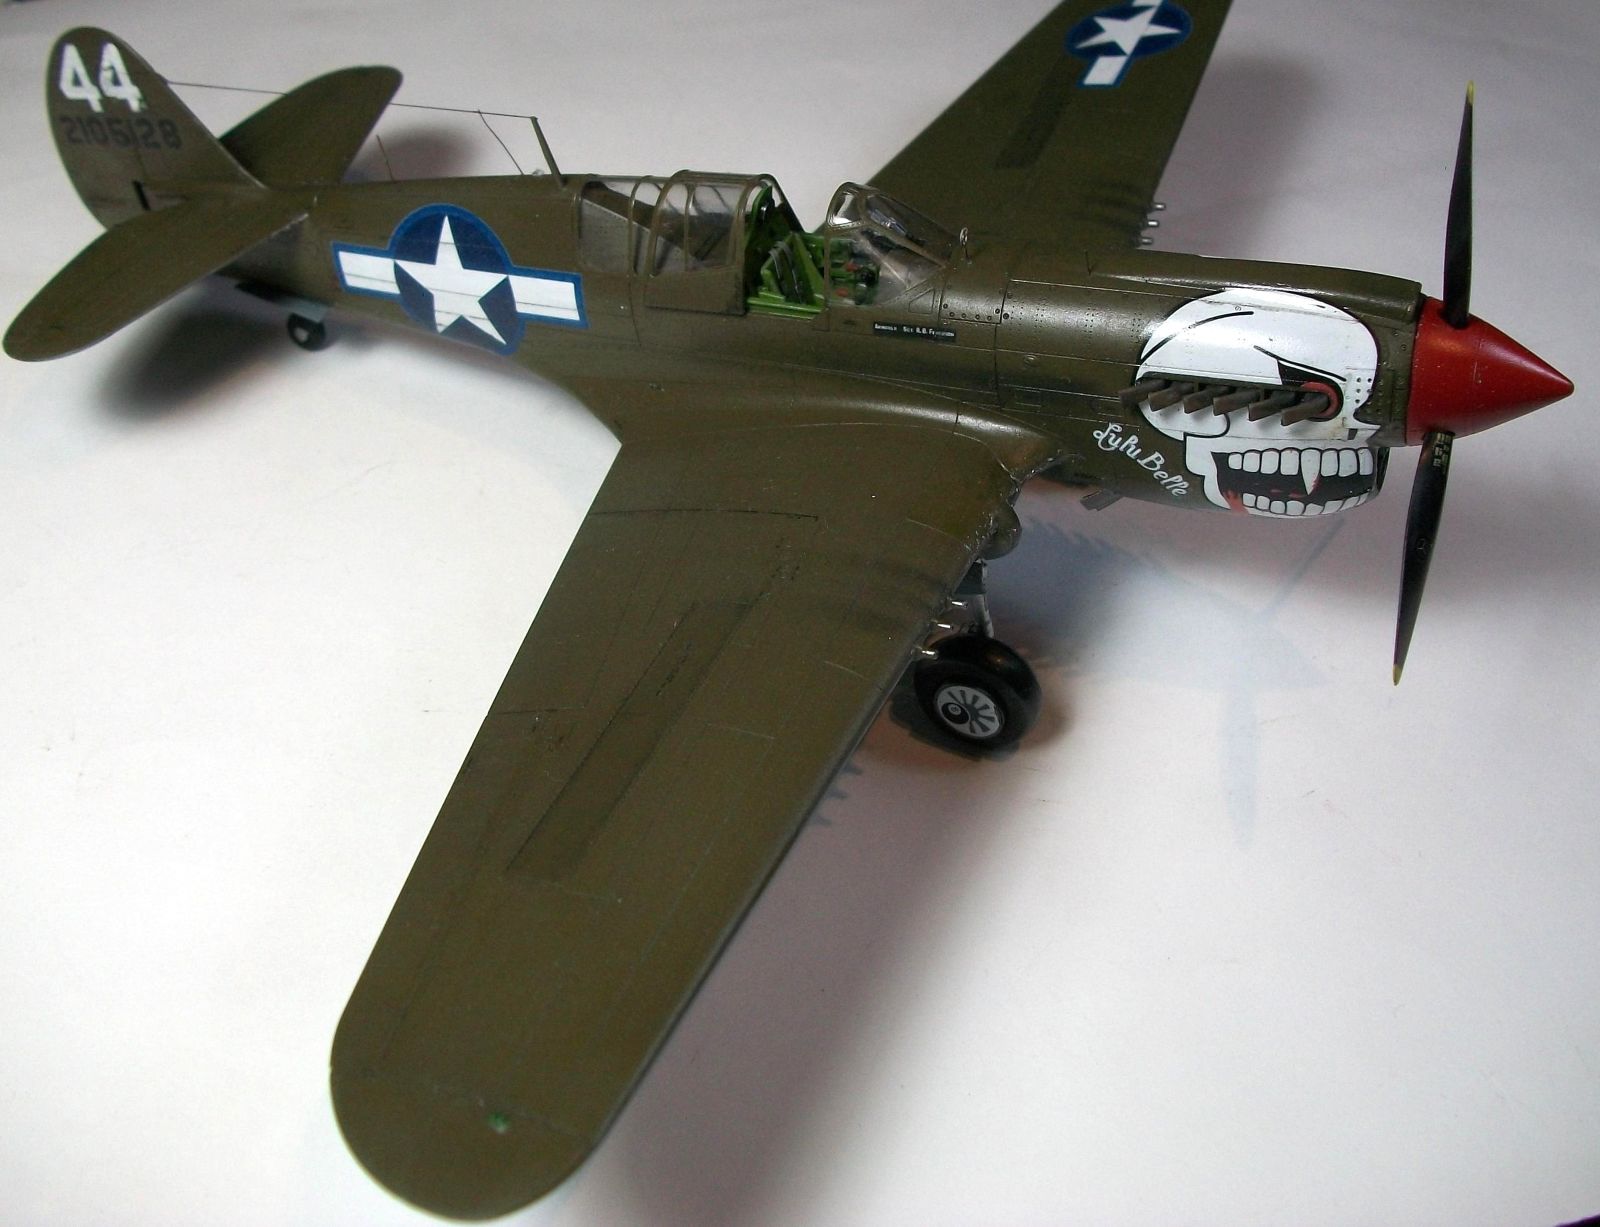
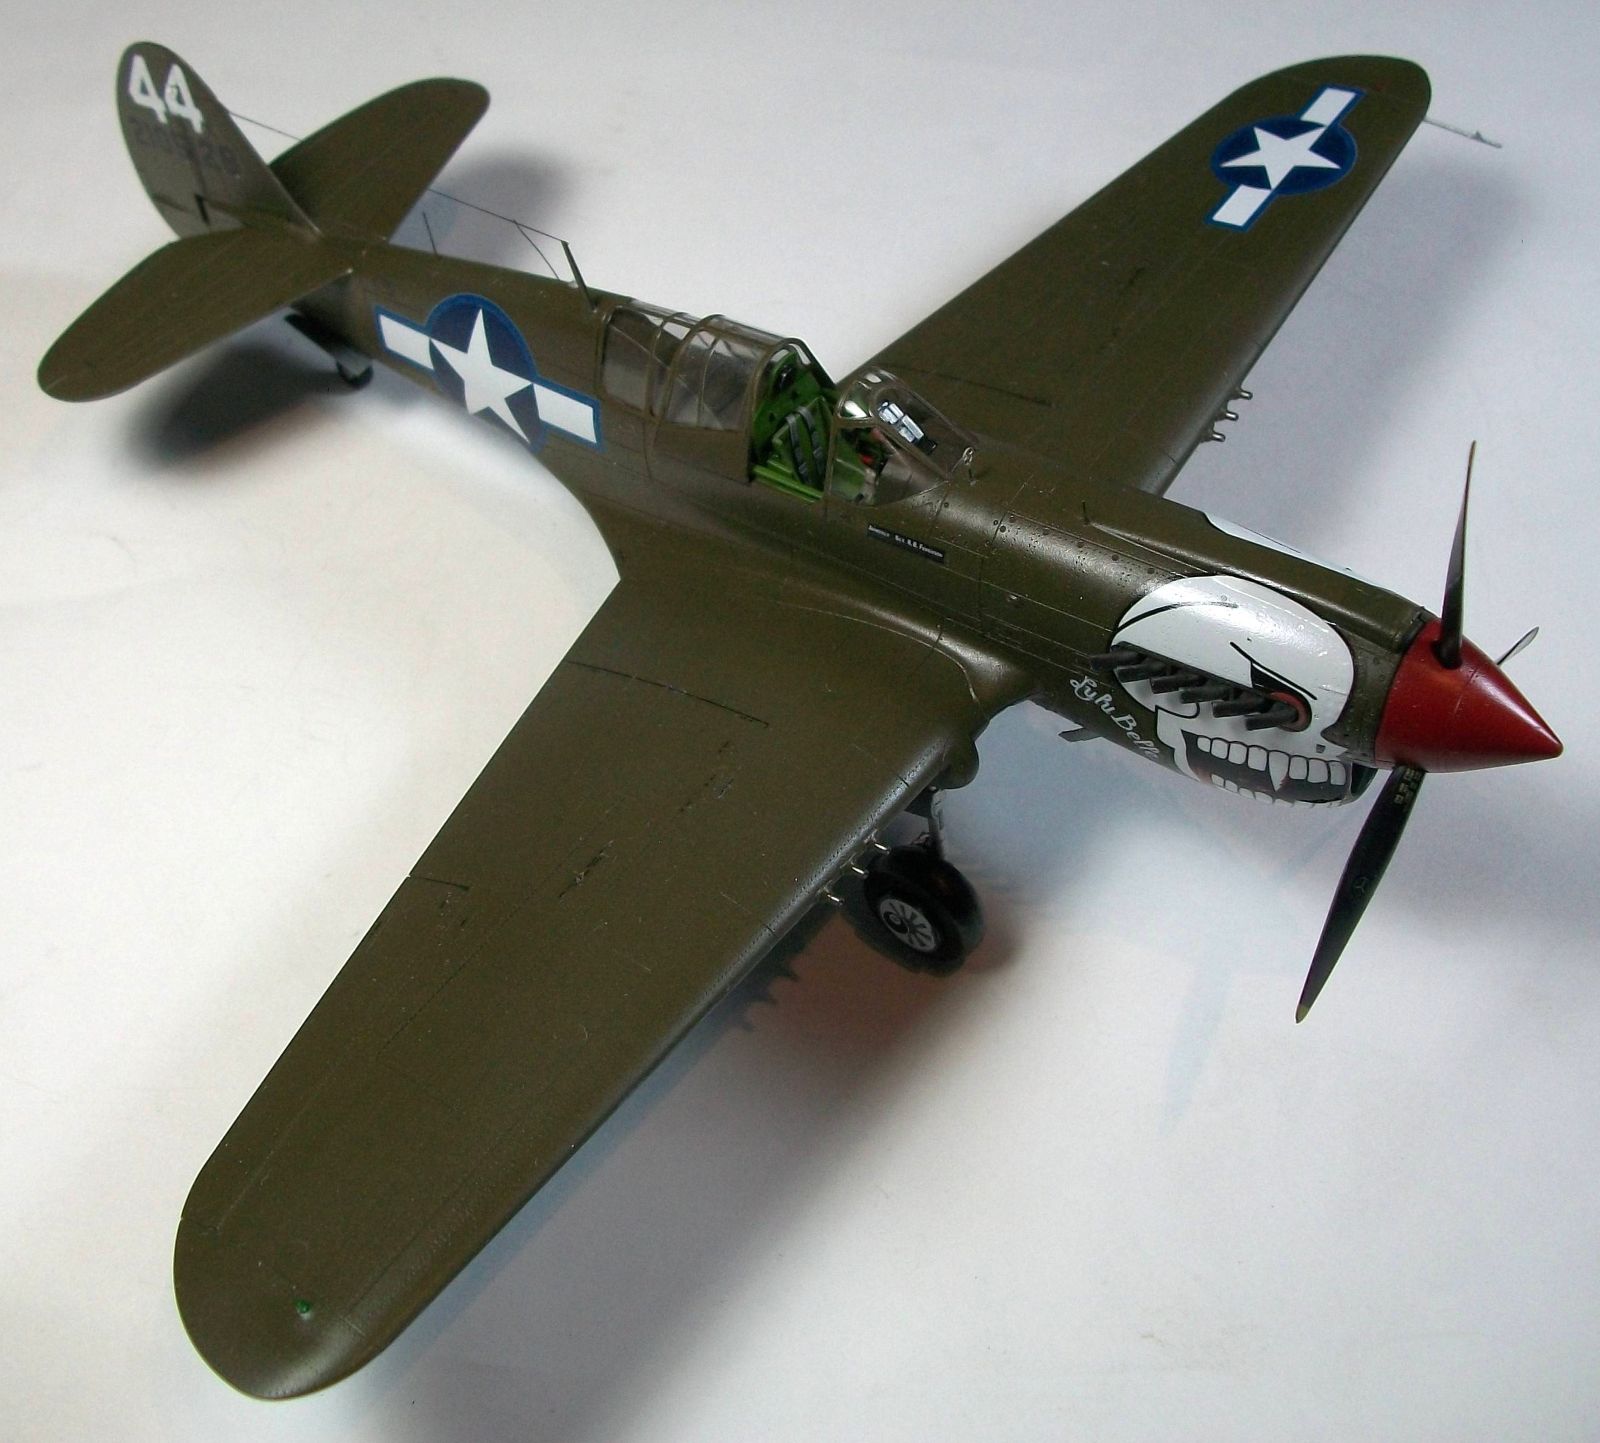
The quality is excellent in every way with this kit, as crisp and detailed molding has become the norm for Eduard kits. The assembly is quick and easy. You must select which version you are going to build before you start, and I chose Box Art version “A”.
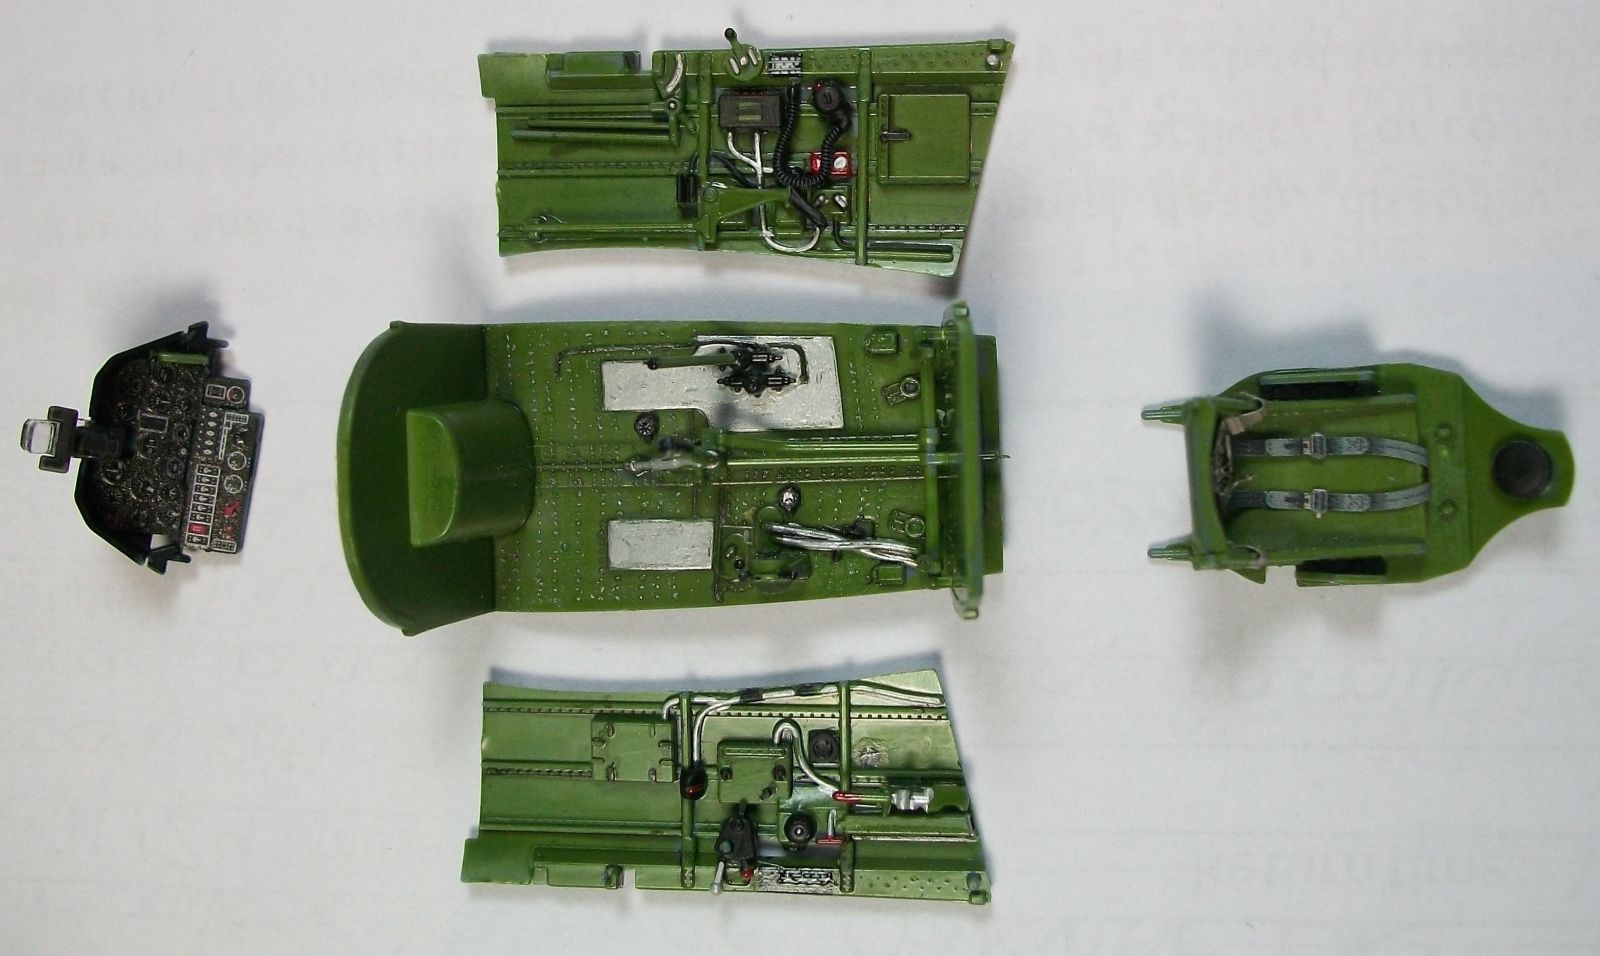
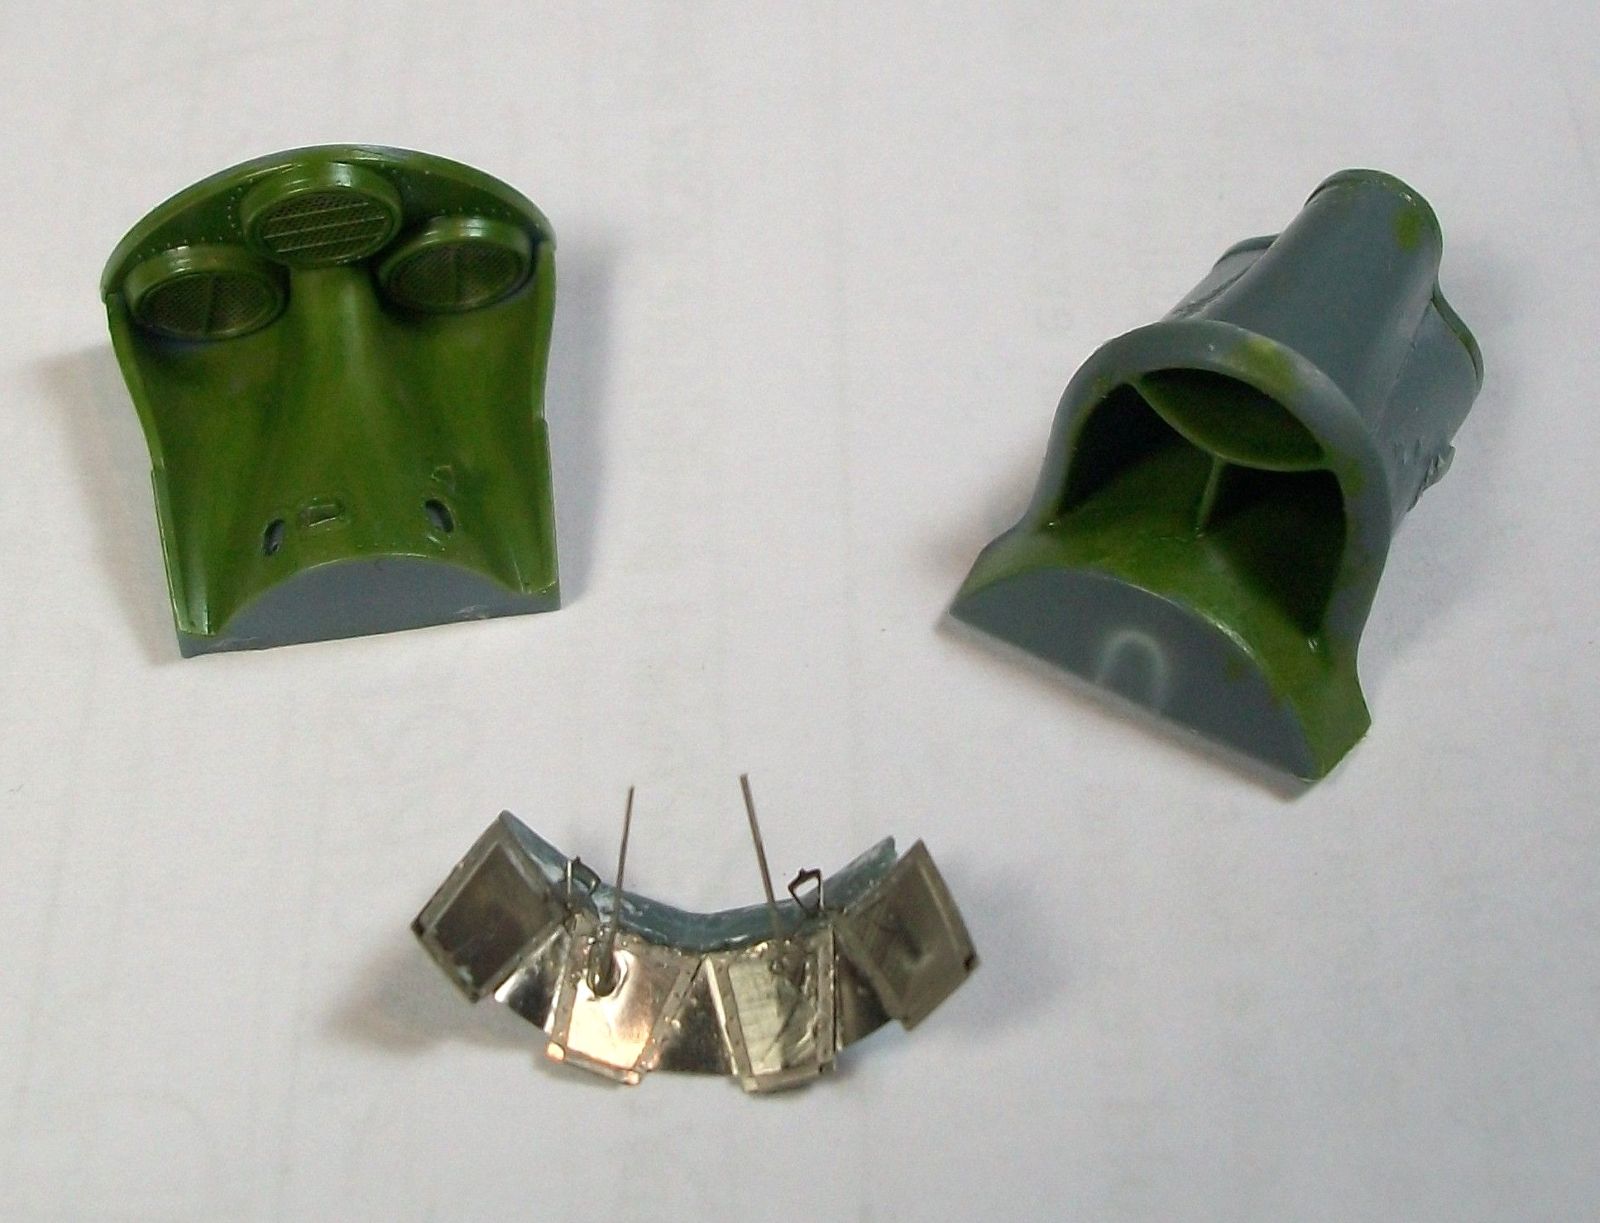
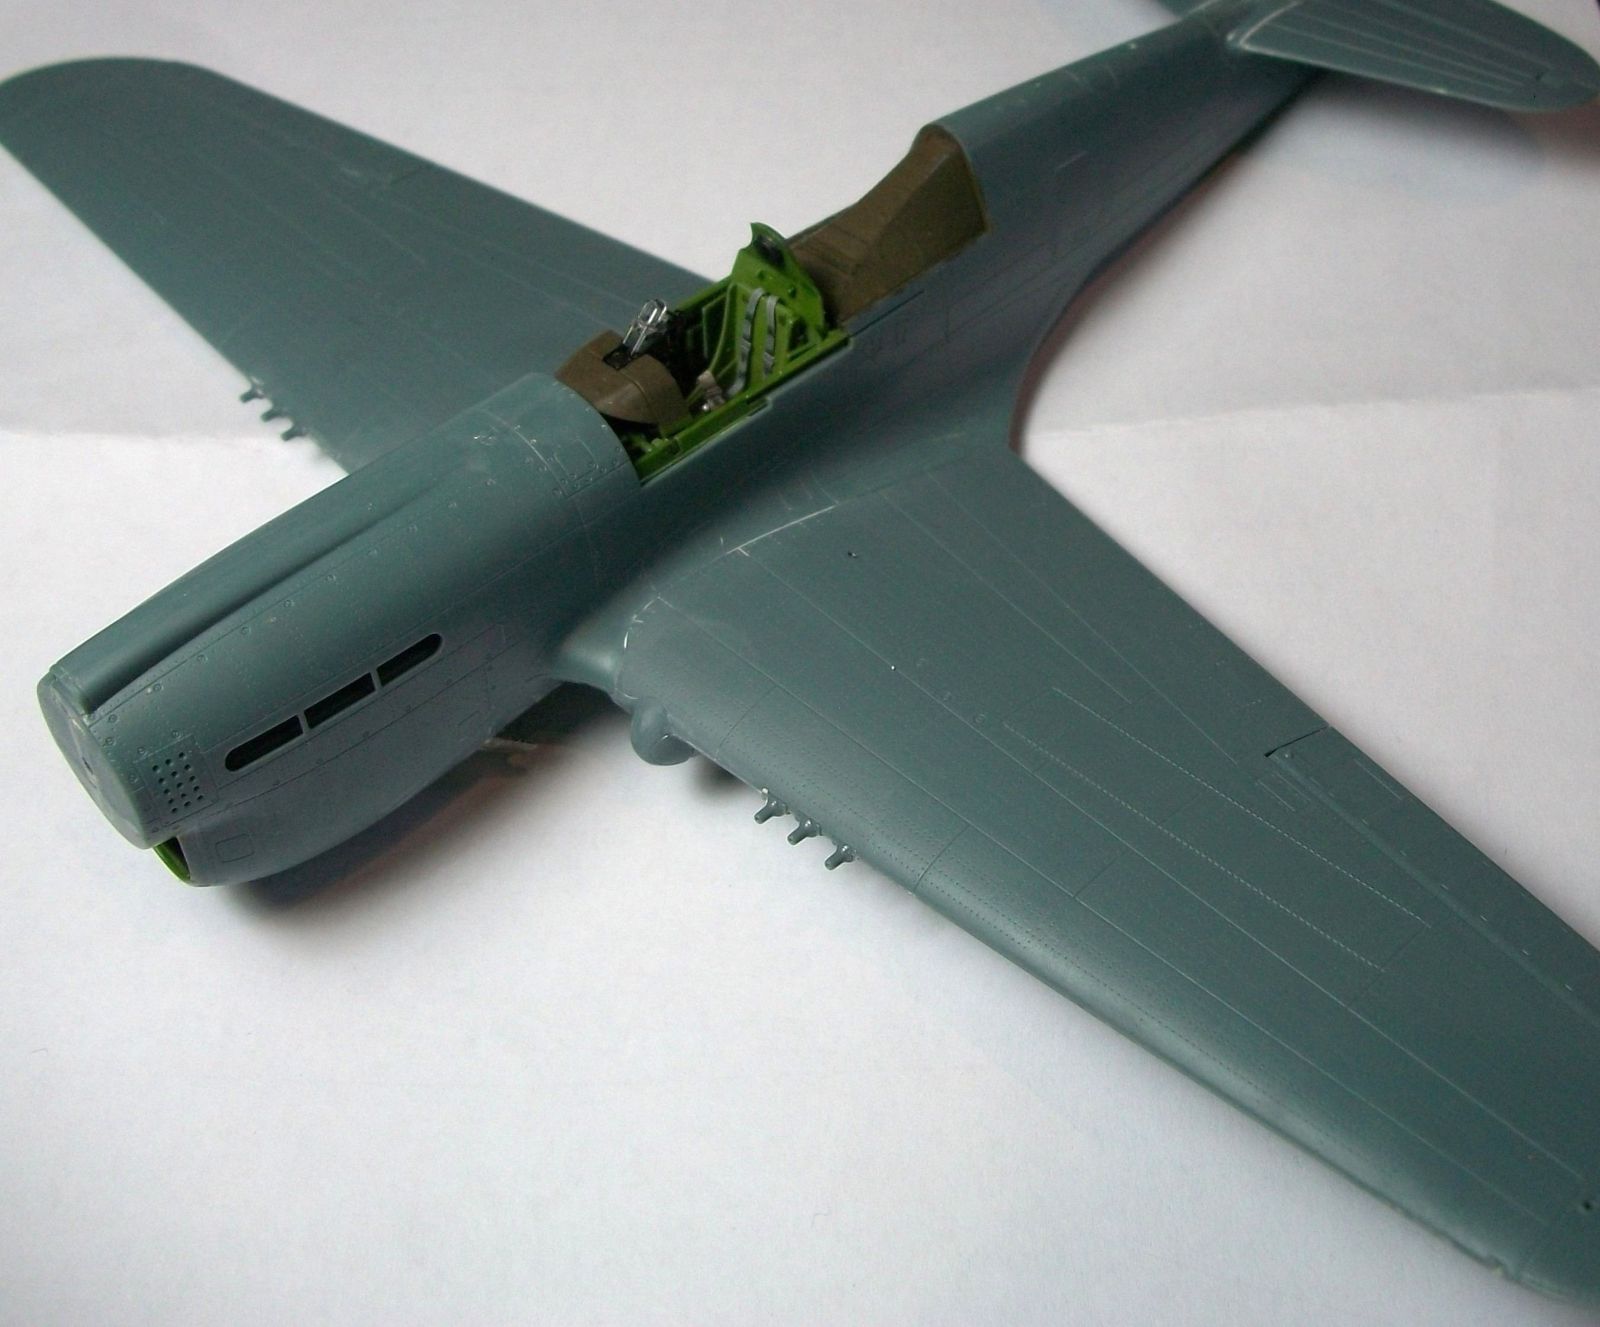
The assembly starts at the Cockpit as is typical with aircraft, and this one has lots of detail even before you add any photo etch parts. The only item in the cockpit assembly I need to point out is on step E, as you need to remove the molded details before adding PE part 36. I would also remind you to ensure the correct orientation of the parts E6 and E7, as it is possible to mount them incorrectly. In Step H, there was some flash on part 47 that needed to be cleaned up before installation.
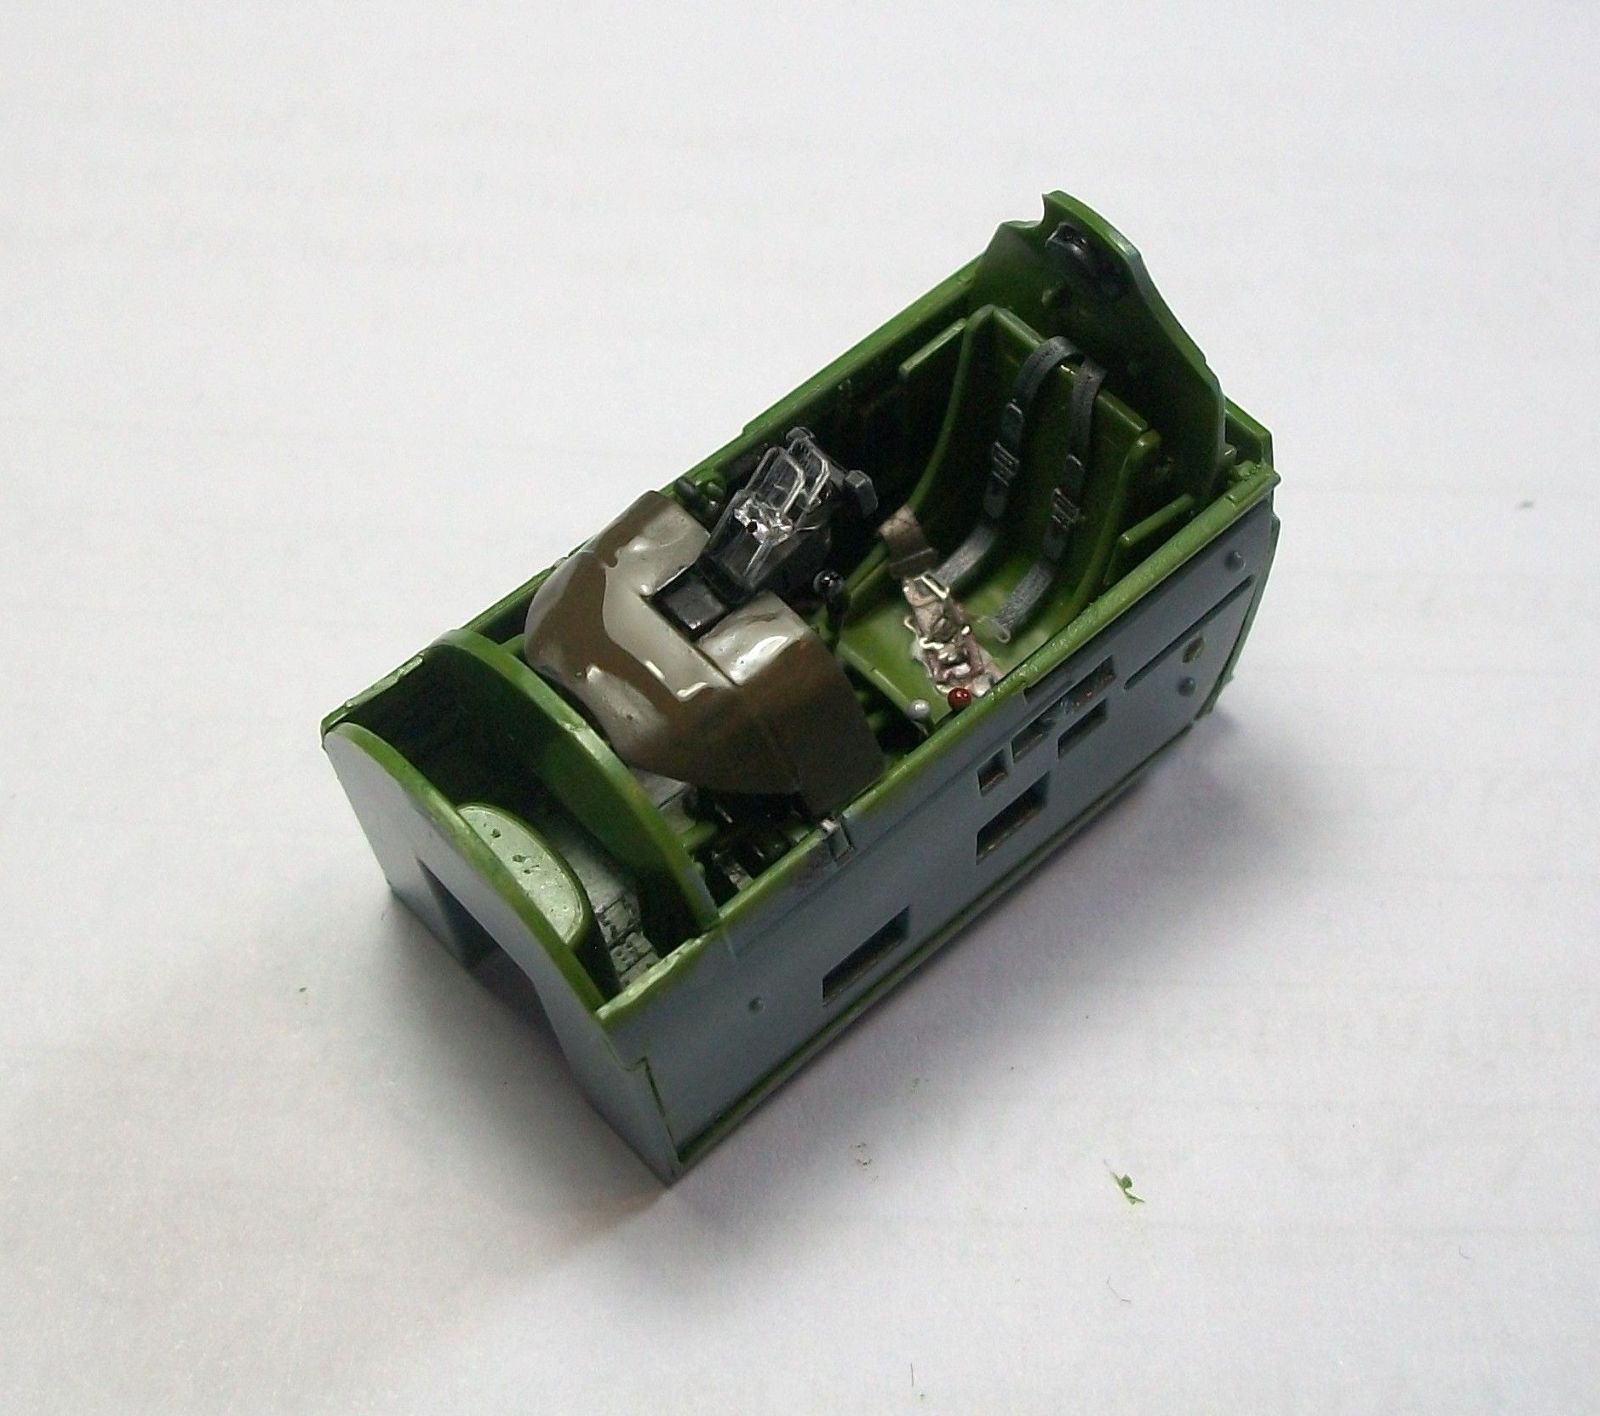
In Step I, you will replace the plastic part F16 with PE parts. I found this to be very tricky to assemble and align correctly, and you may want to consider using the plastic part to save yourself from getting frustrated. For the exhaust Manifolds, parts E33 and E34, I would suggest leaving the parts off until you have painted the fuselage.
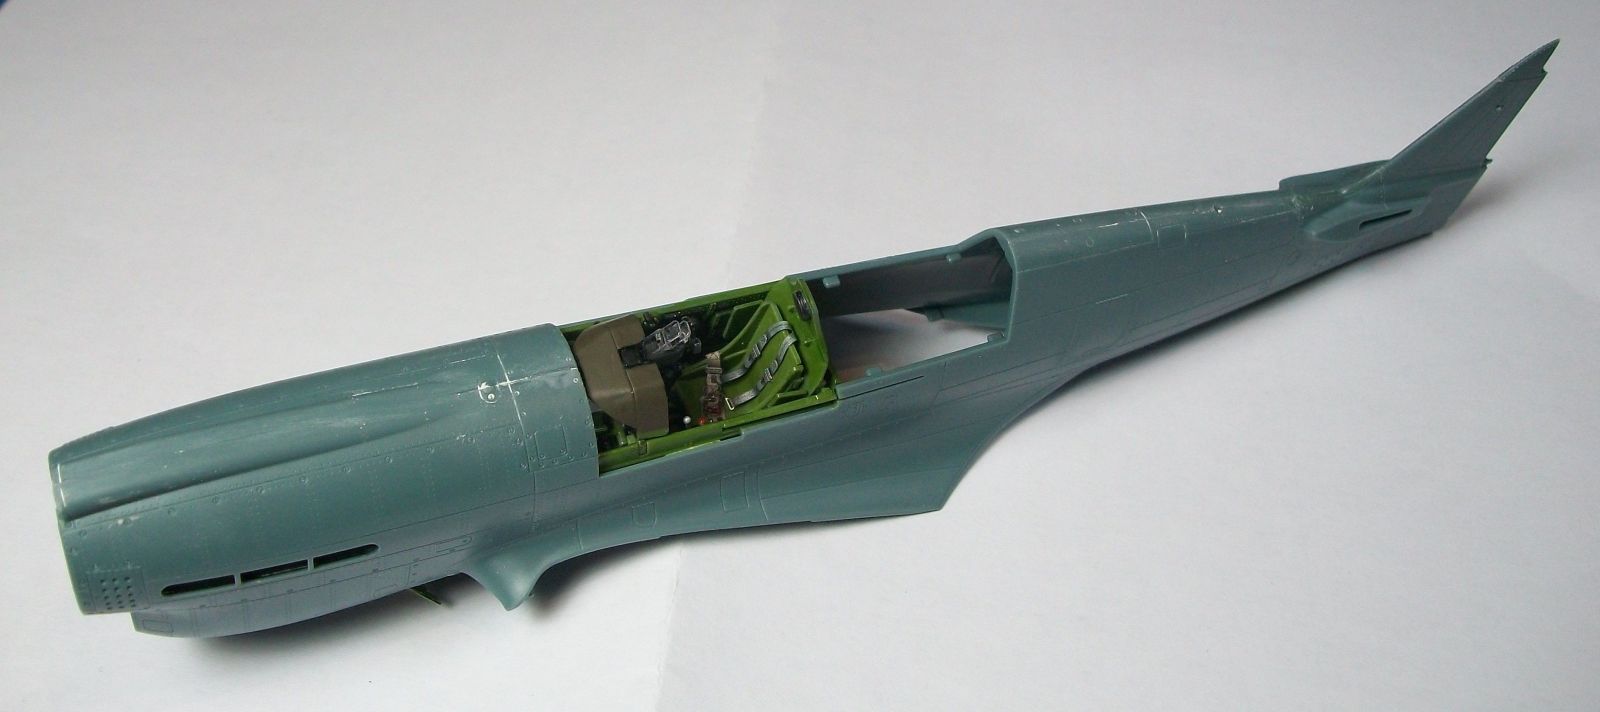
Step J has some parts numbered incorrectly; E1 should be E3 and E5 should be E1. At this stage, you choose from the assembly of two versions of the wheel wells, one with canvas covers and the other without. The choice is yours on which to use, so I went with the ones without canvas covers. I also would suggest adding PE parts 17, 29 and 30 after painting.
When installing the main landing gear, I found the hole for the left gear was not open in the wing, and this needed to be done carefully. With only a few minor issues, this is an awesome kit of an iconic aircraft, and I enjoyed this build tremendously!
Final Details
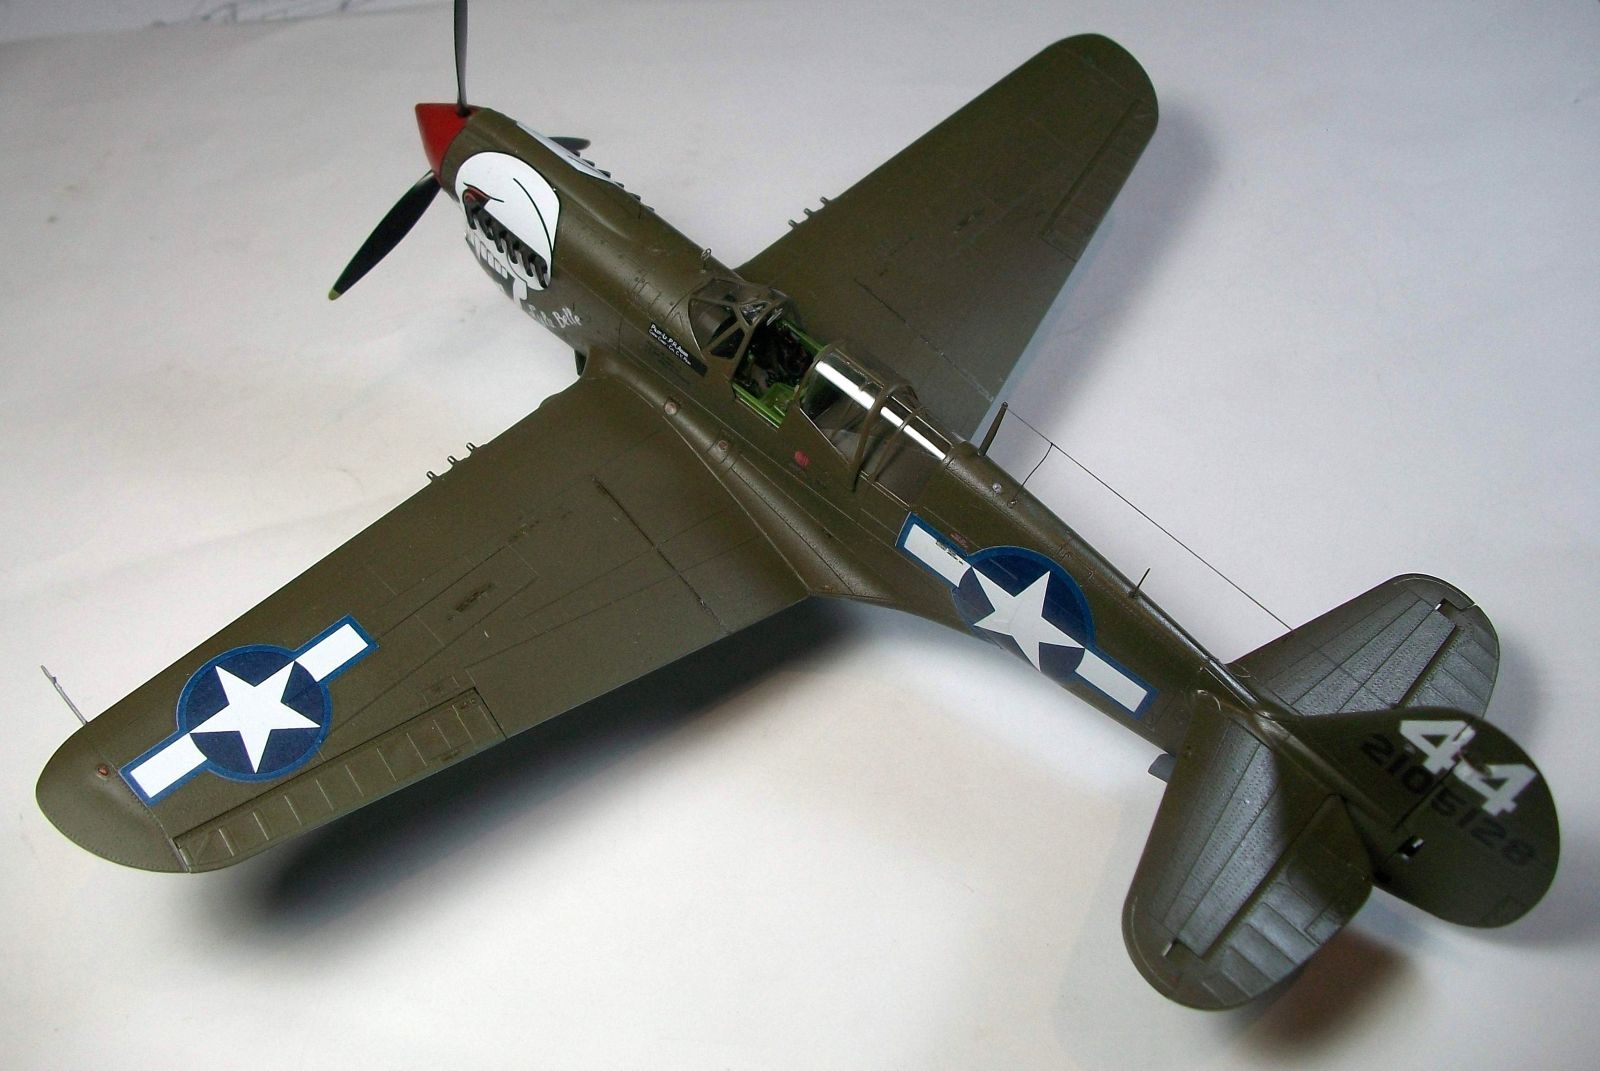
After painting and adding the final few parts that I previously had left off, the decals were applied. There are a lot of stencils for this aircraft. I tried removing the decal carrier film after they had dried and found it came away very easily on the large decals. On the other hand, it was not so easy on the smaller ones. You must ensure that you use enough decal setting solution and softener to ensure the decals are completely adhered to the plane or small areas may come away when you remove the film.
Conclusion
In conclusion, this is an awesome kit, and I really enjoyed building it! Thanks to Eduard for providing this kit for review and IPMS/USA for allowing me to review it.


Comments
Add new comment
This site is protected by reCAPTCHA and the Google Privacy Policy and Terms of Service apply.
Similar Reviews