
MH-6J Little Bird
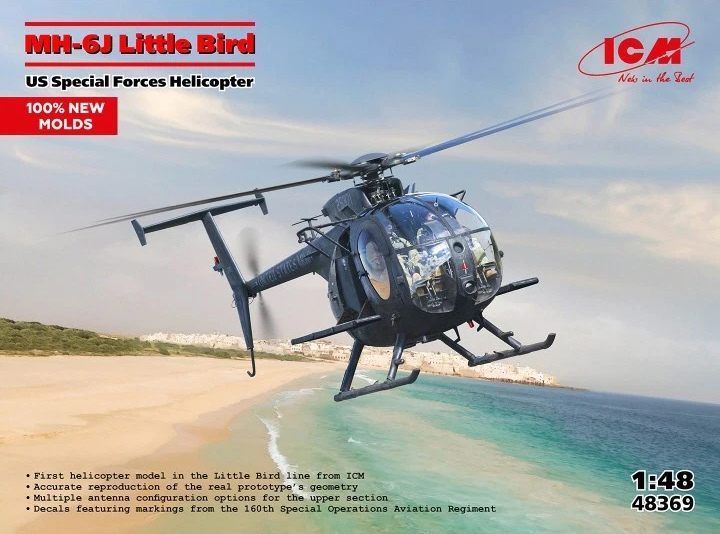
For years the only way you could get an AH/MH-6 Little Bird in 1/48th scale was to buy a Hasegawa Hughes 500 and a CMK conversion set. This was expensive and sometimes hard to find. Now, thanks to ICM, we can build both kits out of the box. This review is about the MH-6J.
Inside a sturdy cardboard box with a cover are two light grey plastic and one clear plastic. They are beautifully rendered with no flash. The fuselage has some of the nicest raised rivet detail that I’ve ever seen. Very in scale. This is a good/bad thing. Good in that you can see it is there, but bad when filling the seams and sanding. You can’t replace any lost detail with decal film because it is so petite. There is also a decal sheet with markings for two Little Birds. The instructions are beautifully presented on 12 high-quality pages in a booklet, that are easy to understand. You will have to be familiar with very small parts as there are plenty of them in this kit.
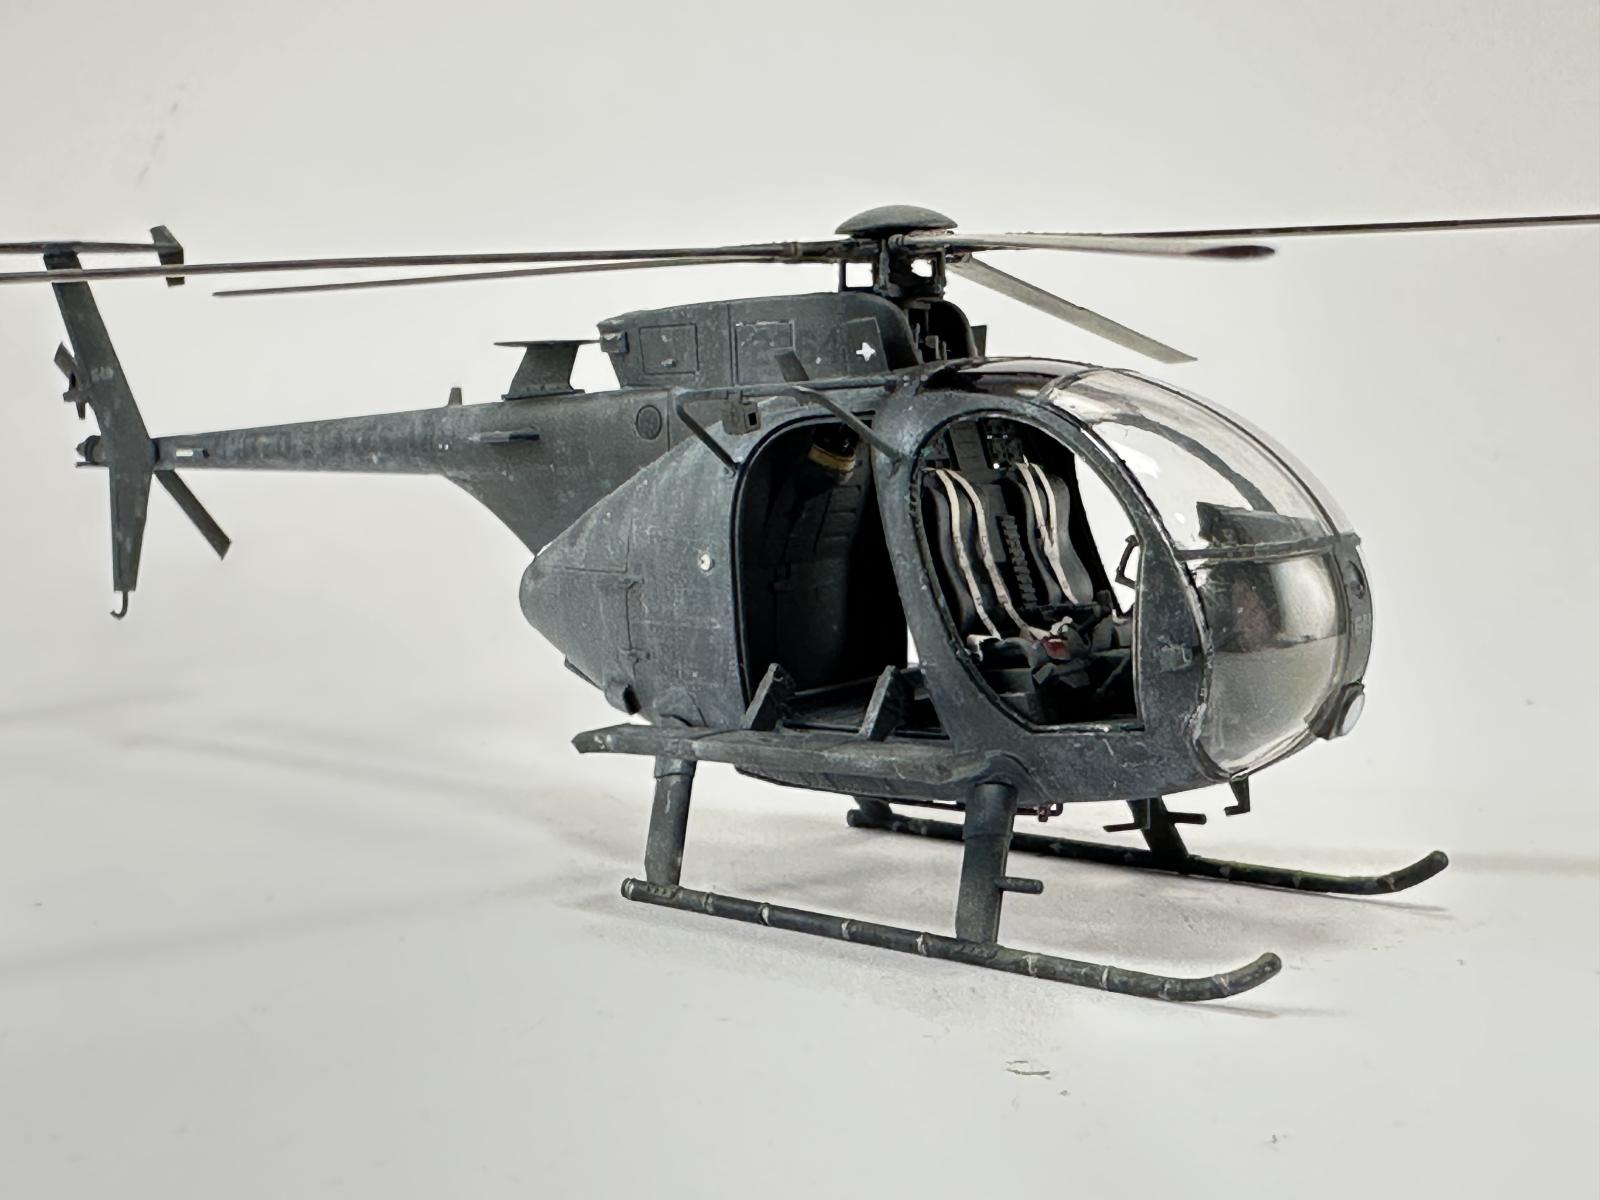
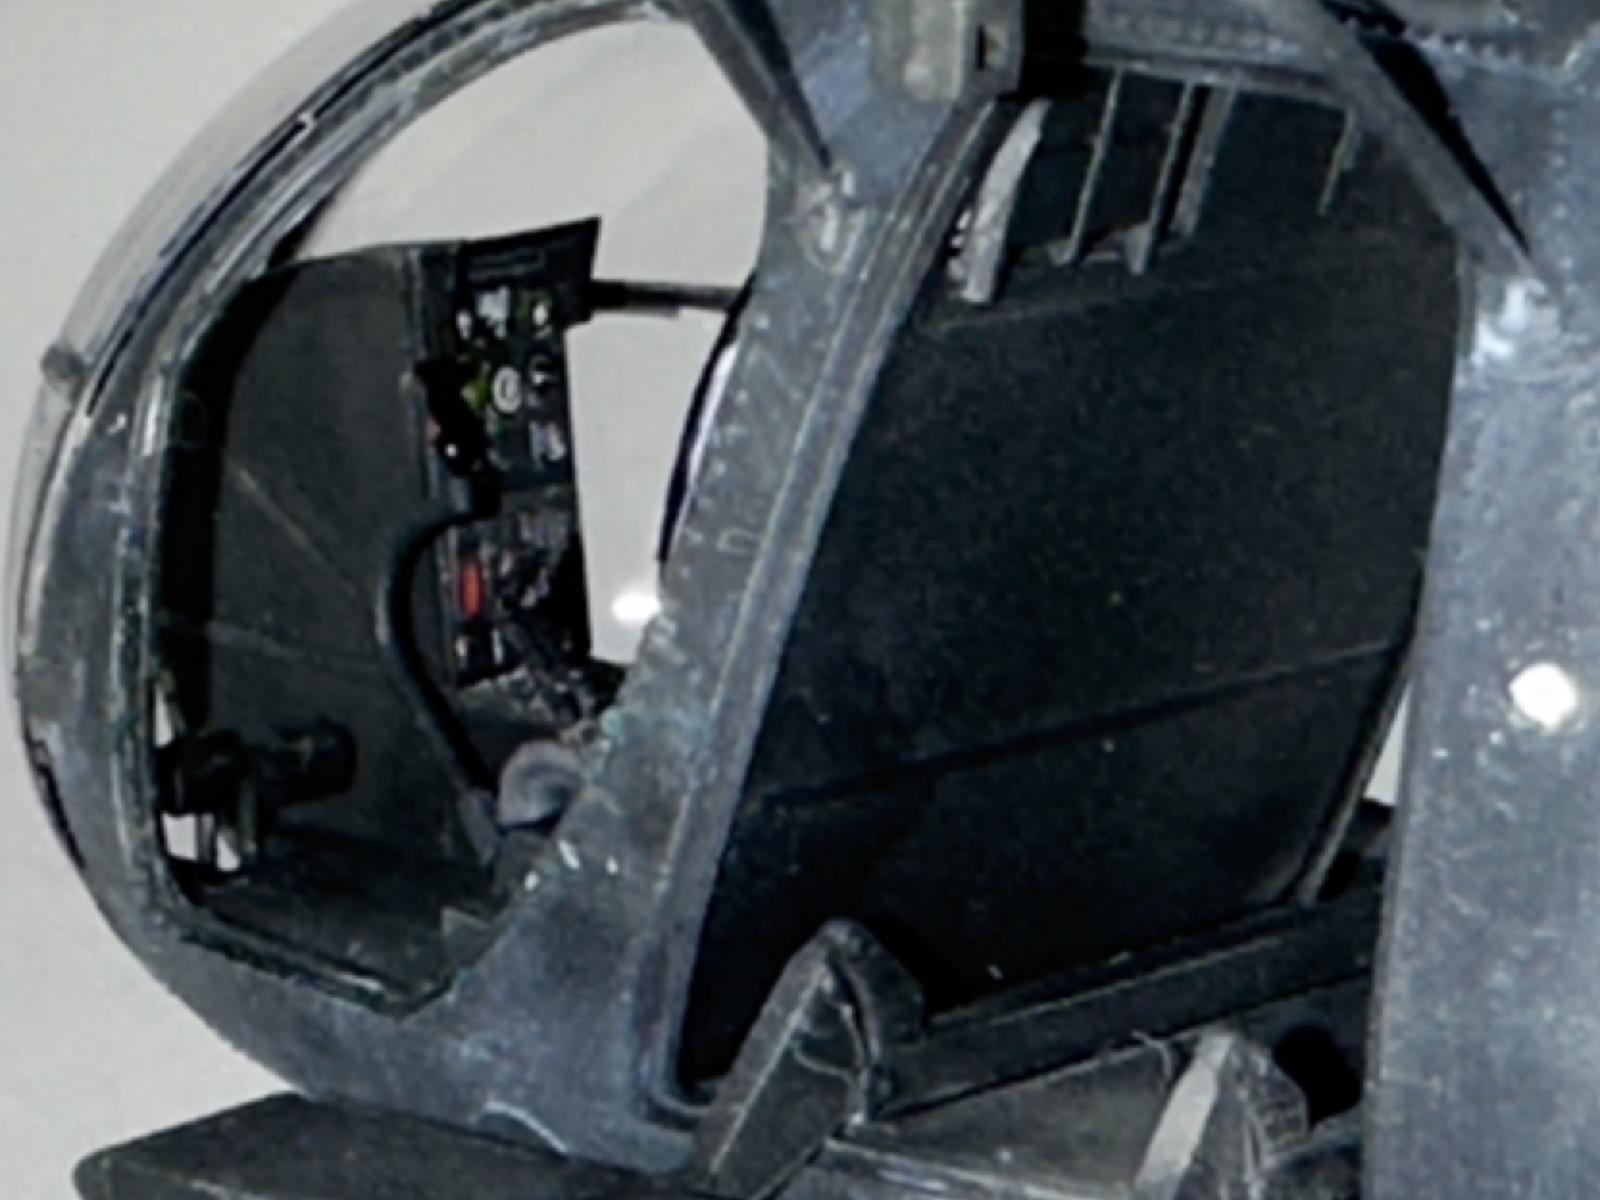
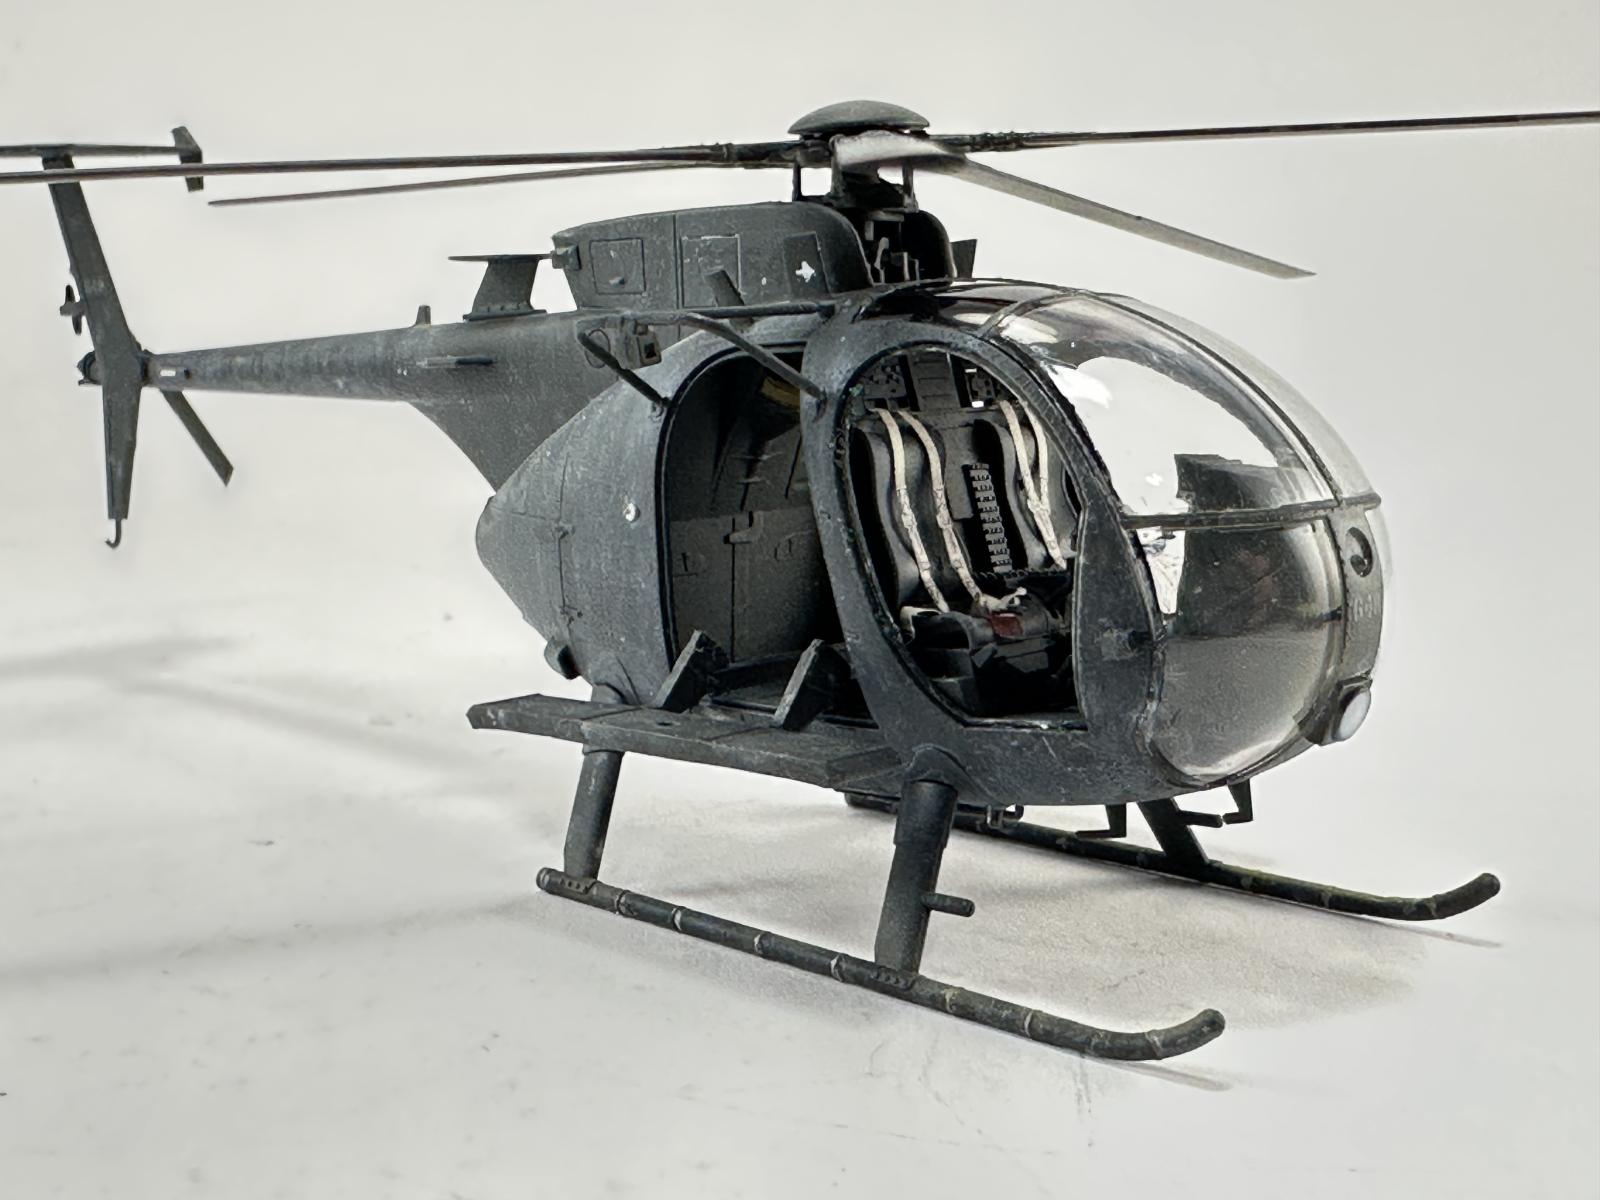
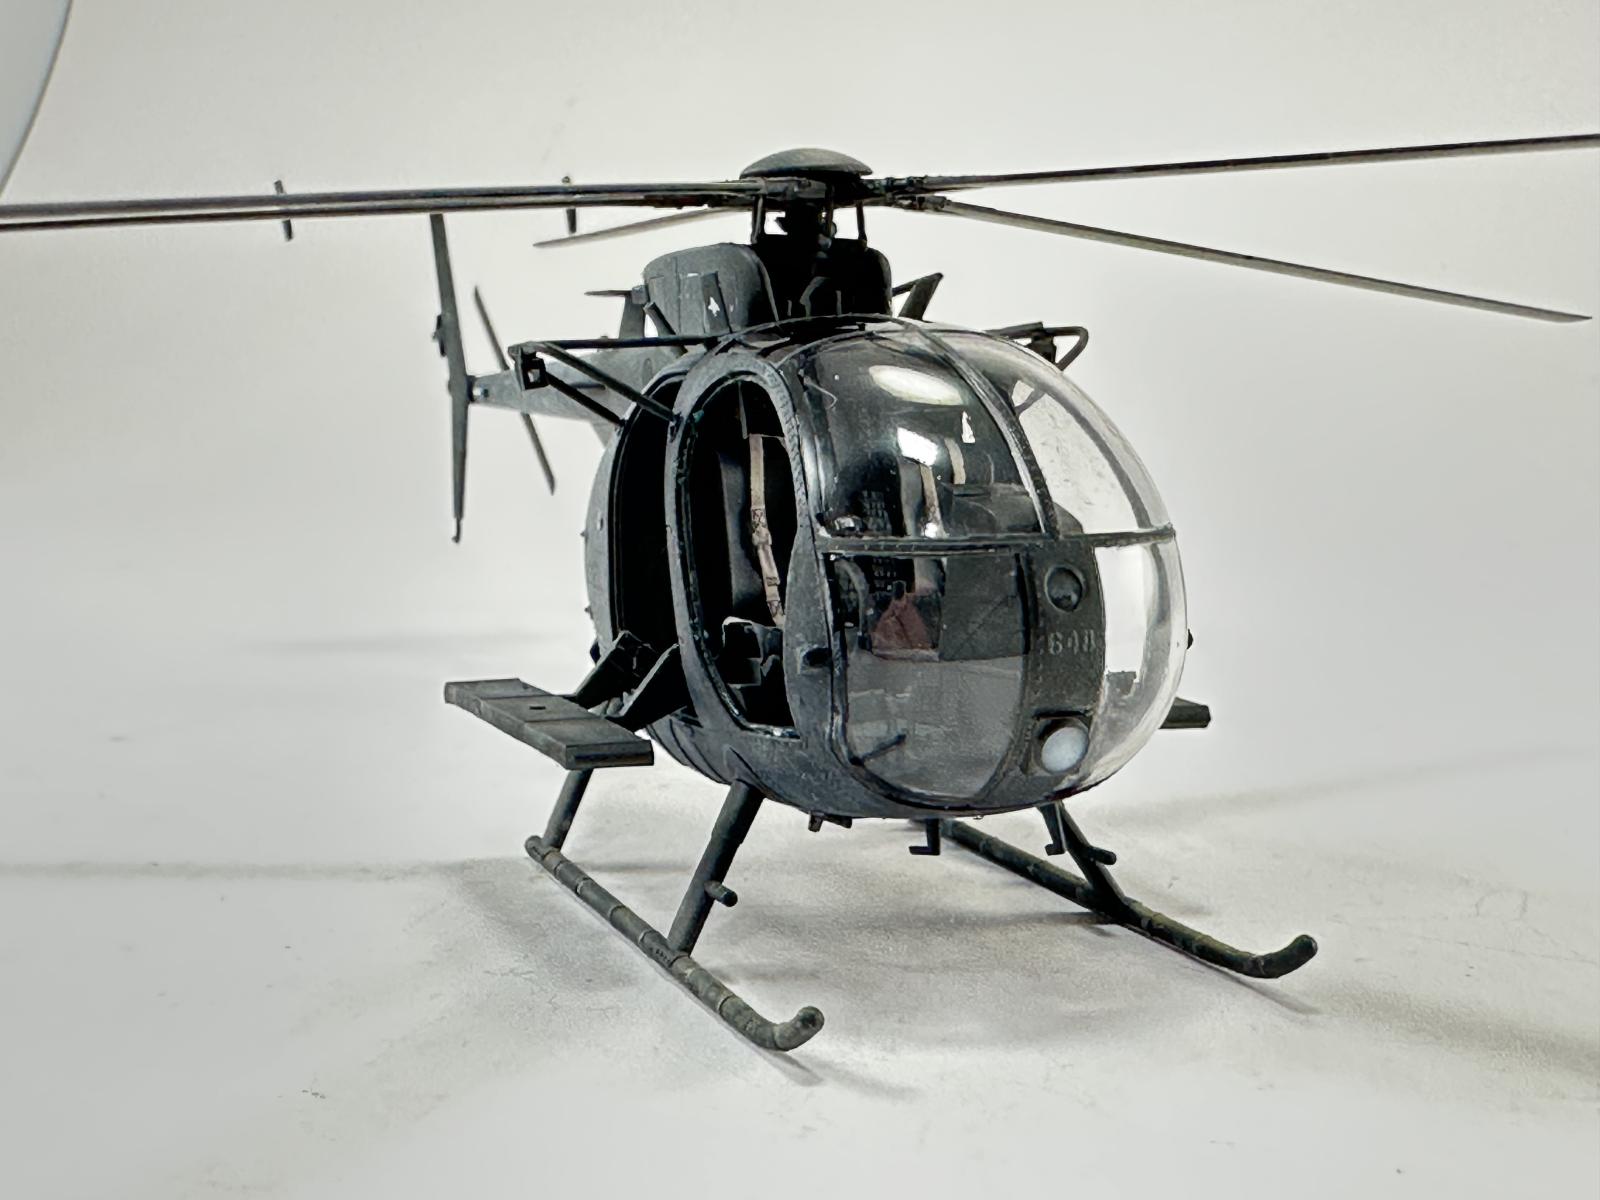
The cockpit is the first thing to tackle. Before I go too far, the color inside and out is flat black. The key is to vary the tone of the black. There are details on the front and back of the parts. Since I was going to build a bird from Somalia, I left out the fuel tank from Step 04. The interior was painted Tamiya NATO Black and weathered with a silver pencil and used AK White for black to add visual interest. I used some MiG pigments to add some dust and dirt to indicate use. The entire assembly was put together rather quickly and fit perfectly together.
There are three things missing from the interior, the seatbelt/shoulder harness, first aid kit and fire extinguisher. I added Eduard seatbelts and shoulder harnesses for the seats. They fit perfectly. Don’t forget to open up the appropriate holes in the fuselage halves, before adding the interior. The Somalia aircraft did not have part B18 so don’t open those holes. Also during the mission in Somalia there were no light supports (part B9) so you’ll have to fill that slight indention in the fuselage halves. The cockpit was added to the right fuselage half and set to the side to dry. There is more to add later.
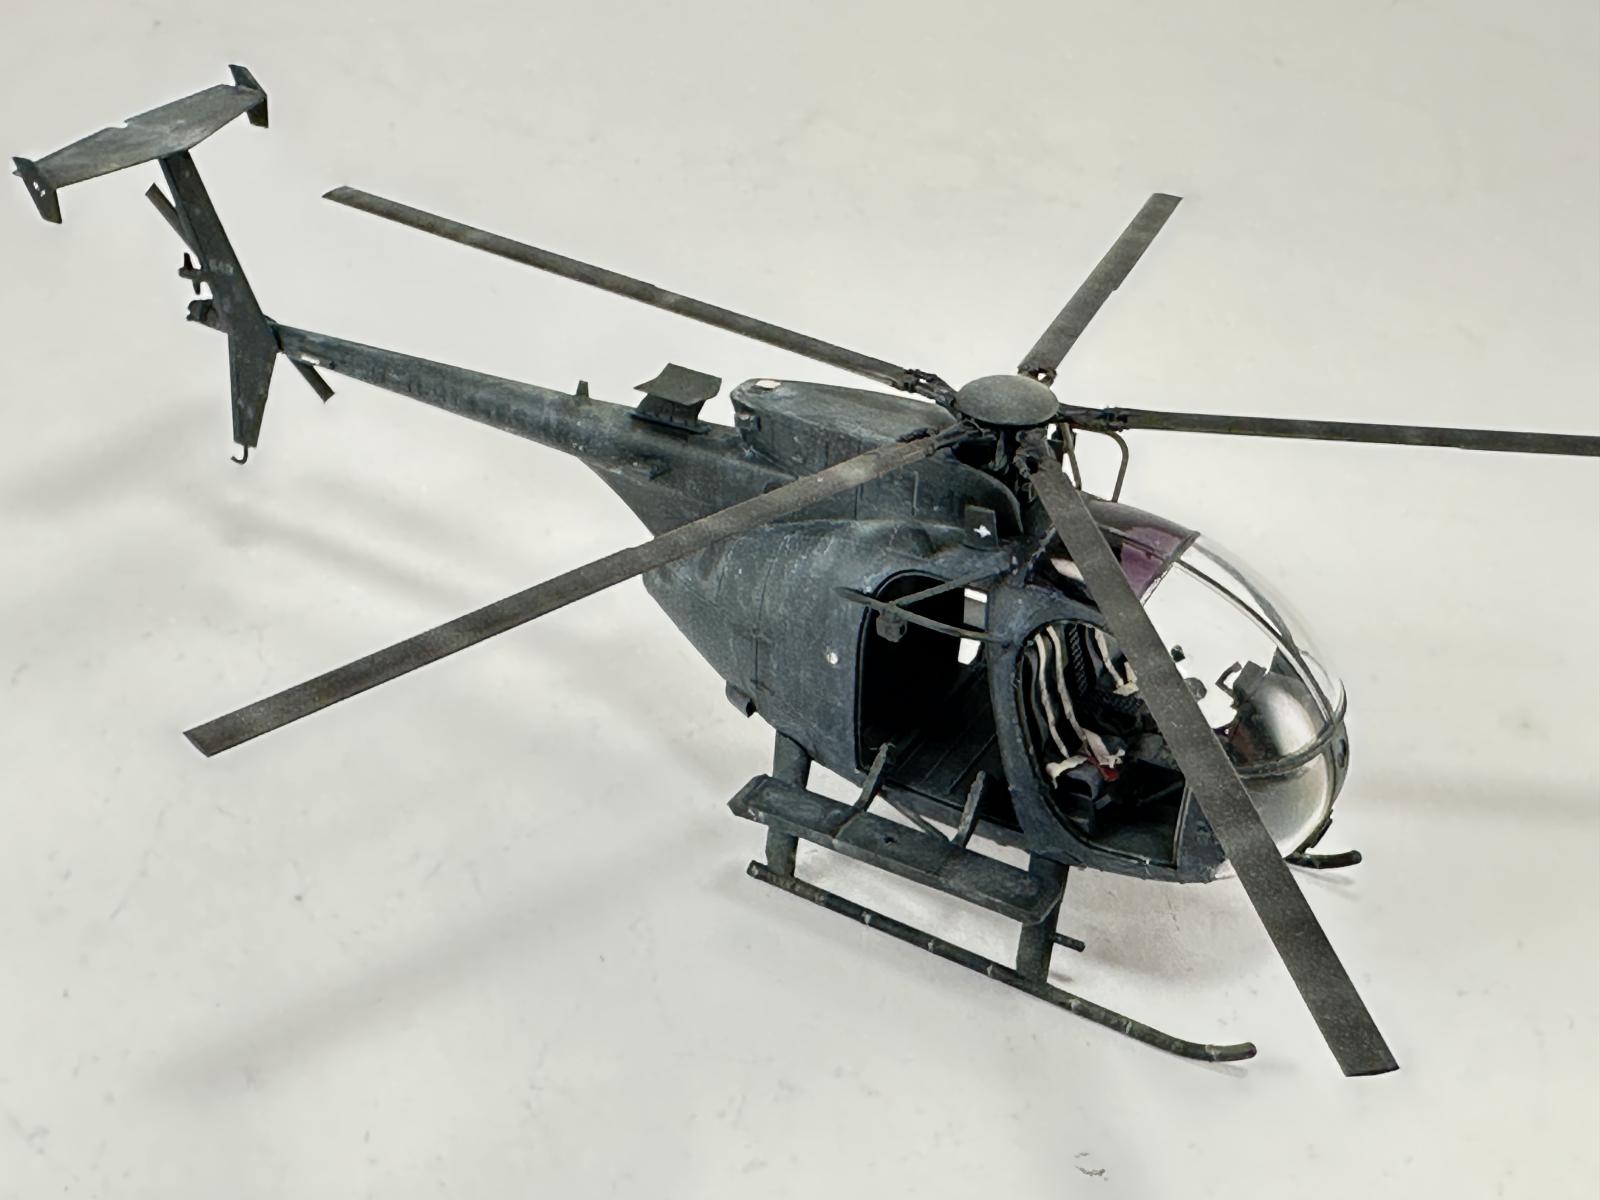
Next up is the rotor system. The system is complex. Take your time and understand how the parts fit together. Do each step in turn. Do one part and understand how it impacts the rest. It sounds complicated and it is slightly. It is very important that you don’t glue the mast (A3), of course I cemented it by accident. Learn from my mistakes.
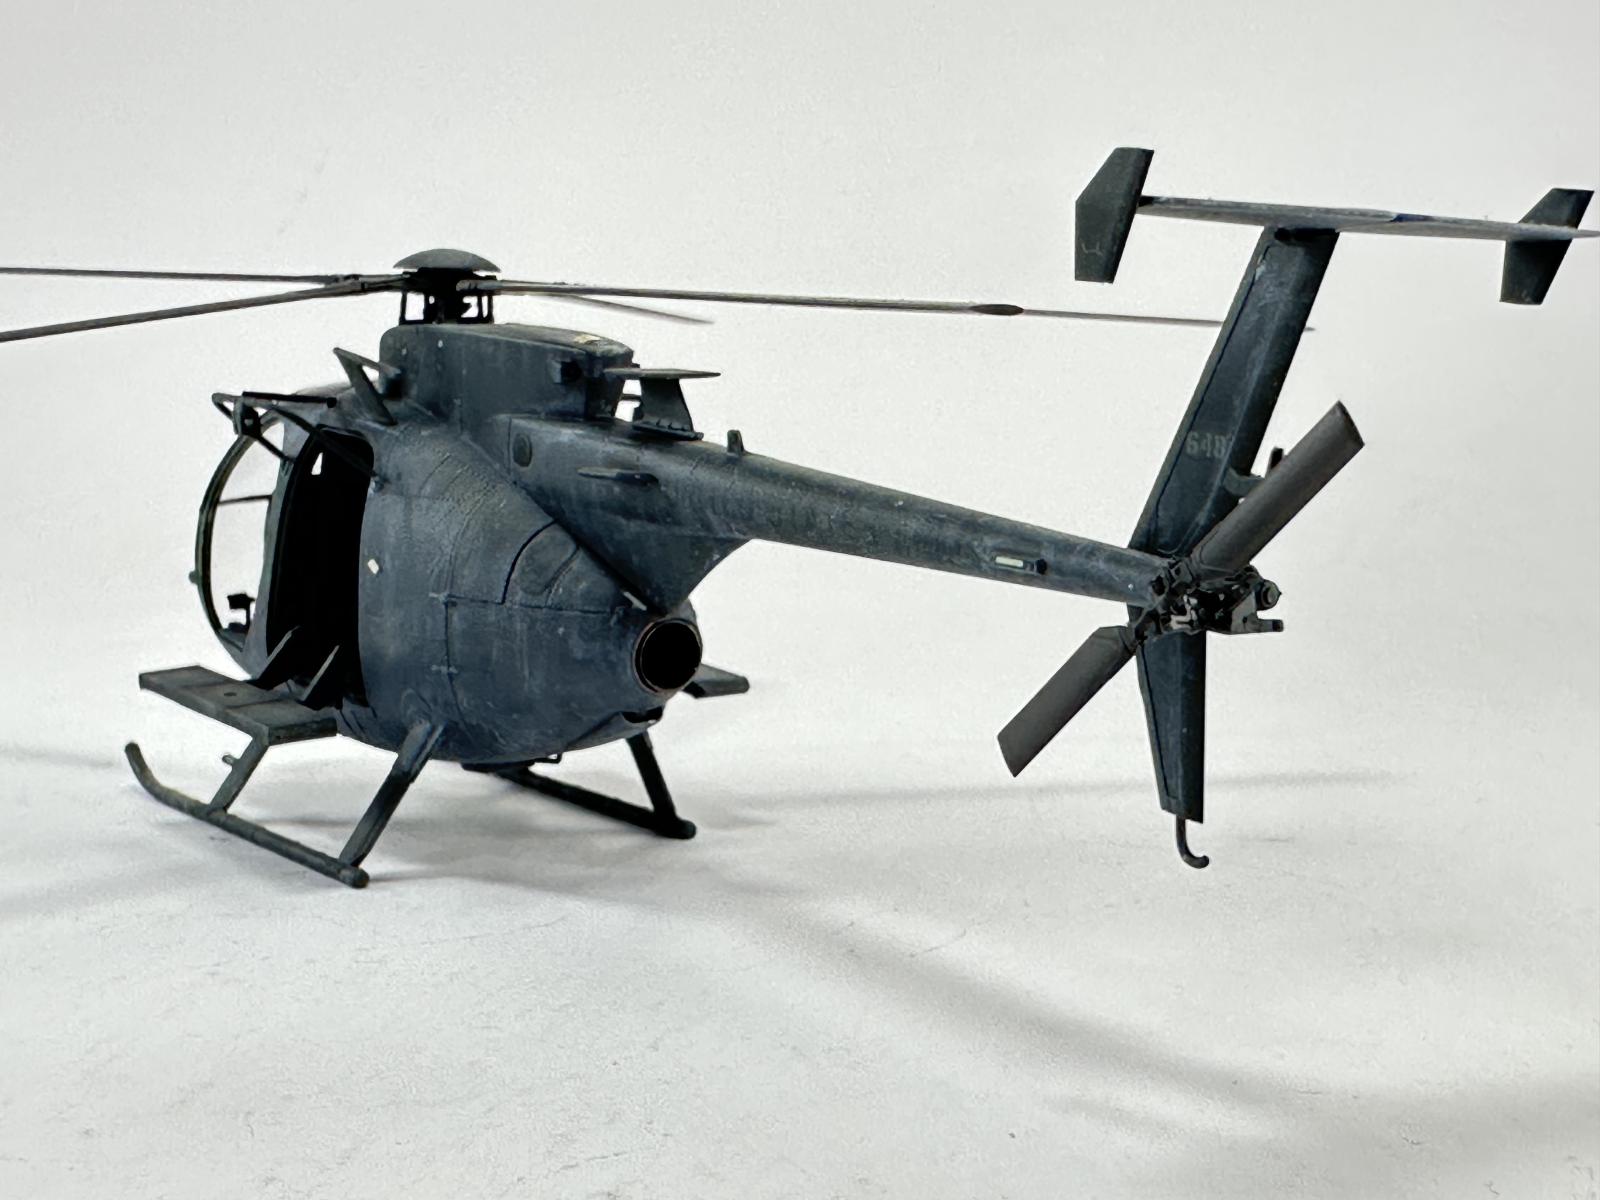
The fuselage halves were brought together and they fit perfectly. Of course, you will need to remove the seam. I replaced the exhaust with a resin piece from Ramon Lomeli, Crew Dog Scale Parts on 3D.com, that was thinner and didn’t have a seam to fill. It fits perfectly.
Then it was back in the cockpit again with instrument panel and cyclic control sticks. Take care to align them properly. They should match the fore and aft, as well as, the side to side. The instrument panel was detailed with decals that set down perfectly with setting solution. I would recommend that you sand the rounded portion a little bit to aid in fitting the windscreen later. The anti-torque pedals are very delicate. Take care to follow the instructions when assembling them as they are easy to get incorrect.
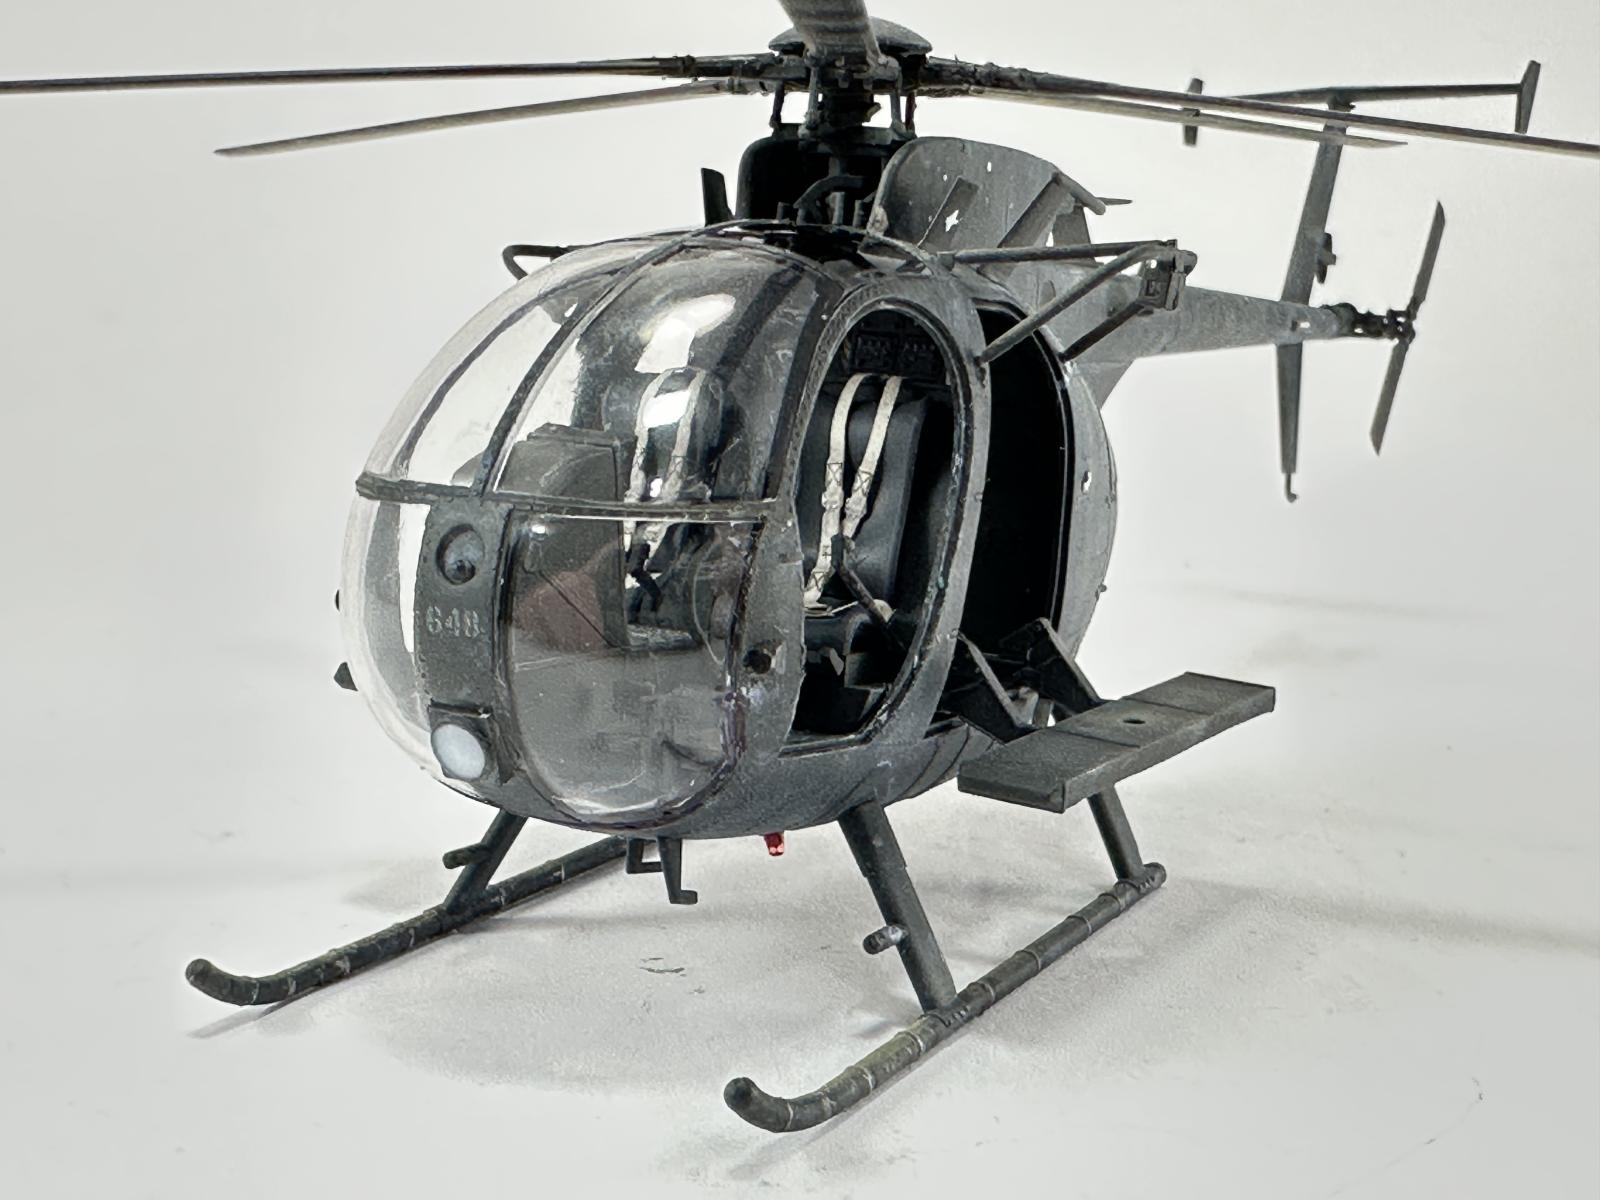
When adding the windscreen, I have a little hint. Use a black Sharpie around the perimeter of the clear part. This will make it look like a real canopy. Don’t forget to mask off the upper canopy and paint it with Tamiya Clear Smoke on the inside. Adding the canopy to the fuselage proved a good fit. I wish I had sanded the front of the instrument panel a little more to get a better fit but I didn’t. I filled wherever I needed to with Perfect Plastic Putty.
The landing gear has toe caps that fit the front of the skids. Take care to get it aligned, and you won’t have any seam to fill. Once dried, the landing gear fits perfectly to the fuselage sides.
Leave off the front doors. They were not used in Somalia. The tail boom is built up next. There is a seam on top and bottom of the boom.
Using a square, I added one of the operator benches and the center supports. You can’t add both because it won’t fit through the rear door frames. While I had the square out I built up the vertical part of the tail and the horizontal parts to ensure they were squared off.
The FRIES rope setup builds up nicely. They could be slightly more detailed but in this scale they are more than adequate. I couldn’t figure out how to add a FAST rope to them. They were fitted to aircraft in Somalia.
Antennas will require you to look at reference photos. Step 63 was not used on Somalia aircraft. I replaced the ‘arrow’ antenna with one from Ramon which was thinner.
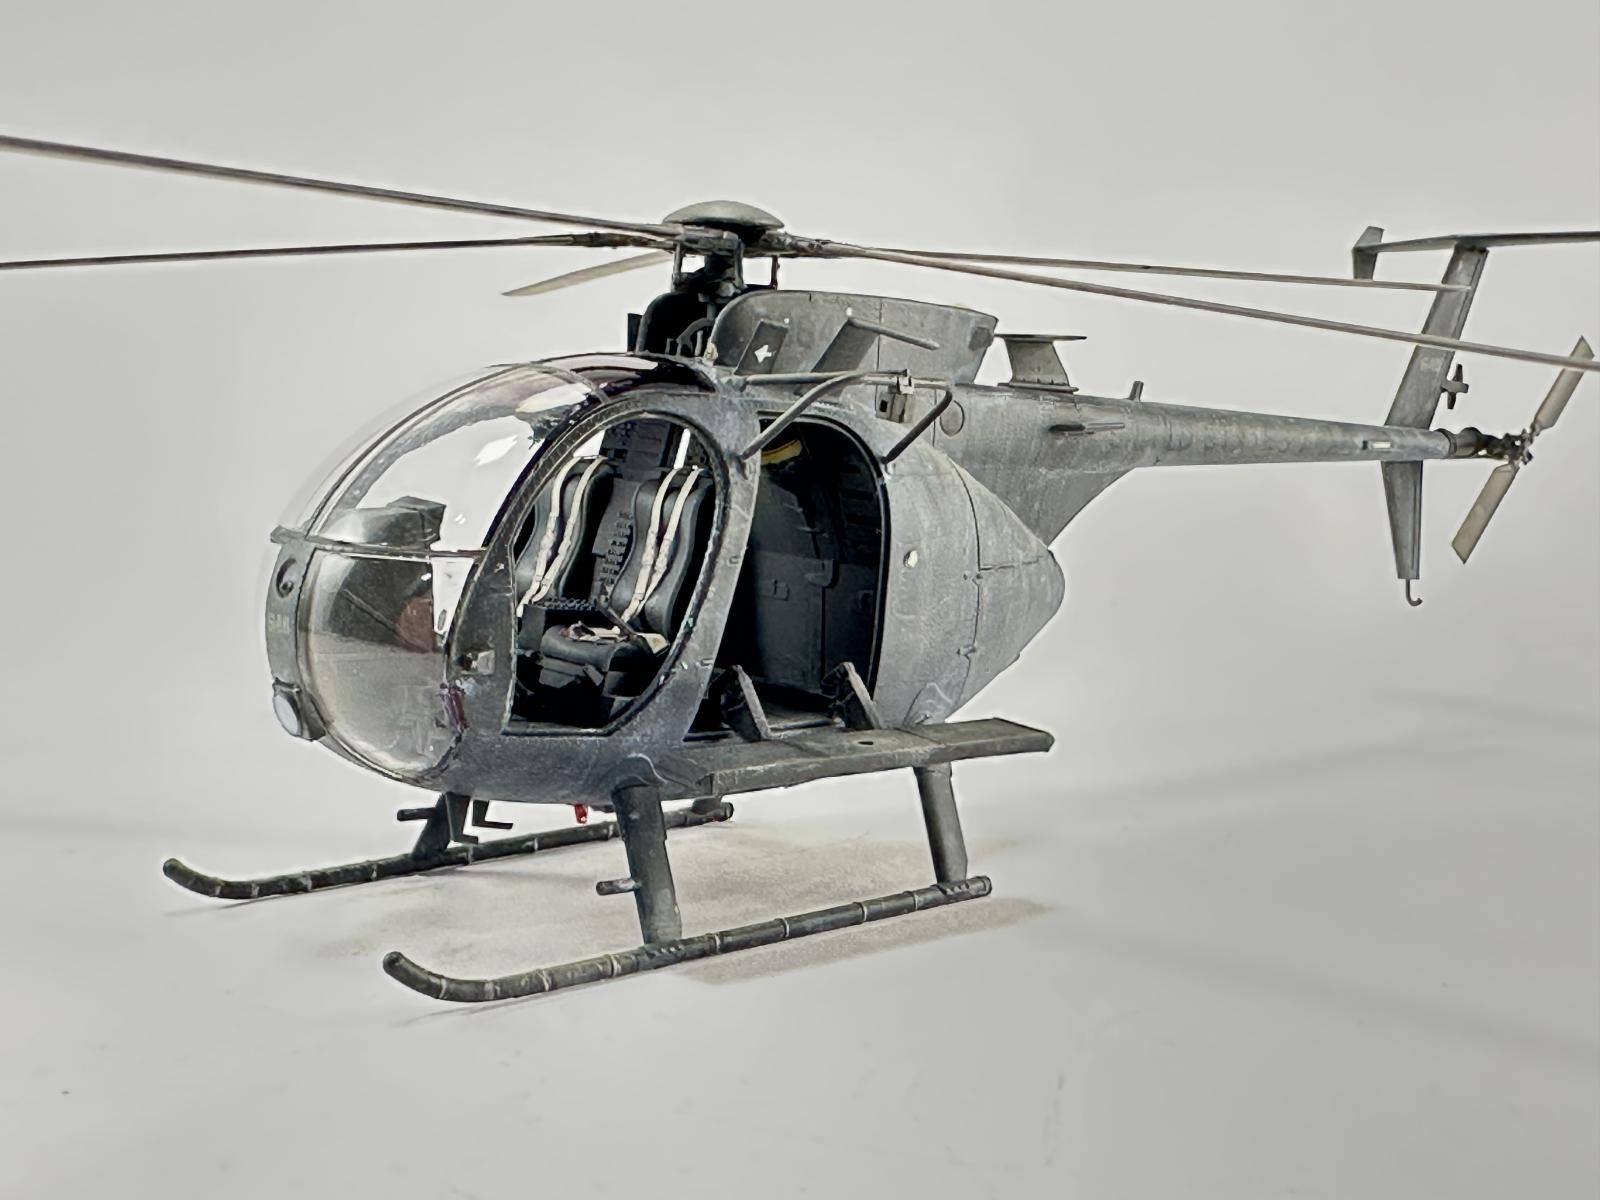
Now that everything is assembled, I used Eduard masks for the canopy framing and the unused cockpit doors as masks for the interior. I elected to use Tamiya NATO Black as my primary color. Then used various shades of dark greys to add visual interest. Once dried, I added a coat of Tamiya Gloss, thinned with Mr Leveling Thinner.
I elected to use the kit’s decals and some decals from Werner’s Wings (WW Decals 48-04 and 48-05) for the specific aircraft I wanted to depict. There aren’t many decals to these aircraft. I chose to build Star 41 flown by CW4 Keith Jones and CW3 Karl Meier. They landed after the crash of Super 61 to evacuate wounded personnel. Jones leaped out of the aircraft leaving Meier alone in the cockpit on his first mission. They evacuated two personnel, one of which later died from his wounds. They are shown in the movie, 'Blackhawk Down’. Both decal sets worked perfectly.
Everything was sealed up with Tamiya Gloss and then again with Alclad Flat. Weathering started with some burnt umber artist oils thinned with mineral spirits. Then dot filtering was added to certain panels with titanium white and buff artist oils that were blended with mineral spirits. Silver pencil was added here and there to show chipping. AK African Dust was added along with a highly thinned coat of Tamiya Buff sprayed from above to fade the black from the sun.
The masks were removed and the main and tail rotors were added to bring this project to a conclusion.
I really enjoyed the build. It fit perfectly and looks like a bird from Somalia. I have the AH-6J to build now. The hardest part of this build was the small parts. You will need tweezers and an Optivisor, but you will be rewarded with a beautiful helicopter kit. The Eduard seatbelts are essential and the only thing noticeable that was missing. The first aid kit and a fire extinguisher would have been nice, but not ‘required’. Ramon’s parts were a nice and easy addition. Everything was enjoyable. The monochromatic color makes it challenging to get a realistic model, but when done correctly, you are rewarded with a great model.
Highly recommended
Thanks to ICM and IPMS/USA for the review copy. You can obtain your copy through your local hobby shop or online retailer.
Reviewer Bio
Floyd S. Werner Jr.

Building models since the age of 7, I’ve become known for my Bf-109s and helicopters. I currently run Werner’s Wings. I was previously the ‘star’ of the Master Class Model Building Video series. I’ve been published numerous times on various website, including Hyperscale and ARC. My work has been in FSM and Great Scale Modeling 2001, as well as, numerous other model magazines. I’m a published author with my Squadron/Signal Walkaround book on the Kiowa Warrior. My models have continuously won many regional and national awards. My unique model photography gives my models instant recognition for their historical perspective.
I’m a retired from the Army after 21 years of flying Cobras and Kiowa Warriors, including tours in Iraq, Bosnia, Korea, and Germany. I’m also a retired Flight Officer for the Baltimore City Police and flew their helicopters chasing bad guys. I’m currently flying Cobras and Hueys with the Army Aviation Heritage Foundation.
I’ve been married to my high school sweetheart, Yvonne, for 42 years. Our daughters have blessed us with six grandchildren. My passions continue to be his family, friends, helicopters, models and airplanes, especially the Bf-109 and my beloved AH-1 Cobra. My motto has always been - MODELING IS FUN!
Comments
Add new comment
This site is protected by reCAPTCHA and the Google Privacy Policy and Terms of Service apply.
Similar Reviews