
Hawker Hurricane Mk.1 Trop
Fly Models is quickly making a name for itself in the 1/32 world by making high quality, short run kits. Their new Hawker Hurricane series continues this trend. The version I am reviewing is the Mk.1 with Tropical Modifications. This kit is a “multimedia” kit as it has resin and photo etch parts. Both of which are top notch.
Construction
There are a couple of things to note before I talk about the construction. One is that none of the sprues have numbers for the parts, and two there are extra parts you won’t use for this version. I recommend looking at the instructions first as it shows what parts you don’t need and remove them from the sprue before starting the build. It will make things easier in the long run. You can also number the parts on the sprue using the instructions as well. I did both of these things and it made the build much more enjoyable. The other ”issue” is that the instructions do not show any color call outs in the steps. But page 5 and 6 of the instructions show every part and their appropriate color. I also marked the parts with what color so as to not overlook them when the time came to paint.
Construction begins in the cockpit and with this kit you build the entire thing, from floor to sidewalls to seat. It uses plastic, resin and photo etch parts and looks amazing when completed. A word of caution is that there are no locating pins so you do have to pay attention to make sure everything stays square and level. The seat itself is crafted beautifully in resin. The kit also comes with photo etch seat belts that really give an extra bit of realism to the cockpit. The cockpit is painted an overall green color with black panels and the photo etch levers and knobs are silver with various colors on the knobs. Even in 1/32 the photo etch parts are quite small and delicate so be careful. After that come the instrument panel which is made up of film instruments sandwiched between photo-etch pieces. Also, more resin and photo etch pieces are attached to the cockpit sidewall area of the fuselage. The next big step is to sandwich the cockpit, panel, rear bulkhead and firewall together. The cockpit halves do have locating nubs in them so it makes this a fairly painless process but I recommend test fitting everything before committing. Once committed the two halves of the fuselage were glued together the seams all but disappeared. I still had to do some filling and sanding but no major trenches or ridges.
Construction continues with the wings. Fly builds both outer wings and then the wing center section. I was worried this would leave large gaps in the leading and trailing edges at the wing root but it worked out ok. The key is to sand down the resin landing gear bay until the top is paper thin. This way the wing center sits flush and the gaps in the wing root become minimal. I recommend painting the gear bay before attaching it as well so that you can get into all the nooks and crannies as much of it will be hidden by both the wing center section and the landing gear parts. Also make sure you are using the right center section as there are two in the kit (it’s the main reason to remove all the blue shaded parts from the instruction manual before starting the build). When you have the wing built, puttied and sanded you can add the tropical and main radiators to the wing and fuselage. These are built up of plastic, resin and photo etch and look great on the kit. They do take some sanding to make sure they fit flush though so test fit multiple times until you’re happy. Also add the reinforcing strips to the bottom wing joins. This covers the seams and adds some extra detail. The final step on the wings is the landing gear but I held off on them until final assembly
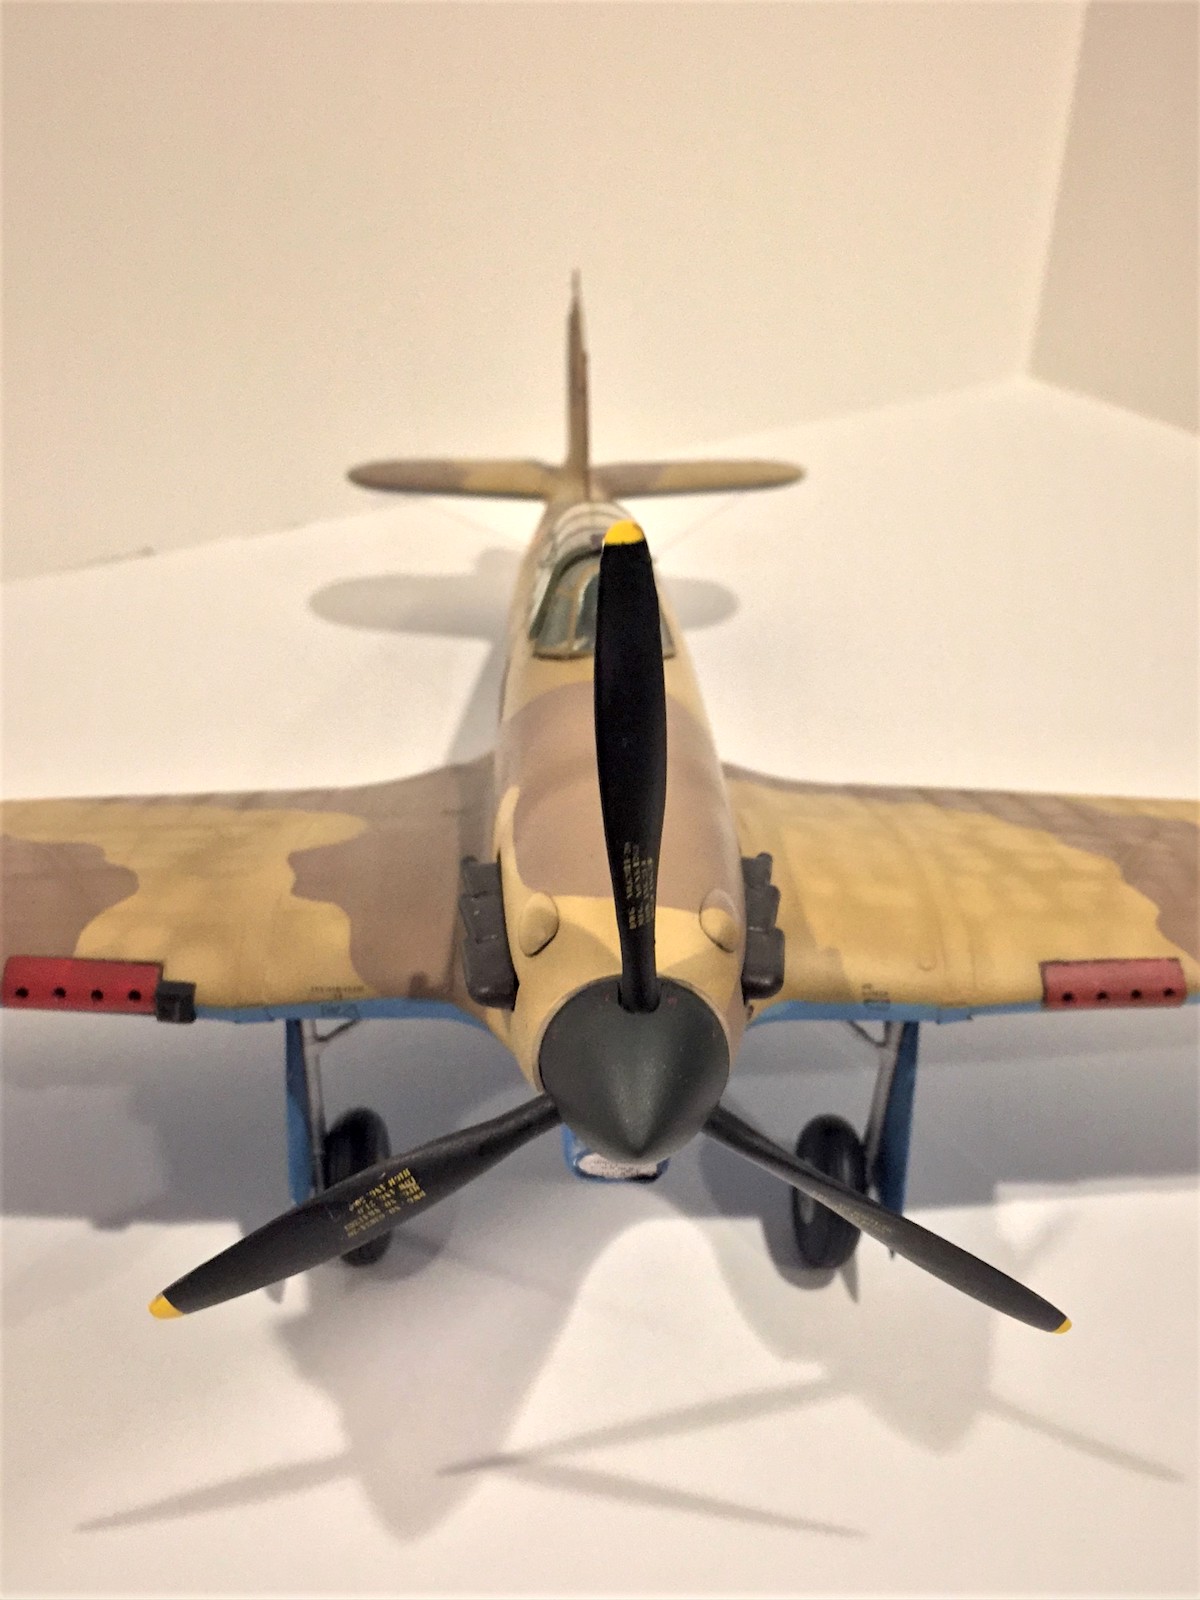
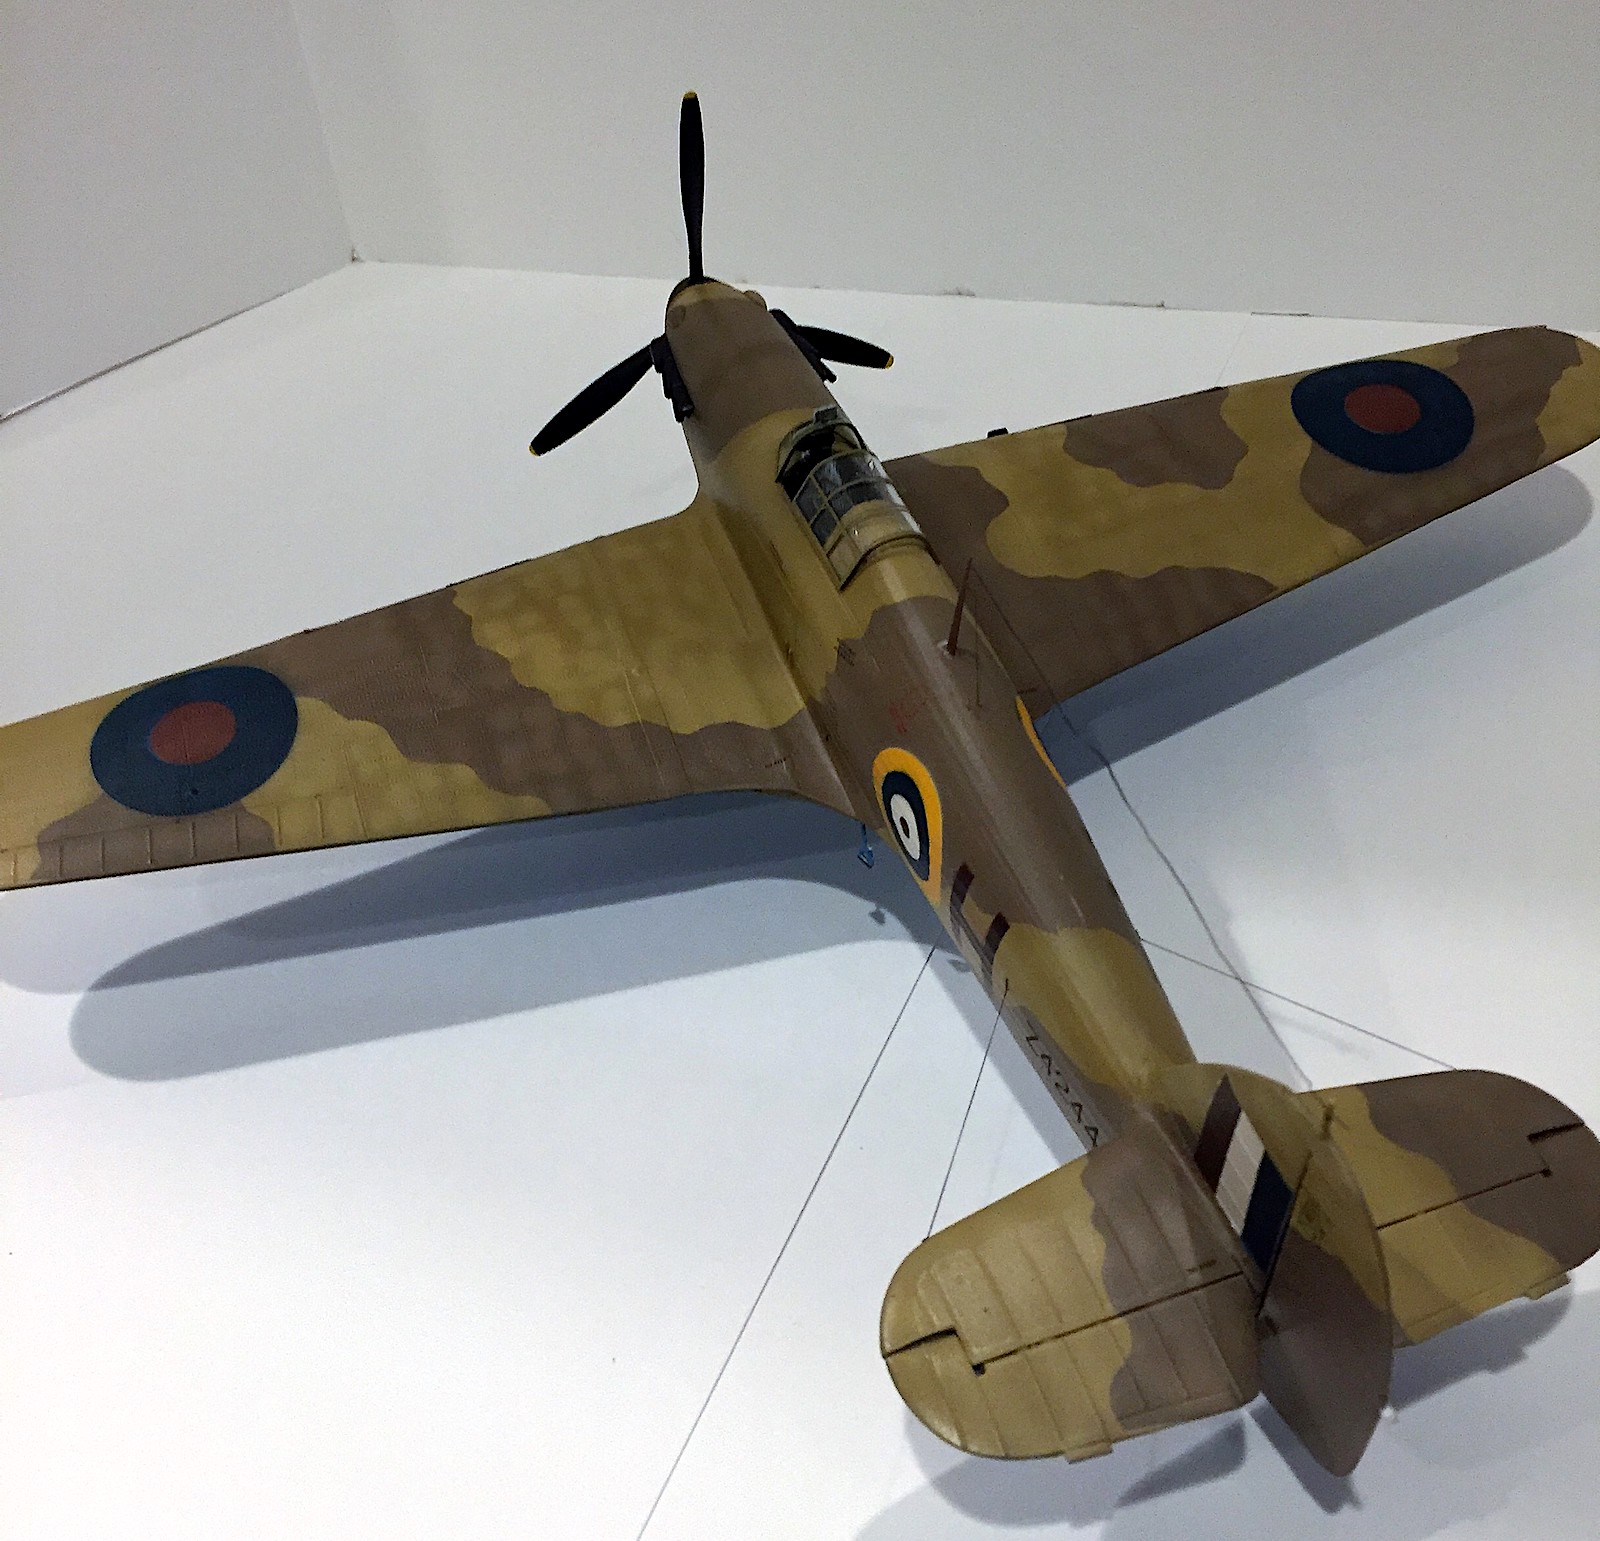
The final major construction areas are the gear, prop, and stabilizers. With the prop you have two choices for the prop hub so check your scheme before building as that’s the only spot to tell which one you need. The stabilizers are made up of four parts that make up the two stabilizers and the two elevators. They go together well and just need some sanding to make the seams disappear. They are also keyed so as to make sure you have the right one on the correct side. I still built one at a time to make sure I didn’t mess anything up. Once all that is dry it’s time to paint.
Painting and Decaling
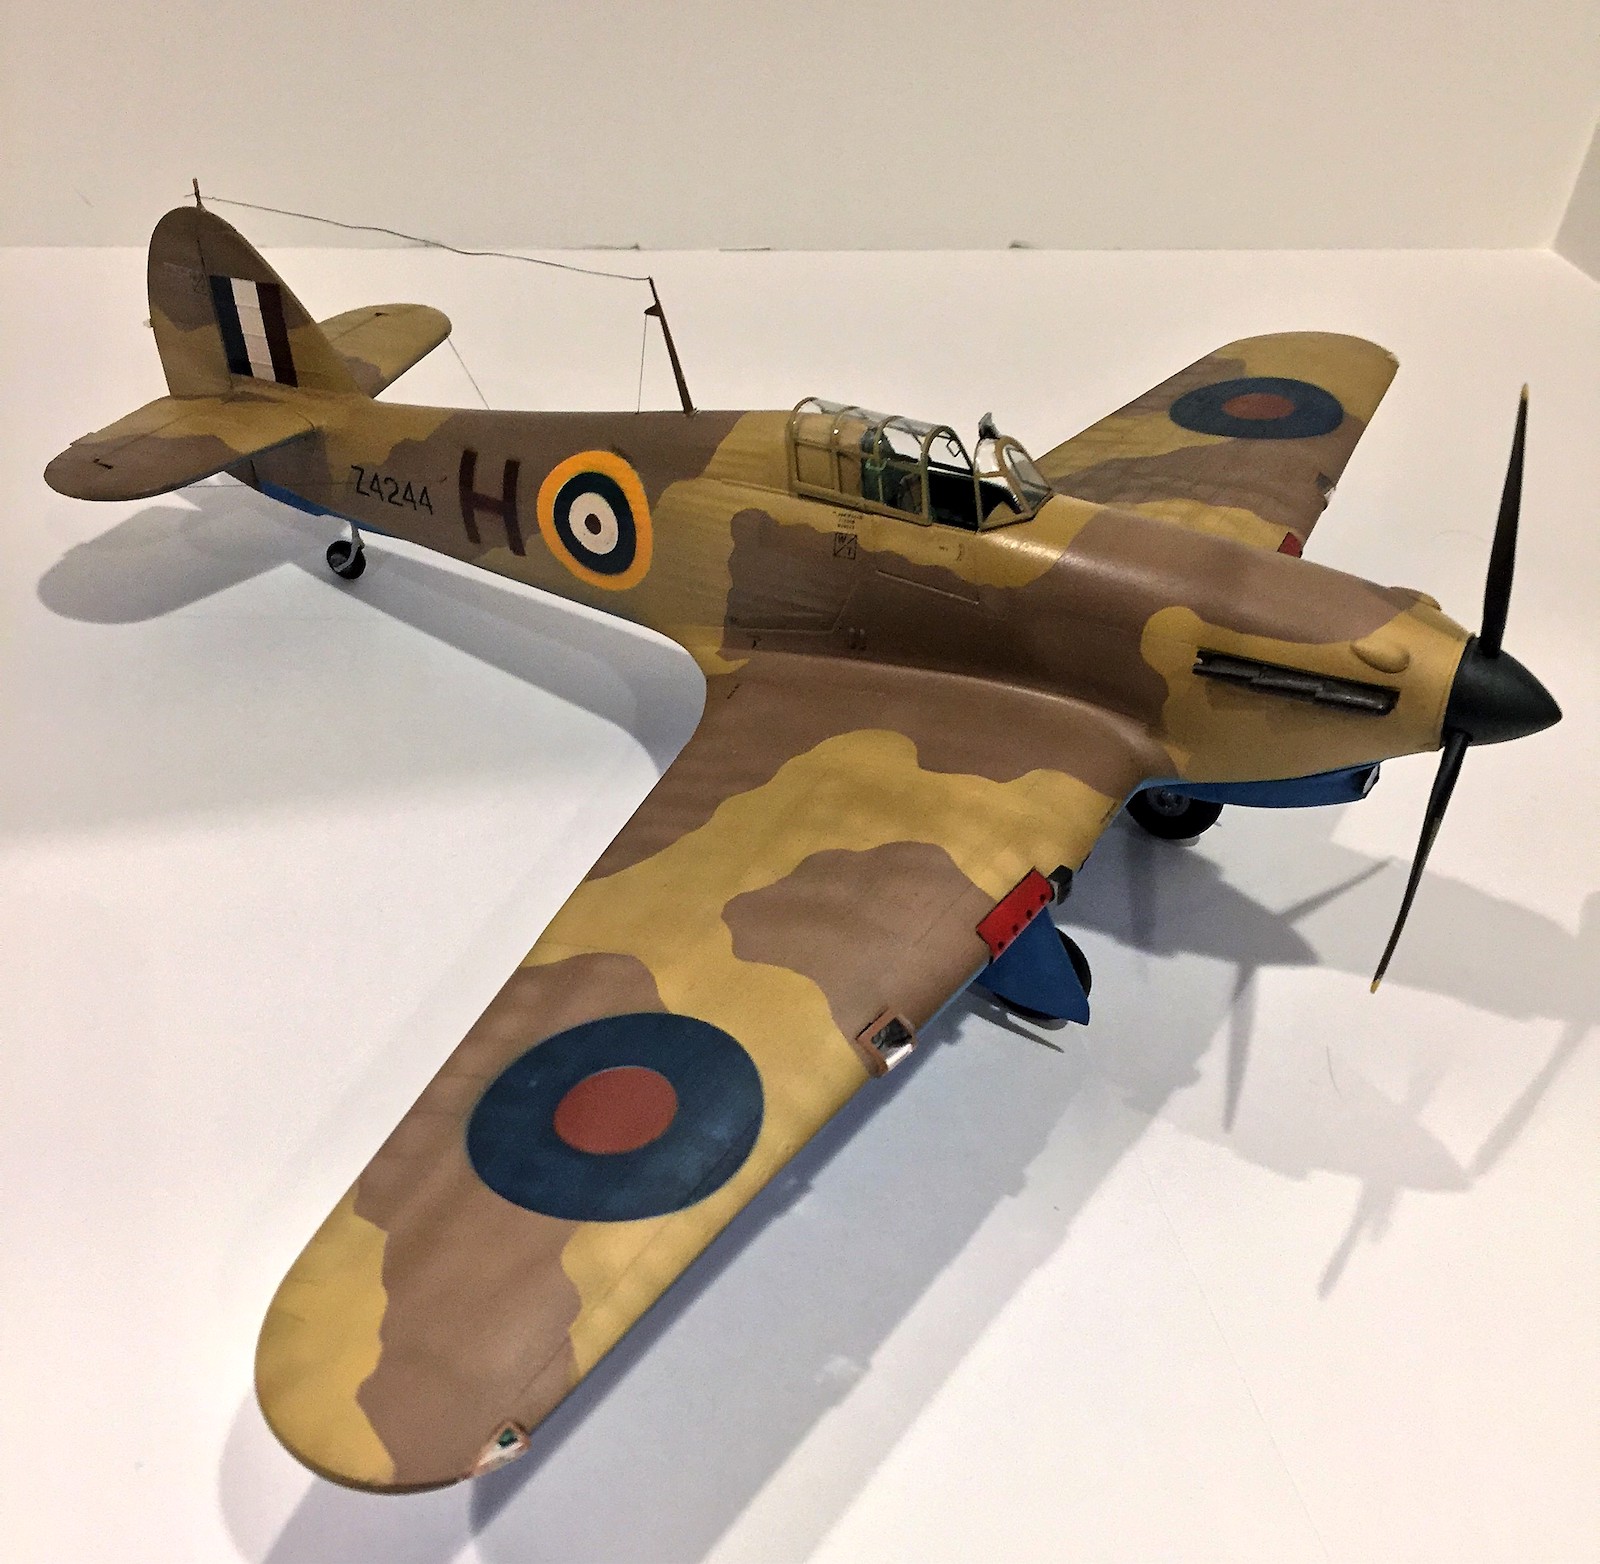
Fly provides 5 choices for decals for this kit. I chose scheme 3, a Mk.1 trop based out of North Africa in 1941. It’s in the Middle Stone, Dark Earth, and Azure Blue “A” camouflage scheme. Originally I was going to do my usual painting the cammo and use the kit decals for the markings and stencils. My review kit though came with masks by Artillery for the national markings and codes! I decided to jump off the deep end and try the masks! I also purchased aftermarket cammo masks from a company called “Top Notch” I have to say the Artillery masks worked OK. In hindsight I would have used them as templates for kabuki tape as they were made of a low tac vinyl that didn’t stick very well to the model, even after a coat of primer. Between them and the cammo masks though I came out with a model that I am proud of and am glad I tried it. I used mixes of Tamiya paint to get the proper colors needed. After everything had dried I put a gloss coat on and waited for it to dry and then it was on to using the kit stencil decals. The Fly decals are very good in color and thinness, but are very sticky! Make sure you know exactly where you want them to go and try to get them there with as little movement as possible. I had more than one stencil ruined on me because I tried to move it into position and it wouldn’t budge. That’s the only negative I have on them though as they are excellent overall, especially for a “short run” kit. Once dry a coat of Testors Dullcoat and it was time for final assembly.
Final Assembly
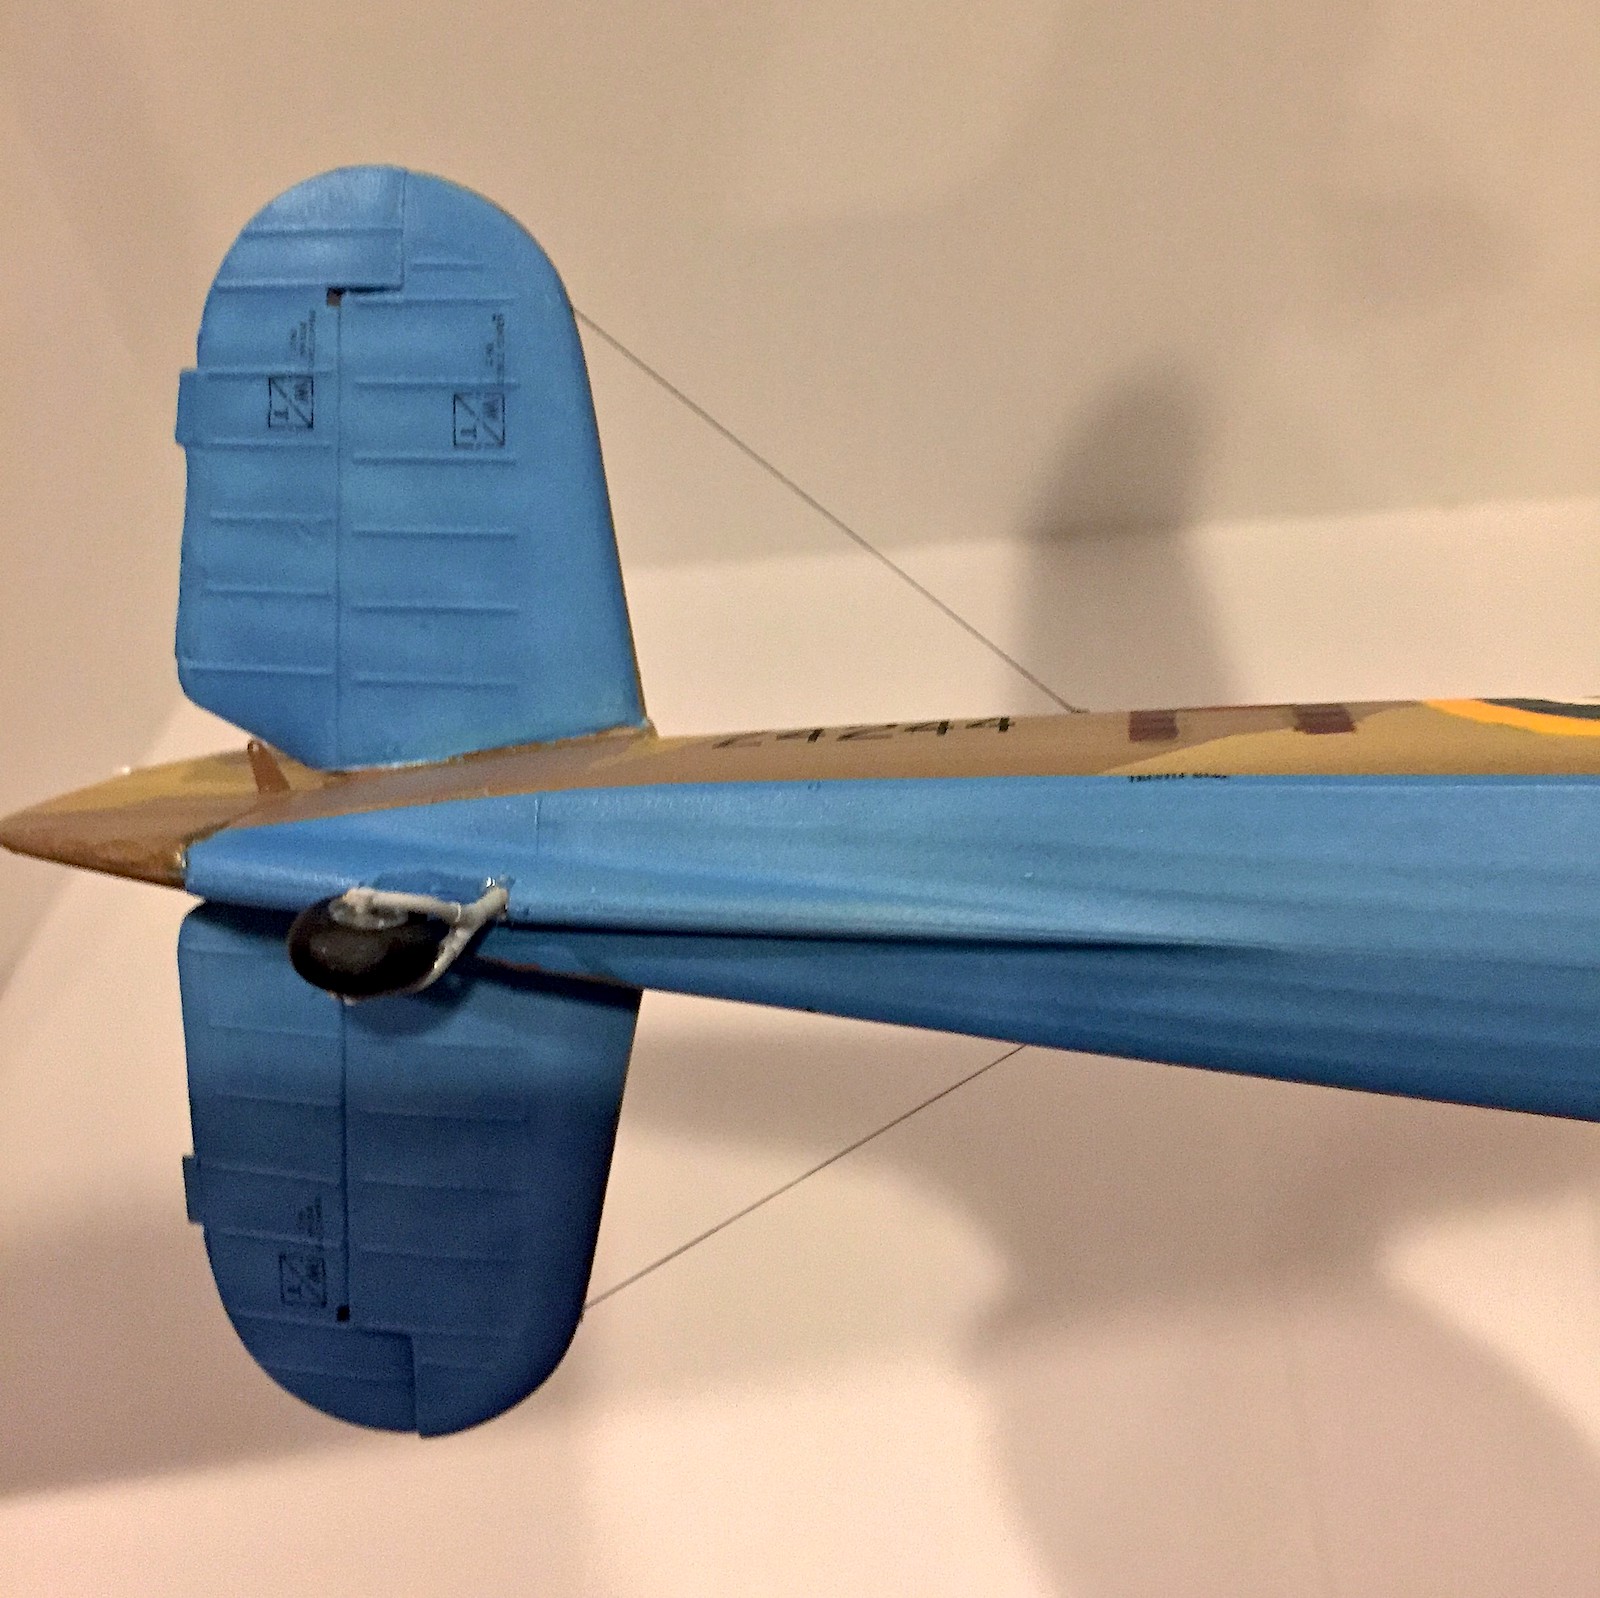
Final Assembly consisted of adding the landing gear. The landing gear is a fairly simple affair but make sure you have the proper leg attached to the proper side. The kit also comes with gorgeous resin wheels. They aren’t flattened but you can flatten them when you remove them from the pour plug. Like the seat they are amazing pieces of resin. Next up was attaching the final fiddly photo etch parts on the wings and tail (control horns, pitot tube, actuators etc.). Then it was finishing off the “glass” pieces such as the landing lights, navigation lights, and canopy. The very last thing was to attach the aerial antennas and wires. After once last look through the book to make sure nothing was missed, assembly was complete.
Final Thoughts
This kit is an excellent addition to the world of 1/32 scale aircraft, especially in the area of British fighters. I highly recommend it if you have some modeling experience as it will be an enjoyable build. Thanks to both Fly and IPMS for the opportunity to review this great kit!


Comments
Add new comment
This site is protected by reCAPTCHA and the Google Privacy Policy and Terms of Service apply.
Similar Reviews