
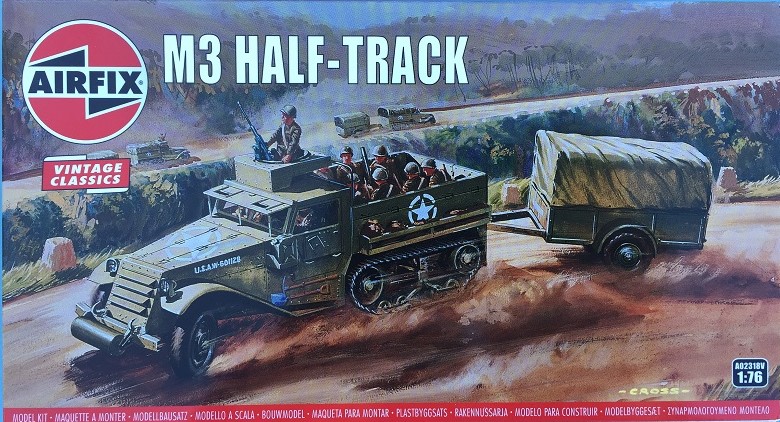
M3 Half Track
When I was around 10-11 years old, I got into a small-scale armor kick. The local shop carried Airfix kits and I built a lot of their kits at the time. The first time I built the M3 Half Track it was an MPC release in their Battle of the Bulge Historama kit.
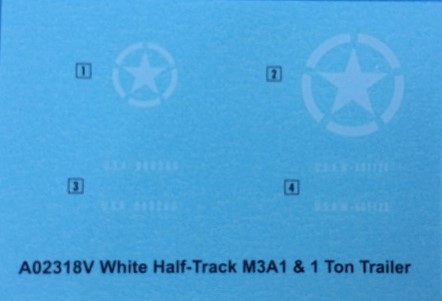
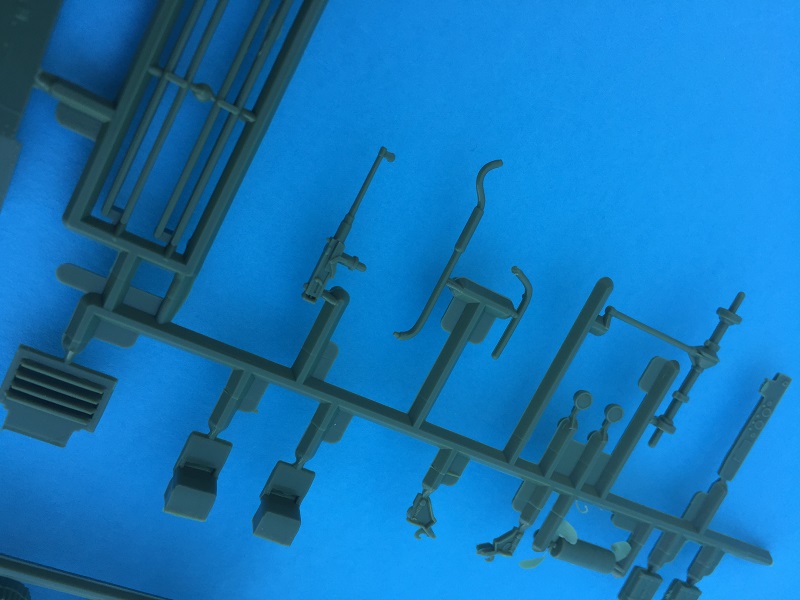
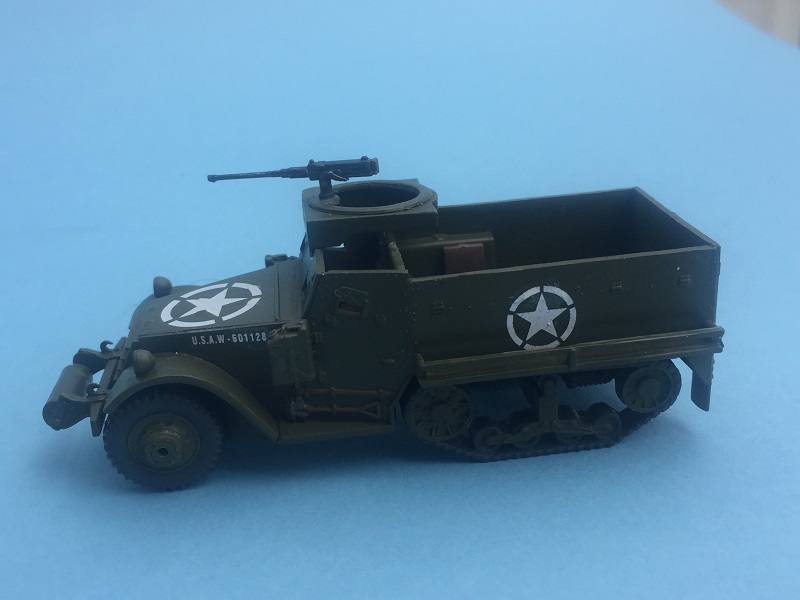
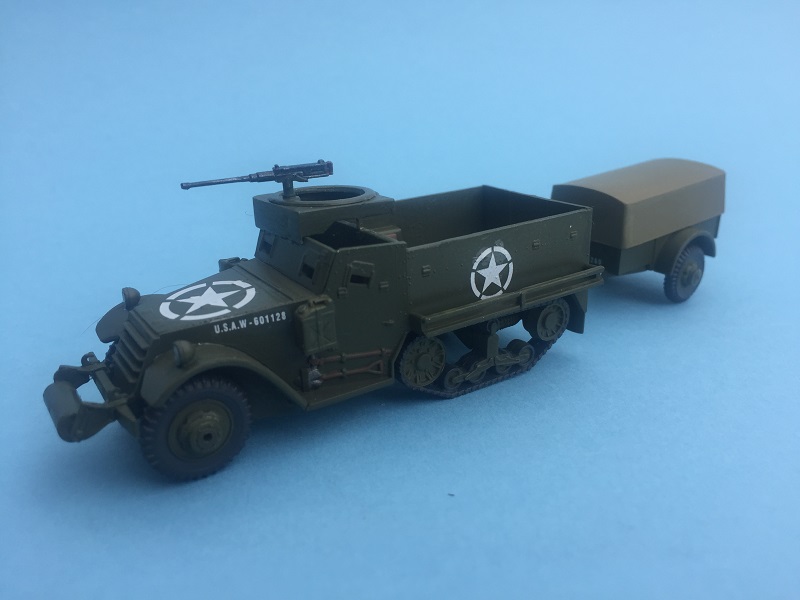
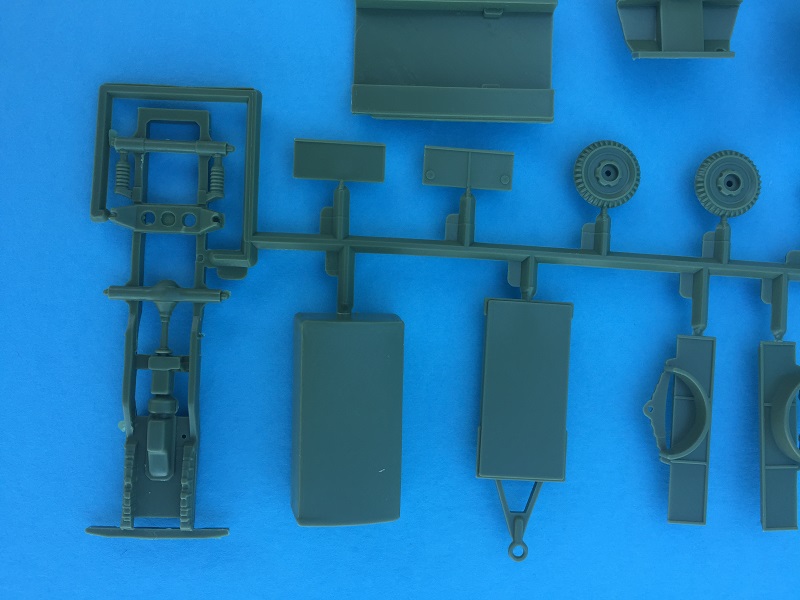
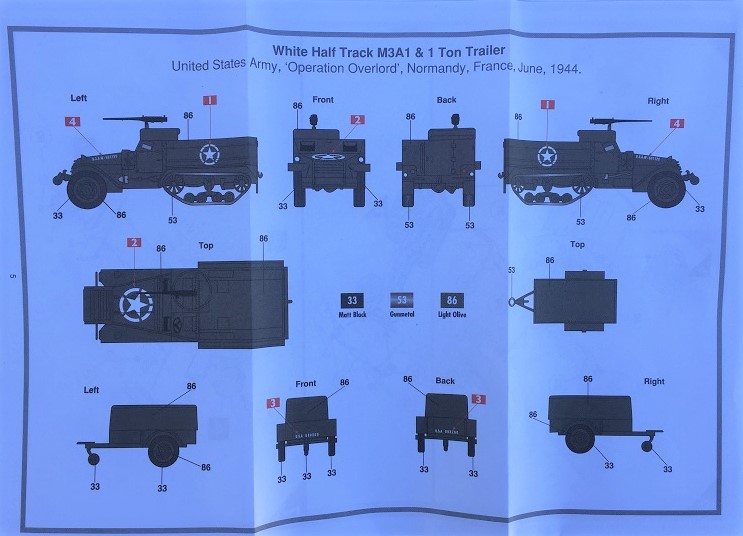
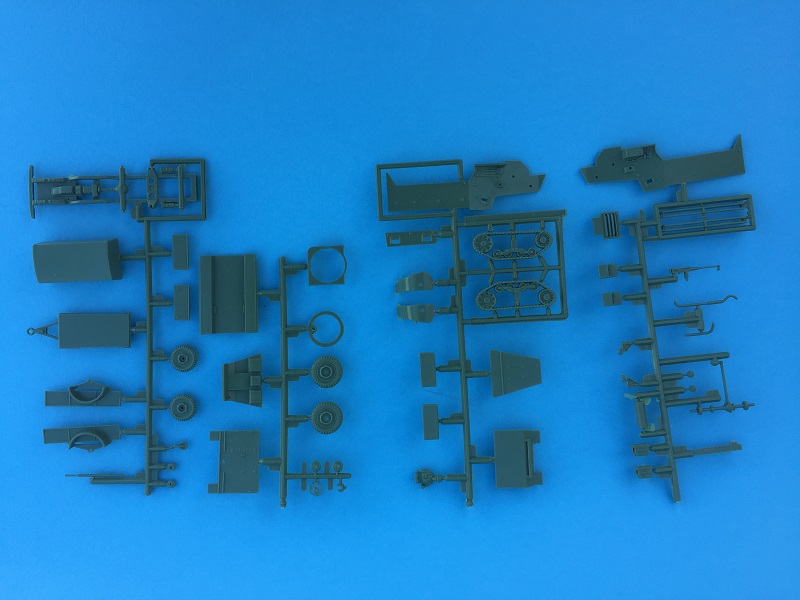
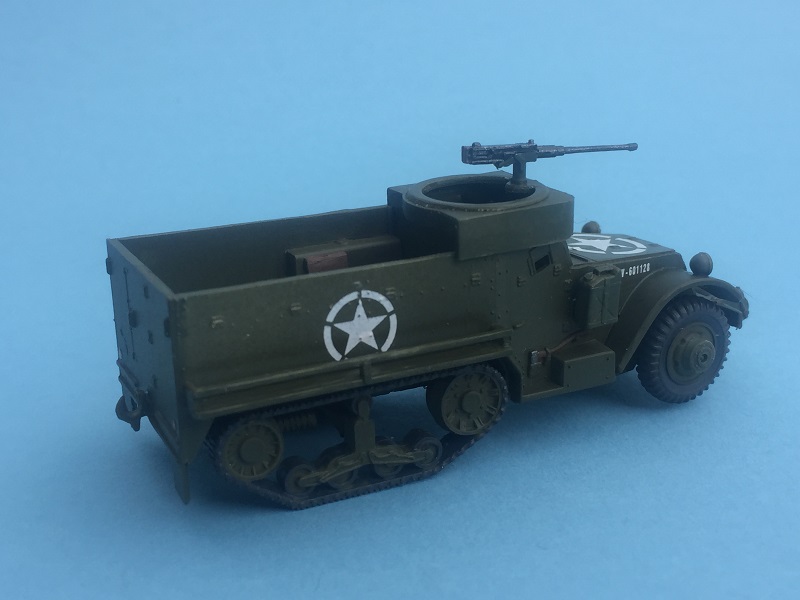
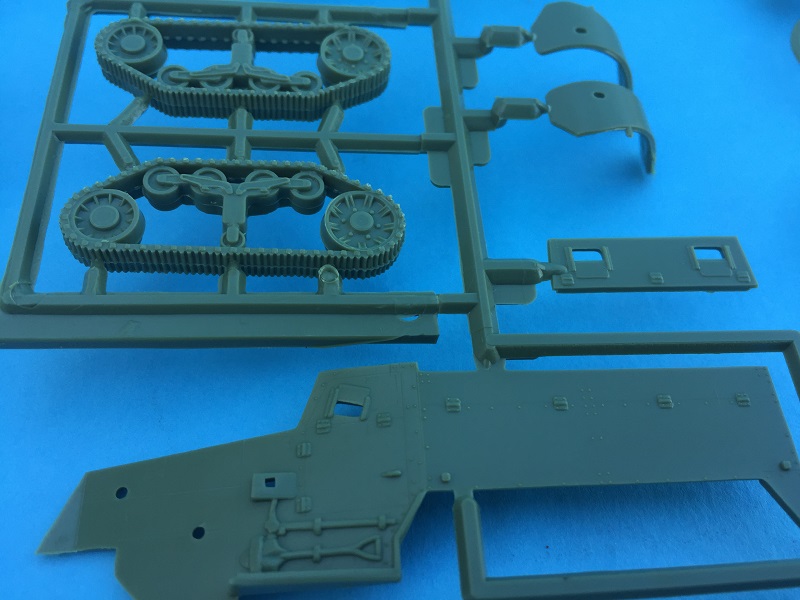
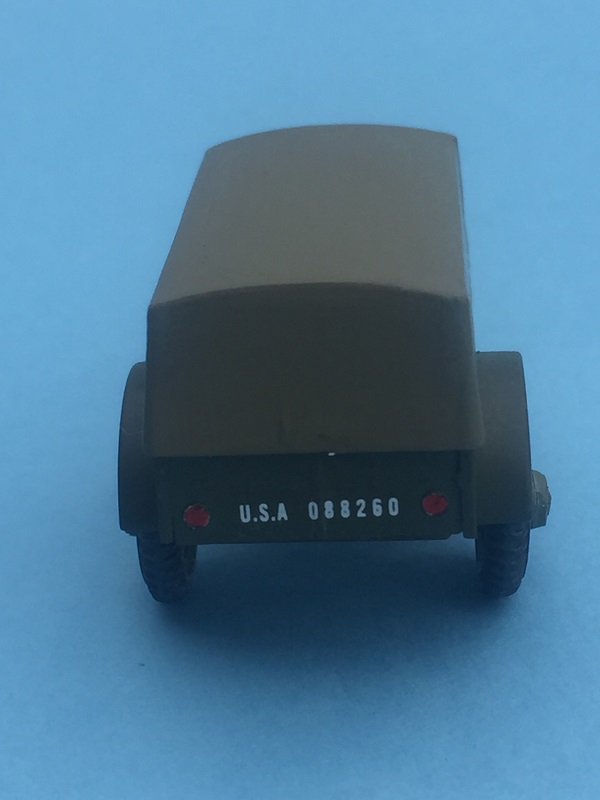
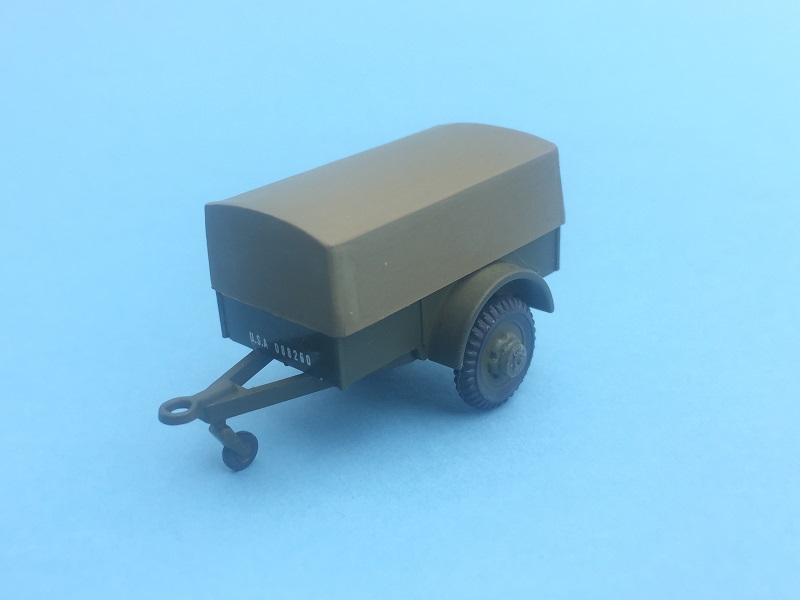
Fast forward 45, cough, years later and Airfix is rereleasing many of their kits under their Vintage Classics range. The kit appears to be the exact same plastic first released in 1966 including the 1 Ton Trailer. The kit includes 54 parts molded in an OD plastic. There is a bit of flash but what would you expect from a set of molds almost older than me. The kit includes some nice detail, a driver and one of the nicest small scale .50 caliber machine guns. Decals are included for a M3A1 during Operation Overlord. More about them later. The color scheme is shown in full color in the instructions. Other than that change, the instructions look like they did when I first built it.
The build is pretty simple with 6 steps for the halftrack and only 1 for the trailer. They have you build the chassis first, then the body and the details before combining these in the last step. That looked like it could cause a few issues with trying to get all the body parts lined up correctly, so I modified my assembly.
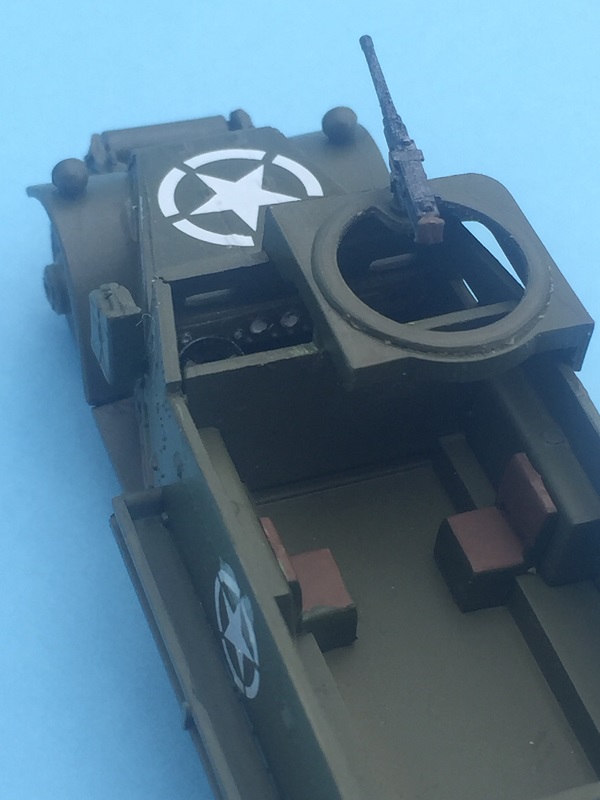
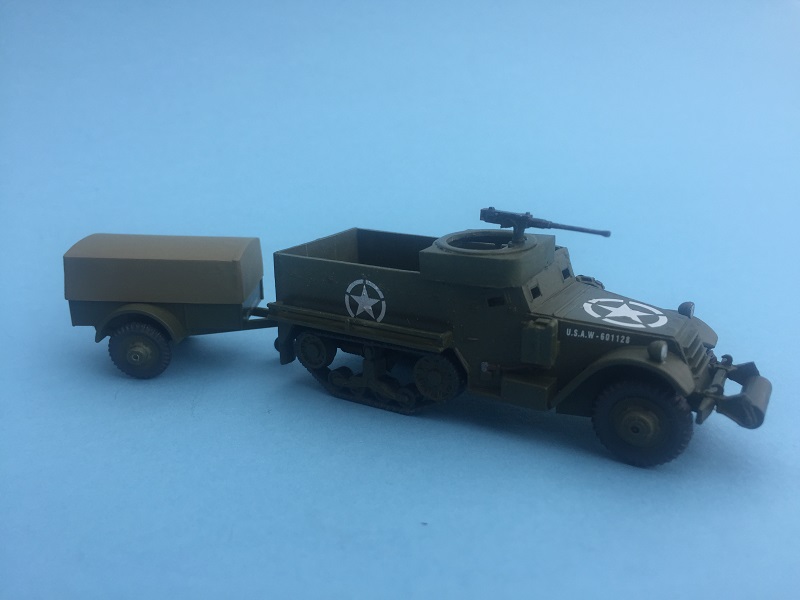
First, I left off the wheels and track units, which are one piece, and added the back floor to the chassis. Then the plate that separates the driving compartment from passenger section and then the driving compartment floor. Once those were in place it was fairly simple to add the side walls and the rest of the body parts. The front bumper roller was a little awkward to get together but I finally glued the two side pieces to the bumper and added the roller before the glue set. The only other issue I ran into was I didn’t trim the axle down enough for one of the wheels and it stuck part way on. I ended up having to break it off and then glued the wheel directly to the brake drum area. The last step was the trailer which built up quickly and it was done. I had left the wheels off for painting so a quick coat of OD, some rubber for tires and tracks and then some brown for the seats. While the painting instructions don’t mention painting the tools they are shown in color.
I glossed the spots for decals and that is when I noticed the only real issue with the kit. If you look at picture of the decals you might notice this issue. Yep, there is only one star included for the sides of the vehicle. Luckily, I have a set of US markings from Micro Scale so cut a couple of stars out and using the Micro Scale system all of the markings settled nicely over the details. Then a matt coat and I was done.
This was a nice quick build that reminded me of doing it in my youth though my color scheme is a bit more accurate this time.
Thanks to Hornby America and IPMS/USA for the review kit.

Comments
Add new comment
This site is protected by reCAPTCHA and the Google Privacy Policy and Terms of Service apply.
Similar Reviews