
British M3 Stuart Homey
History
From the Airfix kit: The British named the M3 "General Stuart" upon receipt of the tank under the Lend-Lease program in June of 1941. The tank's ability to "shoot and scoot" as well as keeping the crew safe from small fire arms fire, earned an affectionate nickname of "Honey" by its operators. The British cavalry men liked this tank as it could travel 10 to 20 mph faster than their own or enemy tanks, and for its ease of maintenance. The M3s were designed to replace the outdated M2s. The M3 incorporated a thicker armor, lengthened hull, and a trailer idler wheel to act as another road wheel to decrease ground pressure and improve weight distribution.
The M3 turret had three pistol ports and shortened recoil mechanism. It was also equipped with a 37mm M6 gun, which was adequate early in the war, but by 1942, the German counterparts far surpassed the range of the M3. The narrow width of the M3 could not accommodate a larger gun. The M3A1 was fitted with a Westinghouse gyrostabilizer, a turret basket and an oil gear hydraulic traverse mechanism but lacked a turret cupola. The earlier version of the M3A1, the Stuart III, was powered by Continental W-970-9A-7-cylinder radial gas 250 hp engine but by mid-1941, the Stuart IVs came off the production lines with Guiberson T-1020 air cooled radial diesel engine.
The Kit
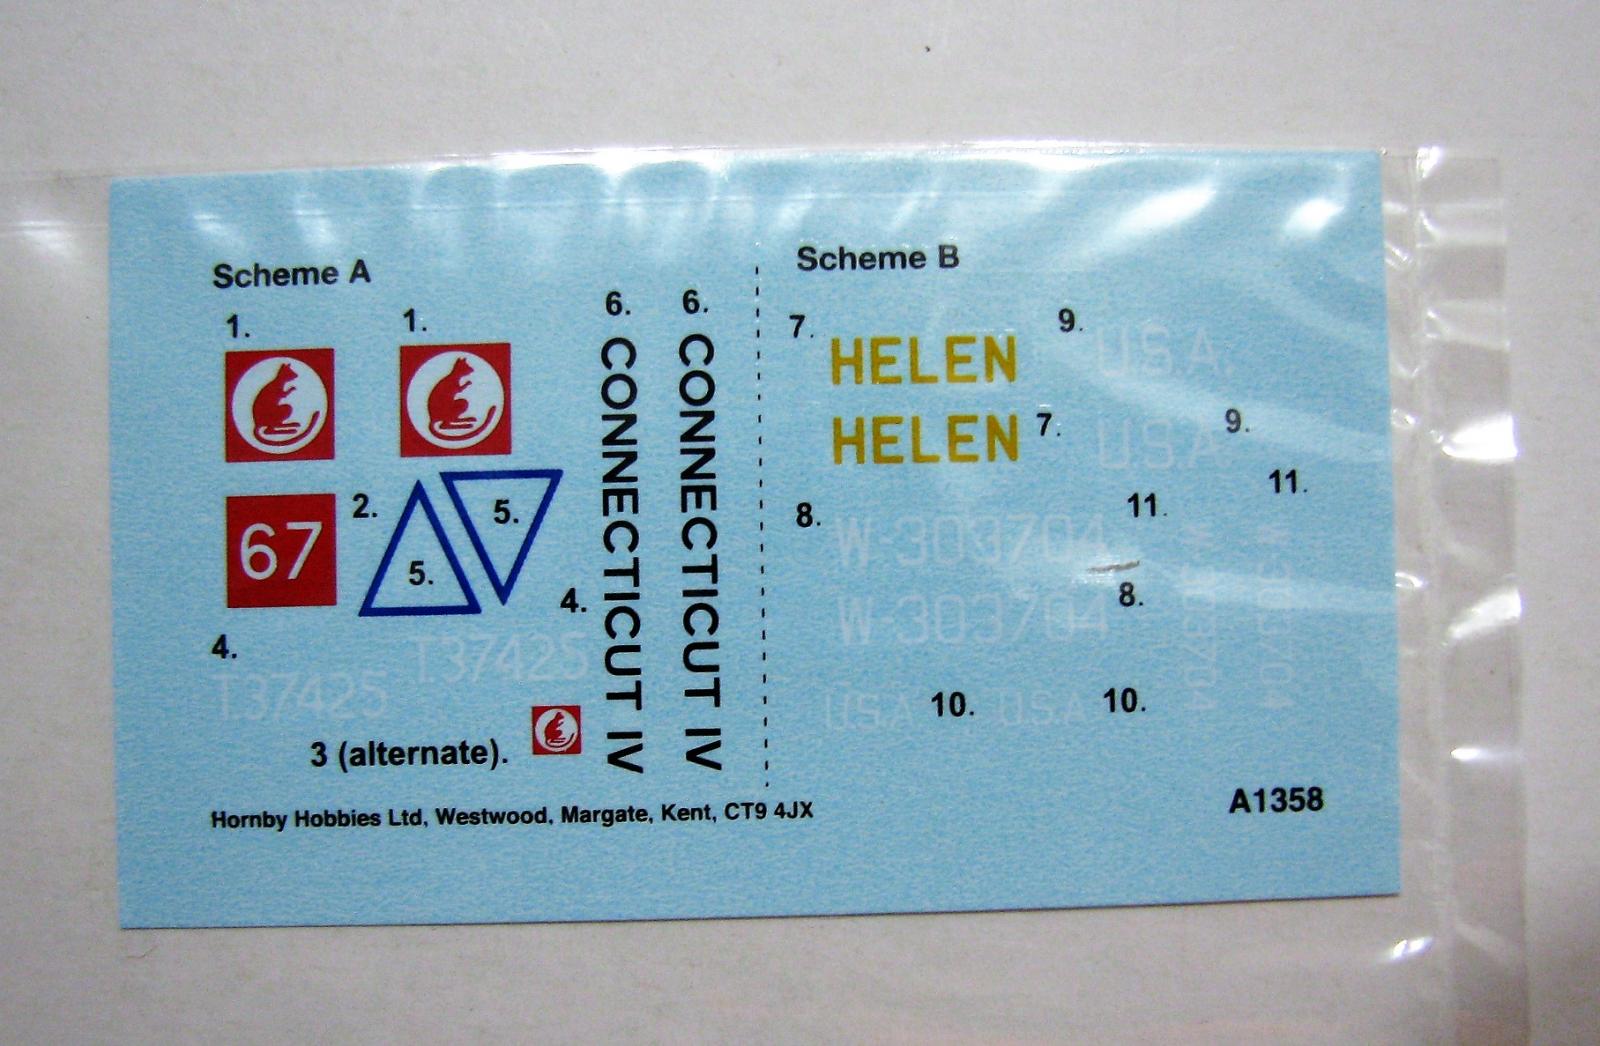
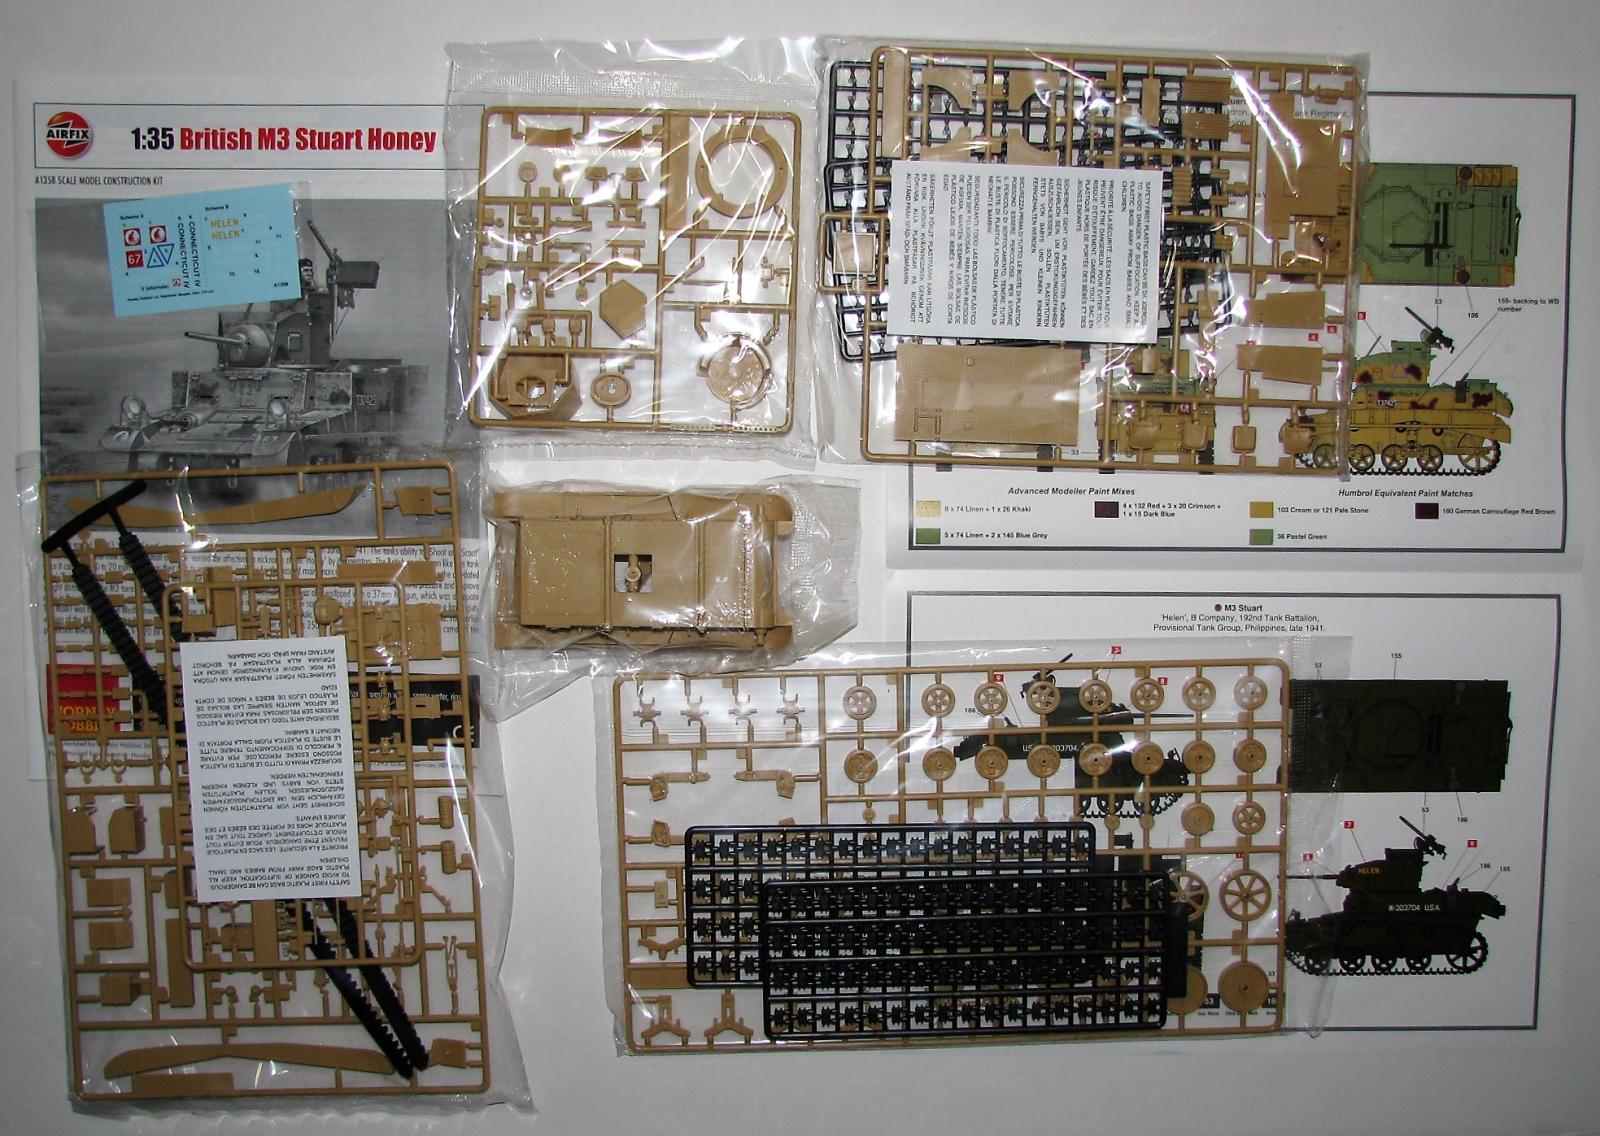
This is a re-boxing of the Academy kit that was first released in 2002. Upon opening the box, you will find 5 bags of sprues and parts in tan and black colored plastic, 2 vinyl tracks, a two-page paint guide, an eight-page instruction fold out and a small sheet of decals. The plastic is crisply molded and pretty much flash free and the decals are printed cleanly but have an accuracy issue.
Construction
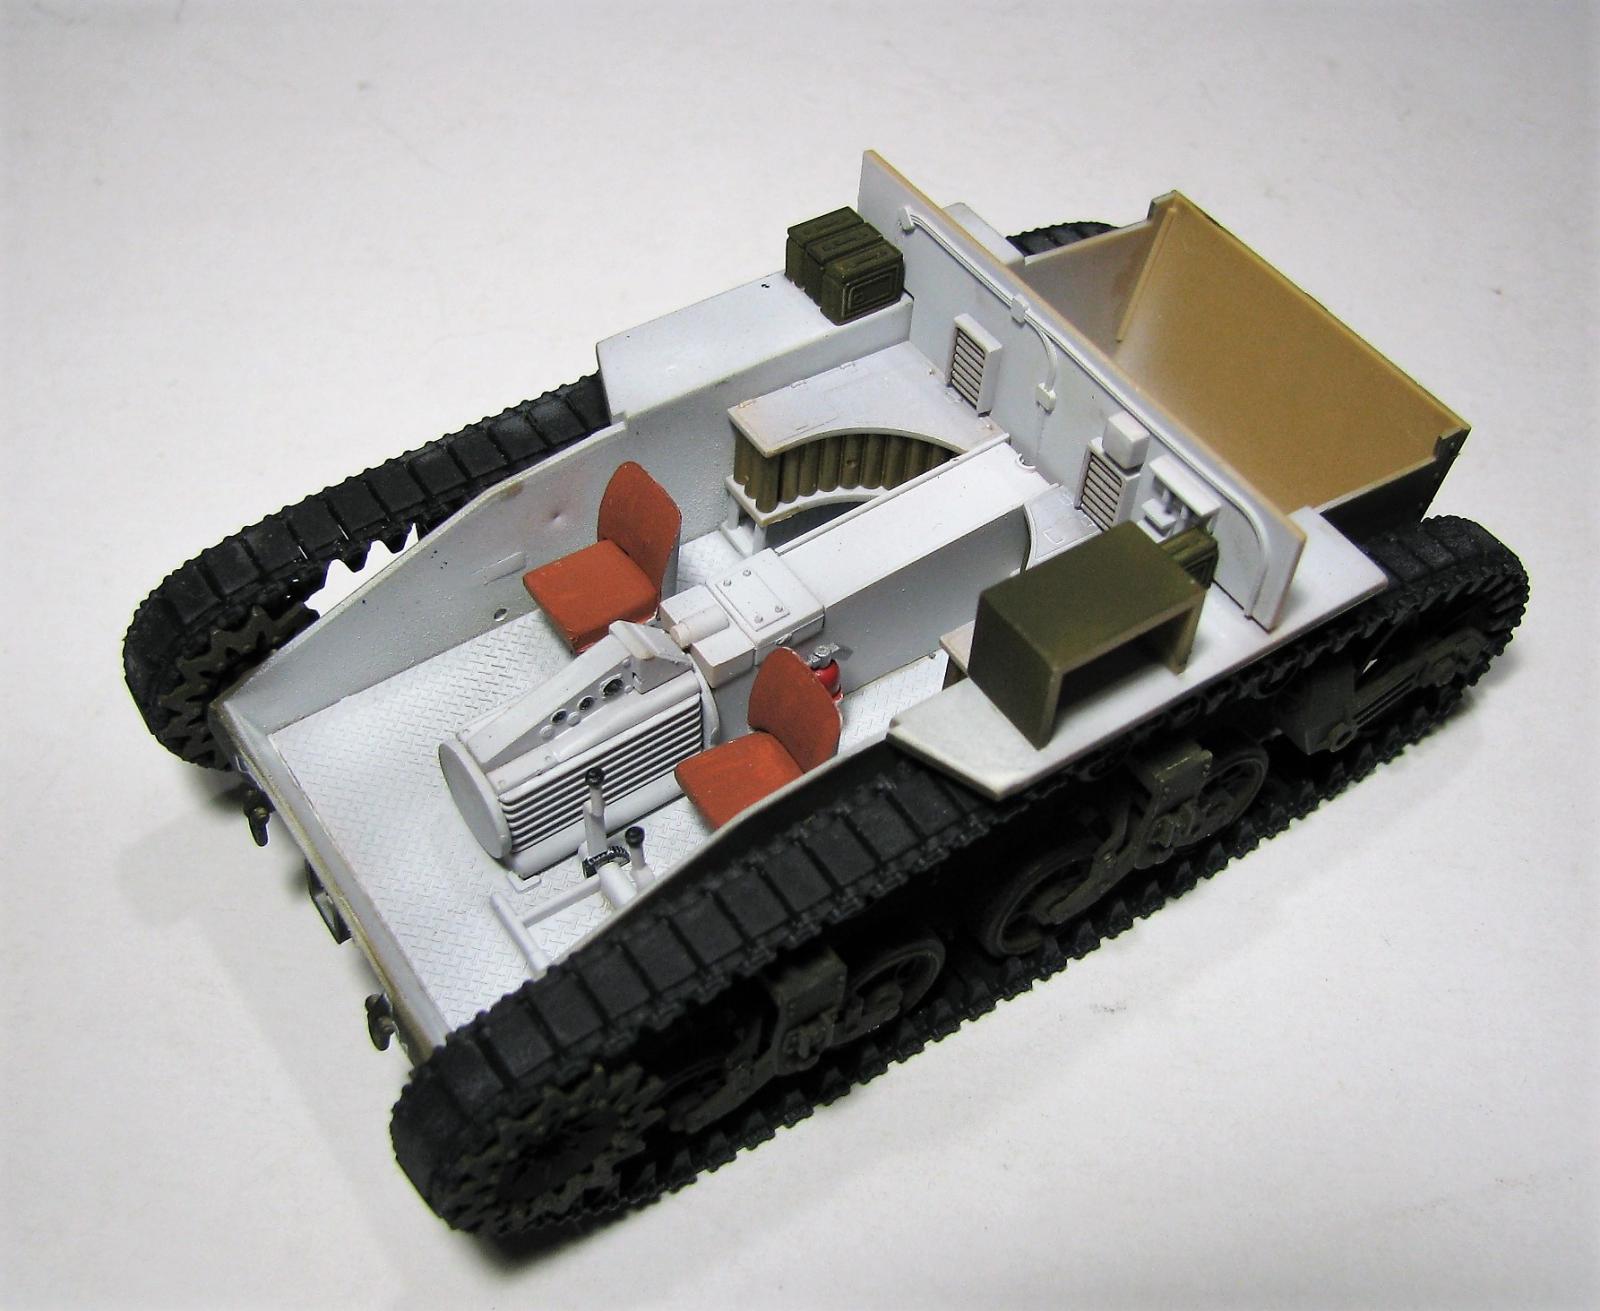
Steps 1-8 deal with the suspension, wheels and lower hull and its interior. Yep, you get a bit of interior detail in this kit and it’s a nice touch especially if you are doing a diorama. Everything fit together well, and I had no problems here. However, you are given parts for two different versions but instructions for just one. You will have to do some research if you plan on building the U.S. version as the British Honey had some small differences.
Steps 9-16 deal with the upper hull and again the Honey has a few things different from the standard M3A1 so be sure to do your research. Again, everything fit great and there were no build issues here. There are some issues I had to (or need to) correct though. Airfix does not give you the .30cal MGs for the sponsons and the U.S. version they give you decals for had these…or at least one of them. There also are no supports for the hatches that hold them open, so you’ll need to scratch these or get the Eduard P/E set. Academy missed the rivets on the rear areas where the tool boxes/jerry cans go so you’ll need to add these also. Since I was not using the skirts, I carefully removed the rivets from these and added them to the kit. It’s not 100% accurate but does look better. You also add the tracks at this point, and you are given a choice between vinyl or individual track links. They both look decent but for expedience I went with vinyl.
Steps 18-24 deal with the turret and it’s got a fair bit of detail in it. One big problem is the fact that they have the view ports on the outside of the cupola but no detail on the inside…..OOPS! there were no build issues here and everything fit pretty well.
Finishing
You are given two marking options on this kit:
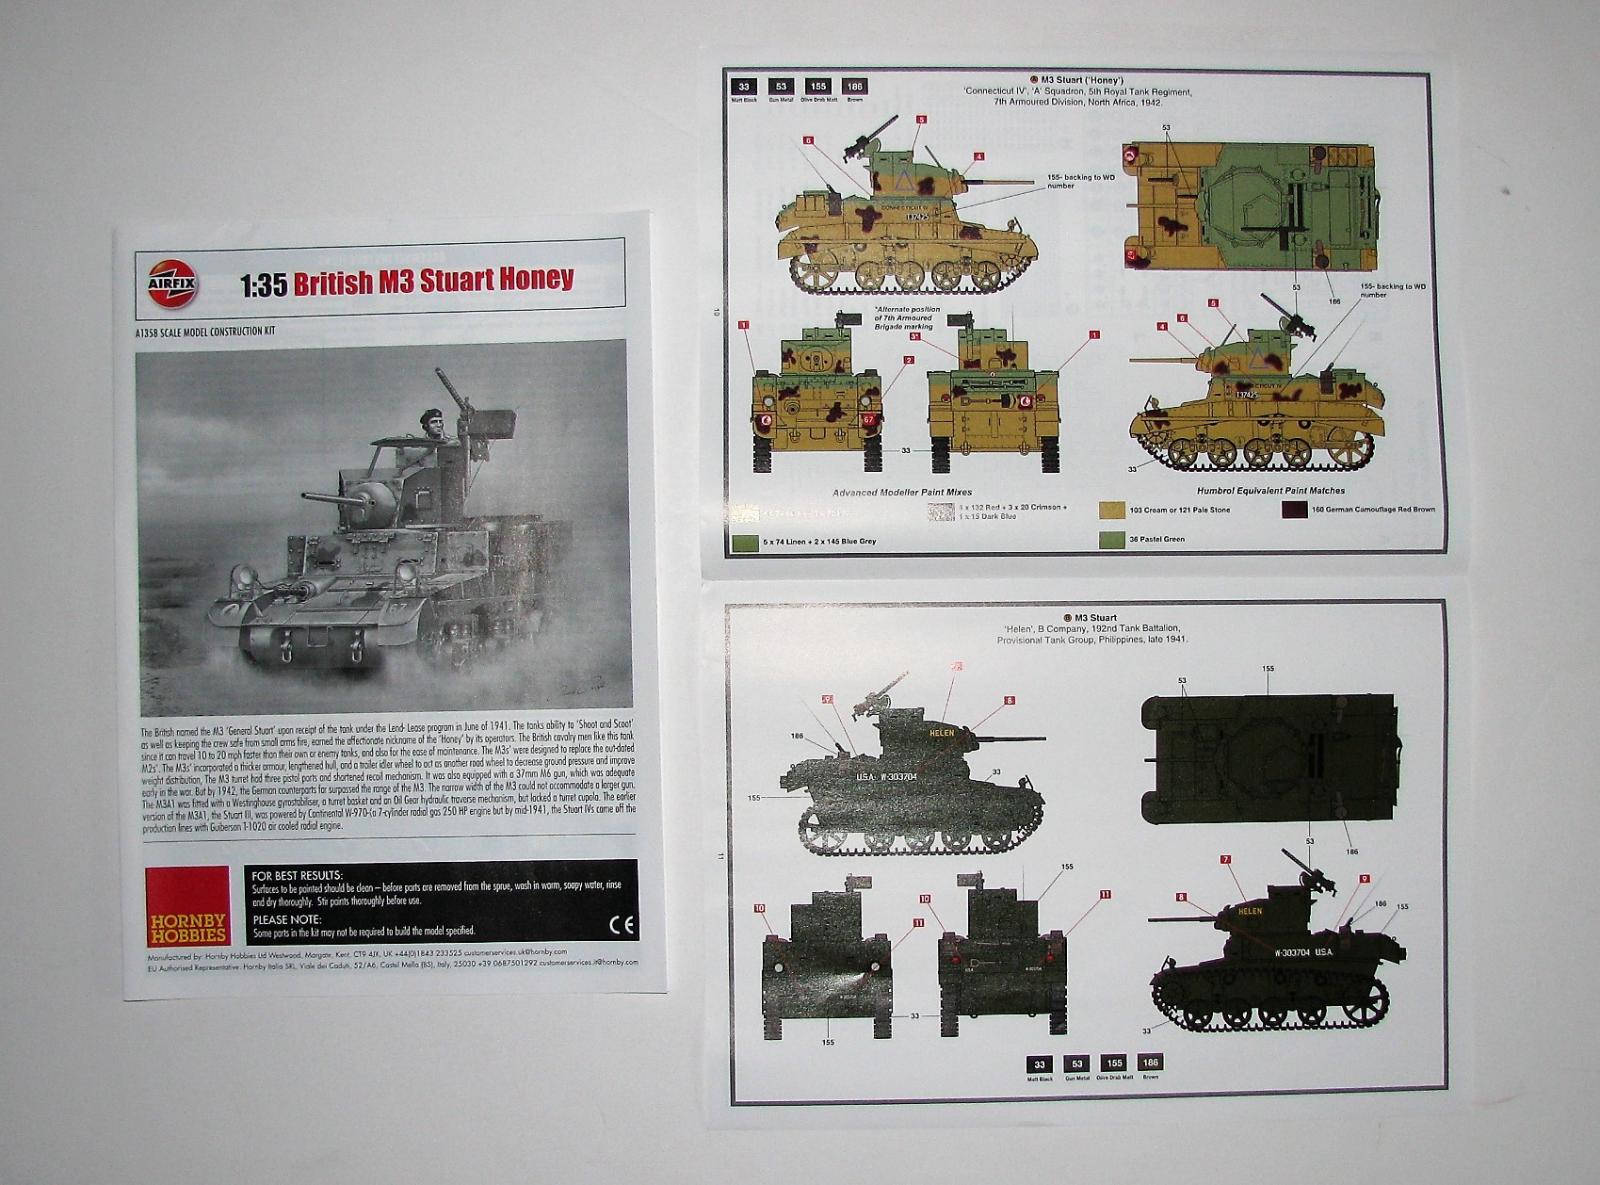
- M3 Stuart (Honey) Connecticut IV, A Squadron, 5th Royal Tank Regiment, 7th Armoured Division, North Africa, 1942.
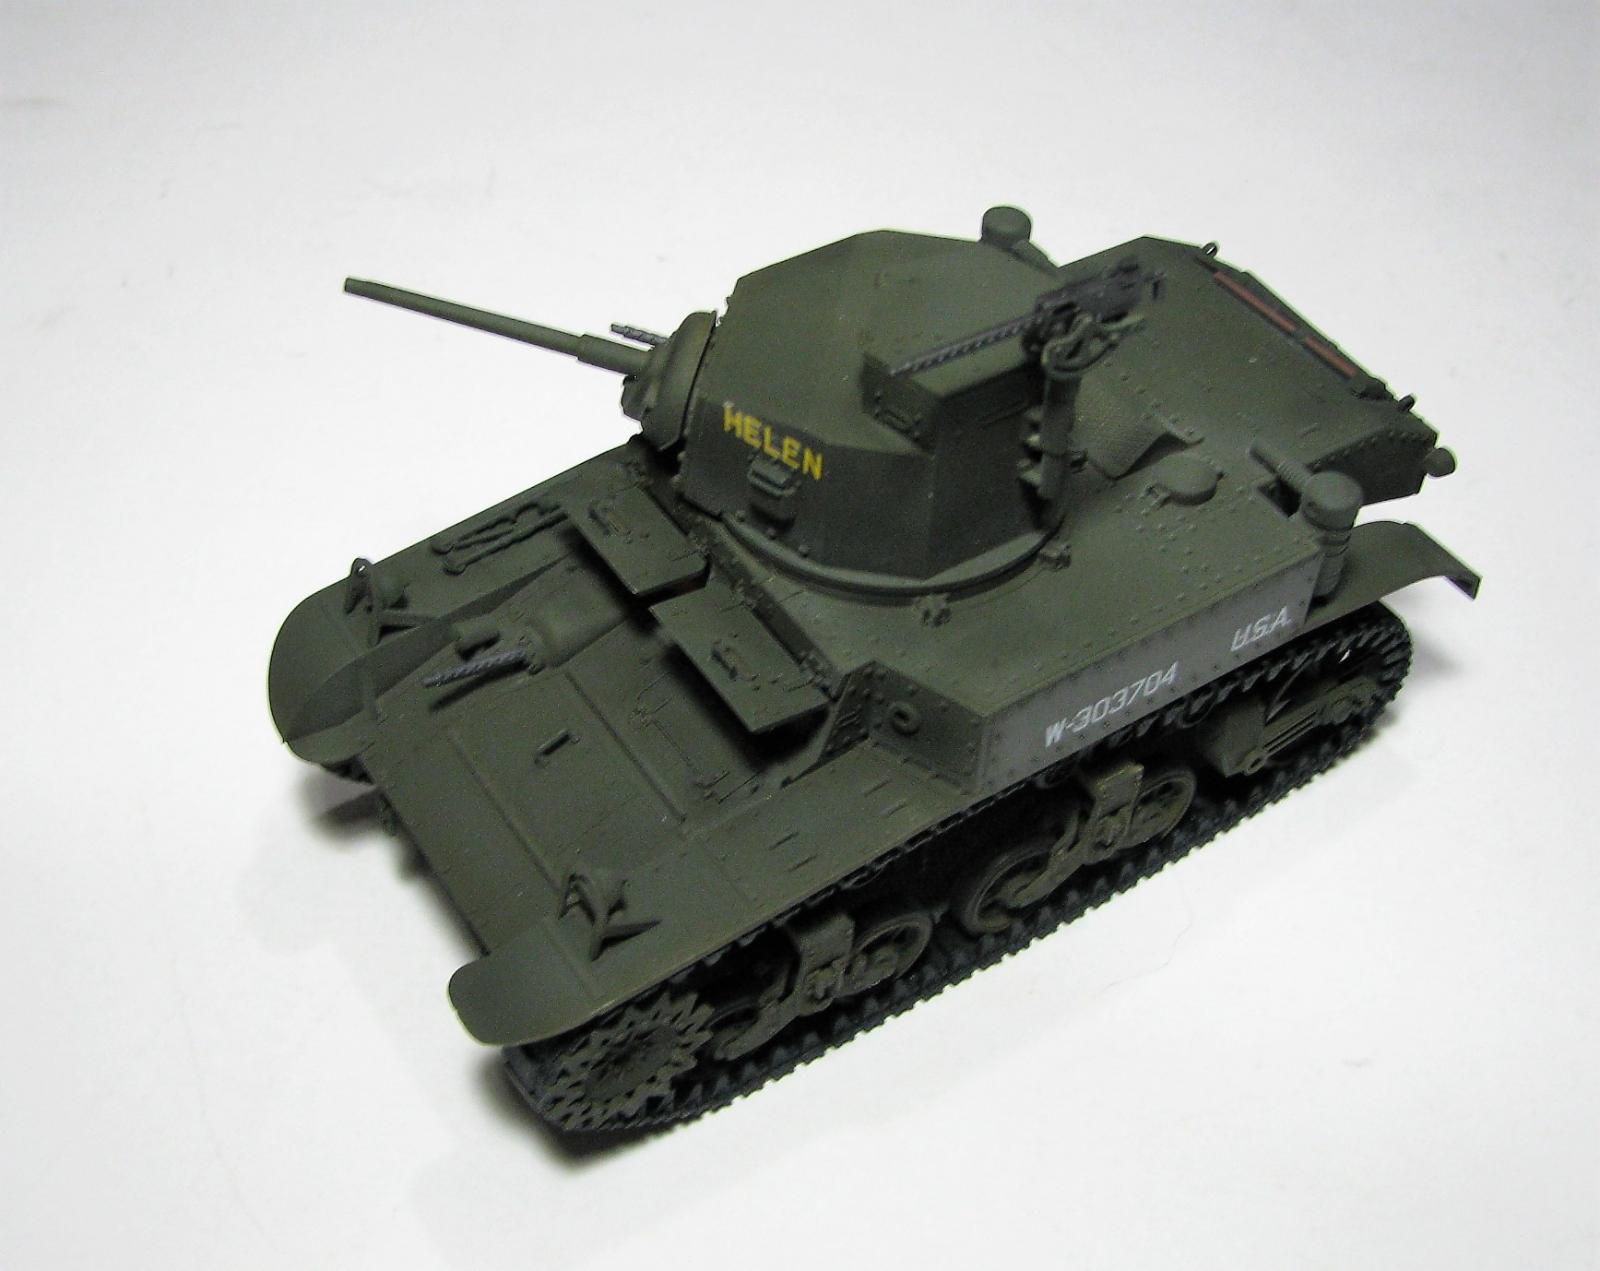
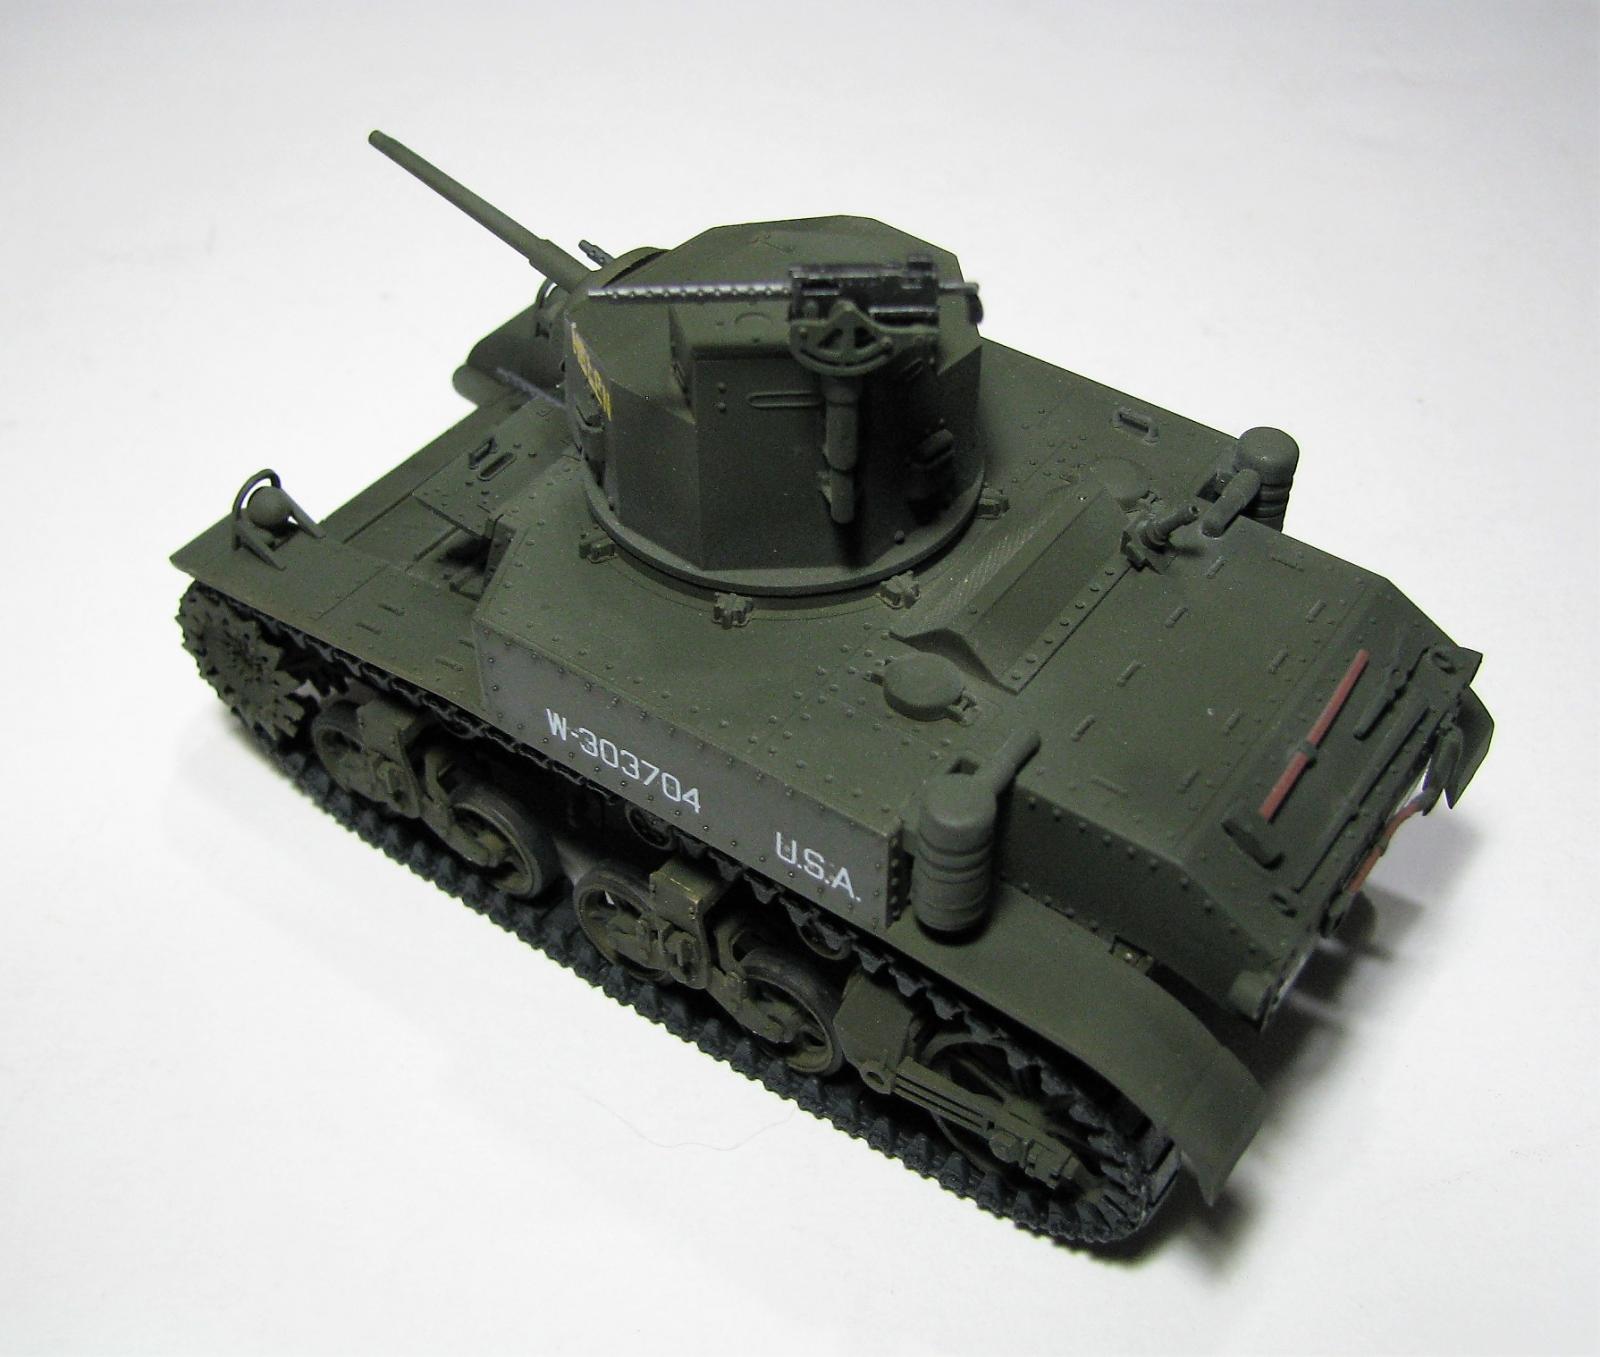
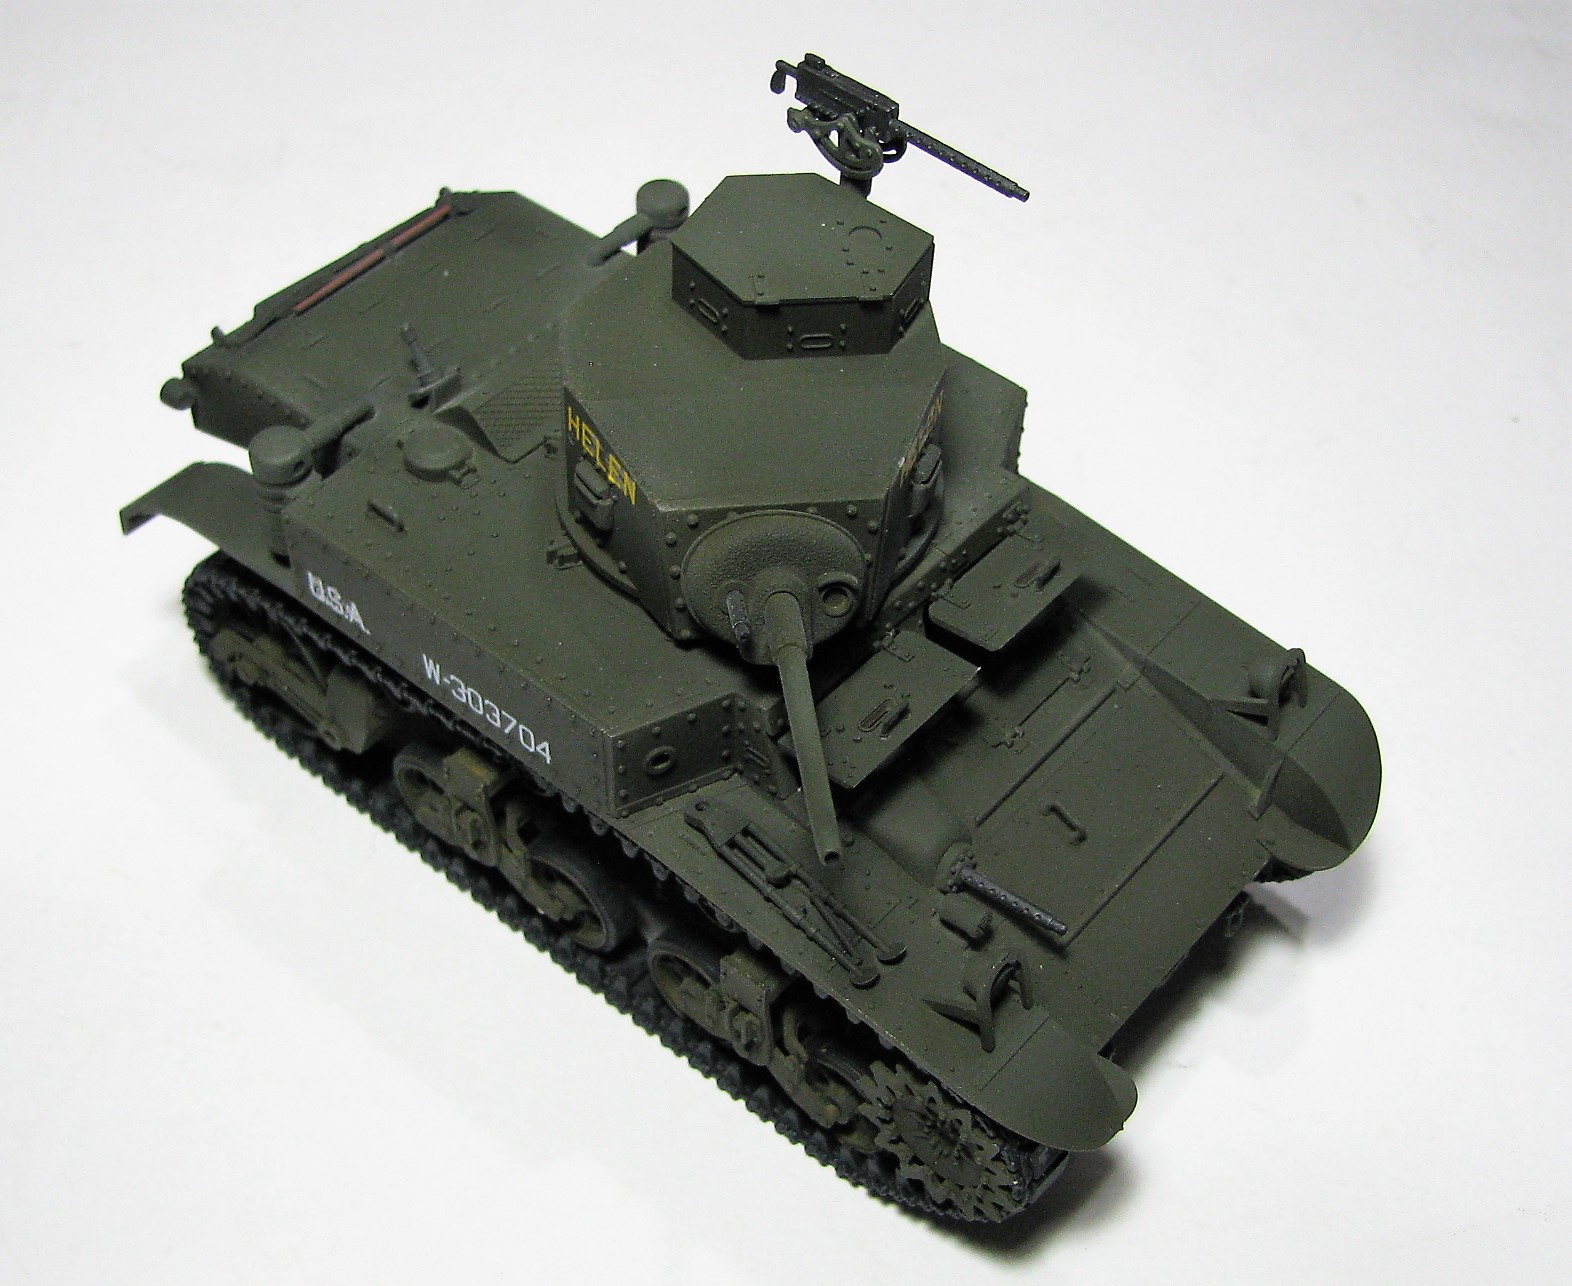
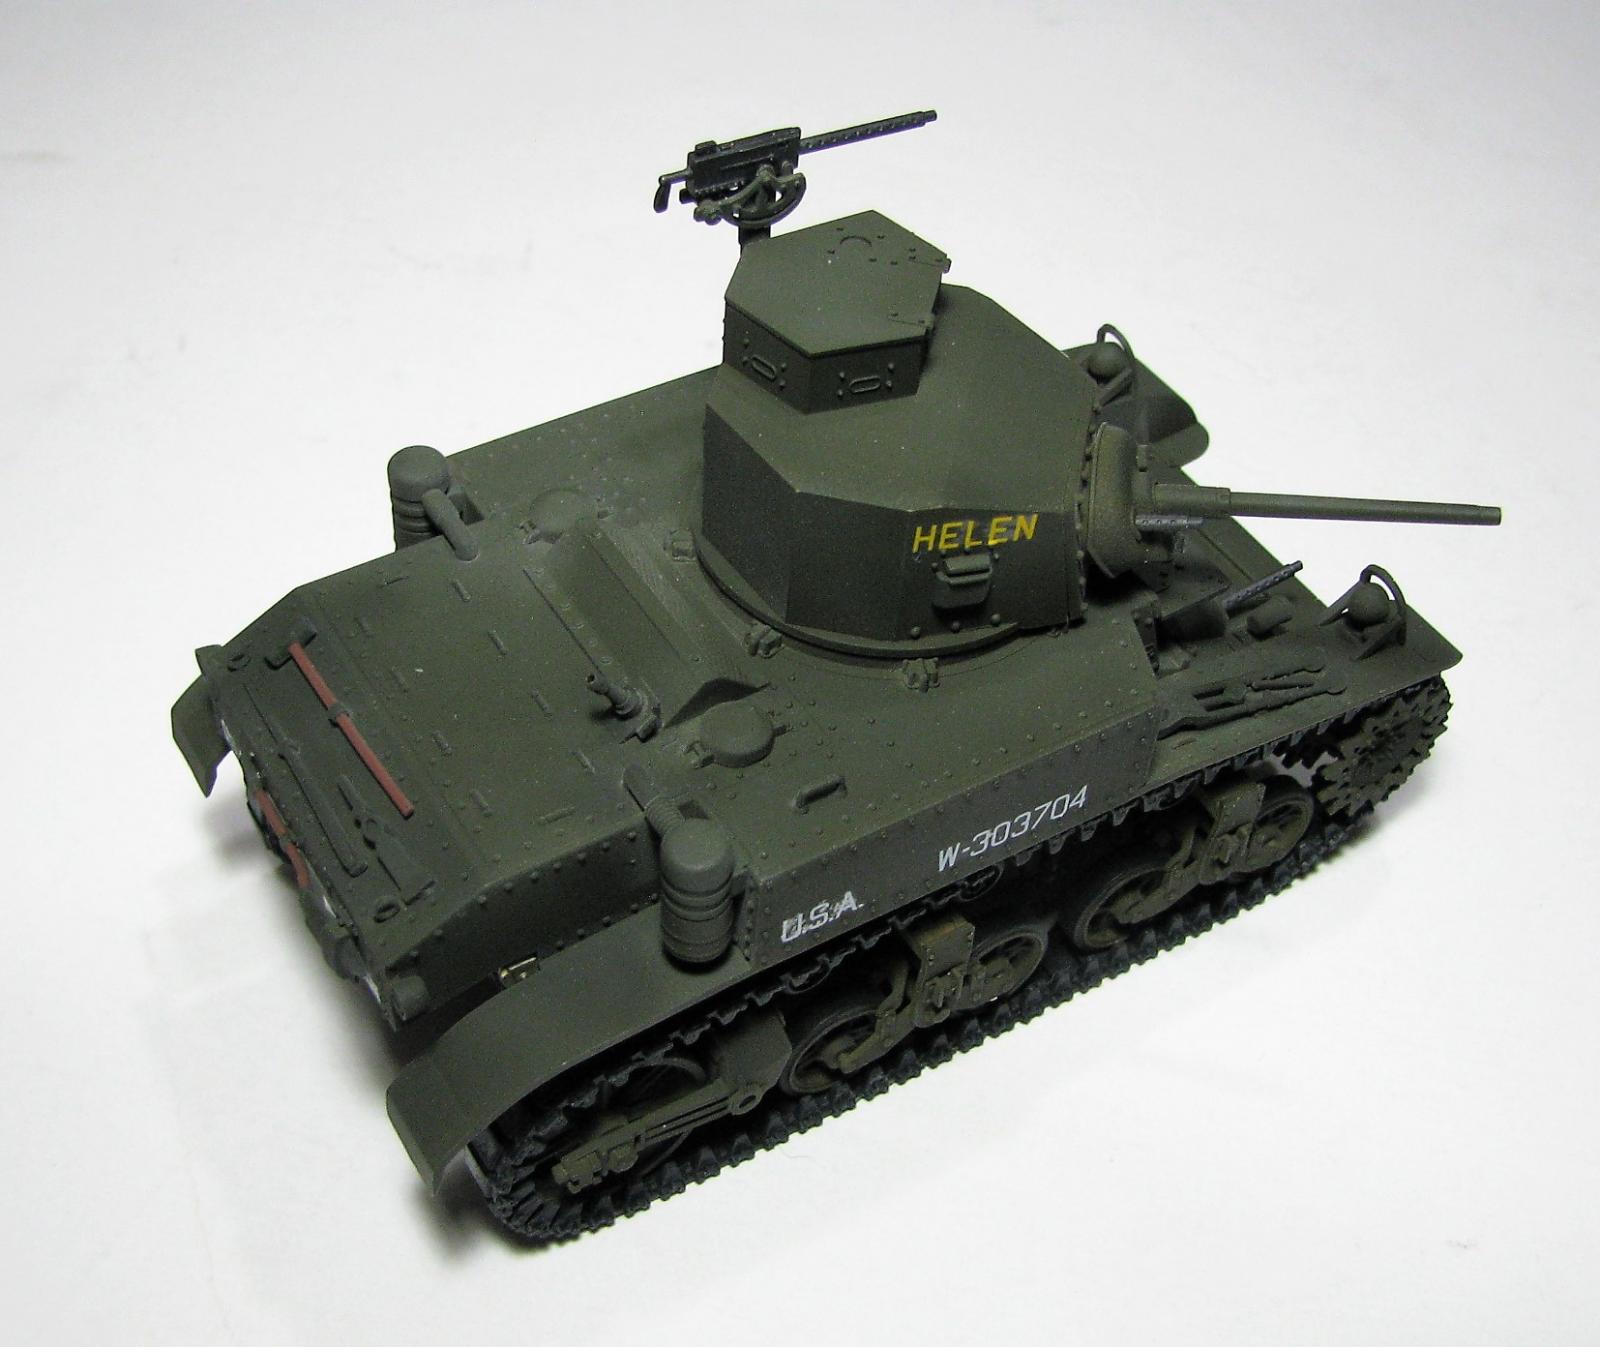
- M3 Stuart ‘Helen’, B Company, 192nd Tank Battalion, Provisional Tank Group, Philippines, 1941.
I chose B and used Tamiya OD Green to finish it. The decals are nice and laid down perfectly but are not correct which is strange because the artwork on the box and on the Airfix web site is correct. The registration codes should be blue, but the decals are white. Not to worry, Star Decals has a set that has this tank in it.
Conclusion
This is a very good kit that really is an easy build. I recommend this to all modelers but beginners.
I would like to thank Hornby USA for providing this kit, the review corps for letting me build it and all of you for reading this.

Comments
Add new comment
This site is protected by reCAPTCHA and the Google Privacy Policy and Terms of Service apply.
Similar Reviews