
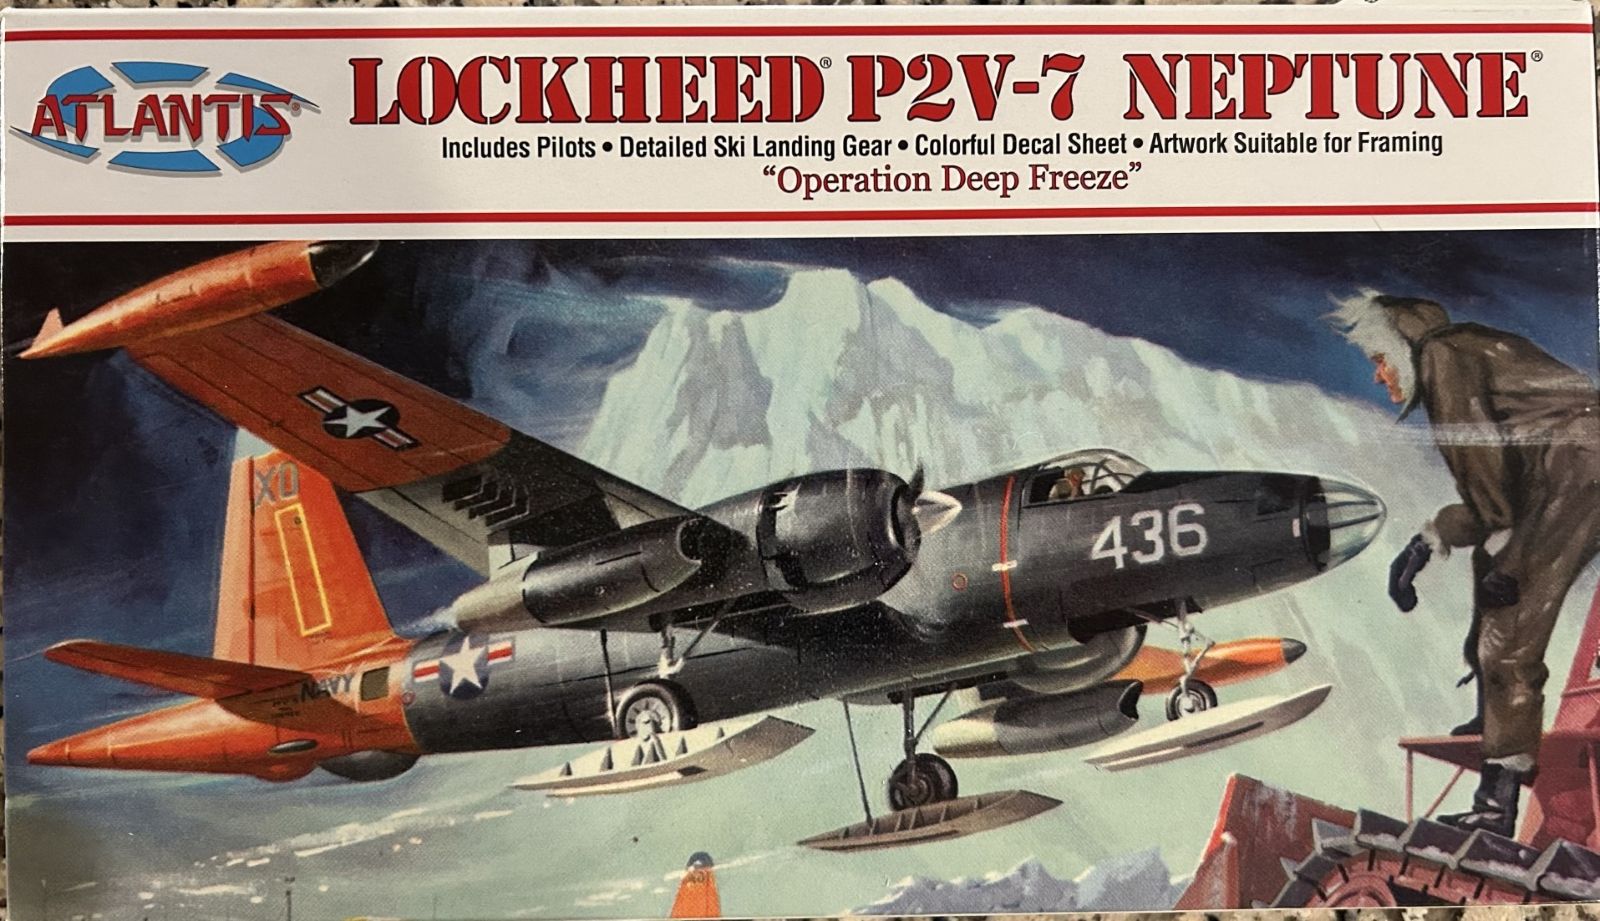
Lockheed P2V-7 Neptune – Operation Deep Freeze
Atlantis has made a name for itself reboxing vintage kits. The Neptune is typical of these older molds. There is flash due to the age and mold features that were standards of this era. According to Scalemates.com, the model was originally manufactured in 1955. Atlantis has cleaned up the mold and, given its age, it is pretty good. The kit is molded in dark blue plastic and there are 57 parts, including one frame of clear parts. Thankfully, there are fresh decals along with vintage instructions.
Here is the description of the Neptune from the box: “As used by the US Navy, the P2V-7 served a variety of functions, being easily adaptable to maritime patrol, mine laying, or torpedo bomber duties. It was also used extensively as a hurricane tracker. During the International Geophysical Year, known as IGY (1957 to 1958) and particularly in connection with Operation Deep Freeze, several Neptunes were equipped with skis and were used by the Navy in the Antarctic. IGY was a collaborative effort among 40 nations to carry out earth science studies from the North Pole to the South Pole. The U.S. along with New Zealand, the United Kingdom, France, Japan, Norway, Chile, Argentina, and the U.S.S.R. agreed to go to the South Pole, the least explored area on Earth. Their goal was to advance world knowledge of Antarctic hydrography and weather systems, glacial movements, and marine life.”
Given the age of the kit, assembly is straight forward, the cockpit is basically a floor and two pilots in slightly different poses, and there are no decals for the instrument panel. There are no color callouts for the interior of the fuselage. Since most of it cannot be seen, I am going to keep the interior bare of paint. For the cockpit, I painted in NATO Black and did very rudimentary painting for the pilots. Before the two fuselage halves are joined, windows need to be installed. Given the age of the mold, there is a great deal of flash around the windows, so it will take some time to clean and test fit each window. Before the fuselage is assembled, an unspecified amount of weight must be placed in the nose, and the instructions suggest a lump of clay. I moved last year, and I could not find my supply of weights, so for this build, I skipped adding weight. Unfortunately, it is now a tail sitter.
One thing I neglected to do was to install the horizontal stabilizers before joining the fuselage halves. I had to cut the tabs and push it into the slot. All I can say is pay attention to the instructions! When the two halves of the fuselage are joined, it takes some effort and pressure to get the two halves together, and the cockpit needed some adjustment as well. I tested the clear part for its fit, and I found that I needed to angle the cockpit slightly. Once everything was secure, it was time to move on to the wings.
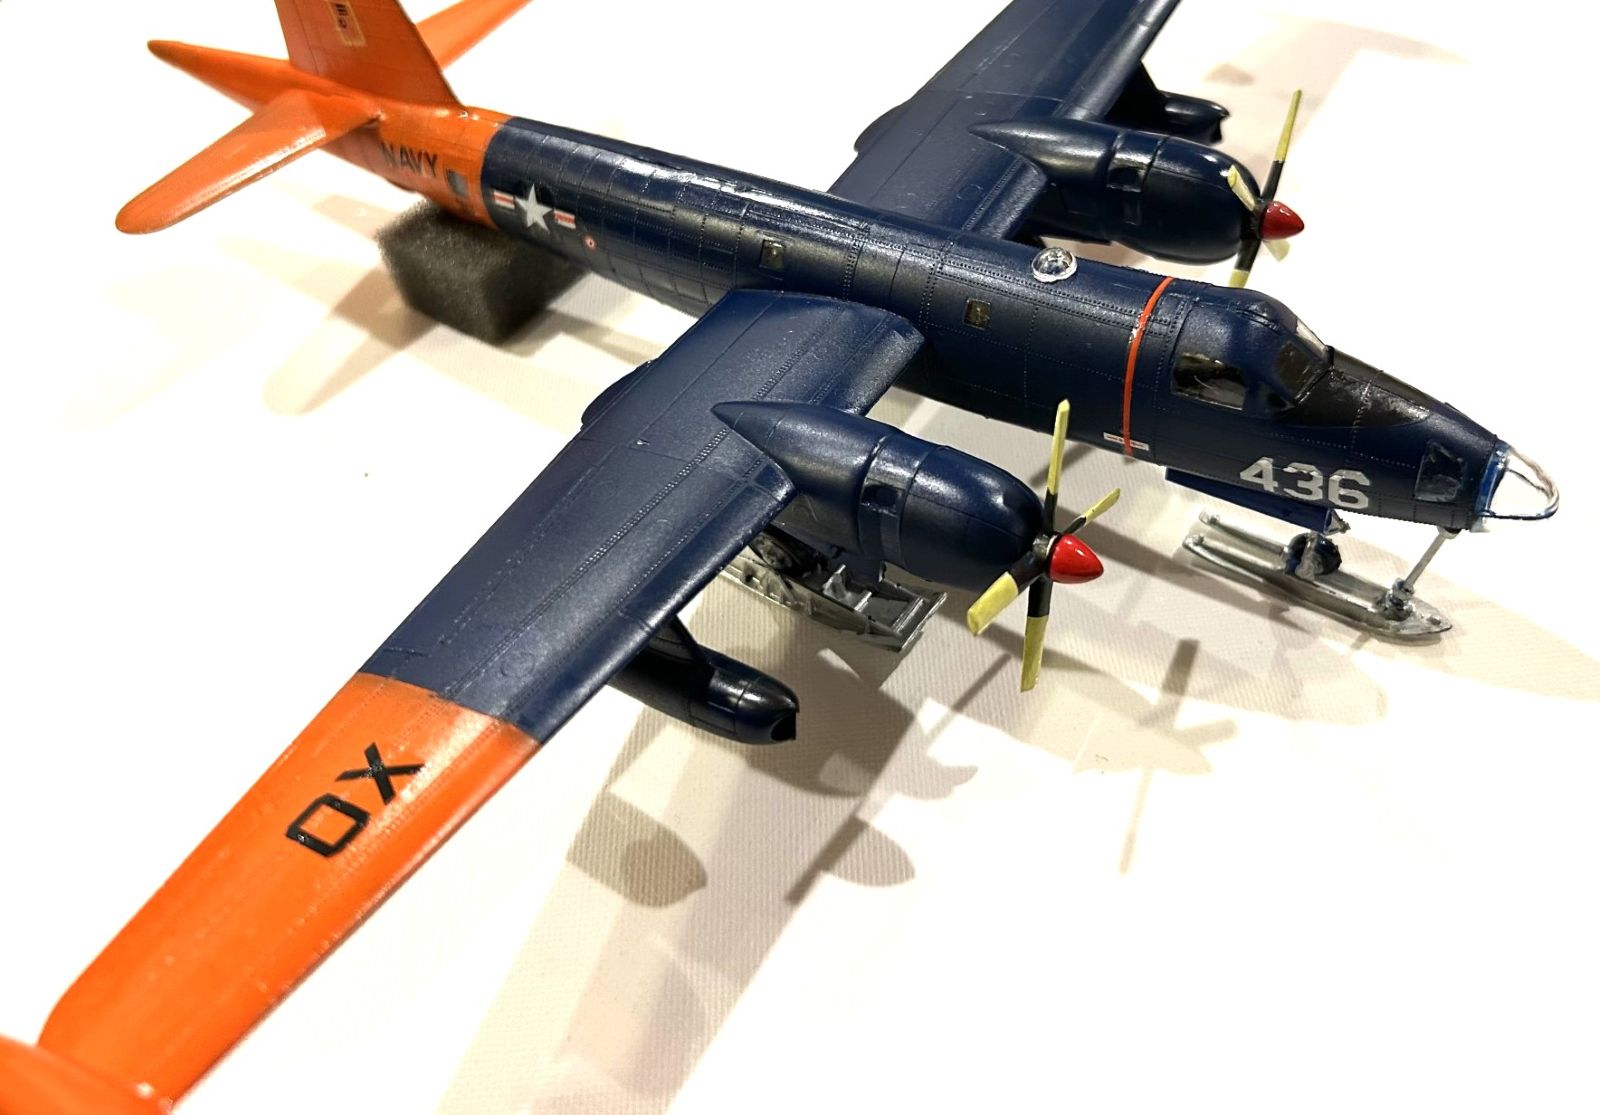
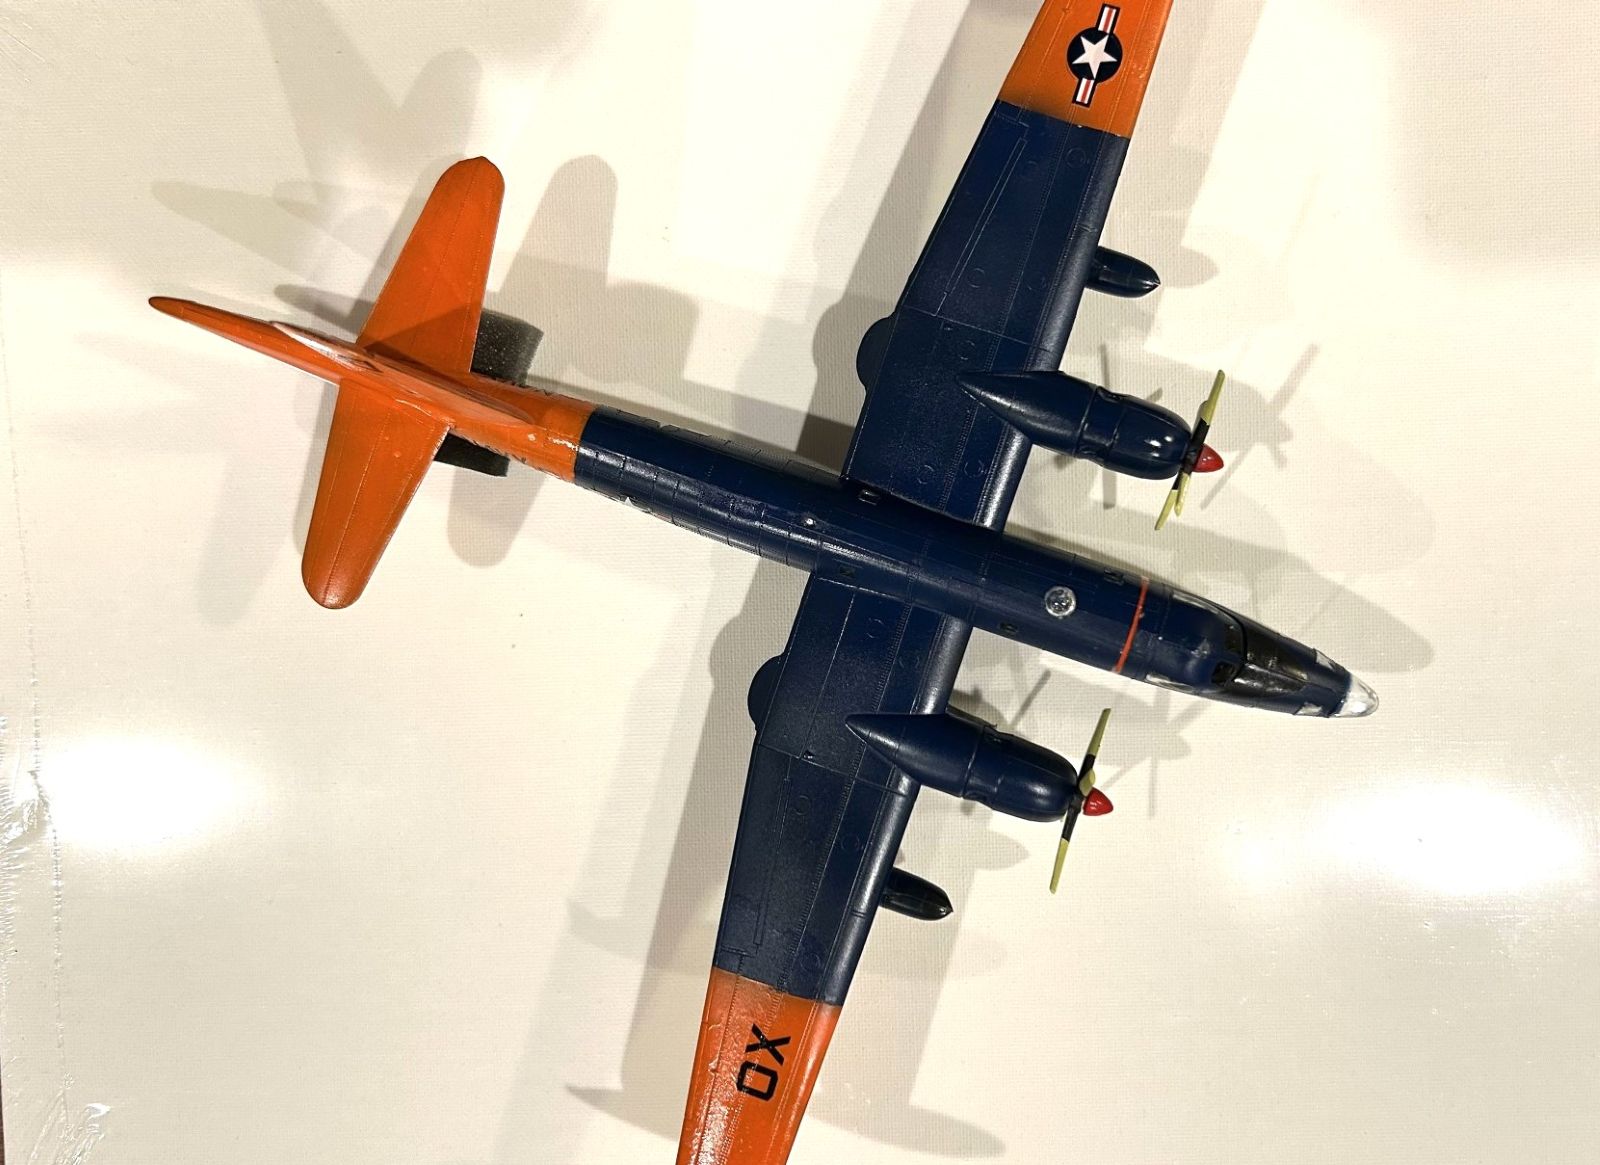
After all these years, the two halves of each wing went together without an issue. Each wing has a pod at each end as well as jet nacelles under each wing. I put the pods on each end of the wing to ease painting; the jet engines were assembled but kept off the wings for painting. Similarly, the landing gear and doors were kept off as well. I was able to attach the wings to the fuselage without any major issues. The fit was good, though there was a slight gap. I elected to build the kit out of the box like a modeler when the kit was released, so the gaps remained in place. After the wings, I attached the glazing. Again, the fit was okay, and then I began to prepare for painting.
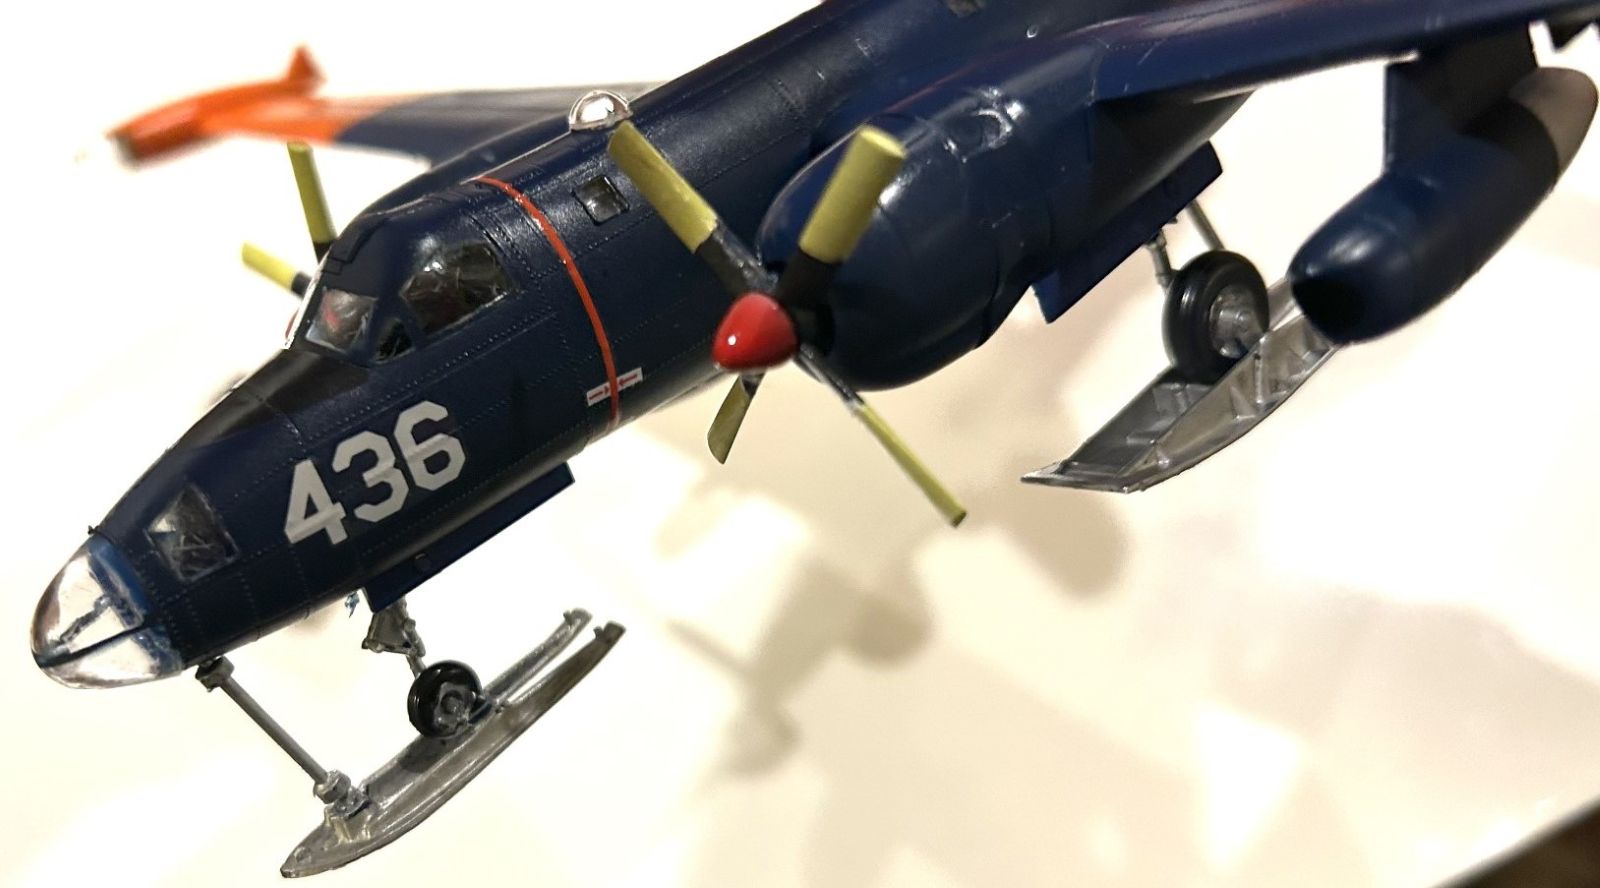
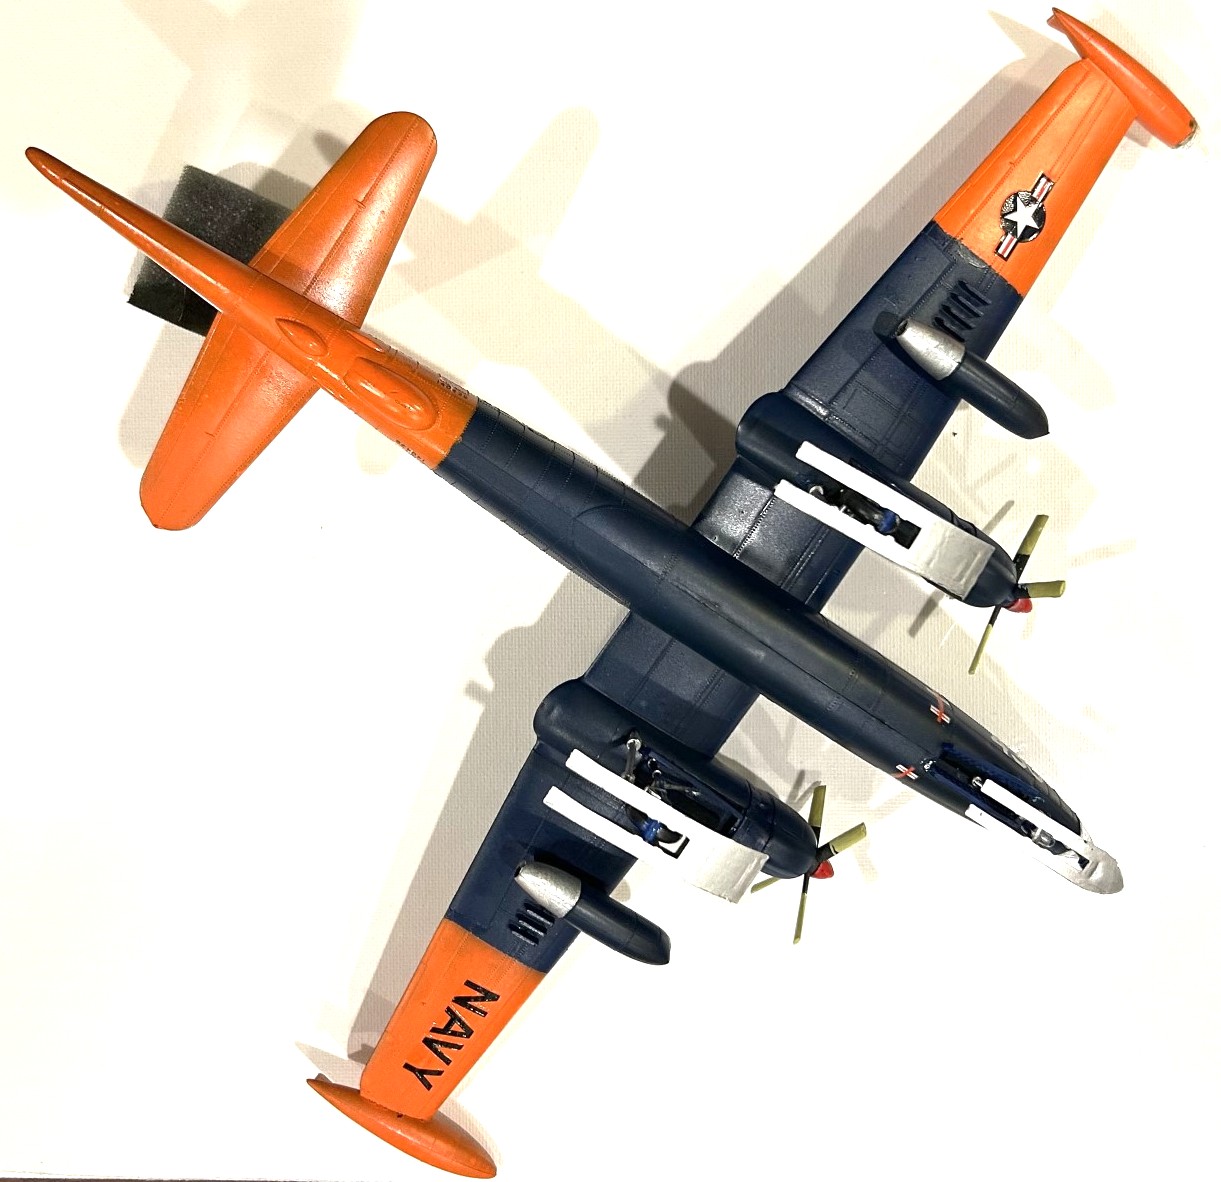
As mentioned in the beginning of this review, the current kit is molded in deep blue plastic. Since there is no guidance for an overall color, I think the kit was meant to remain unpainted. I did not want to go that route myself. Using box art as my guide, it shows a Neptune in Blue. I decided to paint the kit, well, blue. Using Tamiya NATO Black as an undercoating, I then used Tamiya XF-8 Flat Blue for the overall color. For the high visibility markings, I looked around for an appropriate shade of orange. I used Vallejo Model Color Bright Orange. It seems like an appropriate color, but I am not sure. Before attaching the jet engines, they were painted in overall blue with the rear outlet painted with Vallejo aluminum. The cover art indicates a light grey or white tip on the tail. It is hard to tell, since colors are not identified in the instructions. I opted to paint it orange as well. The final color is an anti-glare panel painted black.
Because this is an older mold, there are raised lines to guide the modeler for the positions of the decals. Of course, this is a feature that is no longer used. I could have sanded them off, but I found them charming and left them in place. The decals are not numbered, so you must carefully study the instructions to find the right locations. In the end, the decals went on without any problem. Once the decals were on, it was time for final assembly. I left the landing gear and props off initially and left them for last. There is a great deal of flash around some of the landing gear legs and the skis that attach over the wheels. I carefully removed the flash as to not harm the pieces, which are fragile. Putting the landing gear and the skis together is tricky. The attachment points are fragile, and it takes some fiddling to get the pieces to fit in a secure manner. You will not find attachment points for the landing gear doors. Put them on each side of the landing gear bay interiors and they will fit. The last bits to go on were the clear parts over the search light and the navigation dome to the rear of the cockpit.
Atlantis knows how to pull the nostalgia string for the modeling community. Using original box art on kits that many modelers built in their youth is a surefire marketing gimmick to sell kits. Keep in mind, though, the molds are older, and you must deal with flash, sink marks, and parts that need some cleaning. If you are patient, and test fit everything, you can build a rather handsome Neptune, so I do recommend this kit. Thank you to Atlantis and the IPMS/USA for letting me perform this review.
Comments
Add new comment
This site is protected by reCAPTCHA and the Google Privacy Policy and Terms of Service apply.
Similar Reviews