
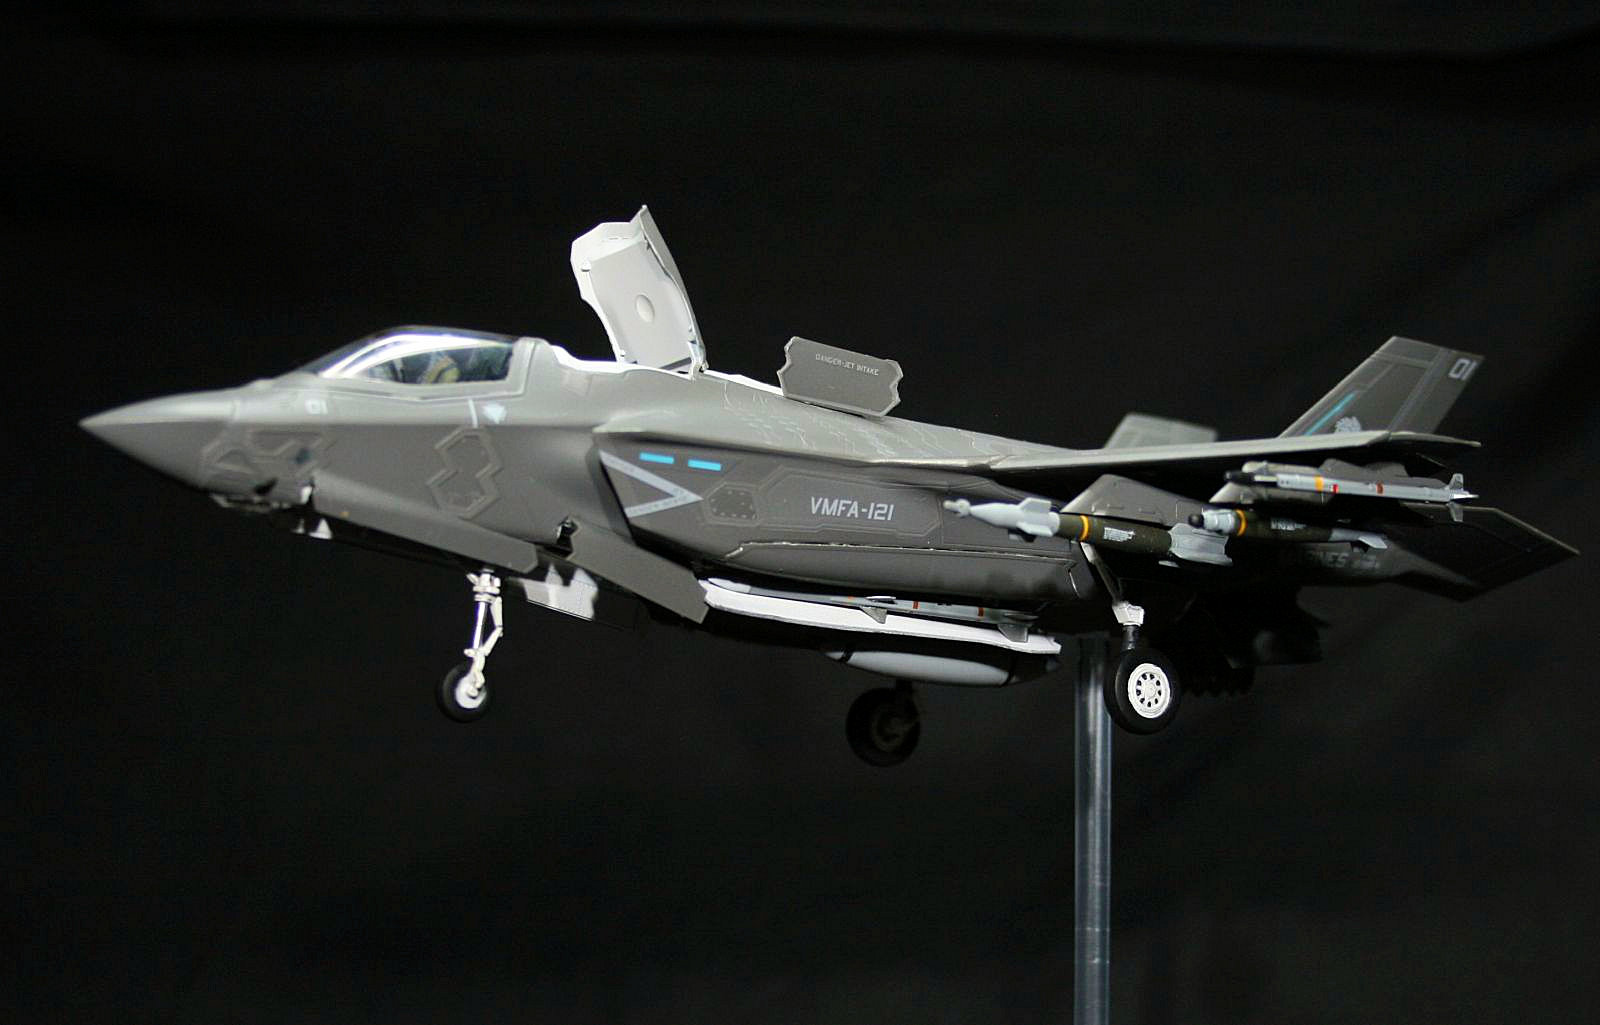
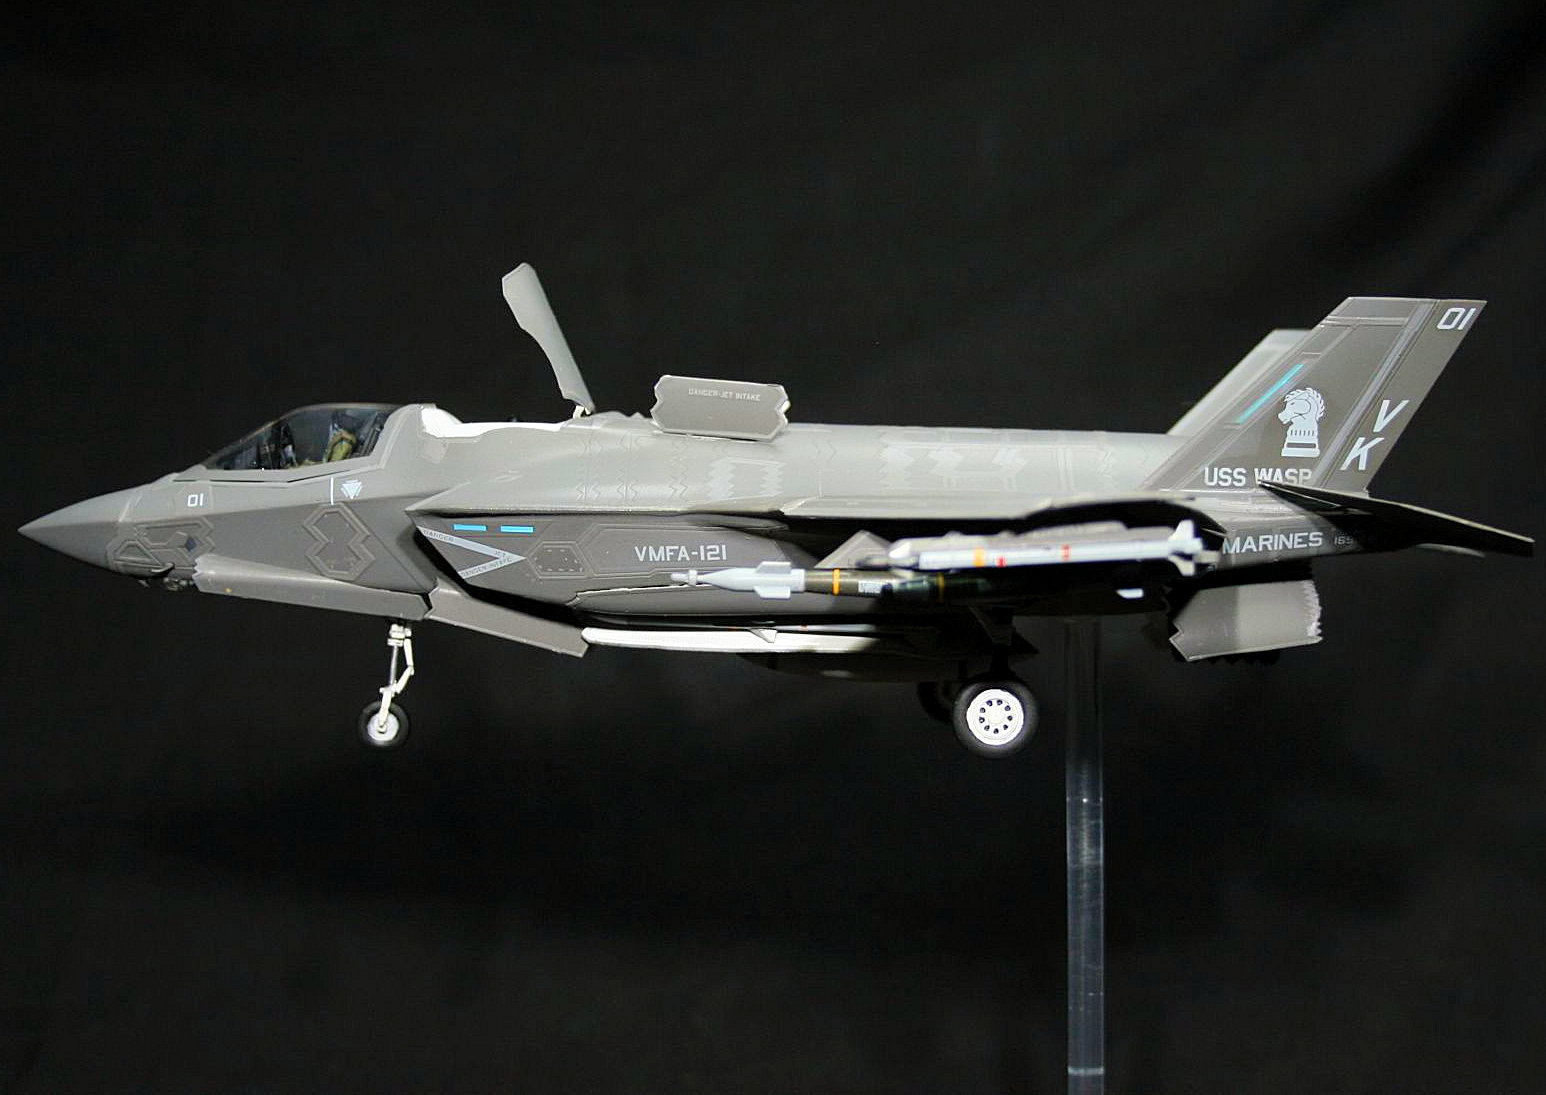
USMC F-35B VMFA-121 "Green Knights"
Aircraft and History
The F-35B is a single engine, single crew multi role fighter/attack aircraft that has stealth capabilities, supersonic speeds and the ability to land vertically. The F-35B is the first operational aircraft that is Short takeoff & vertical landing (STOVL capabilities. In 1993, a request to develop a new fighter/strike aircraft for the USAF, Navy, Marines and multi national air forces under the term of Joint Strike Fighter (JSF). The JSF competition battle was between the Boeing X-32 and Martin X-35. In 2001, Lockheed Martin was the winner with the X-35 which will become the F-35 Lightning II. The F-35B became operational with the USMC 31 July 2015.
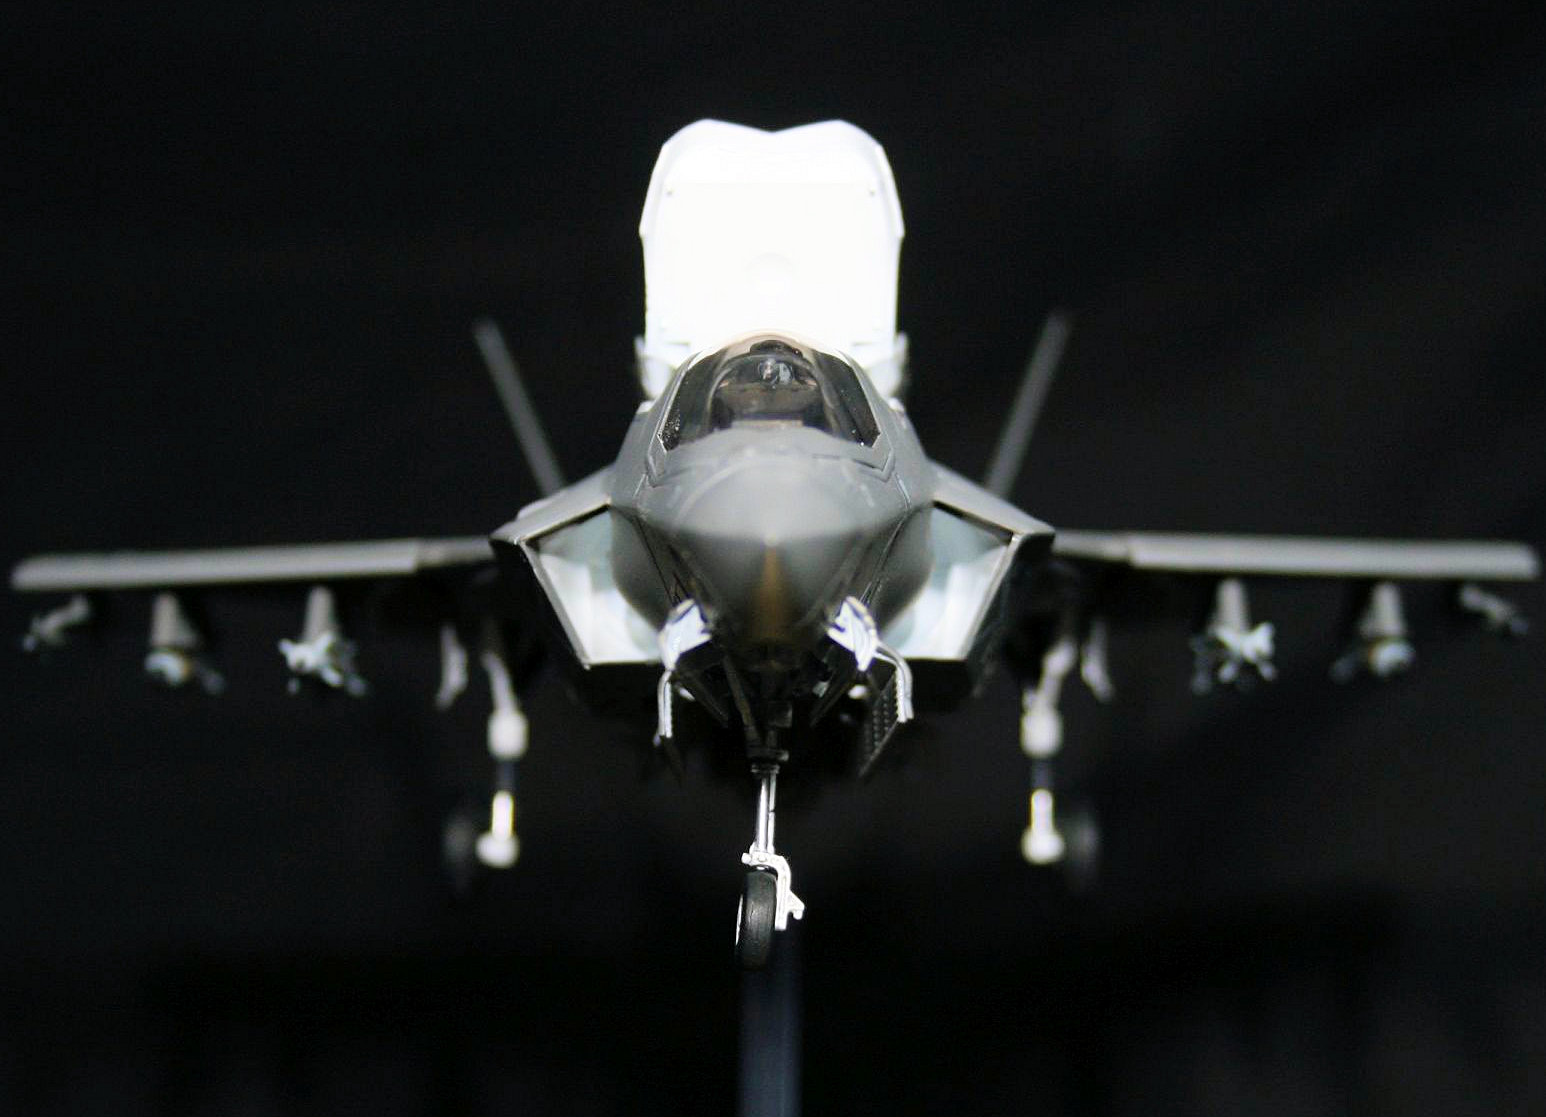
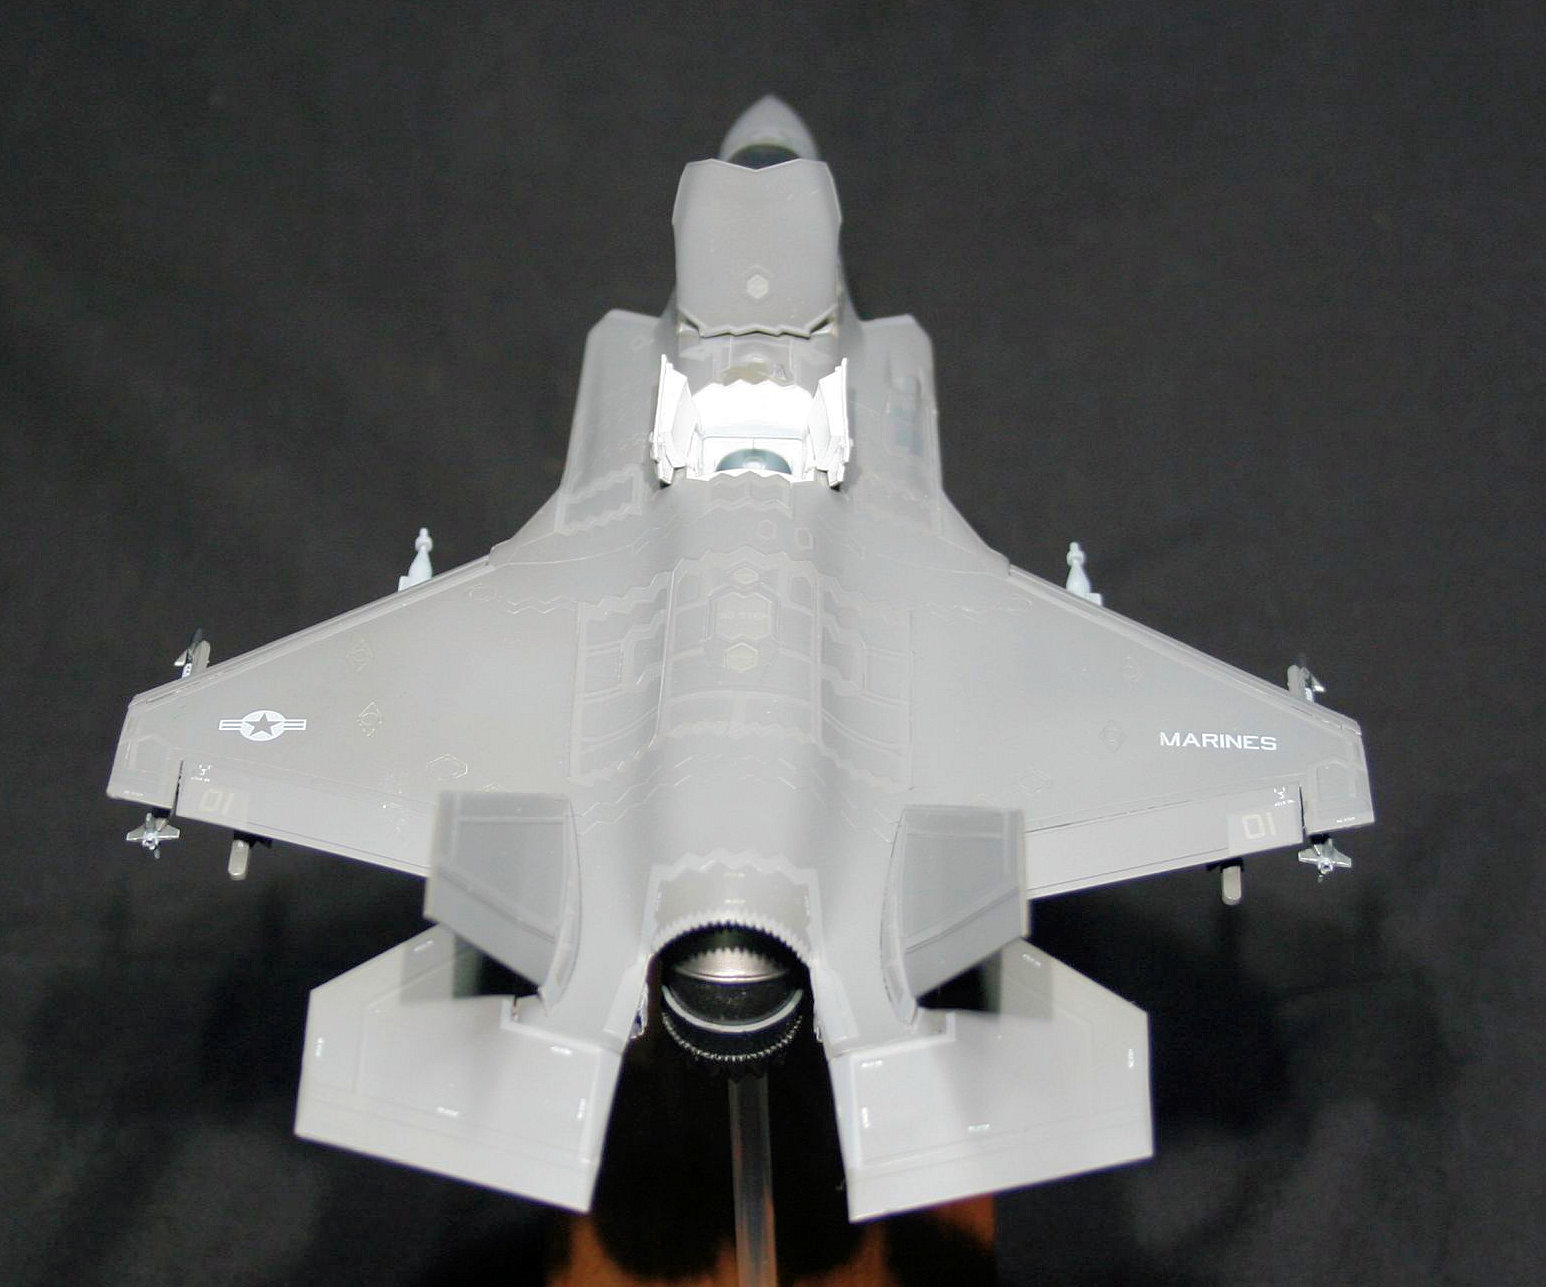
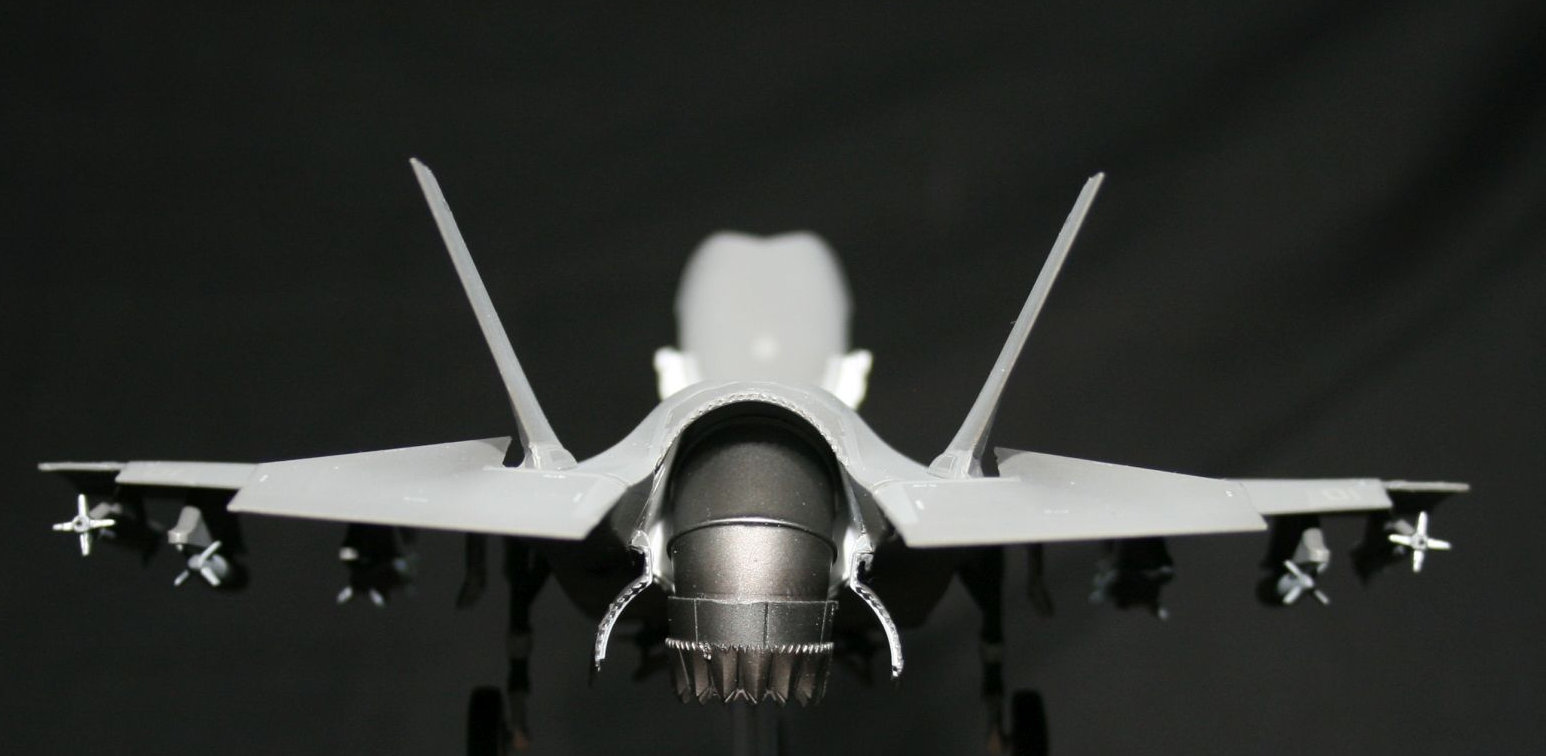
Final development, flight test and production went into full swing after the F-35 won the competition. Three versions have been developed for the United States. The F-35A (USAF version) is designed for conventional take off and landing. A Navy version, F-35C is similar to the USAF version with an increased wing area and carrier capable landing gear and arresting system. The next version, F-35B was a major technological leap by incorporating short takeoff and vertical landing capability. This ability was accomplished using a lift fan located right behind the cockpit which is powered by a drive shaft connected to the front of the engine. Transition from level flight to vertical flight is accomplished by vectoring the exhaust, lift fan and roll nozzles in the wings. A complex set of doors open above and below the lift fan and doors below the engine nozzle open to allow the exhaust nozzle to rotate down for lift. Two small doors open under the wings exposing roll control fans that are driven by the engine.
Common to all airframes is advanced avionics with imagery projected on a helmet mounted display providing situational awareness, infrared imagery, weapons targeting and the ability to virtually see through the aircraft in all directions. The F-35B does not have an internal gun like the F-35A does however a multi mission pod can be carried on the aircraft centerline carrying a 25mm, 4 barrel rotary gun and only 220 rounds. Bombs and missiles can be carried internally in a weapons bay as well as external hardpoints under the wings when stealth is not required.
Kit
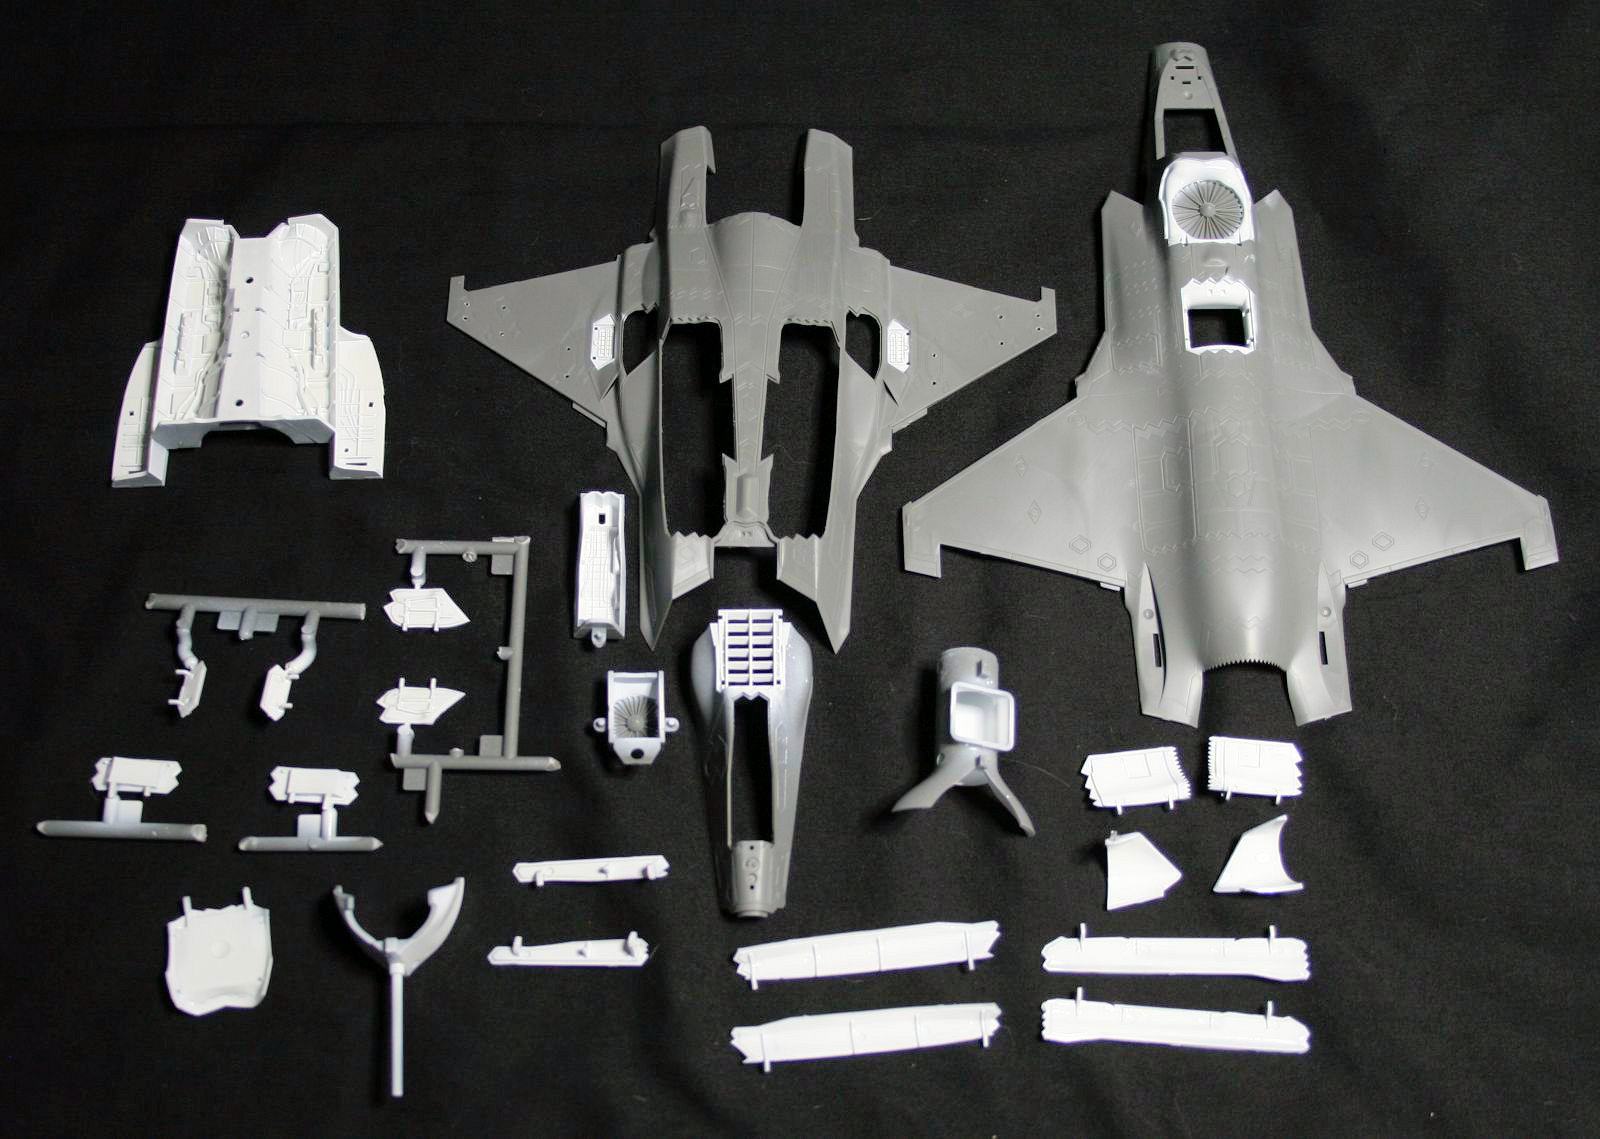
Compared to Academy’s F-35A, the F-35B box is considerably larger, comparable to a 1/48 scale kit. The larger box is required for all the extra options for the F-35B on larger sprues than the F-35A kit (7 sprues each kit). The level of detail and fine mold features is amazing for any scale let alone 1/72 scale. The Radar Absorbent material (RAM) detail on the fuselage is slightly raised and Academy’s solution to the different color for RAM are decals saving the modeler time masking the airframe. More about that later. Weapons bay, cockpit and engine air intake detail is very impressive. The intakes are full run including the engine auxiliary intake and lift fan detail. One item that is missing, but is included on Academy’s F-35A kit is a pilot figure. I made a copy of the figure from my F-35A kit in my stash. The modeler gets a good variety of weapons to mount on the aircraft from precision guided bombs, AIM-9X sidewinders, AIM-120 missiles and a gun (multi mission) pod.
Build
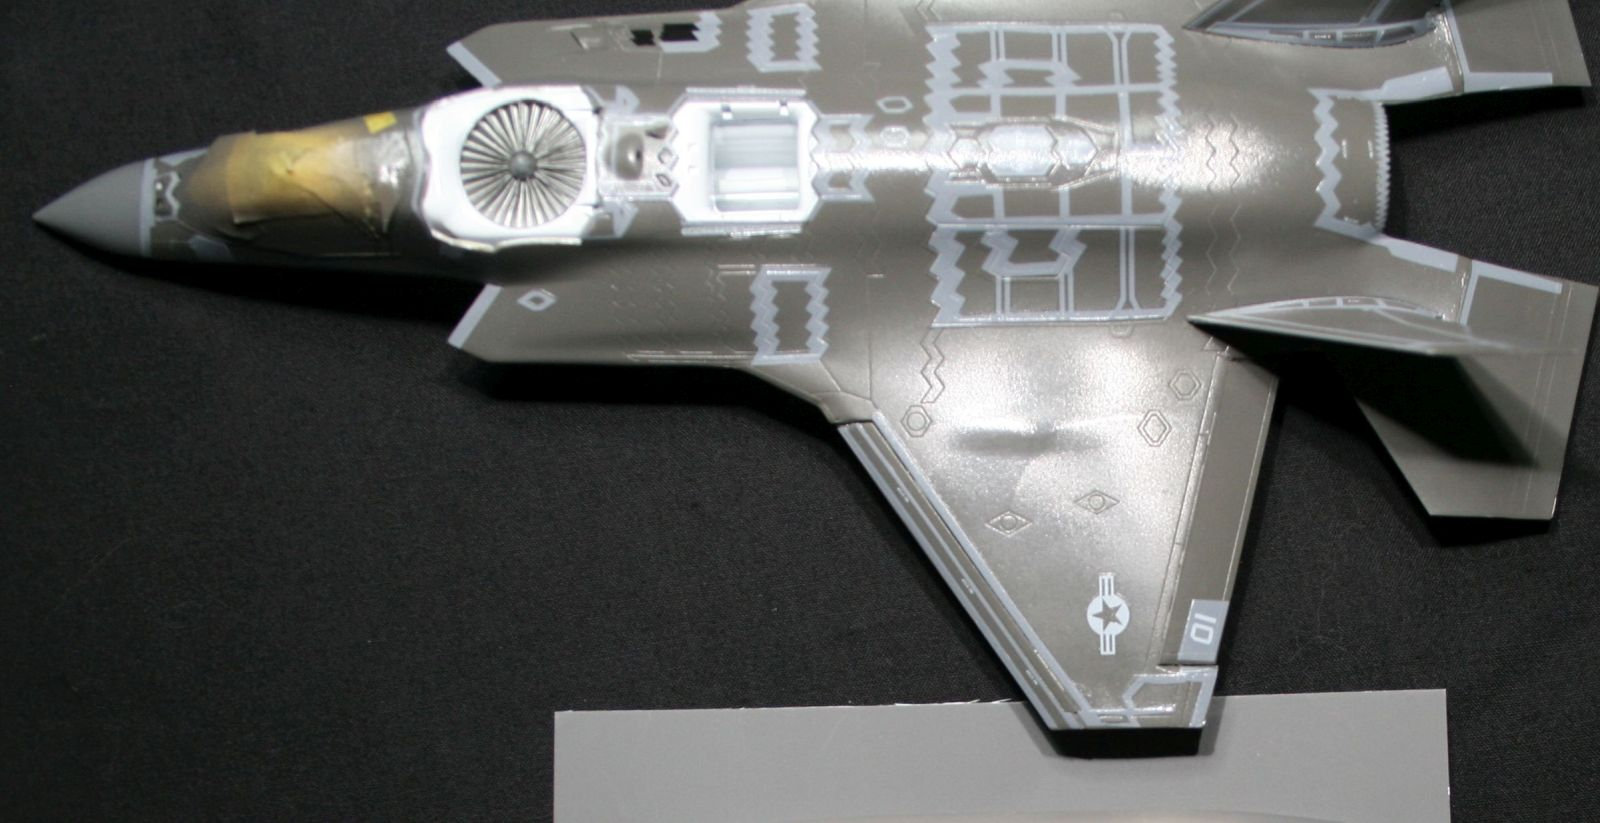
The first thing to decide is which configuration to build. In flight, hover, on the ground, weapons bay opened or closed, external pylons or stealth mode. If mounting weapons pylons, gun pod or radar reflectors, you will need to drill holes ad directed. I planned on building mine in hover with the addition of a clear rod to suspend the model from a base. Provisions for the clear rod will be added in this build. One thing I noticed at the end of the build is the gun pod will not fit if the inner weapons bays are open with the AIM-120 missiles mounted. After your decision is made on configuration, you are instructed to assemble the lower fuselage. I delayed that portion until the engine intake with bypass duct was assembled and painted (note a couple ejector pin marks to be filled). The reason for this is that the forward lower intake portion is part od the weapons bay molding. I wanted to make it easy to fill any seams when the intake assembly is joined to the weapons bay. The intake and weapons bay assembly can now be put in the lower fuselage. Reliefs for the intake are located where the white portion meets the fuselage color.
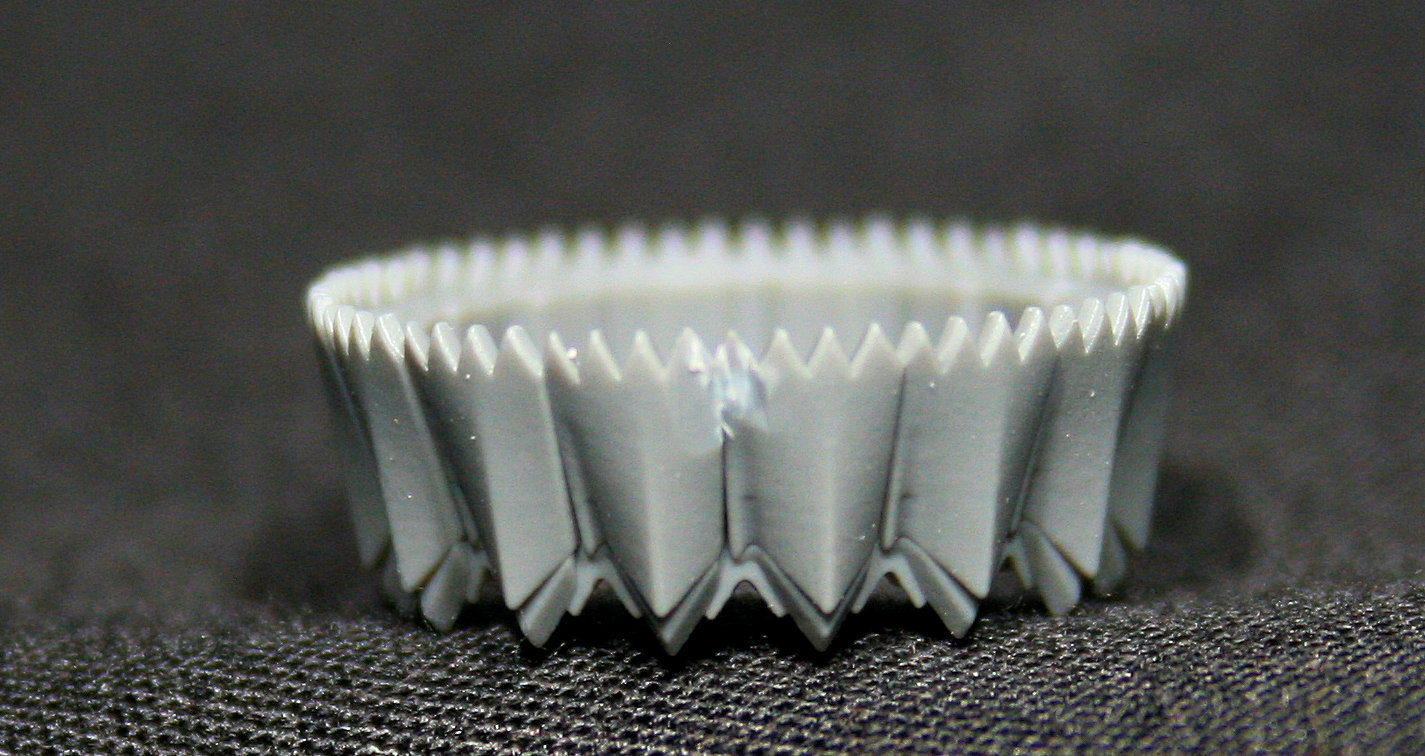
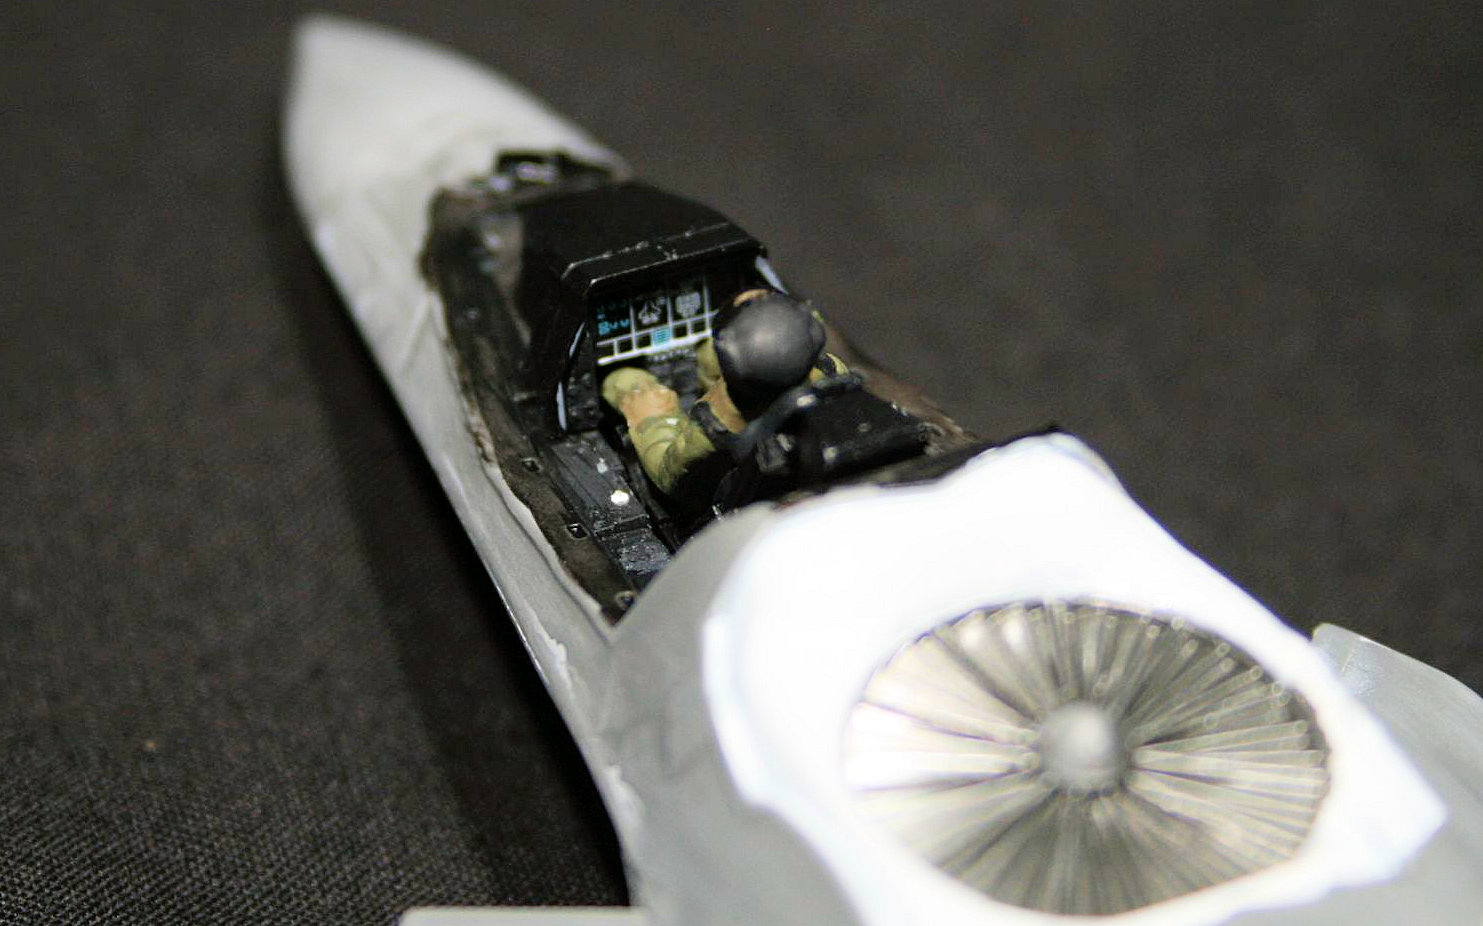
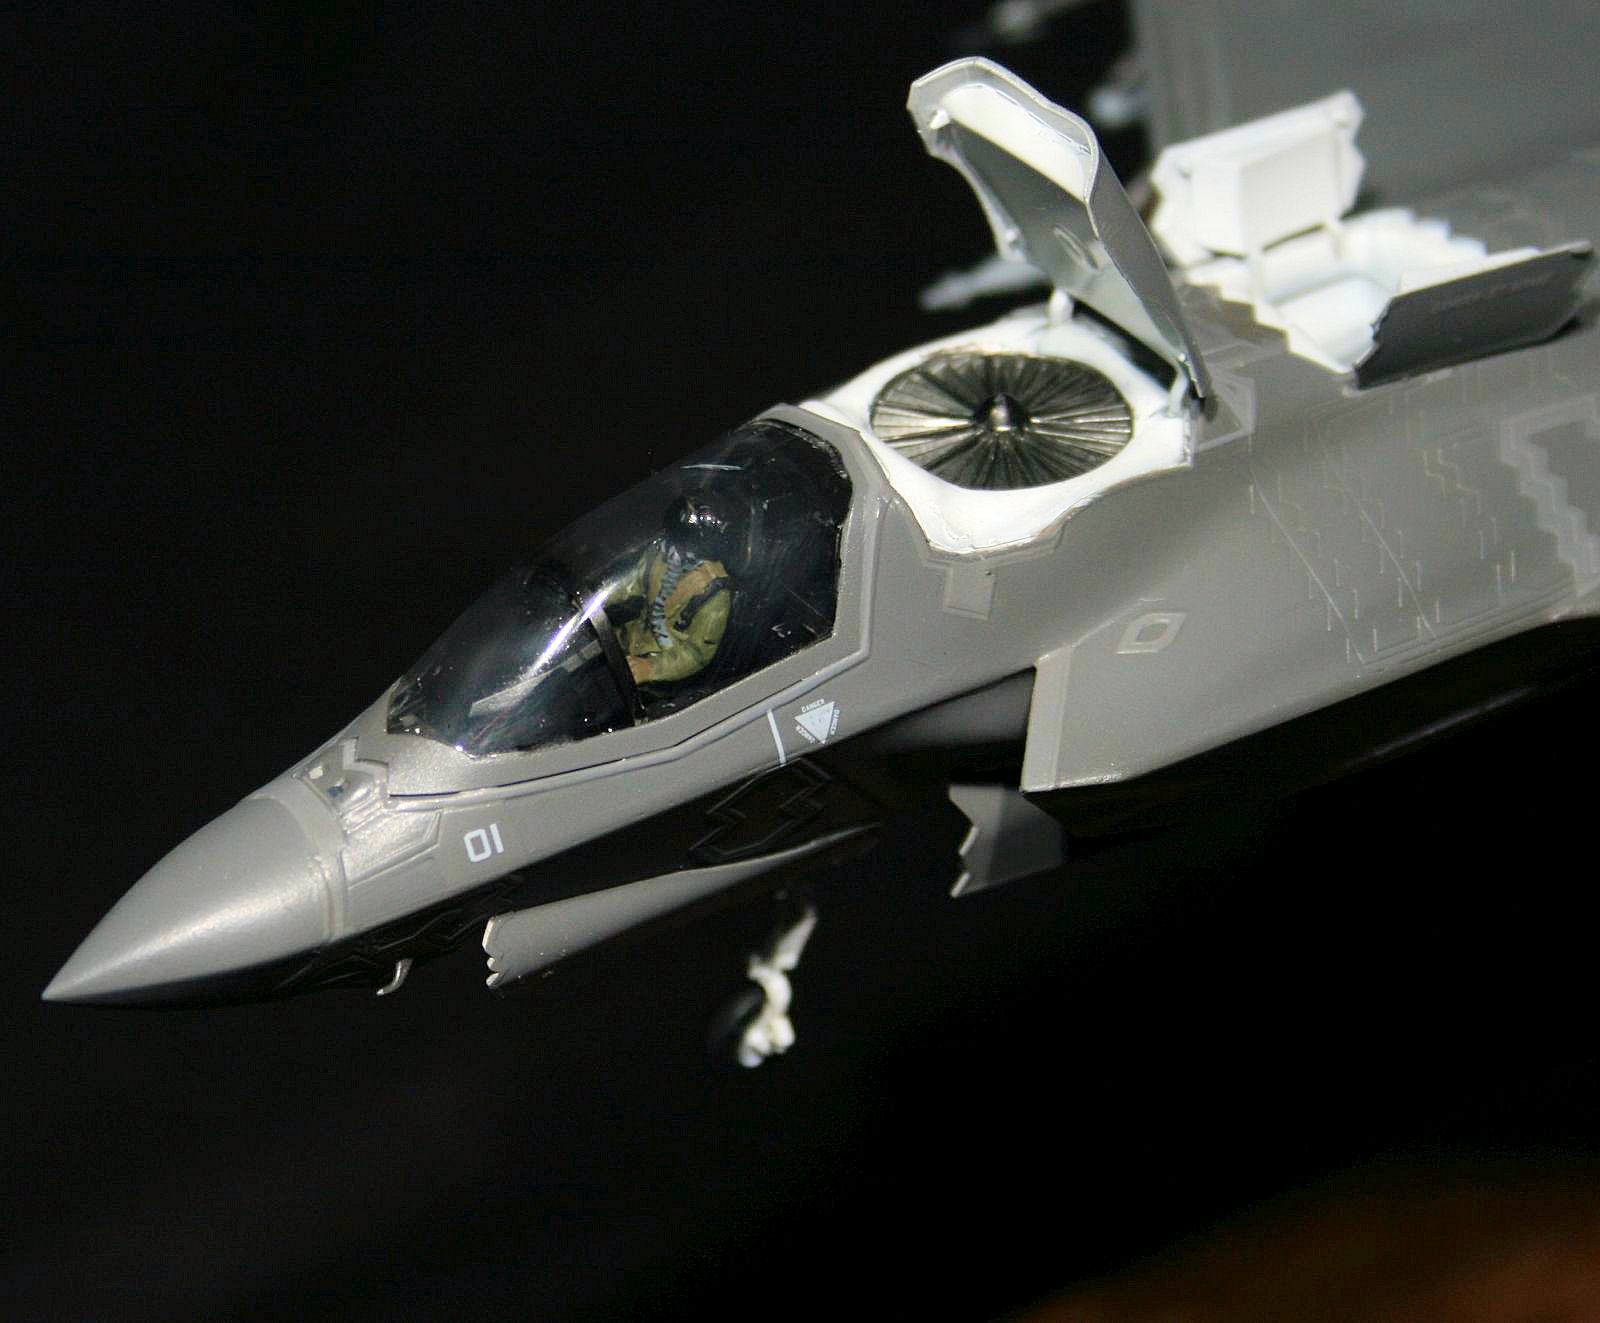
Next item to work on is the cockpit which detail is good for 1/72 scale. There are options to apply decals however you may need to remove the raised detail to add the decals. This is not mentioned in the instructions. The seat, throttle, stick and instrument panel can be left off until later and easily installed after the upper fuselage is attached. Right behind the cockpit is the lift fan which is installed on a small section of lower fuselage and nose landing gear. Make sure the fan and ducting is painted before assembly since the guide vanes prohibit painting at a later time. In either flight configuration, the exhaust can be installed at a later in the build and the engine bay is the same so installing just the bay in the fuselage will save you the difficulty of masking around the exhaust. Now the upper, lower aft, lower forward fuselage and engine bay can be assembled.
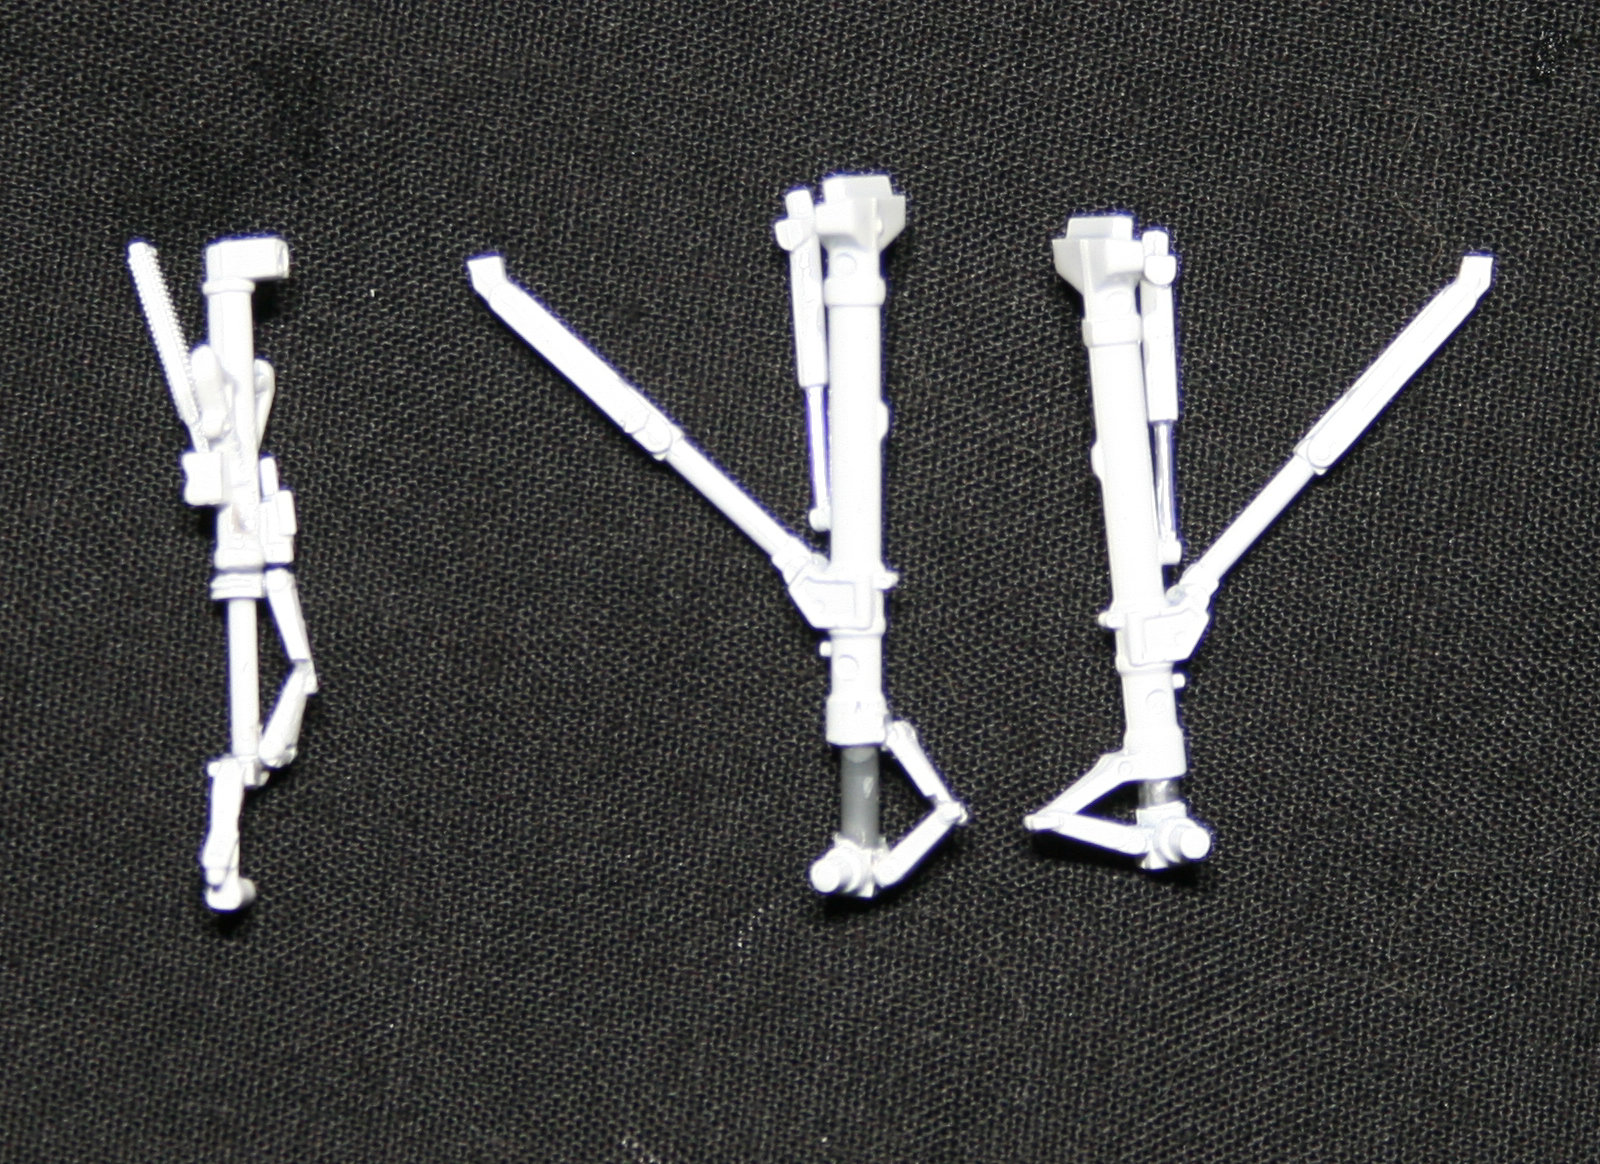
Moving on to installing wing flight control surfaces and radome as instructed on step 7 then I skipped to step 13 to add the remaining flight surfaces (rudder and elevator). Each of the flight controls are rigidly attached and did not pose a problem handling the build and damaging these surfaces. Once step 13 was complete, I completed the cockpit, added a pilot figure and closed it up in the canopy. Note that there is a very delicate canopy framing that goes inside the clear canopy. Take extreme care removing this from the sprue and attaching it inside the clear canopy. The remaining sub-assemblies were made following instructions for later installation after painting & decaling was completed. I did modify the landing gear by cutting the oleo struts and extending the landing gear as it would be for in flight.
Painting and Decals
I have been looking into what the “true color” of the F-35 is for years and I still have a few questions. From what I have learned is the closest match to the primary color is gray, 36170 per AMS-STD-595 (formerly Fed-STD-595C). It has been called “Have glass” for the reflectivity seen in the paint as well. The paint may not follow AMS standards (secret mixture) and just be close to 36170, it may be officially 36170 or something else I am not 100% sure. Bottom line is paint your model to where you are happy with the results. With that in mind, I took the scenic route in painting this F-35B.
Academy has a nice feature (which is probably the reason for the larger box) of providing a duplicate door for nearly ever part of the aircraft. A complete set for in flight and hover/gear down doors are provided. This really helped when painting since I used the “in flight” doors as masks during painting saving a bunch of time. First I tested four different brands of paint that claim to be 36170 or F-35 paint. One was completely off the charts incorrect and one was close but I could not get a decent texture. Down to the last two, I opted to the darker gray after looking at a few photos. After paint was applied, it did look a little dark but not too bad. The radome was painted using a different brand of 36170 which was a lighter shade. Academy provided a nice but time consuming fix for painting all the RAM areas which is typically a little lighter than the primary 36170 color. There are about 50 RAM decals to apply and you need to work in stages. Three days later (can only work an hour or two a night) all the RAM decals were applied. What I noticed is the sharp contrast between the darker main color and very light RAM decals that did not match any reference photos out there. I was really getting concerned on what to do at this point and not happy with the base color. Since all the RAM decals were on and only a couple of the unit markings, I took a leap of faith and the results were better than I could ever expect.
The solution to reducing the contrast between the RAM and base color was simple. Using the same color used on the radome (which was a different brand of 36170 than the base color), I sprayed a light mist of paint over the entire model including the RAM decals. This lightened the primary base color slightly while darkening the RAM color. Controlling how much paint you applied determined the contrast of colors. On my next F-35, I will use this same technique from the start. Having spent an afternoon next to a F-35C in a hangar last year, I had a good perspective on RAM to 36170 contrast should be. Looking online, I do see quite a bit of contrast variations, especially in different lighting angles. Bottom line, build your F-35 as you like, there is a lot of variations to settle with. As for the brands of paint that made the cut was MCW Gray #2141 (darker color but had the brownish tone I liked) and final top coat MRP-280 “Camouflage gray 36170.
The remaining decals went on without any issues and the decal quality is nearly perfect. There are a few areas that decals are not called out in the instructions (RAM and stencil decals). There are raised areas (probably RAM) surrounding the landing gear and weapons bay doors that there are not any decals for. Looking at the real aircraft, the outer portions of these doors are hard to tell color differences.
Final Assembly
After the finish and airframe decals are completed, time to finish the little details. Jumping back to step 8, adding the landing gear (modified for in flight). The gear has nice detail including the wheels. During the lower fuselage assembly, the landing gear struts were assembled then removed from the airframe and painted. The landing gear is easily installed at this point. Installation of the internal weapons bay missile pylon is something Academy needs to look at and is probably the few areas that was an issue. On the real aircraft, the missile pylon has a hinge point for when the inner weapons bar door opens. The position of the pylon rotates too far down placing the missile fairly low and forcing the weapons bay door to nearly vertical. The issue this causes in that the multi mission (gun) pod to be a tight fit between the doors. Looking at reference photos, while hovering, the inner weapons bay doors are at about 45 degree angle from horizontal. On the kit, (I assume the same on the real aircraft) the inner doors can be either fully open or between 45 degrees to fully closed. The lower lift fan doors will hit the weapons bay doors. To fix mine, I bent the missile pylon so the AIM-120 was further outboard and hung the bay door about 45 degrees. If the missile pylon can be made in two pieces to rotate the missile further inside the weapons bay, this would help. The other issue in the weapons bay was mounting of the bombs. The GBU-31 barely fits in the weapons bay and locating pins (3) need to be removed to install the bombs. The external weapons went on without any issues.
Conclusion
The Academy F-35B has been one of the most enjoyable builds I have ever completed. From extreme attention to detail to fit of parts is impeccable. I would almost call this a “shake & bake” kit but there are some areas to can be a challenge so I recommend this kit for experienced modelers, especially if opening the weapons bay, landing gear extended or in “hover” configuration. Academy really raised the bar with this kit by giving the modeler a potential contest show stopper. There area a few areas that aftermarket companies should step in and make to enhance this kit more but this kit offers a lot more than other brands in this scale. Some suggestion to aftermarket companies, exhaust nozzle actuator details for when in hover, extended landing gear oleo strute for “hover” and correction of the AIM-120 launch rail inside the weapons bay. It is really hard to Academy to make this any better for modelers. Many thanks to MRC/Academy for providing this kit to IPMS for review.


Reviewer Bio
David Horn

I have been building models since at least 8 years old and with a brief break after high school, model building started again late in college. My preferred subjects are aircraft of all eras and scales but a majority of my builds are 1/48 scale. I am the son of a USAF navigator who flew tactical airlift in Vietnam then his last 8 years he served at Altus AFB where he retired. My love of aircraft comes naturally and try to build subjects that I have a personal connection to. My day job parallels the hobby where I design full flight simulators ranging from small corporate jets, military fighter jets to the C-17. I hold a commercial pilot certificate and fly as a volunteer with the Civil Air Patrol. I really enjoy flying cadets, passing on the love of flight and inspiring future aviators.
Comments
Add new comment
This site is protected by reCAPTCHA and the Google Privacy Policy and Terms of Service apply.
Similar Reviews