
Kokusai Ta-Go w/Accessories Set
History
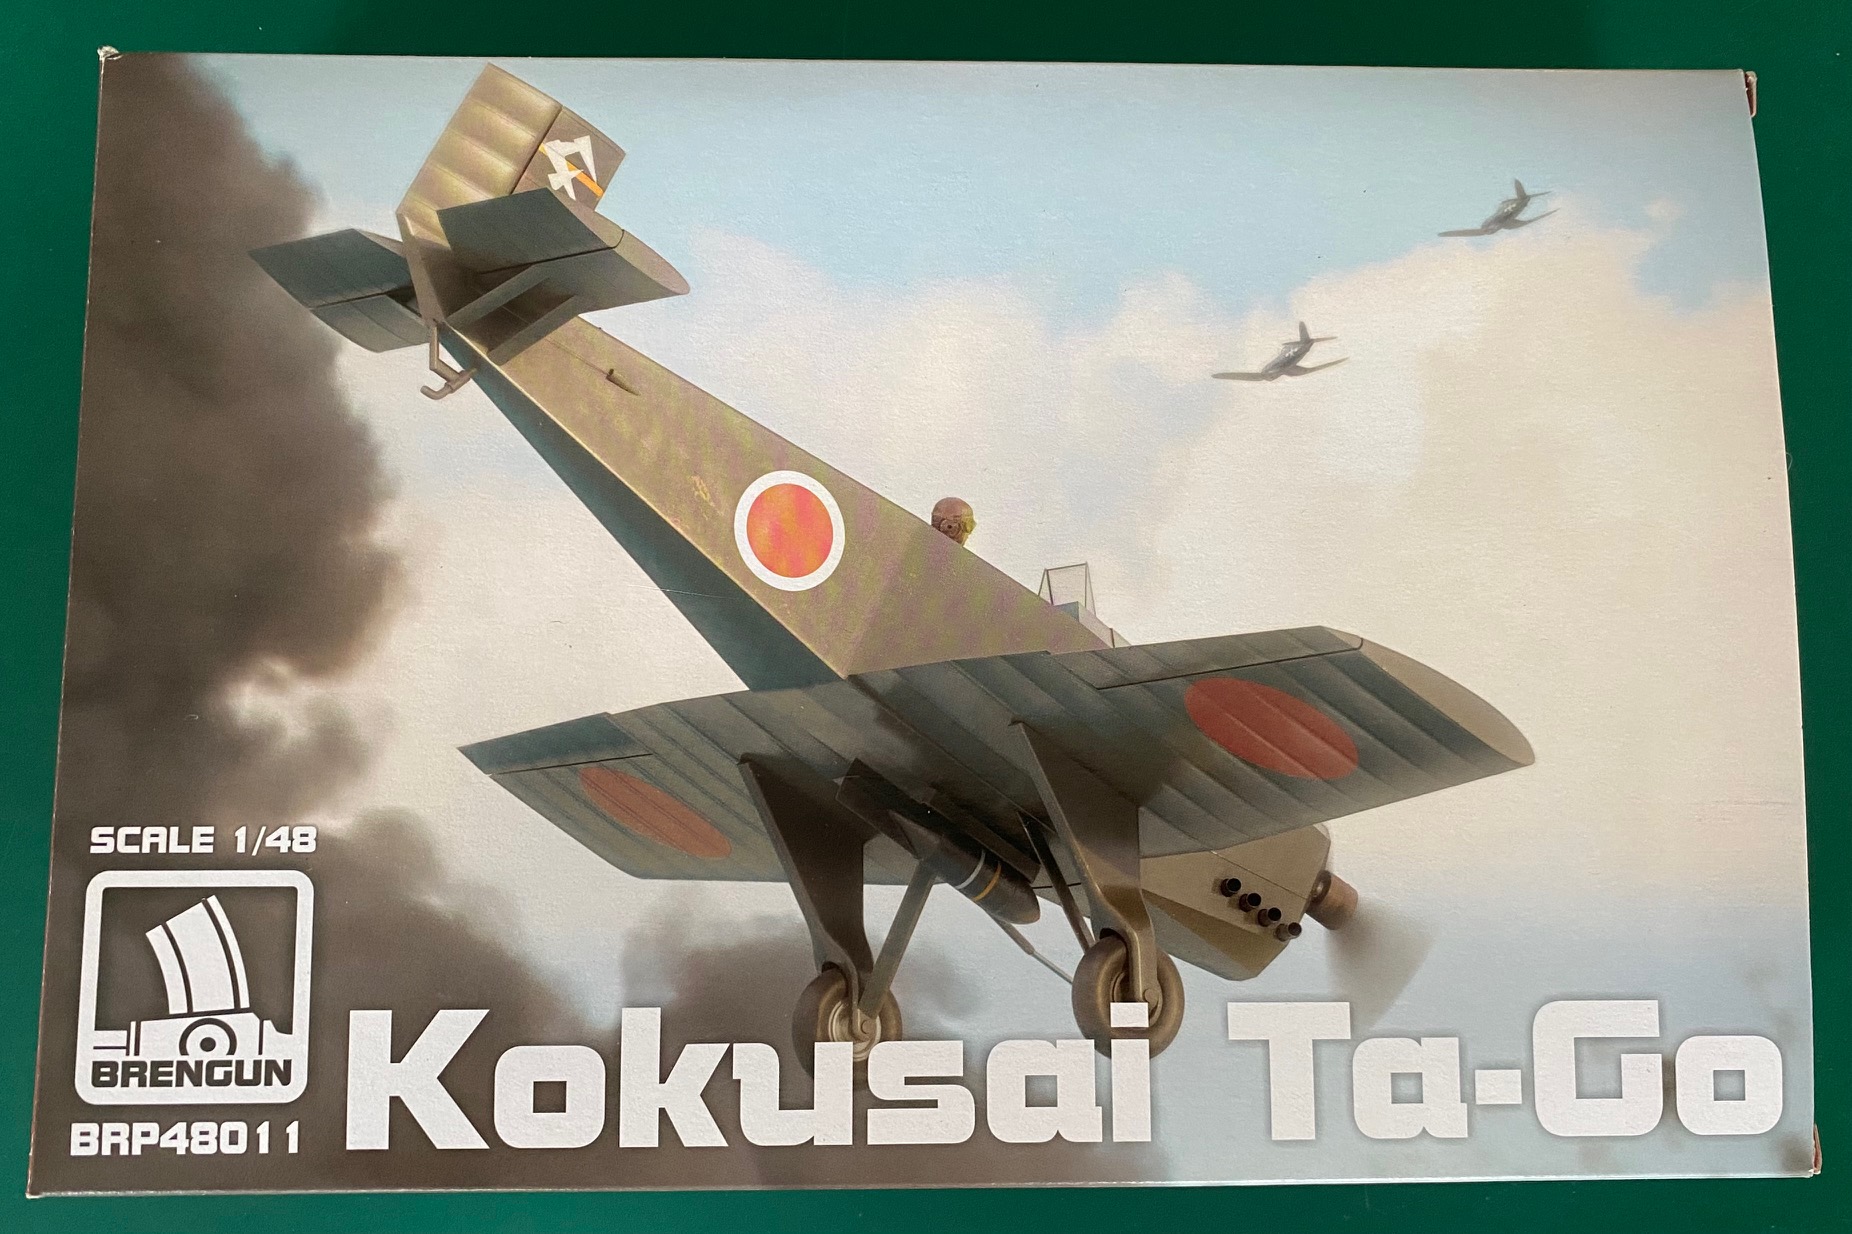
The Kokusai Ta-Go (Ki-128) was a dedicated Kamikaze attack plane designed to use non-strategic war materials in its construction. Developed by Captain Yoshiyuki Mizuyama at the Japanese Army Aerotechnical Research Institute in Tokyo, his idea was to produce a simple aircraft that could be produced in small workshops. He initially had some issues in getting his design approved and produced by the Tachikawa company at first. After having some production setbacks, he went to the Nippon Kokusai Company, which eventually gave him the backing to move forward with his project.
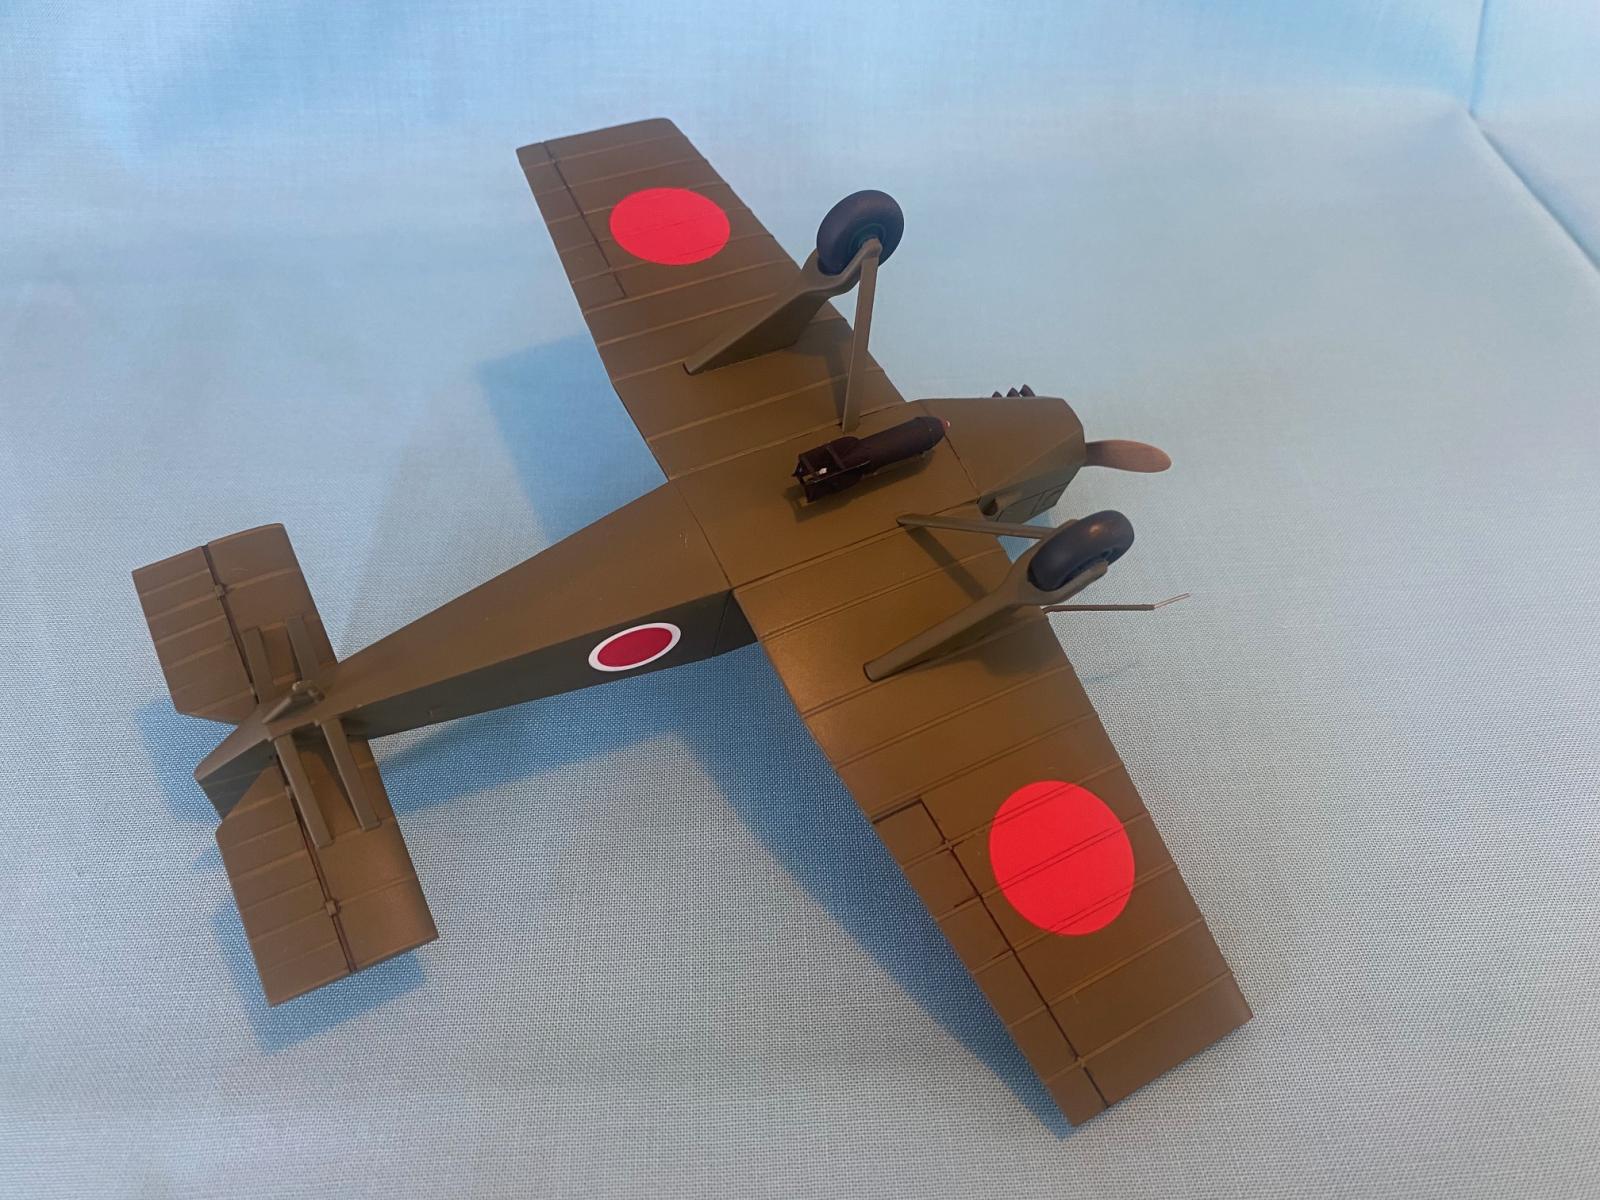
The aircraft utilized wood, plywood, and fabric for its design. Powered by a simple Hitachi Ha-47 110HP air-cooled engine, this provided the aircraft with a top speed of 120mph. Its only armament was a fixed 100kg bomb. The aircrafts design was to have folding wings to be utilized in being housed and launched from caves along the coast towards American forces.
Only one prototype was completed and tested. After its evaluation, some changes were to be made, but then the surrender of Japan halted any further construction. It is speculated that if the design had been approved by the Japanese Army, it would have been designated the Ki-128.
The Kit
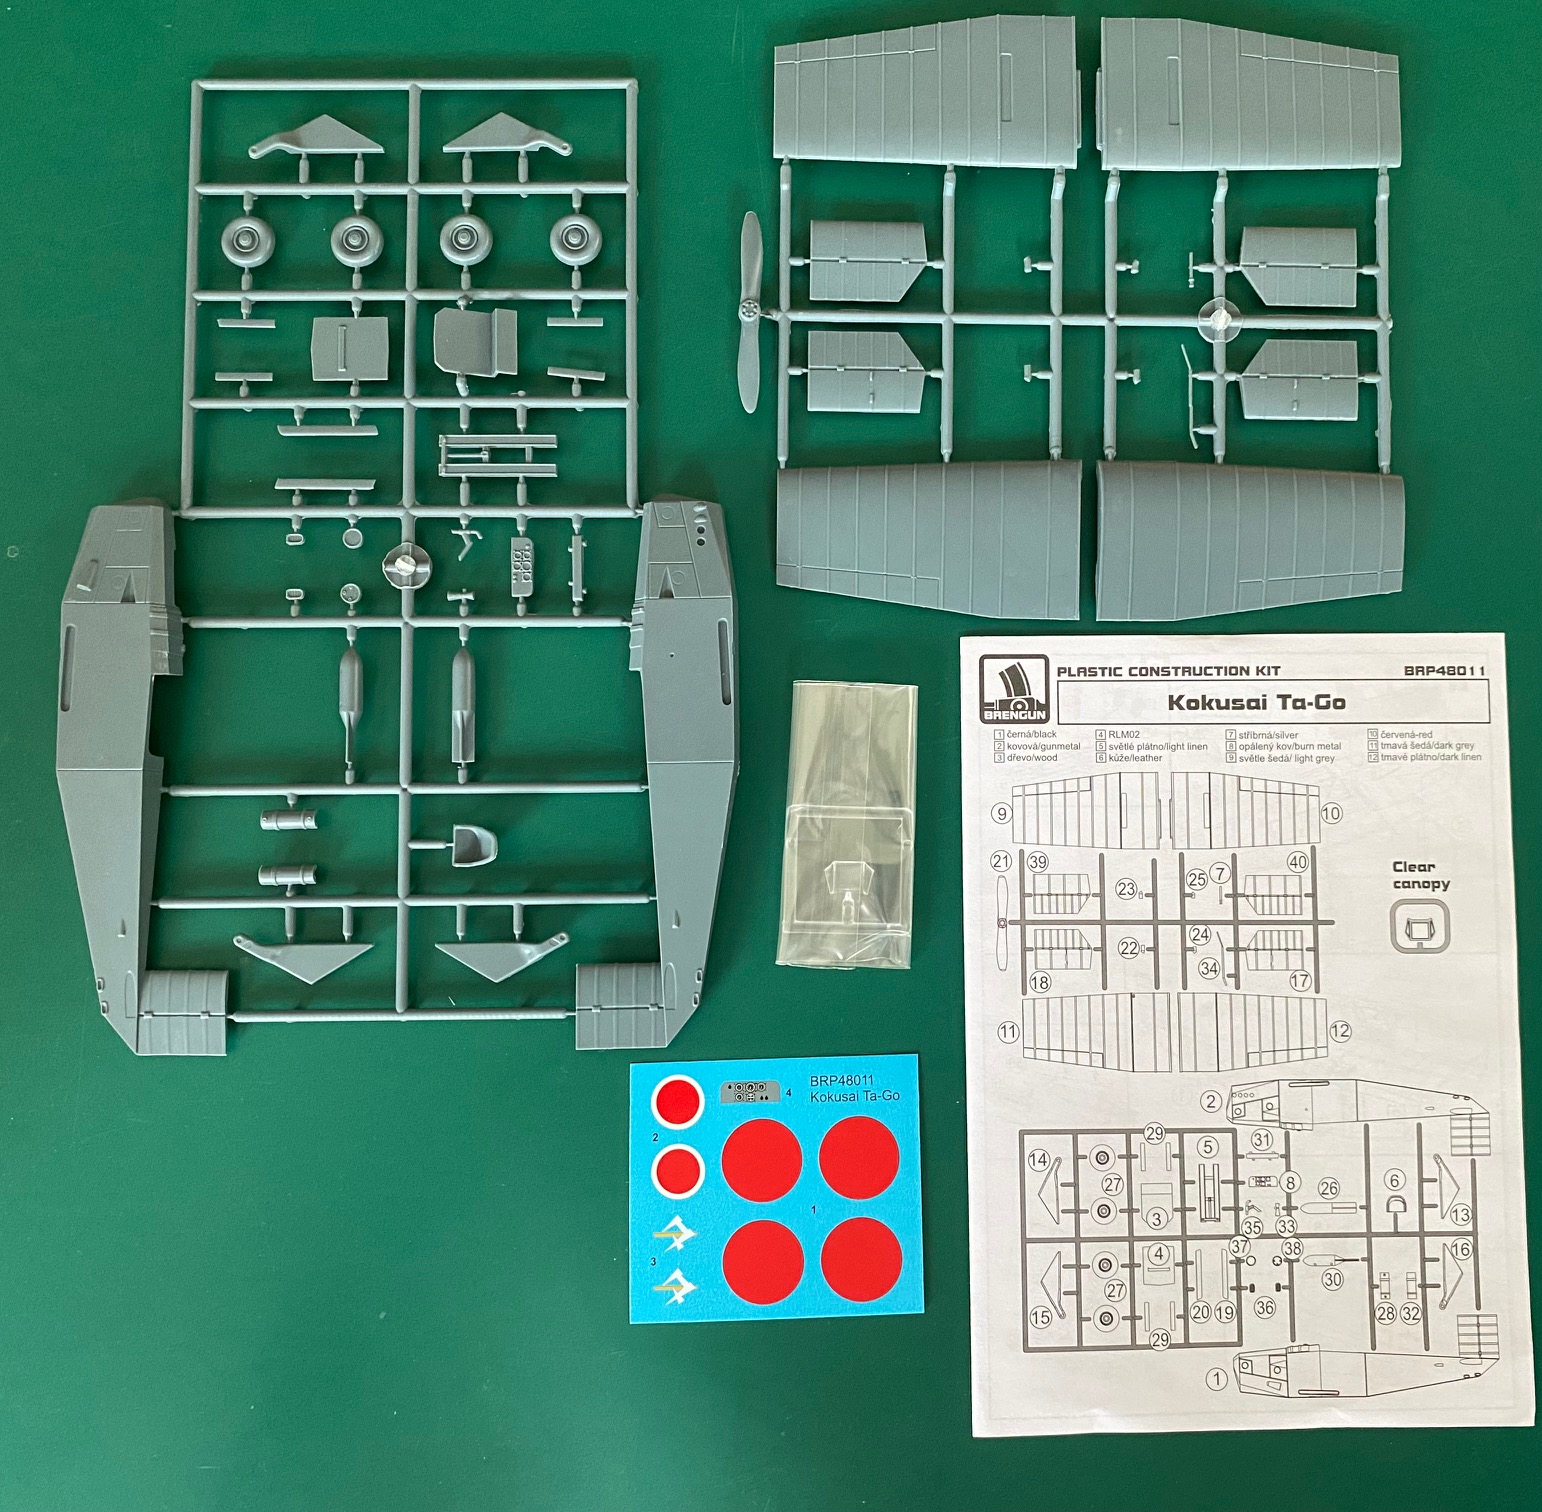
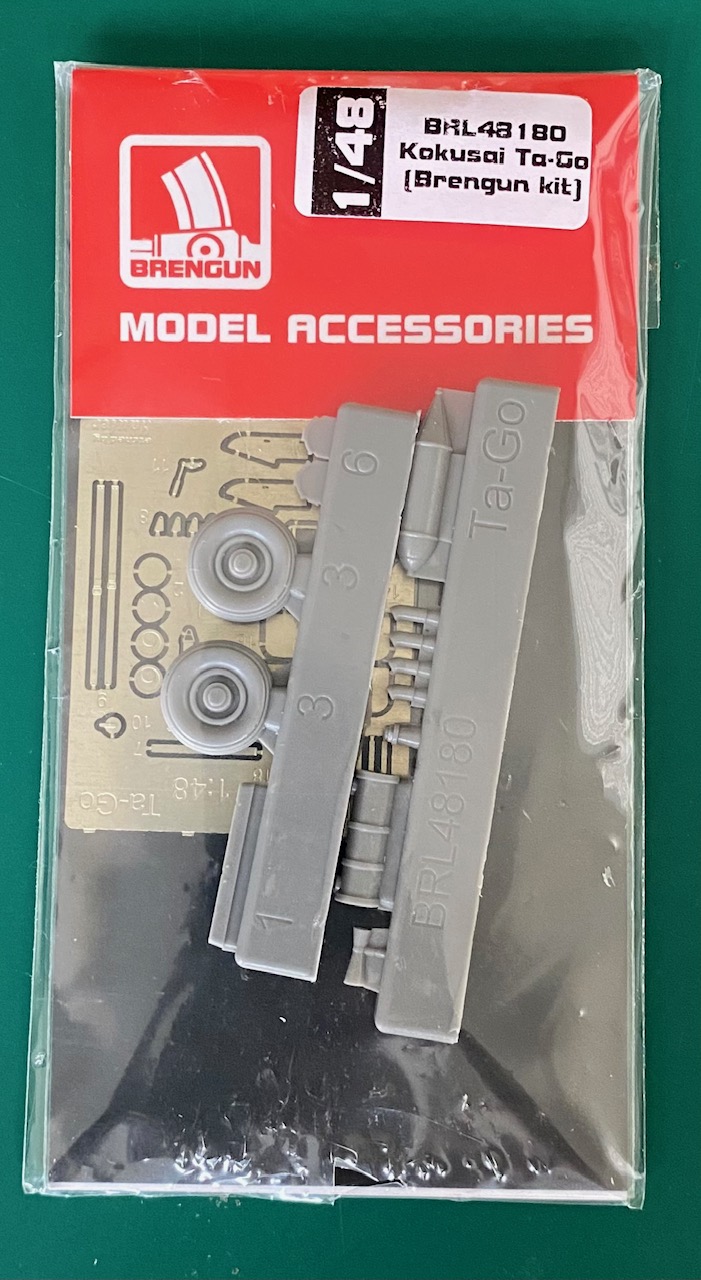
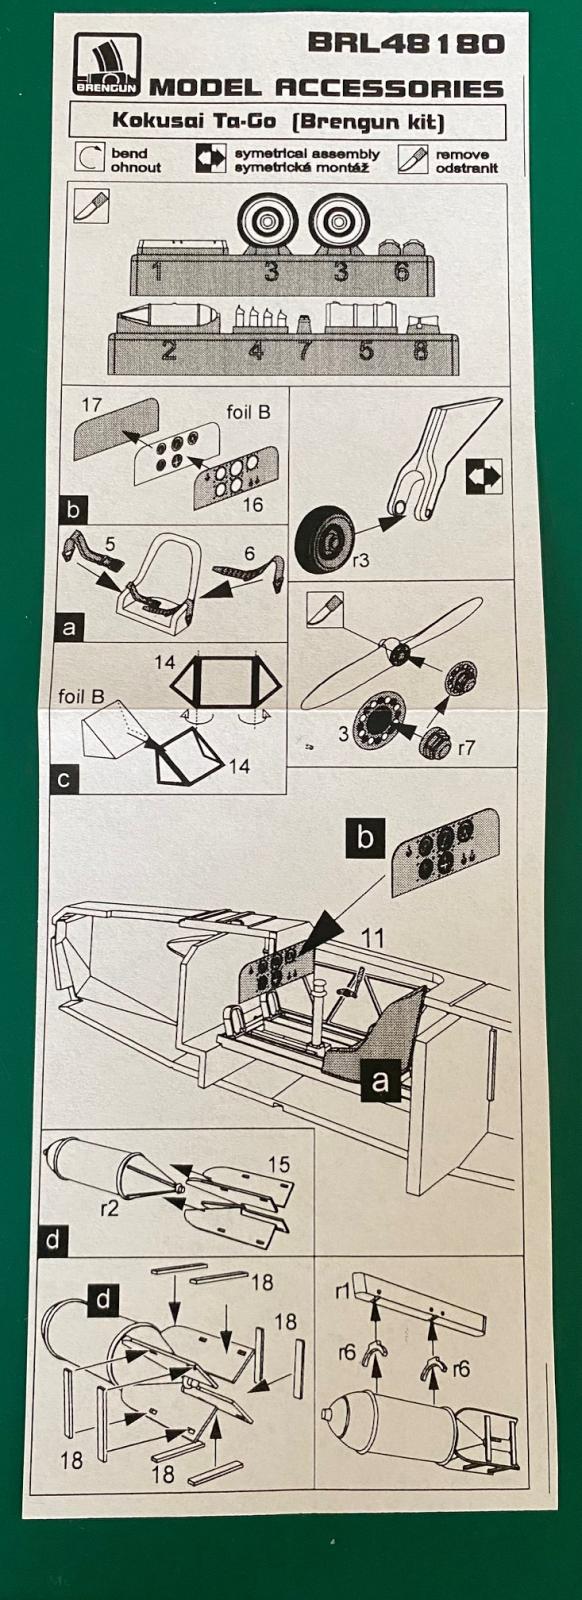
The kit was provided by Brengun, based in the Czech Republic. It is a plastic-injected kit with a total of 40 parts, with 1 clear plastic windscreen and decals. For the review, I was also provided with the Accessory upgrade kit, which included resin and photoetch details. This set replaced certain injected parts that were rather chunky and very basic in detail. This accessory set is a must-have for those looking to provide a more detailed look for the kit.
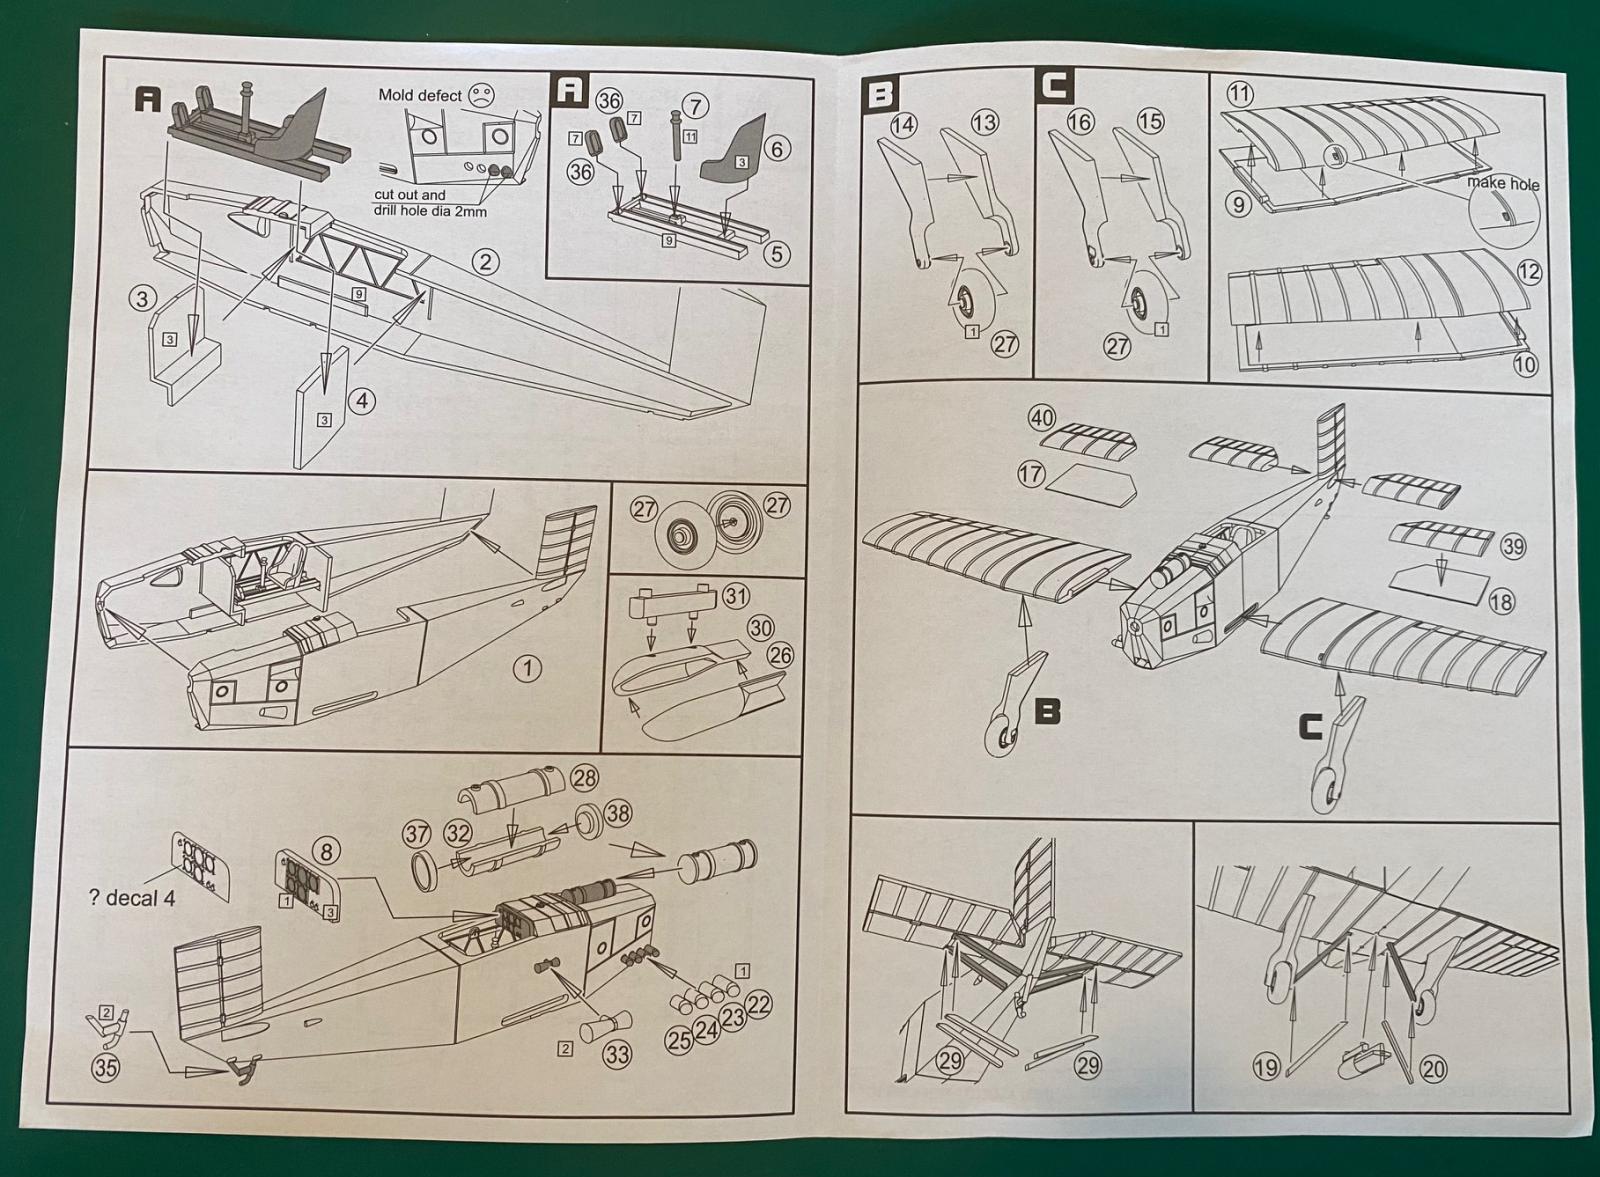
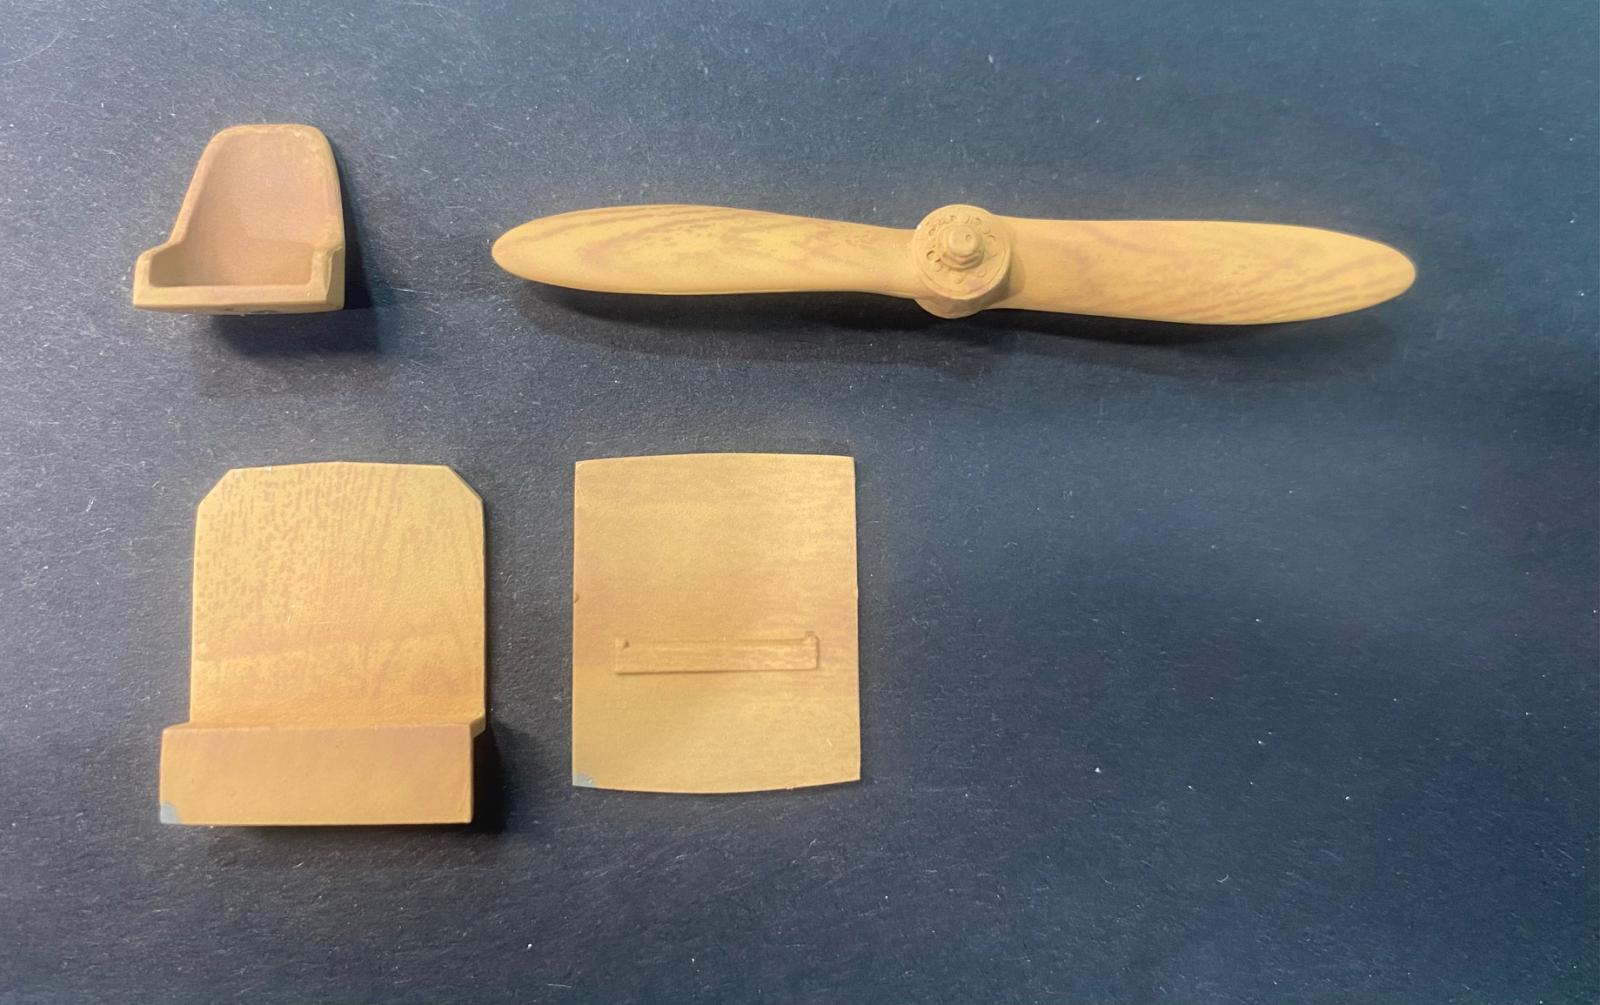
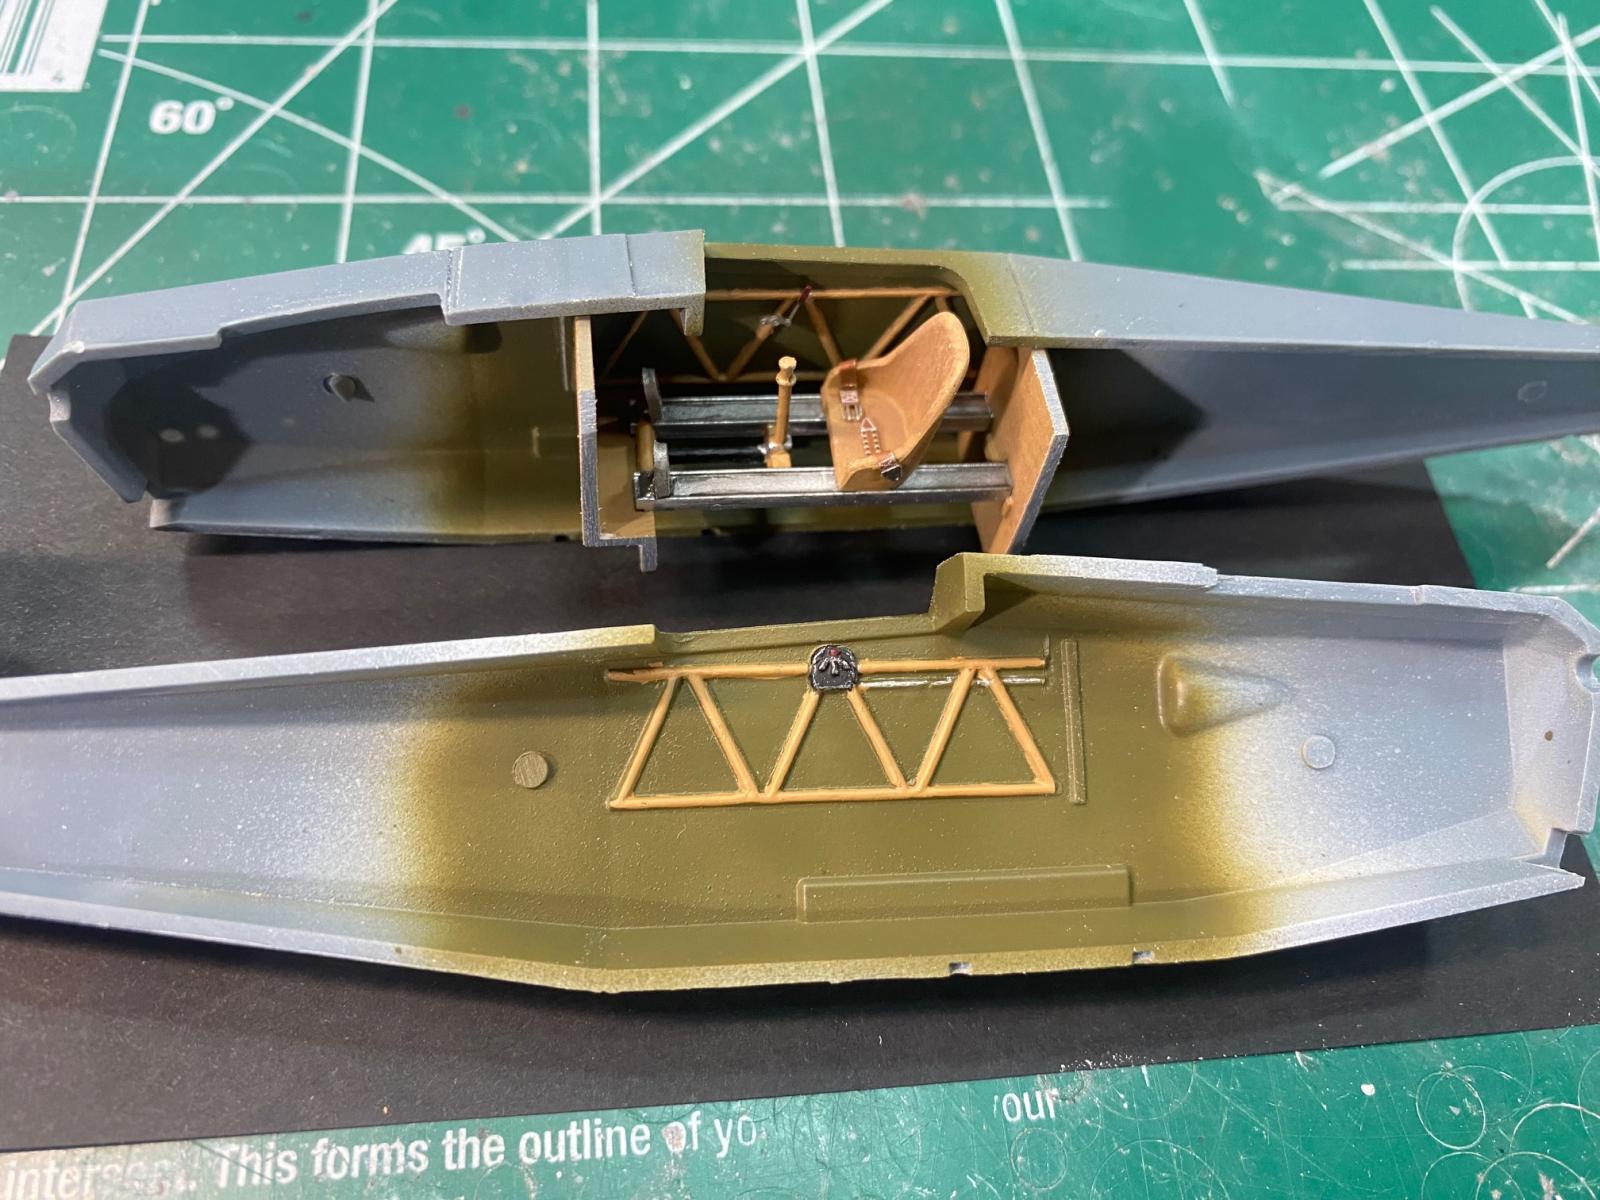
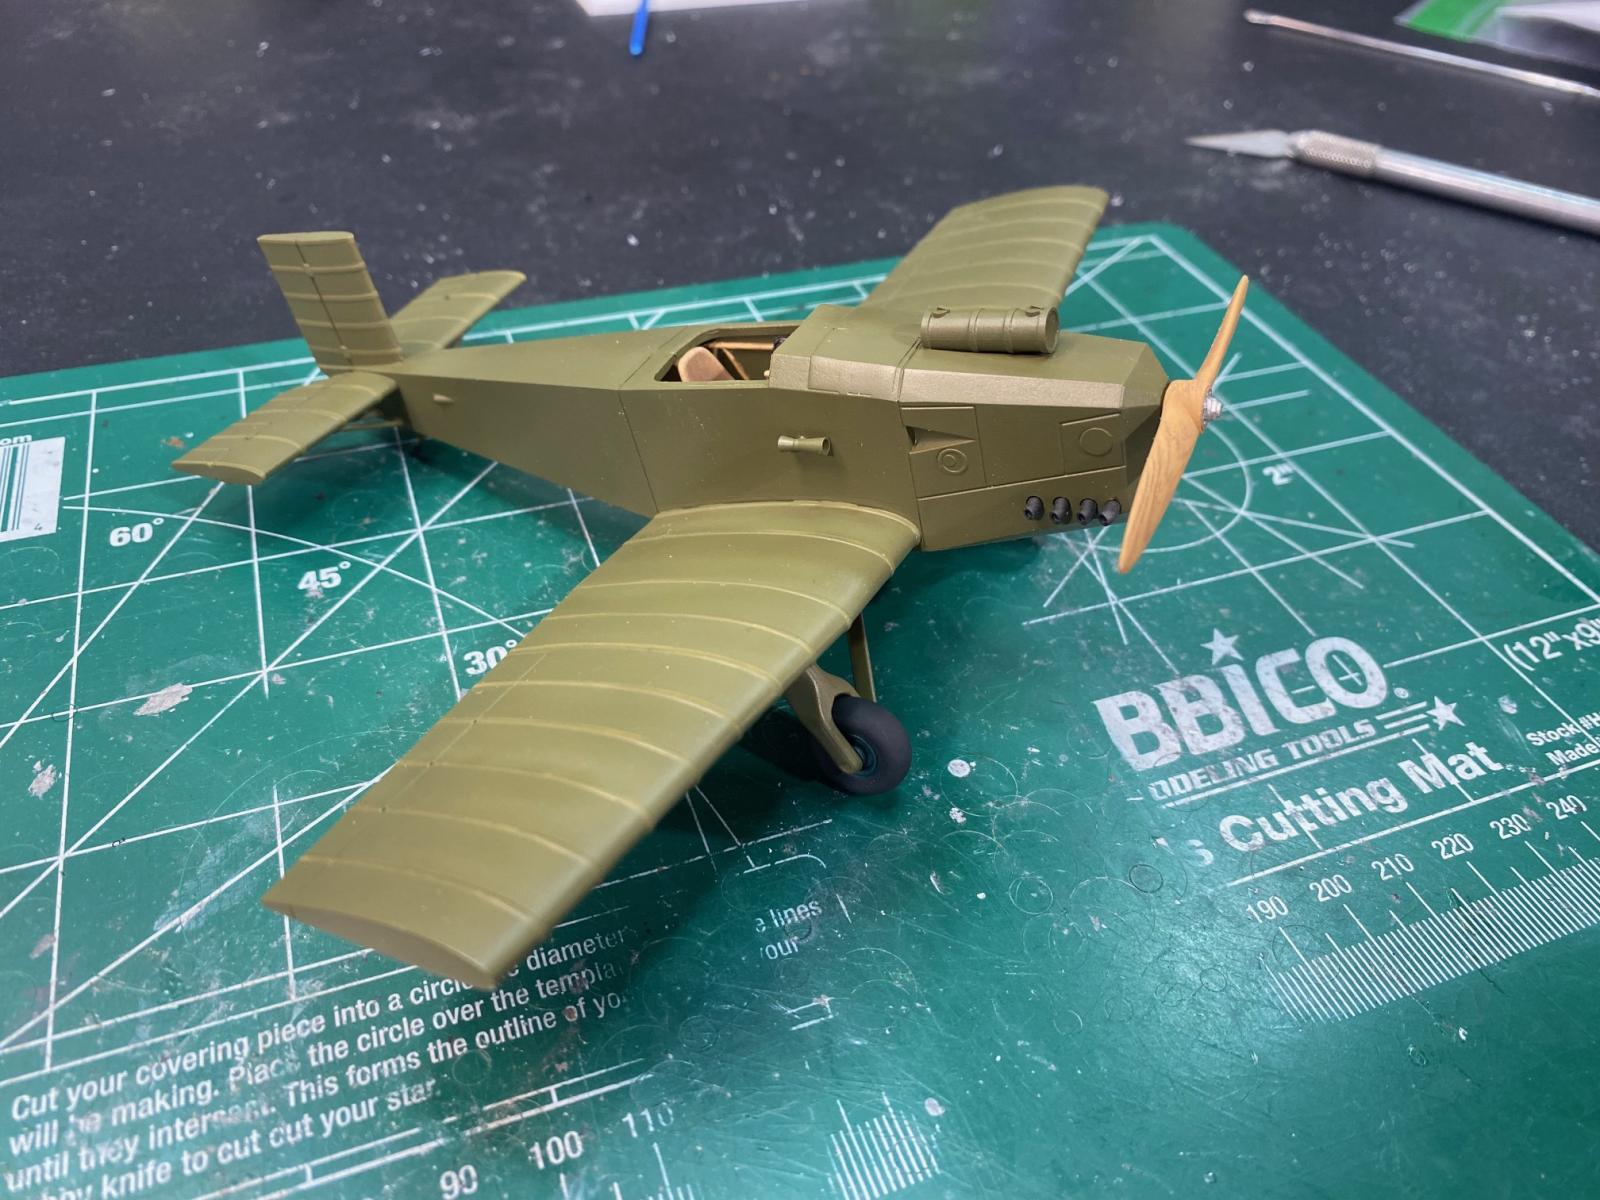
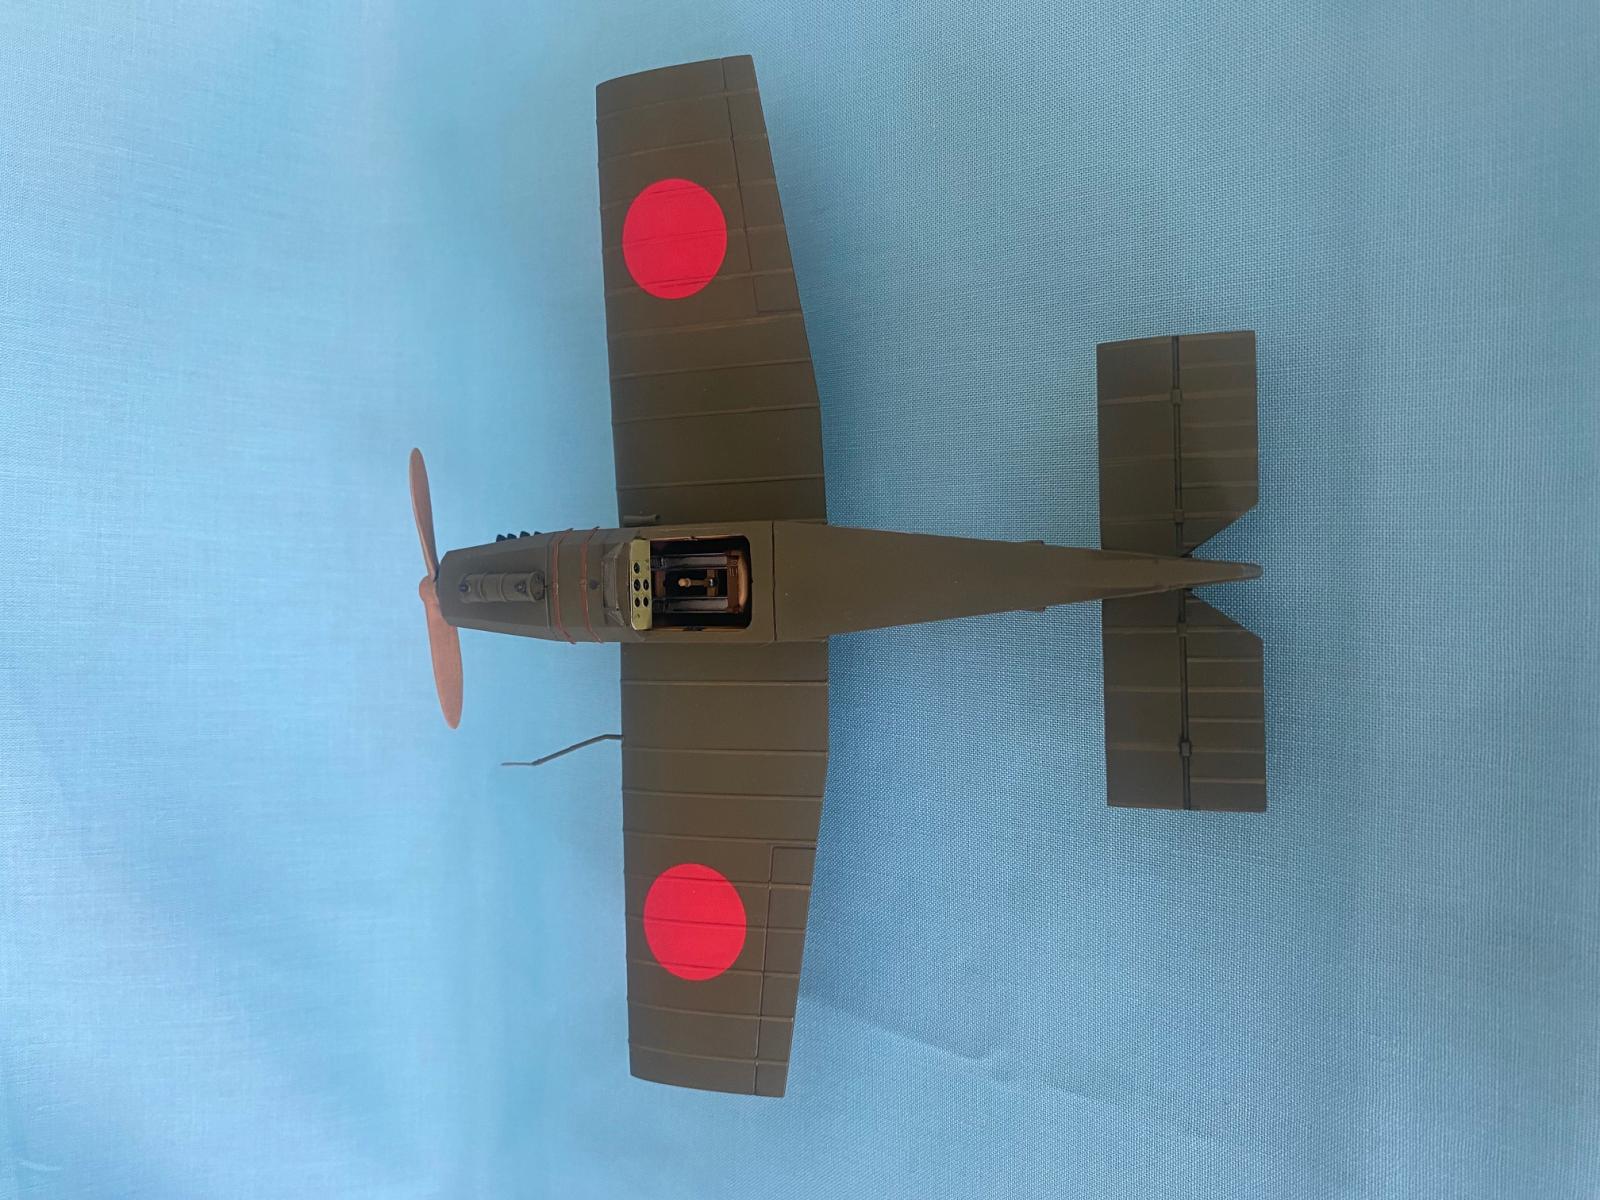
The kit construction starts out with the cockpit interior, which is very basic, just like the real thing. Being that some of the construction was plywood material, I used the Zoukei-Mura Wood Grain photo etch stencil (SWS48-03-M07) to achieve the wood grain effect. It was the first time using this, so I was extremely happy with the final results. Also, if you are utilizing the Accessory Upgrade set, you will need to pay attention to any parts you may be replacing and upgrading. In some cases, you need to remove details from the plastic or replace parts entirely.
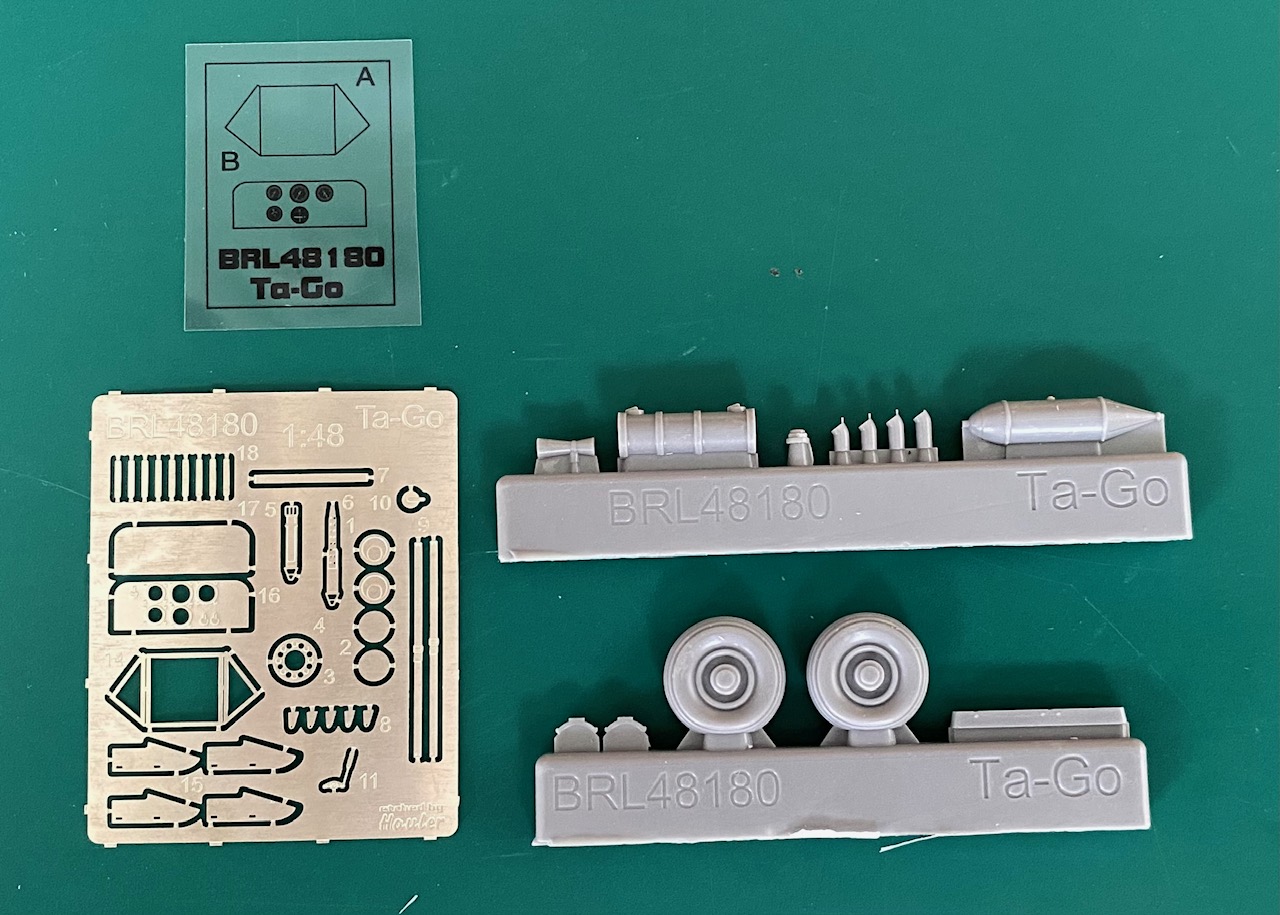
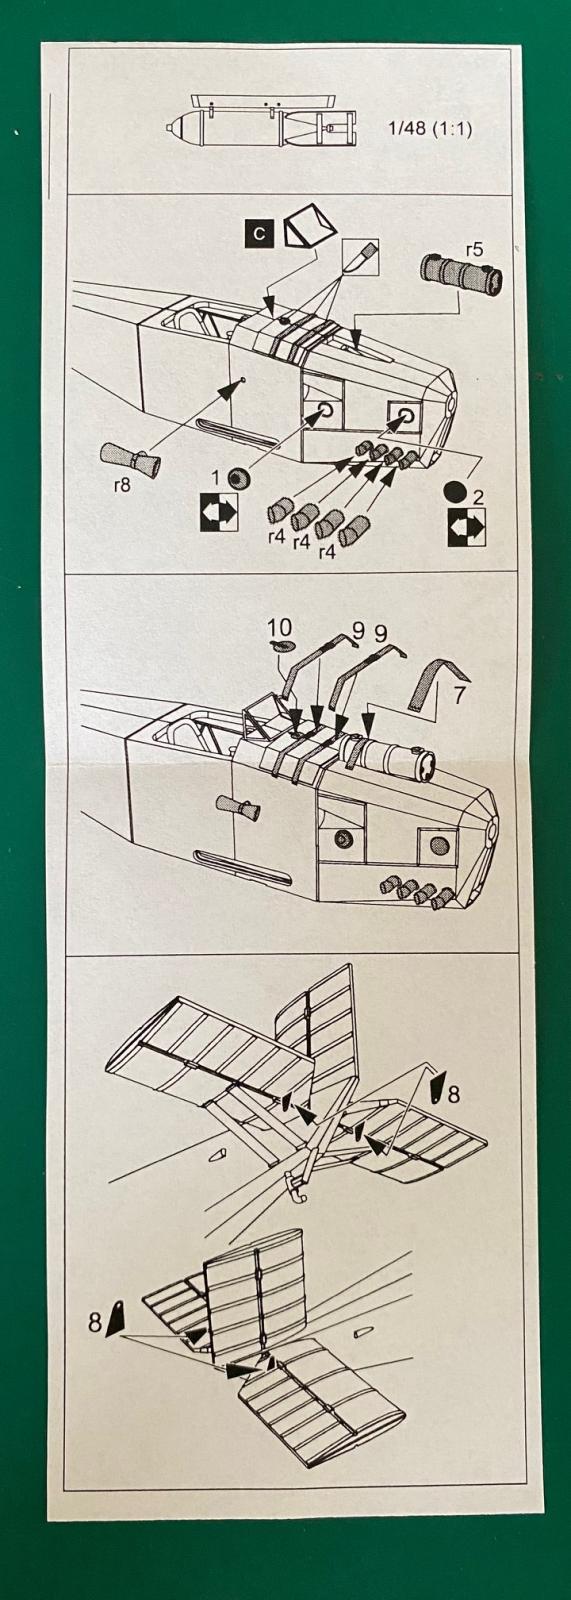
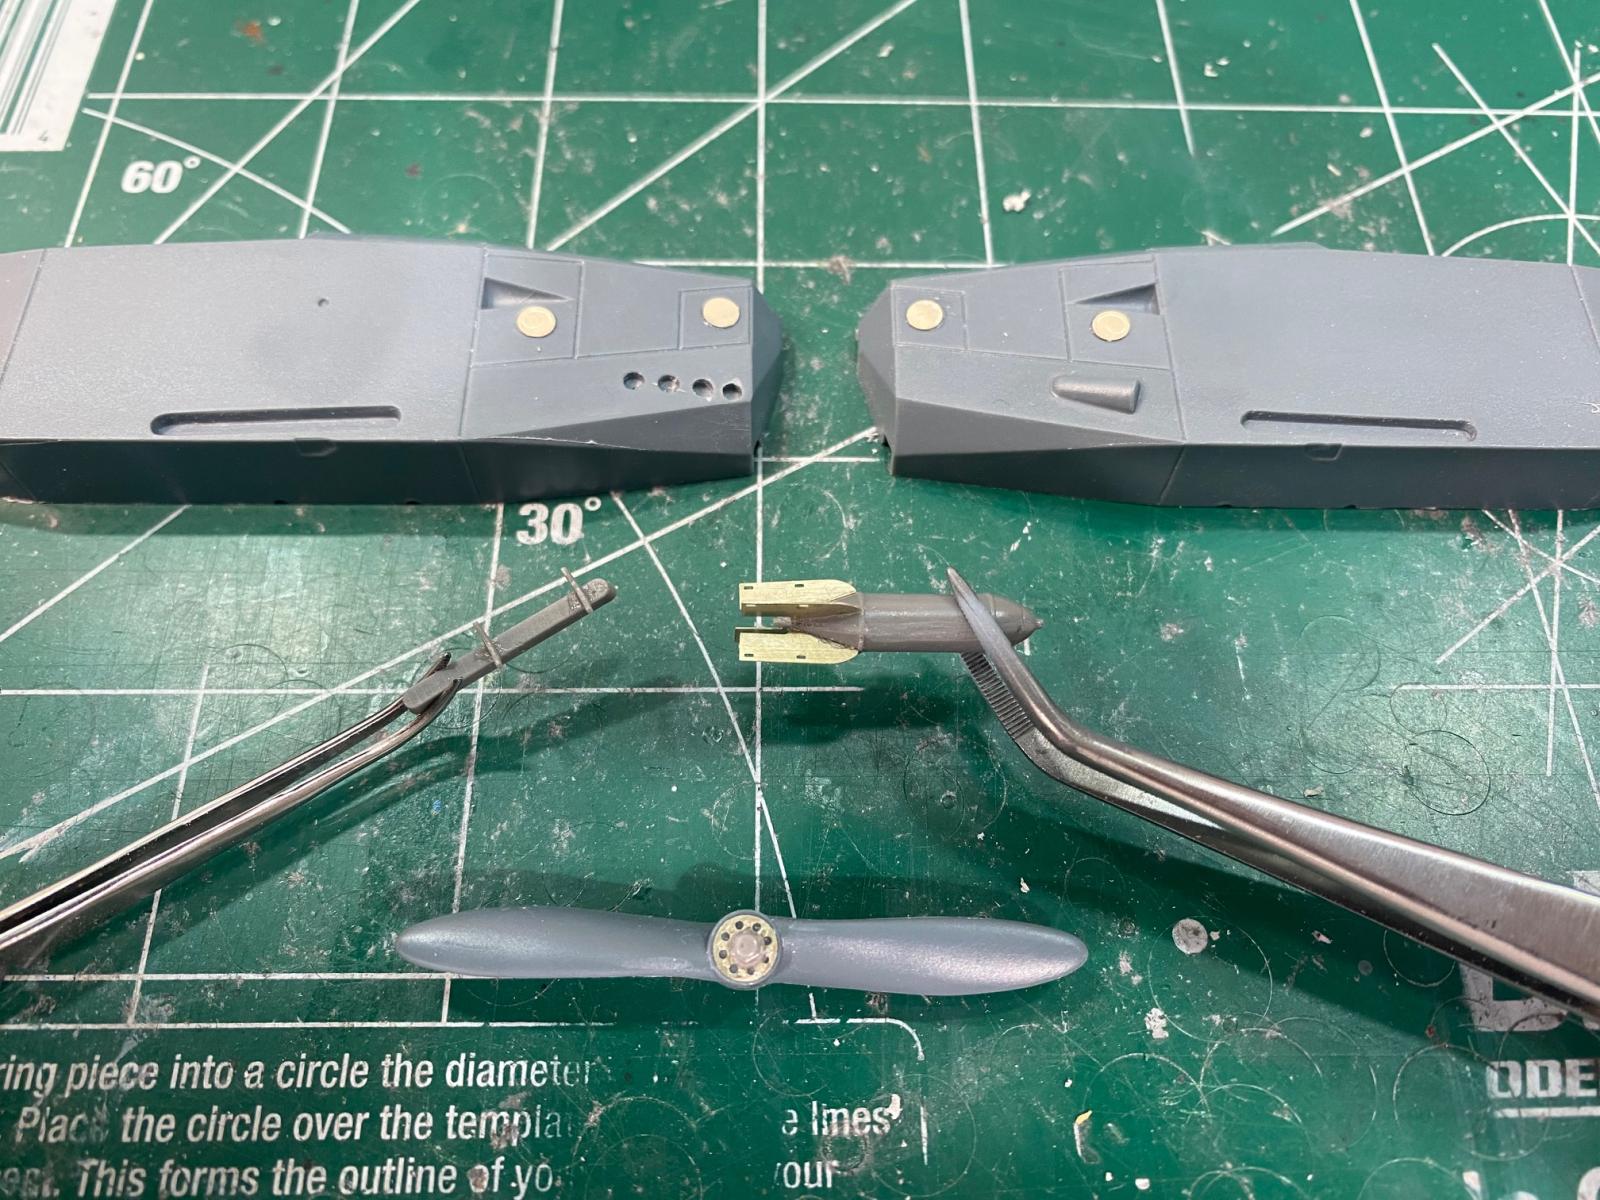
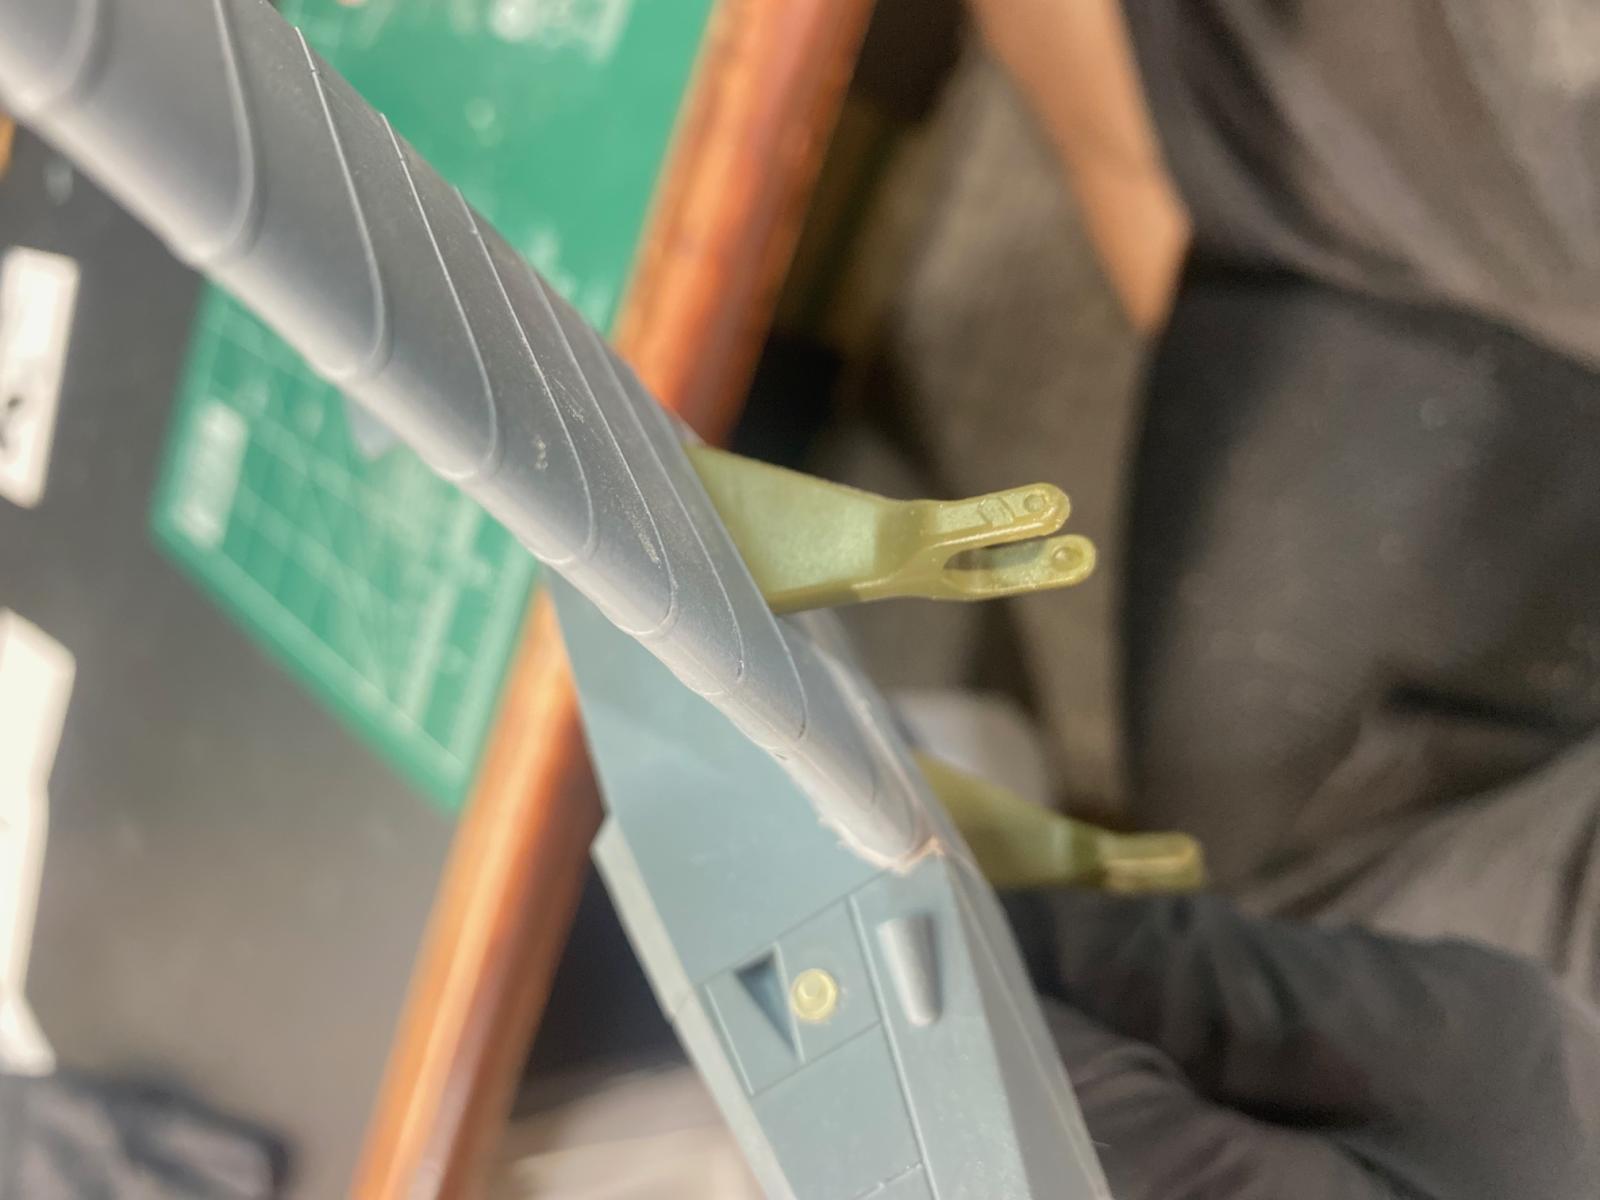
Just for example, the parts to be replaced with the upgrade kit include resin wheels, bomb, fuel tank, exhaust, bomb rack, and propeller hub. The photo etched parts are seat belts, windshield frame, round covers, restraining engine straps, and horizontal stabilizer mounts. I utilized the majority of the upgrade parts for the kit, except for the stabilizer mounts. I used a dental resin for attaching these parts as it allows you to work and place the parts in the desired position and when ready, you zap it with a ultra violet flashlight, and it instantly cures.
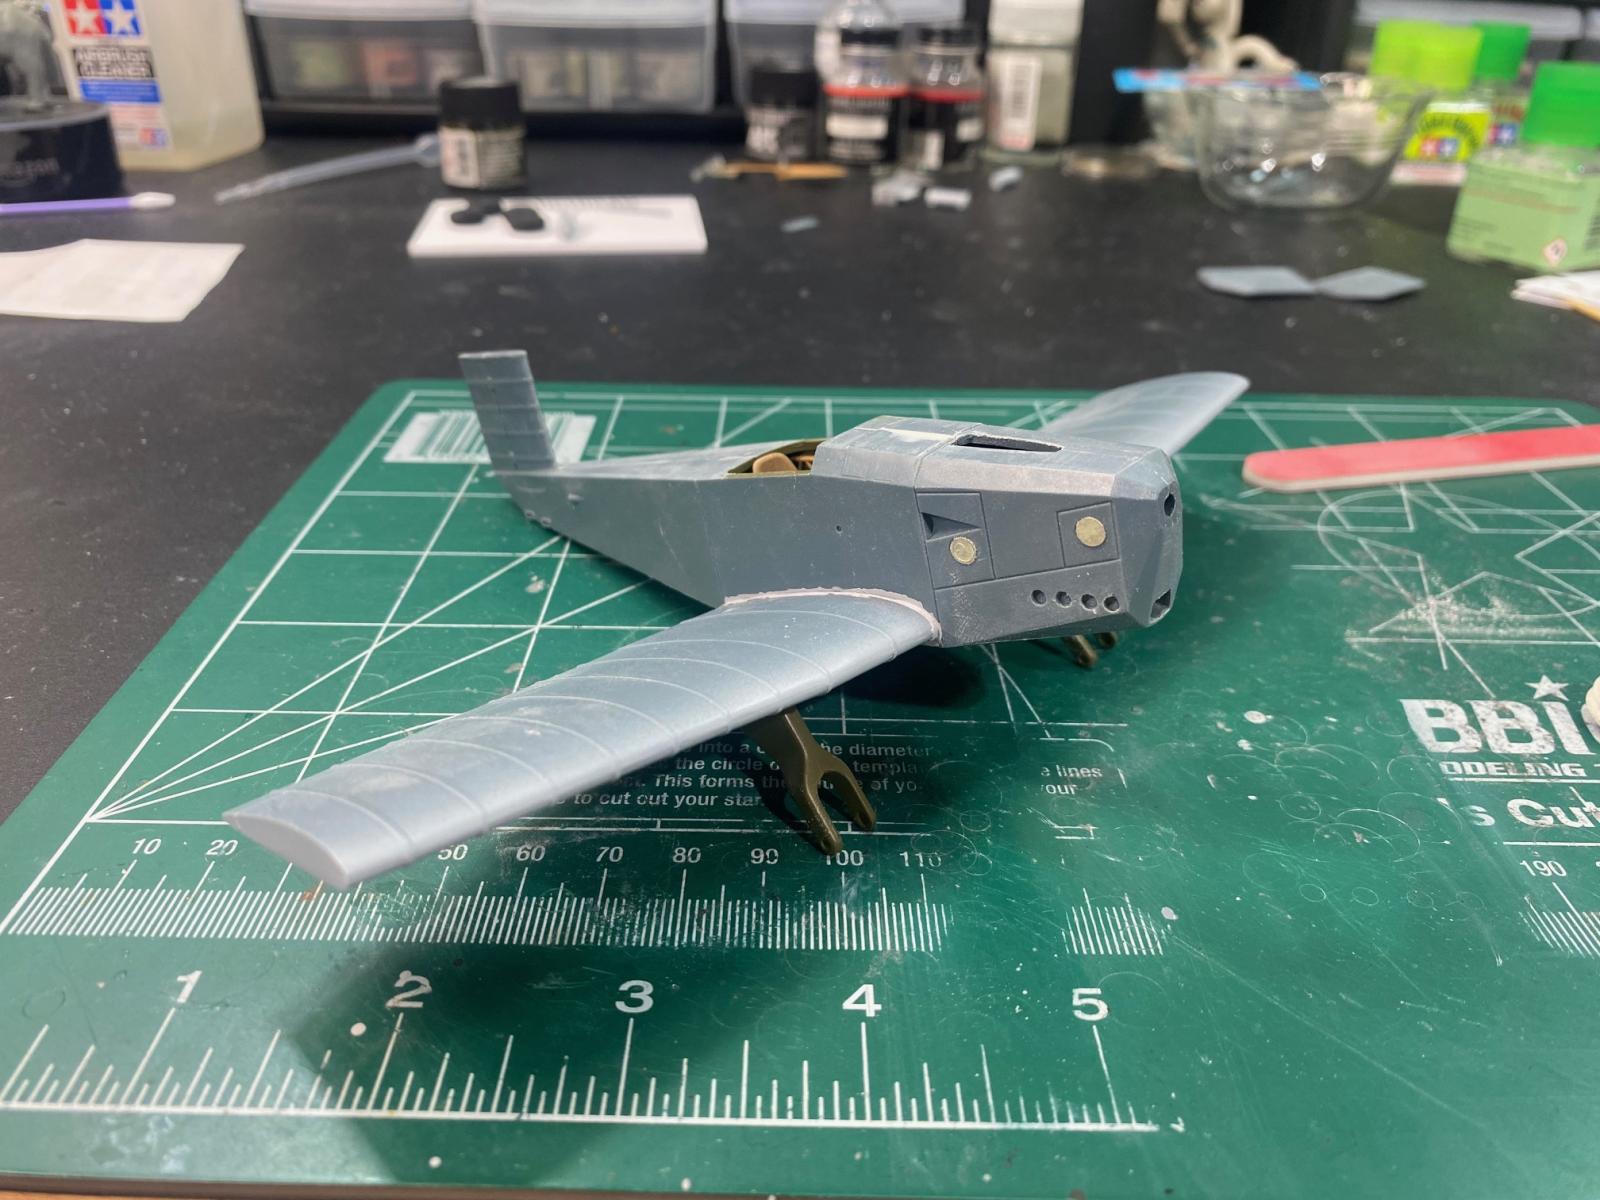
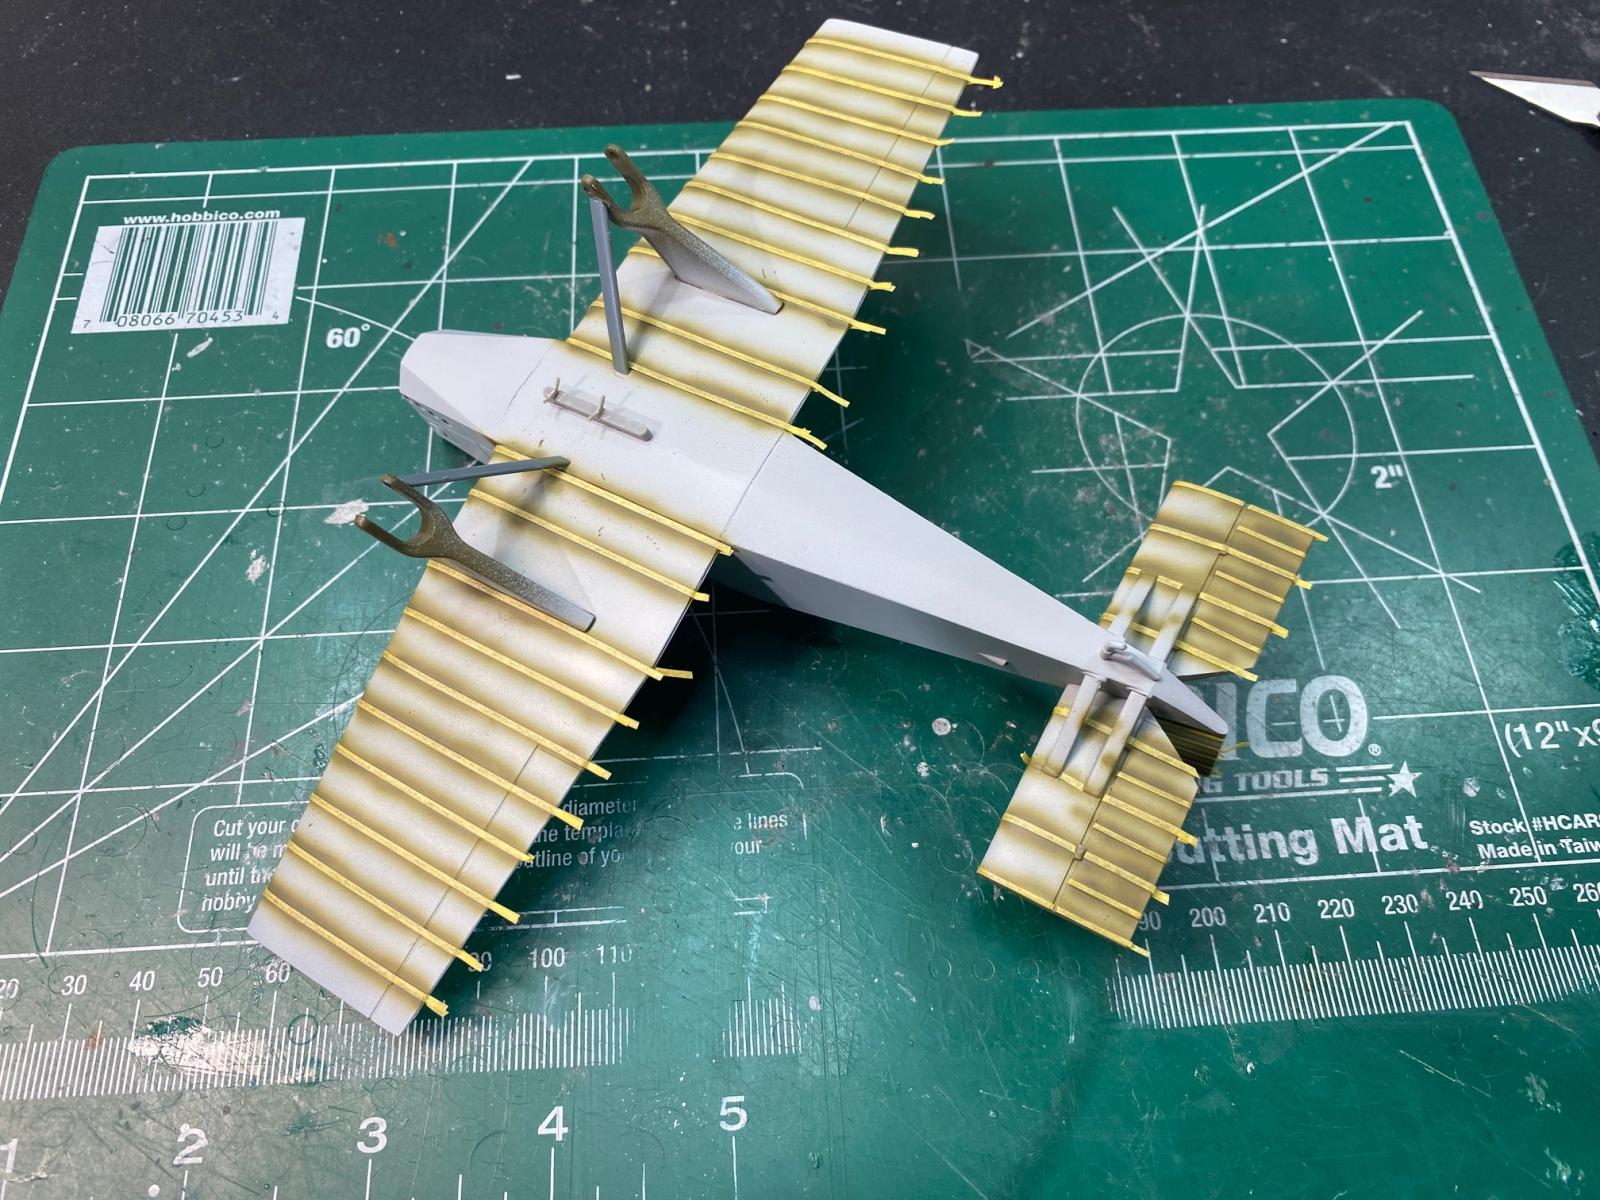
The construction is somewhat simple as the kit itself is very boxy in its shape. Many of the smaller details, like exhausts, fuel tank, and the bomb, can be applied towards the final assembly. The wheel struts were the only real goof up that I encountered, only due to my lack of attention to small detail. There are small notches on the inside of the struts for attaching the inside braces, one for the left and right. I, of course, missed this and put the two notched strut halves together and didn’t realize this until I was trying to attach the strut supports later. I did a little sanding on the strut support and made it fit just right.
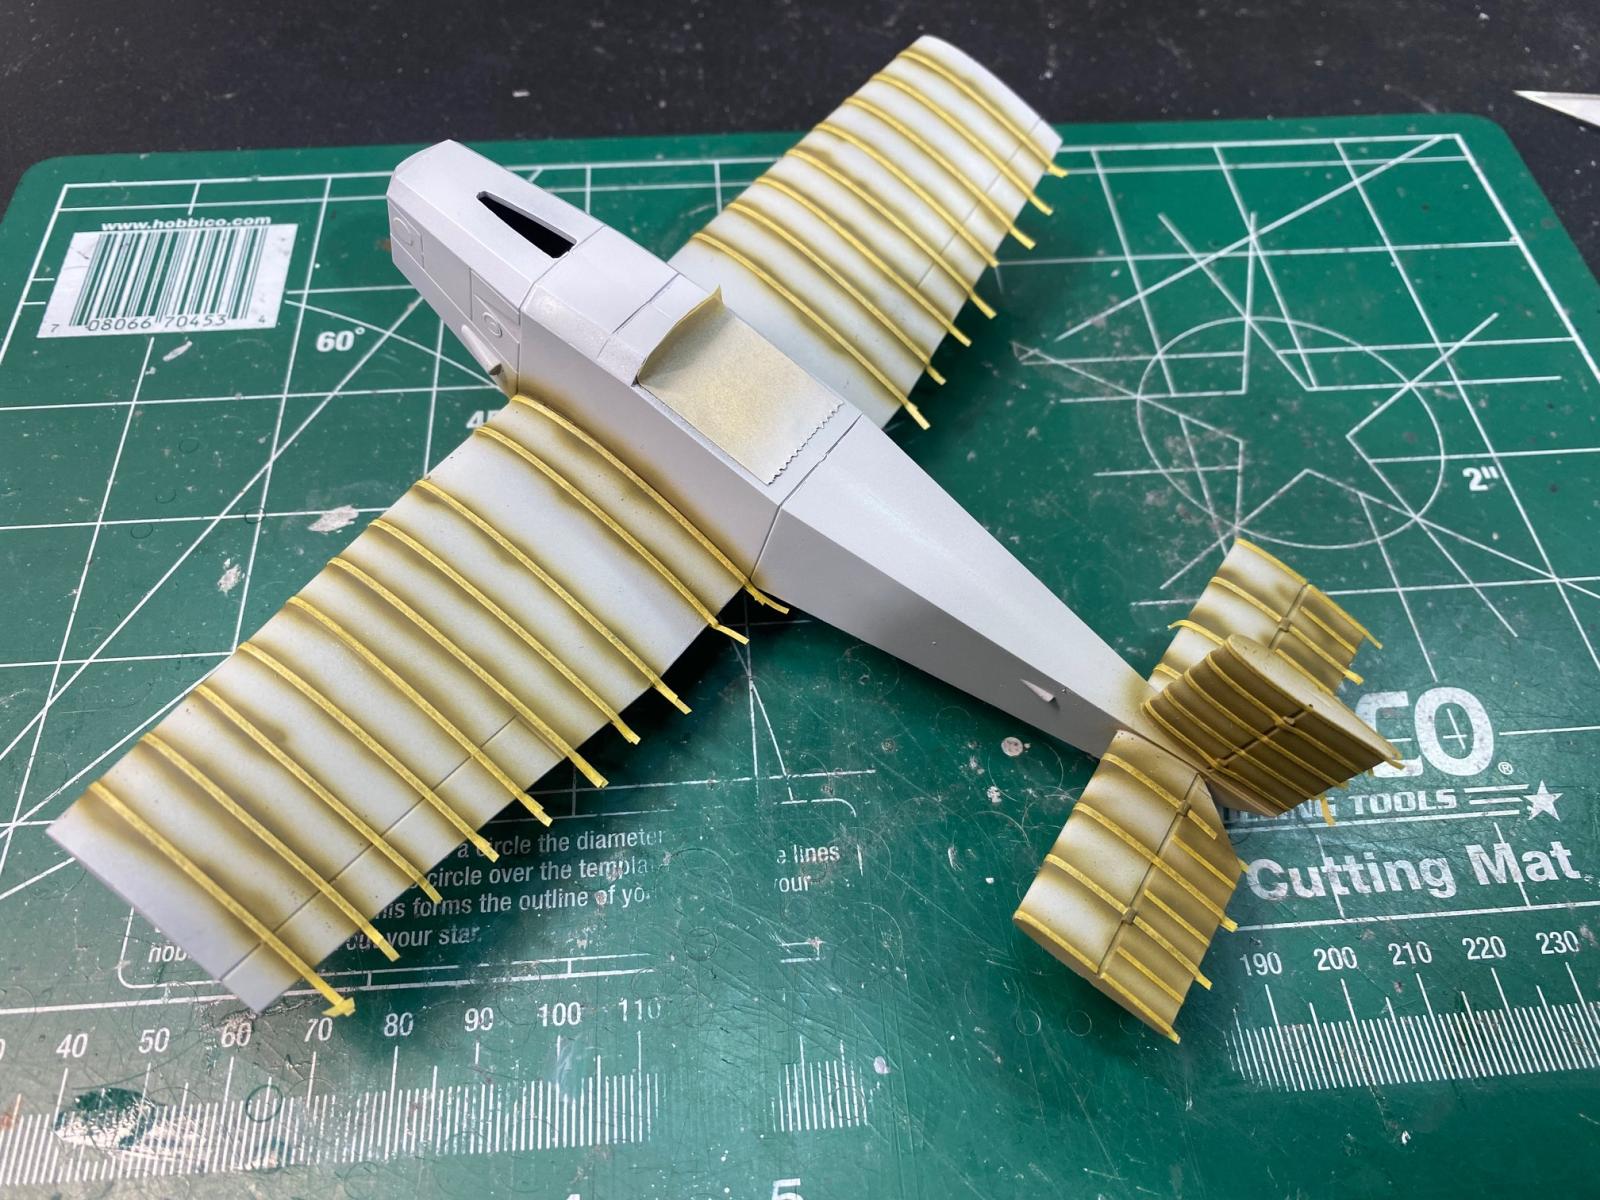
The next step was the wings and horizontal stabilizers. Being that the real aircraft was made of wood and fabric, there is ribbing in the wing surfaces. I made sure that these were perfectly lined up on the top and bottom of the wings so there wouldn’t be any issues of misaligned ribs. Once you attach the wings and stabilizers, there are just some minor filling with some Mr. Surfacer 500 along wing joints, leading edges, and fuselage halves.
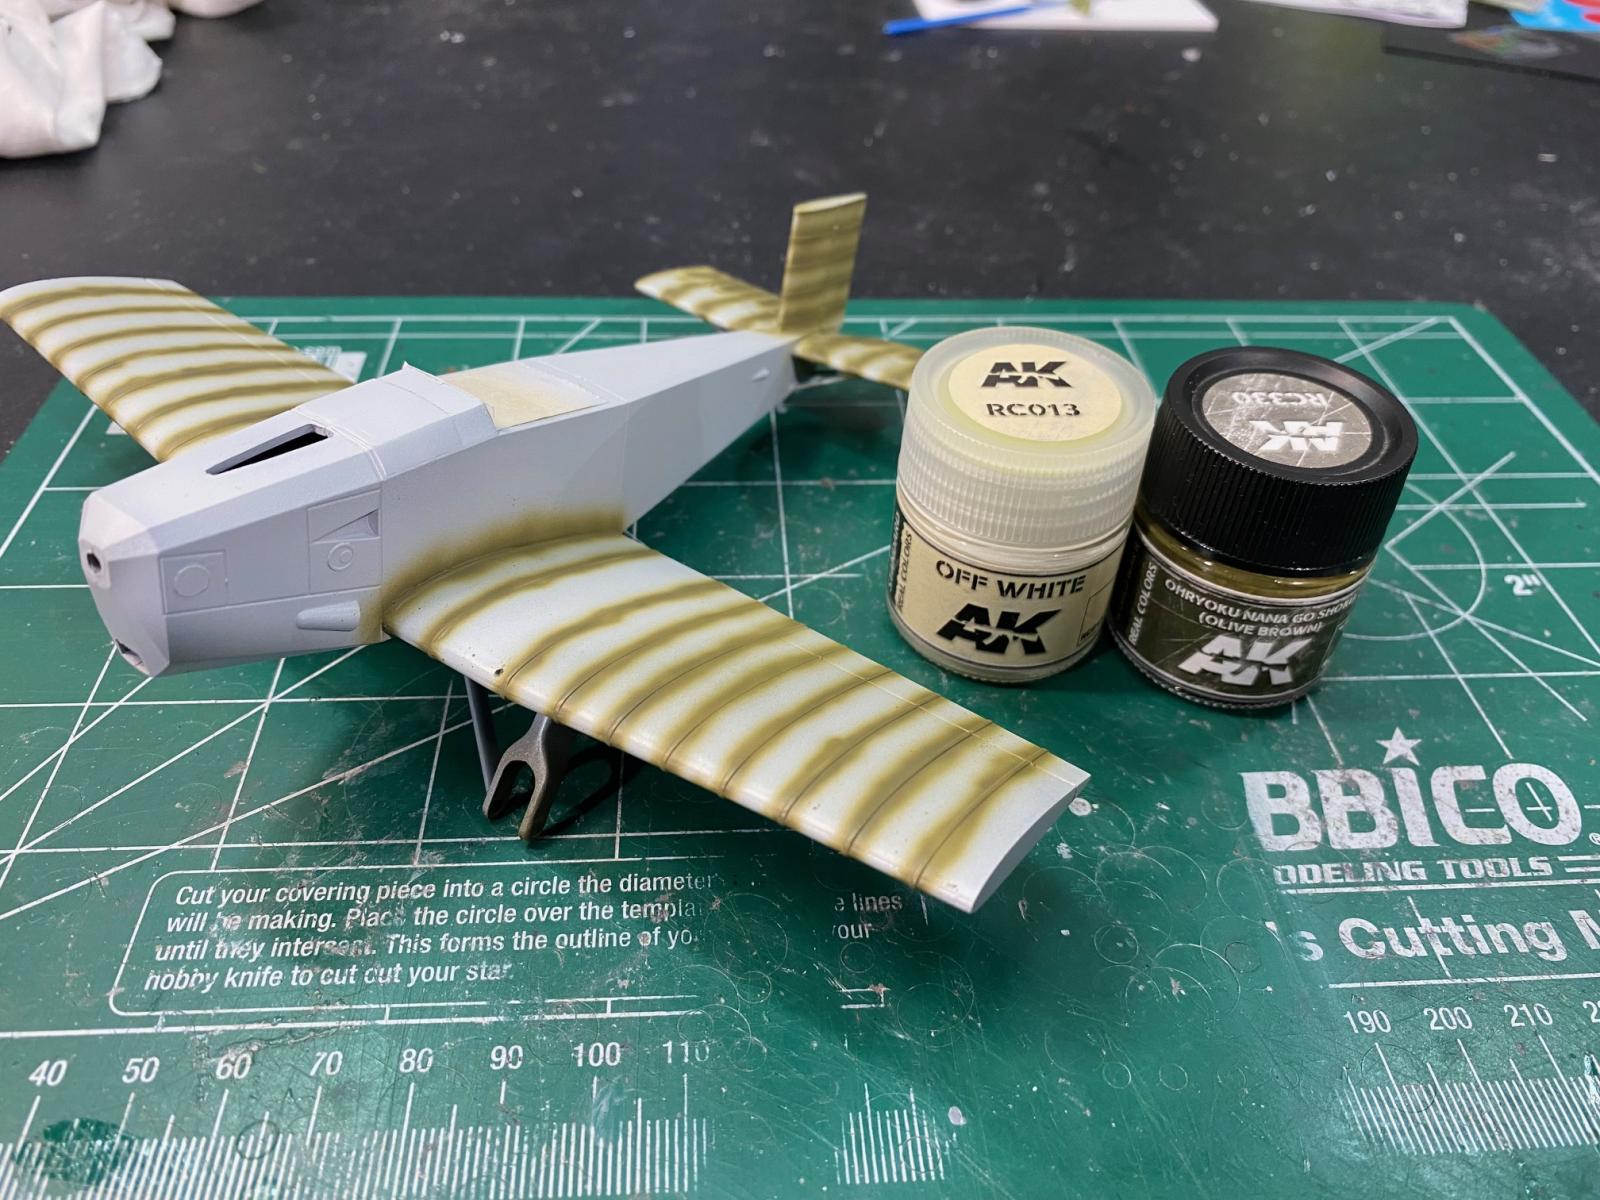
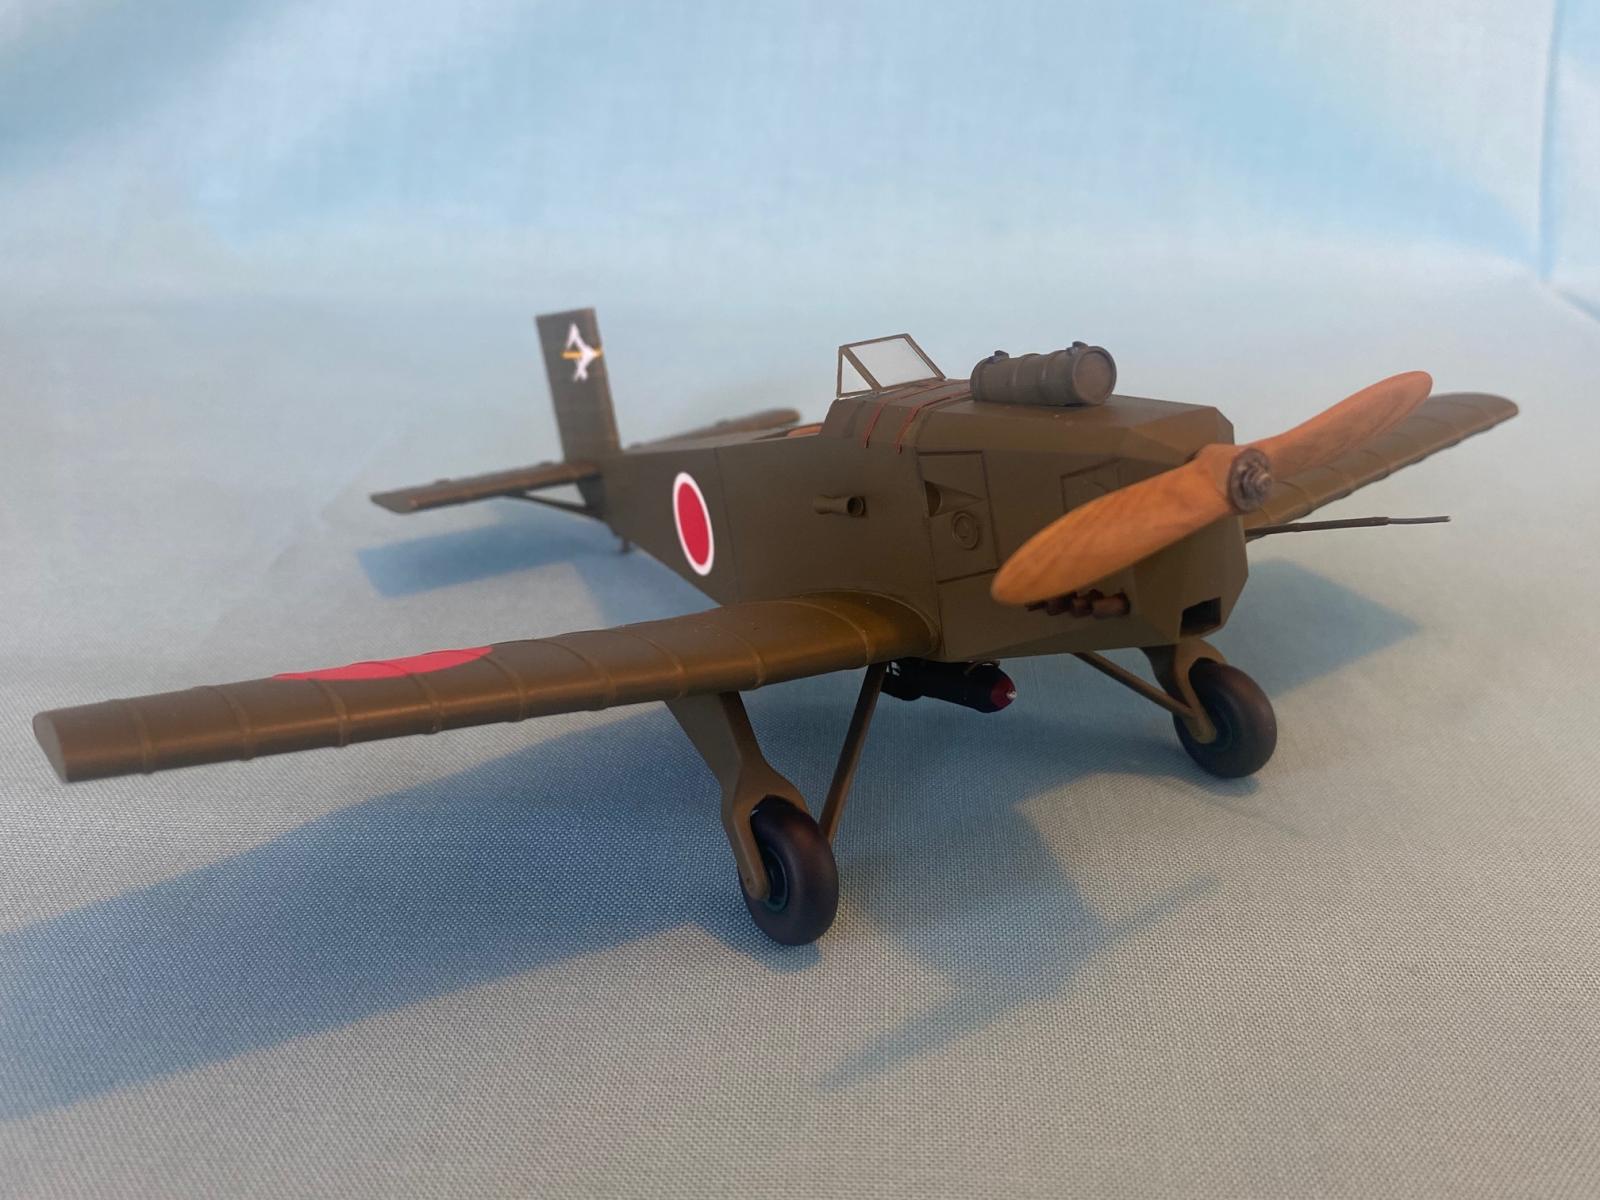
Once I was satisfied with the seam clean-up, I covered the cockpit area and treated the entire surface with Alclad Grey Microfiller. After this had dried for a few days (more like weeks), I addressed any ghost seams or other issues. At this point, I was ready to paint the aircraft, and Brengun called for IJA 43 black olive drab. After searching for something to come close to this I utilized AK Real Colors Ohryoku Nana Go Shoku (Olive Brown) as it looked similar to the box art. So, at this point, I wanted to try something new. I wanted to create a lighter shade of the Olive Green on the ribbing on the wing surfaces and what I did was add a small amount of white to the Olive Drab to give it a slightly lighter color on the raised surface. Once this was done, I had to cover them with Tamiya 2mm yellow tape strips. This was very tedious, but Iwas happy with the end result after everything was painted.
Once it was painted, I applied a Testors gloss cote in order to apply the decals. In total, there were only 8 total so it went rather fast. They adhered rather well and only had to use a small amount of decal set on them. After they were dry, I applied a flat cote and used Tamiya Black Panel Line wash on some of the panel lines around the engine, moving surfaces, and fuel tank. Since it was only a prototype, I didn’t go overboard on the weathering.
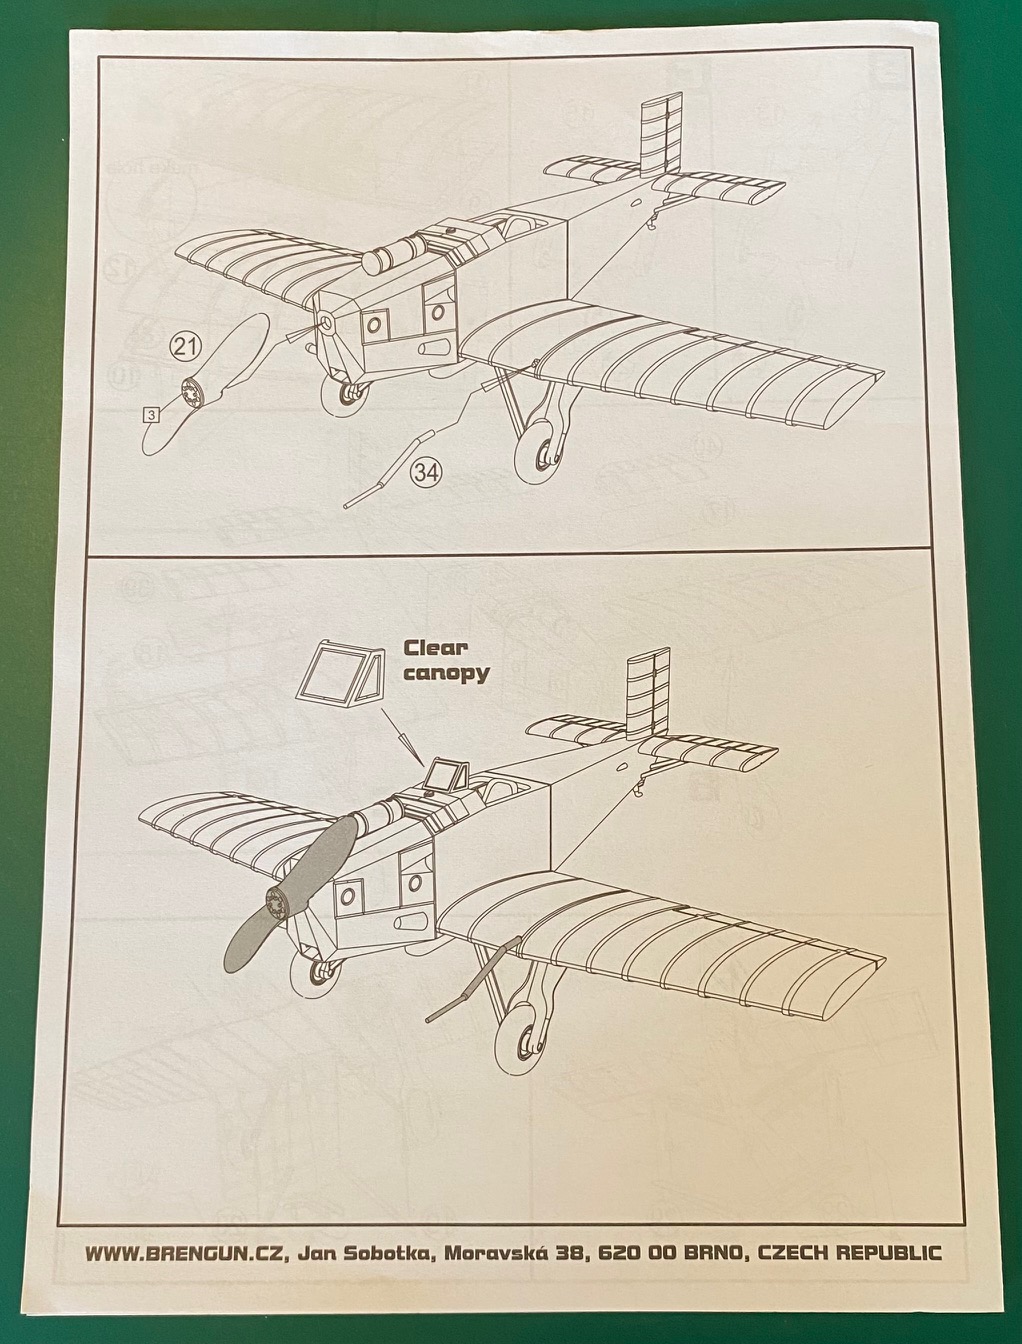
Finally, I applied the windscreen. The kit provides you with an injected windscreen that is clear and crisply molded. I opted to use the photoetched frame with clear film for the glass and I am so glad I did. It was slightly intimidating for me trying to bend the frame to the correct angle and then applying some Gator Glue to attach the clear film for the glass without making any smudges.
Overall, I did enjoy building the kit, and was rather simple in its construction. When completed, I would say it has about the same size as a Bf-109E, just to give some size comparison. I was happy I could experiment with some new techniques and try to get better at applying photoetch parts. I love the fact that Brengun produces some of this small obscure subject matter. I would like to thank Brengun for supplying the kit and accessory set for the Reviewer Corps.

Comments
Add new comment
This site is protected by reCAPTCHA and the Google Privacy Policy and Terms of Service apply.
Similar Reviews