
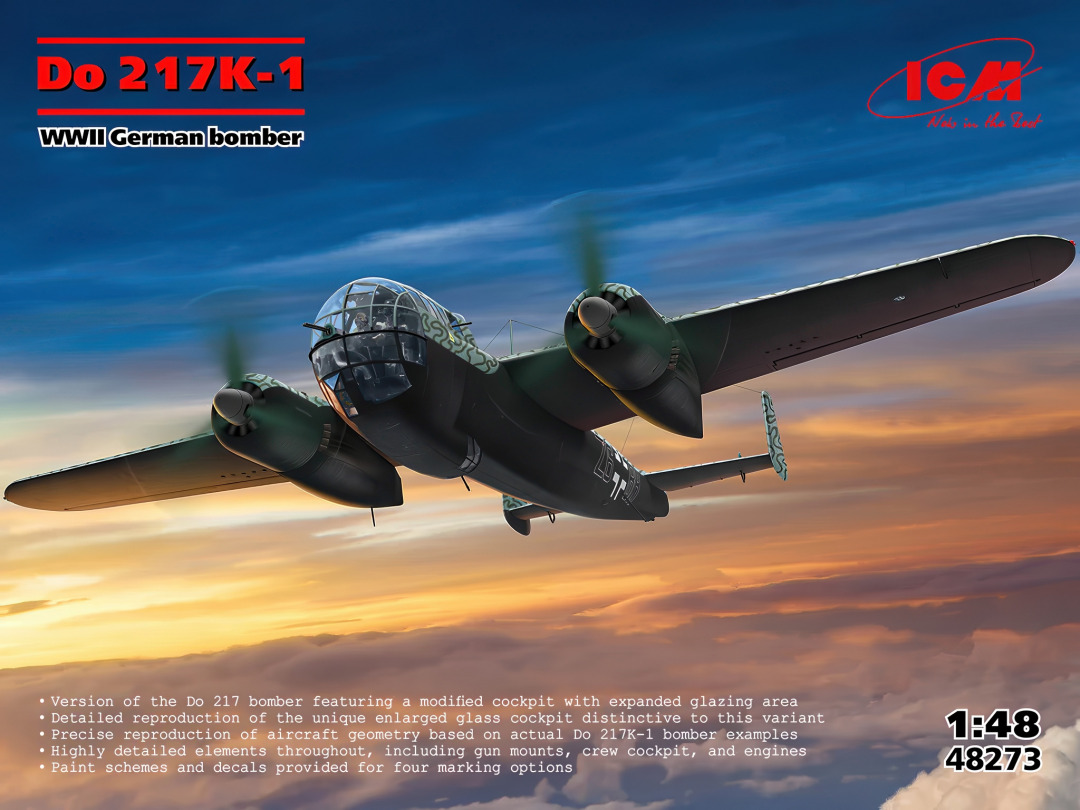
Do-217K-1
BLUF - Bottom Line Up Front
This review covers both the ICM Do-217K-1 kit as well as the ICM paints released that includes all the major colors required to paint the kit in any of three markings included.
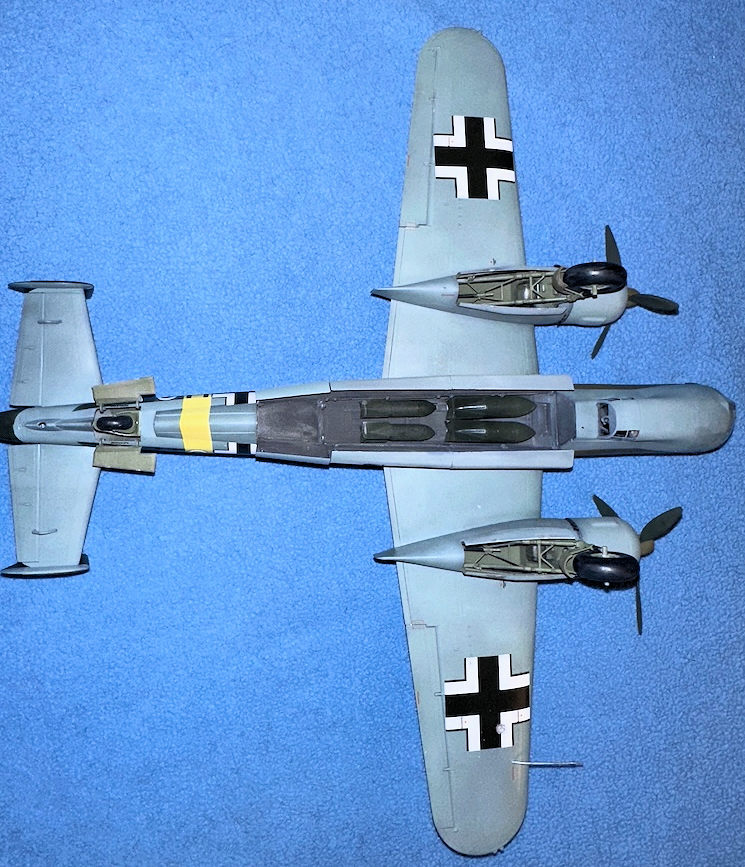
Overall, the kit itself builds up to a very nice replica of a D0-217K-1. The build is straightforward, and I built it out of the box. On the other hand, painting with ICM paints is different for me. I had difficulty getting the right mix for airbrush use. I eventually did, and painted the interior of the weapon bay that way. And, by the way, as ICM instructions call out, a base coat is required. And indeed I hand painted most of the cockpit. For use in an airbrush, ICM states to use 40% to 60% water or thinner. Well, that’s a pretty big range. I could never get the paint properly thinned for airbrush use, and ultimately broke out Tester’s RLM 78 for the underside and Tamiya Acrylics for the upper half.
About the Kit and the Subject
The Dornier 217K-1 (and M-1) are continuations of the basic ICM Do-17Z airframe. Some of the sprues included in the box are from earlier releases, which includes a second fuselage, which for sure is a Do-17 derivative. I believe that you could build the Do-217M-1 kit with the contents in the box as there is also additional engine nacelles, propellers, and spinners that sure look like they belong on the M-1.
Per ”Warplanes of the Third Reich, by William Green”, the Do-217K-1, along with the Do-217M-1 were the last major production runs of the Dornier Do-17 based airframes. Interestingly, the K-1 and M-1 ran parallel production lines and entered service at the same time. The K-1/M-1 were considered a heavy bomber primarily used for night missions. Some airframes were modified to carry the Fritz missiles. A total of 1, 541 bombers/missile carriers were built, and an additional 364 night fighter variants/intruders as well. Production ended in June 1944.
Instructions and Assembly (including decals)
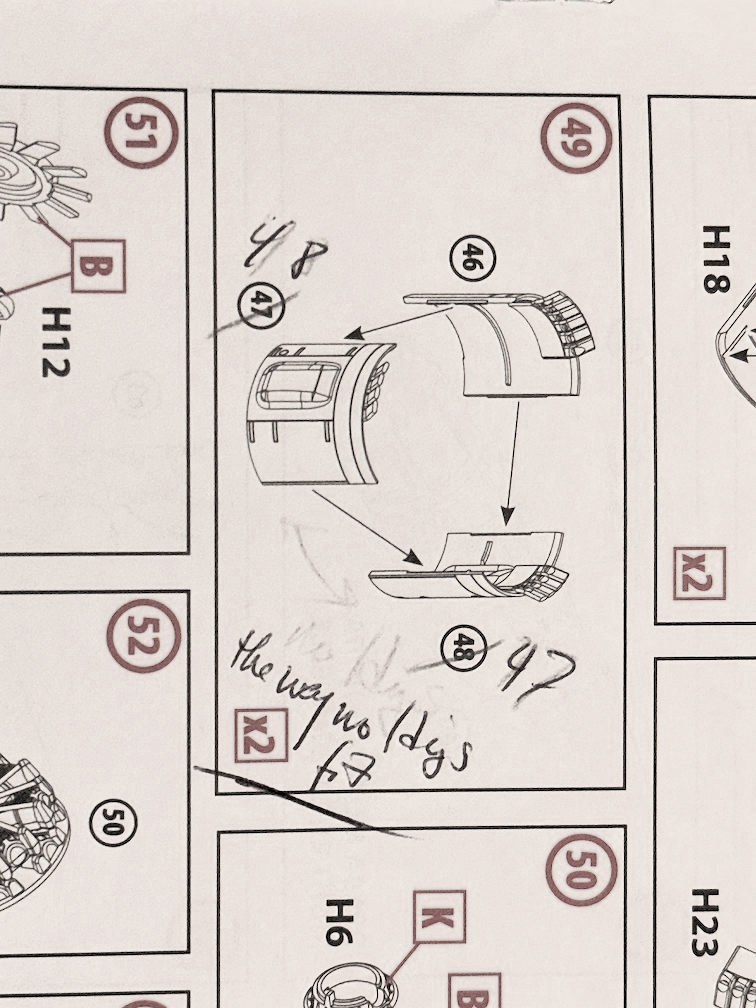
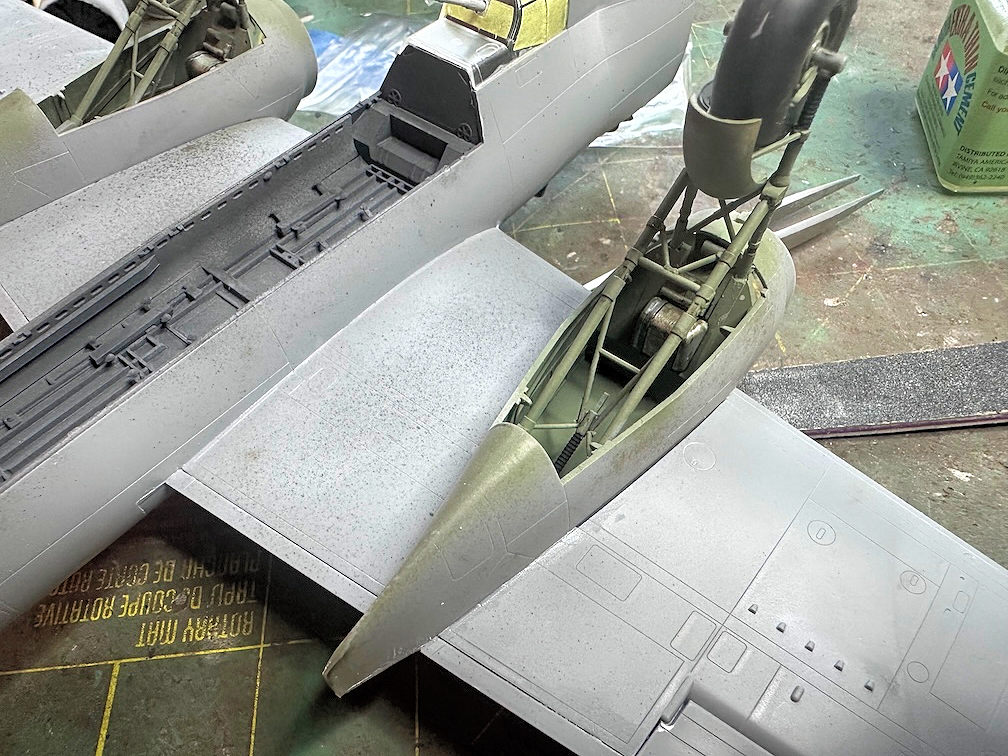
The instructions are straightforward and are easy to follow. There is one error on step 49 on how to build up the engine nacelle. Step 47 should be replaced with step 48 and vice versa. (See photo).
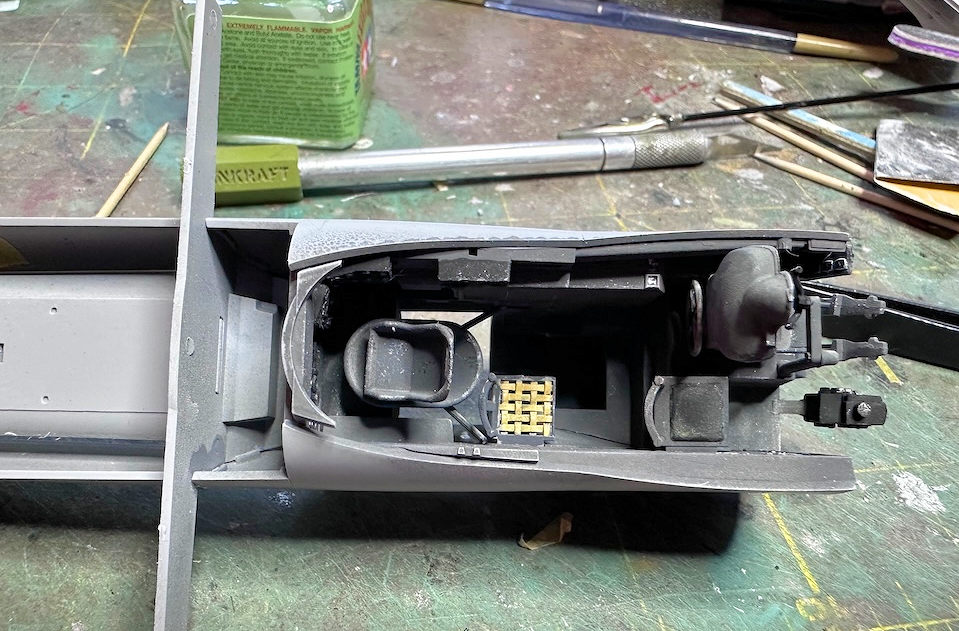
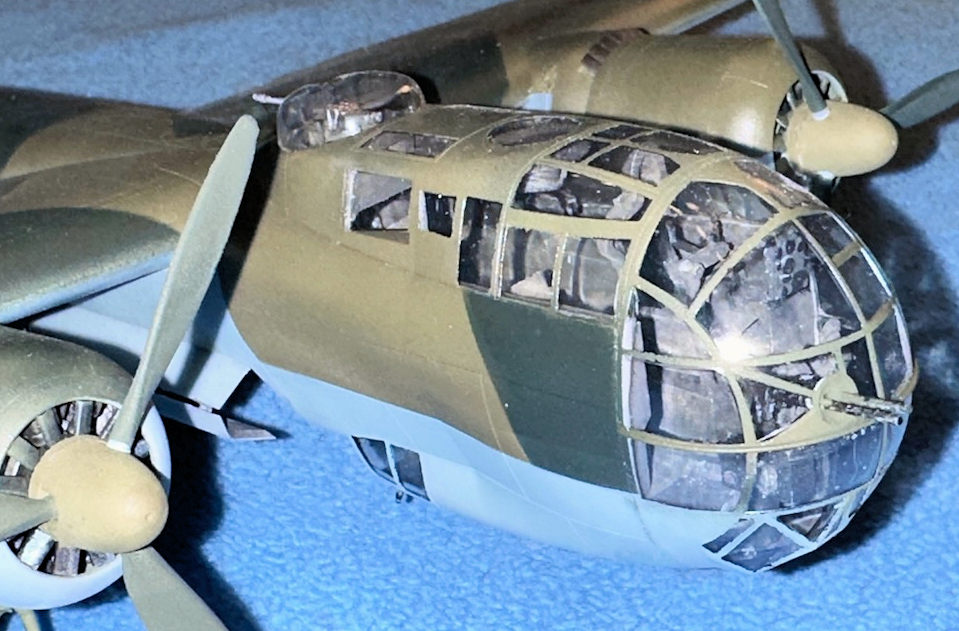
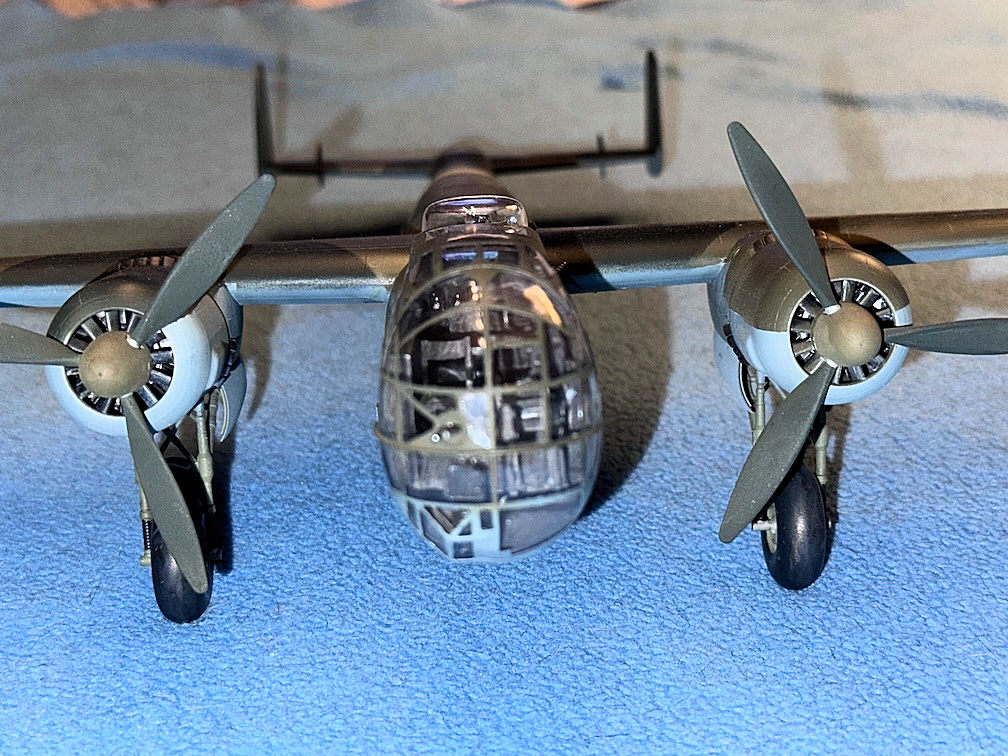
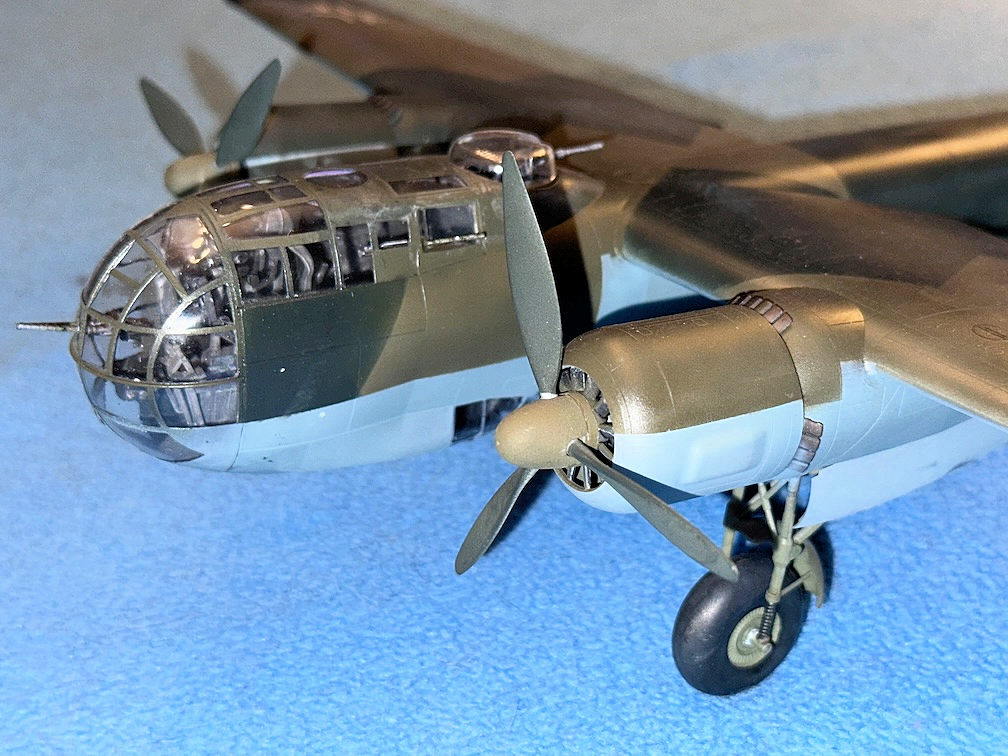
The cockpit builds up quite nicely and has sufficient detail for the scale. The decals provided enhanced the flight instruments in the cockpit, and are visible throughout the clears. The fuselage itself also goes together without much fuss. I opted to not put on the clears until closer to the end of the build.
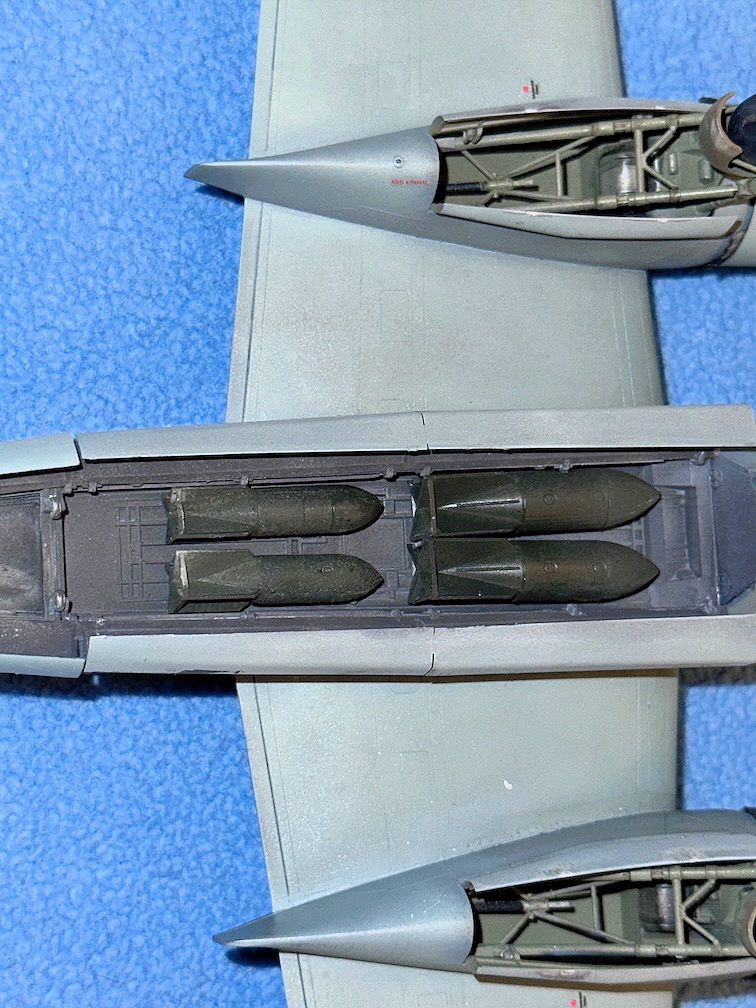
As for the weapons, there are multiple choices for weapons. The only issue with installation is that there is no solid attachment points for the weapons, so installing and aligning the weapons is an educated guess. I installed them using PVC glue in order to adjust them once installed. Alignment was not my strong suite in this step. I also attached the weapons bay doors at the very last, because I feared breaking them off during assembly. Getting them to attach was a bit time consuming and alignment I assume is accurate.
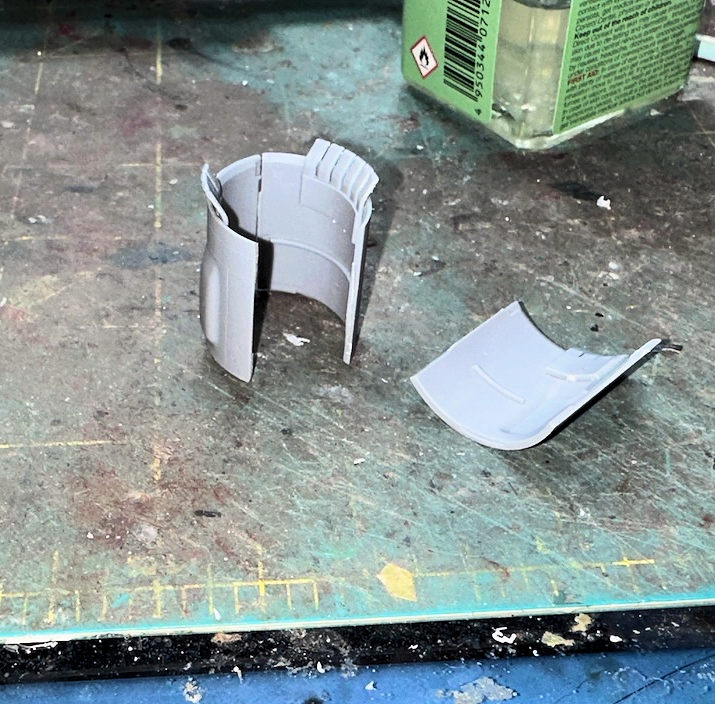
Assembly and attachment of the wings is also straight forward and with little issue. Assembly of the nacelles, and gear is also straight forward. Note, as stated earlier, pay attention to the assembly of the engine cowlings in step 49. The instructions for installing step 47 and 48 should be reversed. Attaching the nacelles required some rubber bands to secure the nacelles in place. There were also some gaps between the nacelles and bottom wing, as well as the front end of the nacelles that need to be addressed. Attaching the engine cowling assembly was also straightforward.
Final assembly and attaching the clears is easy to accomplish. Unfortunately, after installing the machine guns in the upper clears, I managed to pop the starboard gun into the cockpit.
As stated earlier, the ICM paints are great at hand brushing. No base coat required. I had difficulty getting the right mix for using an airbrush with these paints. I eventually did, and painted the interior of the weapon bay that way. And, by the way, as ICM instructions call out, a base coat is required. I will certainly use ICM paints in the future for smaller detail painting. The following table show some experimentation with the paints.
| Thinner | Water | Lacquer | Gunze Leveling Thinner | Alcohol |
|---|---|---|---|---|
| Compatible ? | Yes | No | No | No |
ICM decals are great. They go down easily. But be warned, treat with care or else the decals can fold over onto themselves.
My thanks to ICM for the opportunity to review this kit


Comments
Add new comment
This site is protected by reCAPTCHA and the Google Privacy Policy and Terms of Service apply.
Similar Reviews