
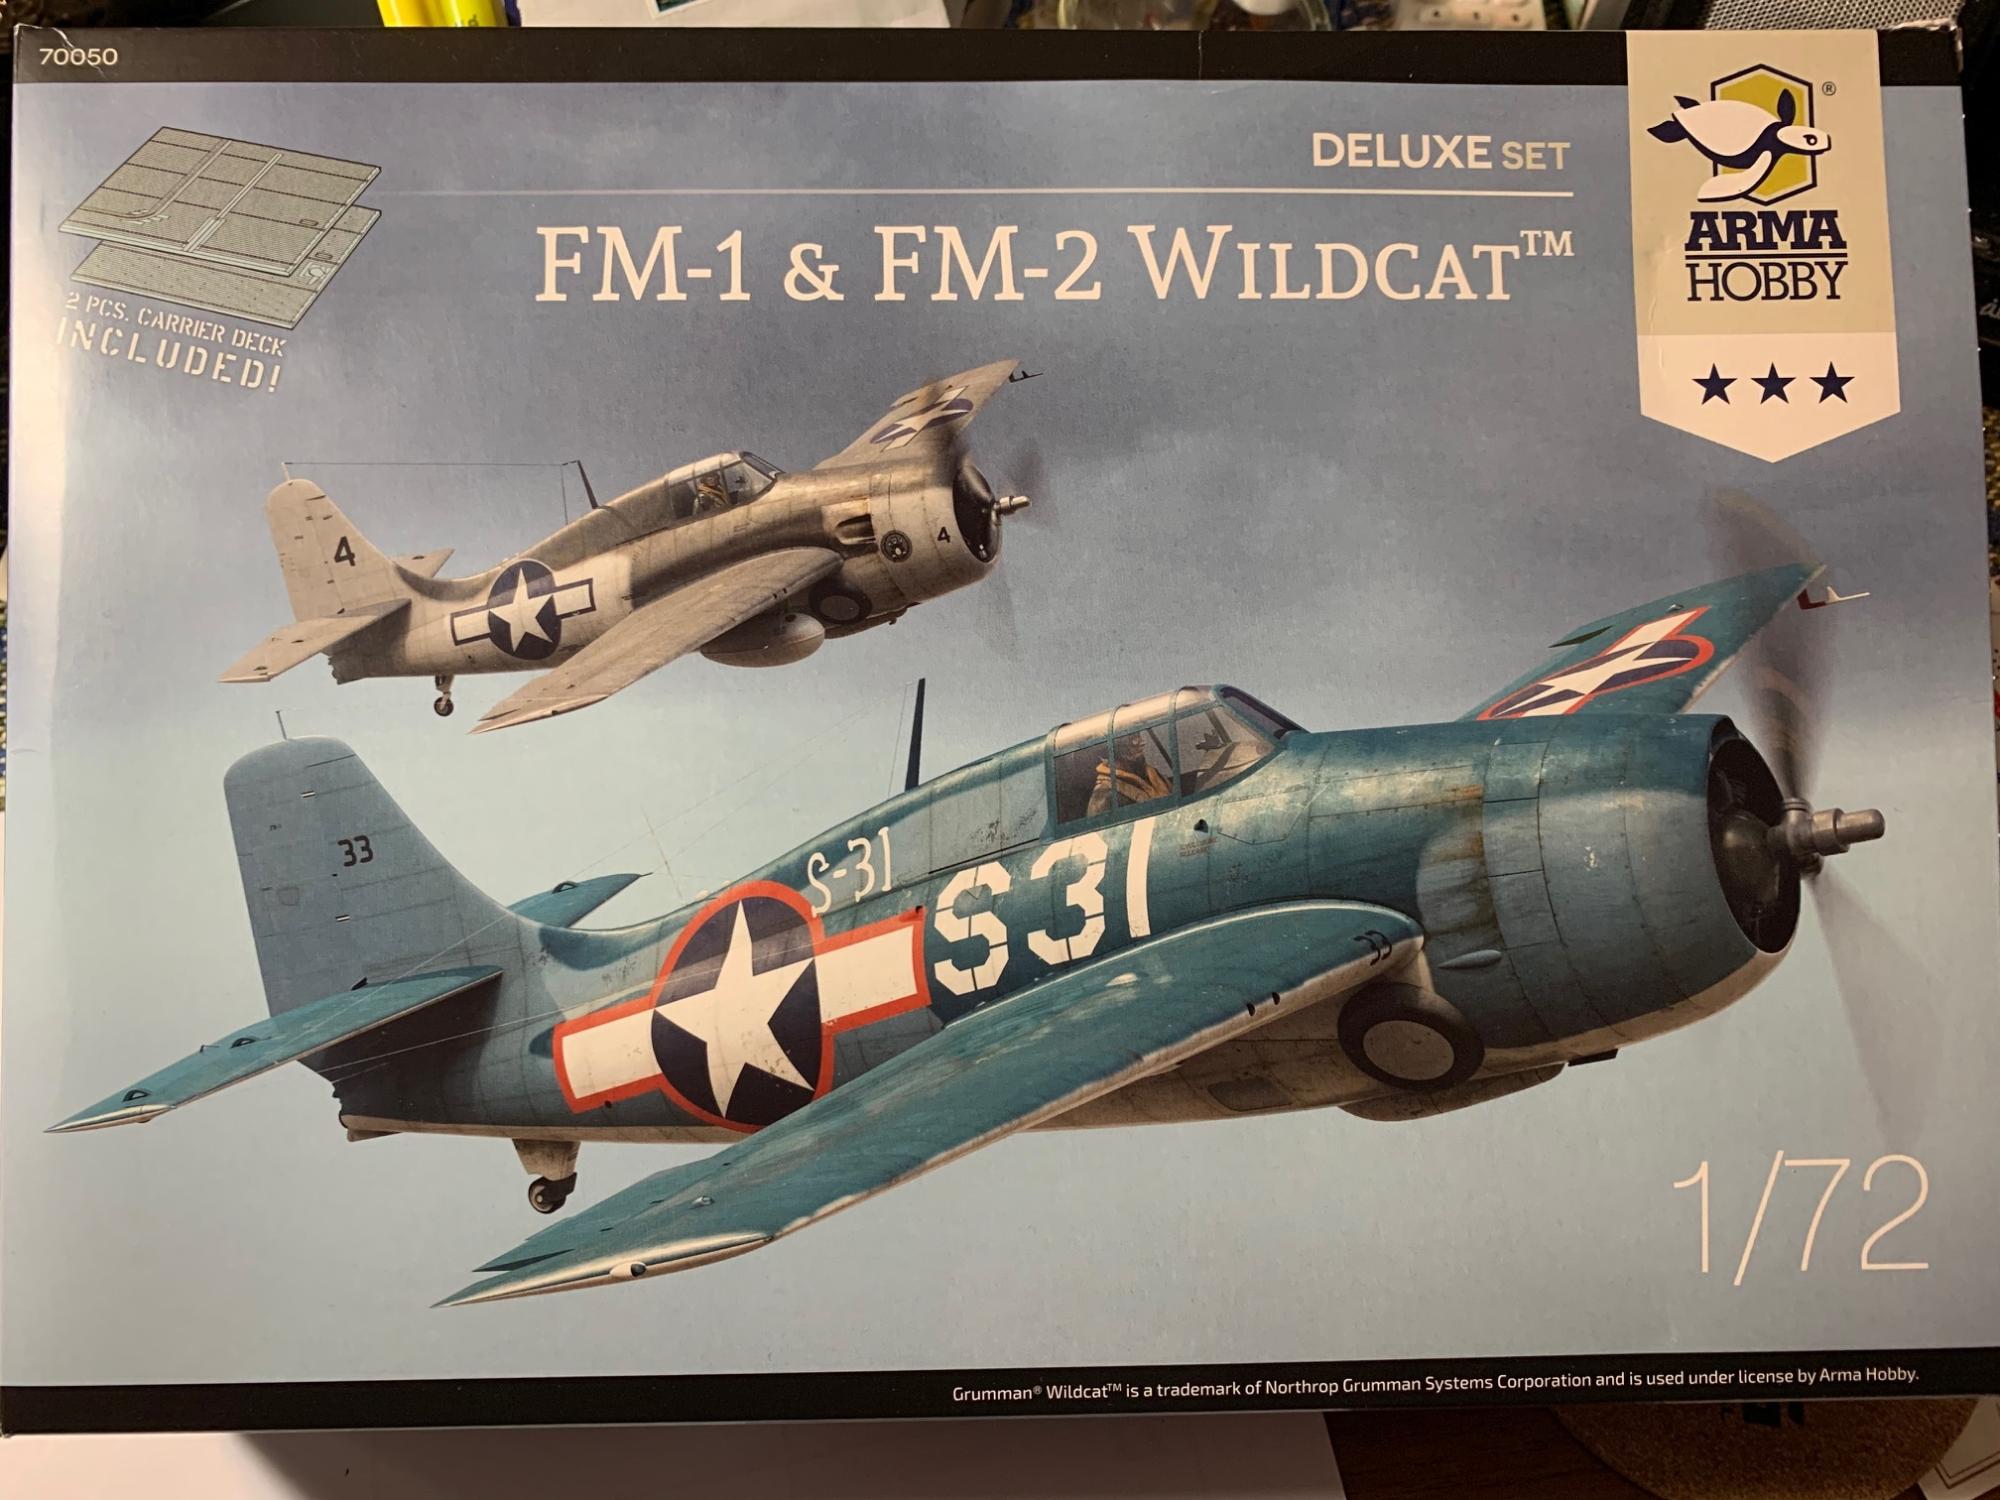
FM-1 & FM-2 Wildcat Dual Combo Expert Set
By 1943, the US Navy had committed itself to an ambitious carrier building program, including not only the full-size Essex class carriers, but also a lot more smaller escort/jeep carriers. The escort carriers were envisioned to be equipped with a composite squadron comprised of Wildcat fighters and Avenger torpedo aircraft. As Grumman had ceased building both types of aircraft in order to concentrate on building F6F Hellcats, license production of Wildcats was transferred to General Motors, resulting in the FM-1 and FM-2 aircraft. The FM-1 was essentially a four gun F4F-4 Wildcat, while the FM-2 featured a more powerful engine, resulting in more engine torque necessitating the installation of a taller vertical tail on the FM-2 (which is accurately depicted on the FM-2 kit).
Last year Arma Hobby released a Dual Combo set of the FM-1 Wildcat and the FM-2 Wildcat. As the set was issued as an Expert Set, it not only included complete kits for the FM-1 and the Fm-2, but also included two laser cut sections of flight deck on which to pose your completed Wildcats, decals for four FM-1’s and four FM-2’s, three photo-etch sets, and two sets of canopy and wheel masks.
In reviewing the kit instructions, I noted that those for the FM-1 clearly indicate where the photoetch parts go and which parts they replace or supplement, whereas the instructions for the FM-2 pretty much ignore the photoetch set provided for it other than the installation of photoetched parts in the cockpit. The kit parts are exquisitely molded, with one exception that I will discuss next, with fine details. The only glitch is that many of the parts have small ejection towers on them that if not removed will interfere with the fit of the parts. I first noticed this as I was dry fitting the cockpit and discovered that I could not get some of the parts to seat correctly, which interfered with the fit of subsequent parts and the fit of the cockpit into the fuselage halves. Therefore, the first order of business is to look at all of the parts for the kit you are building, mark the ejector pin towers with a Sharpie pen and then remove them all. I missed a couple, including the one on part A-19, which prevented it from sliding into place in the slot provided under the fuselage, resulting in some quick remedial work to remove it, repaint it and then installing it correctly.
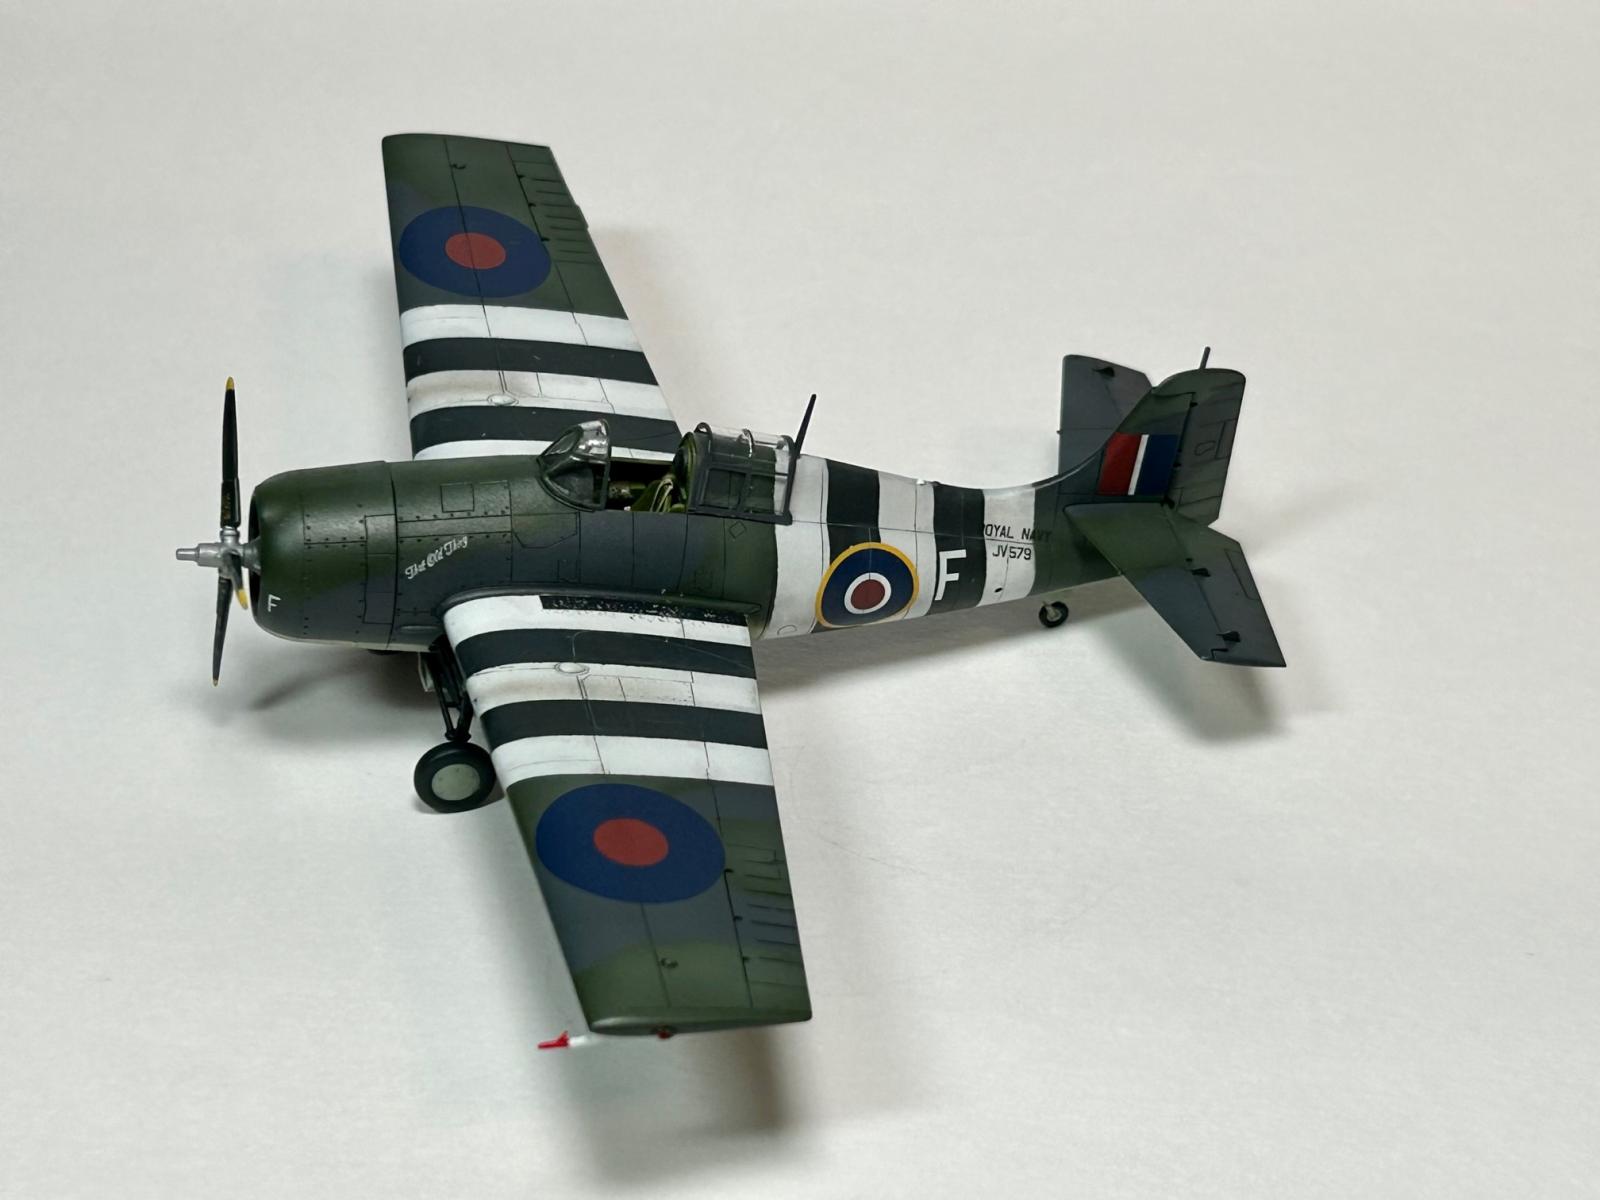
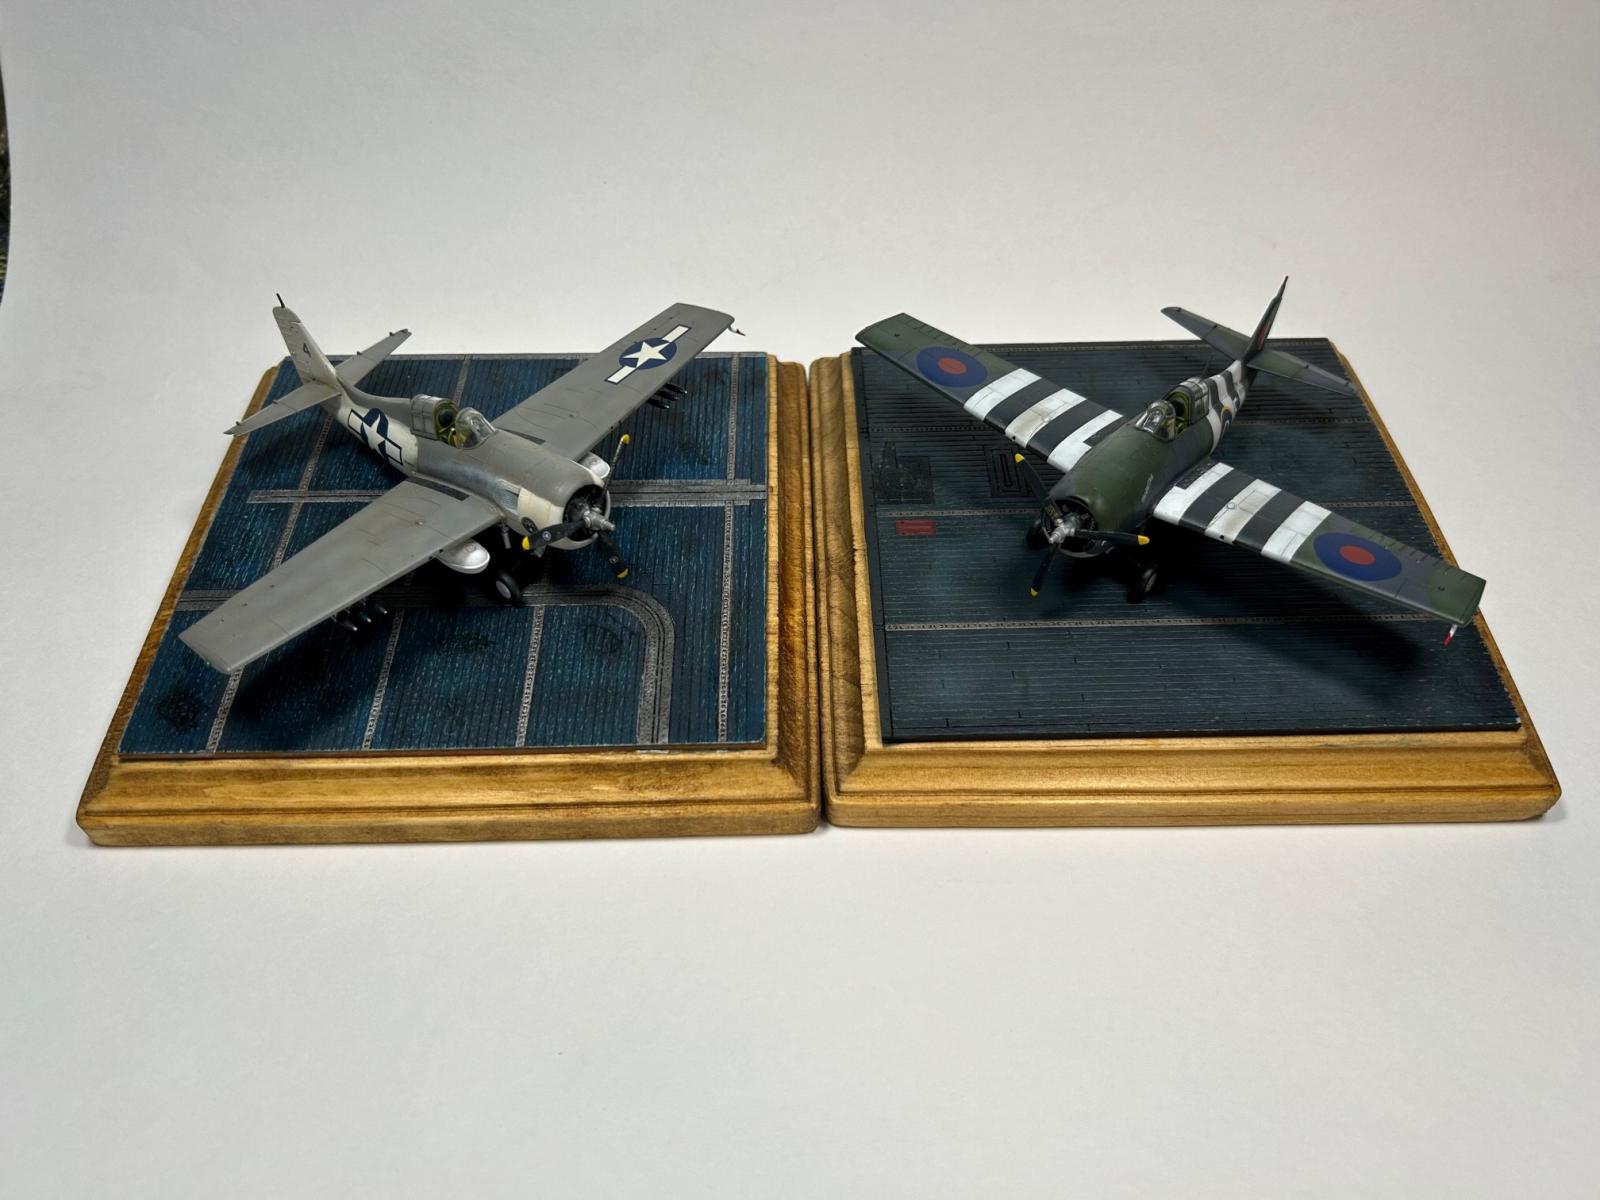
I started with the FM-1 kit simply, as that was the first set of directions. However, even before I started, I decided that I wanted to build something little different, so rather than building a USN FM-1, I decided to build the Royal Navy FM-1 Martlet V (the instructions incorrectly say Wildcat) from the HMS Trumpeter during the D-Day invasion as I found the concept of D-Day stripes on a Wildcat/Martlet very intriguing. As I wanted to build an aircraft that flew over Normandy and which would have wanted to be as light and maneuverable as possible in the event it met Luftwaffe fighters, I elected not to install drop tanks on the model.
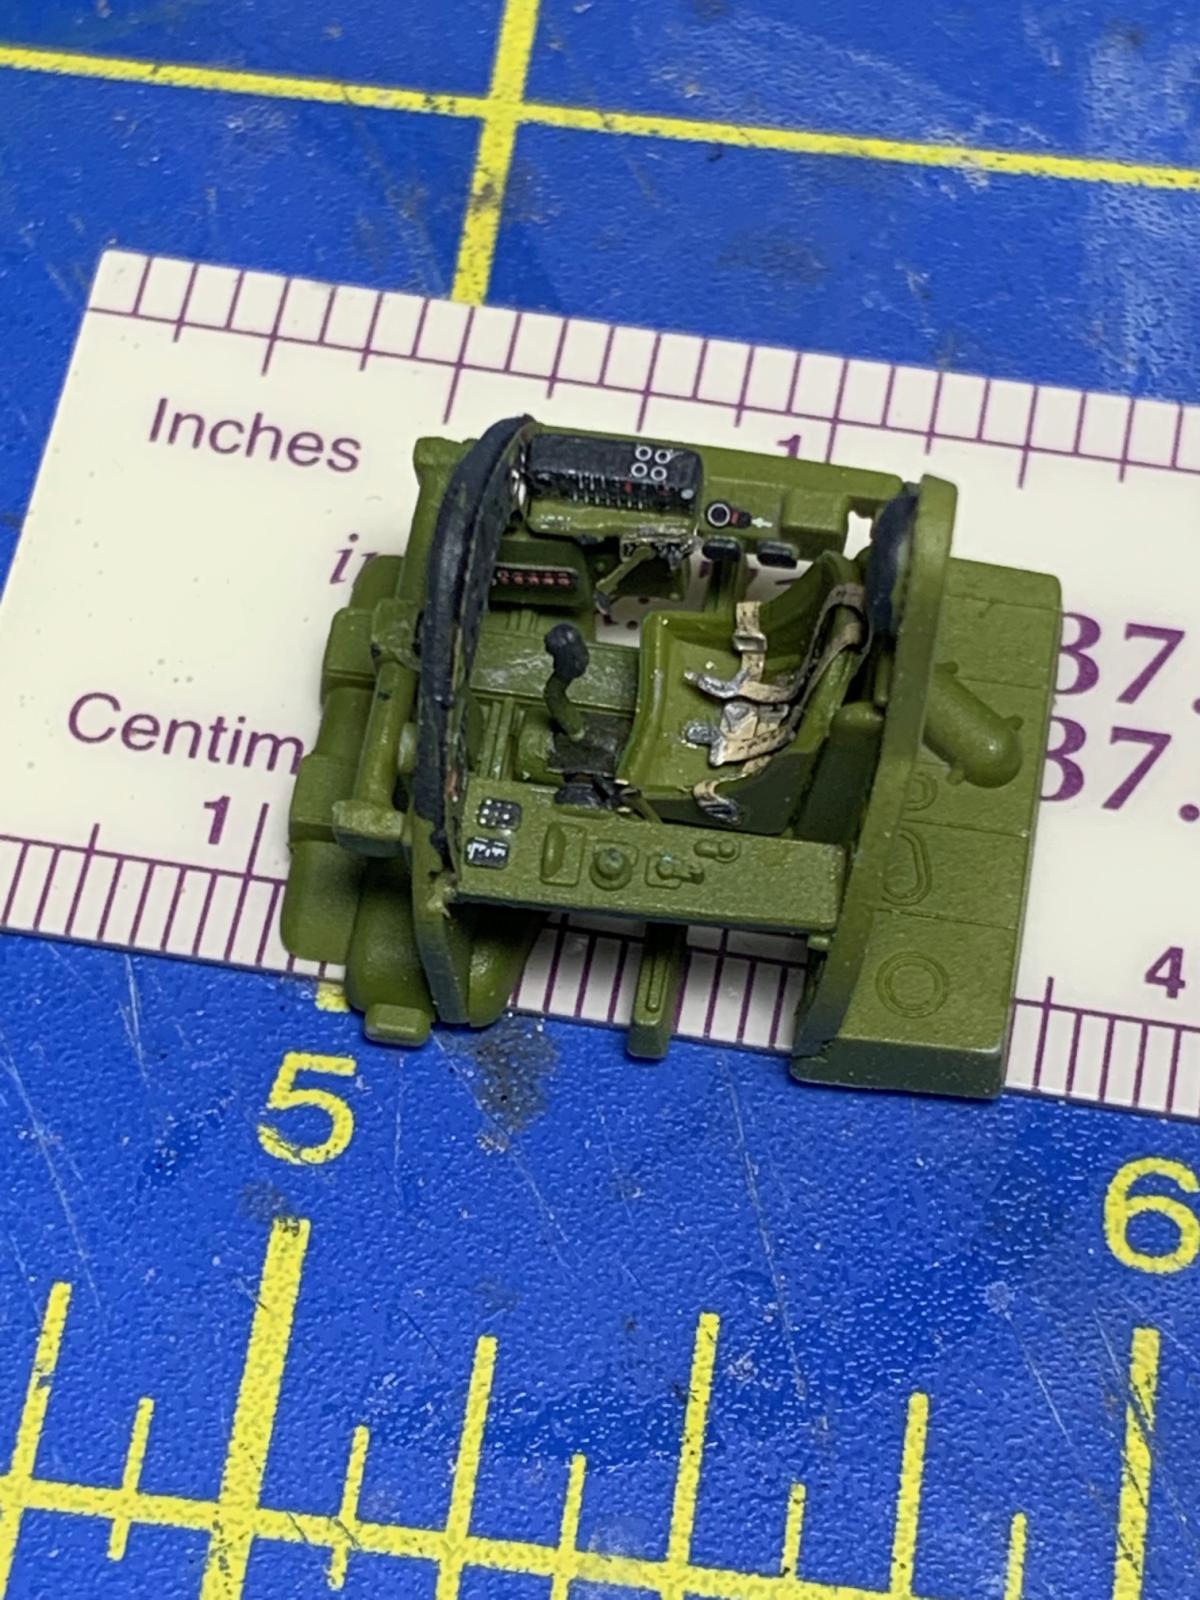
Construction starts in the cockpit and even though I was building a British aircraft, I assumed that the interior color would be standard interior green like other US-built aircraft. As the photoetch parts are unpainted, the larger pieces need to be installed prior to painting while the smaller ones should be painted on the fret and then installed. The kit instrument panel needs to have the raised portion at the center of the panel removed in order for the brass part to fit, so it was sanded off with sanding sticks. Arma included decals for the instruments on the instrument panel, but as I wanted the instruments to have a little depth, I applied them to the back of the instrument panel once it had been painted. As the decals have excellent adhesion and are very thin, make sure to use lots of water or decaling agent such as Micro Sol to help you get them positioned correctly. Once the decals had set and I had painted the other details on the instrument panel and sidewalls, I gave the entire panel a coat of flat to blend things in. Arma does provide some painting information in each step of the build, but I recommend supplementing it with another resource such as Detail & Scale’s book on the Wildcat (which includes photographs of FM-1’s and FM-2’s. Once completed, the cockpit is an amazing reproduction of the FM-1 cockpit and would make an interesting contest entry on its own!
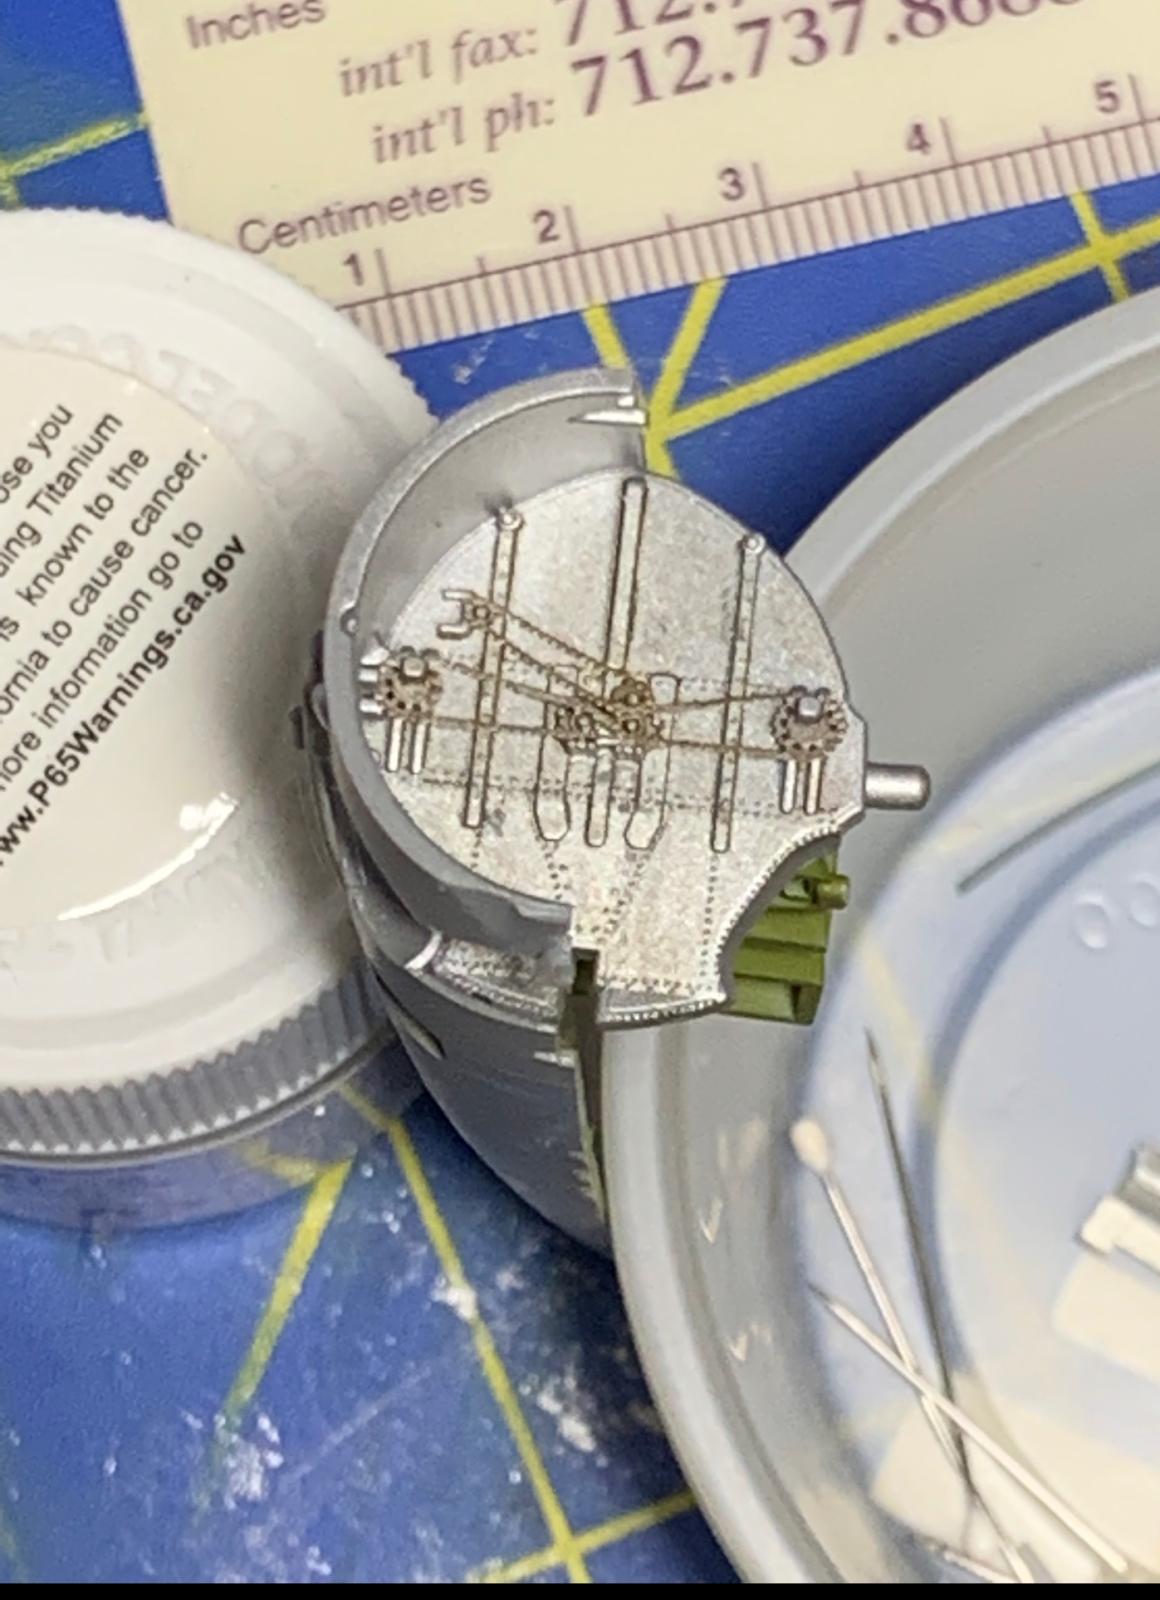
The next step is painting the forward cockpit bulkhead, including the painting and installation of the photoetch gears and chains related to raising and lowering the landing gear. I decided to follow the sequence shown in the kit instructions and next turned to building and installing the engine for the FM-1. Again, the instructions include helpful painting information, but I recommend you supplement it with outside references. The instructions for the FM-1 include a wonderful illustration on where to install the wiring for the forward bank of cylinders as well as a couple of small decals on the transmission case. Next is the construction and painting of the rear firewall and the engine mounts. One of the mounts, part A9, was short-shot, but this was invisible once the engine was installed.
After the engine and rear firewall have been constructed and painted, Arma has you install this assembly in the right fuselage half and then closing up the fuselage. Once I had done this, I realized that I would be installing the landing gear up through the wheel holes later in construction – not an easy task in 1/72 scale. I reversed this process on the FM-2, joining the fuselage halves and then installing the landing gear before installing the engine and I much preferred this sequence as I could then see what I was doing in the gear bay.
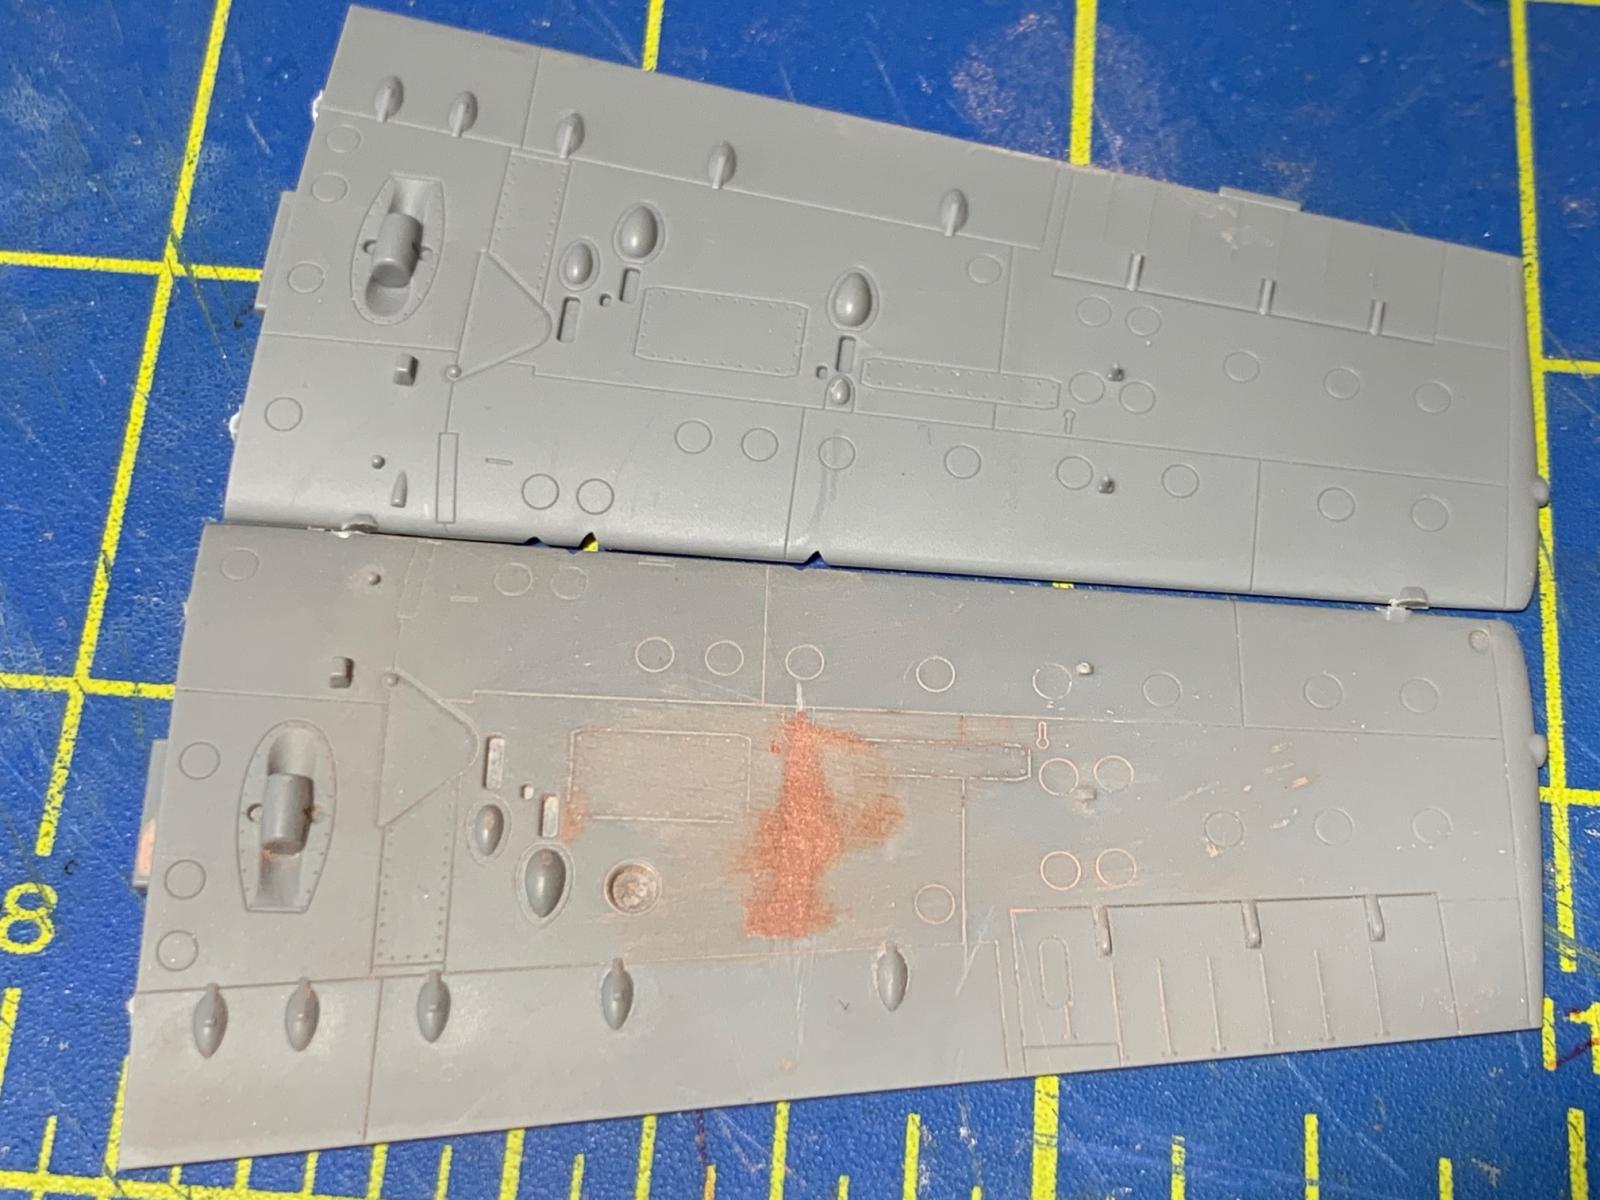
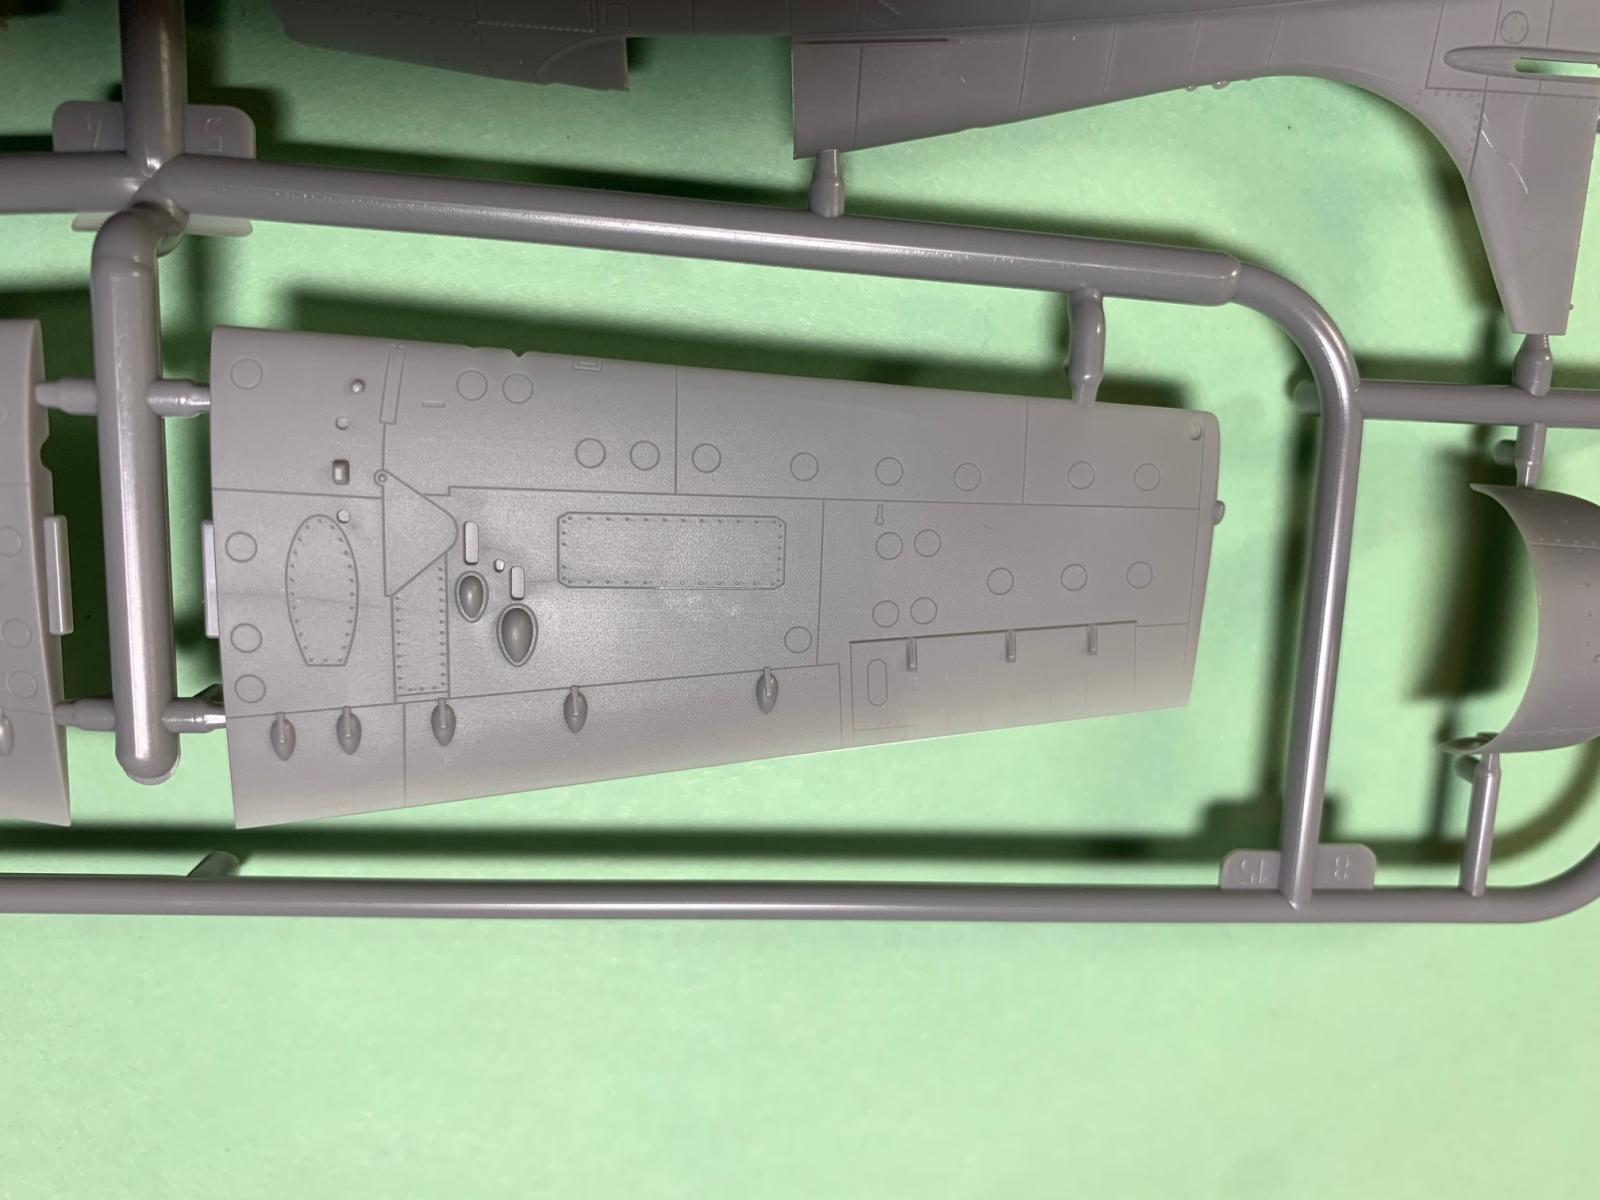
While the fuselage was drying, I moved on to the wings. Since I was not going to install external tanks or rockets on the FM-1, I skipped the step regarding drilling holes for these weapons. Interestingly, the FM-1 kit includes the F-4F wings, so several modifications need to be made. FM-1 only carried two guns per wing instead of three, so the outer gun port needs to be filled in (I used stretched styrene) and the gun bulges on the lower wing need to be removed and the shell ejector chutes need to be filled in on each wing. The FM-1 photoetch set includes new lower gun bay doors that will need to be superglued under each wing as shown.
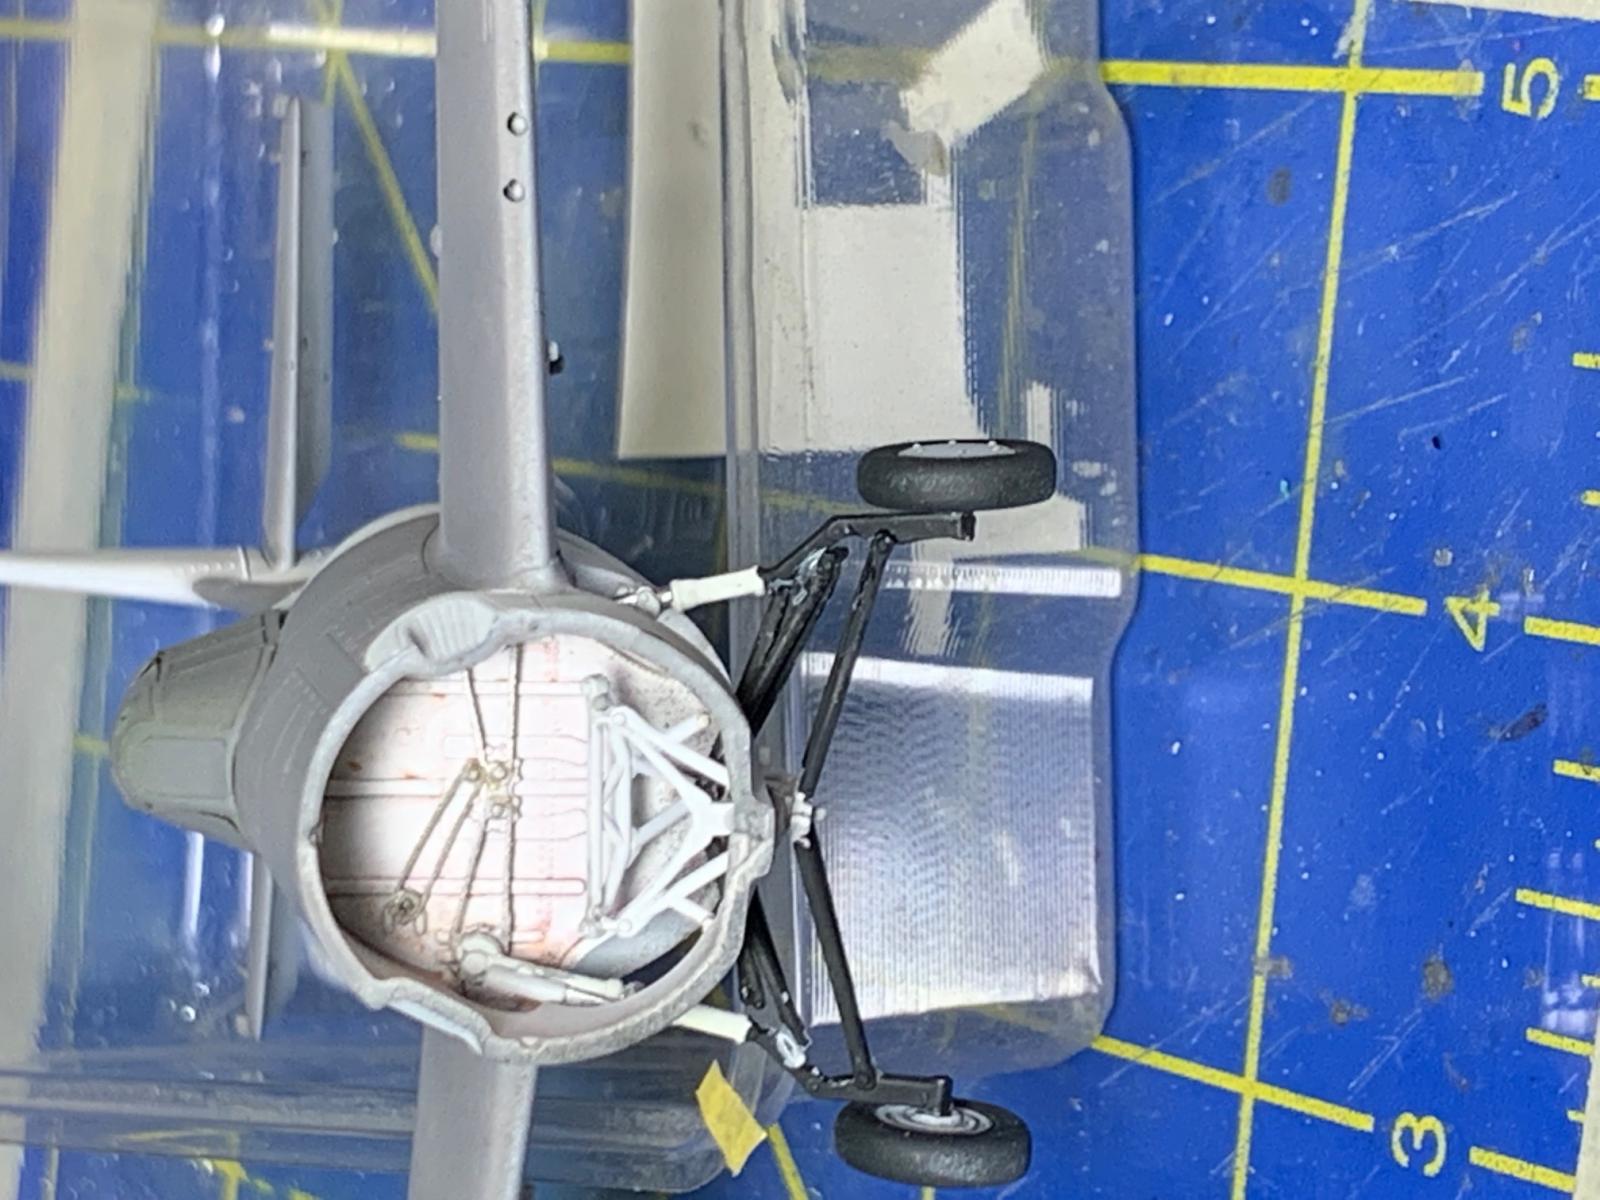
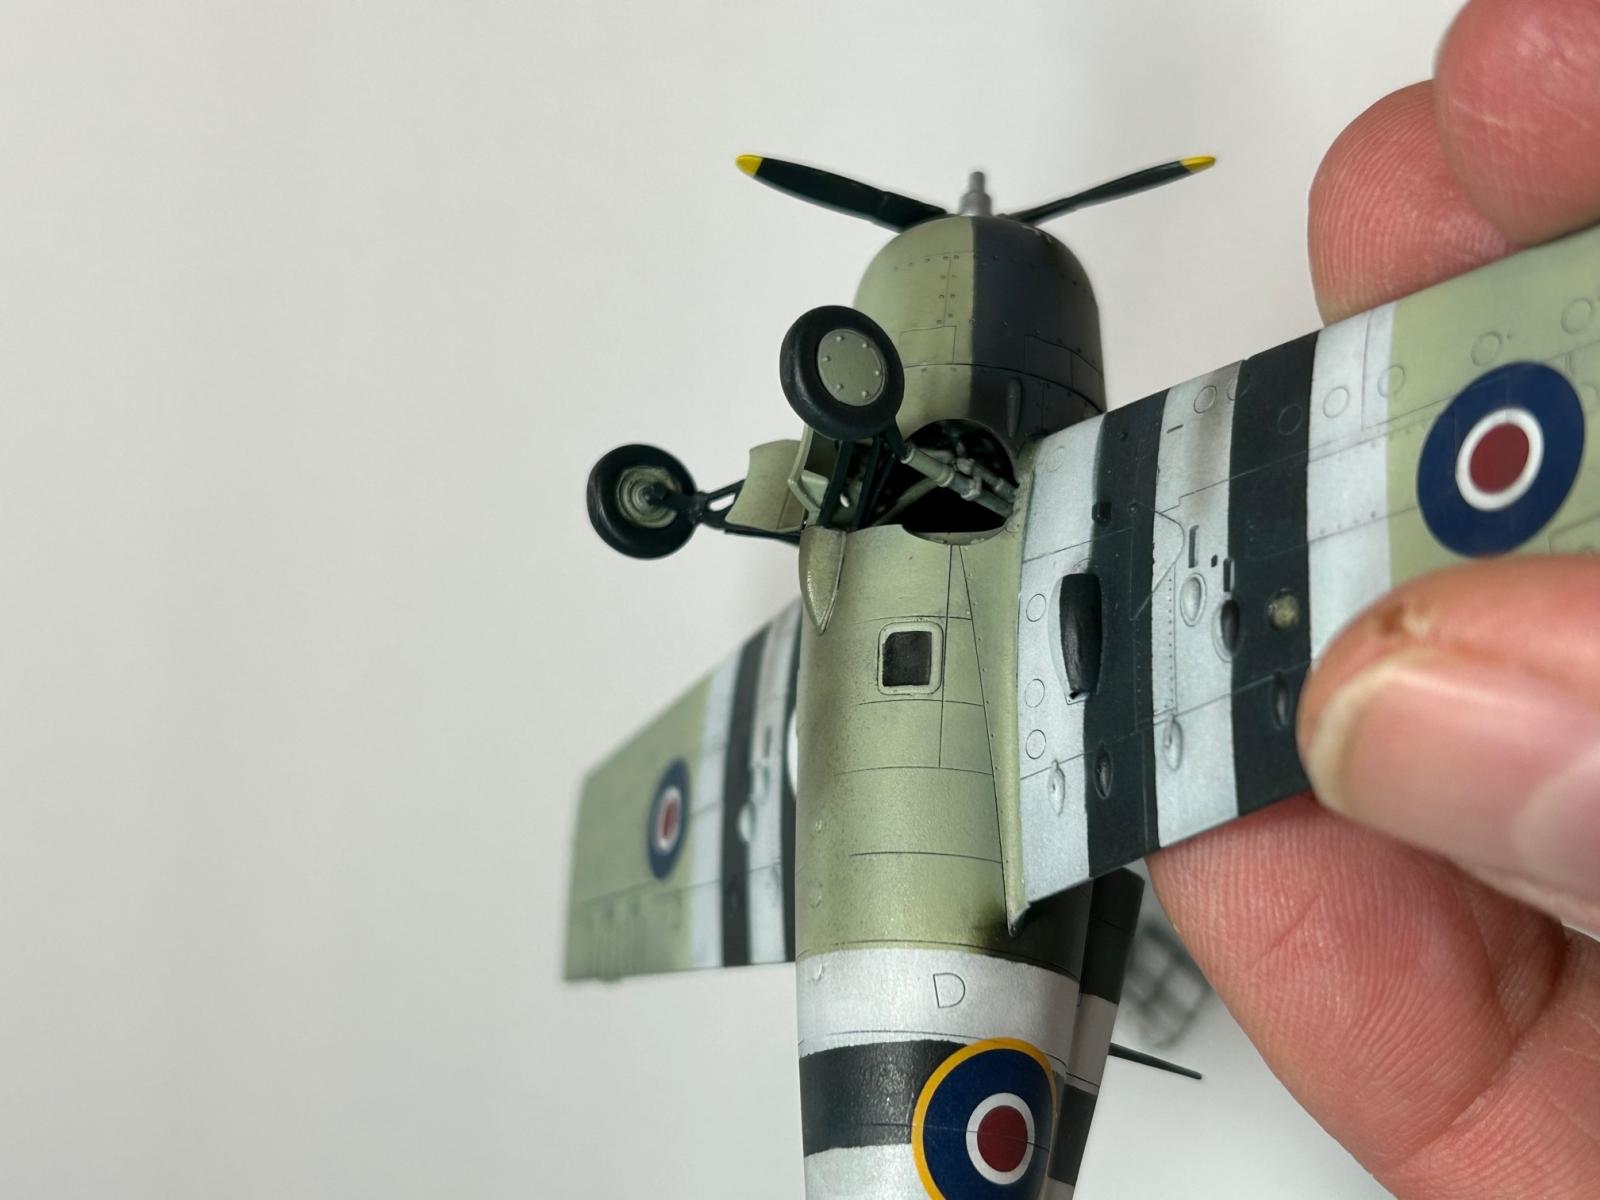
Next, I worked on the landing gear, which true-to-form for the Wildcat turned out to be tricky to build and install. Before starting construction, you will need to decide which aircraft you are going to build as the upper gear legs are painted the underside color, while the lower sections are painted flat black. I strongly recommend that you paint all of the landing gear parts before beginning assembly and then touching up the paint as needed as you go along. Arma includes a set of photoetch landing gear doors, but as I was already having enough fun with the gear itself, I elected not to use the photoetch doors. I also recommend leaving the wings off until after you have installed the landing gear as it is much easier and much less worrying if the wings are not in the way. As I expected, installing the gear blindly up through the main gear bays was not easy as the upper part of each leg is supposed to slot over the same pin that you previously installed the photoetch chains on. Take your time and check the orientation of your gear legs multiple times before the glue sets up. The hubs on the main wheels also need to be painted the undersurface color as they are visible when the gear is retracted. They also have a slight flat spot molded in, so make sure you have installed the tail wheel before the main wheels to ensure the flat spot is fully on the ground.
The FM-1 retained the two small windows under the fuselage and Arma provides two clear glass inserts for these. The fit of these windows was not as sharp as the other kit parts, so I ended up doing a little sanding and filling to blend them in. I then installed the wings, one at a time. Each wing has a small tab that fits into the fuselage and the wing slots over a pin that is part of the forward cockpit bulkhead. I was concerned that the small tabs might not hold, so I used superglue to attach both wings. Once the wings were installed, I noted small seams at the wing roots, which were addressed with water-soluble putty.
Finally reaching the painting stage, I went to install the cowling over the built engine only to discover that it did not fit. In peering inside the cowl, it appeared that the heads of the first row of cylinders were catching on the lip of the outer cowl ring. I ended up using a sanding stick to sand down the tops of the first row cylinders until I could slide the cowl into place. I then dipped the two piece canopy in future and once both parts were dry, I masked them using the provided masking set. As I was building a Royal Navy Martlet V, the colors were Extra Dark Sea Grey, Dark Slate Grey and Sky Type S according to the paint chart on page 2 of the instructions. Arma provides paint matches to Hakata, AK Real Color, Lifecolor, AMMO, Humbrol, Vallejo and Tamiya. While I normally work with Tamiya acrylics, there was no match listed for Dark Slate Grey. Fortunately, while rummaging through my paint stash, I discovered old bottles of Humbrol (these are easily 30 years old and more likely closer to 40 years old) for all three colors! Despite their age, once I remembered how to thin them, they worked beautifully.
Once the paint had dried, I sealed it with a couple of thin coats of Future and then applied the kit decals, which worked very well and snuggled right down on the kit details with Micro Sol and Set. As naval aircraft tend to get a bit grimy, especially back in the days before nuclear power I overpainted some panels with lighted versions of the original color and darkened the panel lines using Tamiya panel line washes – dark grey on the bottom and dark brown on the top and sides. This was all then sealed up with a coat of flat.
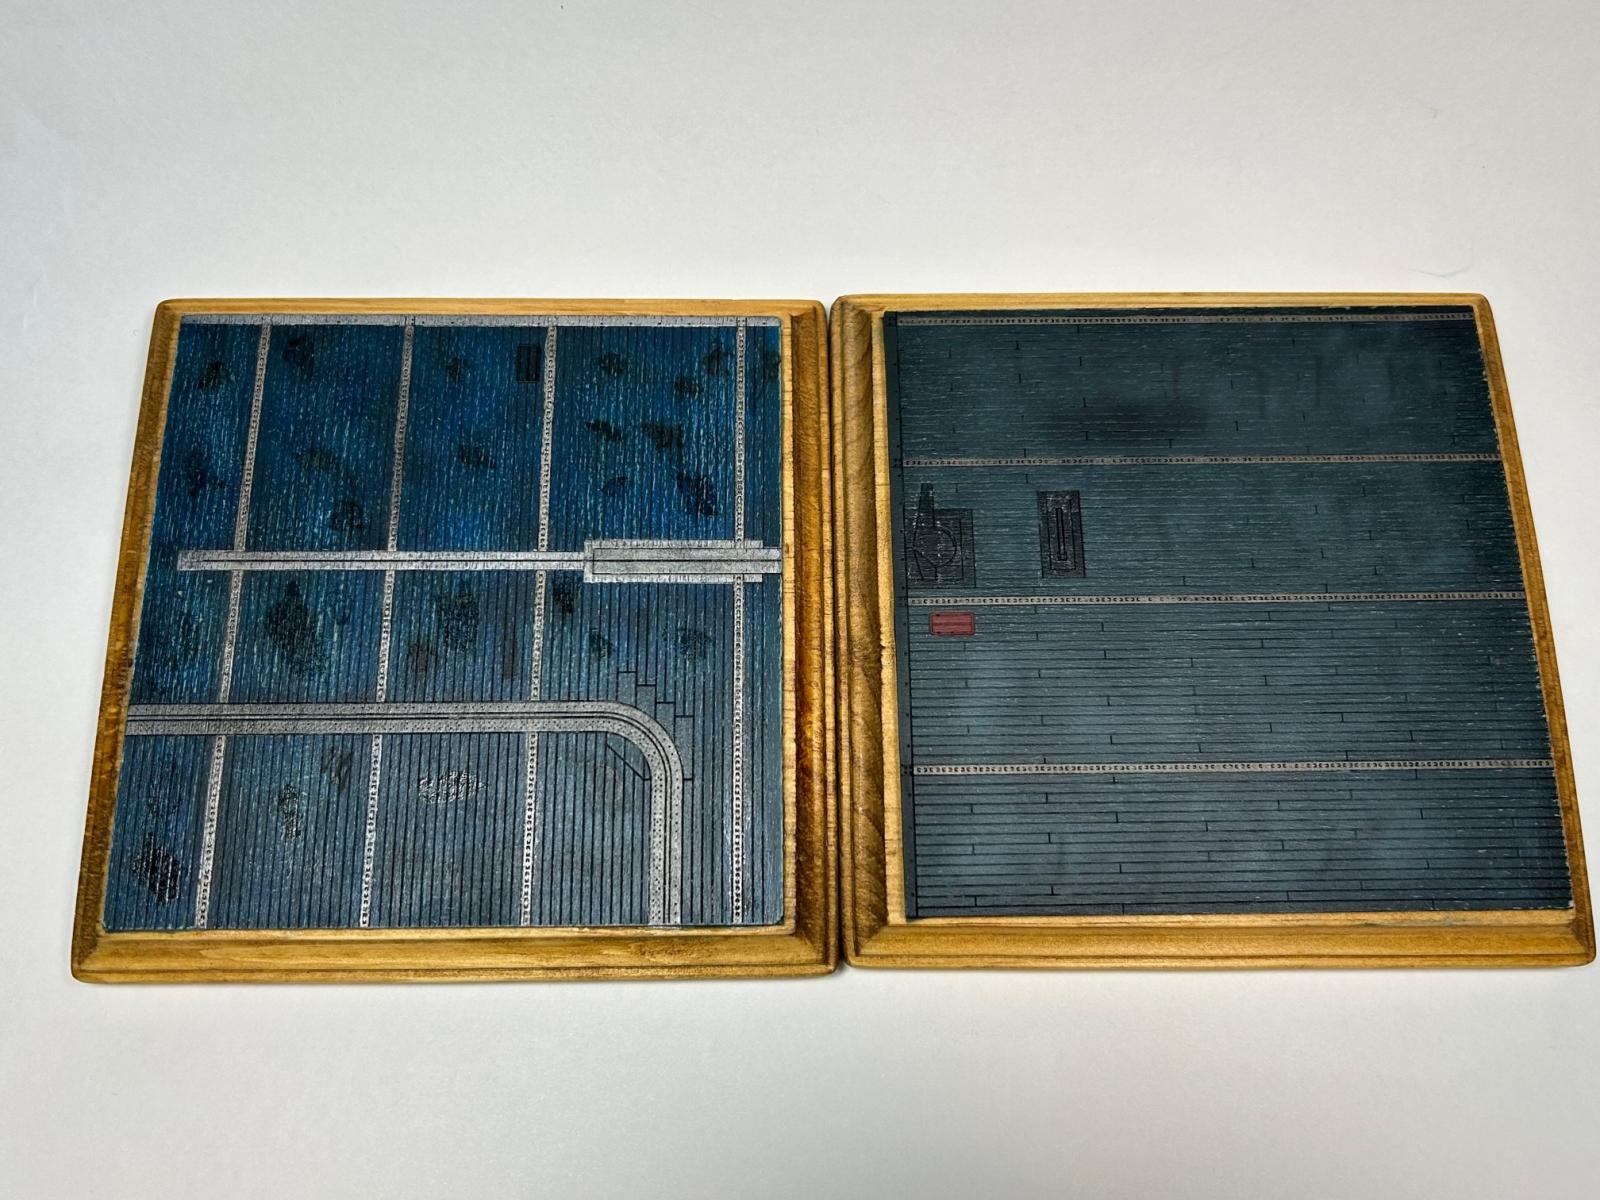
Having completed the FM-1, I turned my attention to the laser cut flight deck pieces. The first step was to the local craft shop to find two square display bases slightly larger than the deck pieces and a bottle of Mod Podge to seal them. I then used wood glue and clamps to attach the deck pieces to the display bases. Once this had dried, I applied two coats of Mod Podge, lightly sanding between coats. Once the second coat was dry, I consulted the kit instruction regarding how to paint them along with some photographs I found in several reference books. When the paint had dried, I sealed the bases with a coat of Future, then used various grits of sandpaper to rough-up the finish and show wear and tear to the deck. I also attempted to replicate oil and fuel stains with AK products. The decks were then sealed with flat.
For the most part, construction of the FM-2 was similar to that of the FM-1, with a couple of exceptions. As noted above, the kit includes a separate photoetch set for the FM-2, however, with the exception of the installation of the cockpit parts, the instructions for the FM-2 are silent on where the non-cockpit photoetch parts are to be installed, so I left most of them off. The trees for the FM-2 wings include the correct 2-gun per side configuration with the revised lower gun bay doors, so no modifications are needed to either wing other than drilling out holes to mount the underwing drop tanks and rockets. The other surprising issue is that there are a lot fewer color callouts in the FM-2 instructions, so you will need to double check the FM-1 instructions and your outside references as you go.
This time I left the engine off and installed the landing gear as soon as I had cleaned up the fuselage seams. This made the whole process so much easier as I could actually see where everything was supposed to go. The only issue I had was that I had forgotten to remove the ejector pin tower from part A19 and no matter how much I tried to convince it to slot into place, it refused, so I had to carve it off and re-install this assembly.
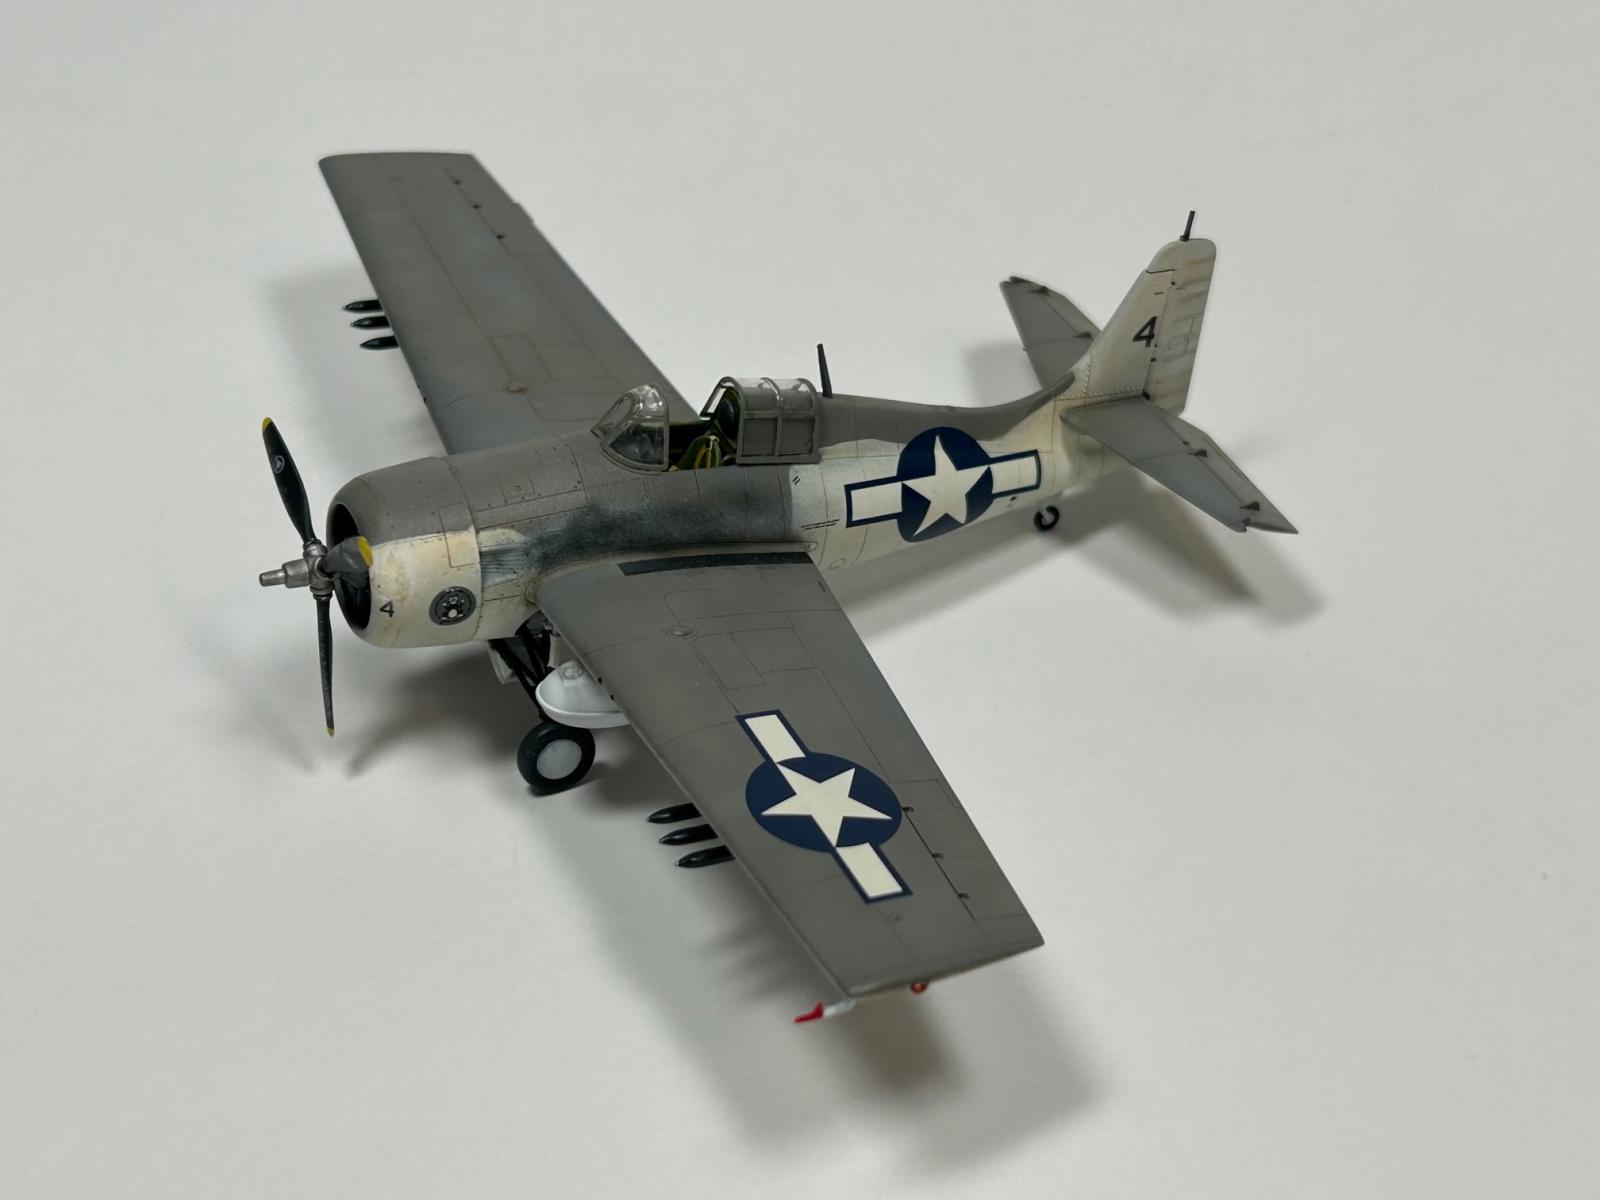
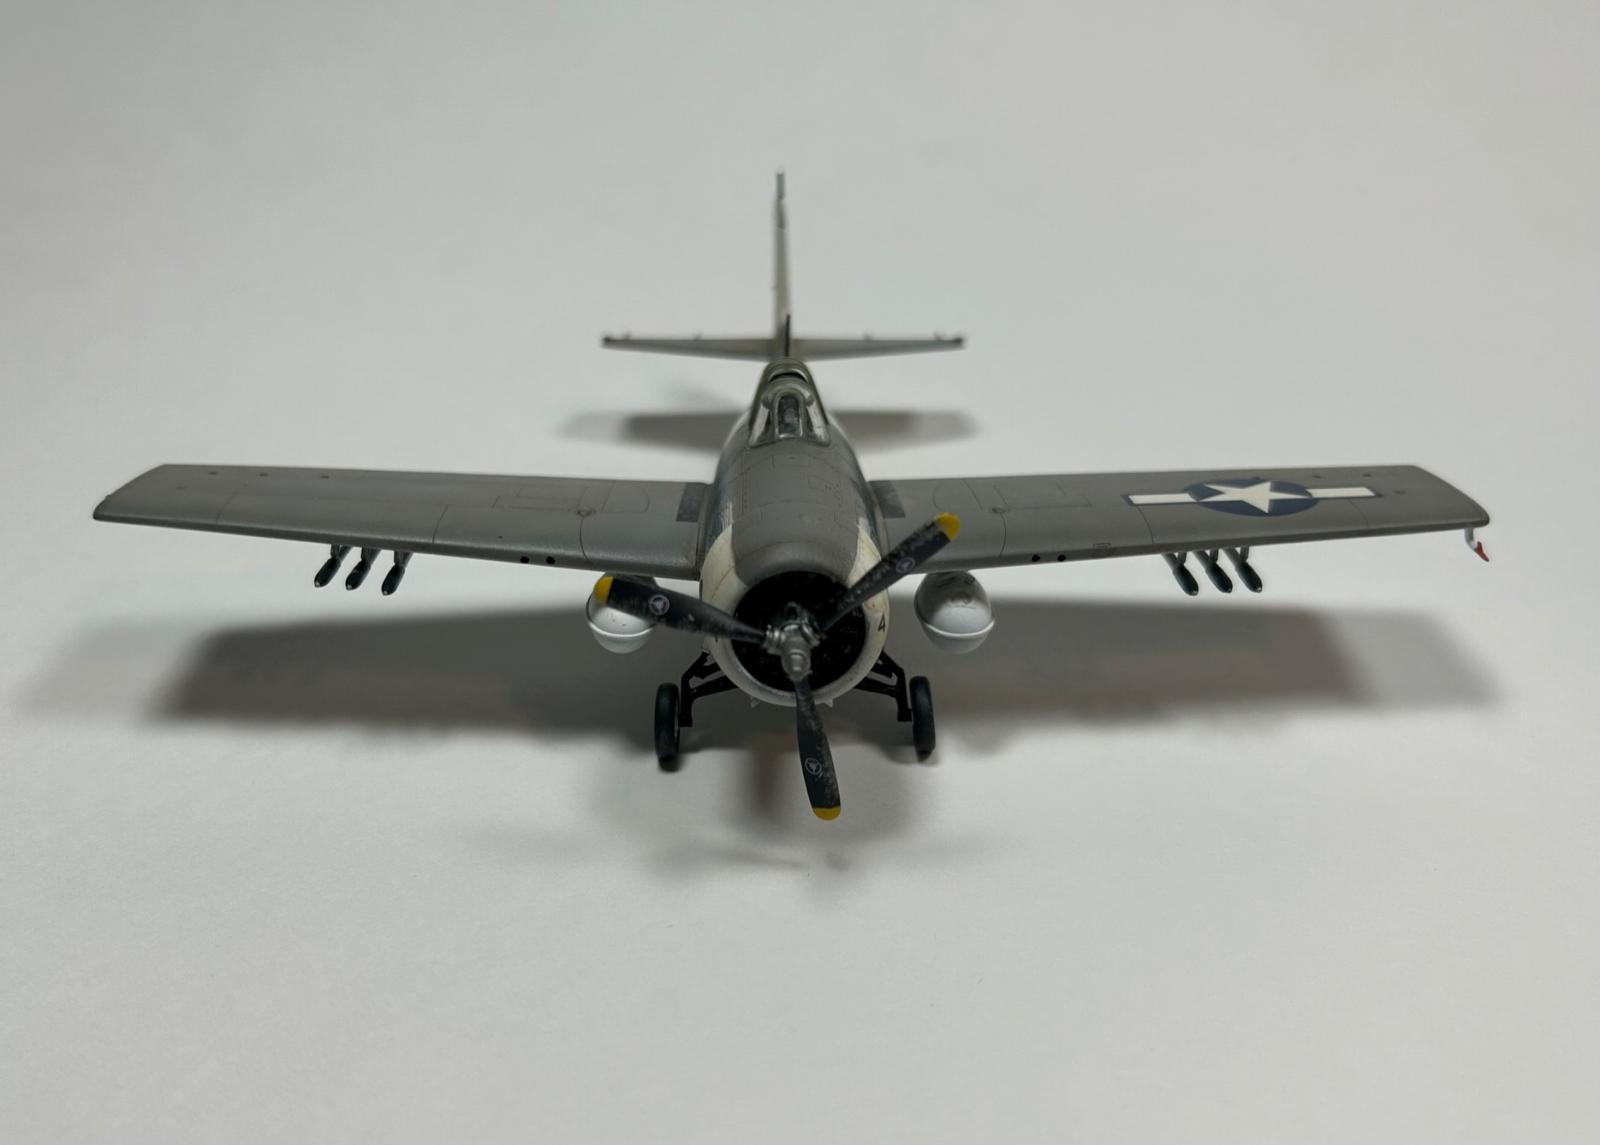
As I again wanted to do something a little different, I selected the FM-2 Wildcat of VC-13 operating off of the USS Tripoli on ASW patrols in the Atlantic as it was in a two-color scheme of Dark Gull Grey over Insignia White. I also wanted to display the drop tanks and underwing rockets, so these were painted and installed after descaling.
I really enjoyed both of these kits as the standard of molding of the parts is exceptional and the fit, other than the afore-mentioned ejector pin towers, was wonderful. Both kits capture the squat and purposeful look of the Wildcat and look great on the included display bases.
Unfortunately, while writing this review I discovered that this Dual Combo kit is currently listed as not available from Arma Hobby, so if you see one and 1/72 Wildcats are your thing, grab it, they are both great builds.
Highly recommended.
Thank you to Arma Hobby for the review sample and to IPMS/USA for letting me build it.
Comments
Add new comment
This site is protected by reCAPTCHA and the Google Privacy Policy and Terms of Service apply.
Similar Reviews