
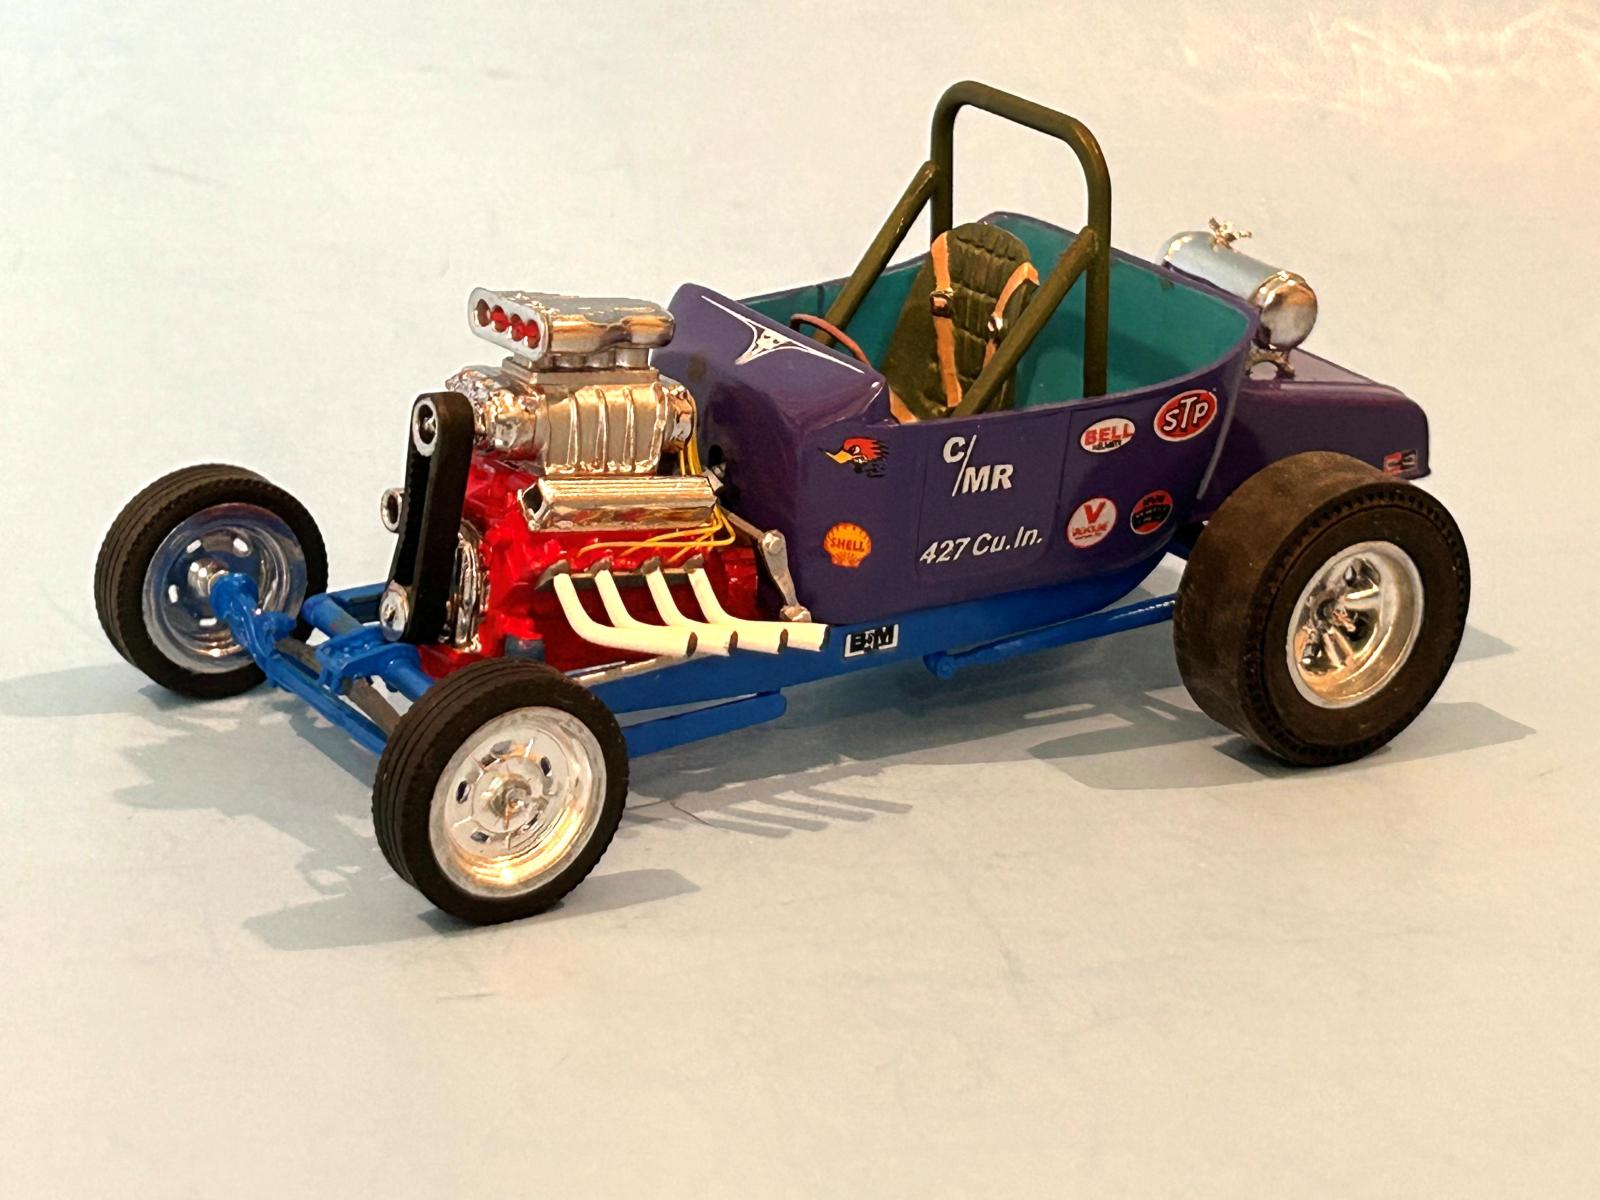
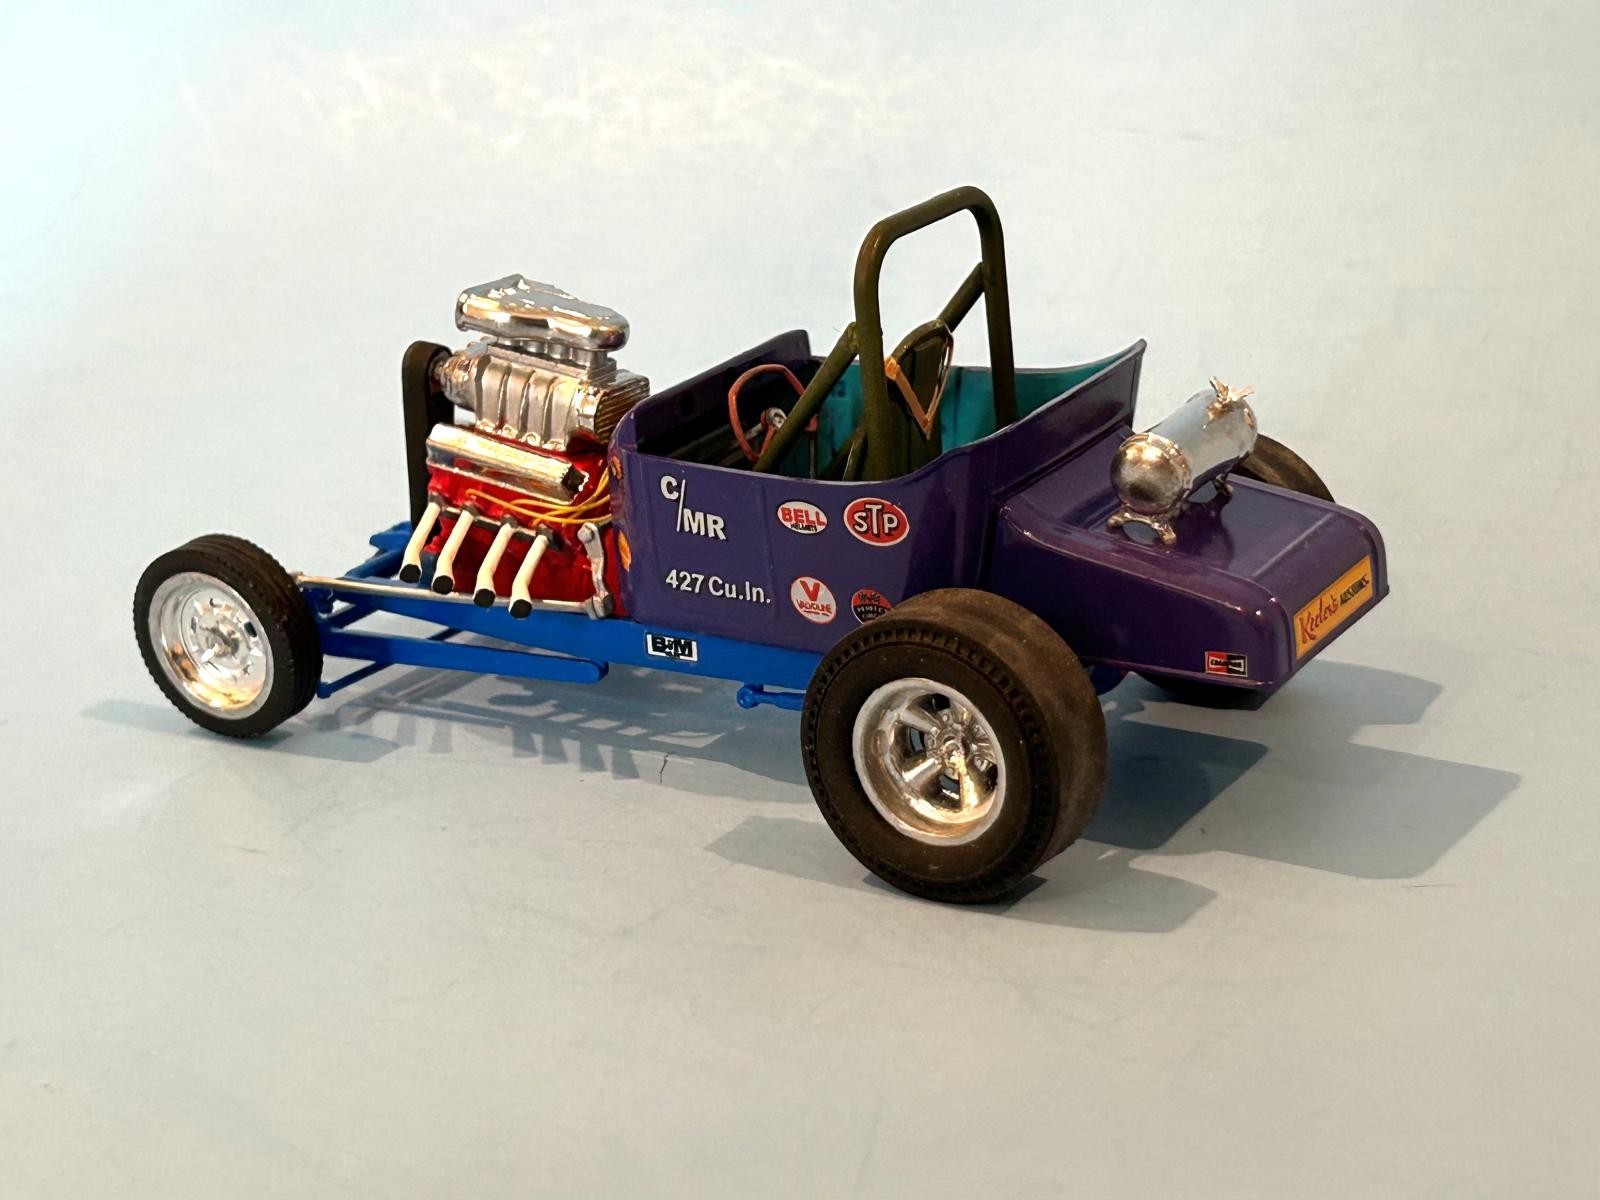
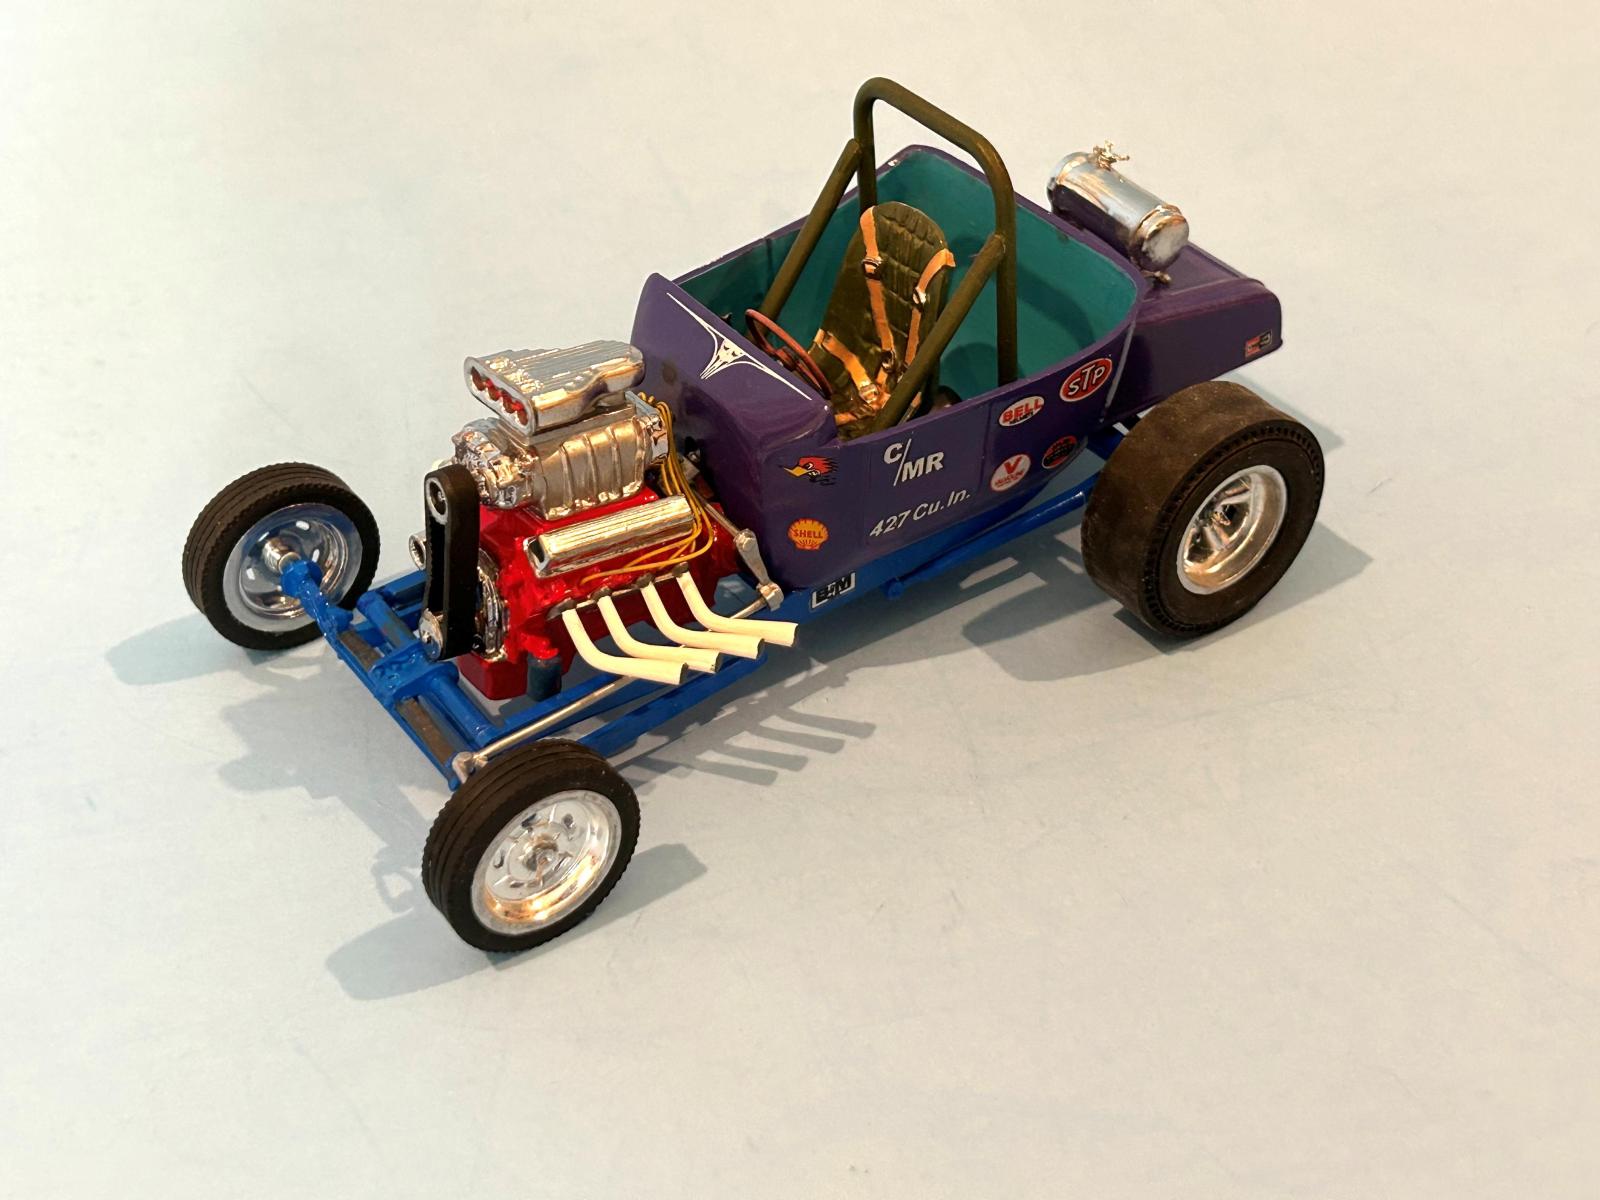
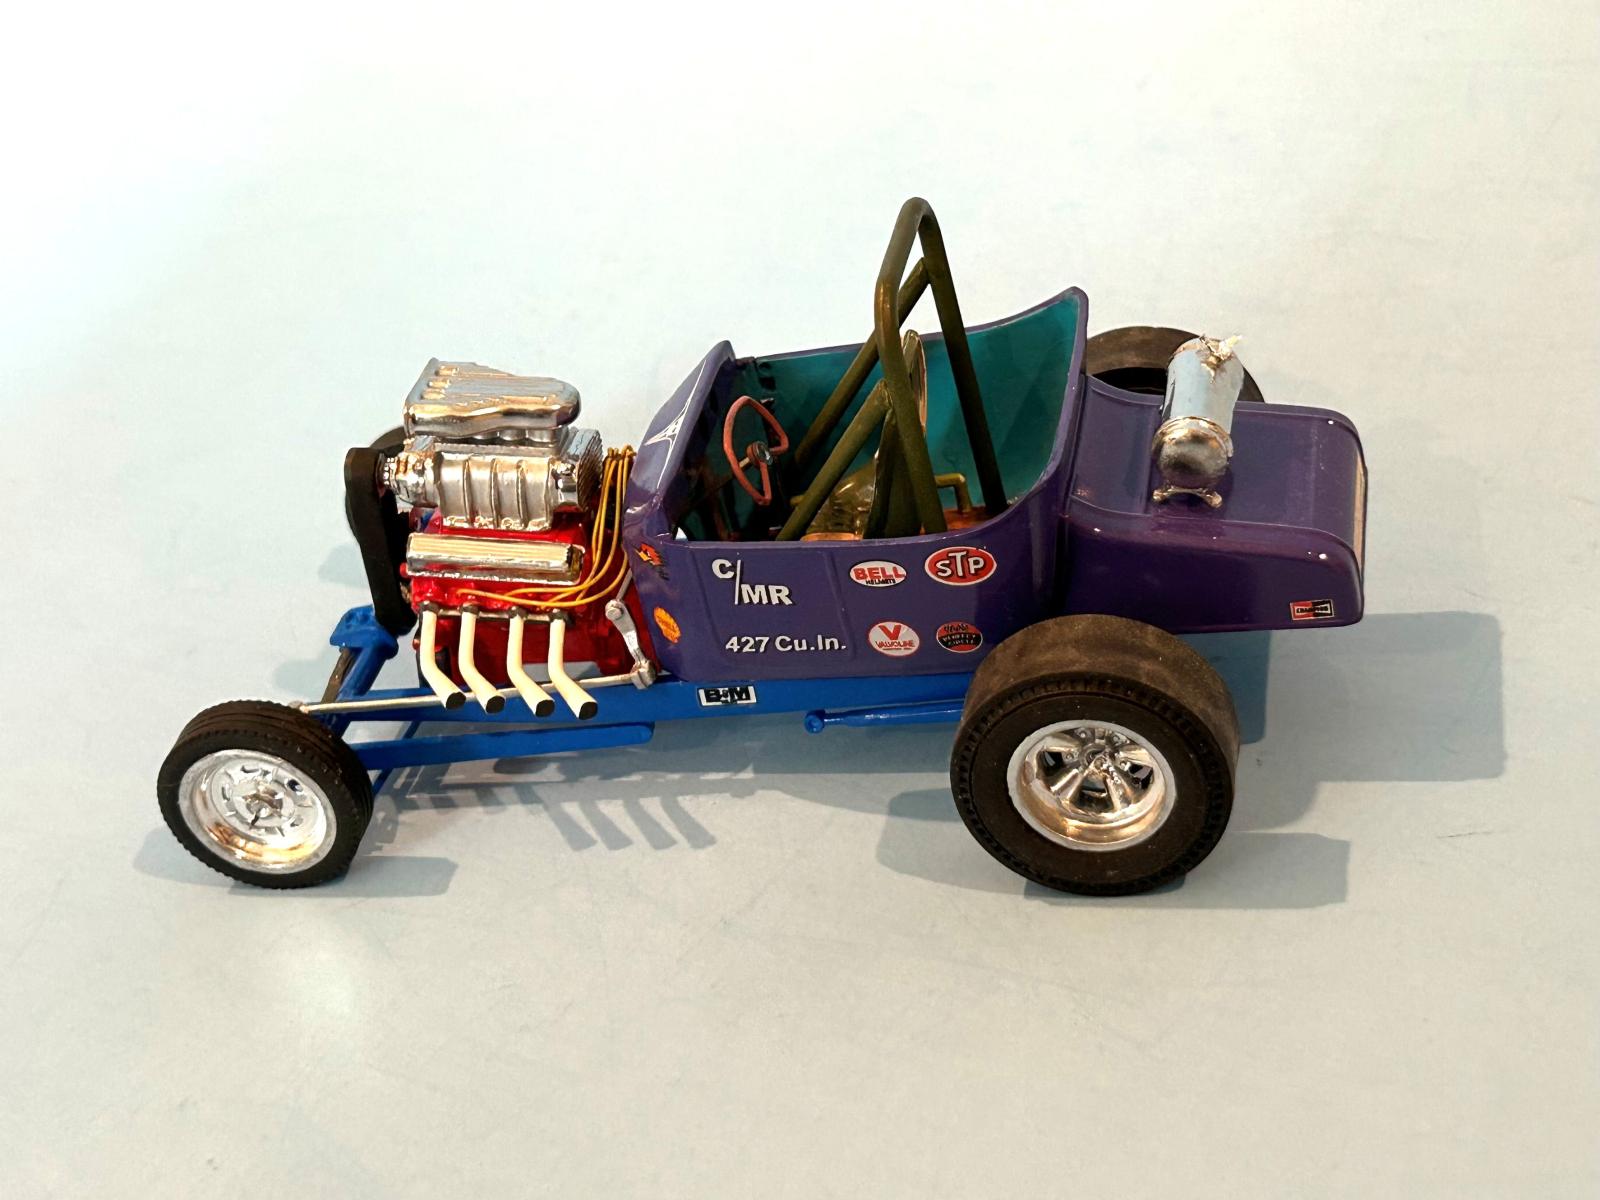
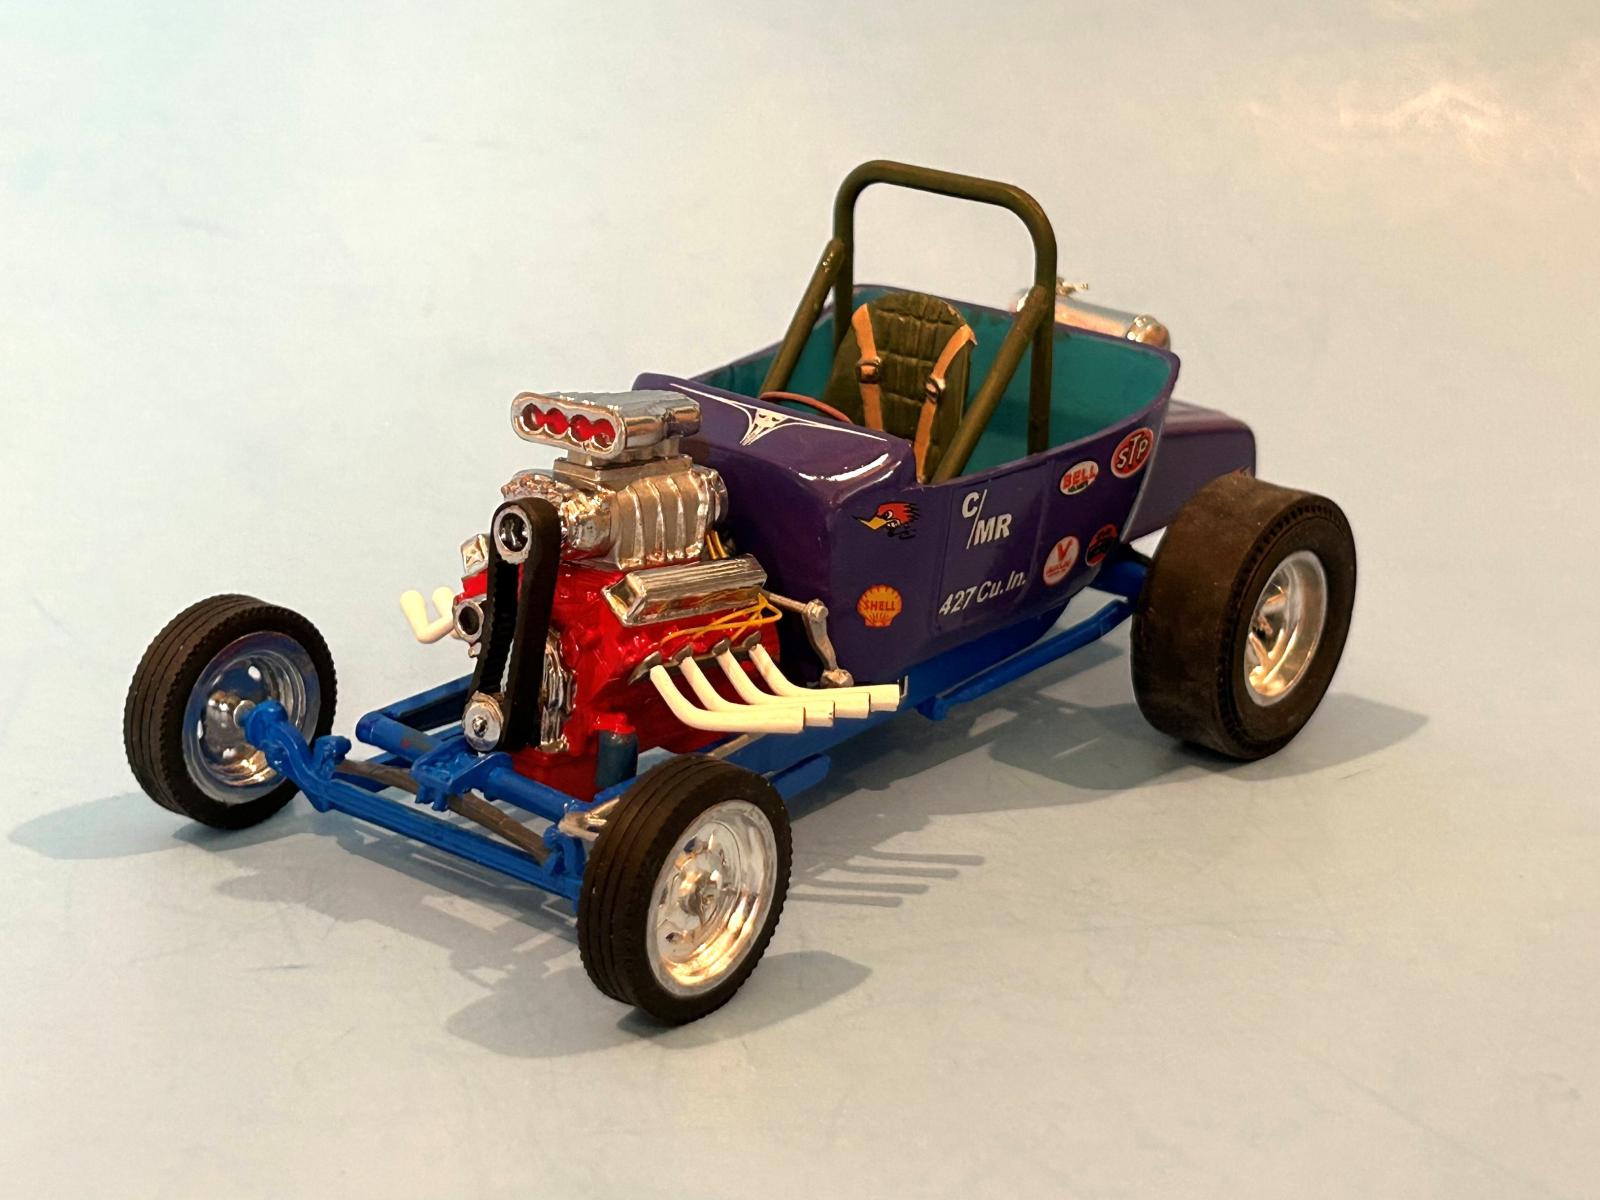
Keeler's Kustoms '23 Competition Pickup
Background
Atlantis Model Company was founded in 2009 by the former owners of Megahobby.com, Peter Vetri and Rick DelFavero. Atlantis manufactures injection-molded plastic model kits and hobby-related products. When they started Megahobby.com back in 2000, they had dreams of becoming more than just another retail hobby shop. They wanted to become an actual model production company like the Aurora Model Co. and Revell-Monogram. As Megahobby grew, it gave them the opportunity to create Atlantis and finally come out with our own branded model kits. On August 29th, 2018, Atlantis purchased the tooling for many plastic model kits from the new owners of Revell, Revell Inc. USA-Blitz Partners. These molds were from the tooling banks of Monogram, Revell, Aurora and Renwal, some dating back to the early 1950's. They were stored in Revell’s Elk Grove facility in Illinois and represent Automotive, Aircraft, Ships, Military, Figures, Space, and many other interesting subjects. On August 13, 2021, Atlantis signed a multi-year deal with John Keeler, a legendary model kit designer who began developing model car kits for Revell in 1961.
The Kit
This Atlantis 2025 release of Keeler’s Kustom’s ’23 Competition Pickup is packaged in a standard rigid top-opening upper box with all parts contained in the lower box. The box top features new, exciting box art by Gene Chambers showing two 1923 Ford Model T Dragster Pickups at a drag strip. The Revell variant of this kit wears a copyright date of 1962 on the interior of the 1923 Ford Runabout Body.
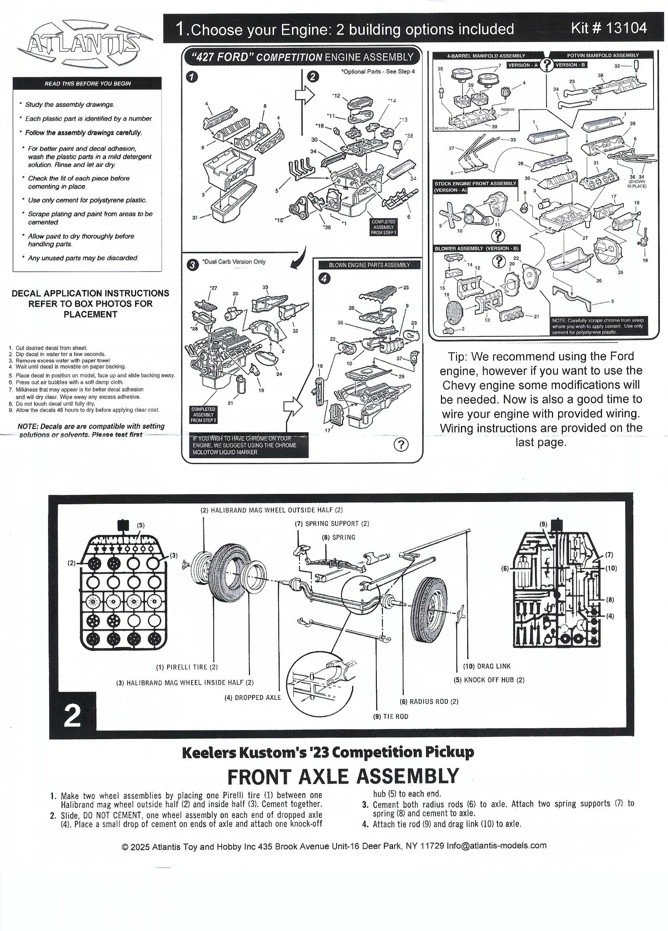
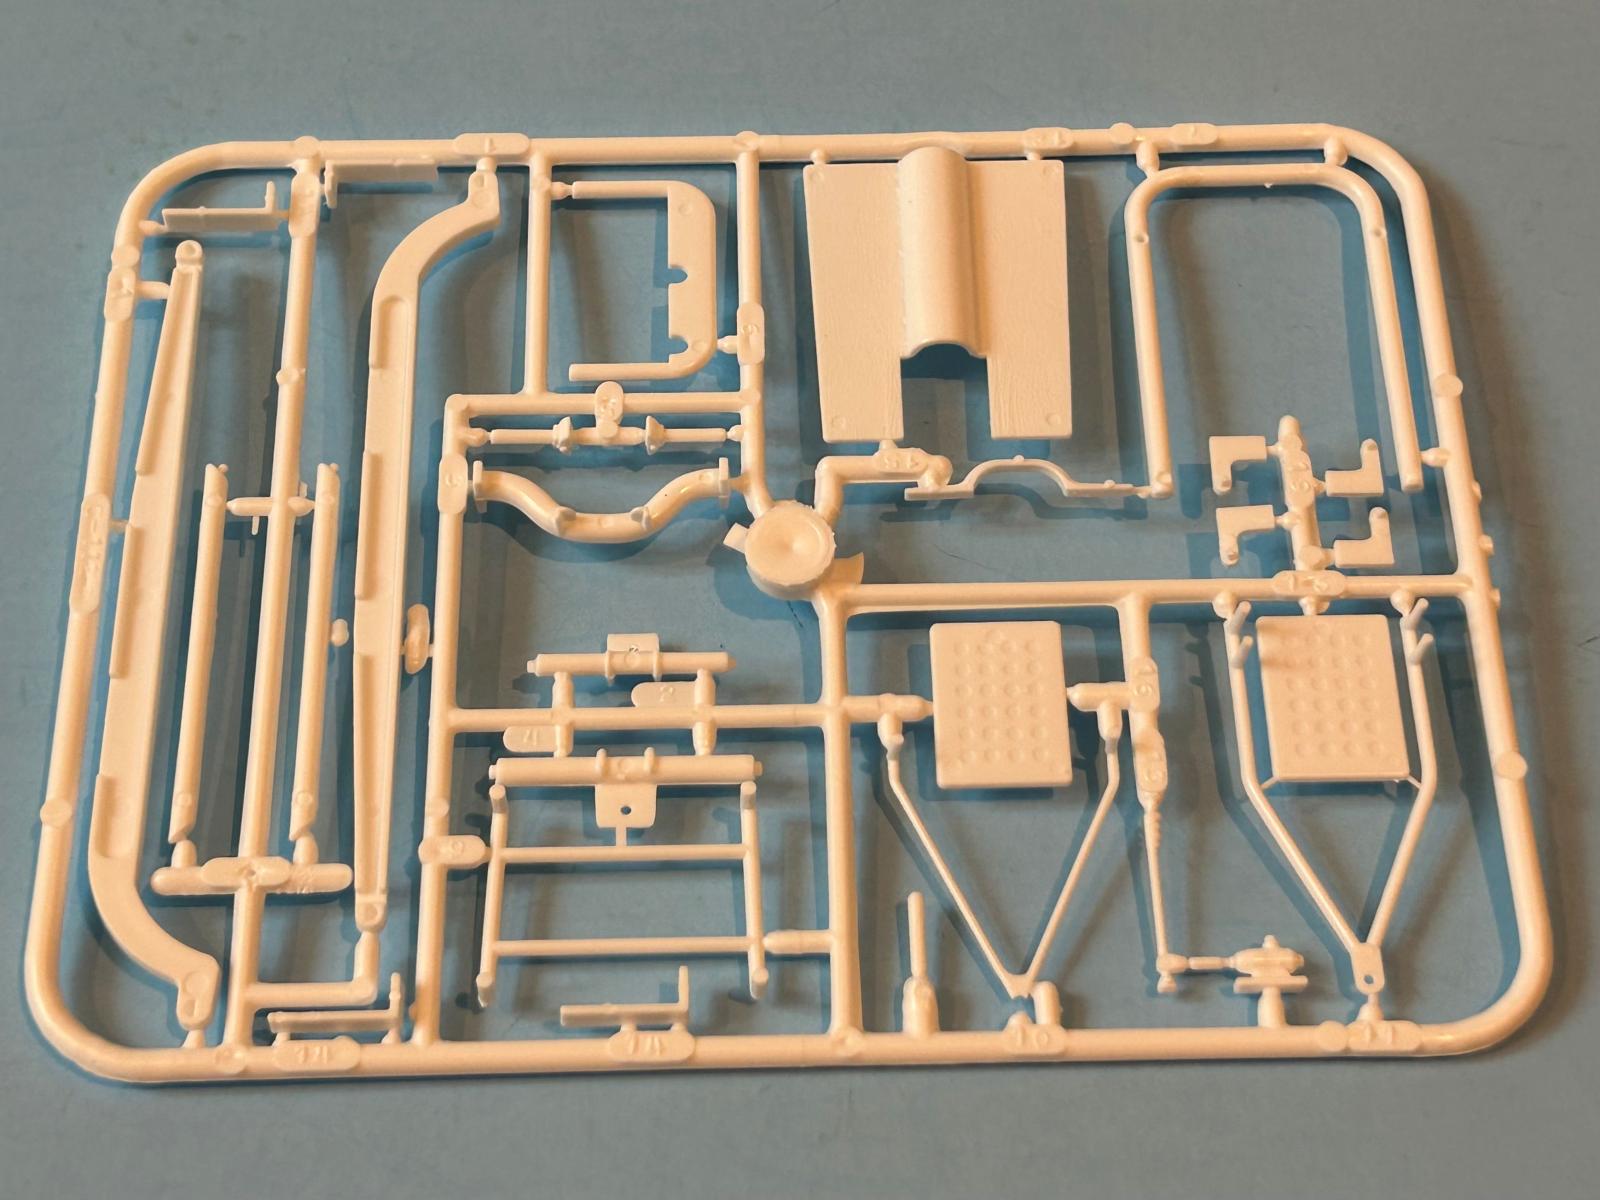
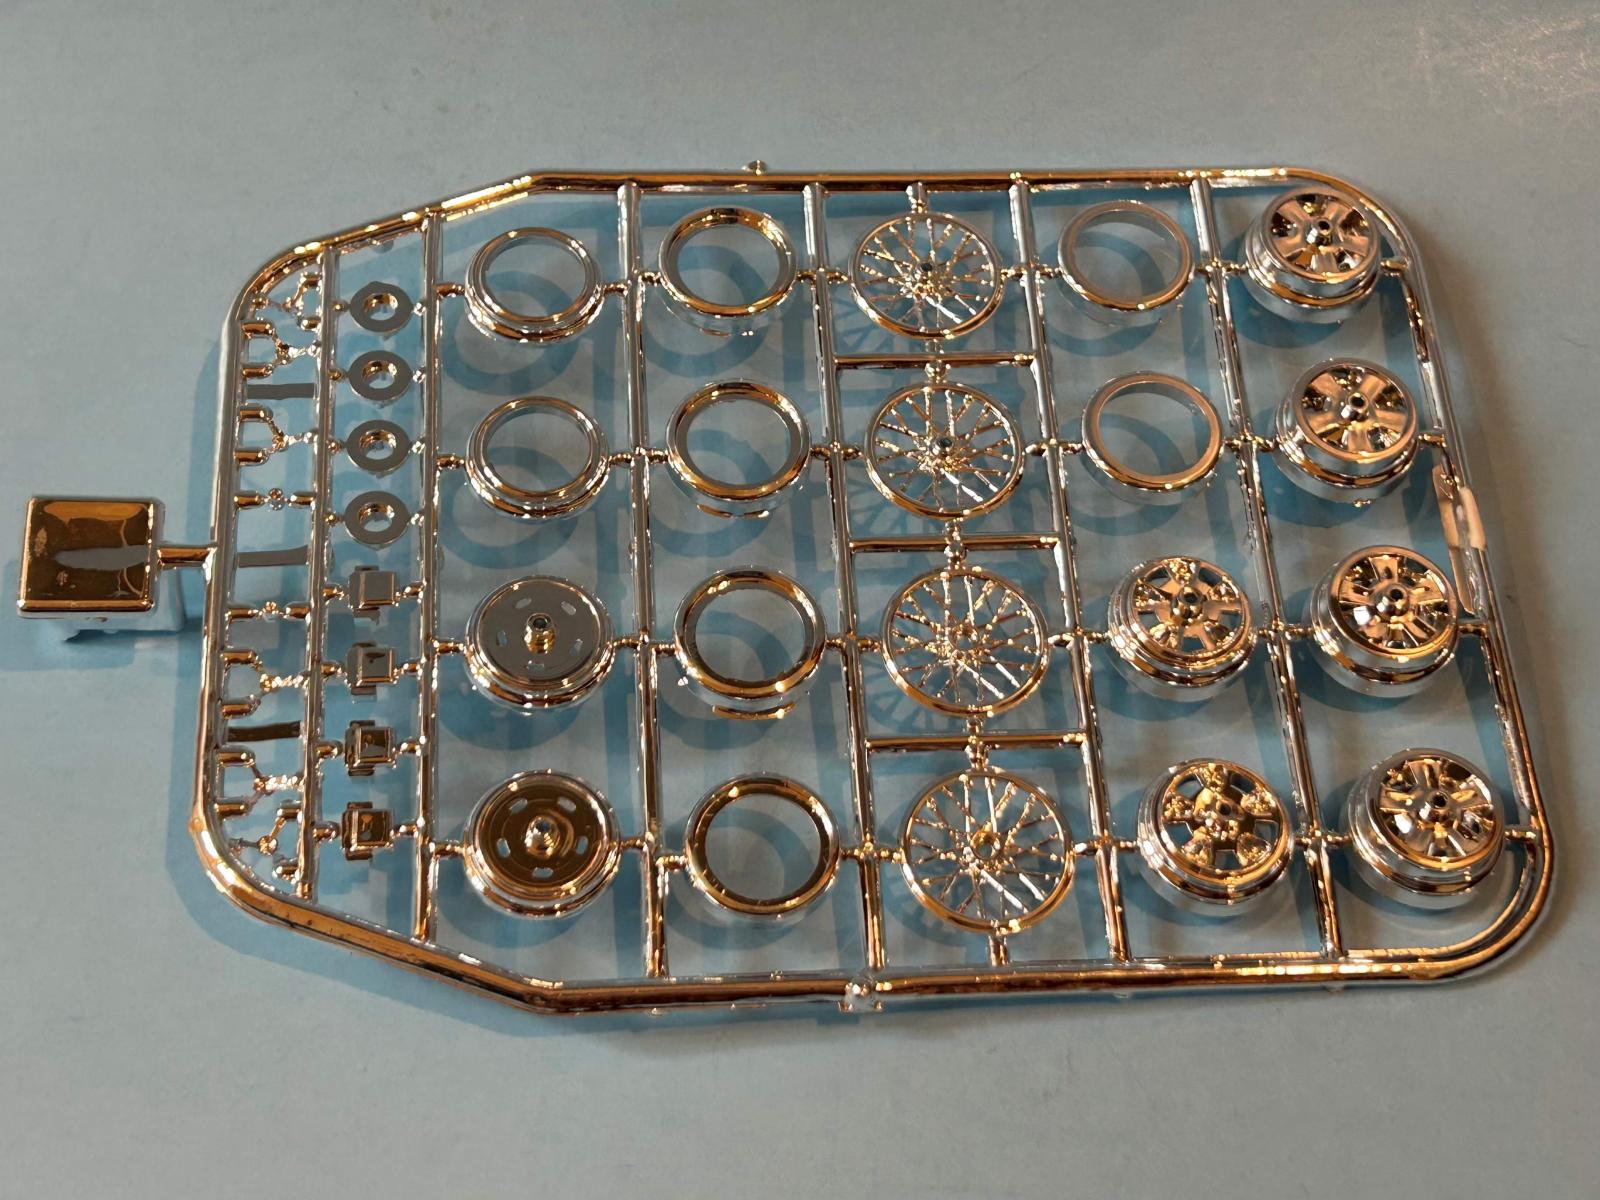
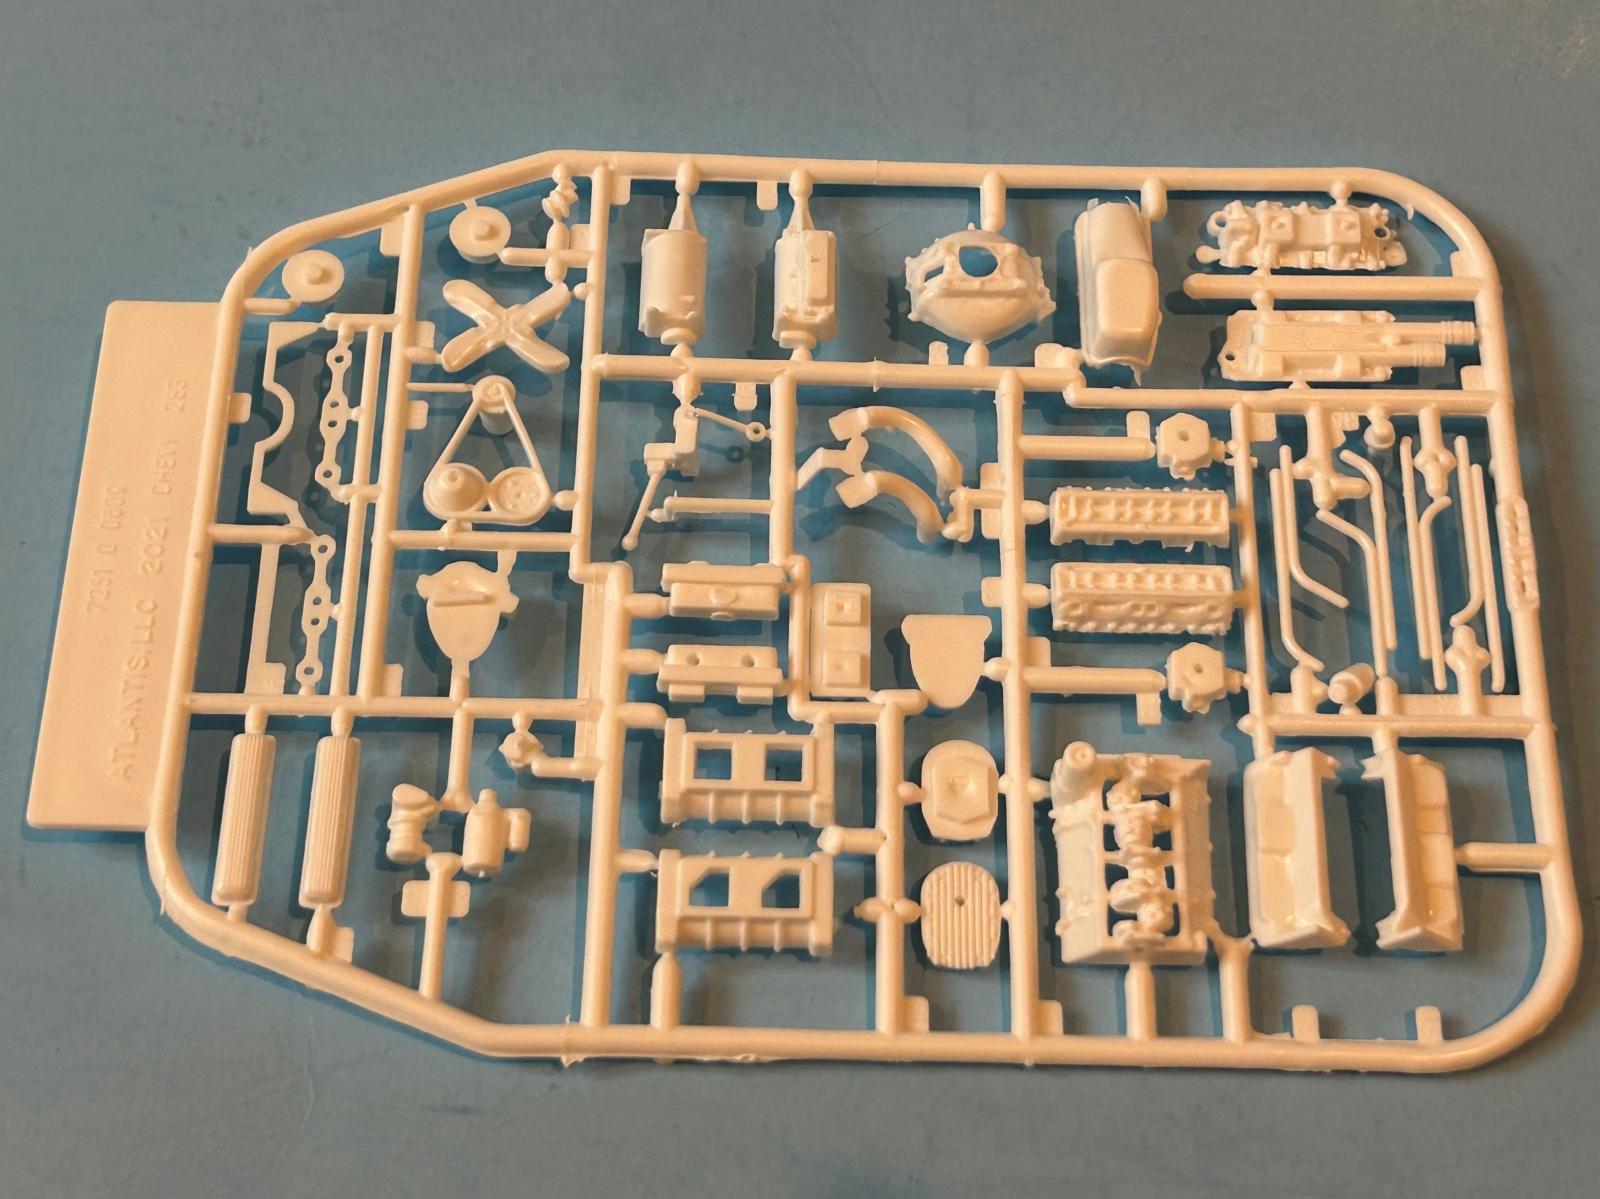
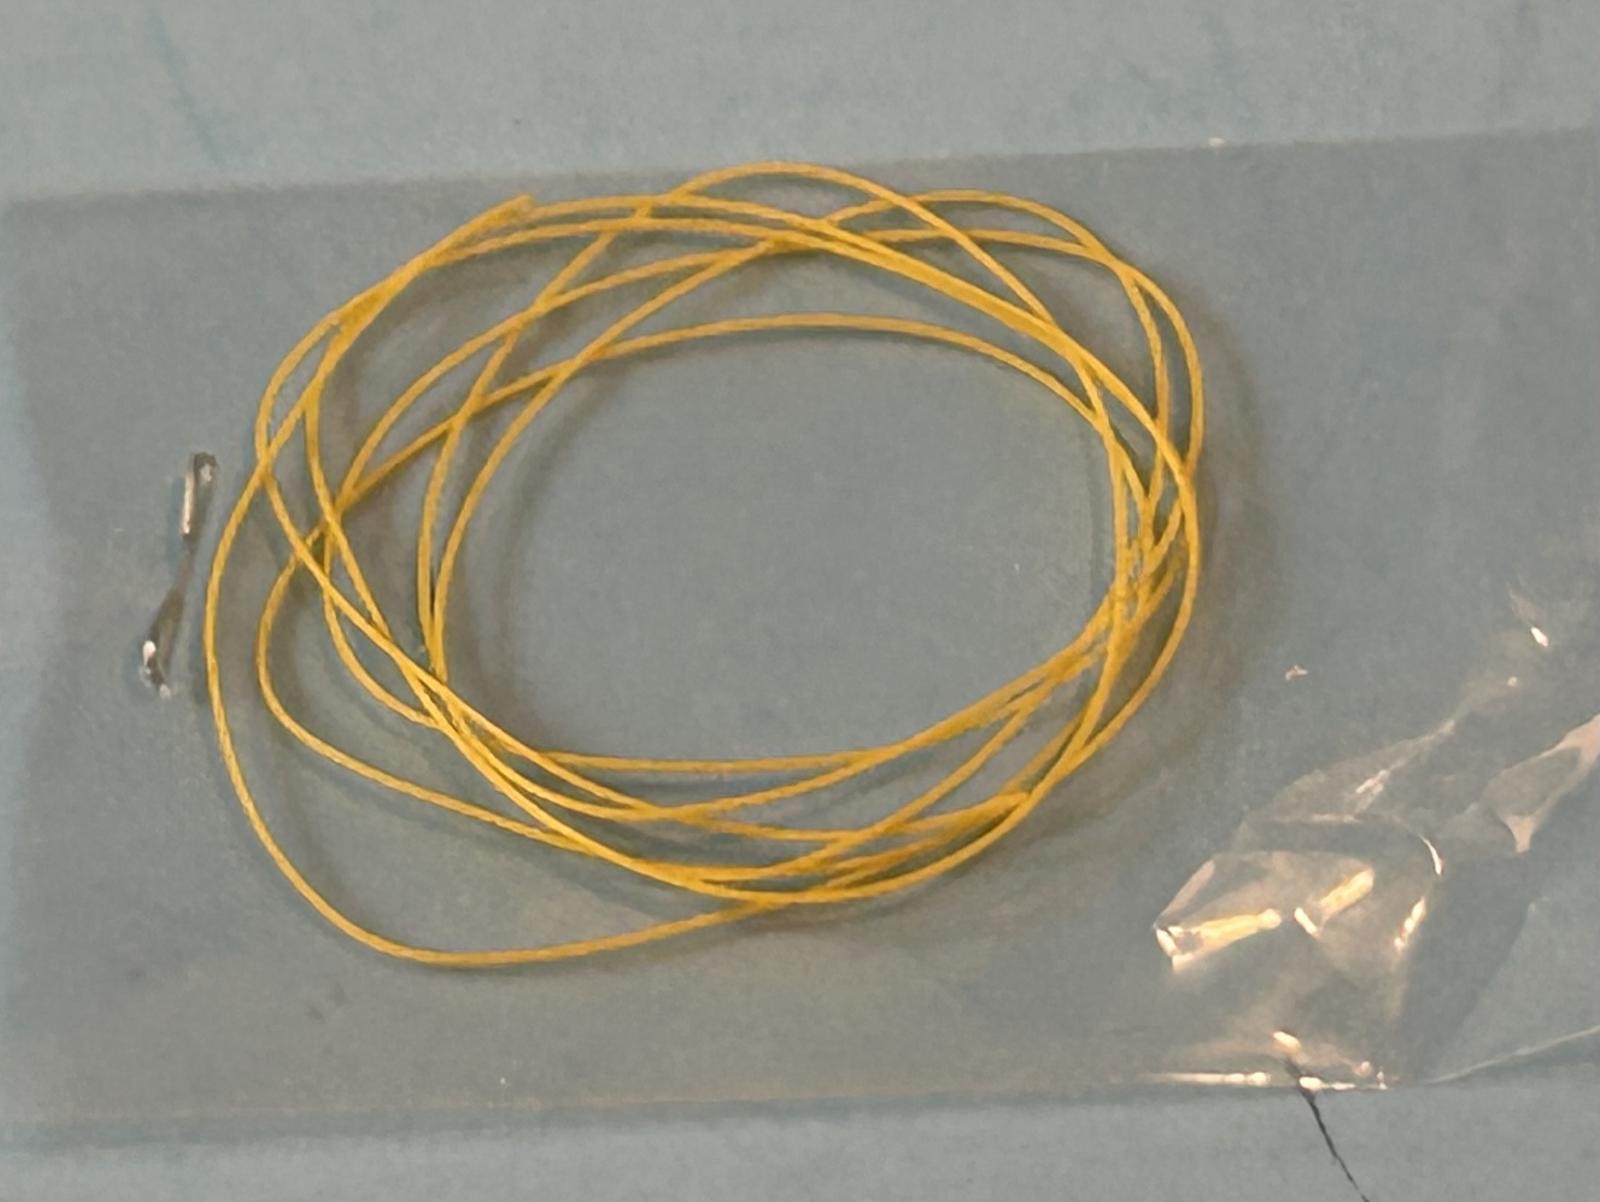
This kit consists of five white and one chrome-plated, injected plastic styrene sprues. There is one vinyl plastic sprue for the tires, a length of yellow plastic jacketed wire [spark plug wiring], and a clear plastic sheet for the windshield. The completed kit is 5.5” in length. What you do get in this kit is lots of options. There are two base engines to choose from: a Ford 427 or a Chevy 283. The Ford 427 gives you the choice of a dual carb or a fully blown version. The Chevy 283 can be built up as a 4-barrel or a Potvin-blown variant. The instructions do note that they recommend the Ford engine as the Chevy will require some additional modifications to the frame and body [but does not specify the changes]. You can also choose to do a dragster or a street rod, a choice in front tires, and a choice in the rear runabout deck or a pickup box. There are at least another dozen choices to make, so planning what you are going to build first is a good idea.
I would note that this is a box stock build and that no aftermarket parts were used. I started the build by washing all parts in Dawn and warm water to remove any mold release. I can’t tell if it is really needed on this kit, but once you have had paint peel off because you didn’t wash the parts is as good as a reason as any. I started with Sep 1 in the instructions where you choose and assemble the engine. The box top illustration features the Ford 427 so I chose to go with that. The instructions reference part numbers, but parts on the sprue are not numbered, so make sure you study the sprues and identify the correct parts. Going for a full dragster engine, I did not add the engine starter [Part 19]. I built the basic engine block first, spraying it Ford Engine Red. I decided to leave the distributor off till later and proceeded to building the blower and blower intake as a separate assembly. Once completed, I painted it Vallejo Metal Color White Aluminum and set it aside to dry. The instructions recommend using the Chrome Molotow Liquid Markers and I pursued this path for the valve covers [Part 34], blower front [Part 22], and back plates [Part 23], and the blower intake scoop [Parts 25 and 26]. I then pursued drilling out the distributor with a series of carbide drill bits, gradually going from a number 82 to number 71 to fit the yellow ignition wires. I then used this same process to drill out the spark plug holes. Here I would recommend drilling the spark plug holes prior to gluing Part 4 to the engine block. I would also note that I am glad I fitted the distributor to the back of the engine near the end, as it required a bit of sanding to get it to fit properly. I also saved the fan belt / pulleys towards the end, using AK Rubber Black for the belt and Chrome Molotow for the pulleys. I was concerned about using the supplied yellow-jacketed wire for the ignition wires, but with the pre-drilled holes, it actually went quite smoothly.
Step 2 was next up with the assembly of the wheels and tires and the front suspension. The inner and outer wheels are on the chrome-plated sprue and have pin marks on the wheel rims. I elected to sand these down and use the Chrome Molotow marker to restore the chrome effect. The rubber tires look great, but also suffer from deformities from the sprue attachments. I ended up spending several hours trying to smooth the sprue attachments but, in the end, those points are going to be on the inside and touching the ground. I would note that there are no metal axles for the front or back, so the wheels are not going to be rotating no matter what. I essentially combined Step 2 with Step 3 and Step 4 to make sure the chassis frame was square. I used my daughter’s Lego set to build a jig to make sure everything was lined up correctly before gluing everything together. Once again, I would note to study the instructions well as some of the part callouts don’t seem correct, so be careful and test fit. I did not glue the rear engine support to the chassis frame members as the fit was tight, and it provided flexibility to adjust the support to the engine assembly. I painted the entire chassis brilliant blue.
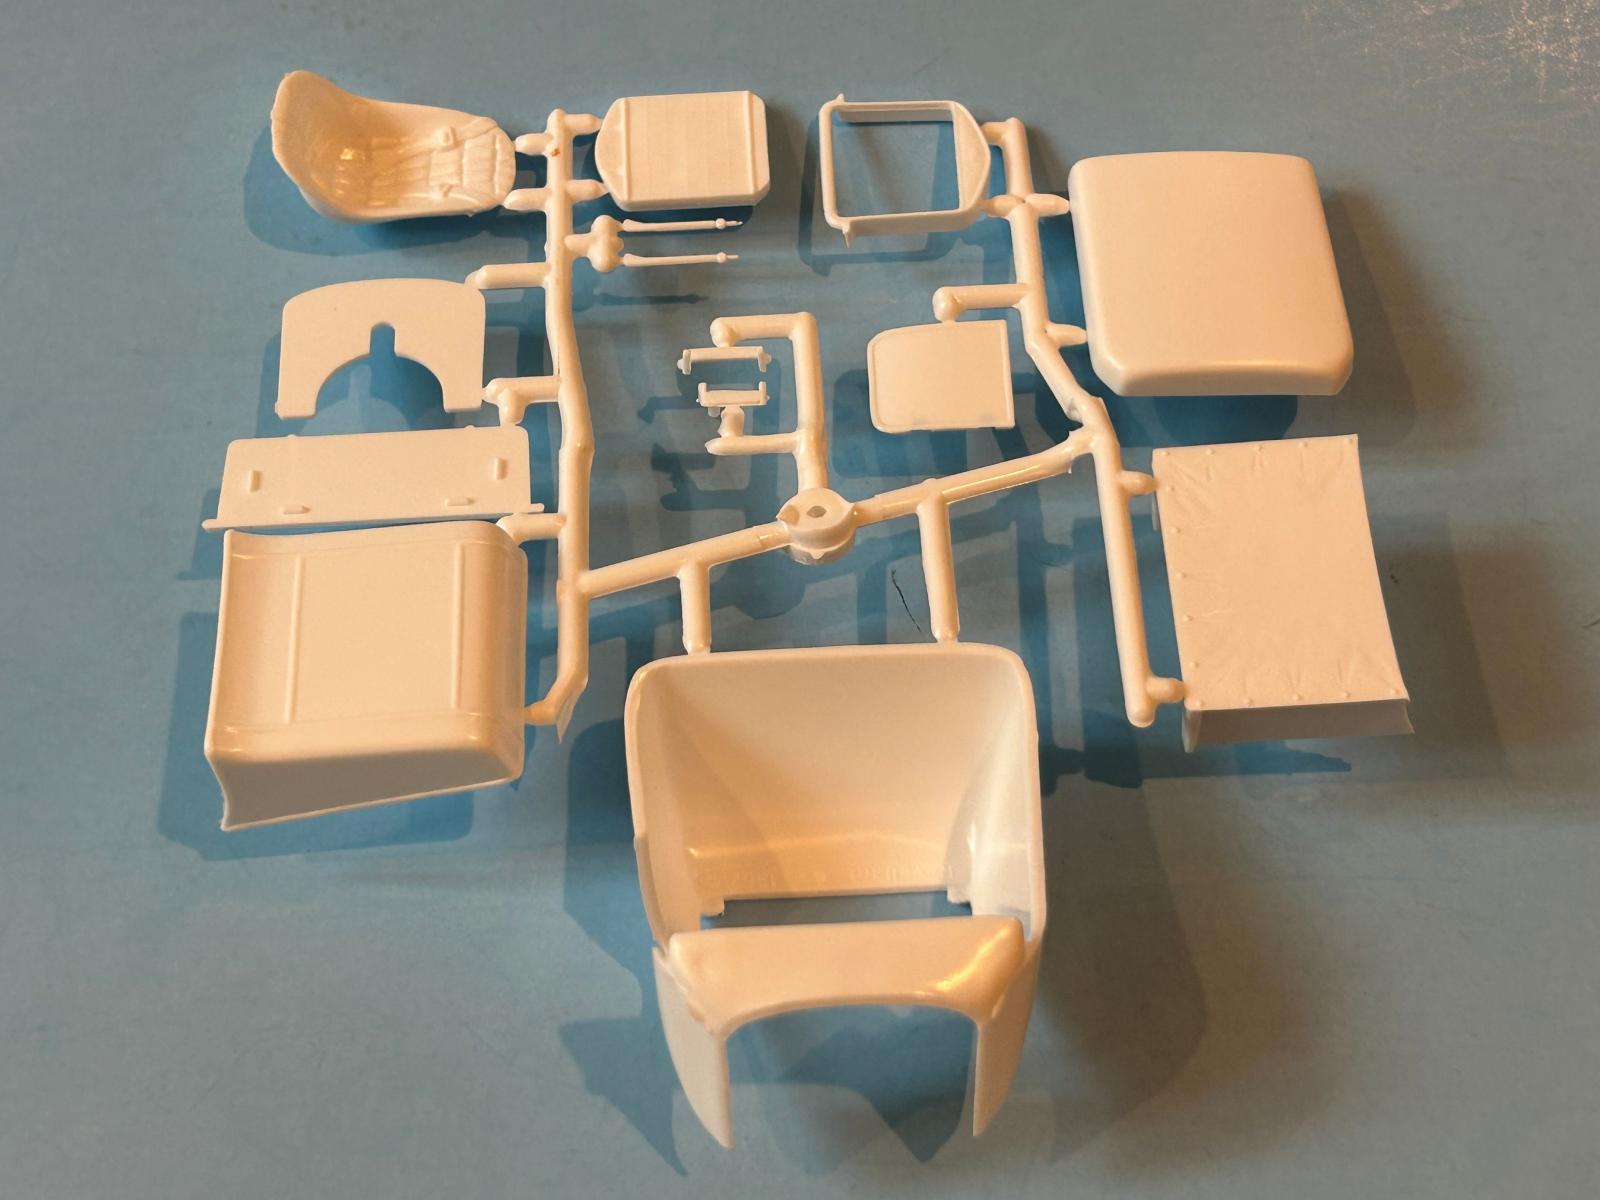
The 1923 T body [Part 7] required significant sanding as there were major sink marks. I thought briefly about adding the right [passenger] side door and its hinge, but after test fitting, I dropped that idea and just glued the door to the body. I decided that the runabout tail mated to the main body better than the pickup option [and it’s what the instructions call for]. I then assembled the body to the firewall [Part 6], the firewall support [Part 2], and the rear deck [Part 8]. I did not add the win shield supports and windshield as my references showed none of the 1923 dragsters with one, just street rods. I initially painted the body red, but I didn’t care for the look and re-painted the body assembly in royal purple. The interior was assembled next with the roll bar assembly [Parts 5 and 7], the seat support [Part 6] painted and then glued to the wooden floorboard [Part 1]. I then snuck in the rear wheel brake [Part 9] and then the bucket seat [Part 8]. You have the option of 3.5-gallon or 5-gallon gas tanks, and I chose the 5-gallon fuel tank. There is a gas cap [Part 12] to the tank, but unfortunately, no gas line to the engine. Once assembled it was painted with the Molotow chrome marker. Next was the placement of your choice of steering wheels to the steering gear and shaft [Part 8]. The instruction drawing shows a radiator and radiator frame, but again that is for street rods, not the dragsters that I was referencing.
Final assembly of the body assembly, the engine, and the chassis revealed an extremely tight fit. I had adjusted the rear main engine support and took out the front engine support, giving the engine a slight upward tilt. The steering column was also adjusted as it was interfering with the rear of the engine. Once I got that sorted out, I added the Pitman arm [Part 3] and the drag link [Part 10]. Both parts are longer than required and were cut shorter to fit properly. The final step was adding the decals. The decals are in good registry and reacted well with Micro Sol. I liked the options in the decal sheet with light and dark text options, depending on your body color.
Overall Evaluation
I spent a lot more time on this model than I thought I would, but that is part of the fun. There was a lot of sanding to remove pin and sink marks, but to me, that was to be expected on molds from 1962. The decal sheet is a consistent highlight from Atlantis – no more fighting with sixty-year-old decal sheets! Overall, this was an entertaining journey that entailed plenty of online research and then finding the parts I wanted to use amongst the many options on the sprues. The bonus is that I do have lots of leftover parts I can use on another build. The best thing is this classic kit is available again, and it’s not at collector’s prices. I have already purchased another kit with the intention of adding a few aftermarket items like a Hurst shifter, fuel lines, and blower actuator linkage.
My thanks to Atlantis Model Company and IPMS/USA for the chance to review this great kit.
Highly Recommended !!!


Reviewer Bio
Frank Landrus

Frank retired from the Ophthalmic industry with over thirty-six years of Research and Development experience. Frank's first model kit was a 1959 Hawk 1/72 US Marines Vought AU-1 Corsair and has been building models for over sixty years. Frank's first encounter with IPMS was attending a North Central Texas ScaleFest show in 1984. Frank soon became more involved in Make-N-Take activities and became the IPMS Western Coordinator for Make-N-Takes [West of the Mississippi River]. Make-N-Takes quickly became a local model contest and airshow staple reaching a high of reaching over 1,300 children before the COVID shutdown. Frank has volunteered to assist in contest judging since 1985 and is currently the Nationals Head Figure Judge until he is dead or they find someone better.
Comments
Add new comment
This site is protected by reCAPTCHA and the Google Privacy Policy and Terms of Service apply.
Similar Reviews