
Tom Daniel's - Ice T
This is a re-release of a real “Golden Oldie” show car. The original kit was released in 1970. As the box top art states, this is a Tom Daniels design. Tom Daniels designed 87 model cars for Monogram between 1967 and 1976. As I stated in the review of “Rommel’s Rod” most of his kits could be built in an evening or two.
The Kit
This kit is comprised of 65 parts and a decal sheet. There are 24 parts molded in bright yellow, 35 chrome plated parts and 6 parts to make 4 vinyl tires. The rear racing slicks are molded in two half’s and are molded with wrinkles and a flat spot. The instruction sheet is in the style of the old Monogram sheets seen in the late sixties and early seventies. You may remember them where they not only have the part number but actually the name of the part you are gluing on. Each assembly step is clearly written, however, there are no individual color call outs for the parts. All painting tips are on the last page as was usual for the instruction sheets of that era. The kit detail is rudimentary and the suspension is simplified, however, this simplified detail allows for a quick build and is a perfect model to help relieve your AMS. The chassis is molded in one piece, as is the exterior body and interior tub.
All the parts are cleanly molded however the molds are showing their age as most of the parts suffered from flash. The usual clean up of molding seams and knock out pins is necessary but all the parts clean up easily and quickly. Don’t forget to scrape the chrome plating off the gluing surfaces of the plated parts.
Step one: Construction of the engine.
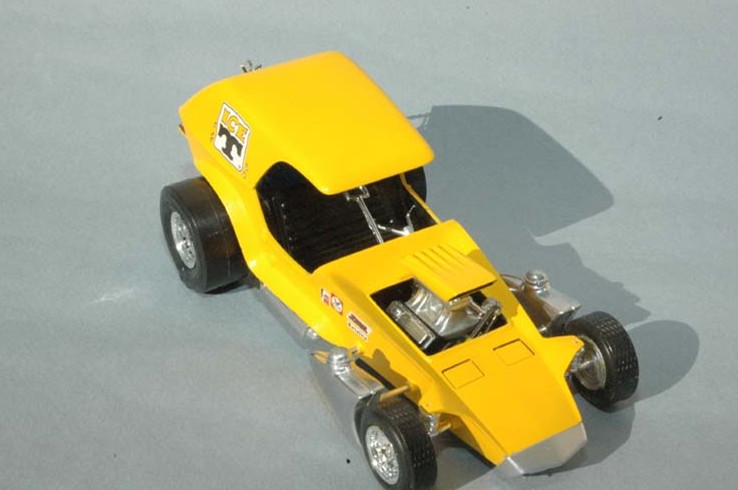
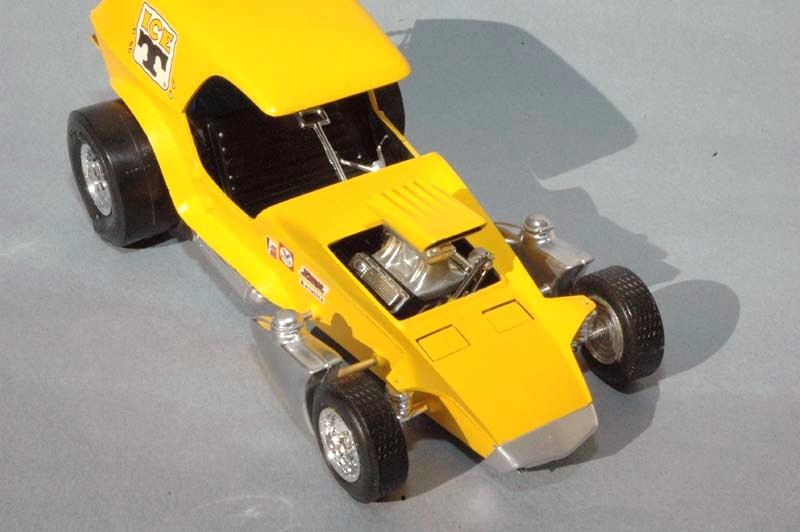
Straight forward with no problems encountered. The V-8 “Rat Motor” comes with a high ram intake manifold and dual carbs. The distributor can be drilled out and the motor wired for a little extra detail. The upper half of the completed engine can be seen so there is plenty of room for detail if one would want to go that route. I painted my engine Tamiya Semi Gloss Black per the kit instructions. Once the chrome parts were scrapped clean for gluing and to remove the flash, the chrome plating was ruined. This was always a dilemma in building kits of Show Cars.
Step two and three: Construction of the rear suspension.
All these parts are chrome plated and once scraped for gluing will have to be refinished.
Step four: Front end
In step four the front end is built, including the two chrome plated saddle tanks. My kit was missing one of the chrome plated headlights. This appears to have been missing before the sprue tree was chrome plated, as the broken ends of the sprue attachment point were plated chrome, indicating the piece was missing before the plating process was completed. I don’t know if this was a problem just in the review sample or will be a problem with all releases. As a result, I left the folding headlights in the stowed position. After scrapping the chrome plating and removing the flash all the chrome plated parts had to be completely refinished. I started by using Testor’s rattle can Chrome. This went on very heavy and did dry to a high gloss but still was nowhere near the shine of the original chrome plating. I ended up using an old small square bottle of Testor’s Silver. That dried just as glossy as the rattle can and could be controlled better when sprayed through the air brush.
Step five: Windscreen
Again there are knock pin marks to be removed from the front windscreen frame part #29 and the skeleton as well, as pointed out above. Again I waited to add the windscreen until the painting was completed.
Step five: Interior to chassis
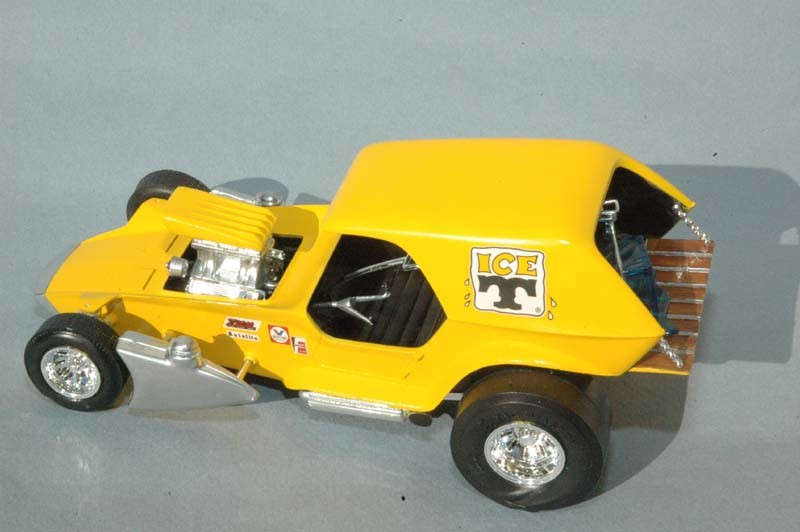
In this step the interior is glued to the chassis. The two blocks of ice and ice tongs are assembled here. The kit instructions say to paint the ice blocks with clear blue. I used Tamiya clear blue and painted the blocks on the inside to add more depth to the ice blocks. The rear bed was painted with a green ochre base and then wood grained with Burnt Umber oil paint. The metal strips on the bed were painted with Testor’s silver, again from the small square bottle.
Step six: Wheels and tires
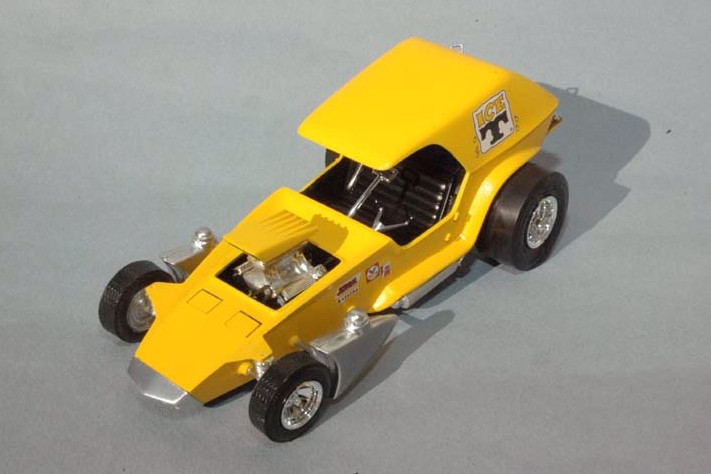
Here the wheels are added. The rear slicks as stated above are in to half’s. They are also wrinkled and flattened on the bottom surface. I suppose this is to resemble the slicks at the start of a drag race. The two half’s just fit together and are held in place by the front and rear wheel half’s. The tires did not react to any glue and as such the seam down the middle of the tire could not be removed and remains visible. The instructions state to paint the lettering on the outside of the front and rear tires and the narrow stripe on the front tires white. My front tires did not have any lettering or stripe to paint white. Also, during construction I got distracted and forgot to paint the rear tire lettering. I didn’t realize this until I was shooting the pictures for the review.
Painting and Finishing
I painted the interior and chassis Tamiya Semi Gloss Black. The exterior of the body was painted Tamiya Lemon Yellow which was a close match to the molded plastic. There are only 10 decals for this kit and they went on with no problems at all.
Recommendation
I had a lot of fun building this kit. Construction was completed in just a weekend, with painting taking another weekend. The finished model is sitting on a shelf in my office. As I am in automotive safety research it fits in nicely with the other car models used in our research and really doesn’t look to out of place. The Monogram Ice T can be found and most well stocked hobby shops, or directly from the monogram web site.
Thanks to Revell and Monogram for the review sample and to IPMS for letting me write this review.


Comments
Add new comment
This site is protected by reCAPTCHA and the Google Privacy Policy and Terms of Service apply.
Similar Reviews