
IDF M-109 Doher 1993
The M109 is an American made 155mm self propelled howitzer that was first used in the early 1960s. It has been extensively upgraded to remain in front line service and extensively exported to U.S. allies around the world. Israel fielded the M109A2 variant in the Yom Kippur War of 1973 as the Rochev and in the early 1990s the IDF began to modernize this vehicle using the M109A6 as a guide. The designation of the updated M109 Rochev was Doher and the vehicles remain in service today. This new injection molded kit from AFV Club is the next in the line of recent releases of their M109 line.
The original boxing for the M109A2 version of this kit is still relatively new so don’t expect to find any real issues flash or bad moldings. The only issue that I had with the parts was that Part Q1, the main part for the turret was warped in my example. It wasn’t difficult to fix with carful application of clamps and glue but it is something to keep in mind. The large box from AFV club is packed with a large number of dark green sprues, vinyl tracks, a clear fret, a small photo etch fret, a small vinyl fret and a very nice turned metal barrel. There is also a very nice resin figure that is not shown in the parts breakdown or in the build in any way. Other than the issue with the turret piece I noted no issues with production. The only thing that I will say is there are a few frets that have the same letter for identification. The difference between the letters is subtle; it is either a solid letter or not, check the parts guide to see what I mean.
The construction starts with the hull tube and unfortunately the hull tub is not molded as a single piece, it is made up of a large number of flat pieces that come together in Step 4. This approach does allow for easier molding and sometimes higher amounts of detail on the individual parts but it can complicate construction. Be very careful to make sure everything is square as you go and be prepared to have to remove some seams. I had to do a fair amount of filling and sanding on the lower hull. Also in Step 2 and 3 we run into our first issue. Both steps require you to drill a large number of holes into the sides of the hull but give no real guidance on how. There are no indentations on the inside of the parts and no measurements provided either. For the holes for the rivets (parts D10) there are old rivets that you will drill out but the other holes are more difficult. I chose to wait until the hull was complete and use the parts that you will be installing in the holes as a guide to where to drill. I assembled the parts, dipped the pins in black paint and touched it to the sides of the hull to show where I should drill.
Moving on the rest of the hull, the suspension is easy to build and supposed to be mobile but the front and rear arms are locked in by other parts so only the center arms move. Next on to the road wheels, these are in general nicely molded but there is one issue. They are molded in two parts with the seam down the center of the tire. When I assembled these they required a fair amount of sanding to get rid of this seam. The rest of the lower hull assembly went very smoothly with no real issues. Just be careful in Step 8, you have to remove a little plastic and drill a small hole and the call outs are easy to miss. Also I left most of the small parts in Steps 9, 10, 11, 12 and 14 off until final assembly because like most IDF vehicles all of the hatch closures and handles are highlighted in bright red or yellow. Leaving them off makes final painting easer.
In Step 16 be careful when installing the parts for the idler wheels. I somehow ended up with an alignment issue that meant I had to cut 2 links out of one side of the tracks. Everything else through Step 19 is pretty straight forward; I would just recommend not locking the spades in the up position with Part B30 until after painting to make it easier. Steps 19 and 20 are the steps where I drilled the holes from Step 2, the build has you assemble these side rails that you can use to figure out where everything else goes. Also in Step 21 the instructions call for 15cm of cable but my example only had 11cm of thread provided. The last part of the lower hull is the tracks. I left them off until after painting but for vinyl tracks they are well molded with no issues and easy to work with.
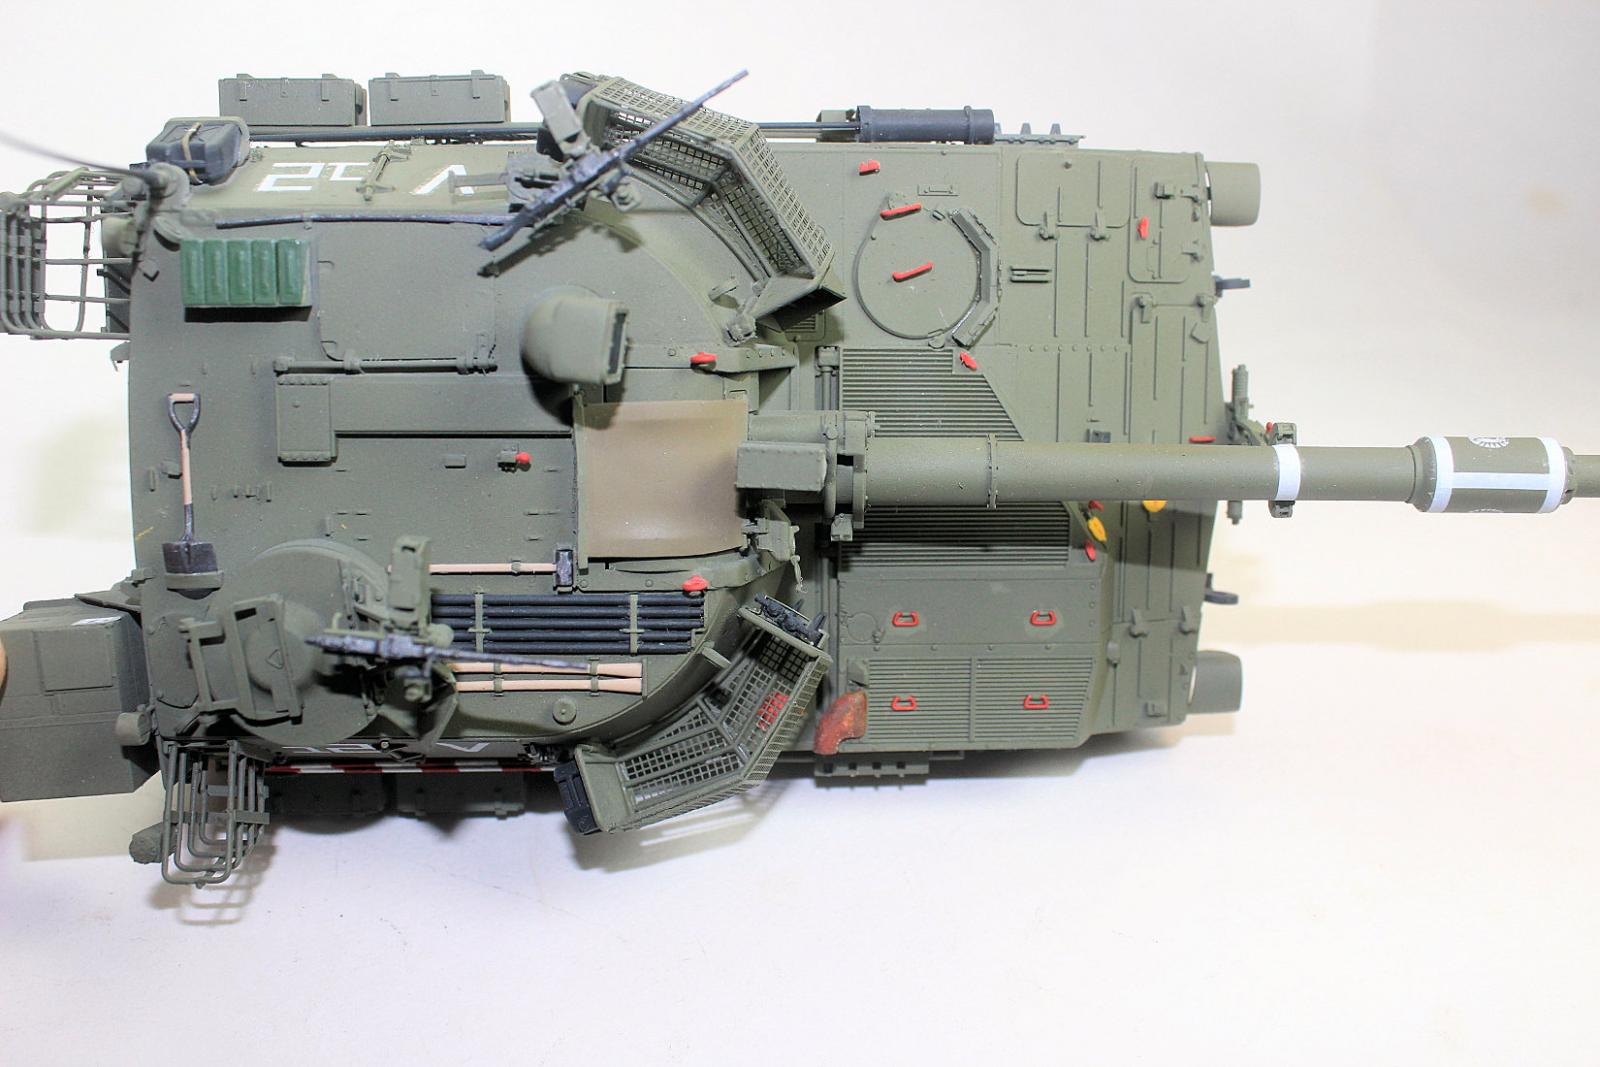
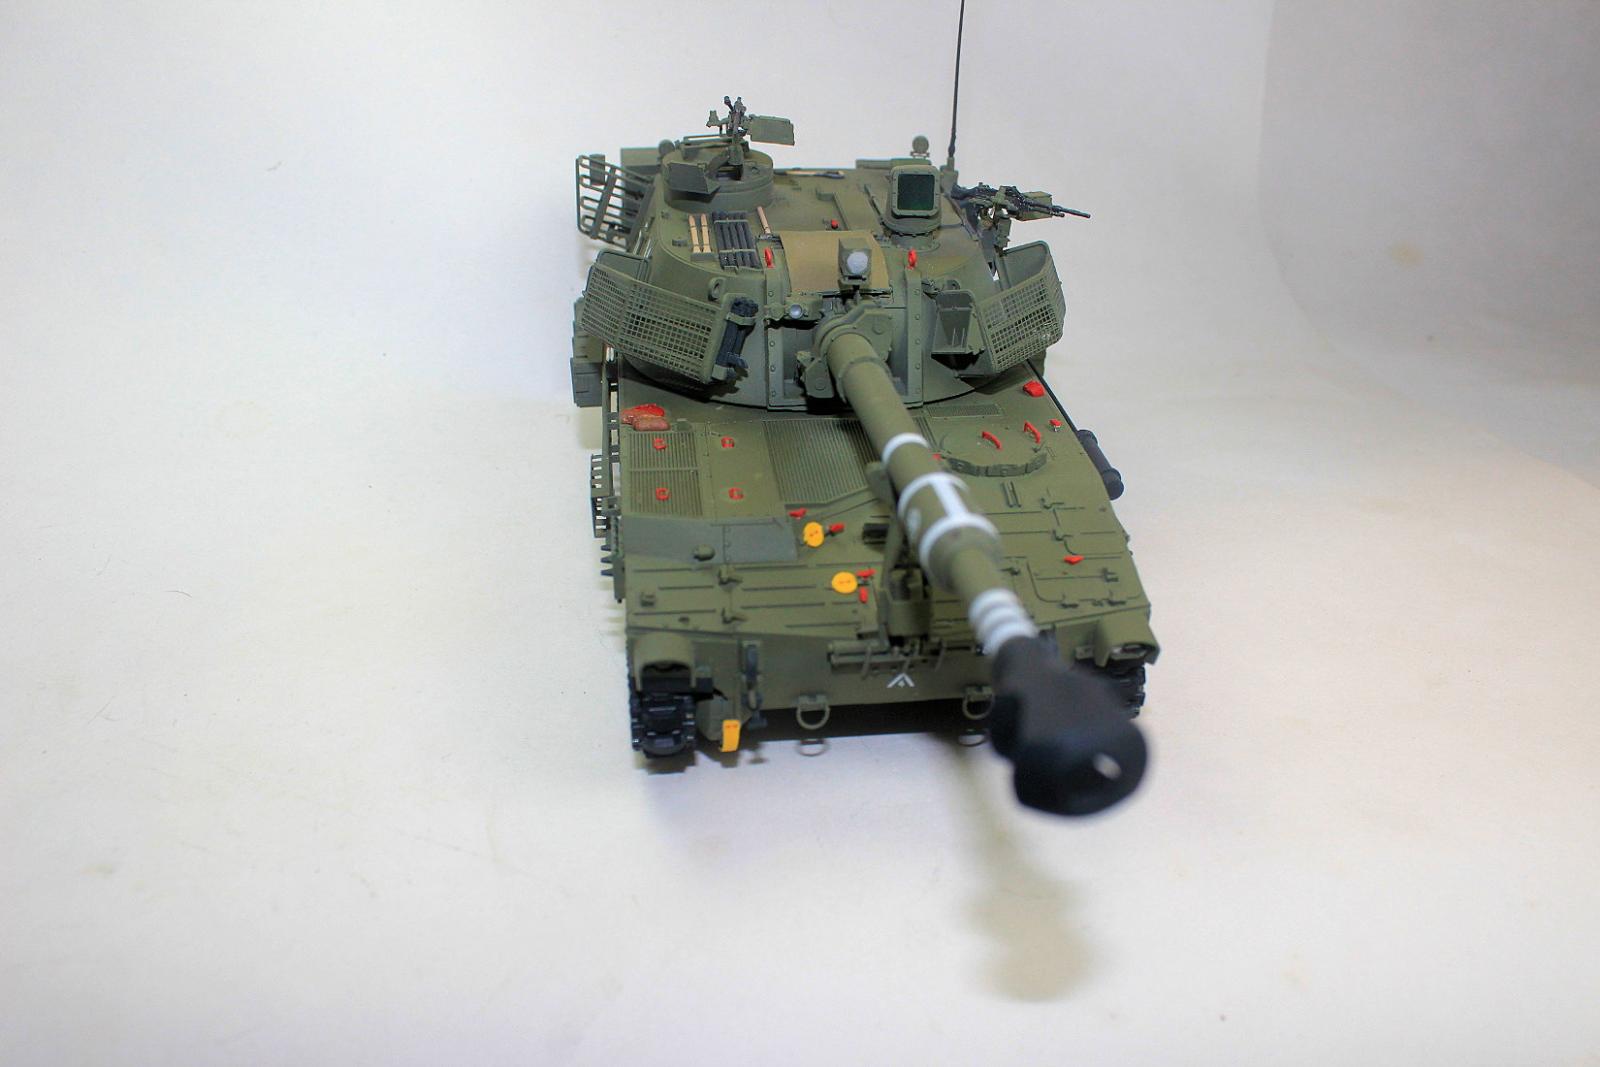
Finally the turret assembly starts with the Step 24. The first thing I need to point out is be careful when installing the metal barrel, it is handed and there is a grove in it that is easy to miss that needs to be on top. Because there is no interior I mostly ignored steps 26 and 27 except to test fits but there is a very nicely detailed breach in this kit. My only issue with this part is in Step 27 for the radome, Part B3 is required to be attached to part E12 as the stand but there is call out for the part. In Step 29 there is some minor part removal and some filling required and again the call outs are easy to miss so be careful. The rest of the turret assembly is very straight forward even with the huge number of parts involved. The only real issue that I had was when assembling the rear turret basket, some of the parts seemed a little short to make the basket sit straight on the back of the turret. Also in Step 37 there are some small paint and decal callouts that are easy to miss. This kit includes a huge number of nicely molded small arms and munitions, including decals for the munitions. These are all addressed in Step 47 and are a nice addition to the kit. I didn’t assemble them here but I have in another version of this kit and they add a nice level a detail if you are doing a vehicle in active service.
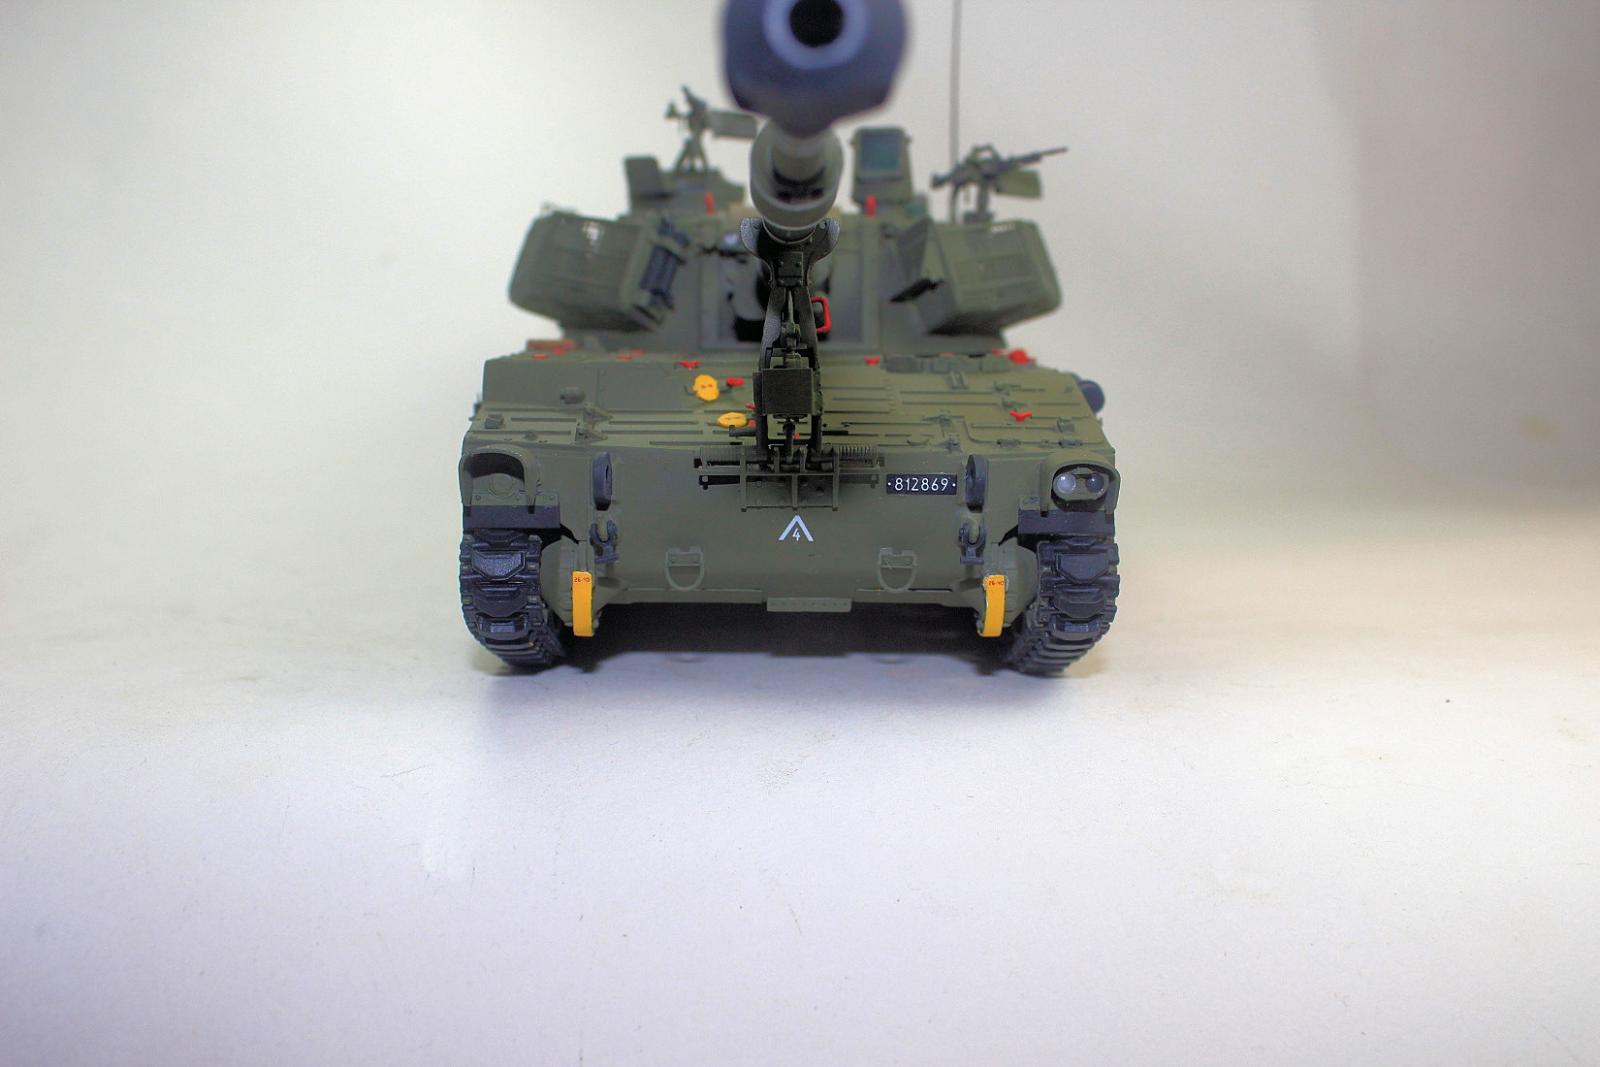
The painting guide provides guidelines for 3 different vehicles all in an overall IDF green/Grey. The instructions do not include call outs for any manufactures or brands, just a general guide for what colors to use. So I used Tamiya acrylics for everything and a custom Tamiya mix of 5 parts XF-65, 4 parts XF-49 and 1 part XF-57 to paint the overall green. The decals are very nicely printed and seemed to react well to MicroSol products. The only issue I found is that when I went back later, most of the larger decals had silvered even over a wet brushed on coat of Pledge floor gloss. I have worked with AFV club decals before and haven’t had this issue so I would recommend only applying them over a nice, hard airbrushed gloss like something from the Alclad line.
Overall this is a good kit. It builds up fairly quickly and for the most part the fits are good. It seems to be fairly accurate and is very impressive once built. It takes a little skill to get the best out of this kit but I recommend it for anyone that likes modern military vehicles and has an interest in modern vehicles of the IDF. My thanks to AFV Club and IPMS for giving me the opportunity to review this kit.


Comments
Add new comment
This site is protected by reCAPTCHA and the Google Privacy Policy and Terms of Service apply.
Similar Reviews