
Tiger Moth
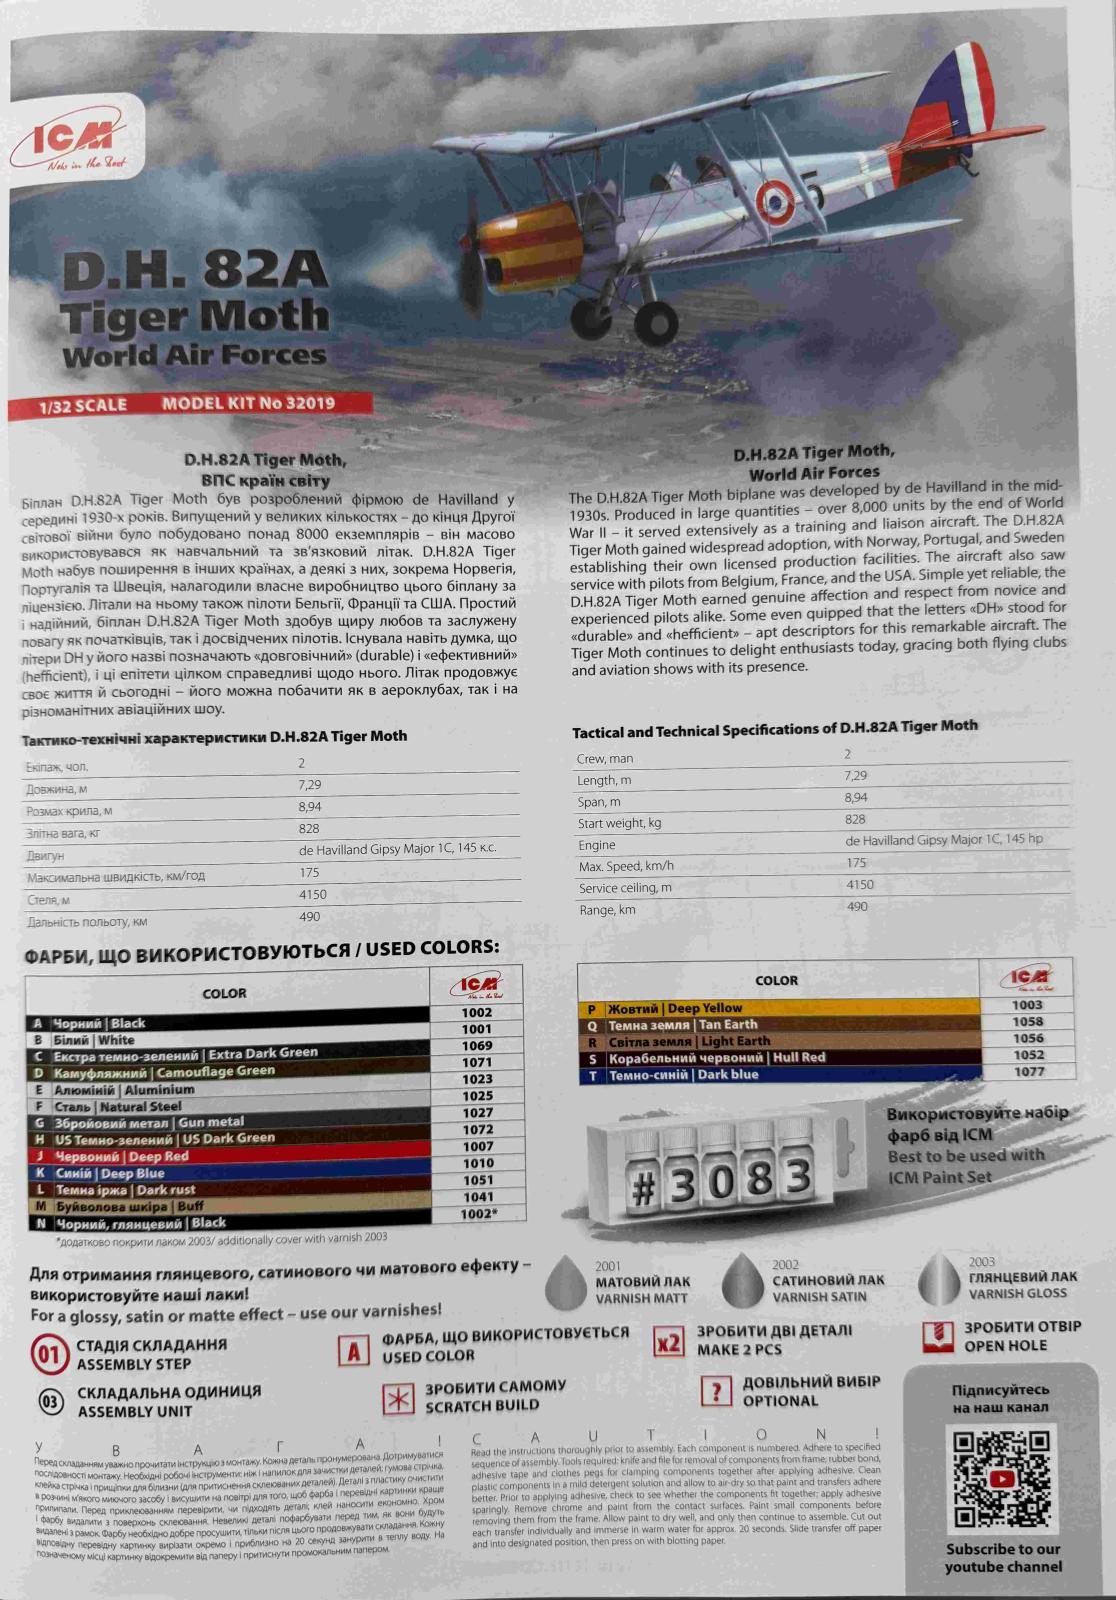
The DH.82A Tiger Moth biplane was developed by de Havilland in the mid-1930s. Produced in large quantities—over 8,000 units by the end of World War II—it served extensively as a training and liaison aircraft. The DH.82A Tiger Moth gained widespread adoption, with Norway, Portugal, and Sweden establishing their own licensed production facilities. The aircraft also saw service with pilots from Belgium, France, and the USA. Simple yet reliable, the DH.82A Tiger Moth earned genuine affection and respect from novice and experienced pilots alike. Some even quipped that the letters “DH” stood for “durable” and ” hefficient”—apt descriptors for this remarkable aircraft. The Tiger Moth continues to delight enthusiasts today, gracing both flying clubs and aviation shows with its presence.
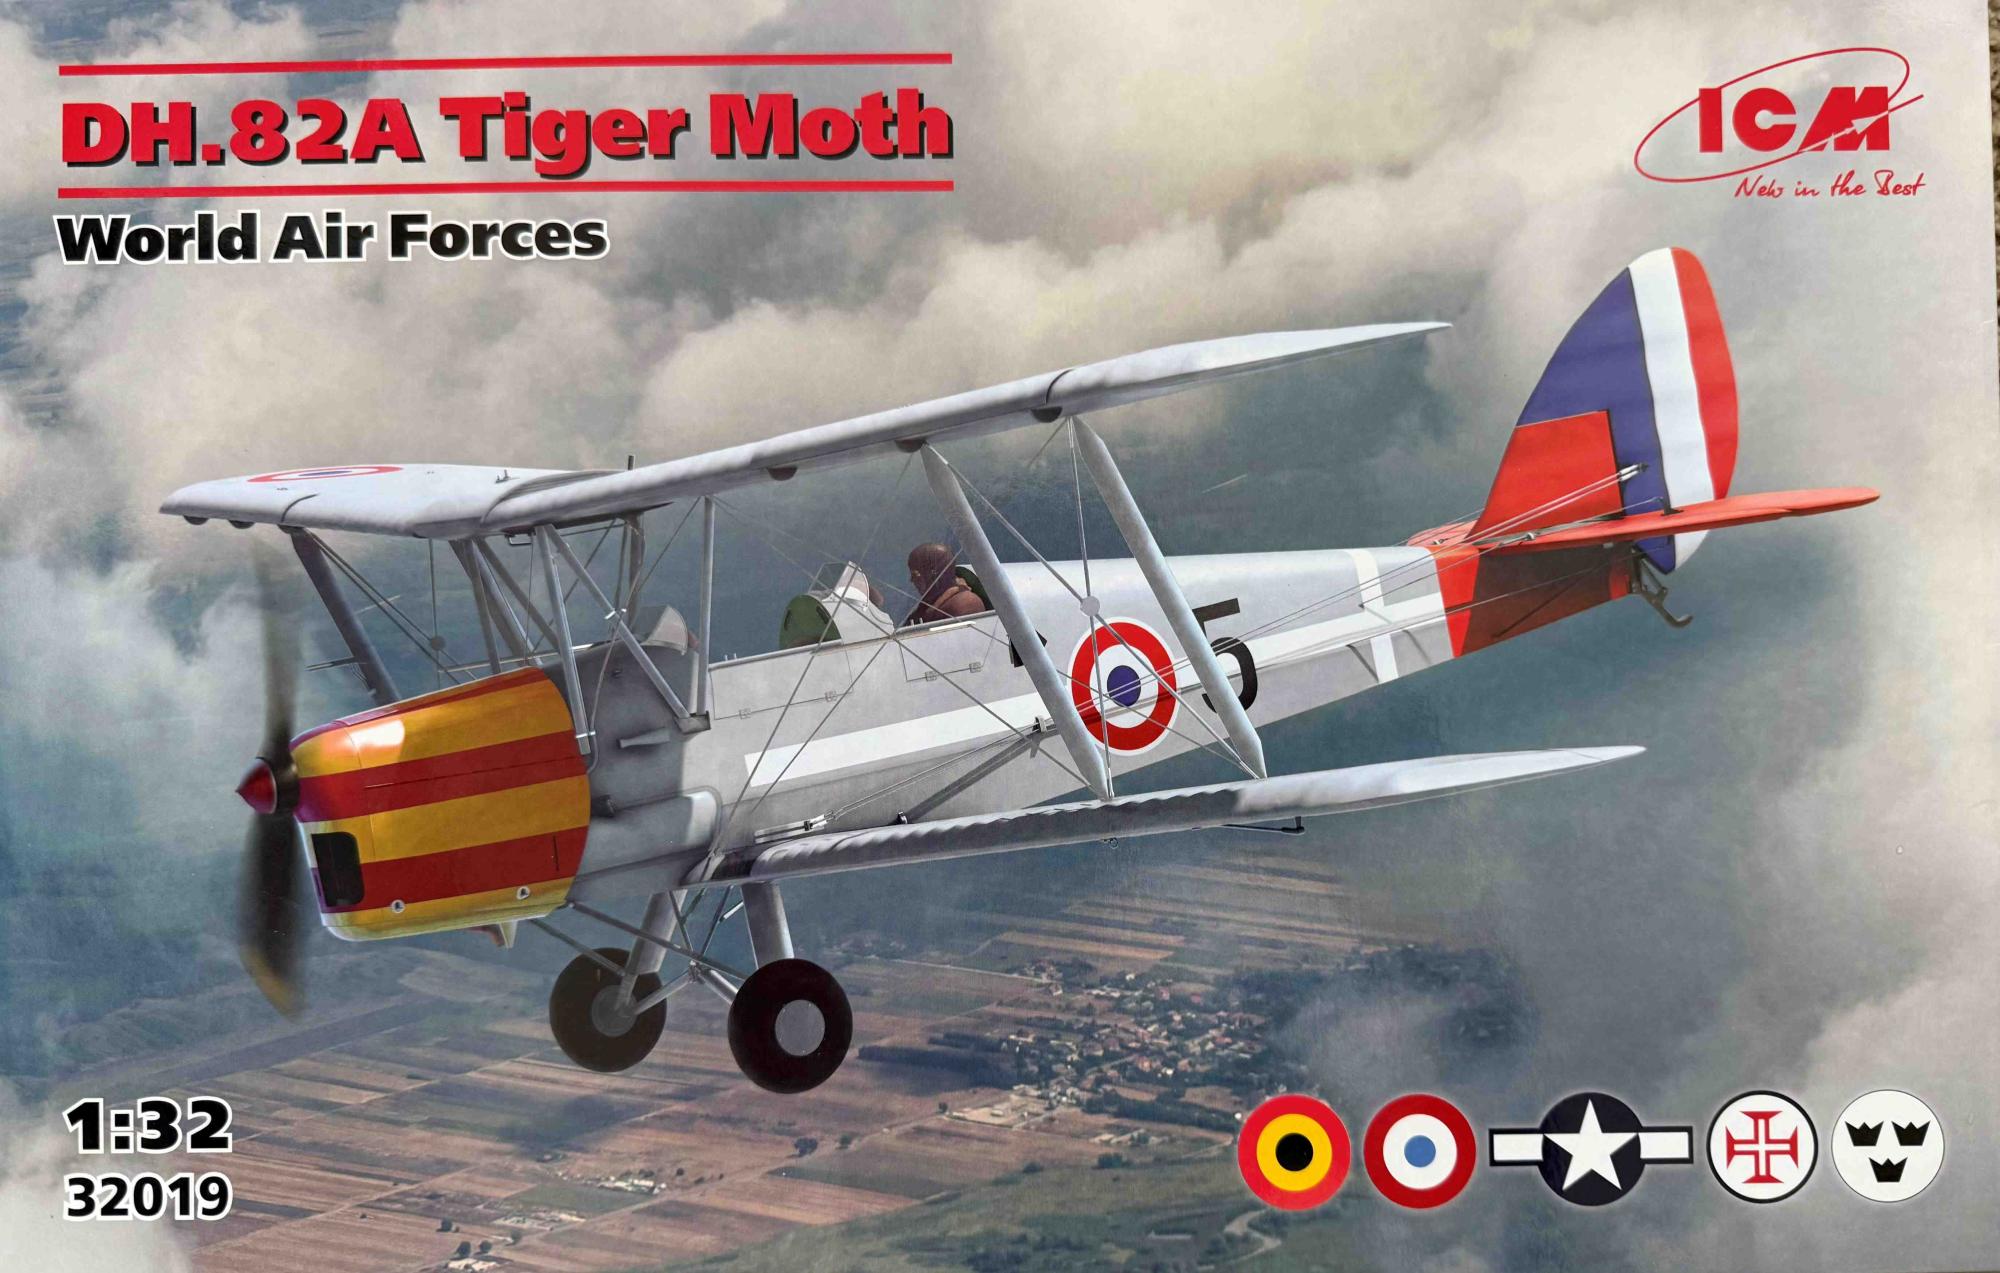
ICM’s DH.82A Tiger Moth kit in 1/32 scale comes in a sturdy white box with a colorful top cover showing the biplane in a Vichy colors. There are 93 parts on 5 sprues in the box for assembly of the kit. The instructions manual provides a brief history of the airplane, tactical and technical specifications, and paint color reference with 18 colors listed. The instructions are in color and have very nice top, bottom, and side views of the airplanes from 5 different countries.
There are 5 painting schemes offered:
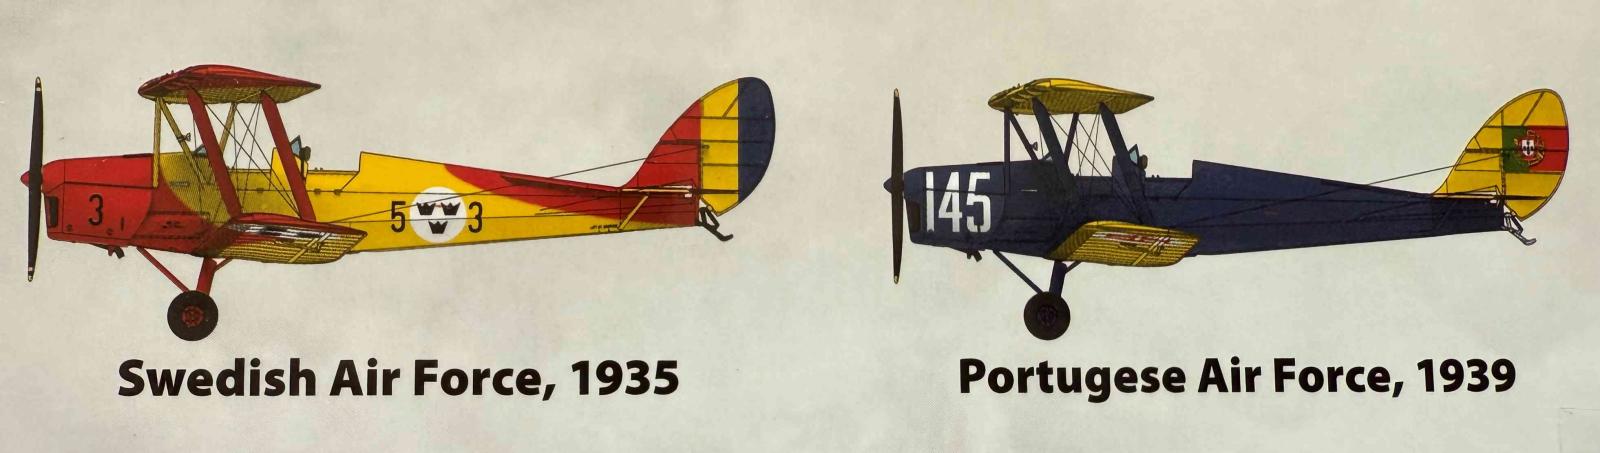
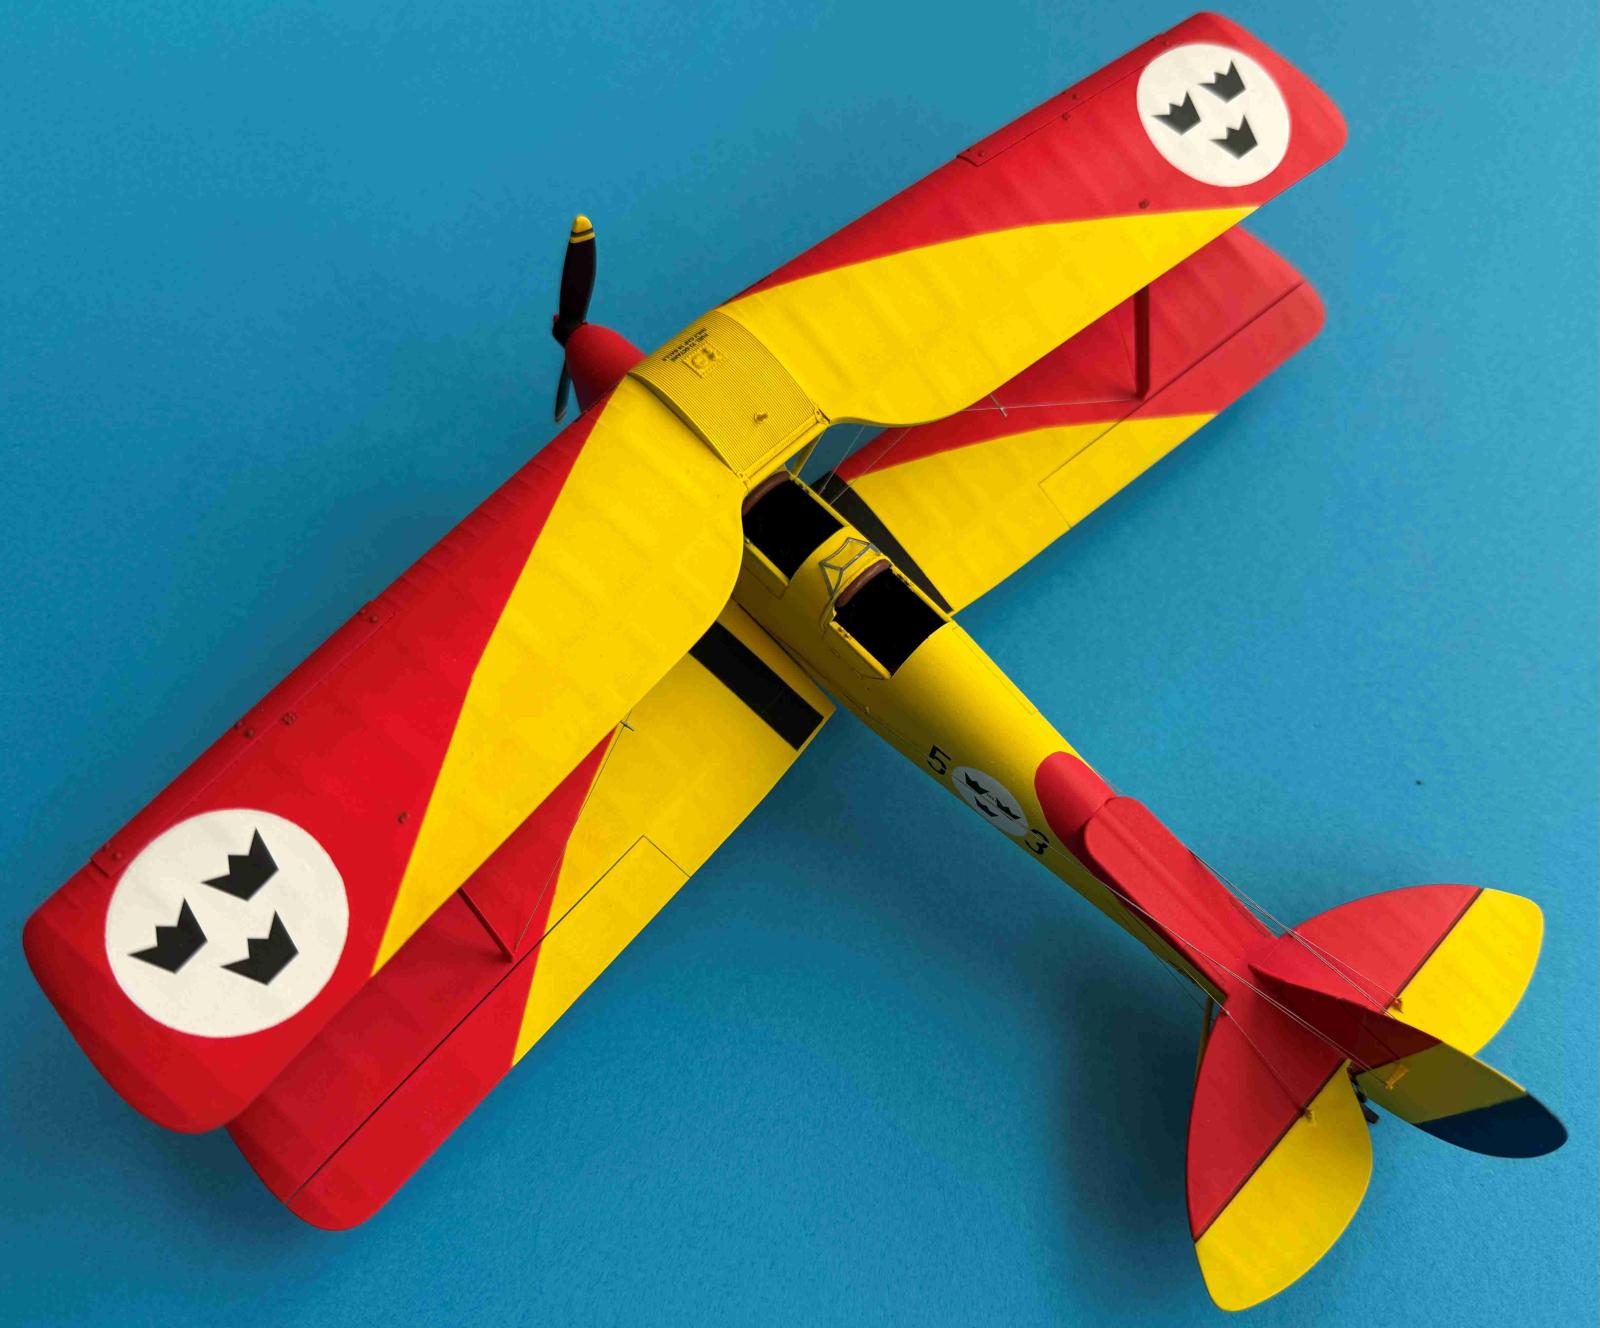
- DH.82A Tiger Moth (Sk 11), Swedish Air Force, 1935
- DH.82A Tiger Moth, Portugese Air Force, 1939
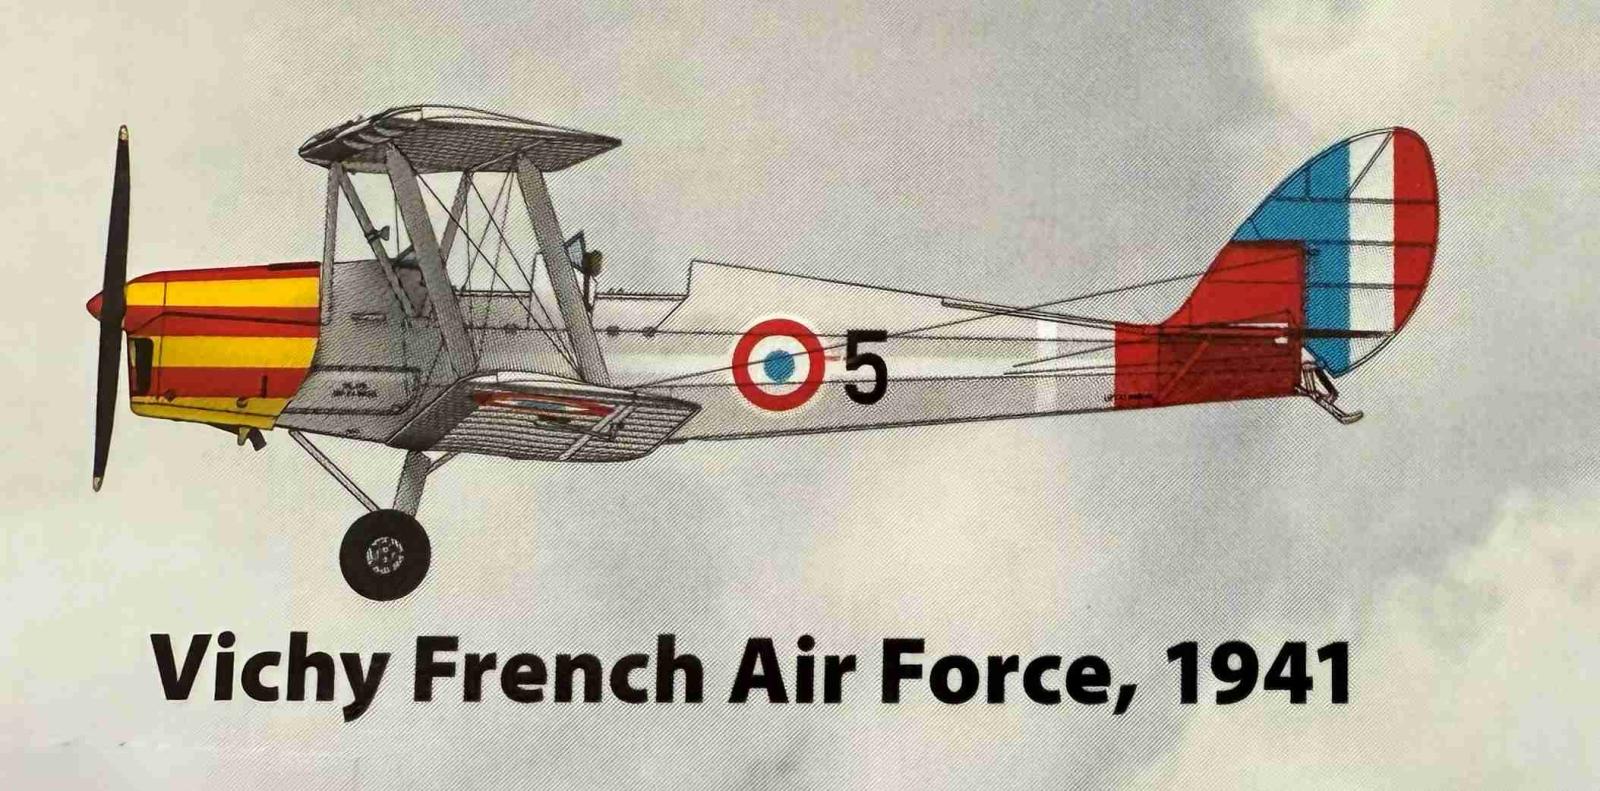
- DH.82A Tiger Moth, Vichy French Air Force, 1941
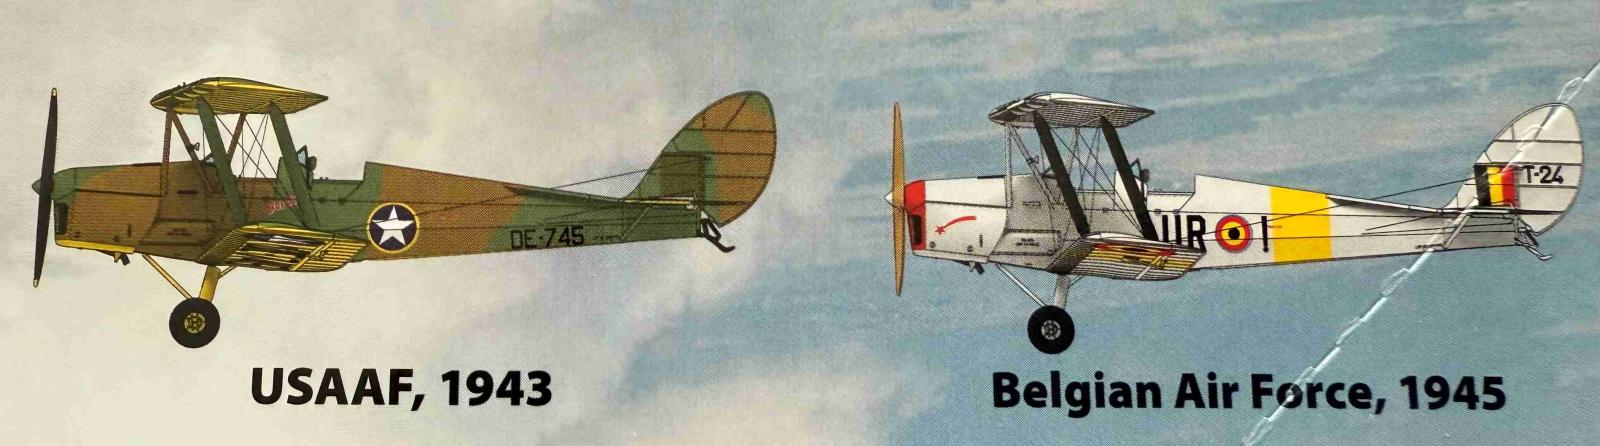
- DH.82A Tiger Moth, 353rd Fighter Group, US Air Force (USAAF), 1943
- DH.82A Tiger Moth, Belgian Air Force, 1945
My review sample included the acrylic paint set for training airplanes of the 1930s and 1940s.
Assembly
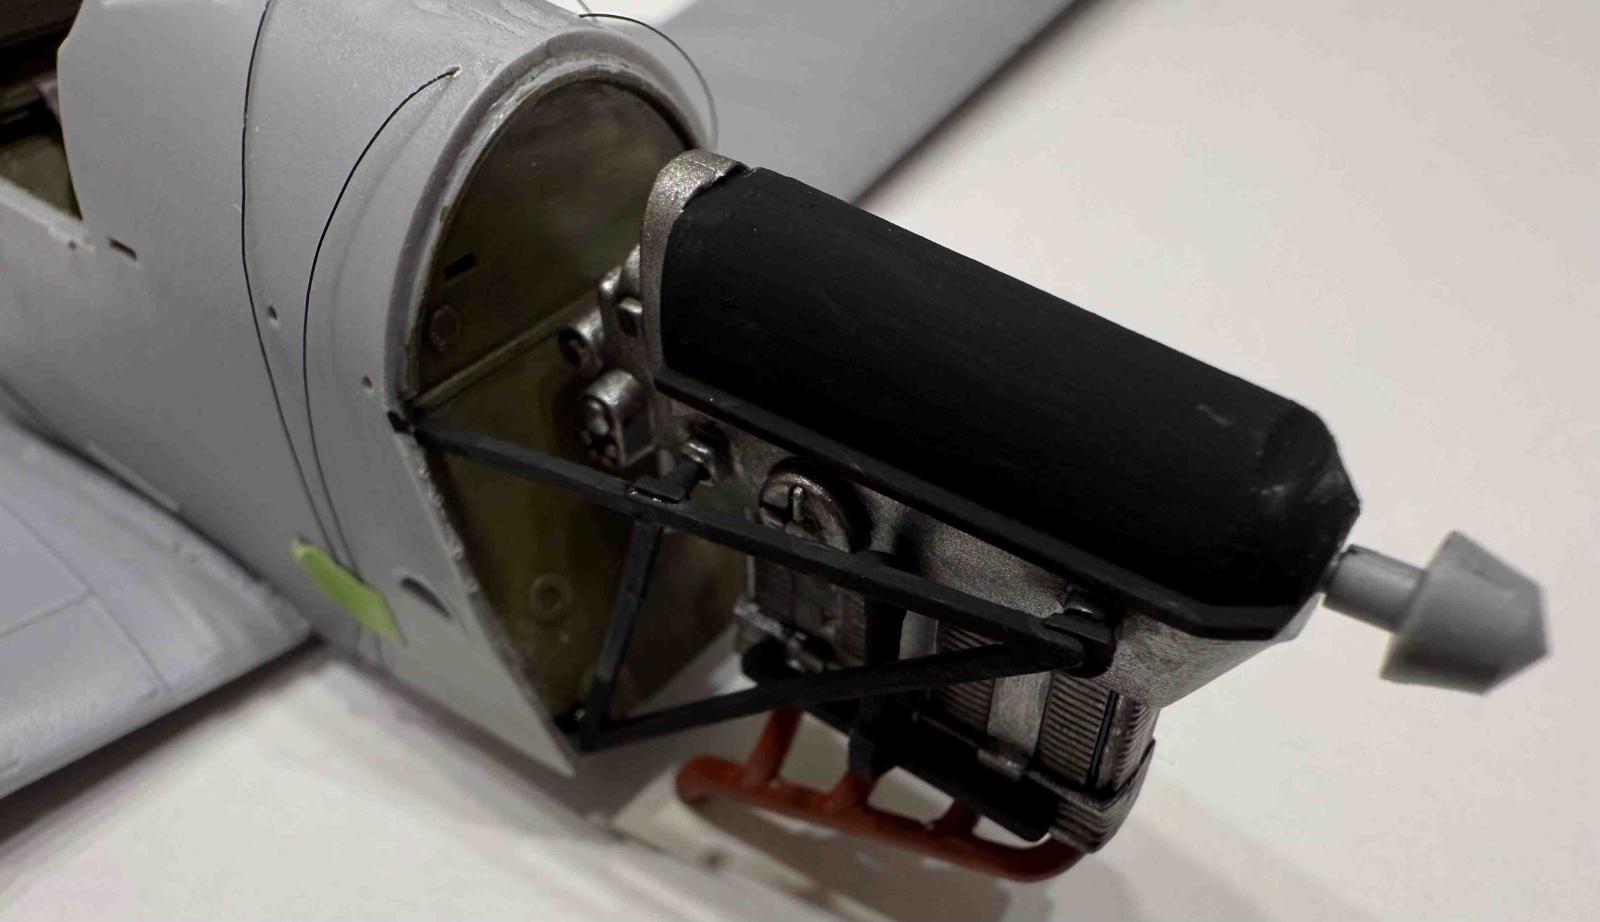
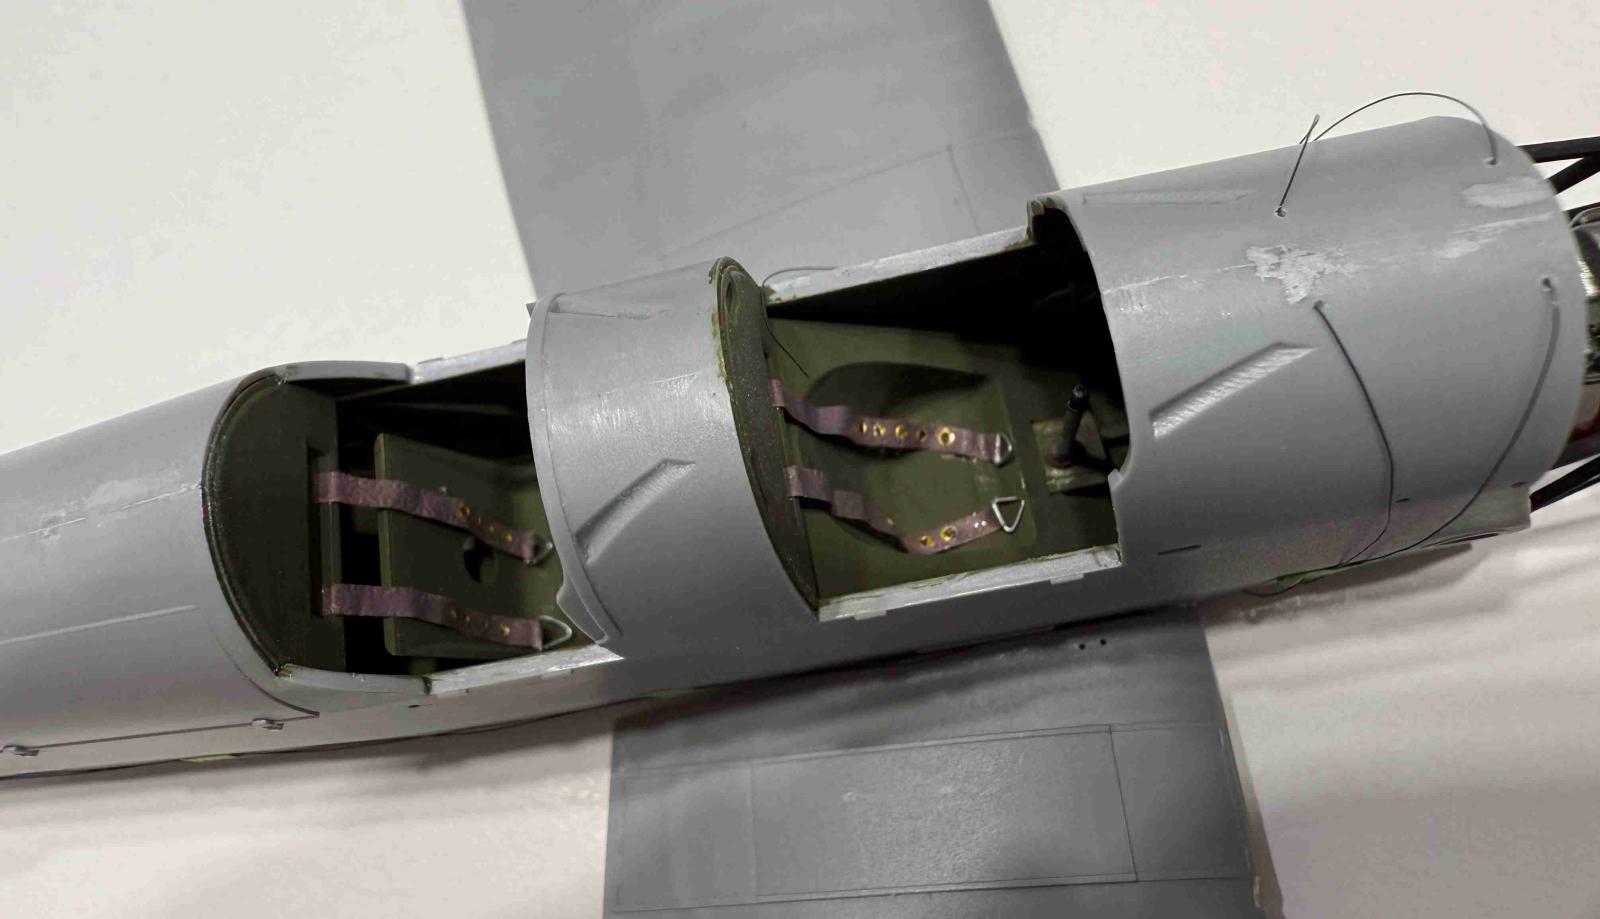
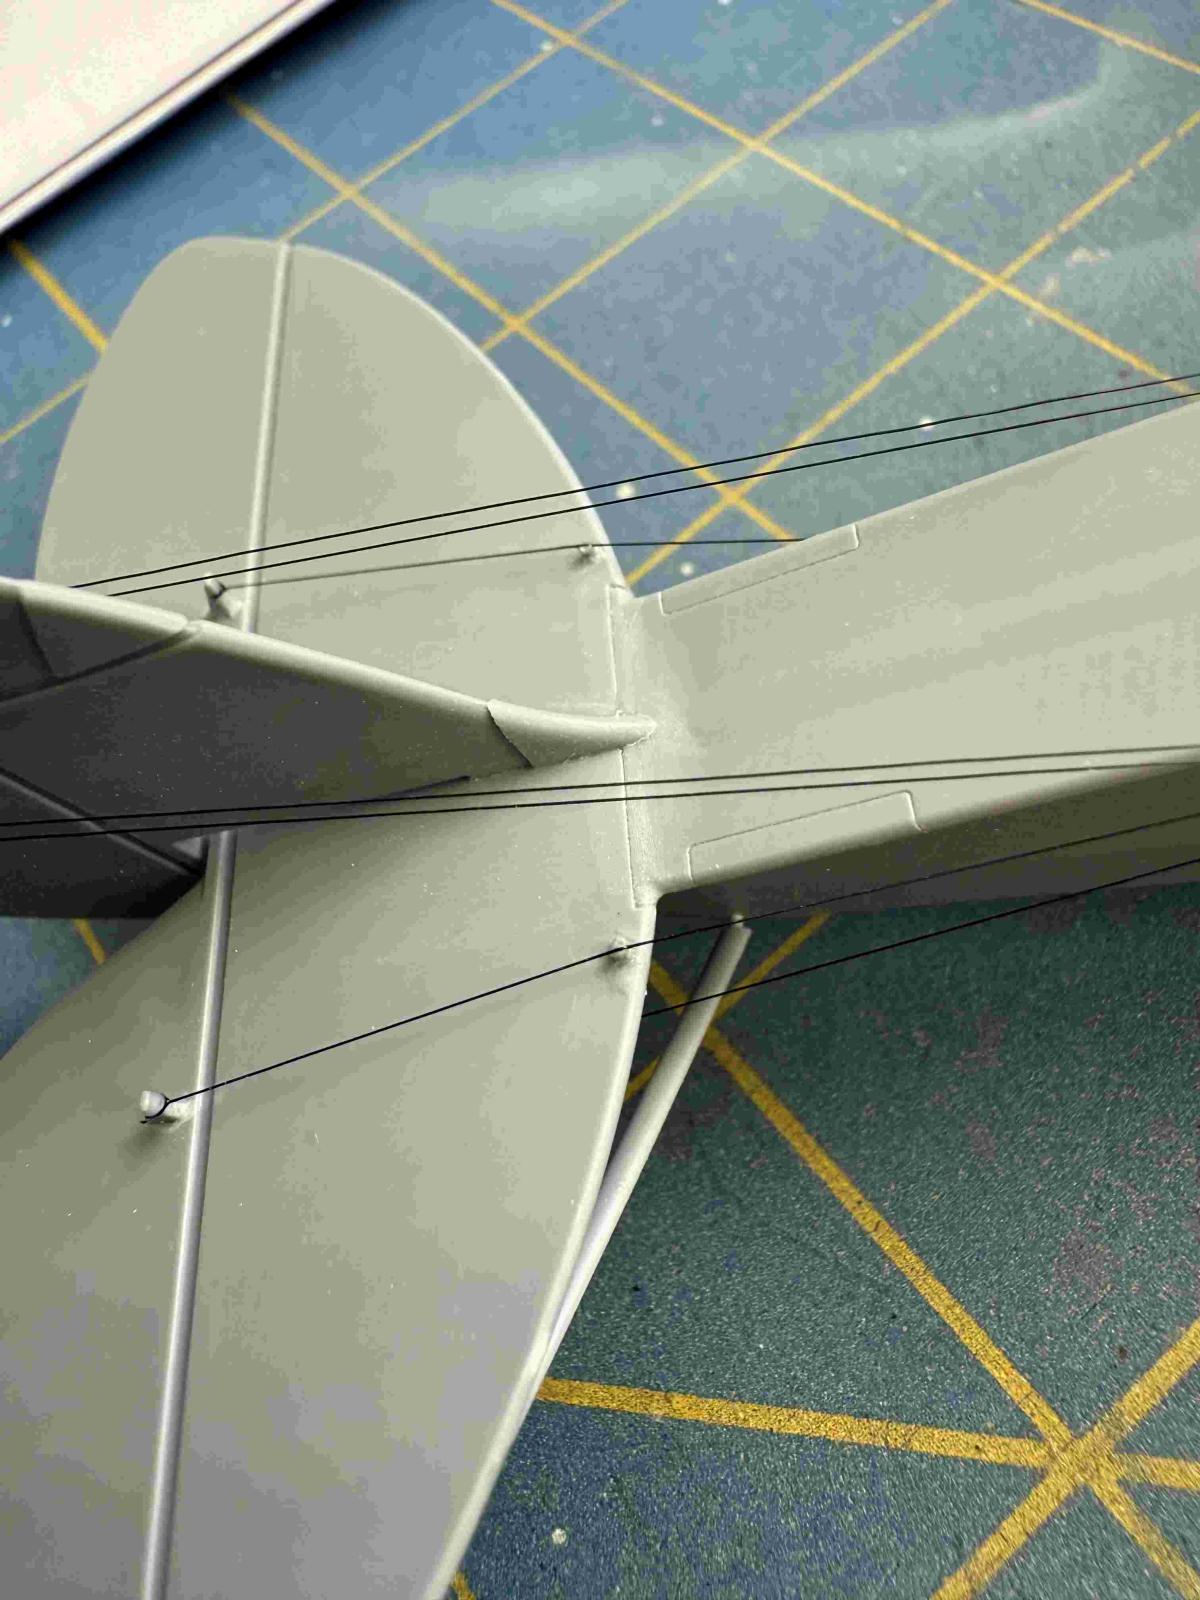
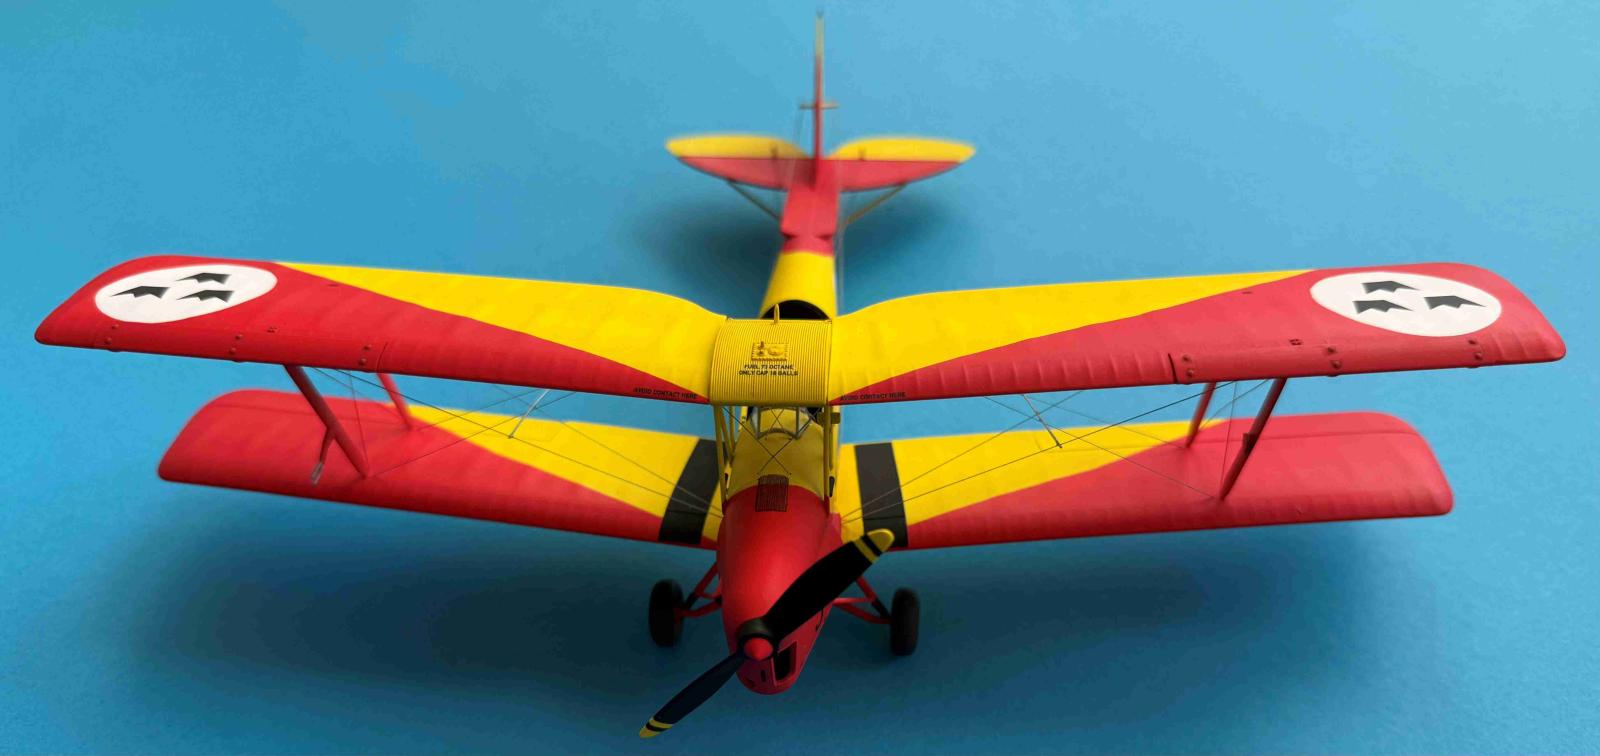
There are 50 steps in the manual to assemble the Tiger Moth model. Construction starts with the cockpit assembly followed by the engine assembly. Unfortunately, no seats belts are provided so I made the seat belts from an aluminum yoghurt lid and a thin copper wire. Tiny holes must be drilled in the marked spots in the fuselage where the thread must be inserted for later assembly of the rigging. I have used a black nylon thread for this purpose. In steps 25 and 34 more holes need to be drilled for the rigging in both wings. The instructions provide the recommended length of the threads. Since the wings consist of two halves, the rigging lines can be assembled in such a way that the glued ends will not be visible after the second haves of the wings are glued in place. I found it quite ingenious as it ensures a clean assembly of the rigging. Way to go ICM! The only minor disadvantage is that care must be taken not to break any installed rigging lines during the remaining assembly steps. There are many rigging lines that require careful connecting. Beside the wings’ rigging, the other lines connect the control surfaces on the vertical and horizontal stabilizers as these lines were external. I was afraid that the wings to fuselage mounting will not give enough surface area to make the entire assembly sturdy, but the installed rigging and struts make the assembly very solid. The final assembly steps involve the landing gear, the propeller, and the rigging for the control surfaces. There are no masks for the windshields, but mask templates are provided and they work very well with a yellow Tamiya tape.
While assembling the engine, which is simple but very nicely done, I noticed that the propeller shaft was a bit loose so I inserted a plastic tube to keep it straight. I also added a couple of features not present in the kit: two small standoffs or guides on the fuselage where the control lines are going through and two short rods that connect the rigging between the wings. A nice detail is provided in a form of a rear mirror mounted to one of the wing struts. This is not a complex build, yet it provides hours of enjoyment, especially since the fit of parts is very good.
Painting
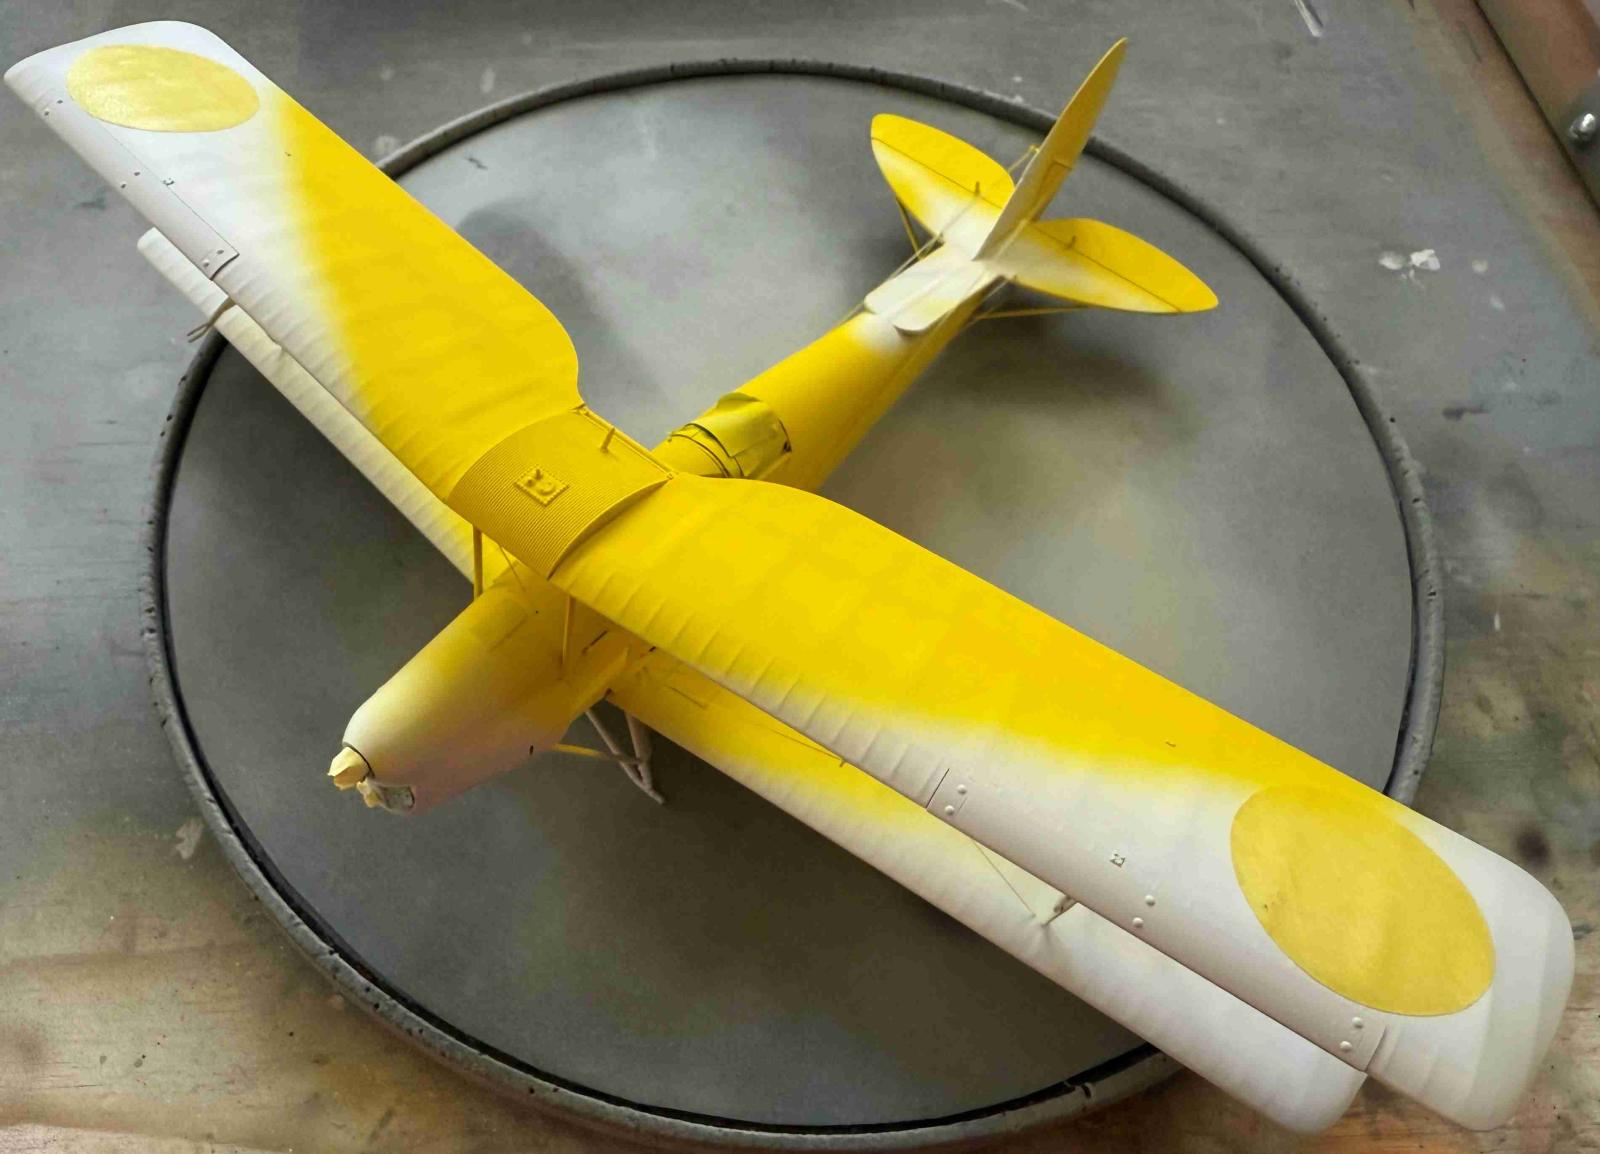
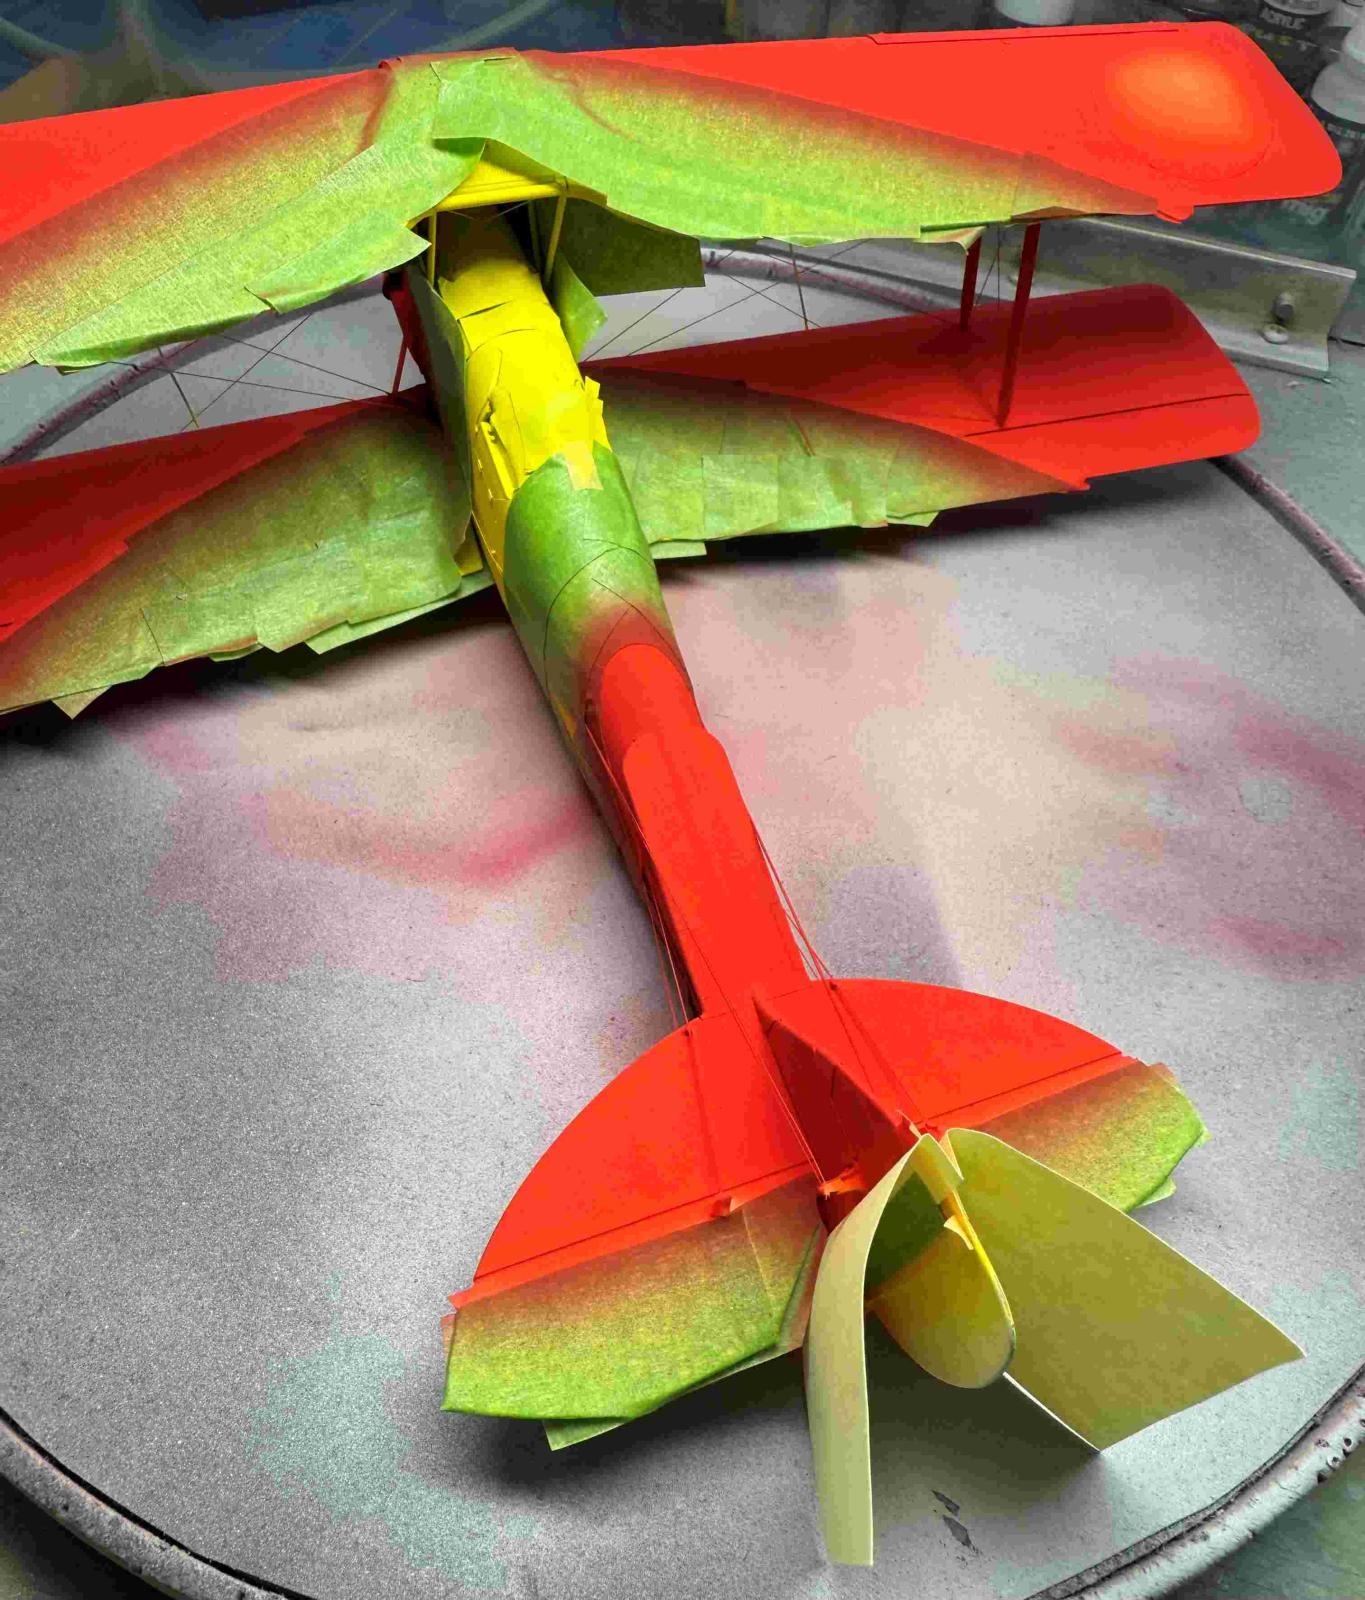
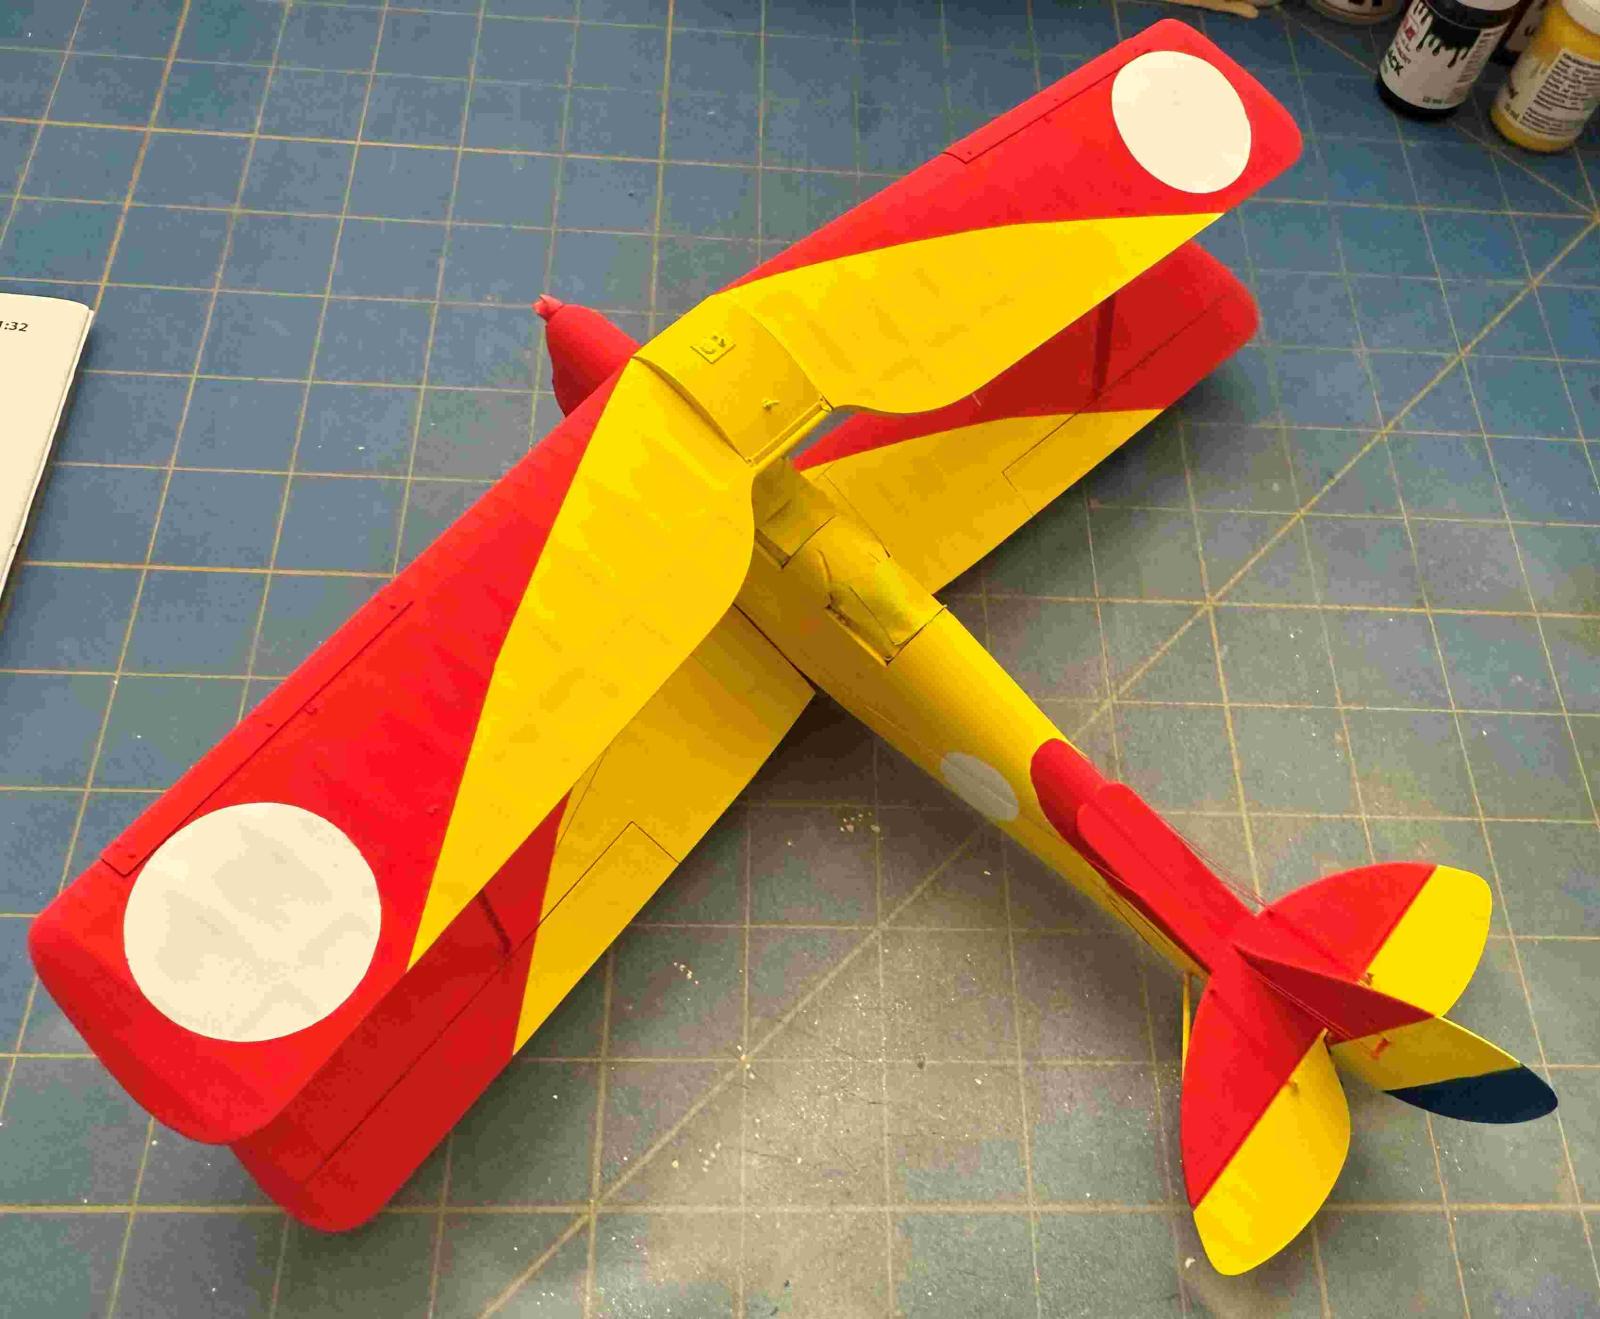
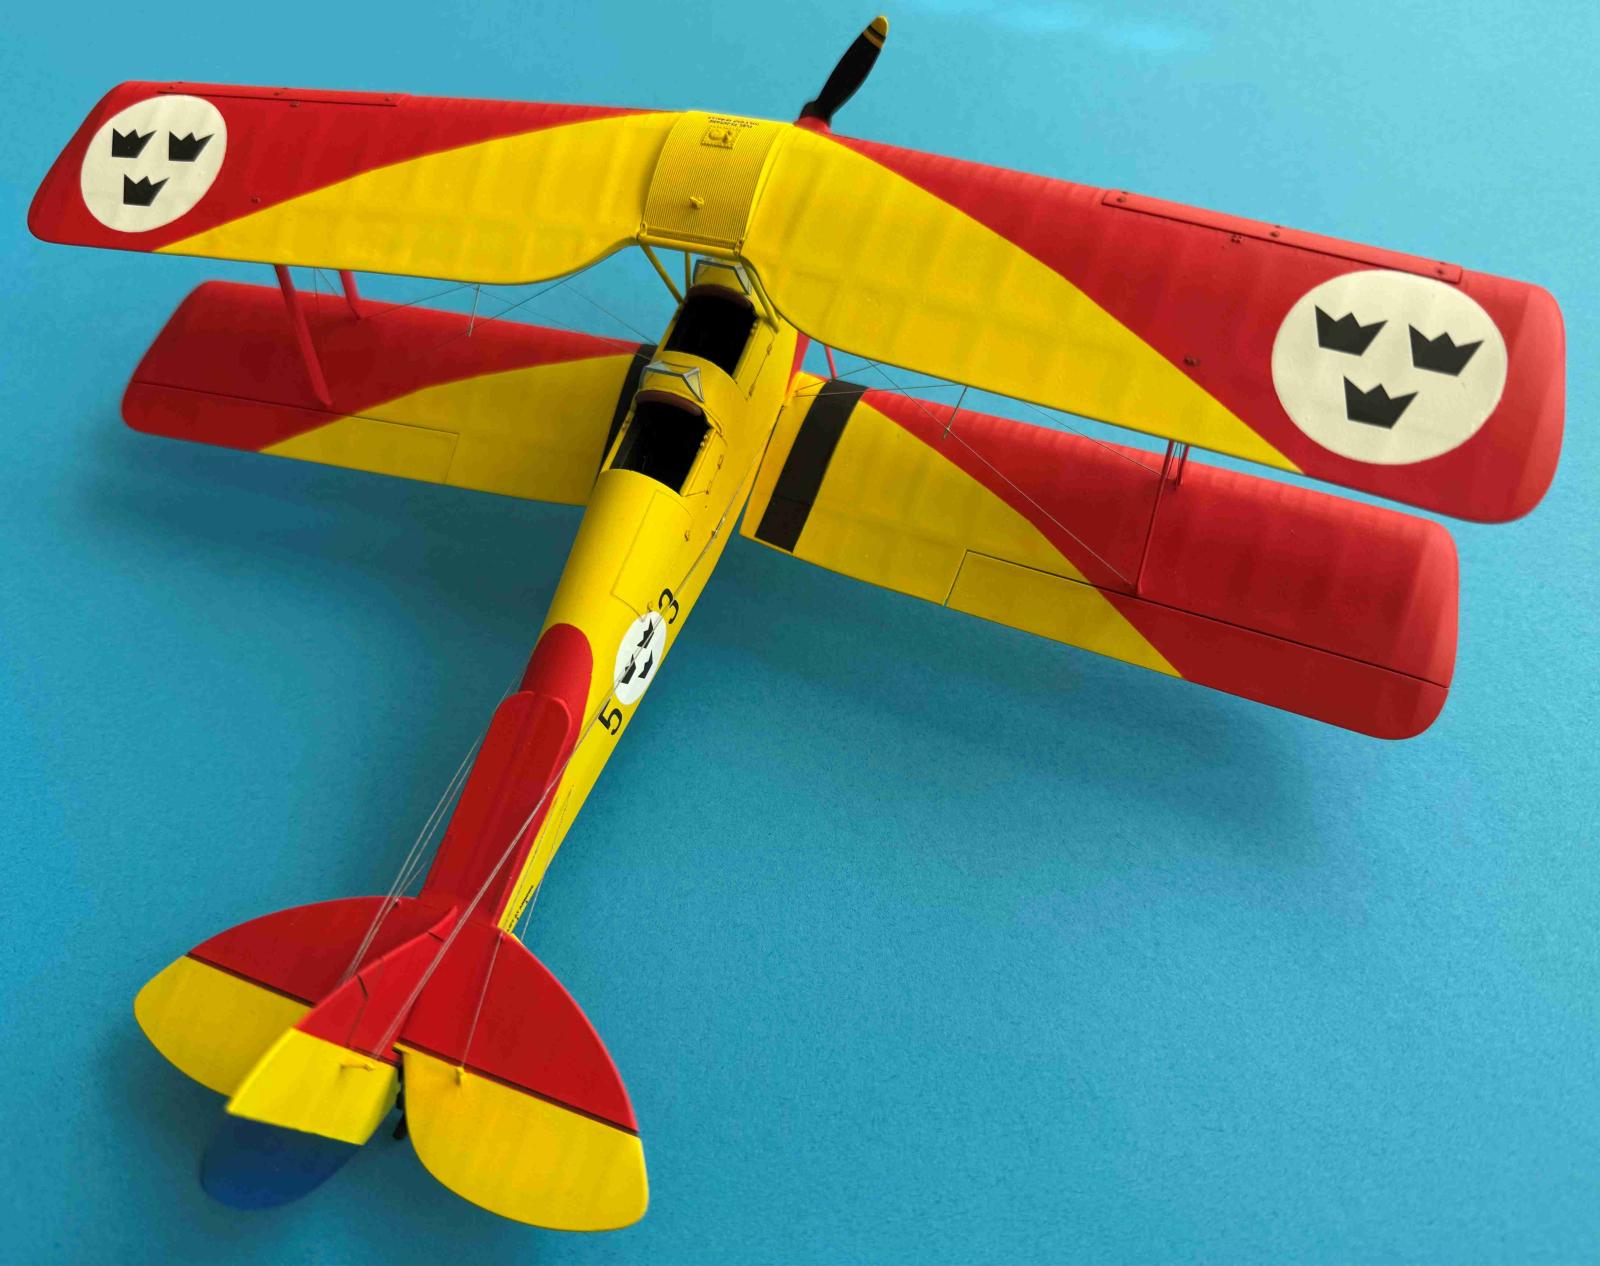
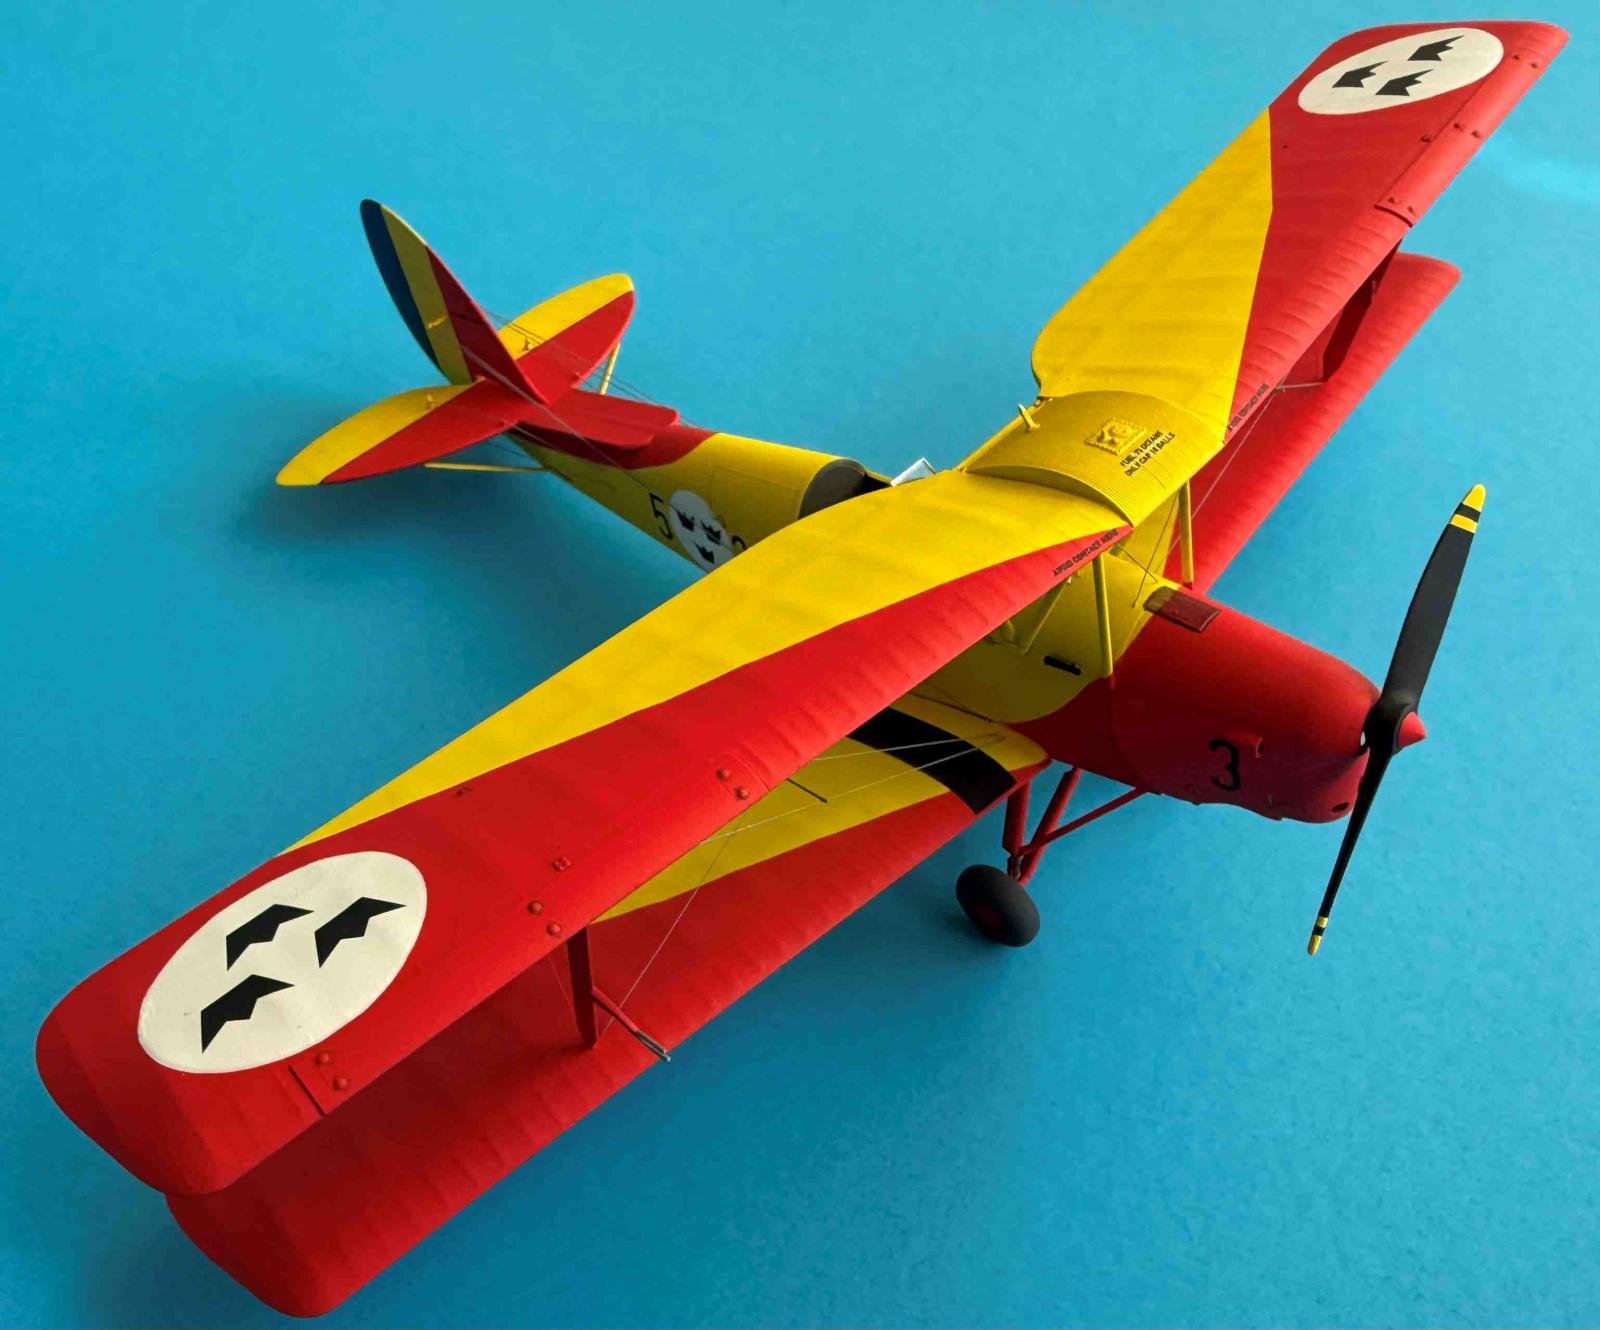
I used the recommended ICM paints in this build. My painting scheme of choice was the Swedish Air Force Tiger Moth from 1935. It was a complex scheme that required a lot of masking. I was afraid that the white background on the national markings would not be opaque enough so I masked the circles on the white primer and moved on to painting the yellow color first and then the red, and finally the dark blue ribbon on the tail. I used Tamiya acrylic thinner for the ICM paints at about 50/50 mix ratio and sprayed it at about 20 PSI. The surface was a deep matt tone after the paint has dried. The paint was not affected by the masking tape and adhered well when the masking was removed.
After applying three thin gloss coats of ‘Future’ floor polish, I applied the decals. They went on easily and stayed conformed to the surface with only a bit of Micro Set solution applied once. The final step involved a matt cote of Hataka orange line lacquer to seal the decals and make the paint look matt.
Acrylic paint set for training airplanes of the 1930s and 1940s (Item # 3083) notes:
The set consists of 6 paints: Aluminum, Deep Yellow, Deep Red, Extra Dark Green, Tan Earth, Dark Blue. The paints spray very well with Tamiya acrylic thinner. I almost used the entire content of the yellow and red paint bottles to paint the Tiger Moth which is a fairly large kit in 1/32 scale. I used very little of the aluminum paint for the canopies’ frames and did not use the Tan Earth in this build as it was not required for my paint scheme.
Final Notes
It was a very enjoyable build that involved a brilliant solution for installing rigging lines inside the wings and fuselage. The provided paint schemes are very interesting. The Swedish yellow and red paint combination drew me to this kit instantaneously. Despite the challenge of painting this color configuration and masking, the final effect is eye catching. I highly recommend the kit to anyone who likes biplanes and is not afraid of installing tiny rigging lines. The good fit of parts and not an overwhelming number of parts, will make this kit very attractive to modelers. Thank you, ICM, for providing a very enjoyable experience and an interesting subject.
My sincere thanks go to ICM for generously providing this kit and the complementary paint set to review and IPMS USA for allowing me to review it.


Reviewer Bio
Tomasz Menert

I grew up in Poland and immigrated to the US 35 years ago when I was in my twenties. Ironically, I majored in English here, but I have fond memories related to my interest in aviation. What spiked my interest in reviewing items were the books on some familiar subjects. For example, I received a glider pilot license in Poland and one of the books Pablo Bouleo mentioned in the 'stash' is from MMP (PZL-104 Wilga 35A, Single No. 46). In my glider training, the plane towing us was the PZL-104 Wilga! So, anything around Polish subjects like PZL Combat Fighters, etc., would land you a quick and thorough review just because I had an exposure to some of the topics. Not to mention an uncle who flew a total of over 4000 hours in Mig-21s. Therefore, I want to thank you both for giving me the opportunity to join this review. group.
Comments
Add new comment
This site is protected by reCAPTCHA and the Google Privacy Policy and Terms of Service apply.
Similar Reviews