
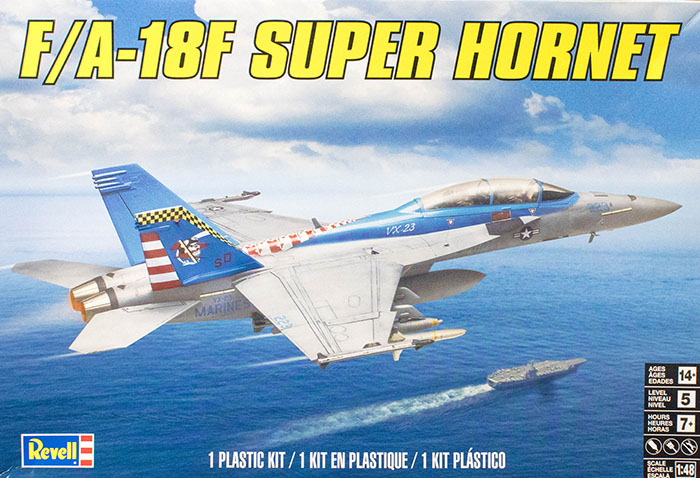
F/A-18F Super Hornet
History Brief
Much has already been published regarding the F-18 Super Hornet series, and therefore I will not add to the discussion. However, a great source of information may be found on Wikipedia.org, or modeling web sites. Also "The Modern Super Hornet Guide, The Boeing F-18E/F and EA-18G Exposed" by Jake Melampy, and offered by Reid Publications is an exceptional reference with its many color photographs of the aircraft's details. I used that publication for this build as well as for my earlier Revell F/A-18E and Hasegawa F-18E/F/G model projects.
The Kit
The kit is packaged in a large box with a lift off lid. There are thirteen parts trees, molded in light gray styrene plus a single tree of clear parts. There are several clear plastic bags containing multiple sprues each, except the clear parts are bagged separately. One decal sheet in included with colorful markings for two aircraft and some stencils. There are decals for the instrument panels for both powered and parked aircraft. There is no photoetch included.
Surface detail is recessed, and there was some subtle flash on the parts. The ejection seats have molded-in-place harnesses. Ejector pin marks are pretty much non-existent on the exposed surfaces, but I will address any that show up during the actual build and finishing process. The Revell trademark does appear in raised detail on the underside of the right wing flap, and was be easy to remove. All flaps are molded in the neutral position.
Weapons and underwing stores include 1 x AN/ASQ-228 Advanced FLIR for Station 5, 2 x AIM-9X Sidewinder, 2 x AIM-120 AMRAAM, 2 x Mk.83 slicks, 2 x AGM-88 HARM, and one external tank for centerline Station 6.
The main canopy has a very substantial mold line down to the top, center. This will require some careful removal and finishing to restore the clarity of the part. The windscreen is free of any mold seam.
The Instructions
The Revell instructions are quite comprehensive, and provide a generic paint list as well as a list of parts included in the kit. The paint list does not include FS numbers. There are 20 pages included, with the instructions in English, French and Spanish, and there are 26 steps in the build process. From past experience, and for the most part, each step is fairly clear and should pose no problem for the modeler.
Each subassembly is shown in a separate step with parts numbered, paint colors noted and decal placement shown when appropriate.
The last three pages of the instructions show the placement of decals for the stencils and individual aircraft markings.
Construction
I used Tamiya Extra Thin Cement through the assembly of the parts, and Formula 560 to fix the clear parts in place.
Canopy
The first task here was to carefully eliminate the molding seam on the top of the canopy. Using a sharp hobby knife blade I carefully removed the majority of the raised seam. Next I used a fine sanding pad followed by a super fine pad to eliminate the remnants of the raised seam line. Lastly I worked my way through very fine finishing pads starting with a 3600 grit and finishing with 12,000. Next I applied some Novis plastic polish and rubbed away with first a Q-tip, followed by a piece of cotton T shirt. I cleaned off the polish residue with window cleaner, followed by a dip in Future. After a 24 hour drying period I removed the clear parts from the drying container and was happy with the end result.
Revell provides the canopy rails as separate parts. These were assembled and when dry painted black. I also masked the clear areas of the canopy and windscreen, inside and out, and painted the frames flat black. When the black had dried I masked the black perimeter gasket and painted the exterior frame blue.
Part 204, the rear canopy bulkhead is fixed in place first. The nest step was to fix the canopy rails inside the canopy. I used Formula 560 canopy glue for this task. Each side was clamped with mini clothes pins while the glue set up. Part 203 should be fixed in place after the rails have been glued to the canopy as this part proved to be a bit too fiddily to install per the instructions. The canopy rails and rear bulkhead were all painted black before being installed. The canopy may be fixed in an open or closed position as desired. If you chose to leave the canopy open you must install a telescoping tube to hold the canopy securely as the kit does not include this part.
Cockpit
All of the individual cockpit parts were held in place with masking tape, sticky side out, on a sheet of card board and painted black. The cockpit tub was next painted grey. The side consoles instruments were brush painted black, and dry-brushed with light grey. Various knobs were painted white, red or yellow adding some color to the cockpit. The instrument panels were given a gloss seal coat and when dry for 24 hours the decals were applied. I cut each decal into three parts, making the cuts vertically, and applied them individually. I used MicroSol to make the decals conform to the raised details on each panel. After a flat clear coat the individual screens were given a touch of clear gloss.
The underside of the cockpit tub has two locator pins that fit into receptors on the inside surface of the fuselage bottom. This arrangement allows for a solid attachment and an excellent alignment method before the bottom of the fuselage is fitted to the top half. I applied solvent to the two receptors, placed the tub and set everything aside to cure.
I am not a fan of molded on harness, so I removed those moldings, painted the seat and added some surplus PE harness. The molded in harnesses could be easily painted if the modeler so desires.
Engine Intakes
Each engine intake is made up of two parts with the joins at the opposite corners, plus the turbine faces. Each intake part had ejector pin marks of varying depths. Some of the marks disappeared with several strokes of a sanding stick while others required some Tamiya Basic Putty, a suitable drying time and more sanding. Once I was happy with the work I glued the two halves together.
Step 4 of the instructions address the intake assemblies, interior and exterior parts. The interiors are fitted to the exterior portions and those subassemblies are then shown inserted through rectangular openings on both sides of the bottom half of the fuselage. I left the turbine faces off until the intakes were fixed in place. Clamping was required to close some minor gaps as well as holding the parts together while the solvent cured.
Fuselage/Wings
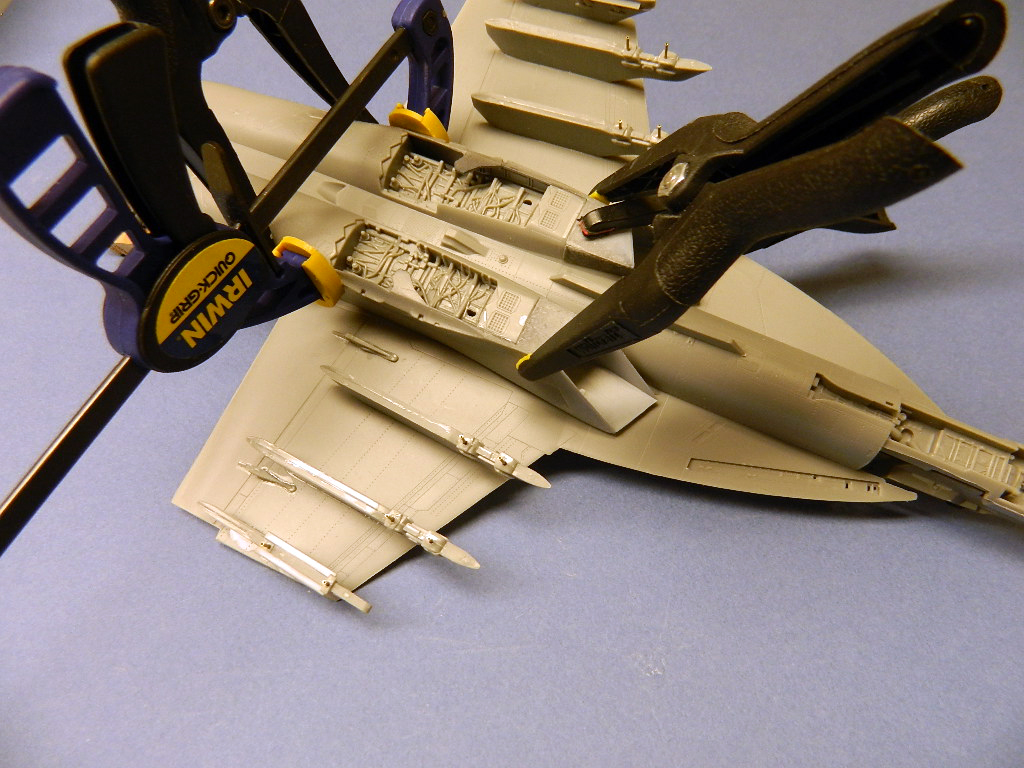
The fuselage is comprised of a top and bottom half. The leading edges of the wings and LEX have a rough edge, but that was removed with a few strokes of a sanding stick. After some test fitting of these two major parts some additional cleanup of the edges was required. Revell includes parts for the top of the wings high pressure bypass vents. The fins on the vents are a bit clunky, but the inclusion of these parts is a nice touch over-looked by other manufacturers. Progressive gluing of the join for the top and bottom halves and clamping was required to obtain a good fit. This step took some time to finish as the fit was snug in some places and a bit loose in others.
The nose of the model is built up from four parts, two side and one each top and bottom insert. When fitting the two inserts some care is required for a proper fit to avoid a step between the parts, Progressive glueing around the join will help with the fit of both parts. Once this was completed lead fishing sinkers were superglued in the nose to avoid a tail sitter.
If you plan to install the boarding ladder in a lowered configuration plan on spending some time and effort to have the small parts align properly before painting and fixing the ladder in place..
Landing Gear
Each of the main gear wheels are made from two halves, with flat bottoms. The main gear assembly is rather softly molded and does include some rather delicate parts that will require care when removing from the sprue. Before any of the parts are glued in place mold seams must be removed from the several nooks and crannies on the gear. Revell has included separate tie down anchors for the main gear which is another nice touch. The location of the folding gear strut was a bit vague in the instructions, so I dry-fitted the main gear in the wheel well, placed the strut and applied the solvent where the strut and main gear met. This assembly was left in place while the solvent cured hard.
All the gear and doors were installed after the painting of the model is completed to avoid damage and loss of parts. The nose gear well door part 29 will be a bit of a snug fit once the nose gear is in place, but it will fit.
Underwing Stores and Weapons
The pylons can be put to work with bombs and missiles. Included in the kit are two Mk 83 GP bombs, two AGM-88 HARM missile, two AIM-120C AMRAMM missiles, two AIM-9X Sidewinders and a AN/ASQ-228 Advanced FLIR.
The four main pylons are made from parts 59 and 60. The ejector pin marks at the front inside surfaces of each pylon have raised rims that require some attention before the parts fit together properly. The two smaller pylons fit together with minimal cleanup.
Painting
It should be noted here that modelers wishing to apply a pin wash to the panel lines will need to re-scribe and deepen several on the wing and fuselage top in order the wash to flow and fill the lines.
I chose to portray the aircraft from VX-23 "Salty Dogs". Paint color is overall grey, FS 36375, plus blue vertical stabilizers and a dorsal accent panel. It would have been nice if Revell had included the FS color numbers on the paint chart, but they did not, therefore some research and guesswork is required for the accent colors for either aircraft. Eventually it dawned on me that the decal sheet contained blue lettering and markings that represented the color I was after. I used Tamiya acrylic paint mix for the blue and came close to the shade shown.
Normally I fix the windscreen in place before I paint the model. Here I did not and it proved to be a mistake: the joint between the clear part and the top of the fuselage will require some filler for a smooth transition. I fixed the painted windscreen in place and after the glue had dried I filled the open join with acrylic putty and smoothed the filler with a damp Q-tip. I then carefully applied the custom blue color to the join. Not the best solution.
Once the painting was complete I applied three coats of thinned Future and allowed the clear coat to thoroughly cure for 48 hours.
Decals
The kit comes with markings for two aircraft. The decals are glossy and the carrier film is quite obvious. Decals for the instrumnet panels are included for both powered on and powered off aircraft. Markings are as follows:
- VX-23 "Salty Dogs", Air Test and Evaluation Squadron, NAS Pax River, Md. and
- VFA-32 "Fighting Swordsman" NAS Oceana, Virginia Beach, VA.
The decals performed quite nicely with the carrier film pretty much disappearing. The large spline decal took a bit of effort to slide into place for its proper alignment, but I wet the underlying surface with plenty of water and was able to float the decal in place. I used MicroSet to place the smaller decals, and MicroSol to have them conform to the surface. Some decals did require an application of Solvaset to lay down perfectly.
I was pleased to see that my blue paint mix closely matched the blue in the decals.
Finishing the Model
Panel lines and recessed detail were enhanced with a panel line wash. Once the decals were in place and dry the surface of the model was wiped down with a soft cloth and warm water to remove any decal residue. The final step was to apply a clear coat of Model Master Acryl Satin.
All of the loose parts and weapons were then fitted in place. Done!
Conclusion
Some of the details on some of the parts appear a bit soft, and test fitting of parts is recommended before applying the solvent. There is edge and other surface cleanup required before some of the parts will fit properly, and the test fitting will reveal any cleanup that may be required. The overall fit of parts is good, with the occasional need for finessing parts to fit snugly. The inclusion of the cockpit internal side rails, landing gear tie downs and the high pressure bypass vents are very nice touches.
This is a lot of kit for the money, and is a good kit of the F/A-18 for the price. This kit represents an early version of the F/A-18F, and with good references and the right aftermarket accessories serves as an excellent foundation for later versions if so desired
This kit is recommended for builders of most skill levels. Some effort is required, but this kit will make for a nice addition to any Hornet collection. The kit decals offer two nice and colorful options.
I wish to thank Revell and IPMS/USA for the opportunity to review and build this kit.
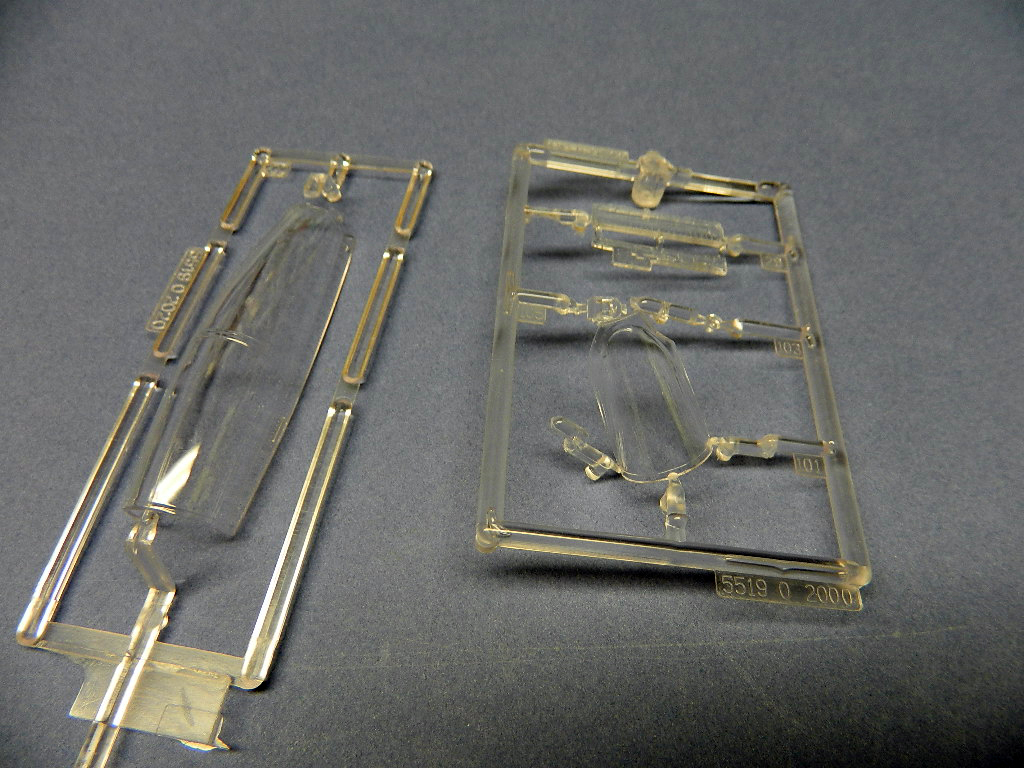
Clear sprues included in the kit
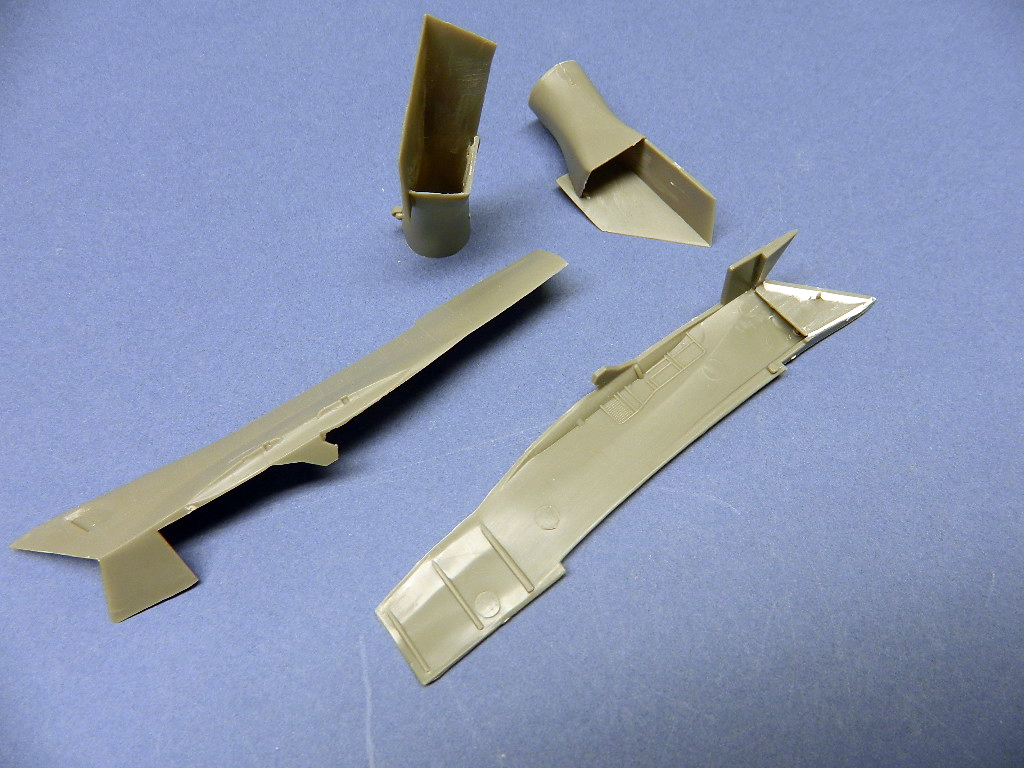
Intakes are removed from the sprue and cleaned up
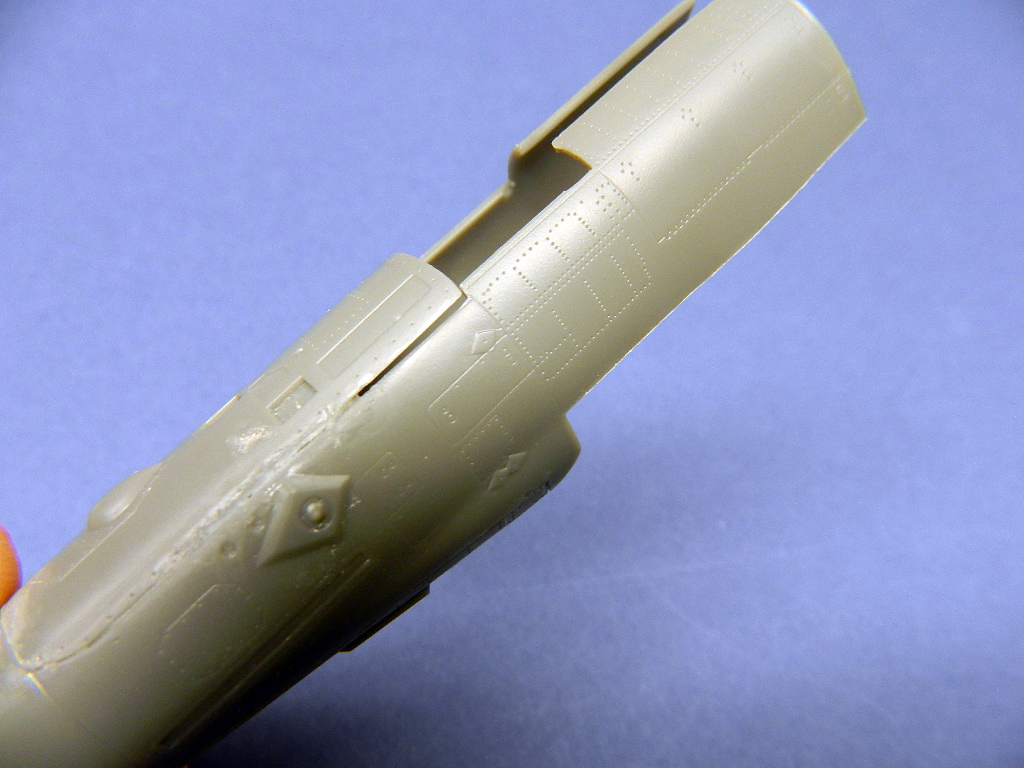
A minor gap required clamping while the solvent cured

Clamping the underside to assure a good fit
Further clamping of the bottom

Clamping all around fuselage to assure a good fit
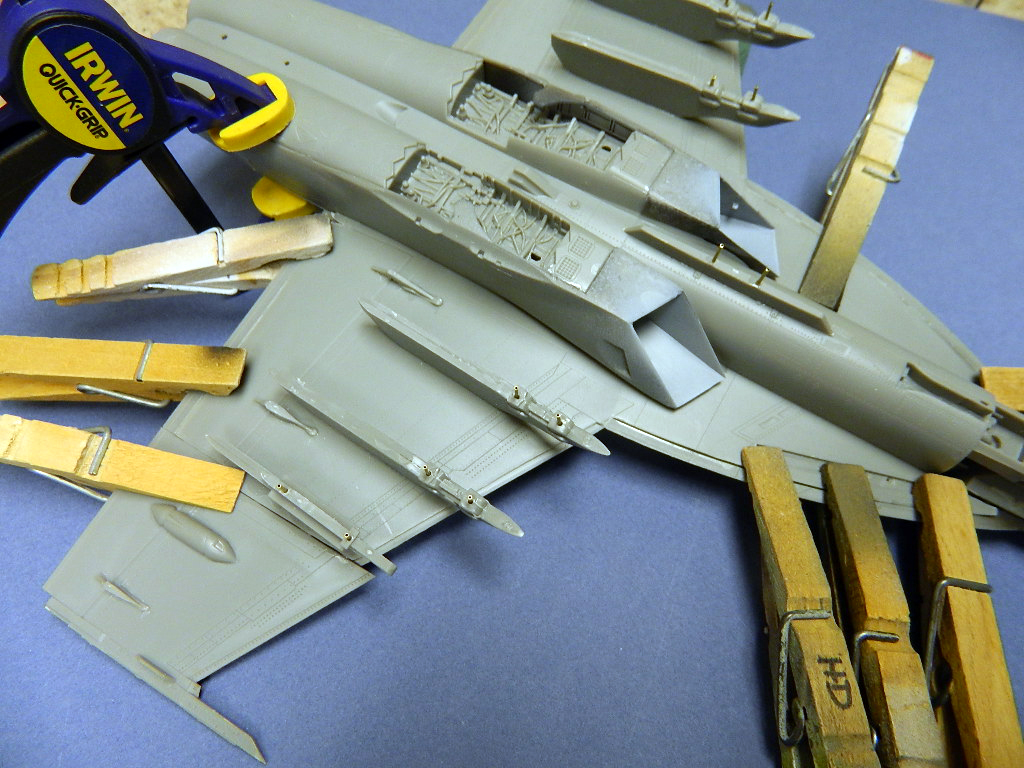
Further shot of clamping
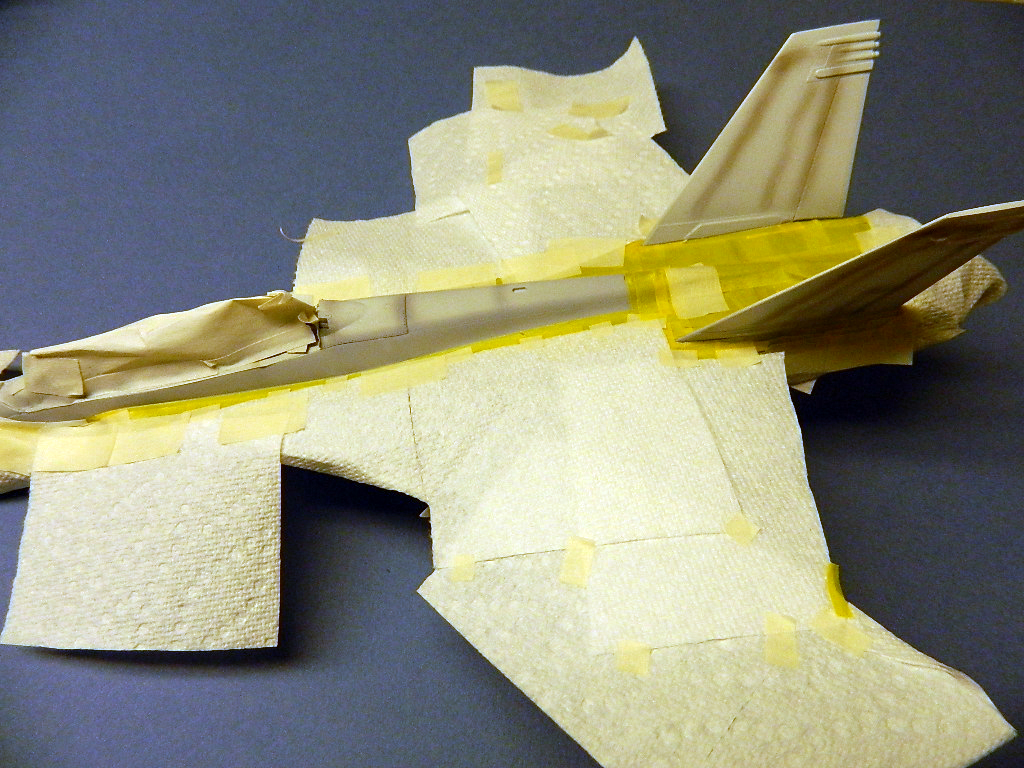
Masking the dorsal spline

Dorsal spline unmasked and painted
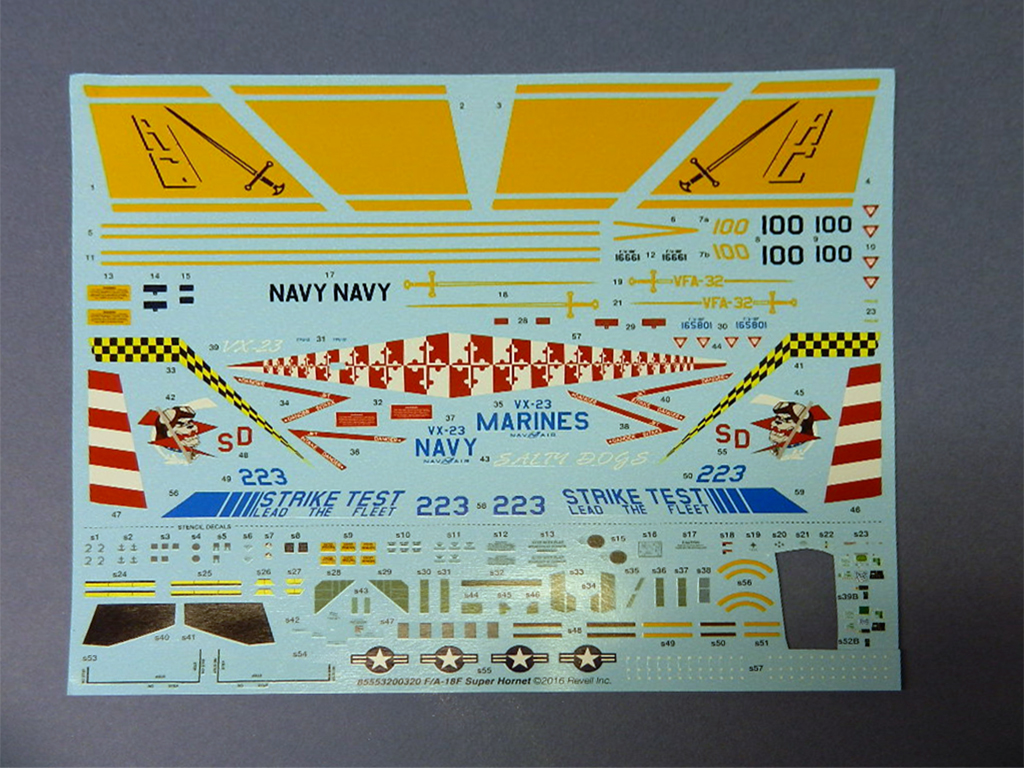
Kit-included decal set
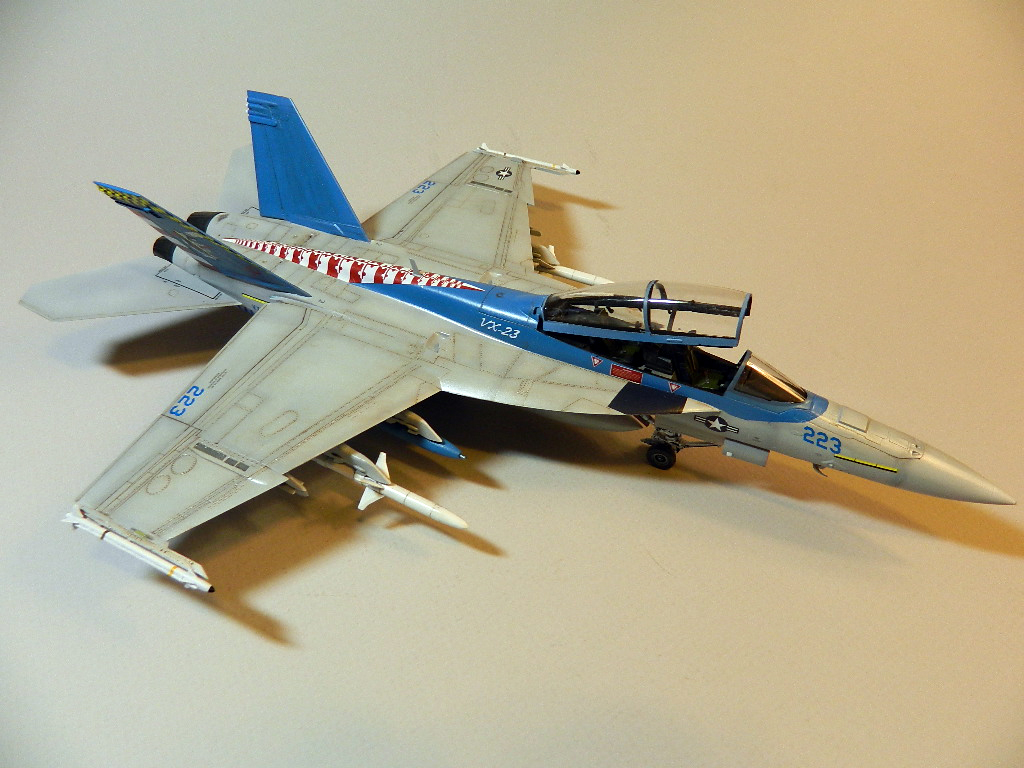
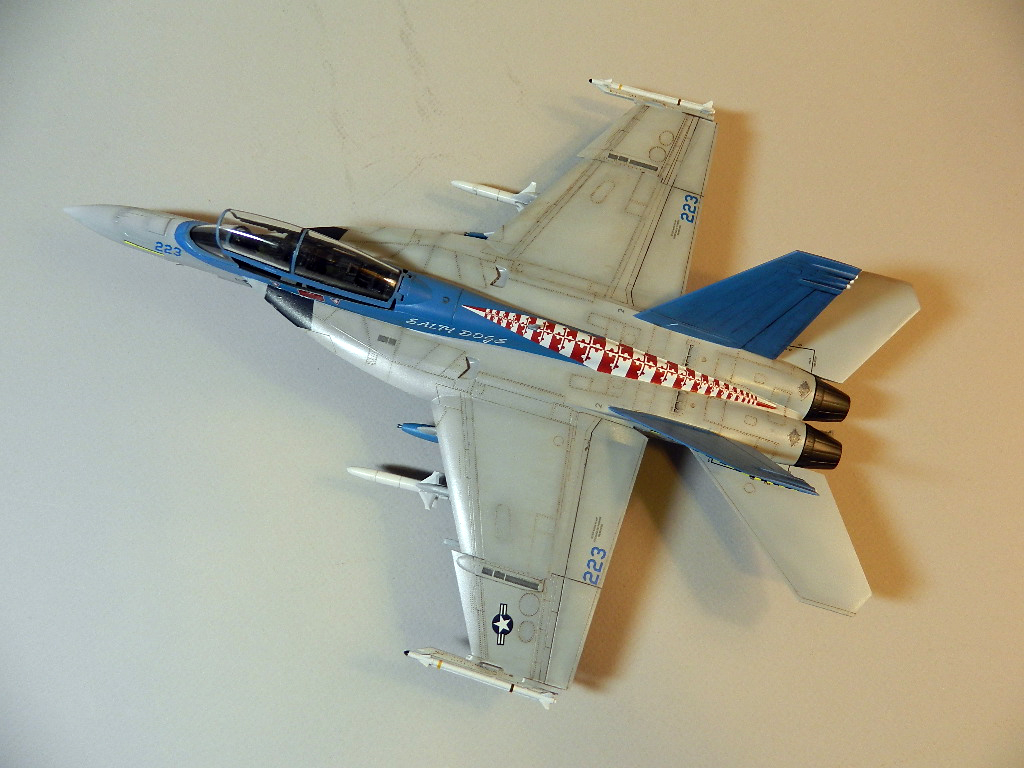
Finished aircraft, right-front

Finished aircraft, right-rear

Finished aircraft, left-front
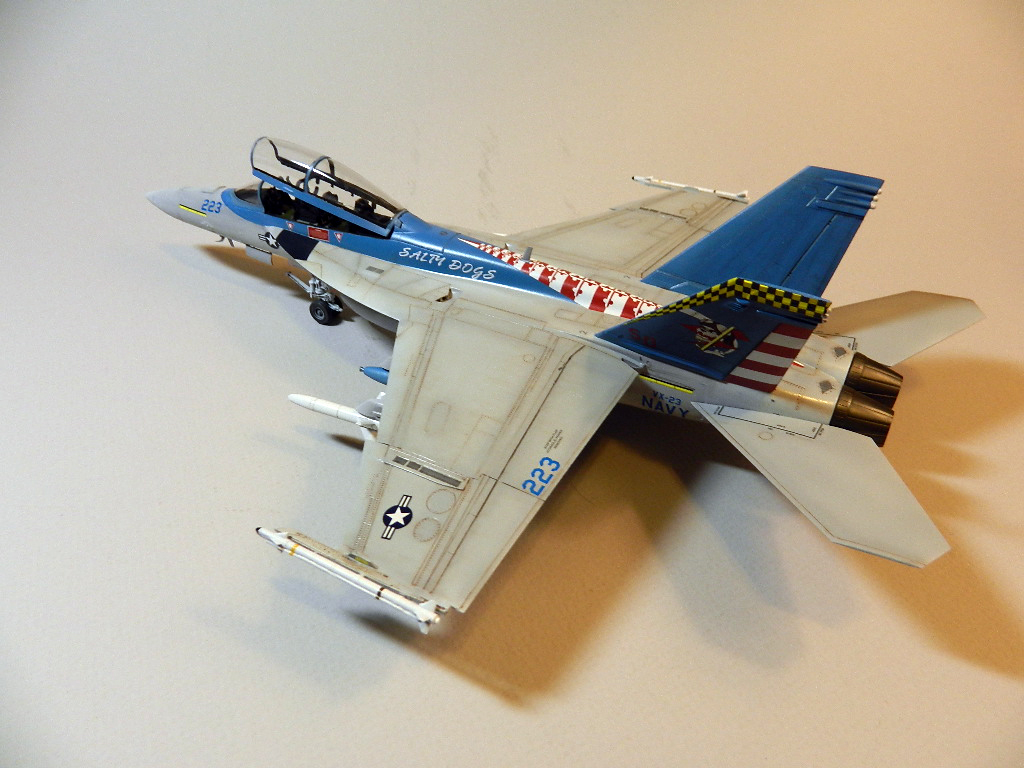
Finished aircraft, left-rear
Comments
Add new comment
This site is protected by reCAPTCHA and the Google Privacy Policy and Terms of Service apply.
Similar Reviews