
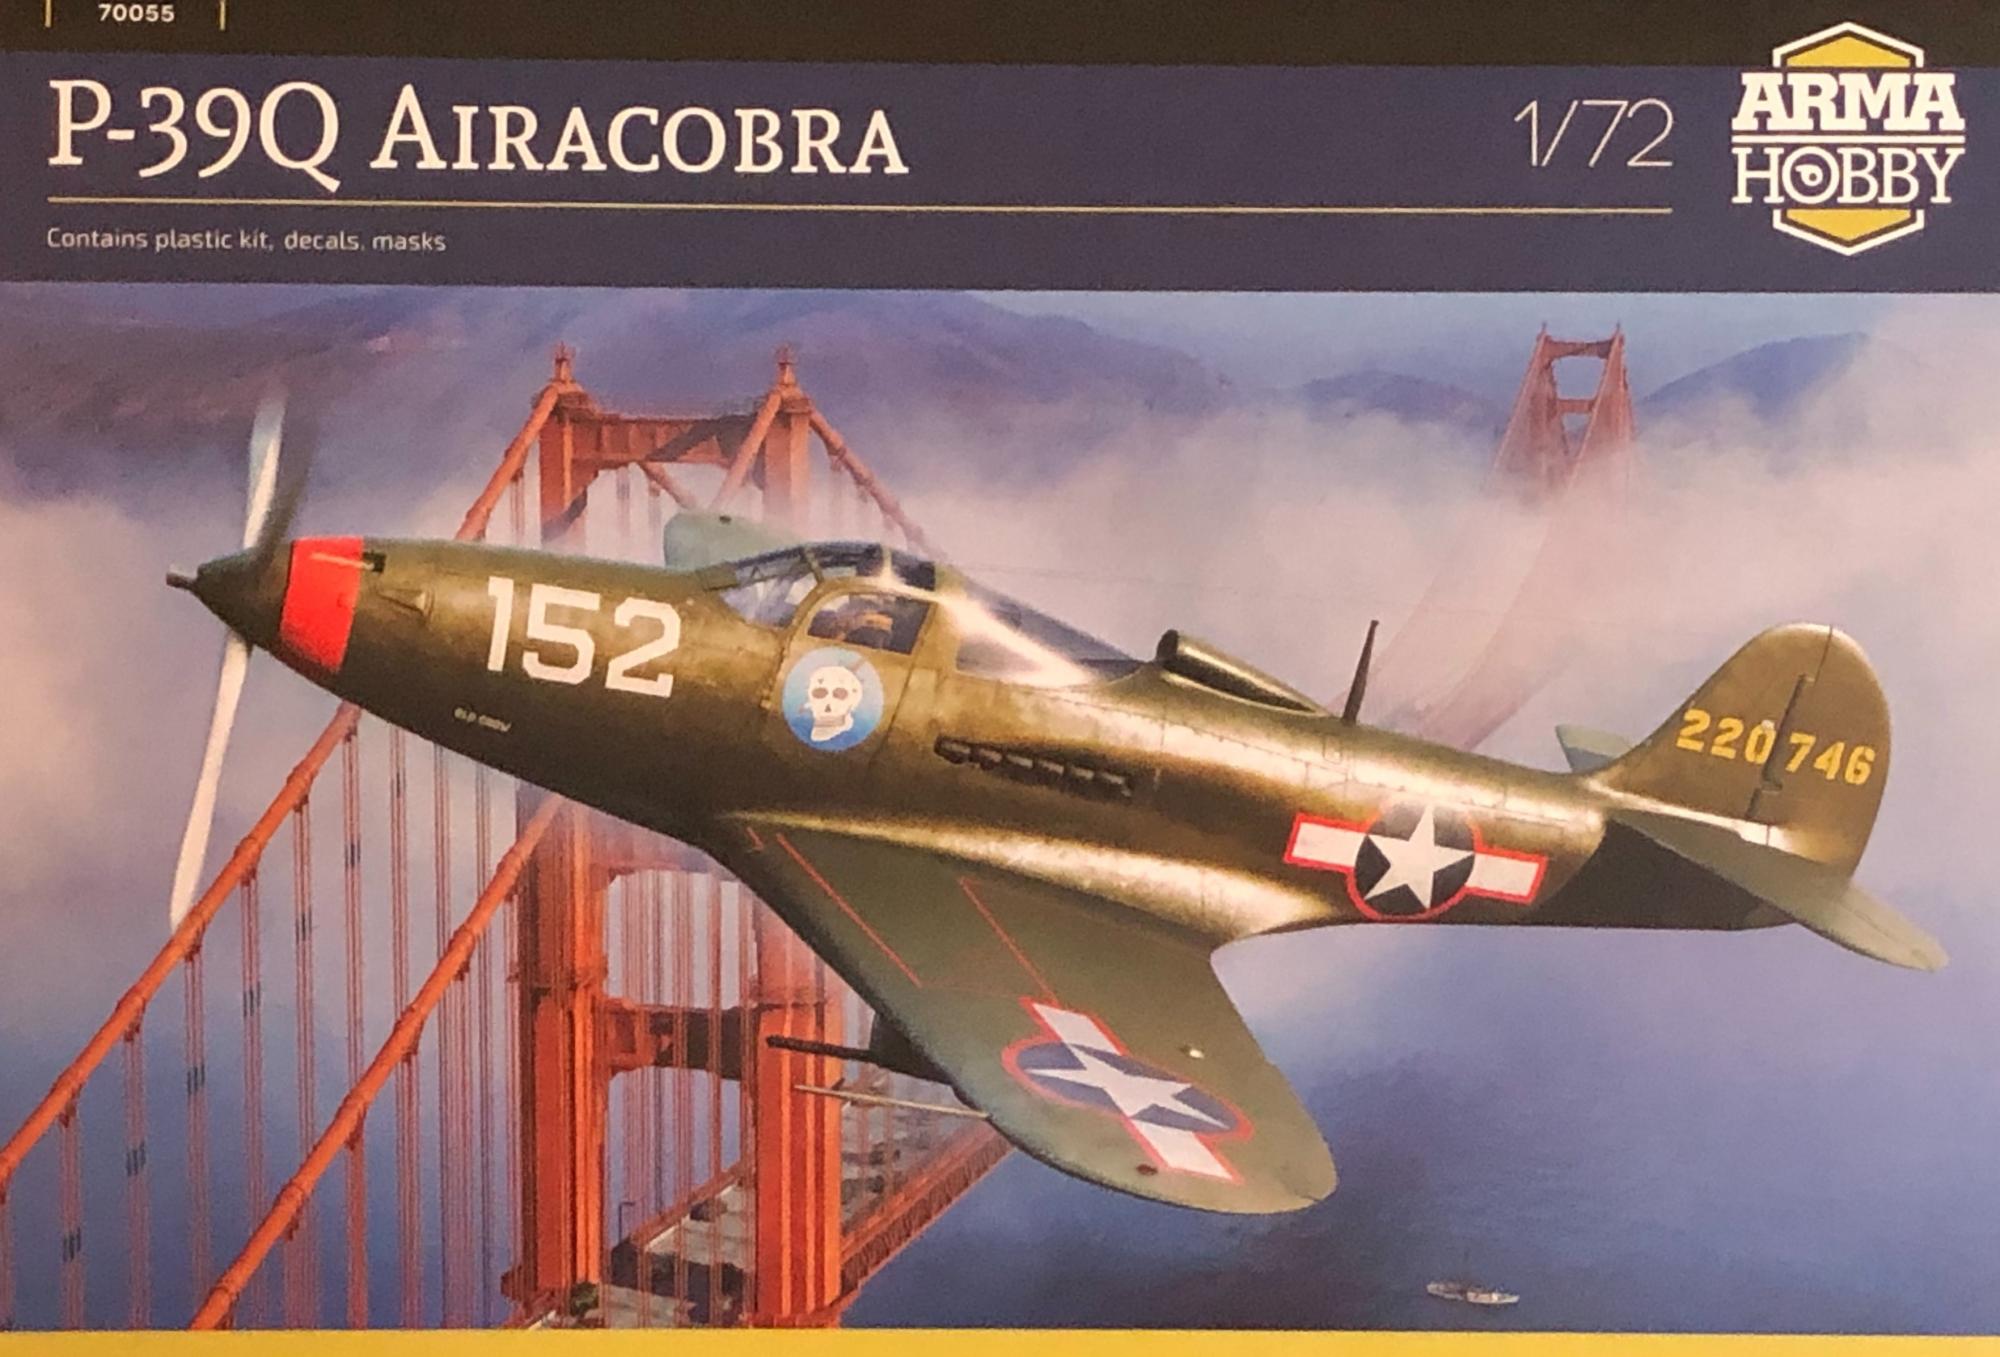
P-39Q Airacobra
This is the second Arma Hobby kit that I have been fortunate to review, and once again, the company has delivered a wonderful representation of a 1/72 scale aircraft, this time, the P-39Q Airacobra. Arma Hobby produces some of the finest detailed kits that I have seen in some 50 years of modeling. I would highly recommend this kit to anyone who wants to add a model of the final variant of the Airacobra to their collection.
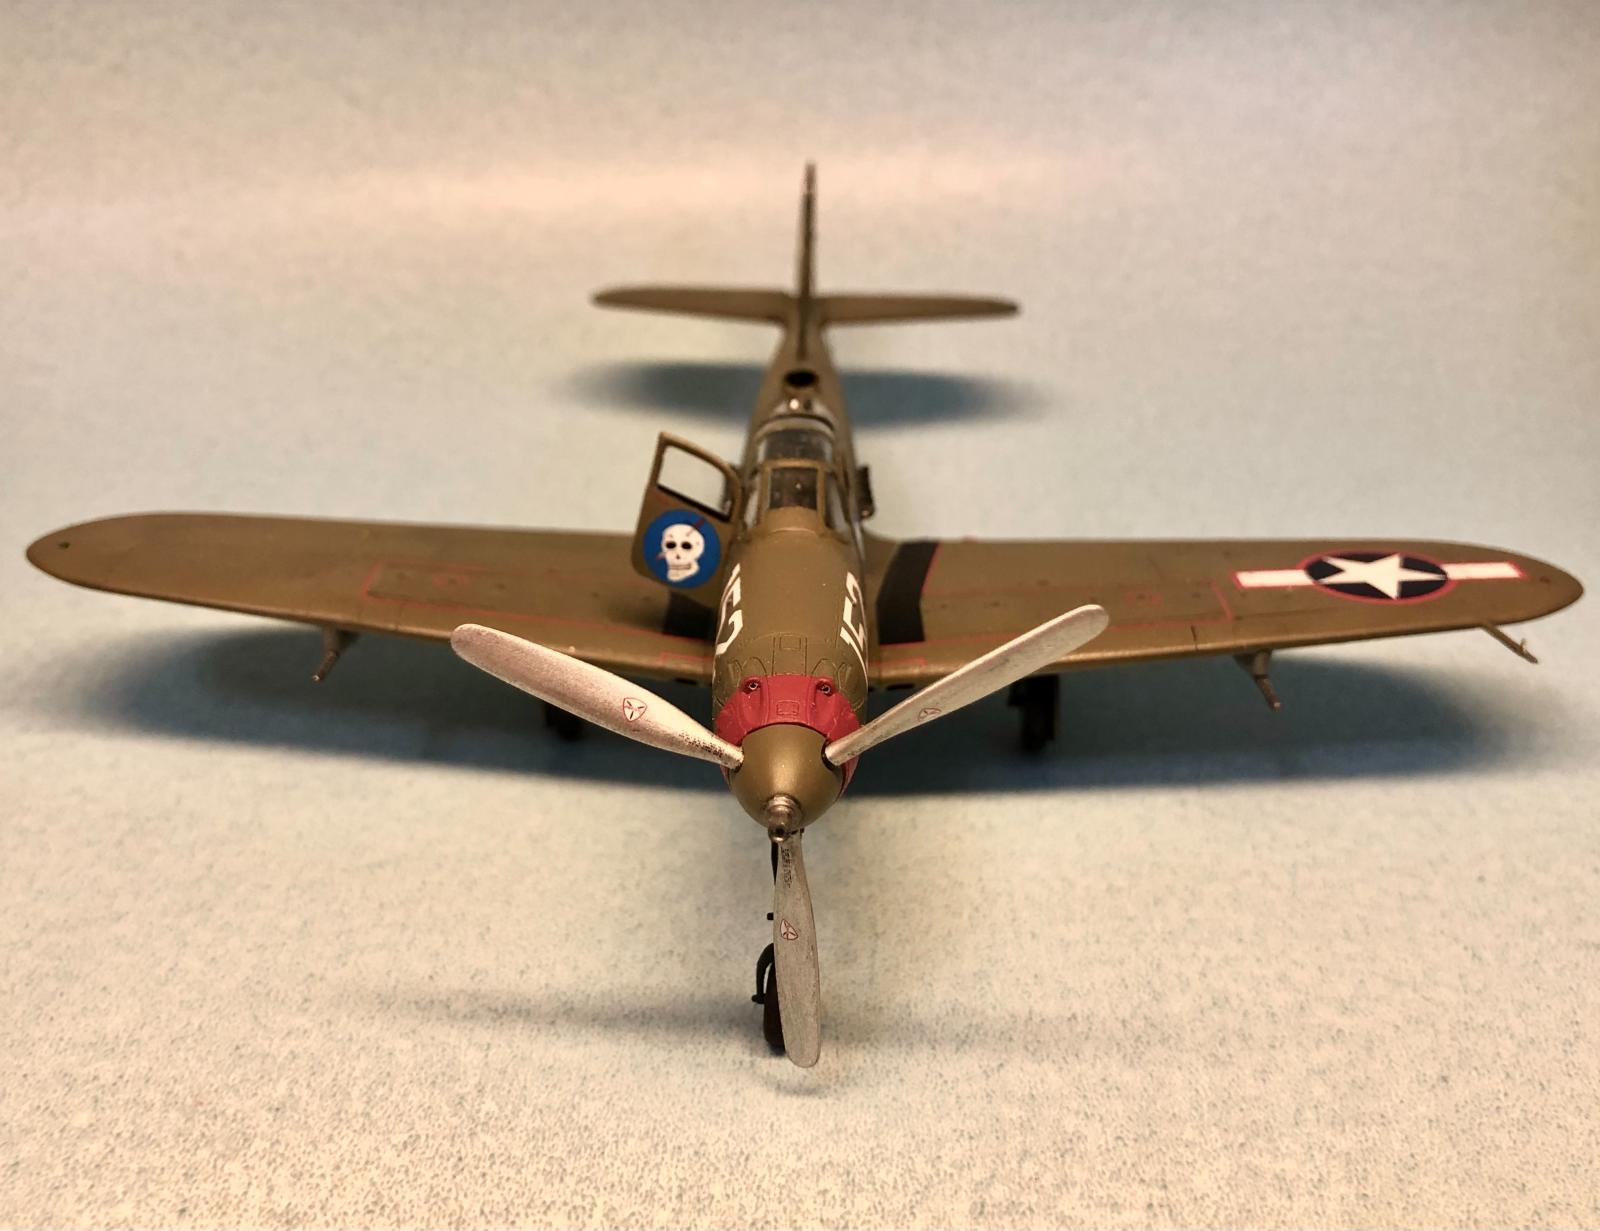
The Bell P-39 Airacobra was first ordered by the USAAC as an XP-39 in October of 1937 and was known to Bell Aircraft as the Model 4. The P-39 was unique among American aircraft as it had a 37mm cannon in the nose, like the German Bf-109 with its 23mm cannon. In order to fit the armament in the front of the plane, the engine was placed in a mid-position within the airframe behind the pilot. The plane was also unique in the use of “car doors” for access to the cockpit vice sliding canopies or hinged sections of the canopy. The P-39Q was the final variant of the Airacobra and at least 4905 were built with about half being supplied to the Soviet Union under the Lend-Lease Program. The P-39Q is easily identified by the two .50 caliber machine guns located in pods beneath the wings, and the removal of the four .30 caliber guns previously located in the wings. The planes retained the two .50 caliber guns in the nose above the 37mm cannon.
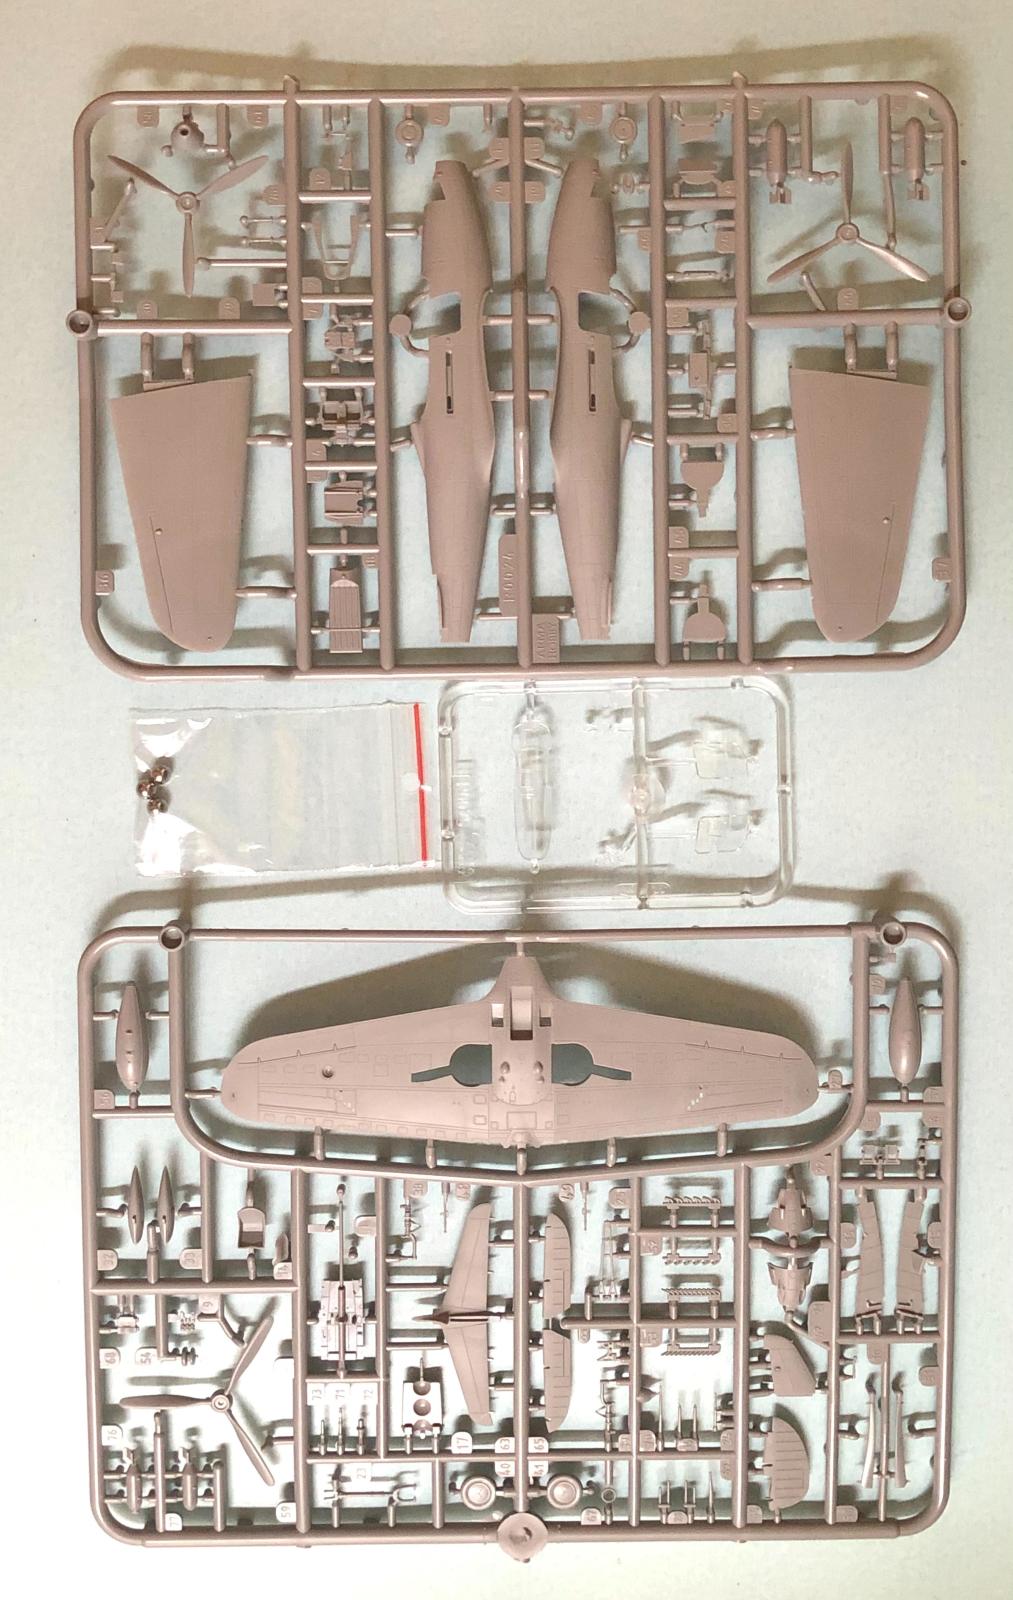
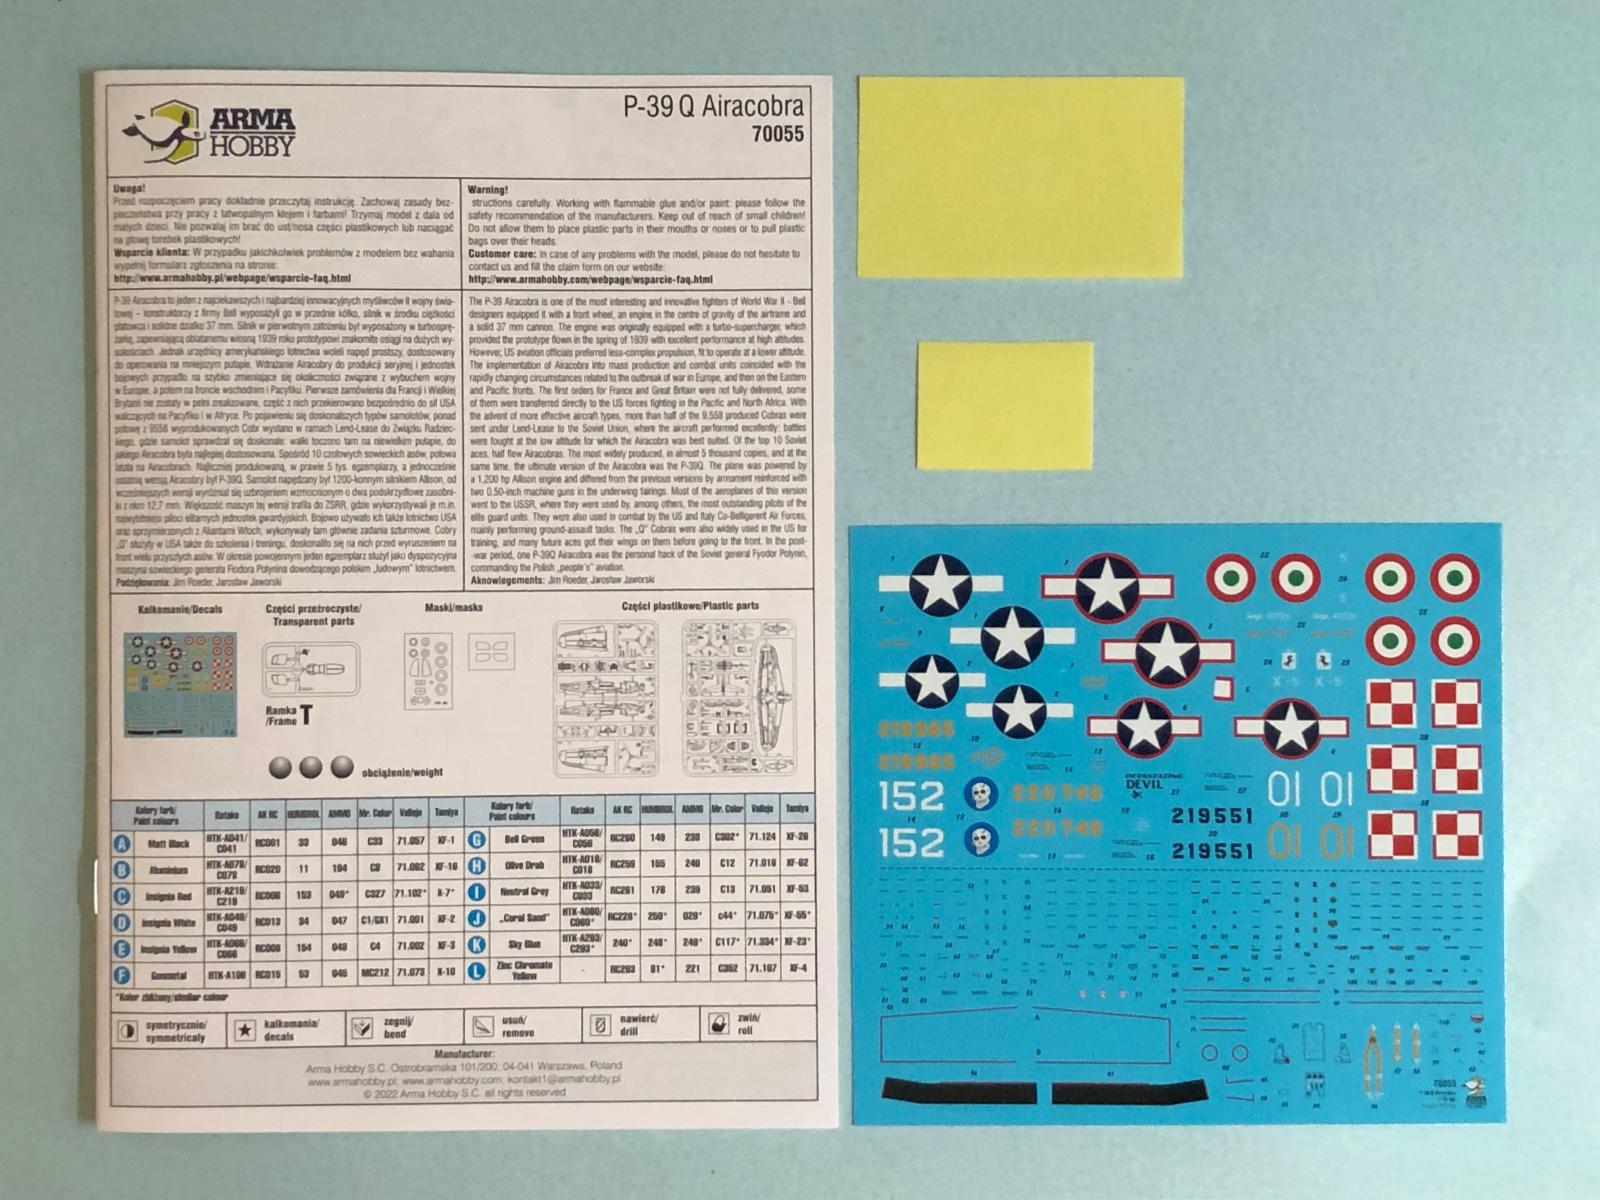
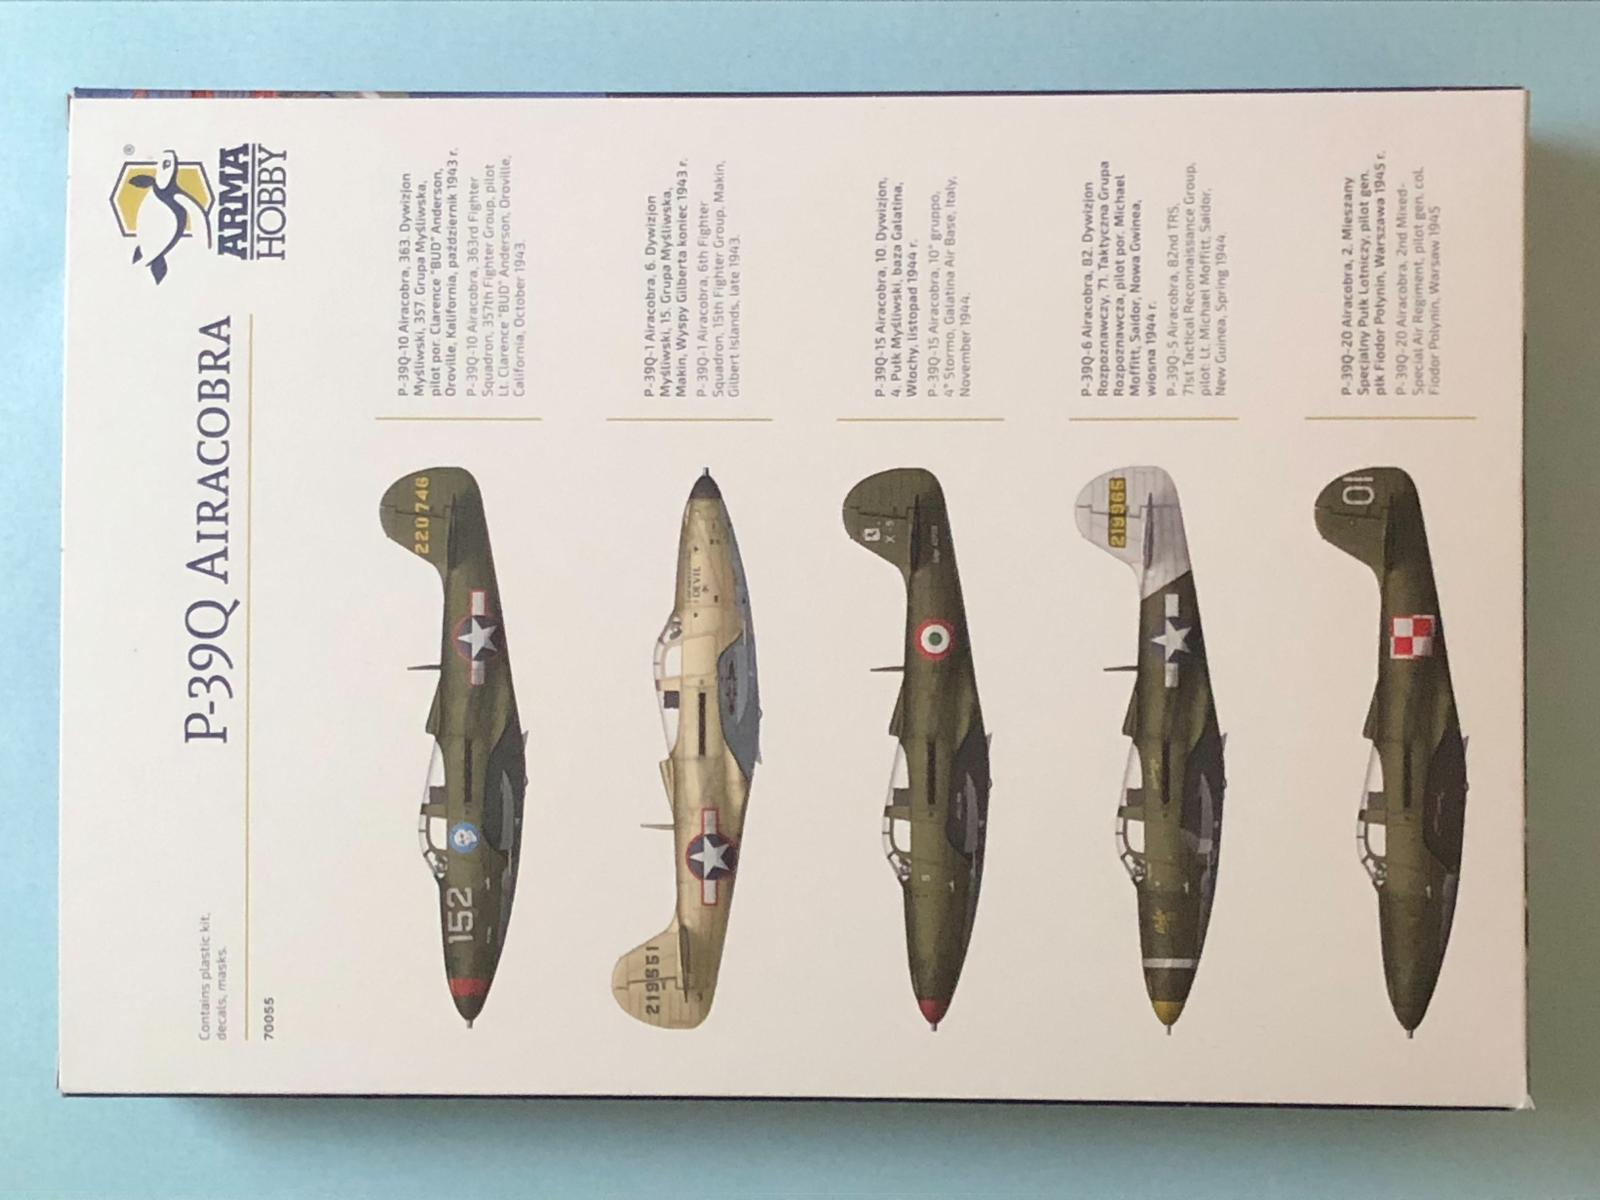
Upon opening the box, you will find two light gray plastic sprues, masks, three steel balls, and a nice sized decal sheet. The box shows markings for five aircraft as follows:
- P-39Q-10 Airacobra, 363rd Fighter Squadron, 357th Fighter Group, pilot Lt. Clarence “Bud” Anderson, Oroville, California, October 1943.
- P-39Q-1 Airacobra, 6th Fighter Group, Makin, Gilbert Islands, late 1943.
- P-39Q-15 Airacobra, 10° Gruppo, 4° Stormo, Galatina Air Base, Italy, November 1944.
- P-39Q-5 Airacobra, 82nd TRS, 71ST Tactical Reconnaissance Group, pilot Lt. Michael Moffitt, Saidor, New Guinea, Spring 1944.
- P-39Q-20 Airacobra, 2nd Mixed-Special Air Regiment, pilot Gen. Col. Fiodor Polynin, Warsaw 1945.
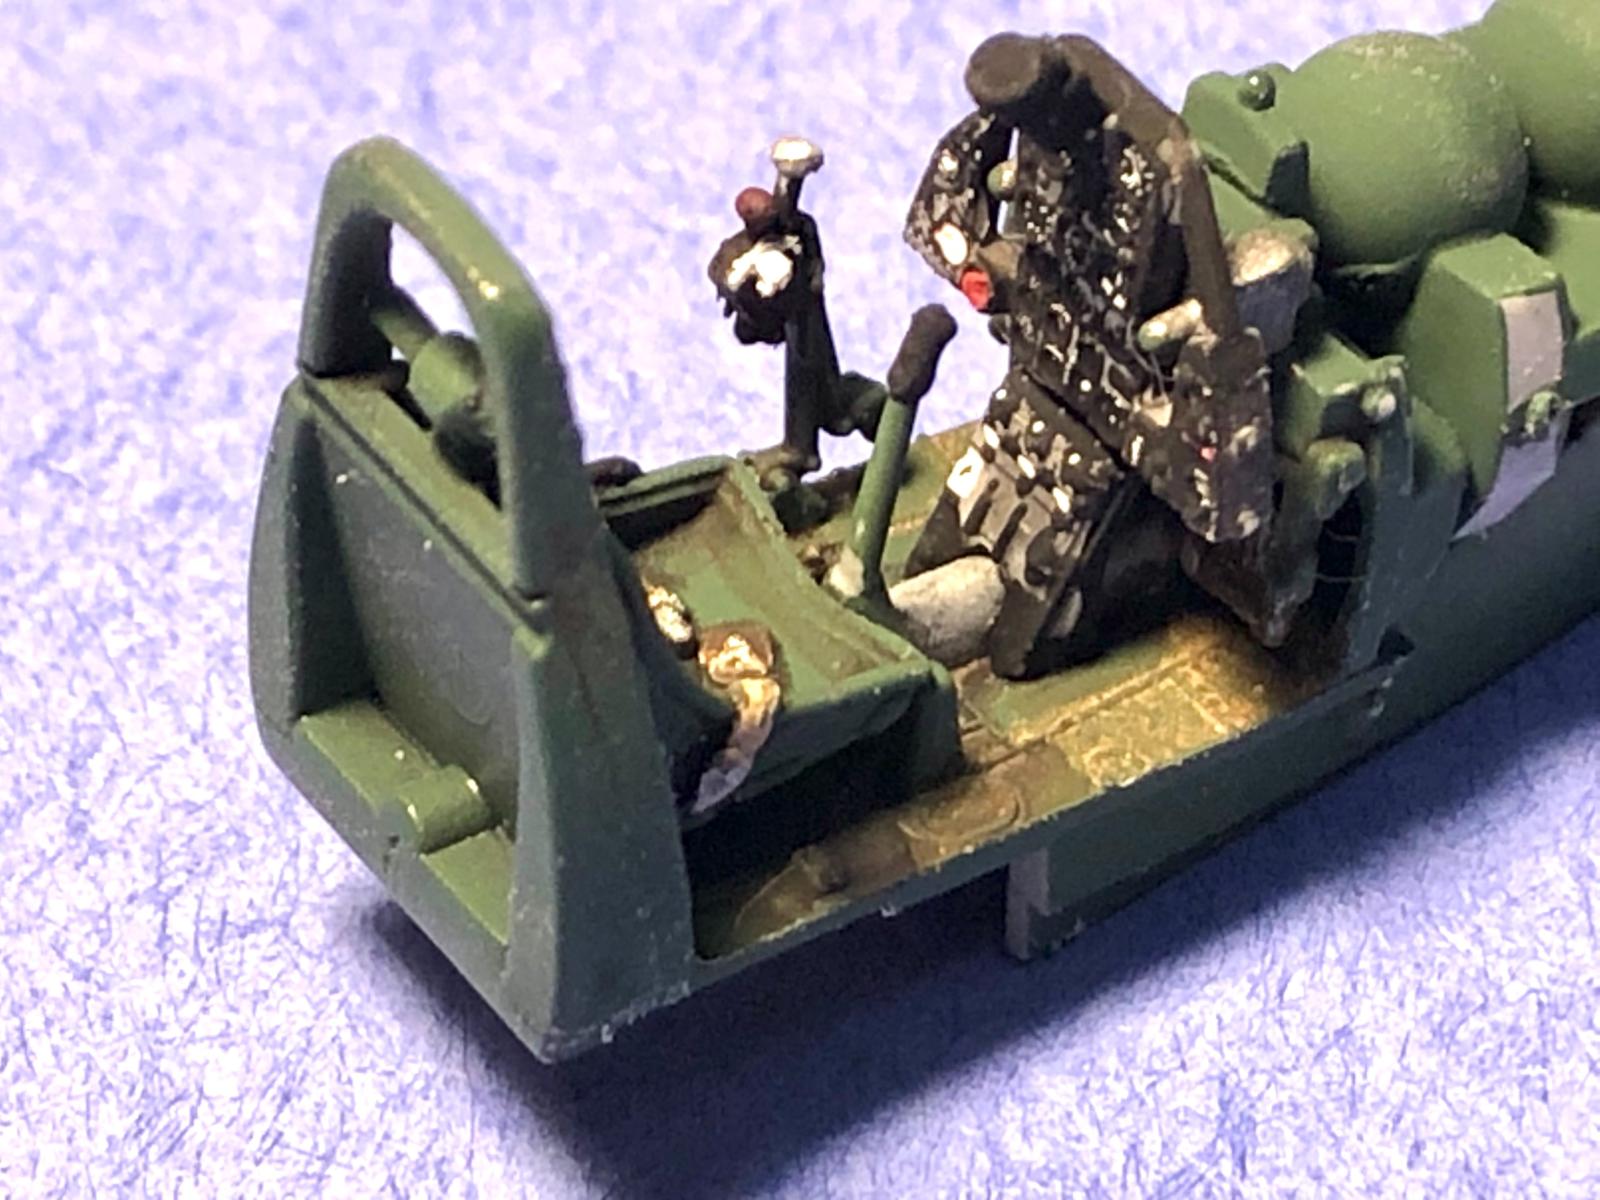
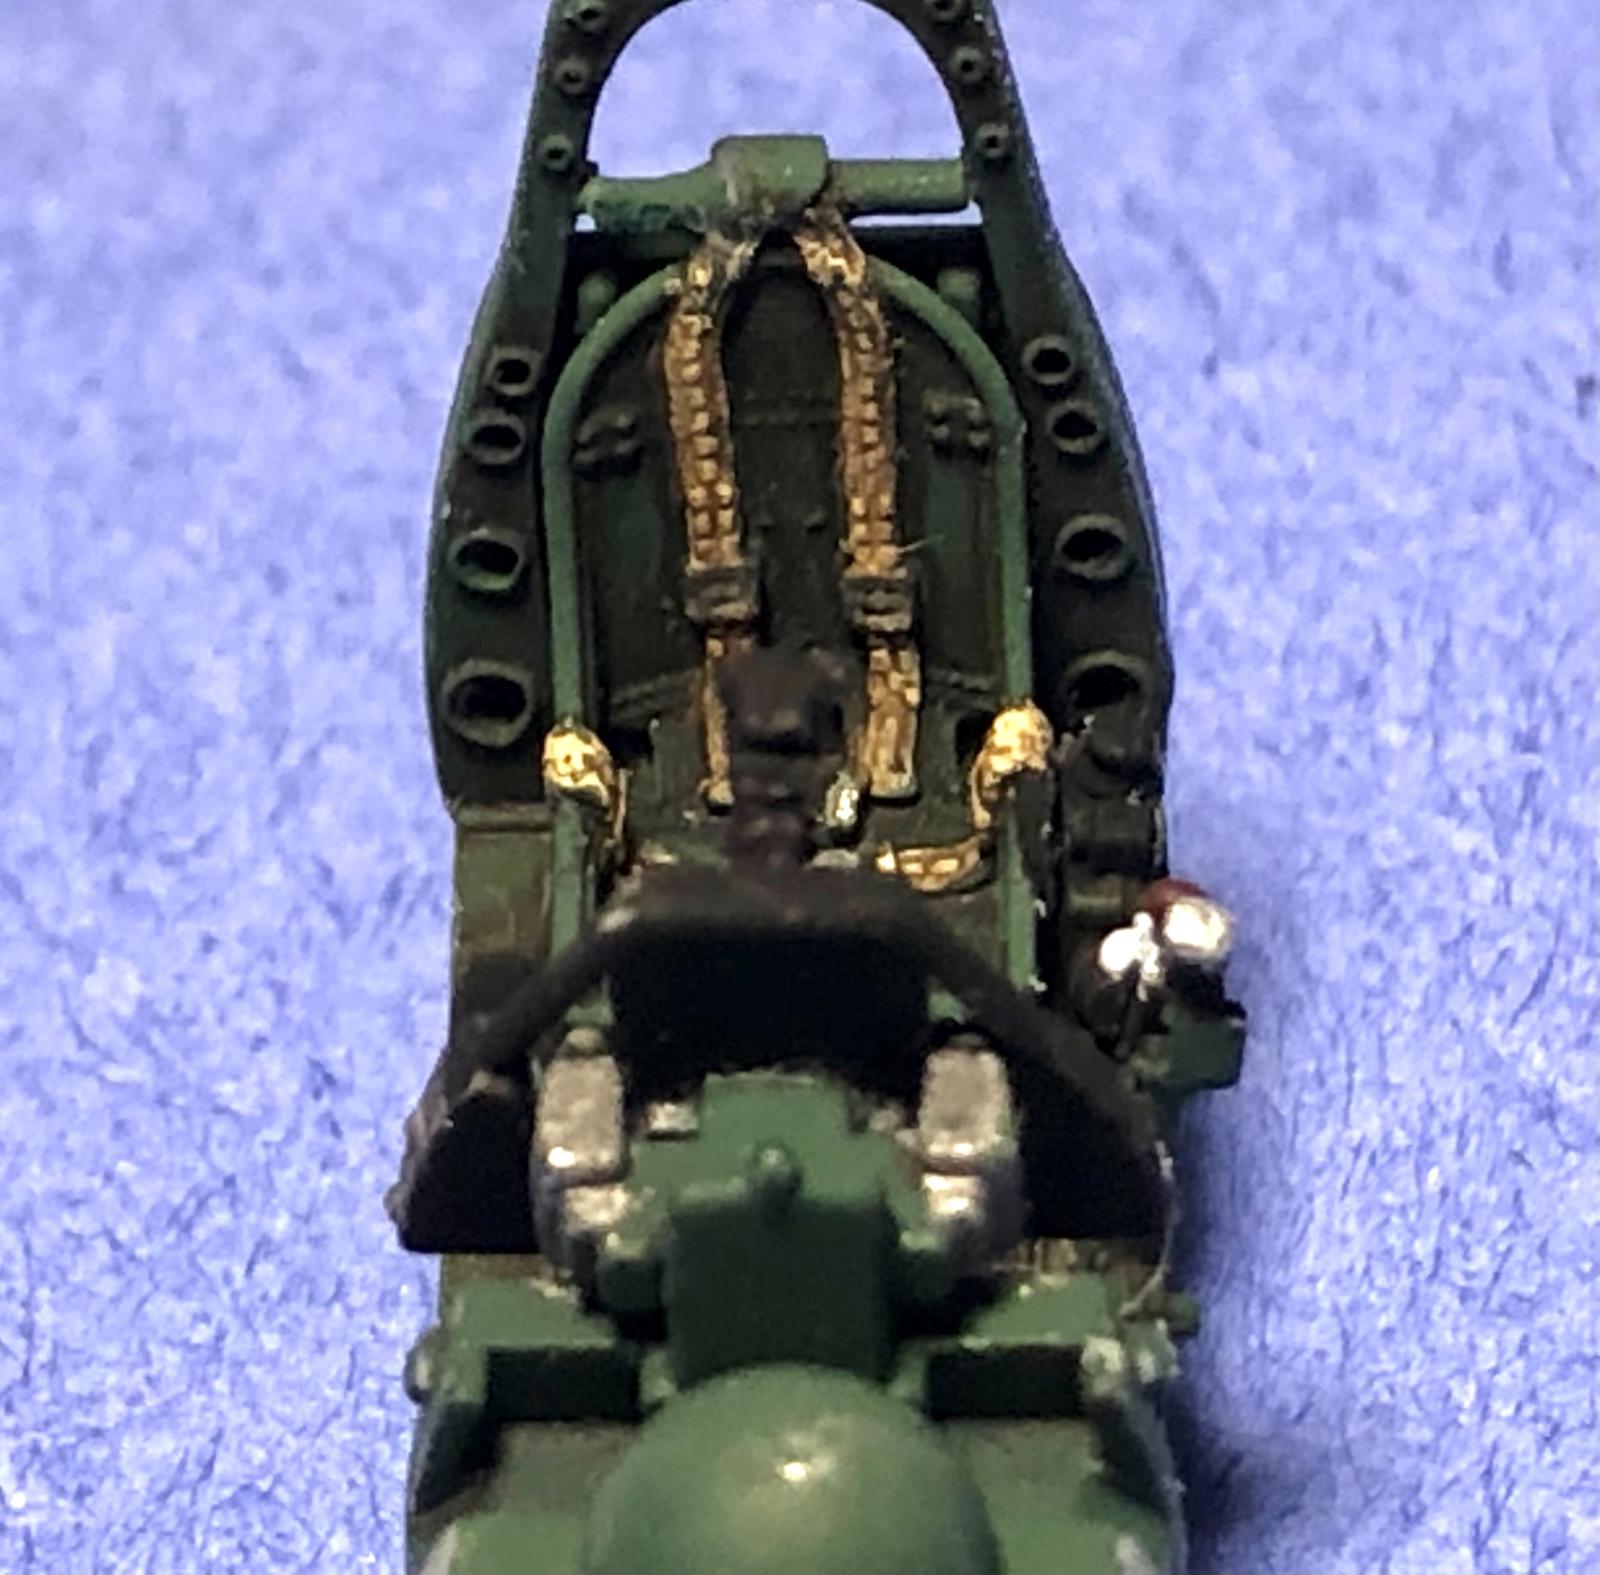
As with most aircraft models, construction begins with the cockpit, and this was straightforward. My sample included a resin printed seat that IS NOT included in the usual kit, but with the seat belts being molded in, I put the replacement in my plane. The remaining items were built per the directions, and I used the kit decals for the instrument panels as well as the seat belts. Ahead of the cockpit is part 17 that represents the 37mm cannon barrel in the top of the front landing gear bay, and the top of this part holds the three 5mm steel balls included in the kit. There were no fit issues when installing this between the fuselage halves.
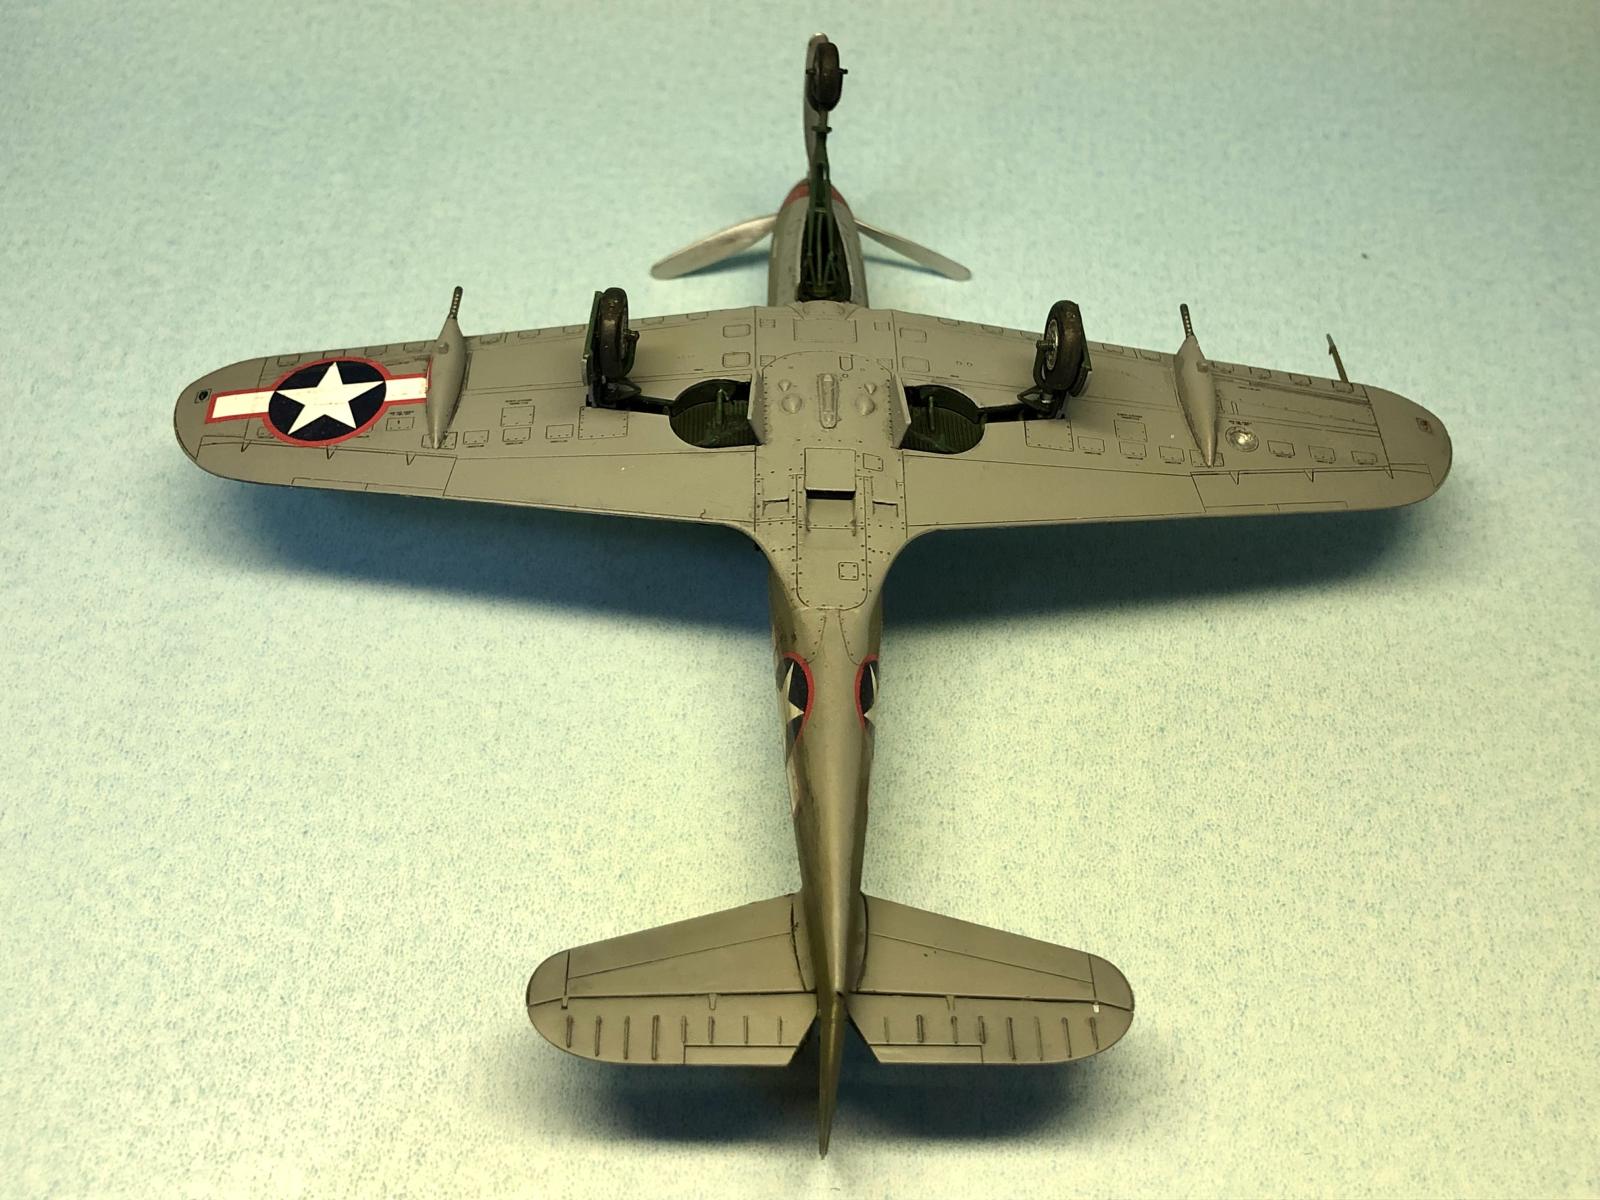
Regarding construction tips, I would suggest painting the landing gear bays prior to installing them within the fuselage and prior to cementing the wings together. Be cautious when bending the front landing gear brace (part 25) as I did break mine when installing it in the gear bay (step 19) but was able to salvage it. While nearly all the fits were tight and only minimal filler was needed, I did end up with a couple of minor flaws that I did not catch soon enough. While the clear parts looked good, I opted to dip the canopy and doors in Pledge Revive It Floor Gloss (this product was discontinued last January if you were not aware). At the end of construction, I found that the plane was a “tail setter”, even with the weights installed in the nose. I am still working to remedy this as I write my review.
There are some 117 decals in all for this aircraft, and while most reacted well to Micro Set and Micro Sol, I needed to apply multiple coats of Solvaset to the larger decals to get them to set properly. The sheet provides a short decal for the lower wing national insignia that rides up the gun pod, but my main decal folded and formed to this without issue, taking away the need to use the smaller end piece.
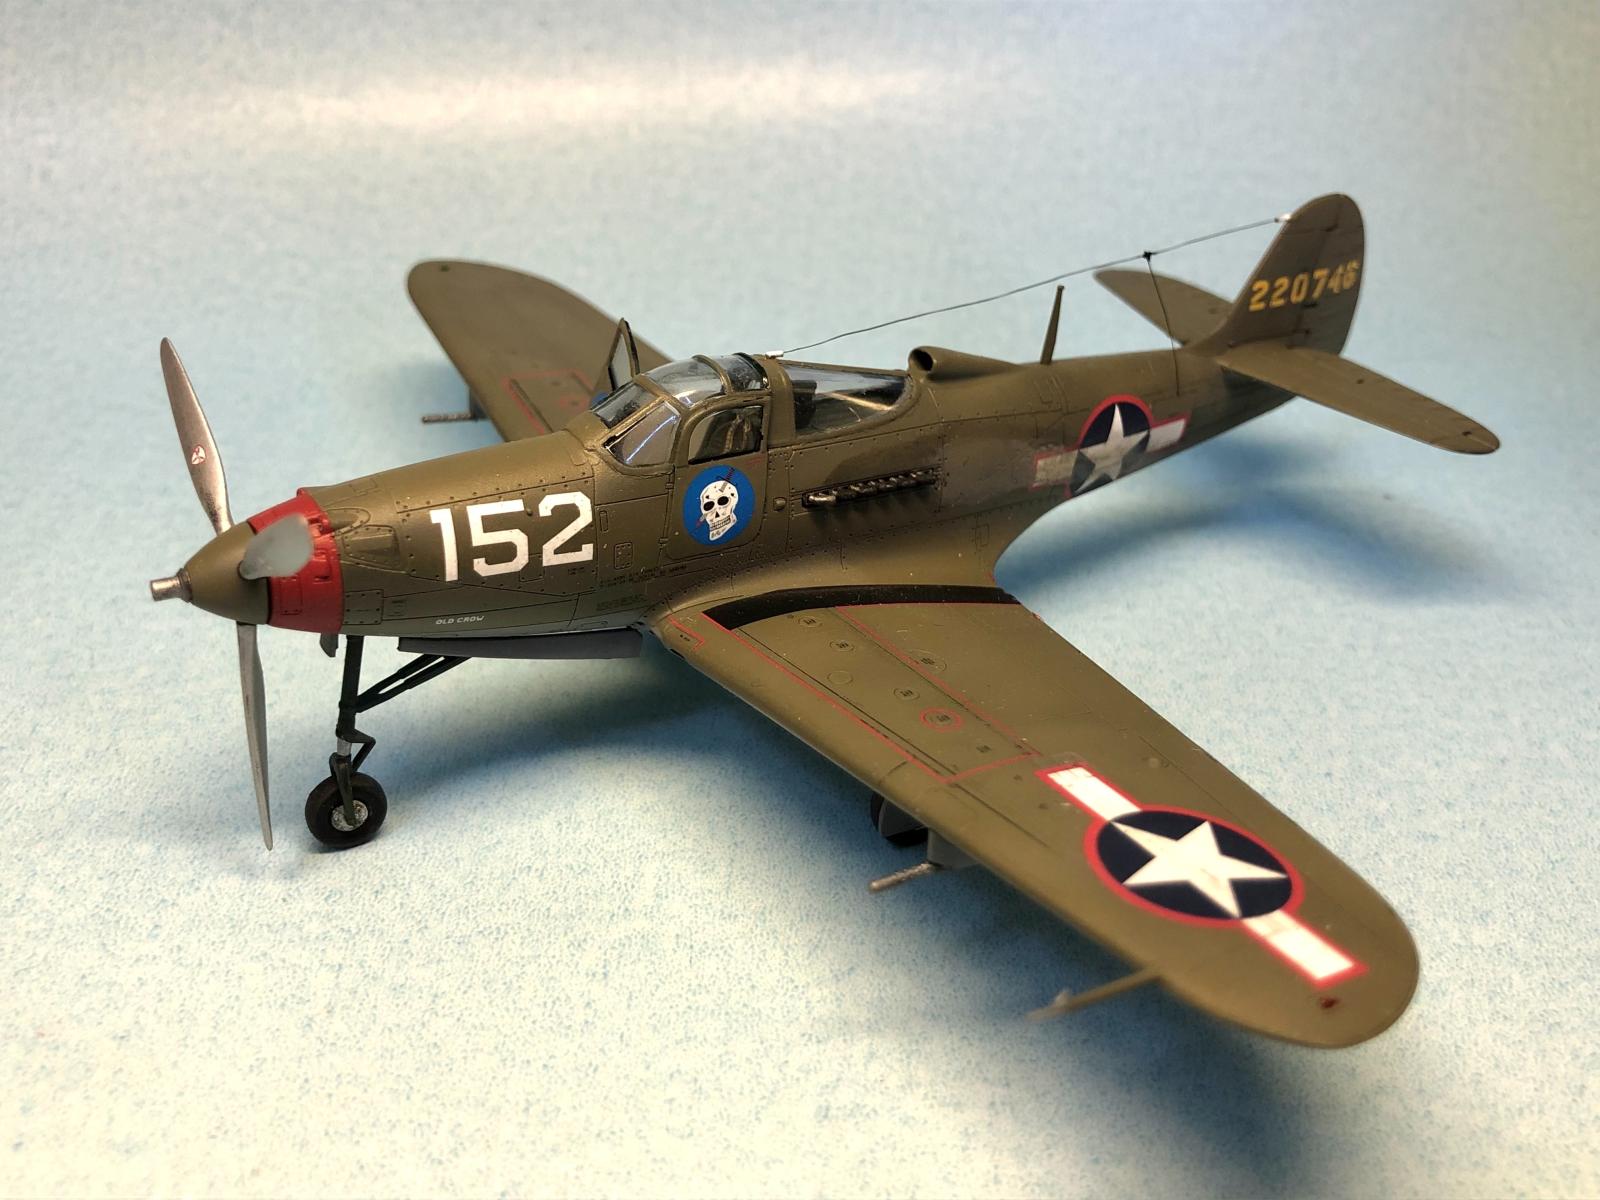
I ended up going down a couple of rabbit holes when finishing my plane. The first at the start of the build regarding “Bell Green” used on the interior and wheel wells. I read several articles and suggestions before ending up with Model Master Enamel European I Dark Green (FS 34092). My other was regarding the paintjob of now General Bud Anderson’s plane. As I was nearing the end of my build, Flight Journal magazine published an article on the restoration of a P-39Q to General Anderson’s former ride. The markings on the restoration do not match the instruction guide for his plane. After more research, I found that both were correct, so I added the red stripe (Model Master Acryl Insignia Red) behind the propeller, which does match photos of one of his P-39’s.
To finish my plane, I used Model Master Acryl Olive Drab and Neutral Gray (I still have a little bit of this paint remaining) applied over a Stynylrez Black base with panels highlighted in Stynylrez White. I used AK True Metal Aluminum for the propeller and Gun Metal for the exposed cannon and gun barrels. I also used Vallejo Pigments Carbon Black and Ammo by Mig Oil Brusher Medium Gray to represent the exhaust stains.
As far as my hits are concerned, the molding detail is again fantastic for 1/72 scale as this is another one of the finest kits I have ever built. The canopy masks worked well and were appreciated; I did elect to paint the wheels by hand, so I did not use those masks. The main wheels are molded with a slight flat spot and bulge, which is also shows great detail for this scale.
As far as my misses are concerned, I will again comment that some of the attachment points on the sprues were large, which surprised me for the detail contained on the individual parts. Having built another Arma Hobby kit previously, I did not have any issues removing the parts from the sprues this time. As with my Wildcat, I also found the large decals challenging to get to settle down over panel lines. As mentioned previously, I ended up using Solvaset and running a curved scalpel blade over a few panel lines to get them to settle (this was after trying Tamiya Strong and Ammo by Mig Decal Fix solutions).
In conclusion, this is really a fantastic kit, and I highly recommend it to experienced modelers (due to the number of small parts) wanting to add a P-39Q Airacobra to their collection. The detail is incredible, and the kit allows you to produce a great looking plane out of the box. My thanks to the folks at Arma Hobby for providing this kit to the IPMS USA for review, and to Phil Peterson for allowing me to perform this evaluation!


Reviewer Bio
Scott Hollingshead

Scott retired from the commercial nuclear industry with over thirty years of experience in Maintenance, Engineering, and Training. Prior to that he served on two aircraft carriers during his time in the U.S. Navy. He has been building models for over 50 years with his first kit being purchased with money from his grandparents for his sixth birthday. With a stash that consists of more aircraft than anything else, Scott still enjoys building a little bit of everything (including but not limited to tanks, cars, show cars, military vehicles (aside from tanks), ships, figures, real space, and some science fiction), which keeps his stash growing. Scott and his wife Fern reside in southwest lower Michigan, not far from South Bend, Indiana, and have three adult children and currently three grandchildren as well as a small dog and a large cat.
Comments
Add new comment
This site is protected by reCAPTCHA and the Google Privacy Policy and Terms of Service apply.
Similar Reviews