
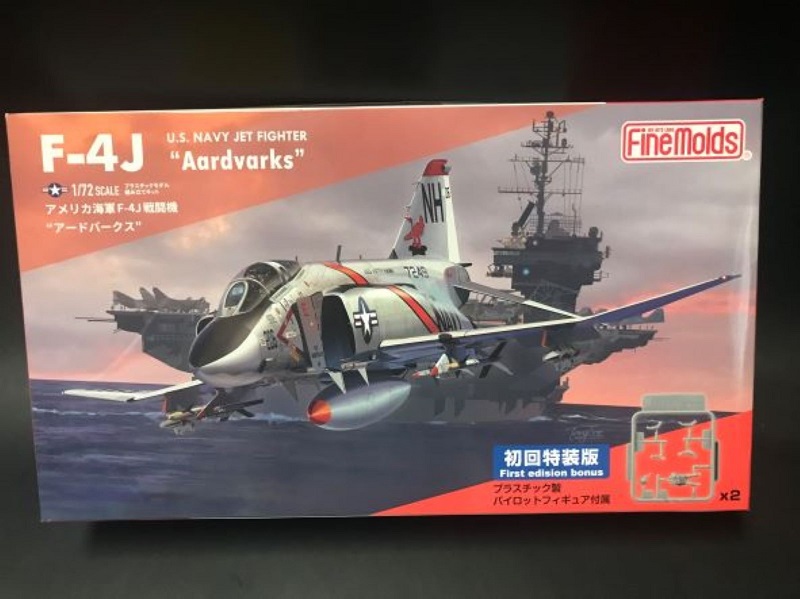
F-4J
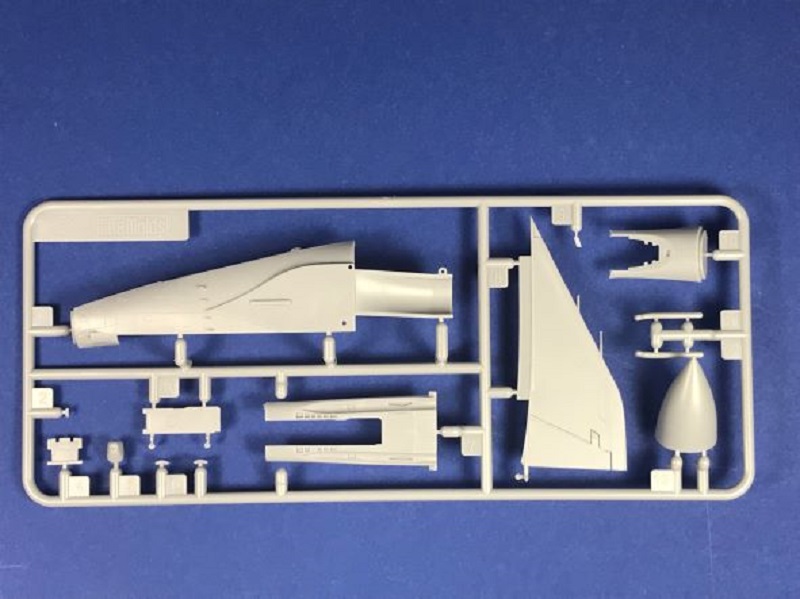
There have been many kits of the F-4 Phantom in 1/72nd scale over the years. Some were bad, some were good, some were great. Along comes Fine Molds of Japan in 2021 and they knock the ball out of the park with their series of the F-4 in 1/72nd scale. Many of the pitfalls that have plagued Phantom kits over the years have been corrected and conquered by Fine Molds and a lot of attention has been paid to some of those troublesome areas, like intakes, burner cans, long nose and short nose forward fuselage, etc. It also appears that a lot of attention has been paid to many of the more recent issues of the aircraft in 1/48th and incorporated the solutions into 1/72nd.
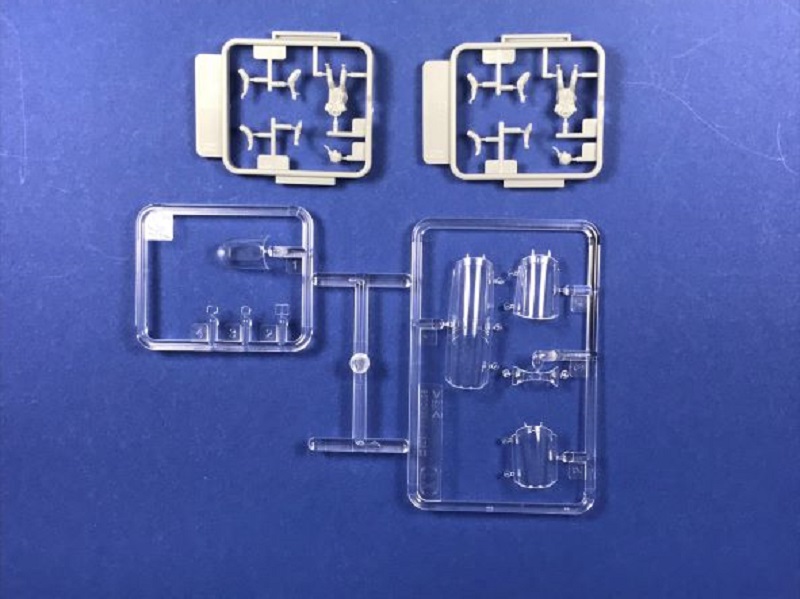
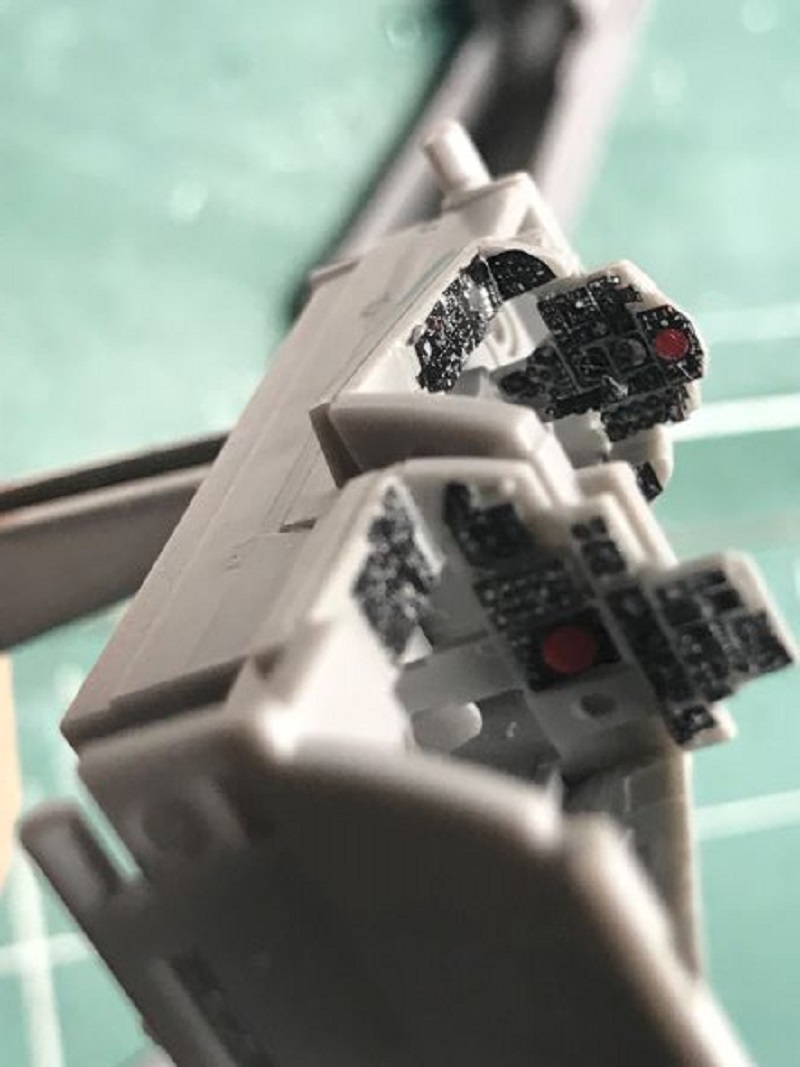
One of the “special” additions to the kit boxing is the inclusion of two sprues which contain pilot figures. These are very will done and add a lot to the kit if you are going to use the kit seats. As with most kits, especially 1/72nd scale, there are no seatbelts and shoulder harnesses molded into the ejection seats. Since I am so horrible with figures, I opted to not use them and fabricated all the belts and harnesses from tape. Someone adept in figure painting can really have a nice cockpit.
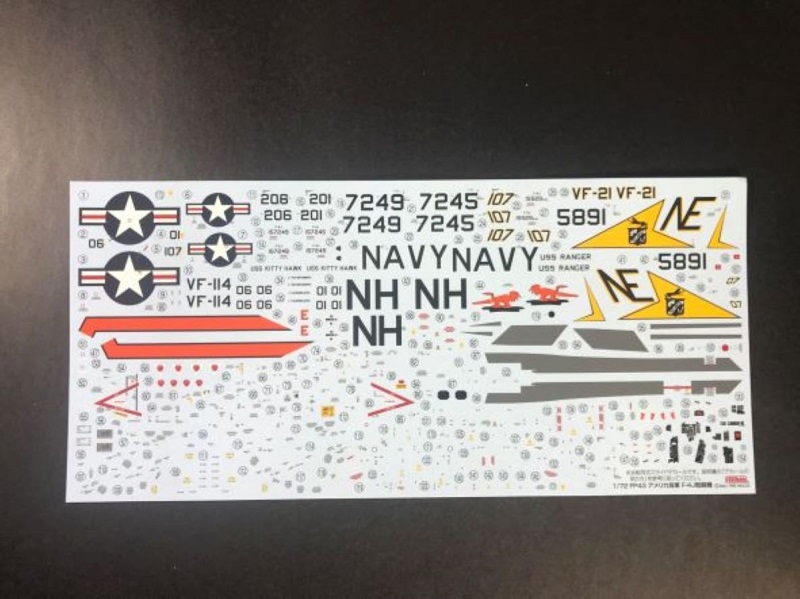
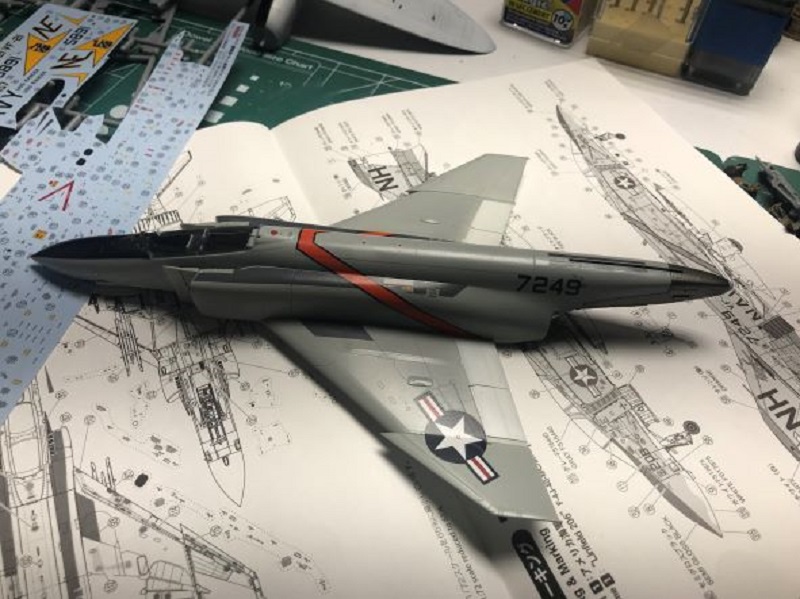
Three markings are available with the kit. Two are from VF-114 Aardvarks and one from VF-21 Freelancers, Bureau number 157249 aboard the USS Kitt Hawk, May 1972 and bureau number 15245, also from May 1972 are the two VF-114 offerings and bureau number 155891 aboard the USS Ranger, June 1970 is the third offering. There are two decal sheets, both printed by Fine Molds, which provide the individual aircraft markings and the myriad of stencils common with F-4’s. The decals appear thick, much like Hasegawa and Tamiya decals, and they are. More on that later.
The kit instructions are a nicely done 24-page booklet that leaves little doubt on what goes where. Sadly, most of the instructions are in Japanese, but that is not a deterrent for those of us who only read one language.
Construction begins with the highly detailed cockpit. You are given two options here. Fine Molds gives you the choice of raised detail instrument panels and side panels or flat panels and decals. The raised details are so finely done that I knew I could not do it justice by painting it, but I didn’t want flat decals. So, I decided to try the decals over the raised detail. It worked great except for the decals not staying where I put them. After having them come off on my fingers twice, I used Dullcote as an adhesive and tamped them down with a Q-Tip. They looked great and they were in perfect tune with the raised detail. They make for a very nice cockpit. The nose gear well attaches to the cockpit tub. For 1/72nd scale. It is very detailed. I airbrushed MRP colors on both the wheel well and the cockpit. I was very pleased with the results.
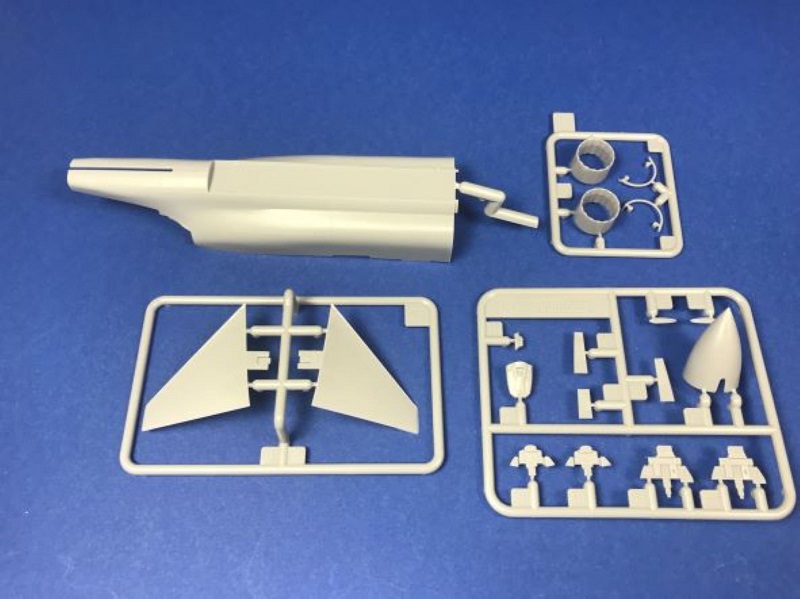
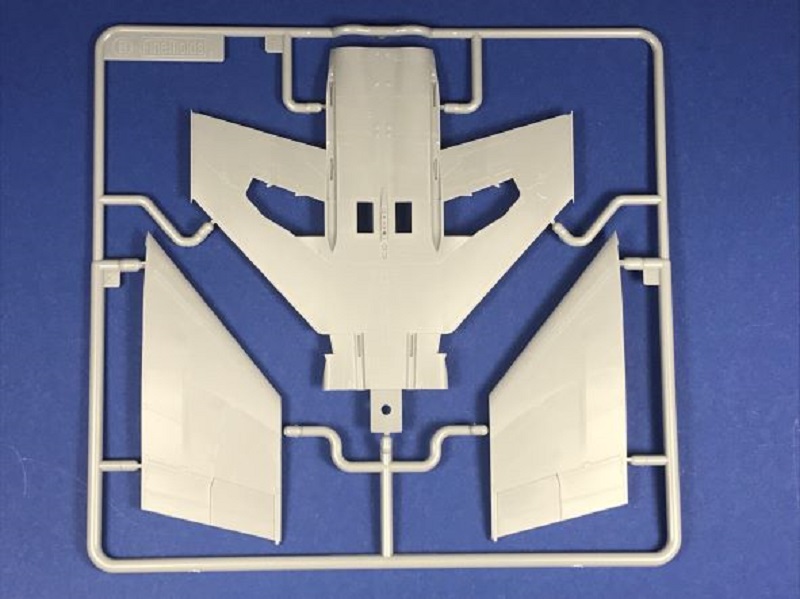
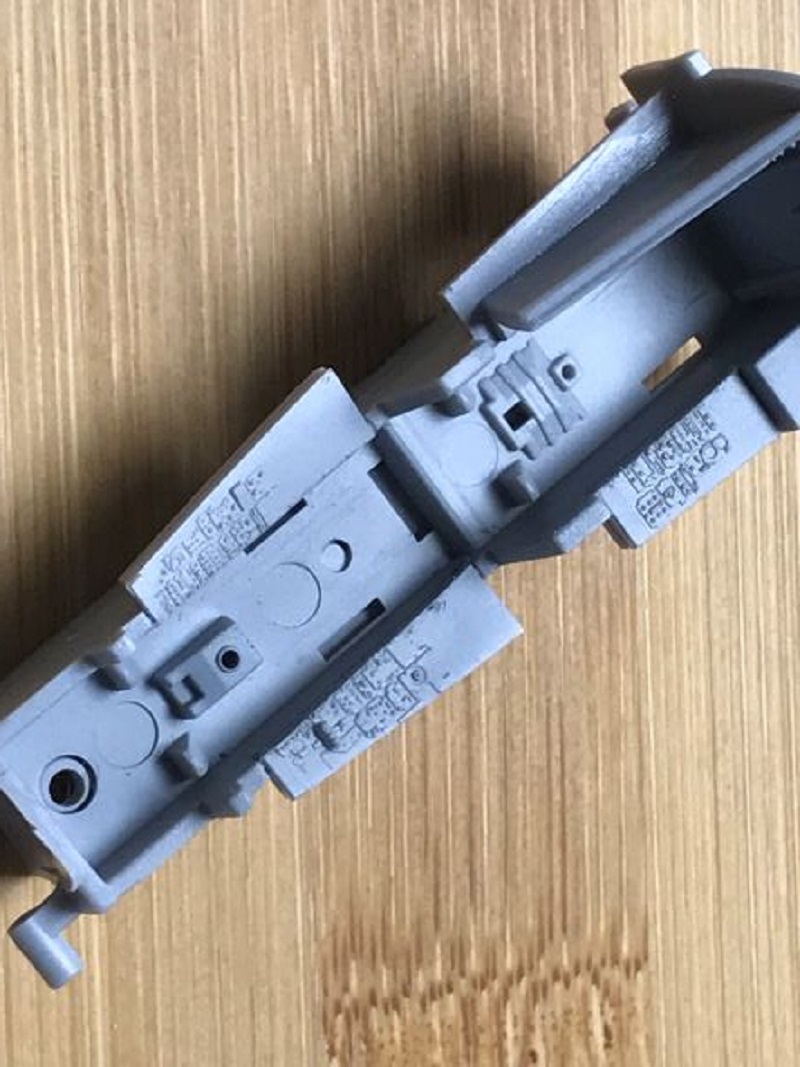
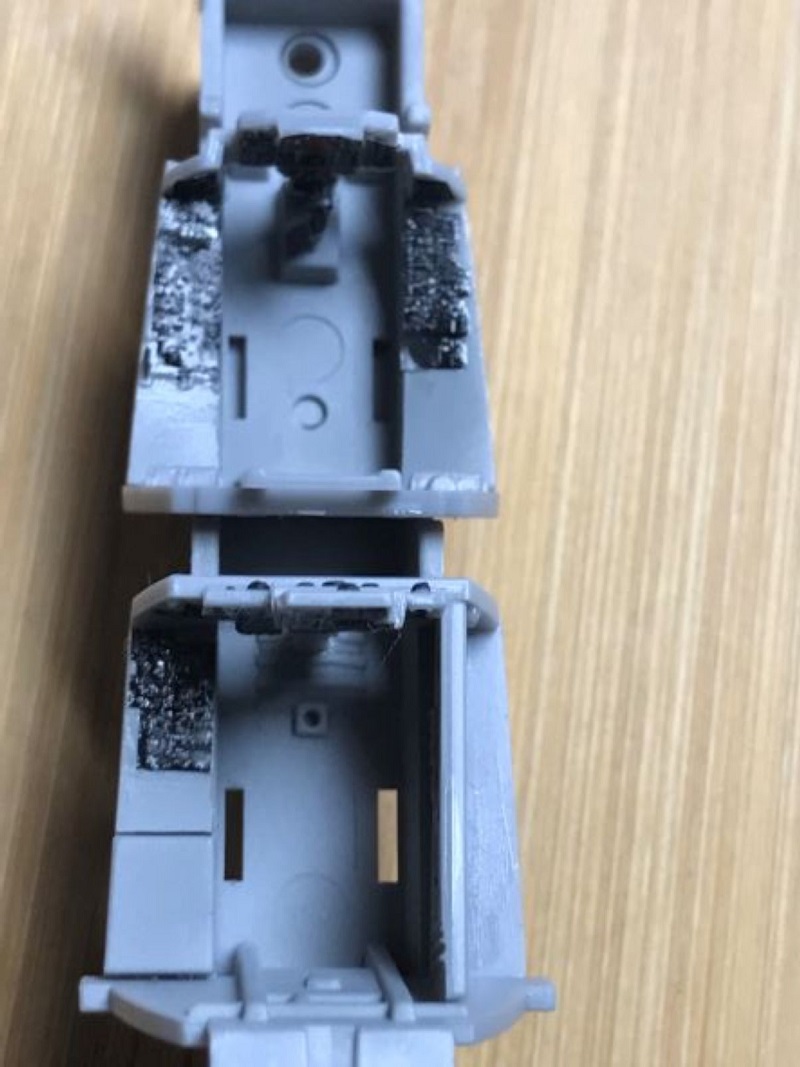
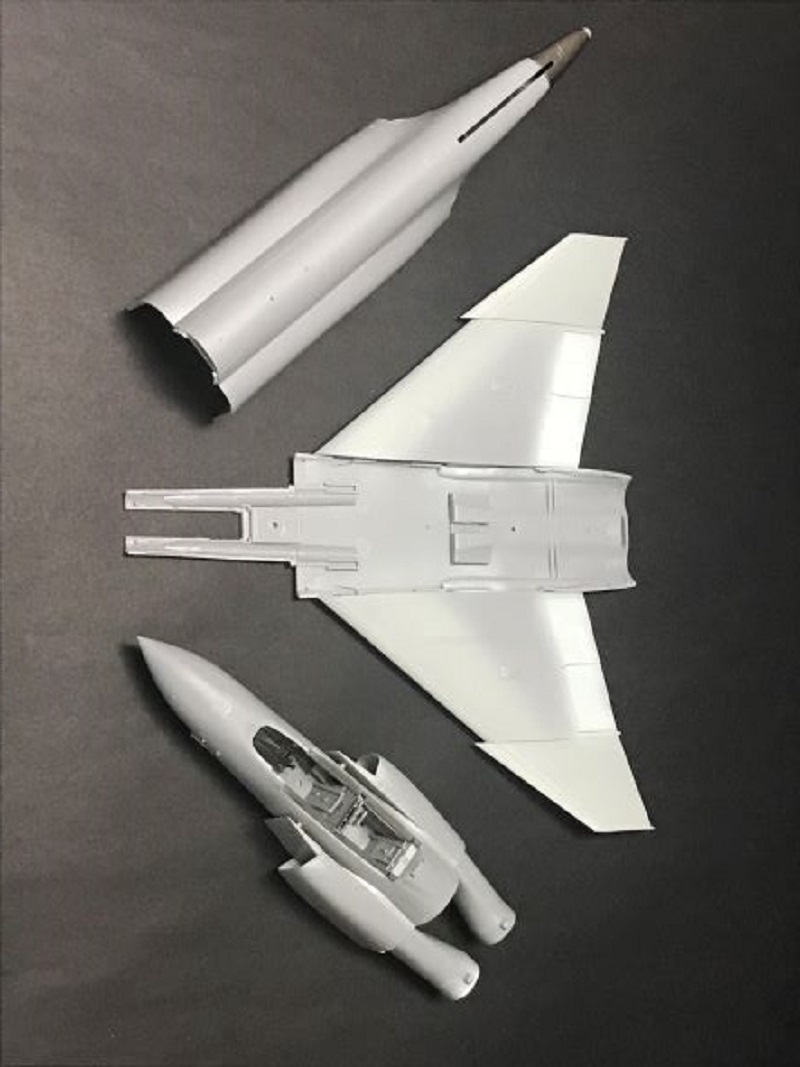
Since Fine Molds obviously intends to produce all the F-4 Phantom II variants, the fuselage is broken down into front and rear assemblies. But in this case, Fine Molds has combined techniques from Hasegawa, Academy and Tamiya in the breakdown of construction. The nose halves incorporate the inner portion of the intake tunnel, and the outer portion is glued to that. The splitter plates are two parts, but don’t get installed until later and separate from any other part. The outer fuselage inlet tunnels are very well detailed, and the inlet sensor is molded into the tunnel. It all goes together extremely well, and the seam on the intake tunnel is barely visible.
The fuselage rear is molded in one piece, minus the top tunnel cover. A panel with the turbine faces is inserted in the fuselage top, as well as a bulkhead which will guide and hold the burner cans. Once these are put together, they are joined to the fuselage front. It was a great fit requiring no trial and error, putty, shims, etc. I was very happy with the results.
The lower wings minus the tips are also molded with the aircraft belly and the APU doors are molded open. The wheel wells are also relatively well detailed. The cross beam is added, and the wheel wells are done. No adding of the landing gear! Part A2 is added to the center of the belly, which is a very reasonable representation of the APU’s. The bottom of the nose is added, and the fit is great. Then comes the upper half of the wings and the wing tips. Once again, the fit was fantastic, even at the hinge join of the wing tips. Then comes the big test: will all this fit the upper half of the fuselage? The answer is a resounding yes. Once again, no putty or trimming.
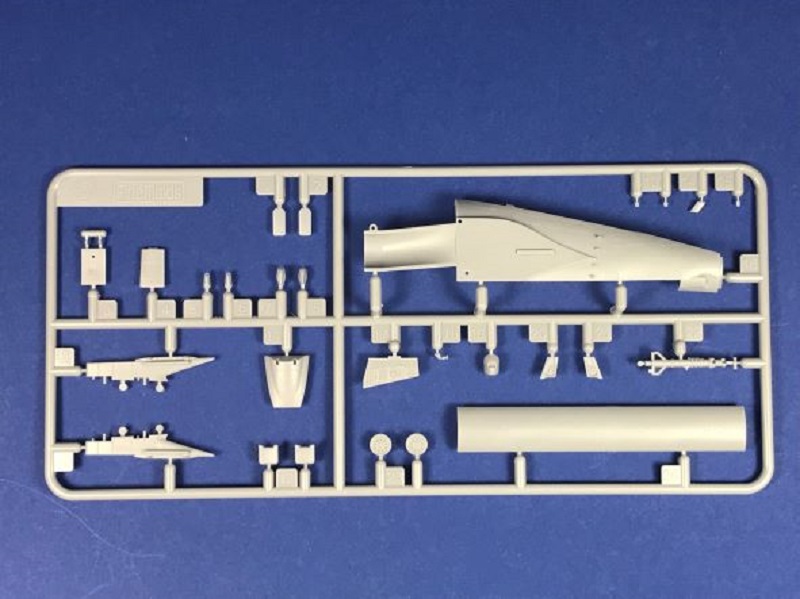
The aft portion of the fuselage is a separate assembly that can be assembled and painted with all the metal sheens and shades that the modeler desires. Once this is all done, it attaches to the rear of the fuselage and the burner can assemblies are installed. Each has a key to properly align it on the bulkhead inside the fuselage. It is a little tricky but fits perfect.
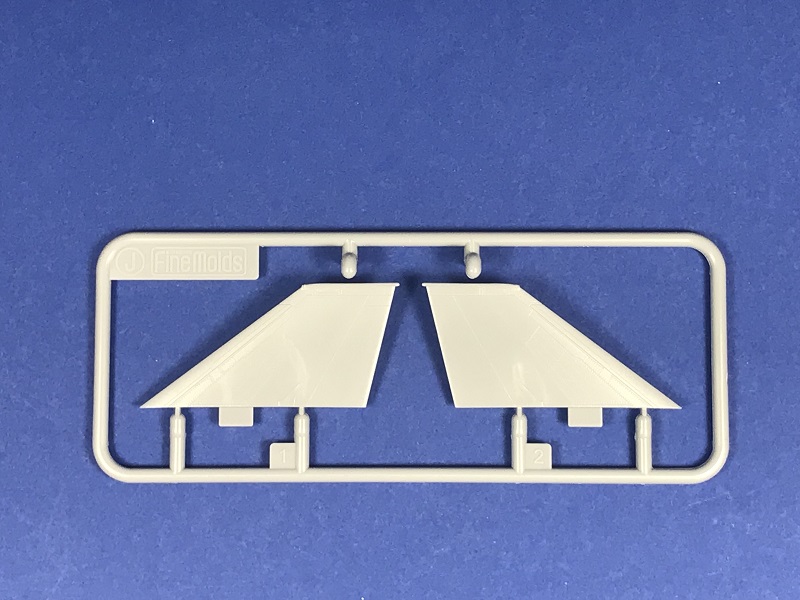
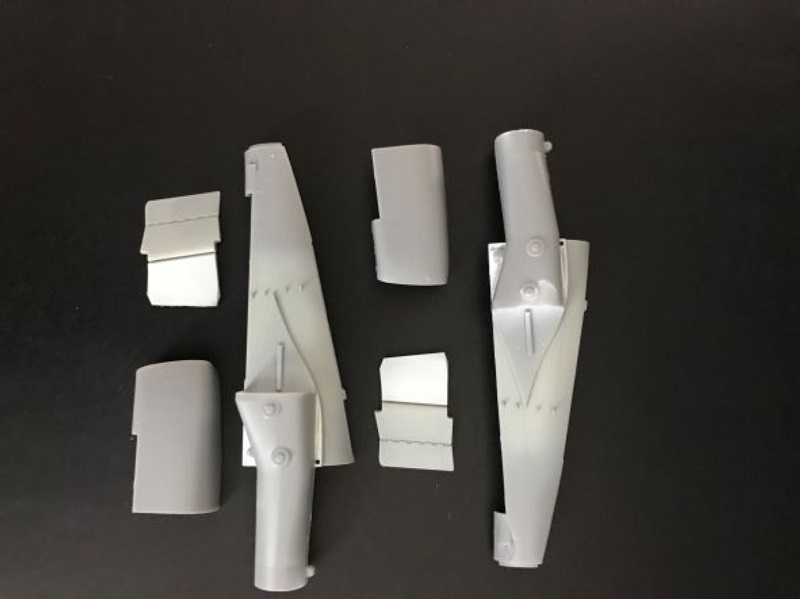
The vertical fin and rudder assembly is a separate, and once again, this can also be painted before assembly. I chose to do that because of the masking of the rudder and the fin cap that would be required. A lot easier to do off the aircraft than on. For the orange fin cap. I used Gunze’s H14 which was a reasonable match for the Aardvark on the decal sheet. MRP was used for the white and the FS 16440. After painting I added the decals. The decals were very thick but laid down fairly well.
The stabilators are very well detailed and the mounting tab is molded at the proper angle and contains a tongue and groove joint so the angle will be correct when the two are installed. Later, getting the tongue and groove aligned for the join was fun, but worked great once aligned. I also painted these off the aircraft dur to the intricate masking that had to be done for the bare metal areas of the stabilator, as well as the 16440 and white areas,
It was at this point that I started the painting process of the main aircraft. All MRP paints were used in painting, including their gray primer. I did not do any pre-shading., and once I was happy with the paint, Numerous coats of Tamiya’s X22, highly thinned, were added in preparation for the myriad of decals. More on decals later.
This is the first 1/72nd scale kit, especially of a modern jet, which gives you a positive means of attaching landing gear doors and access panels. Each of them has a well-defined, firm attachment means that takes away any frustration or guesswork. Painting of all the gear doors was an easy task, as they were white on the inside and outside. Once the MRP FS17875 had dried, I masked off the interior surface and painted the red caution edges of al the doors. It’s really not as difficult as it may seem. Just time consuming. These and the completed landing gears and actuators were set aside for the very last.
Now came the fun part – decals. As all of us that have a love for Phantoms, there is a drawback. The myriad of stencils, if all applied, comes to over 600 on your average Phantom. On their decal sheet, Fine Molds has made a great effort in significantly reducing that number down to a hundred or so. They did this by combining several stencils on one decal. In a few cases, six or seven on one decal. Now this may sound like a great deal but stop and think about all that clear decal and the silvering it invites. That became one of my biggest challenges during this review. I was successful on many, but a few got the better of me and remain proudly a challenge. I found that the more colors there were in the decal, the more difficulty I had in getting it to snuggle down in panel lines, creases, humps, and bumps. In the end, I still had some minor silvering, but decided to quit trying to get rid of it so I would destroy any decals in the process. I had already had one ball up on me in my attempts.
After the decals were on, I sealed them with Tamiya’s X-22 and then used their gray and light gray panel line accent colors to bring out the panel lines. These were cleaned up with odorless mineral spirits. On the bottom of the aircraft, I sparingly used their brown panel line accent to simulate some oil streaking. I did not go overboard on any of my weathering. It’s just not me.
Now came the time for mounting all the exterior “hangy-down things.” As stated earlier, the gear doors were a joy to install because the attachment points held the doors in place and at the proper angle so they could be glued with no hassle.
Earlier I had completed the ejection seats and I simulated the belts and harnesses with Tamiya’s tape. I think they came out reasonably well for this scale. I was happy with them, and they well represent the Mk 7 ejection seats. These drop right in to two slots on the bottom of the cockpit tub.
Each of the open canopy pieces has the actuating arm, which I decided to attach to the canopy rather than the cockpit. When I put them in place, both the arm and the hinges lined up where they were supposed to and stayed in place while I applied cement. I have never had that happen in any scale. If you don’t like open canopies, a two-piece canopy is also provided.
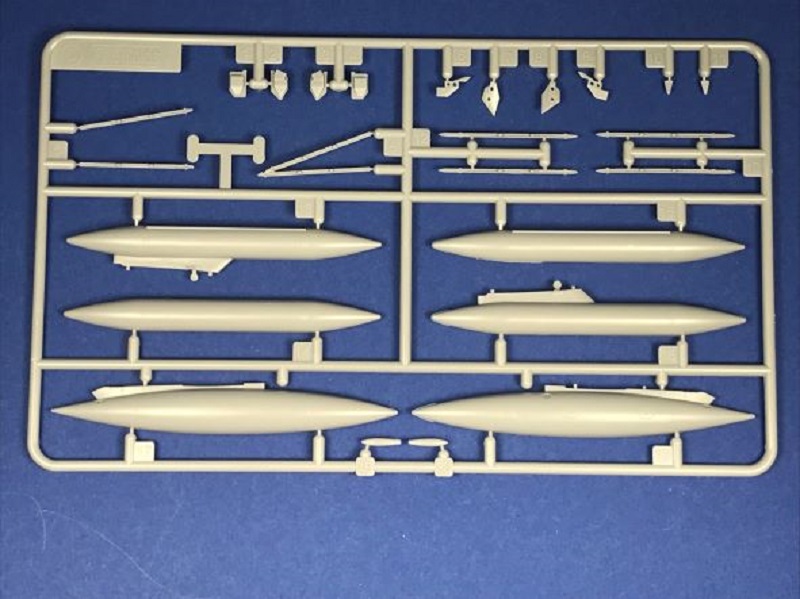
You’ll notice that I have not mentions weapons anywhere. That’s because there are none! Not even Sparrows or Sidewinders. Fine Molds sell a separate weapons set as well as a separate ejection seat detail set.
I was extremely impressed with this kit from the time I opened the box until I placed the model in my case. Fine Molds did a really great job with the kit, and it is very well thought out and produces a fine model in the end. I think the decals would not have been as great an issue if I had sprayed a few more coats of gloss on the model before application of the decals. After completing the model and corresponding with someone in Japan who had done an excellent video on construction of the Fine Molds F-4E. He said that he had used Tamiya’s Decal Adhesive in a few cases along with Tamiya’s Mark Fit. I had never heard of Decal Adhesive and found that it is not available through normal distributor channels. He had no other problems. And, I have to admit the apparent thickness of the decals disappears once they are applied. All around, a great kit. I want more! Just wish it at least had Sparrows and Sidewinders included as a part of the kit.
Thanks to Fine Molds and IPMS/USA for the review kit and the opportunity to build and review it.


Comments
Add new comment
This site is protected by reCAPTCHA and the Google Privacy Policy and Terms of Service apply.
Similar Reviews