
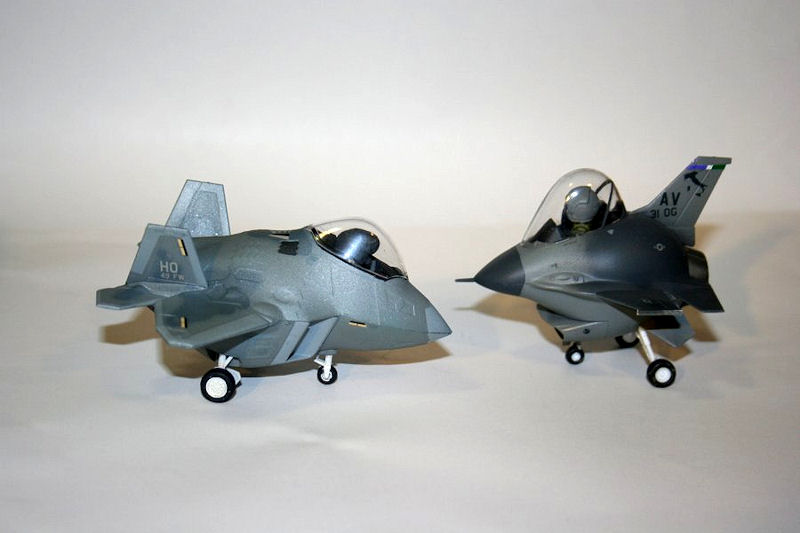
F-22 Raptor Egg Plane
This is my fourth egg plane. The first was an F-4 Phantom, probably 20 years ago. Since then I’ve done two F-16s, and now the F-22. The original Phantom was very much an egg with wings and stabilizers added. This “aircraft” looks pretty un-egglike. Either that or it’s a very weird chicken.
The kit is pretty simple and goes together quite nicely. The fuselage is two pieces, separated top and bottom. The vertical stabilizers are separate parts, the landing gear is 7 parts, including the doors, and the canopy finishes the parts inventory.
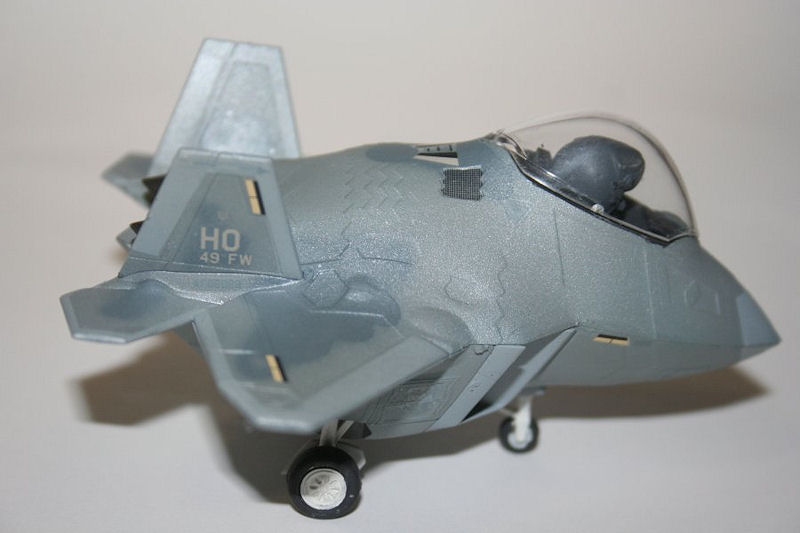
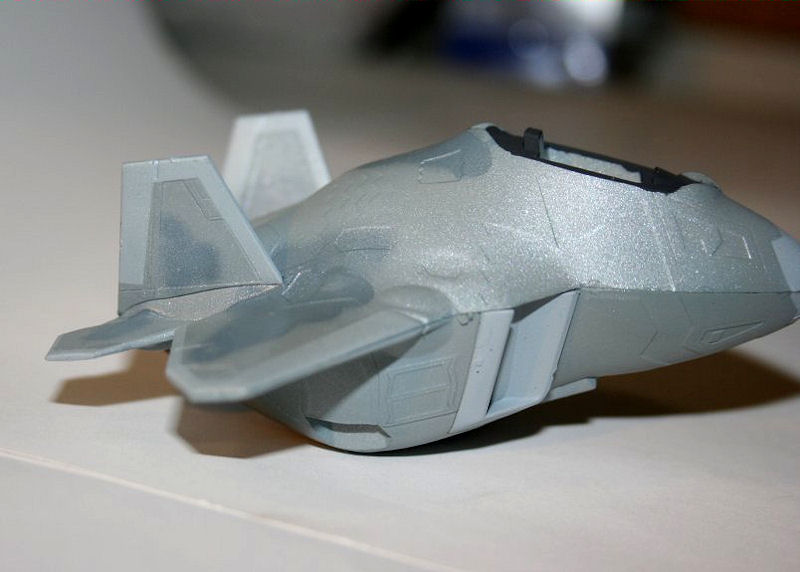
I put the fuselage halves together without glue. They include the wings and horizontal stabs. Then I painted the whole thing. I used Neutral Gray for the main color, with Euro 1 Gray for the dark patches and Dark Ghost Gray for the leading and trailing edges. This looks very tactical.
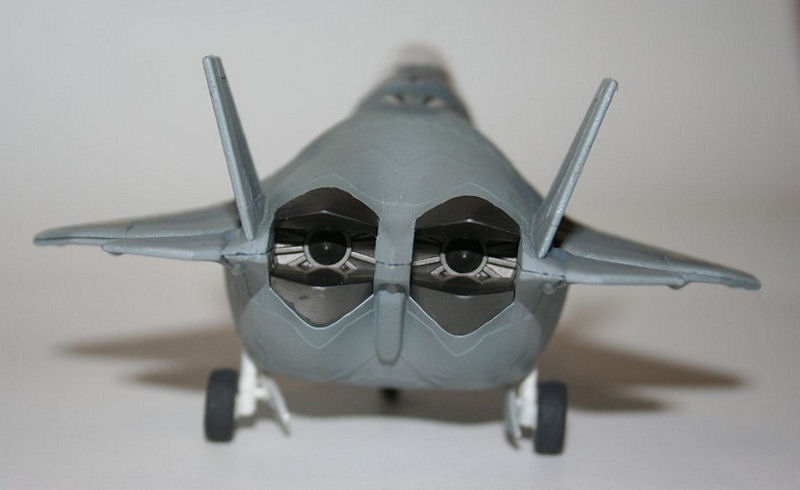
I tried something a little different on this kit. The Raptor has a metallic sheen to the paint. I think it might have to do with stealth technology, but that is merely an uninformed guess. Nevertheless, a lot of modelers have tried to simulate this. My attempt was to put Testors acrylic silver over the 3 Model Master enamel grays. A light coat, followed by Future to keep it from rubbing off, and it looks pretty good. When the light’s right, it looks silvery – ish.
I painted the exhaust separately. When it was done, I then split the fuselage halves, added the exhaust, and reassembled the fuselage halves. The fit was so “snap kit” tight that I used only minimal glue. I didn’t bother to clean up the slight seam, as it just doesn’t show up to the casual observer.
The decals went on over the Future, no problems except one on the top of the vertical stabilizer which folded on me. I got it straightened out.
I picked the Holloman Raptor because I built a Hobby Boss F-22 using Platz decals, and that was the base I picked – may as well be consistent.
The darker of the grays had a shinier look than the other two. The addition of a light coat of Testors acrylic clear flat evened this out, but left the silver still visible.
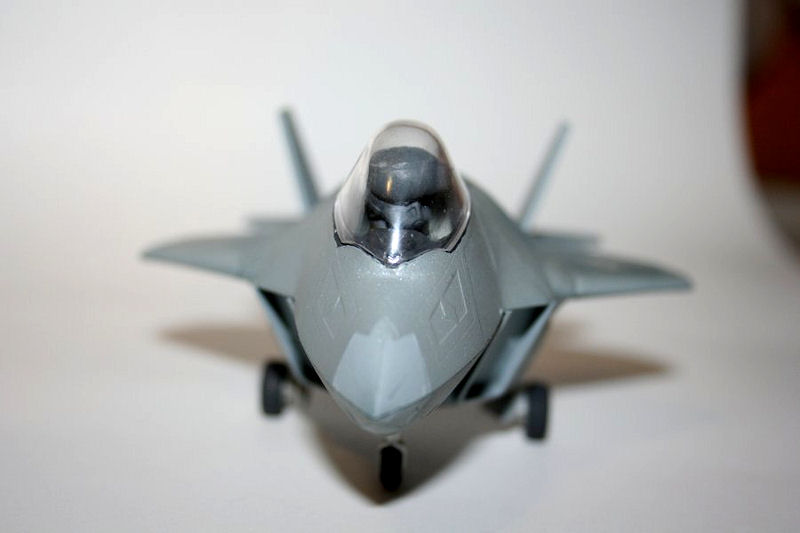
I added the landing gear, the pilot, and the canopy, and it was done.
Evaluation
Recommended. It’s a fun kit. Any kid could have a good time with this model. The metallic finish took it to the “sort of advanced” level, but otherwise, this would be OK as a Make and Take item.
Thanks to Hobbico/Hasegawa USA for the kit, and to Steve Collins and IPMS/USA for allowing me to review it.

Comments
Add new comment
This site is protected by reCAPTCHA and the Google Privacy Policy and Terms of Service apply.
Similar Reviews