
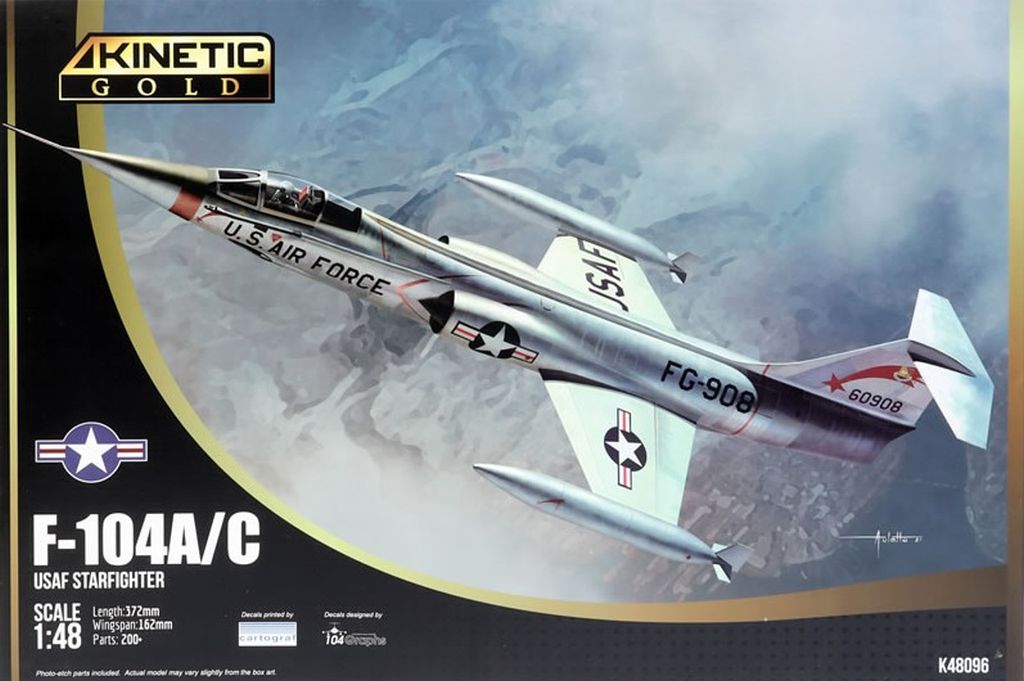
F-104A/C
Kinetic Models is expanding its line of F-104 Starfighters. Having released the late markings already (-G, -J, -S, including some trainers) they are adding to their line the early variants: -A and -C.
The kit arrives in a large sturdy box (where you can comfortably keep the model in between sessions while you are working on it) with a total of 4 sprues -one molded in clear- and a small photoetch fret. There is a brand-new sprue for the fuselage and the wings. Two of the sprues have already been released as part of their latter markings boxings. This means you get extra parts, like ejection seats, a radar set and a few other details for the spare box.
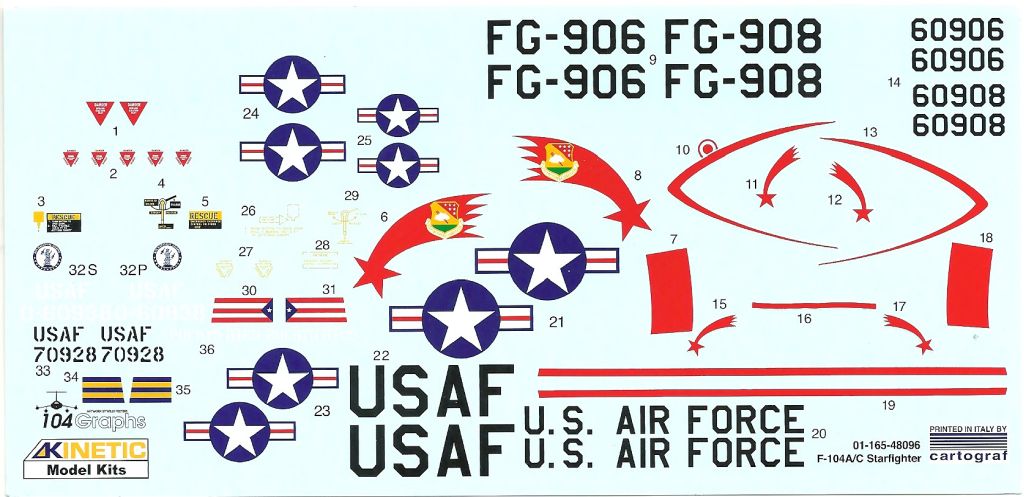
The decal sheet is printed by Cartograph and it is designed by 104Graphs. It includes markings for 4 aircrafts, two in natural metal finish and the other two in SEAC colors. Sadly, the decal has a significant error on it, which is the national markings have the stars printed out of registry. If you look at the scan of the decal sheet, you can tell the star is not centered in the blue circle. All the other items in the decal sheet are in perfect registry, so you only need to replace the national markings -which are easier items to replace than serial numbers or other markings like stencils and such.
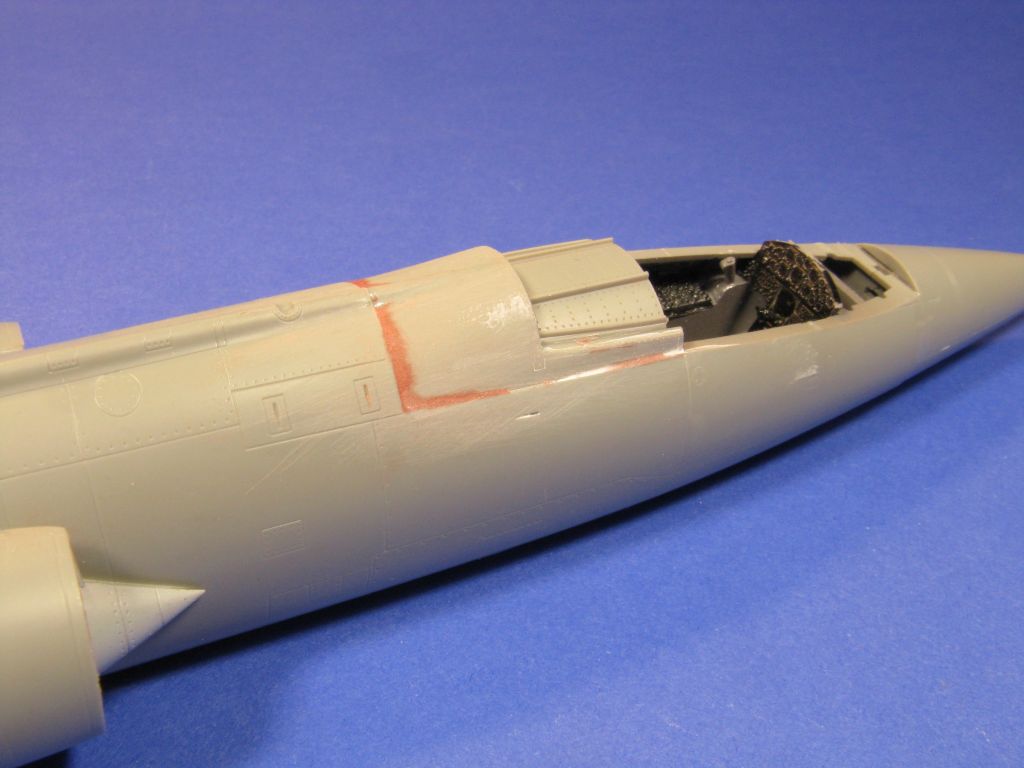
The first steps are the construction of the cockpit, the engine exhaust and the landing gear bays. Fit is overall excellent and there is no flash anywhere to be found. Cockpit detail is pretty good if you want to keep the canopy closed. Some modelers might want to get an aftermarket cockpit detail set, but I was personally satisfied with the level of detail on the seat, cockpit tub and instrument panel, which took dry-brushing very well.
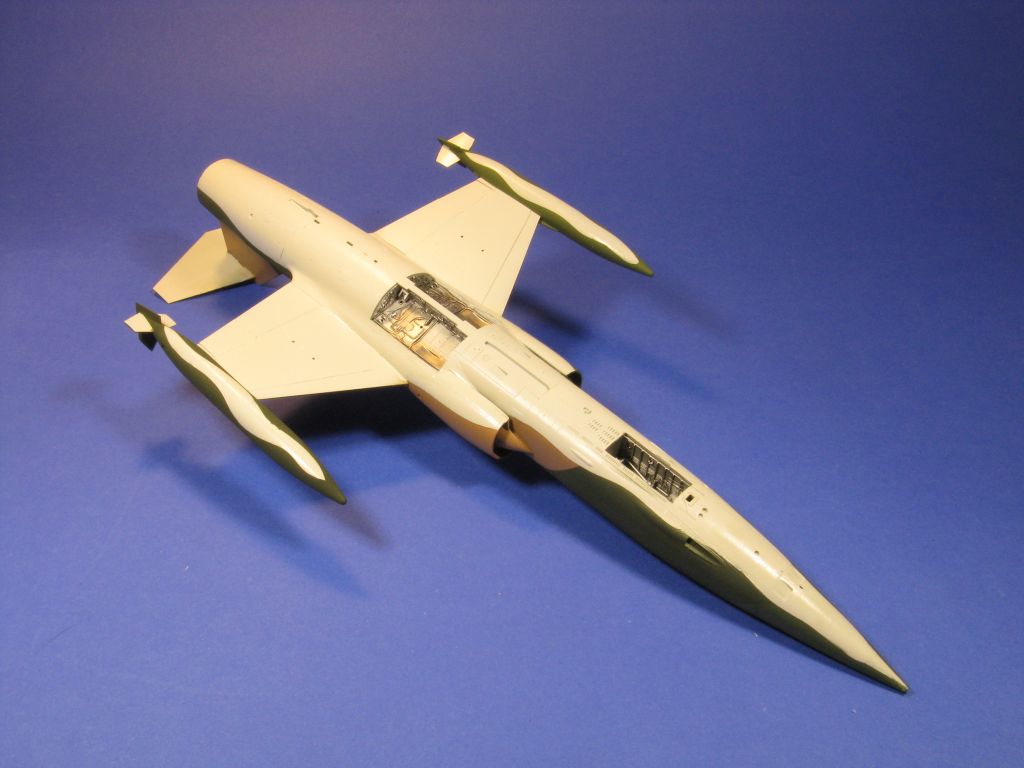
The landing gear bays (main landing gear and nose) are assembled via multiple parts. I made sure everything lined up well, as it will later ensure a proper stance of the airplane on the ground. The detail is also very good and it only needed an enamel wash to bring all that detail out.
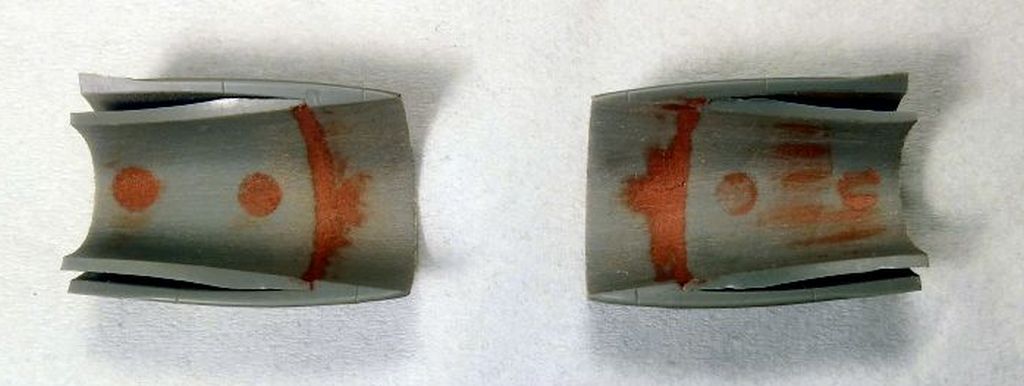
The engine exhaust did have a few ejector pins in a location that could be visible, so I decided to filled them with putty and sand them preserving the overall internal detail. It was easy to do and that way I didn’t have to worry about having any injection pin marks that could be visible.
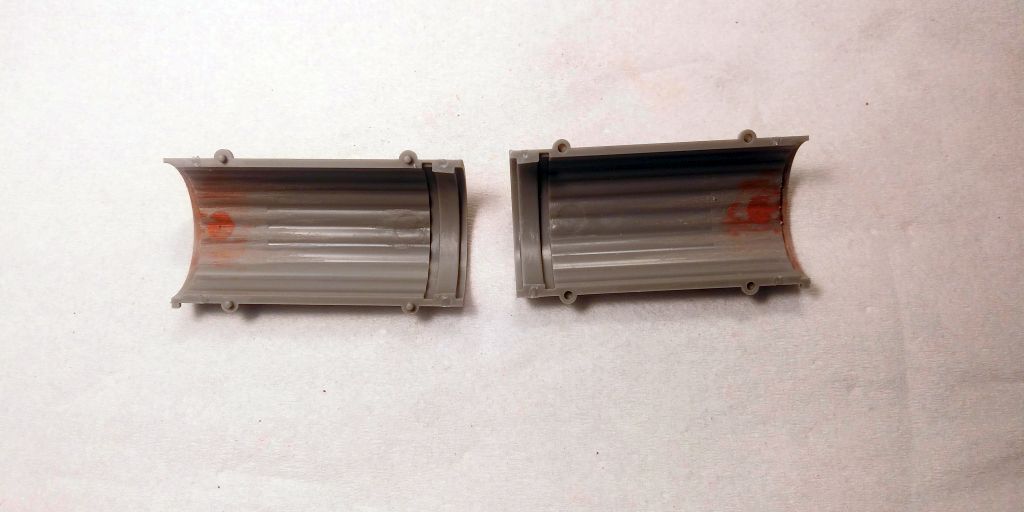
Another subassembly I tackled before moving into the main assembly were the air intakes and air trunks (i.e the “tube” inside the fuselage that takes the air into the engine compressor). There are two things I want to highlight: there are some injection pin marks in the air trunks (parts B83 and B84), which I thought it would be visible - after construction I realized they aren’t - and I had to modify the parts B11 and B10, as shown in the picture, in order to have the air intakes to fit properly to the fuselage.
Honestly, if I were to build this kit again, I would leave the parts B83 and B84 out of the model, as they are the ones with the injection pin marks -which at the end were not visible - and if left out of the assembly, you don’t need to modify parts B11 and B10 for the air intakes to fit smoothly to the fuselage.
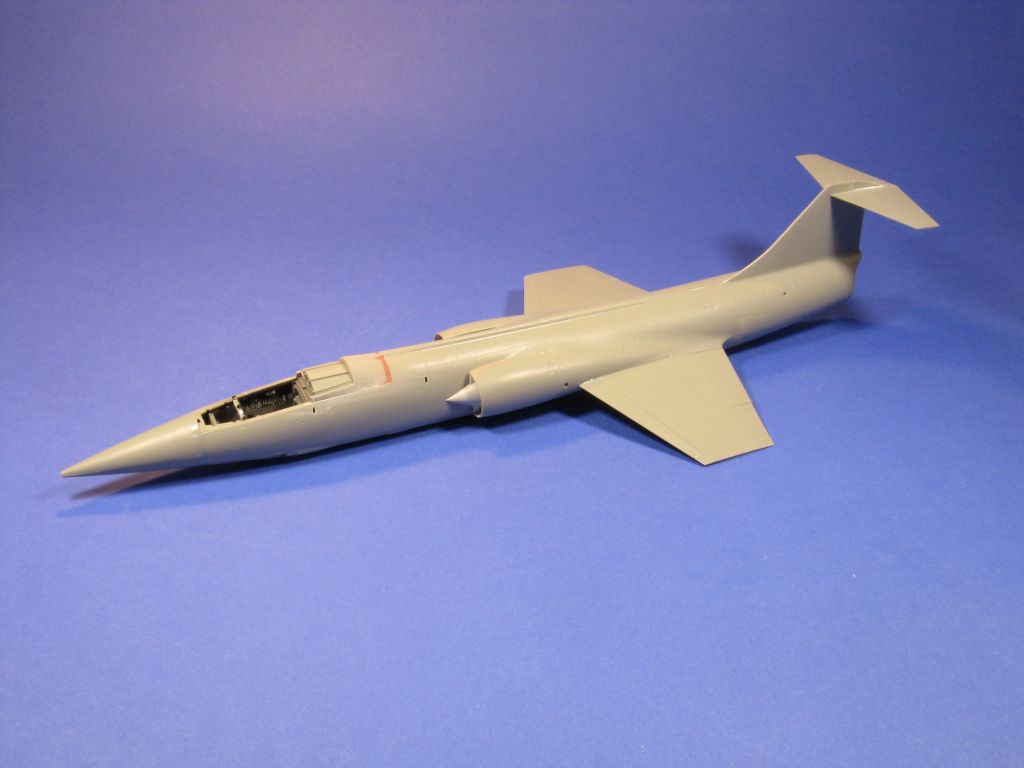
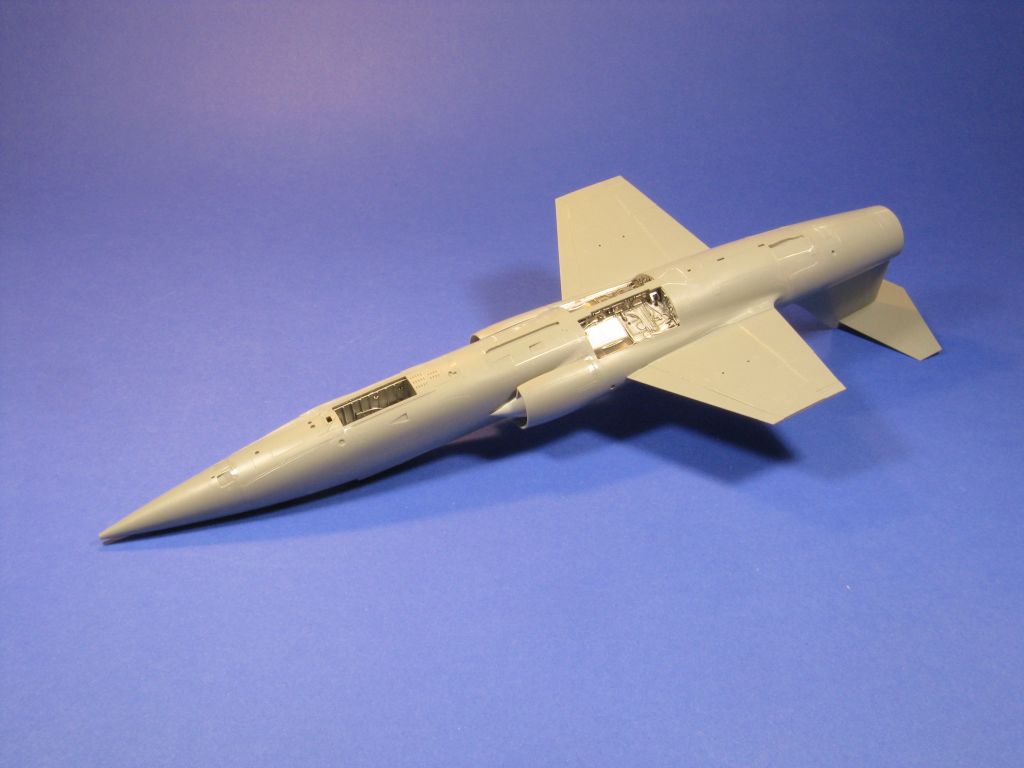
Once you have those subassemblies ready and painted, the model seems to take a quantum leap as in one assembly session of about 45 minutes I went from having subassemblies to have an almost fully assembled kit. That is how good the fit is and how clever the engineering of the model is by limiting complexity and providing you with a full-length fuselage.
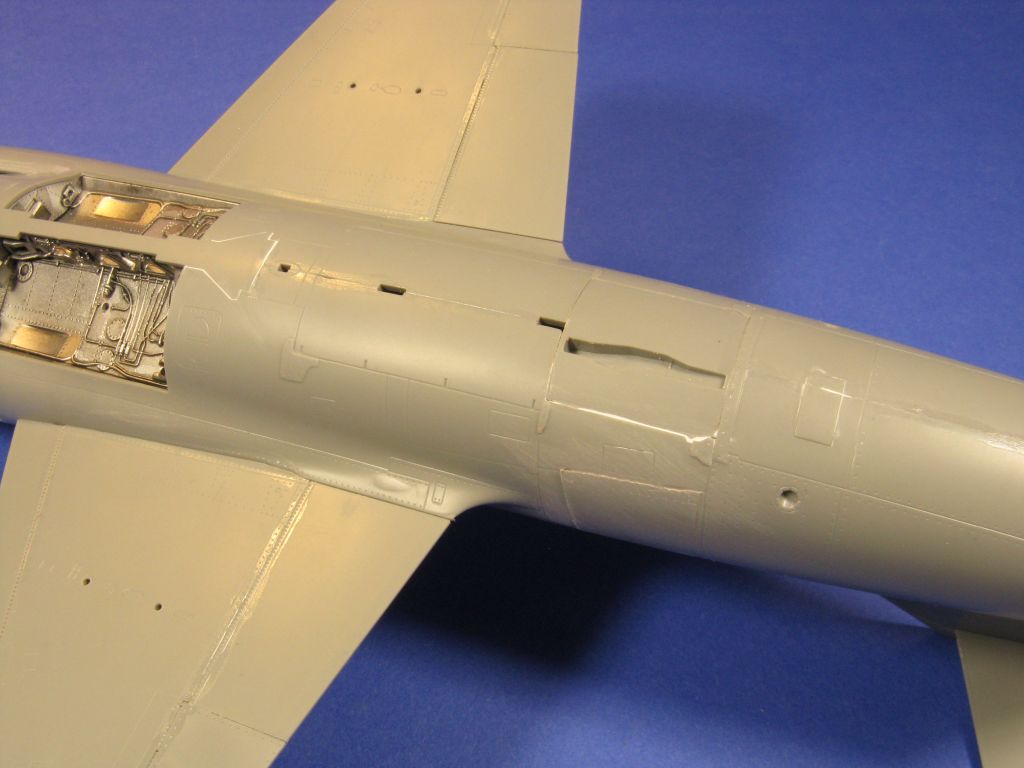
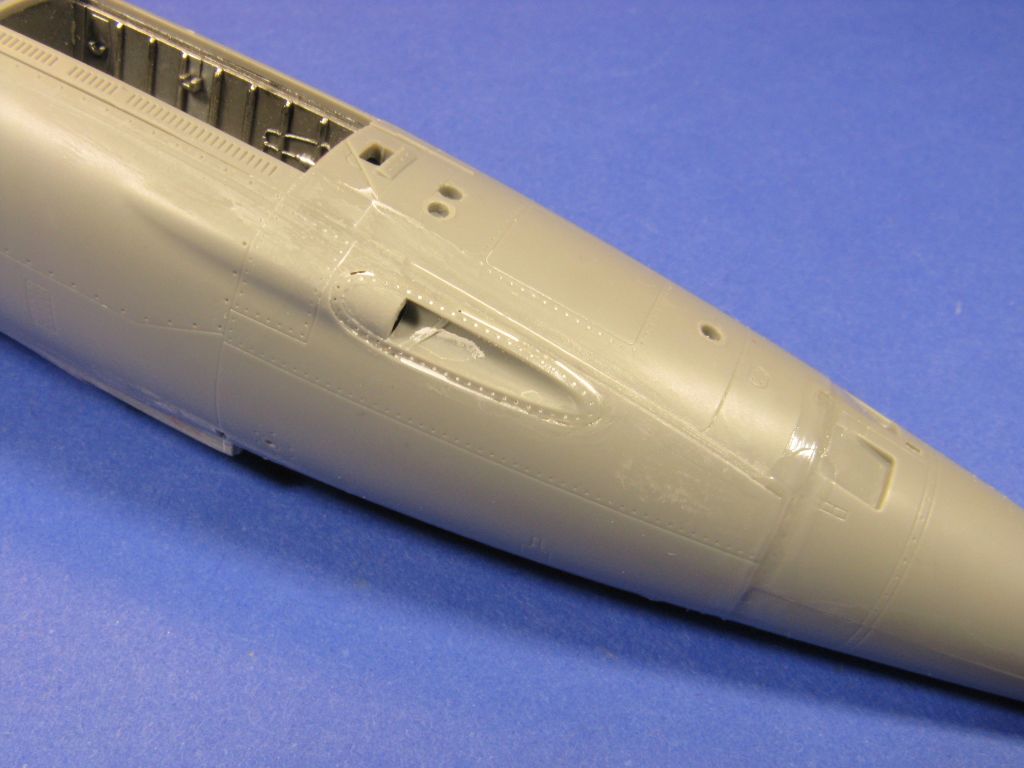
I personally like the lines of the F-104, so I decided to close the air brakes and the avionic bay. In order to do so, you will have to modify the air brakes (you need to remove the detail on the inside of the brakes) as they were designed to be shown open. The avionics bay is also designed to be posed open. If you close it, there is a minimal step. I used putty to smooth over the step, in hindsight I should have used a small shim below the bay. It would have easier to hide the step as the bay would have sit a tad higher and the step would be gone.
At this point I inspected the overall airframe for minor gaps and steps. Other than the step behind the cockpit (avionics bay designed to be open, so not the kit’s fault) there were no other steps but there were a few minor gaps which were taken care of by using Perfect Plastic Putty. As this product is water-based it is perfect to fill minor gaps without affecting surrounding detail: you apply the putty and smooth it over with a damp q-tip. You can see in the review pictures there were several gaps that were addressed that way.
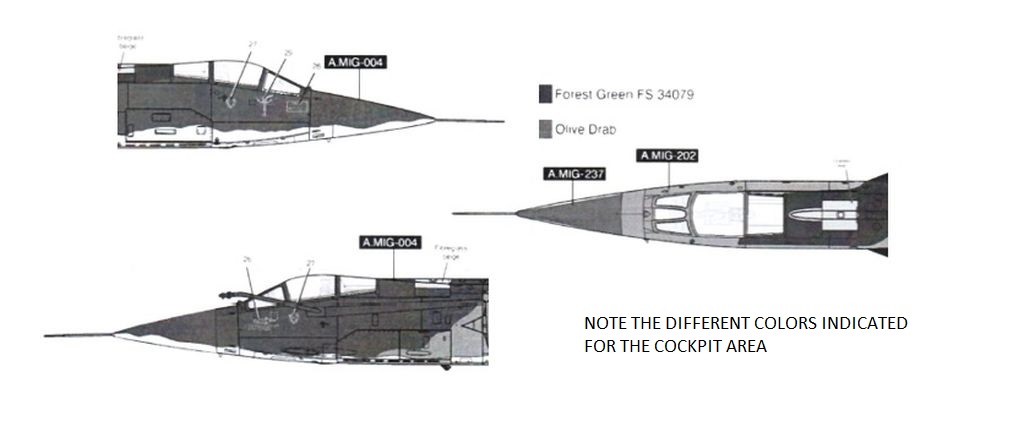
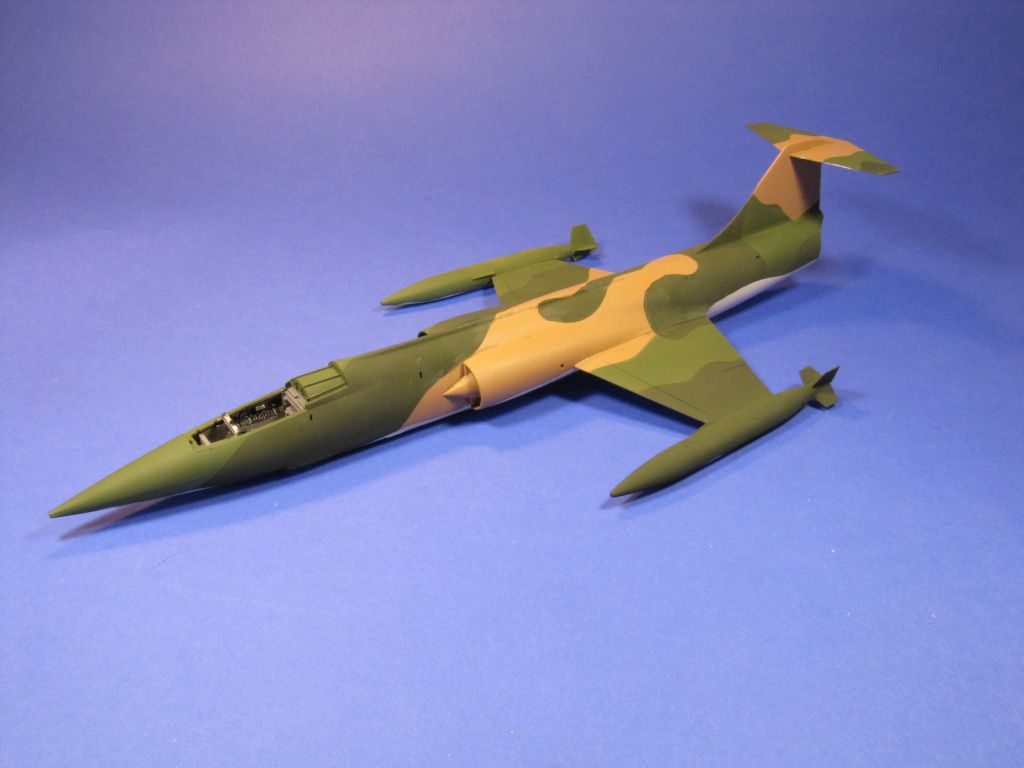
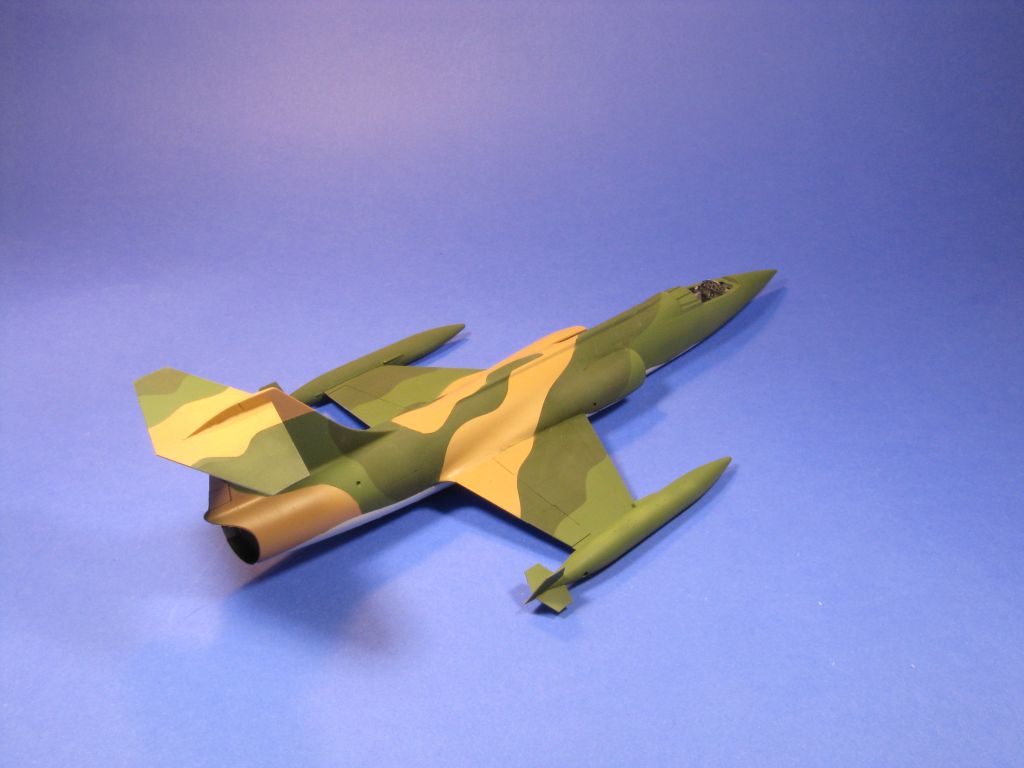
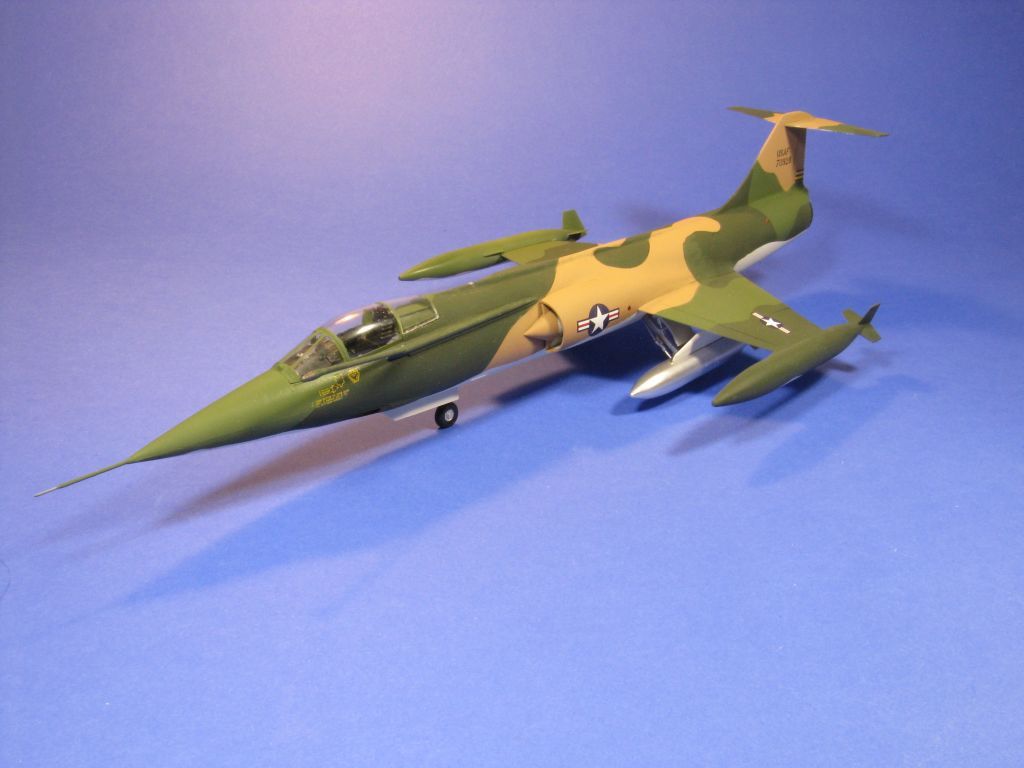
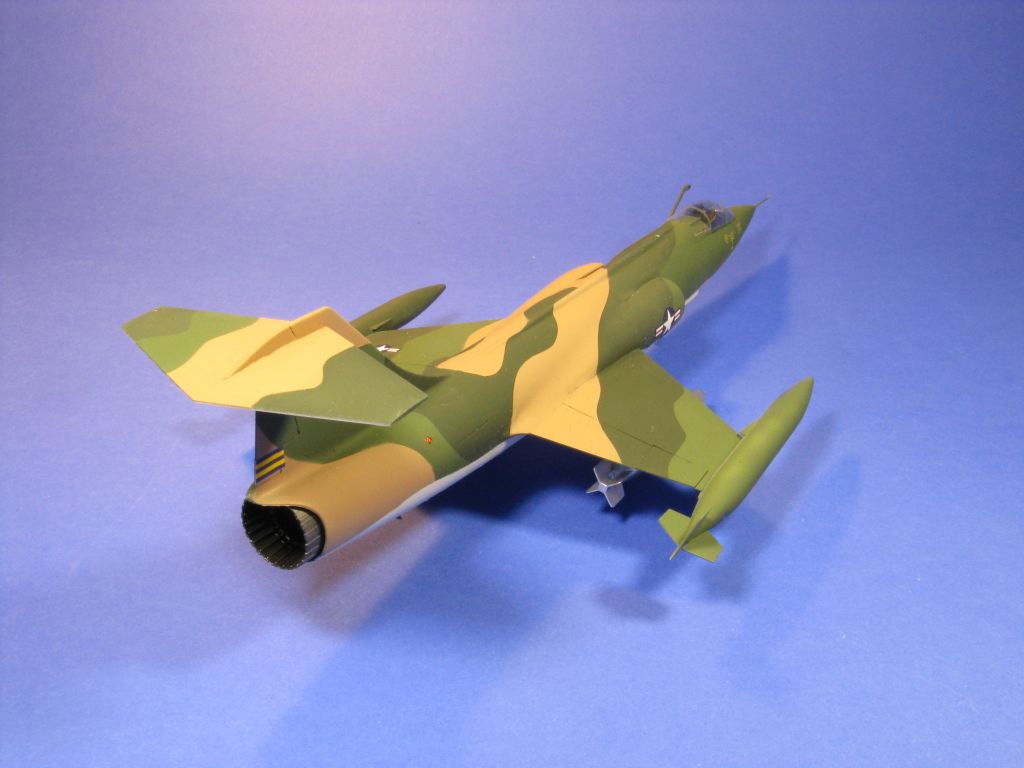
After taking care of the gaps, I primed the model and decided to go with the South East Asia camouflage colors. Regarding the camouflage, it should be pointed out that the reference scheme in the instructions look dubious to me. Like if you look the camouflage scheme on the top or sides view does not match each other around the cockpit area… nor they match the existing color pictures you can find online. I decided to use the online pictures as my primary reference for the camo pattern instead of the instructions.
For the paint job itself I’ve used the Tru-Color SEAC paint set. If you have not tried those paints, go ahead and give them a try. They are top-notch quality, just make sure you use a respirator -as you always should. The paints cure fast, so I was able to get the full camo scheme done on a weekend.
After applying a gloss coat I’ve moved to the decaling, which was relatively simple as there weren’t many stencils. As I said before, I had to replace the national markings, as the ones provided in the kit have the white star not centered on the blue circle. I’ve used Furball Star and Bars. Despite having the issue with the national markings, the rest of the decal sheet is of high quality, thin, with vivid colors and it responds well to setting solutions.
I was trying to decide which ordinance to install in this aircraft and I’ve read that by the time the F-104C were operating out of Thailand, virtually all the missions were ground-attack and they carried either bombs or napalm canisters. A modelling buddy suggested me napalm canisters, so the decision was made! (Note: there is no air-to-ground ordinance in the kit. I got mine from a Hasegawa weapons kit)
I was clearly on the final stretch when I had a couple of final surprises. The first one was another error in the instructions as they show the wing pylons to be straight down from the wings, but they should be perpendicular to the wings (the wings have a small but clearly visible anhedral, so the wing pylons seem to be pointing inwards).
The second surprise was that the wingtip fuel tank for the port wing didn’t fit pointing forward but slightly pointing inwards. I do not know if the problem was my construction or the mold fault. At any rate, a 30 sec job with a sanding file took care of things and because the wingtip fuel tank slides over the wingtip itself, there was no need to touch up the paint at all.
In summary, this kit has very good fit and the surface detail is outstanding. There were a handful of very minor gaps, but it is hard to tell if those were my fault or the molds. Same applies to the port wingtip fuel tank. And in any case, all of those issues were very easily cared for.
The fit issue with parts B83 and B84 (air trunks) is probably a bit more serious issue, but if left out of the kit, the air intakes will fit perfectly and virtually nobody will be able to tell the air trunks are missing. Perhaps the major issue of this kit is the wrongly printed decals but again it is not difficult to replace the national markings.
The instructions were the lowest point of the kit, with the camouflage schemes being wrong, as shown in the image where the color on the sides of the cockpit do not match if you are looking at it from the top or from the sides. And if the biggest gripe about a kit is the instructions, then you can tell the kit is pretty good.
Despite some shortcomings on the instructions and the wrongly printed national markings (the rest of the decal sheet is perfect) I will still recommend this kit, as long as you can secure alternative national marking decals.
I would like to thank Kinetic Models, Lucky Model and IPMS/USA for the review sample.


Comments
Add new comment
This site is protected by reCAPTCHA and the Google Privacy Policy and Terms of Service apply.
Similar Reviews