
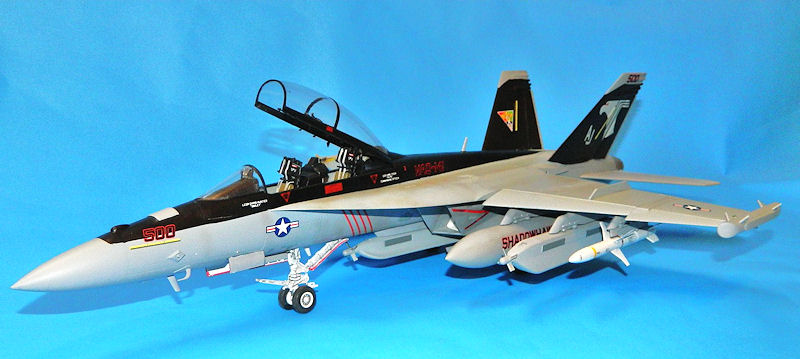
EA-18G Growler
First thanks go to our friends at Stevens International who provided IPMS/USA this kit, and thanks to Trumpeter for having (once again) stepped out and provided what the modeling community had only previously dreamed of; a 1/32nd scale F-18G!
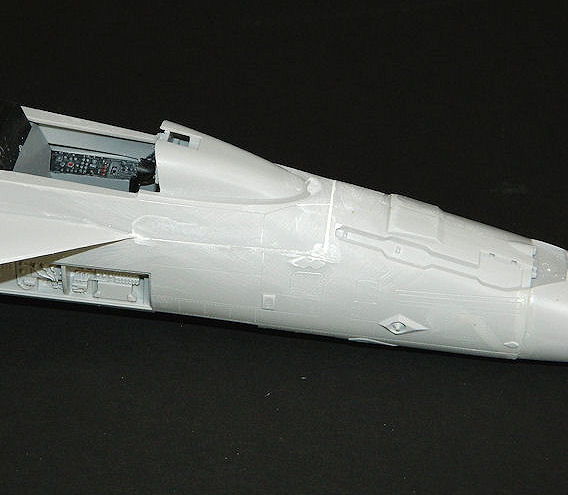
I can usually throw a kit of this size together in a couple of weeks; I started on 27 September, and here it is 28 October. Thing to remember: this is a large model, and the design has a couple of points to watch for. First, If you are like me, you like to hold a kit by the nose when dragging it around (learned that from ladies in my life; that’s how they lead me around). Come on, laugh. You can do that with this one, but there is a lot of moment arm going once you put the wings on, due to the weight of the model. The forward fuselage is designed with the top upper half ending just behind the upper forward fuselage radome (the “hump” on the upper nose that looks like a SATCOM antenna). The forward lower fuselage consists of two halves married to the upper fuselage, to both of which you attach the forward nose radome. There are bulkheads inside, but the lower and upper parts will split after cementing due to stress if you are continually lifting by the nose. I had to re-cement three times. My recommendation to future builders is to re-enforce the joints from the inside using butt plates or strip, supergluing well from the inside. This should not interfere with the radar box assembly if you choose to model the radome open.
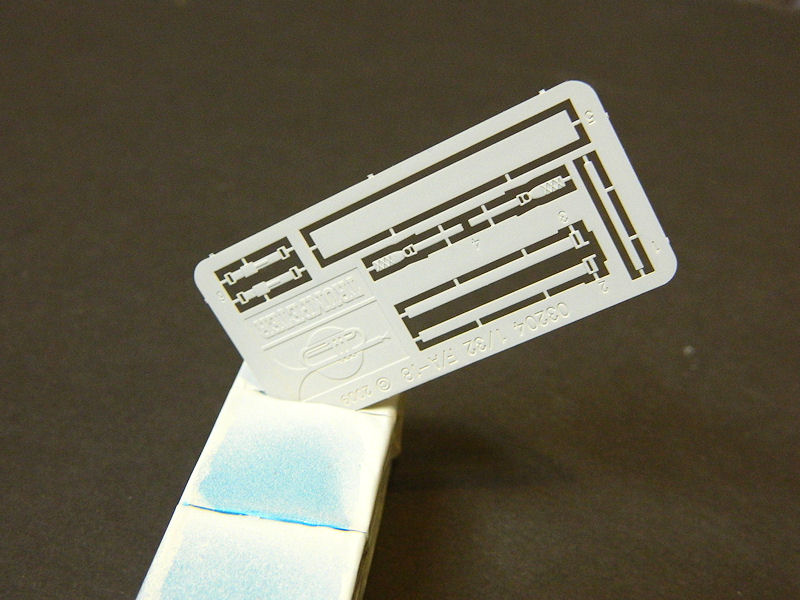
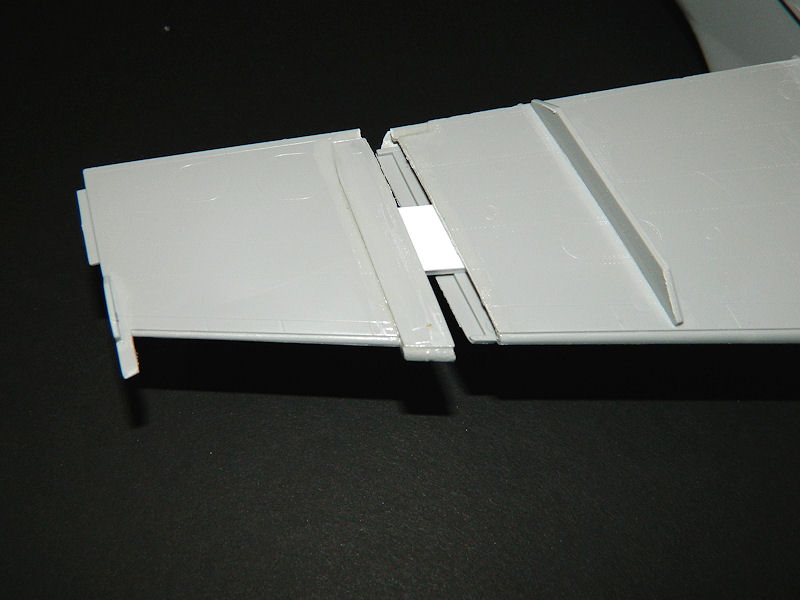
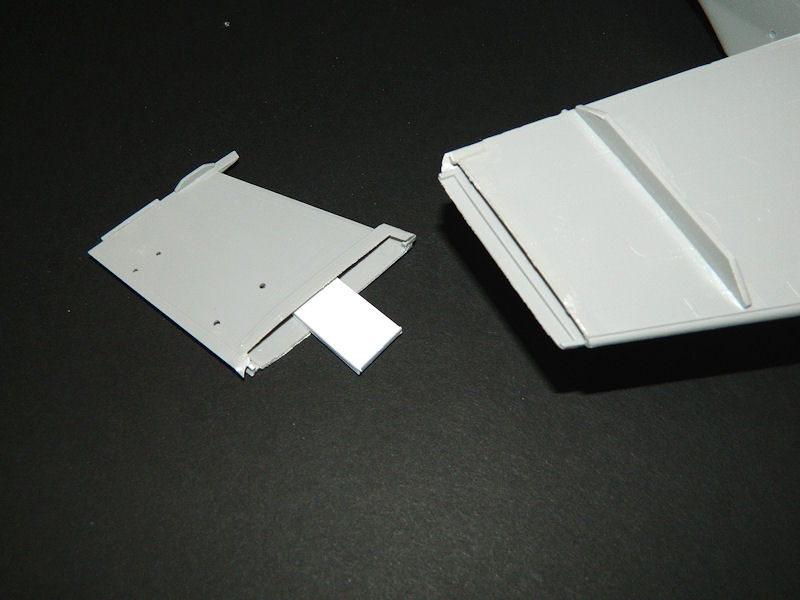
I learned the outer wing panels also need reinforcing; as designed, they are butt-joined if you intend to have them installed open (in the flying position). I tried it, and split the join the first time I lifted the wing – one wing tip in hand, one “rest of the model” rattling across the bench. There are more than adequate attachment points if you choose to fold the wing tips; the hinge assembly has large tabs that hold everything in place. The lack of a spar was puzzling, so I fixed it. The photo series shows my solution for the weak area: find a large tab of thick sheet that friction fits into the wing sections, slide it in, and use a good quality welding cement like Tenax to secure everything. Now I can touch the wings and they won’t fall off.
Slats and flaps are separate items; I opted for the down position. Rudders are also positionable, which I opted for just a bit off-center for animation. Elevator slabs are simple two-part affairs...more on that later.
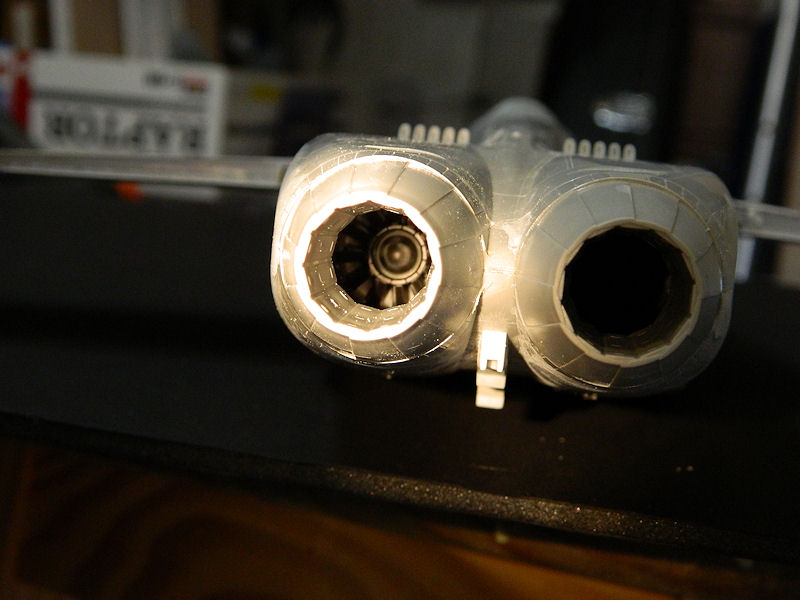
I started with the intakes; these actually fit together pretty well, and required minimal filling and sanding. I used Mr. Surfacer 500 on the seams, and liquid cement to work it in. Then I applied three coats of flat white primer, followed by a final white gloss coat (all Rustoleum automotive lacquer; I have given up on Krylon as it is now an enamel due to California regulations and doesn’t work nearly as well as it used to). They mated up almost perfectly to the forward intake ramps.
The engines are full-length, although there is no way to display them. I used them to hold the intake fans and augmentor tubes. The exhaust petals are in the shutdown position, and appropriately detailed for this model. It’s hard to see the flameholder and turbine even on the actual aircraft; I would not bother with any aftermarket on this area (if it ever comes up). Build it, paint it black, and enjoy watching the detail police contort their lighted colonoscopy cameras in there if they desire.
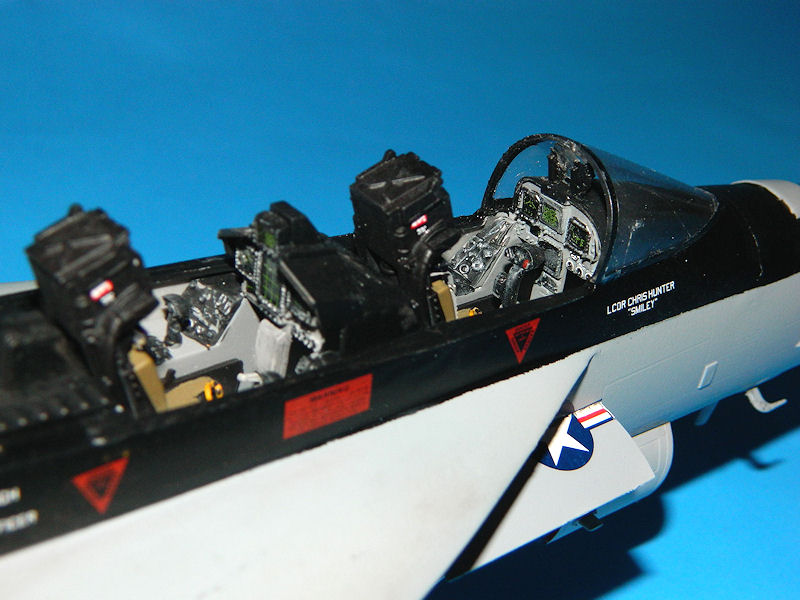
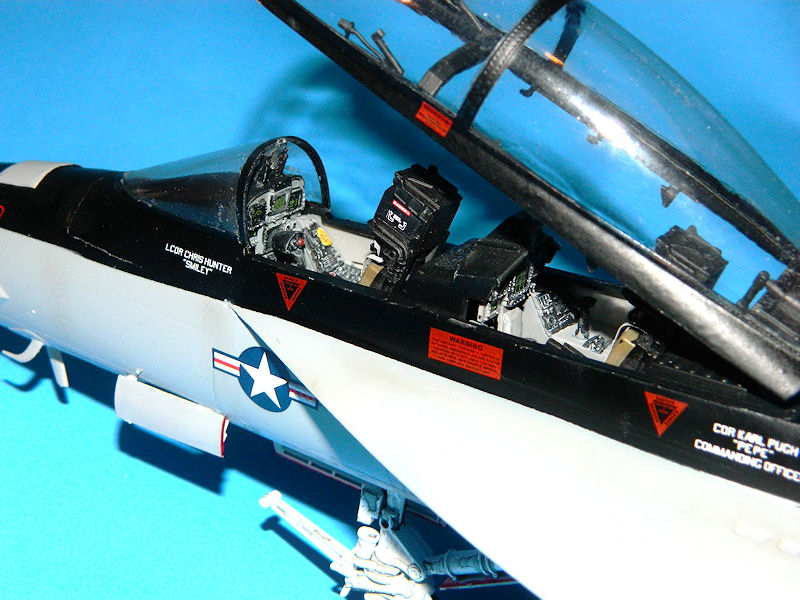
The cockpit is a mixed bag. There’s a nice instrument panel with decals; it looks great when finished OOB (if you are modeling an aircraft with power out, just paint the Multi-function displays black with clear gloss).
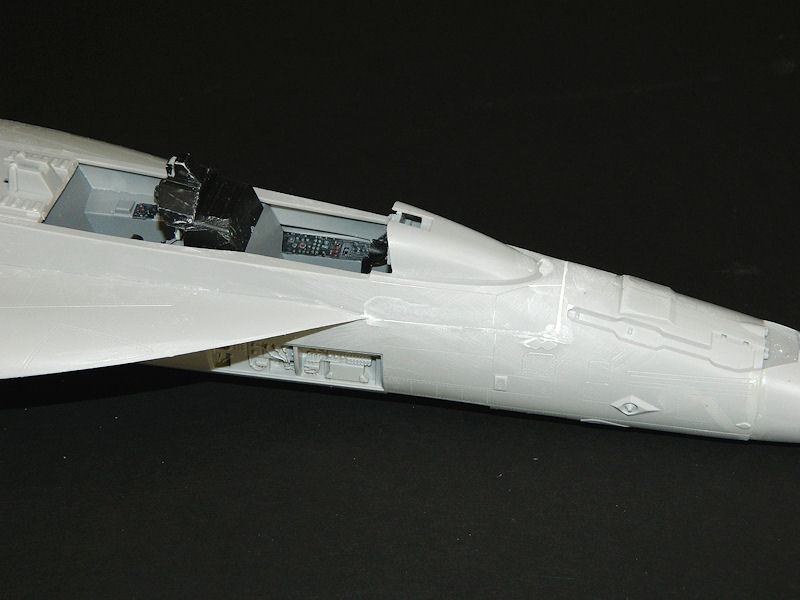
The fuselage interior upper sidewalls are non-existent; you can see the interior of the Leading Edge Extension (LEX) through the cockpit.
I’d normally scratch together interior panels to hide this, but once again without photos I don’t care to speculate...besides, this is a review model! Similarly, the lower elbow panels are basically conceptual. The throttles were not on their sprue nor in the bag (must have plinked off when I pulled the tree out), but they are basically half-moon bits anyway, so that’s not a major issue as they have them in the kit. All this falls in line with the classified level of the Growler interior. Anyone having decent pix of the entire cockpit, fess up! (...And be ready for time in Leavenworth Prison) The ejection seats are basic with PE straps.
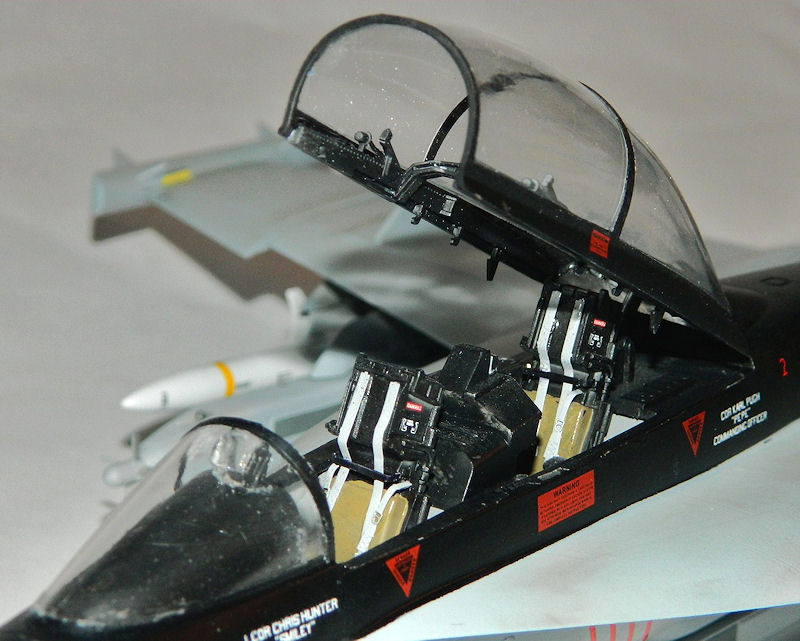
I had one strap go AWOL from the tweezers on me, and it fell amongst the detritus around my workbench. There are decals for the headrest/chute container, which when cemented in place fills out the cockpit. If you were to source a pilot and GIB (Guy In Back), the overall effect would be almost optimum out of the box. Aftermarket would be the best option if anyone is working it. The canopy is super clear and has the mold seam on the upper section. I sanded this off, polished with nail boards, and used plastic polish to finish. Future beaded up on the surface; I tried three times to dip coat and finally brush coated after removing the original three dip coats with Windex, and that worked. Probably should mist-coated using the airbrush, but I was lazy and made more work for myself. The canopy also has sill rails and downlocks; there are no matching slots in the coaming, so the purists will have to drill and cut those out if desired. At least the canopy details are there and not afterthoughts or non-existent. VERY nice.
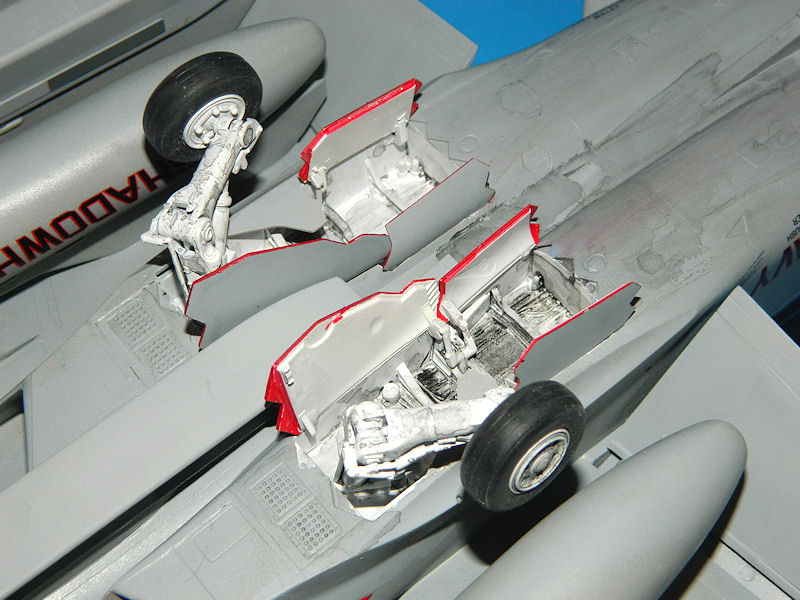
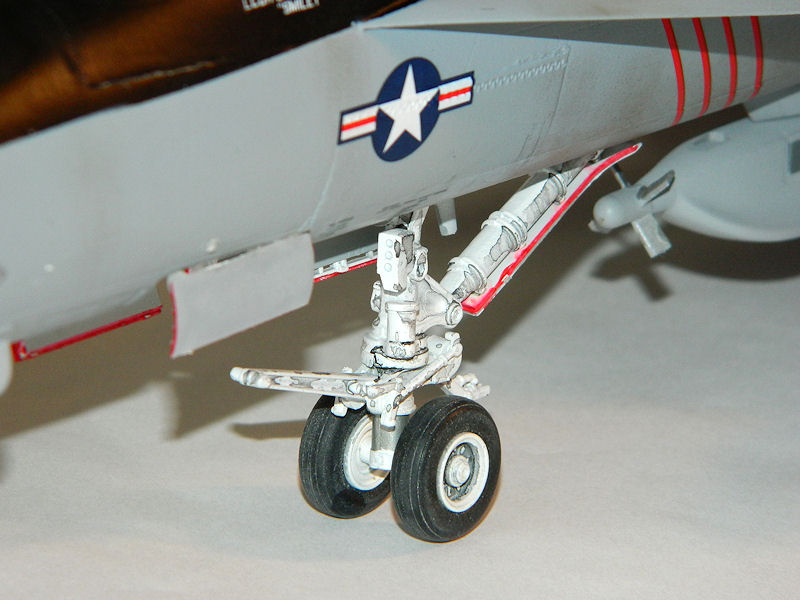
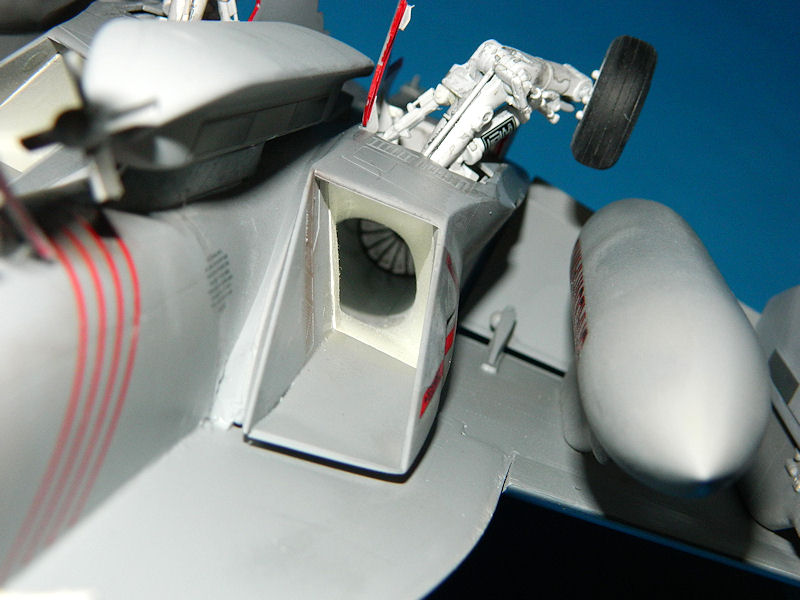
Landing gear is a compromise: detail versus strength. Detail level is far beyond what I would have expected even five years ago, but appears clunky until you give it a wash. It looks appropriately brutish and the metal interior wires (around which the plastic detail parts are glued) hold the model well. The gear wells are not as busy as I would prefer, but they are a start for scratchbuilding tube and wire details.
I’ll bet aftermarket is on the way. Tires are rubber (not vinyl) and fit the wheels tightly. My experience with Trumpeter’s rubber wheels has been positive; the SU-27 I built five years ago still has no flats or signs of cracking. That’s the benefit to using this material verses vinyl – that, and the styrene hubs don’t get eaten by the tires! I also found out you need to attach the actuating arms to the main gear BEFORE you install them into their sockets; they have pins that fit into holes on the frame, and I had to nip them off to get them into place. Thick CA is our friend. Gear doors were tricky but everything fit into place; the actuators helped hold alignment.
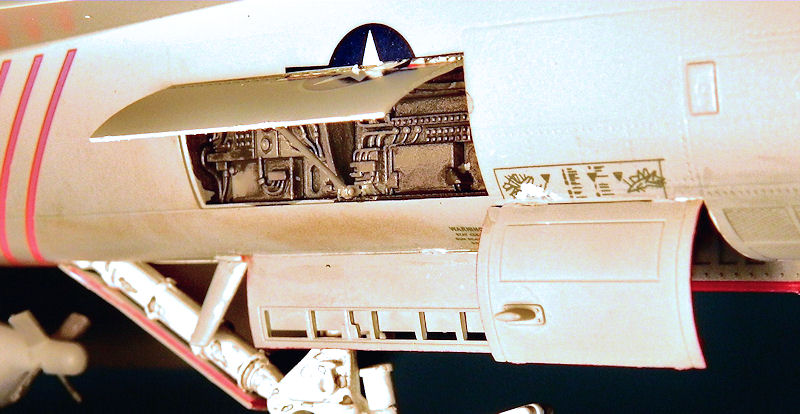
Two side avionics bays can be displayed with the access door open. Fit is good either way.
The remainder of the build was standard. Detail on the surface is restrained, and looks good when complete. MUCH improved over the F-105 and F-100 rivets. The kit design still requires some putty around the upper and lower fuselage joins, but that’s not a major issue. Stabilizers are attached with a very minor hinge point (pivot bearing) pressing into a hole in the fuselage. There is no elevon carry-through structure or extra reinforcement, as it would impinge on the full-length engines. Use superglue or Weld-On when the model is complete, and pay attention to alignment while doing so; this will prevent breaking them off earlier in the build (and makes it easier to decal). The aerial refueling probe has no well; it is just cemented to a recess in the nose. This is not accurate, and one area that really throws back to a 1950’s era kit – e.g., it was almost an afterthought. I was surprised, given the cost of the kit.
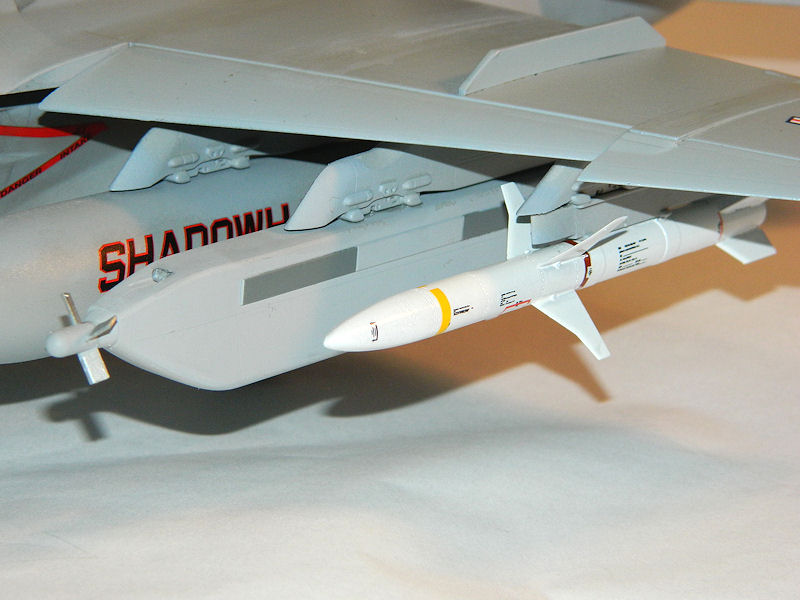
Two weapons sprues are included, with two each GBU-10, AIM-120C, AIM-9X (suspect shape as included in this kit), and AGM-88 HARM’s. The HARM’s are appropriate and well done for the Growler; certainly the GBU can be carried, but I understand the standard load to be the HARM’s. Two types of underwing jammers are included as the AN/ALQ-99 – two with the deeper profile and a centerline version which is a lower profile pod to fit beneath the aircraft. Three external tanks are also included, along with the Growler’s wingtip AN/ALQ-218 pods in place of LAU rails for AIM-9 and AIM-120’s. Full stencil decal markings are included. Building the external stores was a two-night effort, but in the end everything looks great and fits. There are stencils for the weapons and the ECM pods; after using the HARM-88 markings, I had a water accident with the remainder of the sheet, and didn’t get around to the stencil details on the pods. The decal sheet missile stripes are a bit short, but that’s not a major issue: use a small paintbrush and color to fix. One nice feature: there are options for yellow (live) and blue (inert or training) weapons. Finally!
I did not use the integral crew ladder; the one time I tried to include that option was the year I spent redoing the ladder five or six times when the careless hands factor kicked in. I used Alumilite to fill the ladder well, and sanded flush when finished.
Paint: Overall automotive gray to find and fix flaws, flat black primer on the CAG markings, followed by gloss black. Dark ghost gray upper, light ghost gray lower. I needed to put a touch of black into the GG Dark paint; they basically matched each other and it’s hard to tell demarcation lines. Glosscoat and then...
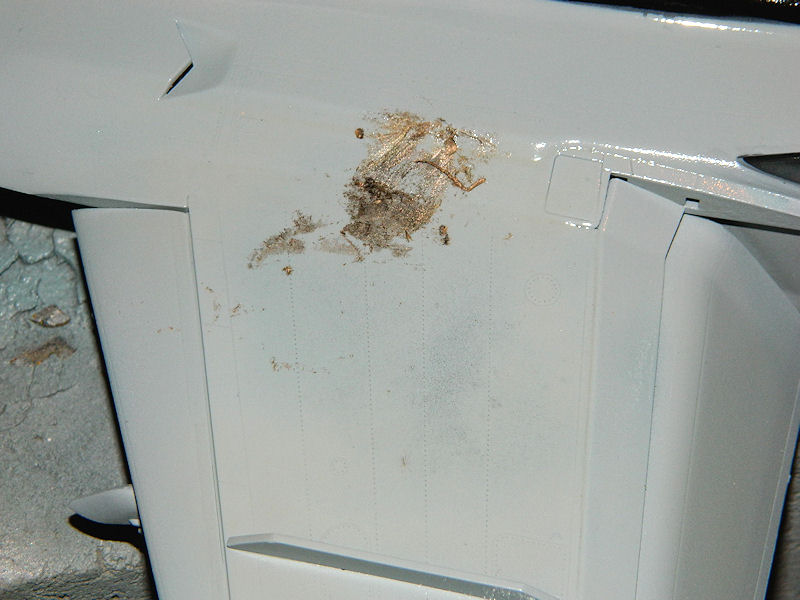
MOTH ATTACK! Yes, I do a lot of paintwork outside of my back door in the garage. Good for my lungs, etc. It’s after sunset, and I had just applied my last coat of gloss, just in time to watch one of the indigenous species of moth that appear at this time of year make two circuits around my back door light, then make a suicide dive onto my fresh gloss lacquer. Needless to say I pulled the now-struggling moth off the thoroughly-moth-dust coated port side wing top. He sacrificed a leg to the paintwork in the process... I dropped the beast down and coated it in spray lacquer. “Take that!” Then the “don’t torture, just kill” mode kicked in, and the moth was squished between shoe and concrete.
I am told my neighbor heard my foul discourse at his house. Anyway, after the paint cured, out came the wet and dry papers and water. Sanded off the moth dust, and used a couple of light brushed-on coats of paint to repair. A few light glosscoats, and you can barely see where it happened. A bit of pastel weathering and it looks like it’s supposed to be there. I could claim it’s a new form of “salt weathering,” but “Moth methodology” would almost be grounds for animal cruelty in some places of our fair nation. (What do moths DO, anyway?)
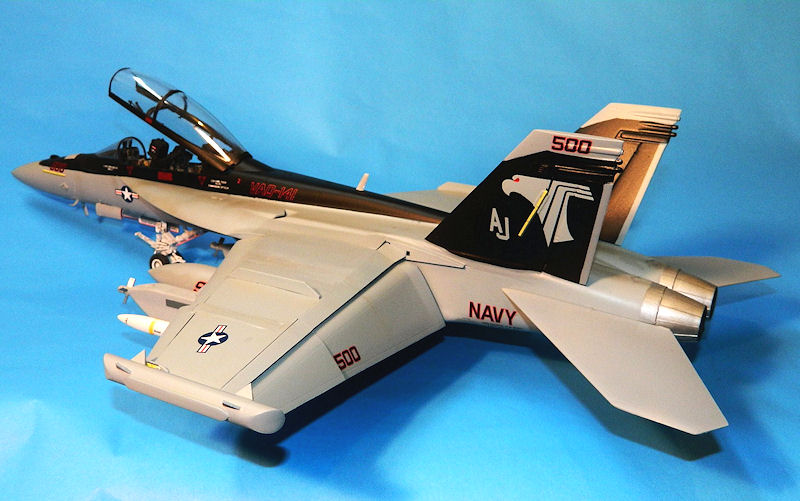
Decals! Cartograf quality; they are dense, accurate (blues and proportions are correct on the full-color US insignias!), and tight on color demarcation. You can read the stencils; they make sense and appear to have been researched well. Three marking options are provided: two for the USS George H. Bush VAQ-141 low-viz gray or CAG with red stripes, black spine and fins. The other set of markings has a wolf head and red flashes on the fins, VAQ- 129. A complete suite of stencils is included; I found the “no step” stencils were almost invisible when applied so I didn’t bother. Same for the horizontal stabilizer “no step” outline around the pivot joint.
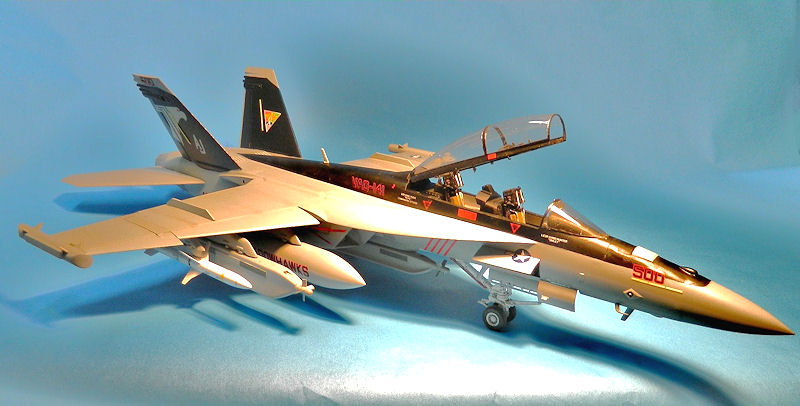
Overall score was extremely high on this kit. The end result looks like an Electronic Superbug in an impressive size (...gonna have to find a place to put it, though...). I score 9 of 10 for the kit, only because the wing fold and some other areas were a bit light on engineering. Nothing that cannot be overcome by modeling effort. Decals receive 10 of 10 for performance, density and accuracy. WELL DONE TRUMPETER!


Comments
Add new comment
This site is protected by reCAPTCHA and the Google Privacy Policy and Terms of Service apply.
Similar Reviews