
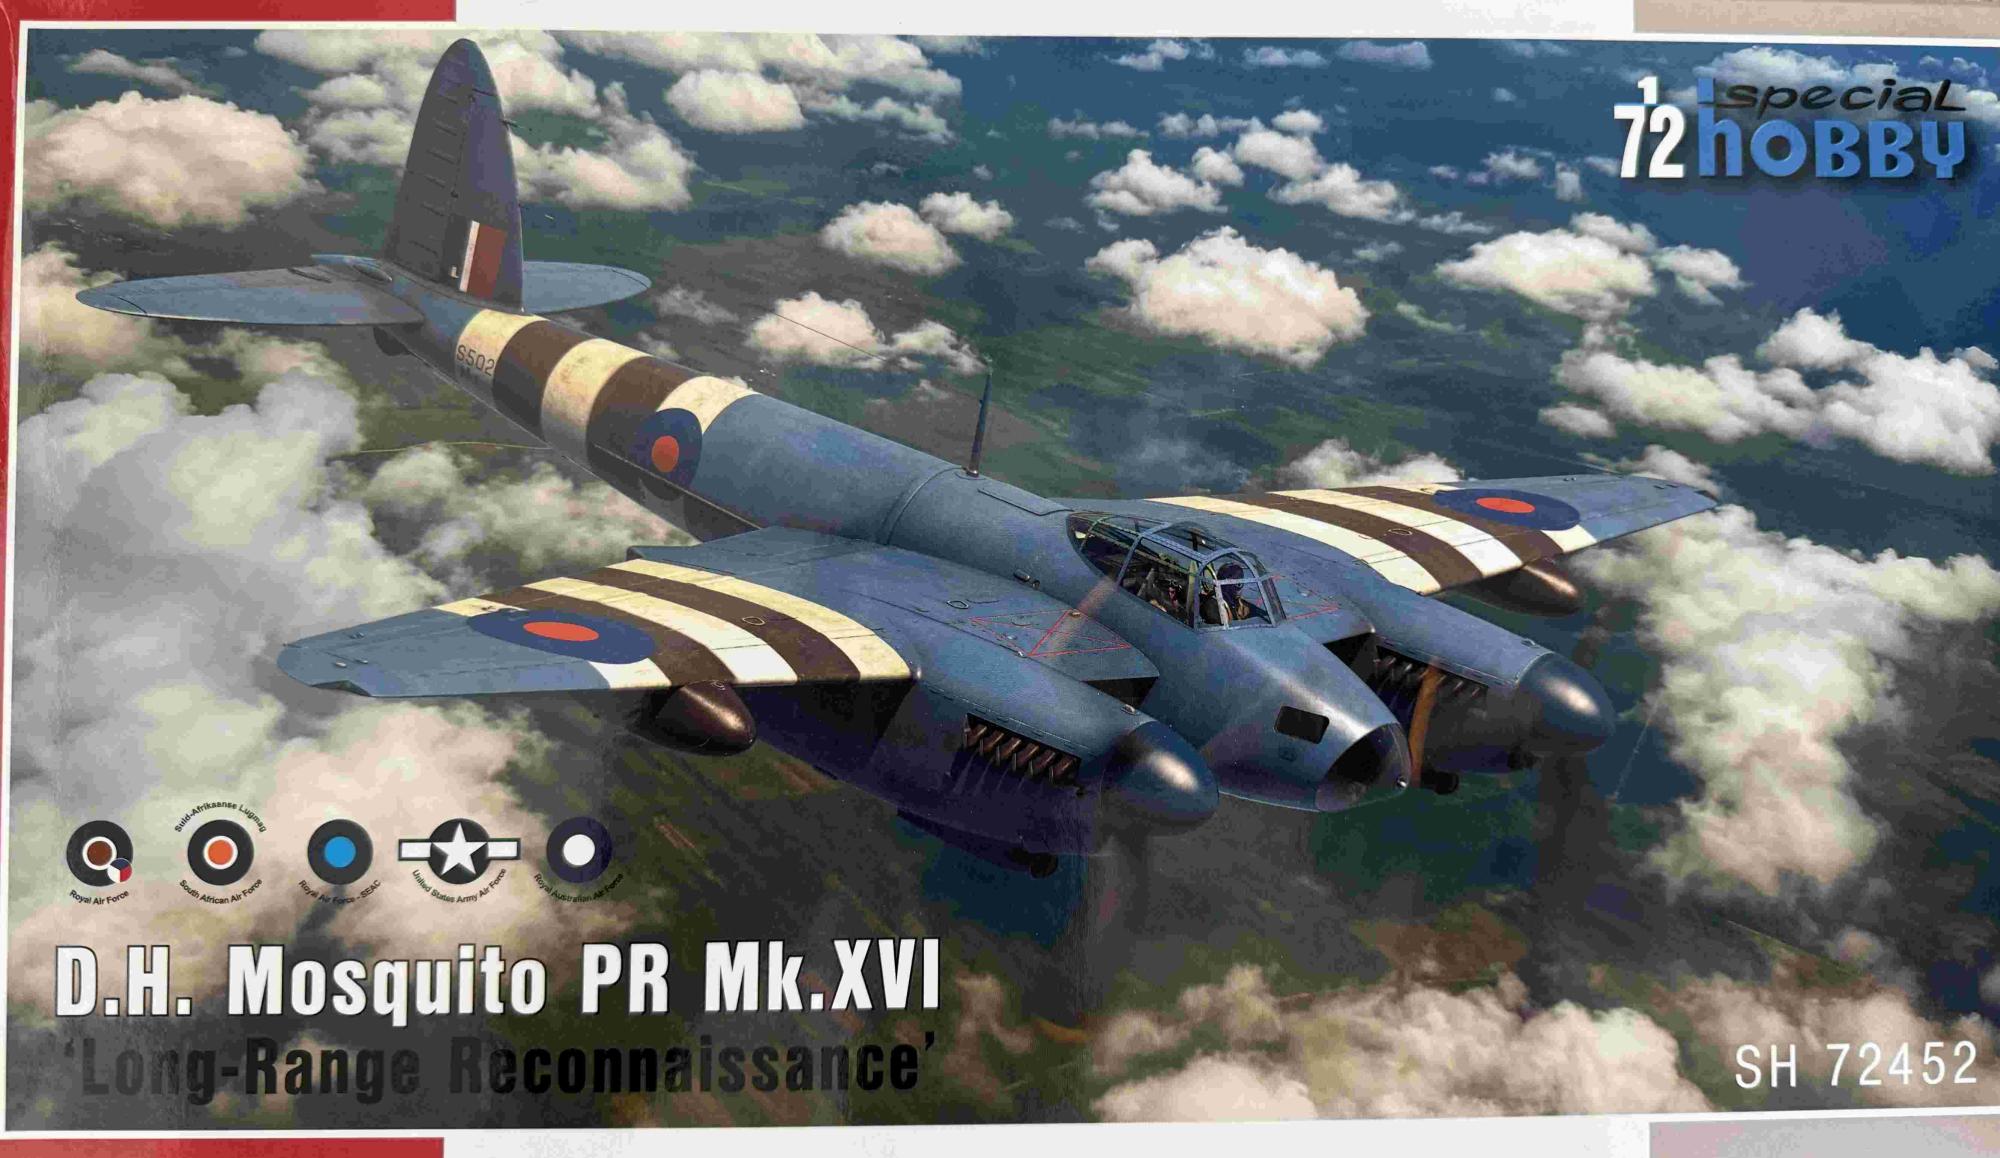
DH.98 Mosquito PR.XVI "Long-Range Reconnaissance"
From the Manufacturer’s Website
The de Havilland Mosquito was a versatile twin-engine aircraft that was one of the best aircraft of World War II. Not for nothing was it called the ‘Wooden Wonder’. It was used as a night fighter, fighter-bomber, bomber, reconnaissance, anti-ship or special transport aircraft. The first generation of Mosquitos was powered by Merlin engines with single-stage superchargers. In the spring of 1943, two-stage Merlins with higher performance at higher altitudes were installed in the Mosquito. This resulted in the PR Mk.IX reconnaissance version and the B Mk.IX bomber. They were produced in limited numbers, as they were replaced in production by the mass-produced PR Mk.XVI and B Mk.XVI versions, equipped with a pressurized cockpit. The performance of the PR Mk.XVI version was so high that enemy fighters could hardly threaten it. The PR Mk.XVI reconnaissance Mosquitos operated from the British Isles and Italy over the whole of Europe. But not only over Europe, British Mosquitos were also deployed against Japan, being flown from India. The RAAF deployed the Mosquito PR Mk.XVIs to fly recce missions from bases in northern Australia.
The Kit
The DH.98 Mosquito PR.XVI ‘Long-Range Reconnaissance’ kit includes six sprues of grey styrene and one clear plastic sprue. No resin parts or photo etched sets are included. Please note that there are many parts in this kit that are not used. They are marked with a red X in the instructions. The instructions have 20 pages with the last two dedicated to the aftermarket sets for the Mosquito and other Special Hobby products. Six pages have six painting schemes with side, top, and bottom views of different airplanes and their brief history. The markings are for:
- RAF machine with invasion stripes that was also used by Czechoslovak airmen (1944/45)
- SAAF machine (Italy 1944/45)
- RAF machine flying in India with SEAC markings (1944)
- USAAF machine from Britain with a red tail and nose art on the fuselage (1944/45)
- RAAF machine (1945)
- RAAF machine that performed the last combat flight of the RAAF in August 1945
There is also a link on Special Hobby website to the instructions.
Construction
There are 29 assembly steps in the instructions. The construction starts with the cockpit. The details inside are very nice. There is a decal for the control panel. One must be careful not to use the wrong part here as there are similar instrument panel parts available on two different sprues. The cockpit’s interior is well represented for the equipment. The two seats, one for the pilot and one for the navigator, do not have any harness provided, so I made one harness set from a Tamiya tape and used a decal from my spares box for the other seat. The fuselage assembly is a bit complex as there are five parts that have to be glued together. Despite that, the fit was good. In step 6, one has to drill three holes for the colored lenses. It would be good to know the diameter of the holes for this clear part as I had a bit of a challenge to center the drilled holes and matching the size of the opening to the part CP10. The parts C1 and C22 (doors on the bottom of the fuselage) fit OK but the half-round shape of the edge closer to the front was a bit smaller than the opening. The wing assembly and fit were very good. There is a drawing in step 15 showing spacing for drilling holes in the wing for a rack or a tank. I found it not helpful, but rather confusing as there are already marked spots for the holes on parts B1 and B2. Special Hobby provides wing tips in clear plastic. I found this a rather clever approach as the position lights in the wing tips can just be masked at this point.
The landing gear and wheels are a bit complex but the fit is great during their assembly.
The engine assembly is a bit tricky because the parts I24 and I27 in step 22 seemed to be a bit too long and I simply cut about 1-2 mm from their wider end and they fit fine to the wing assembly afterward. I attached the landing gear doors after the whole model was primed and painted. The attachment points for the doors had perfect fit and they look awesome with a slight gap between them and the engine body covers. I like how Special Hobby constructed the propeller assembly as well. The assembled propeller and spinner parts just snap/click into a square opening in the engine body. It was a nice way of ensuring the propellers spin and fit correctly. The kit also provides an option to position the flaps straight or lowered. I chose the second option and they look great.
The cockpit consists of three parts. I initially thought that the two side windows that attach to the main cockpit frame would be positioned open to show the inside details, but could not find a reference picture of such a configuration so I attached them to the cockpit’s clear part after installing that part (CP20) to the fuselage. The fit was a bit challenging so I recommend gluing the side windows CP3 and CP6 beforehand. The exhaust pipes had a bit of flash that had to be removed. There are also two sets of exhausts available so some caution is advised here as well. I suggest installing the antennae mast after the model is painted rather than the recommended attachment of it in step 26 because I broke mine during the painting process. The antenna wire was also added after the whole model was painted. The final assembly step involves attaching fuel tanks to the wings. There are two fuel tank options: smaller and larger. I opted for the smaller size tanks.
Painting
I primed the assembled model with Mr. Hobby gray primer. I selected the Scheme D in USAAF colors. The machines from the US group had their tails pained in red. I painted the tail using Tamiya red and the rest of the airplane in a PRU Ble color again from Tamiya (XF-18 paint). The instructions point to overpainting the British roundels with a ‘fresh PRU’ color. I simply added some black color to the XF-18 paint and used a round template to cover those spots with a slightly darker paint. A gloss coat was applied to the entire kit with an acrylic varnish, followed by the application of the decals. The decals had a bit of the carrier film around them so I trimmed them around as much as possible. The decals conformed well to the surface and reacted positively to the Tamiya decal solution. I applied AK Interactive black panel liner before spraying the model with a dull coat from Mr. Hobby.
Summary
I am very pleased with the final results as the kit builds into a very nice representation of this famous aircraft. The molded details on the plastic surfaces are well represented in 1/72 scale. I would recommend this kit to medium-experienced modelers because of some complexity involved during assembly of several components. Nevertheless, the whole experience was very positive. I have the Mosquito NF Mk.XXX from Special Hobby and this assembly encouraged me to build the Mk.XXX kit soon. The final result is well worth the effort. I am looking forward to seeing and building more Special Hobby kits.
My sincere thanks go to Special Hobby for generously providing this kit to review and IPMS/USA for allowing me to review it.


Reviewer Bio
Tomasz Menert

I grew up in Poland and immigrated to the US 35 years ago when I was in my twenties. Ironically, I majored in English here, but I have fond memories related to my interest in aviation. What spiked my interest in reviewing items were the books on some familiar subjects. For example, I received a glider pilot license in Poland and one of the books Pablo Bouleo mentioned in the 'stash' is from MMP (PZL-104 Wilga 35A, Single No. 46). In my glider training, the plane towing us was the PZL-104 Wilga! So, anything around Polish subjects like PZL Combat Fighters, etc., would land you a quick and thorough review just because I had an exposure to some of the topics. Not to mention an uncle who flew a total of over 4000 hours in Mig-21s. Therefore, I want to thank you both for giving me the opportunity to join this review. group.
Comments
Add new comment
This site is protected by reCAPTCHA and the Google Privacy Policy and Terms of Service apply.
Similar Reviews