
DDG-125 Jack H. Lucas with US Navy Arleigh Burke Class Flight III USS Jack Lucas DDG-125 Upgrade Kit
For a hobbyist like me, there’s nothing more exciting than opening the box from a new manufacturer. The anticipation of learning what they did differently, how the plastic cuts, what level of detail did they achieve and myriad others questions we all banter back and forth are answered when you open the box. The new Beacon Hobby multimedia ship kit of the Jack H. Lucas and their associated upgrade kit is the subject of these very questions. This appears to be Beacon Hobby’s first ship kit as far as I could see. They came out swinging with this release by not only launching the Arleigh Burke flight III ship, but an upgrade kit designed and produced by the manufacturer. This was really exciting for me because I expected everything to fit and be designed to mate up exactly. I can tell you that they did not disappoint me! All the detail is done crisp and clean and, with the upgrade kit, it adds an element of scale to a lot of the fine detailed parts that they opted to include.
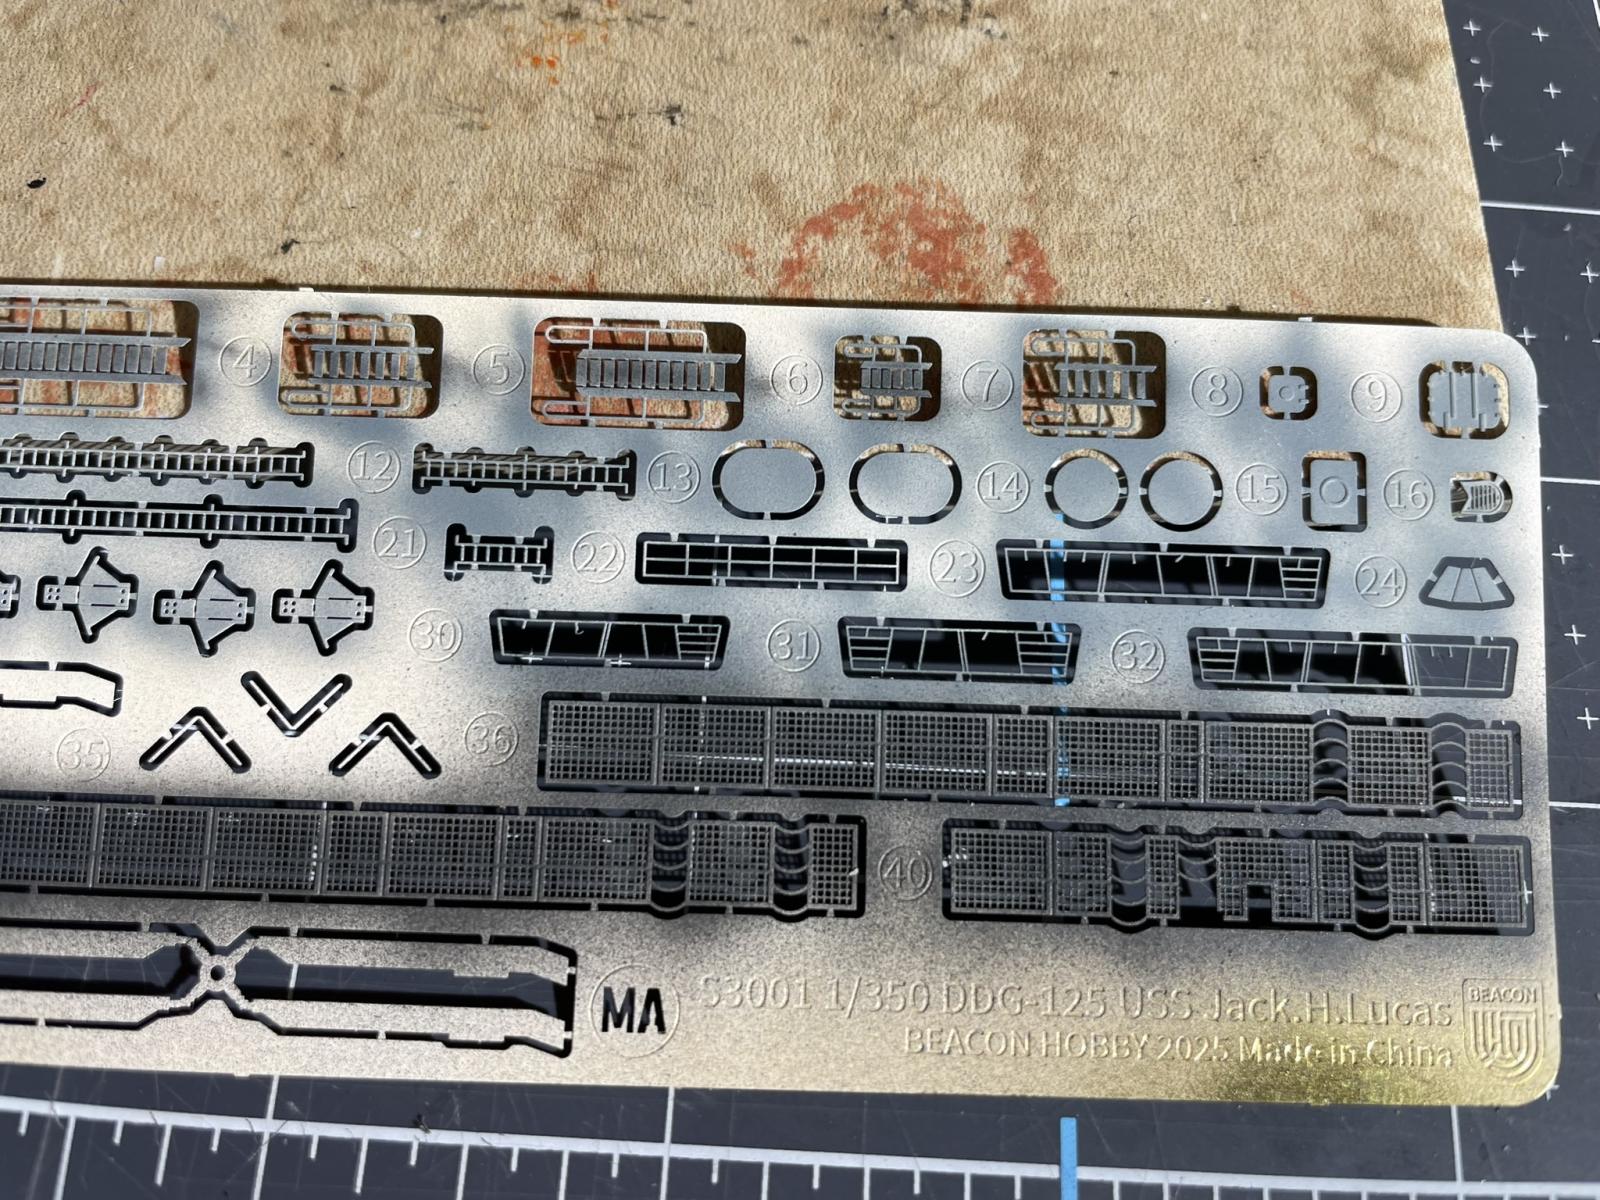
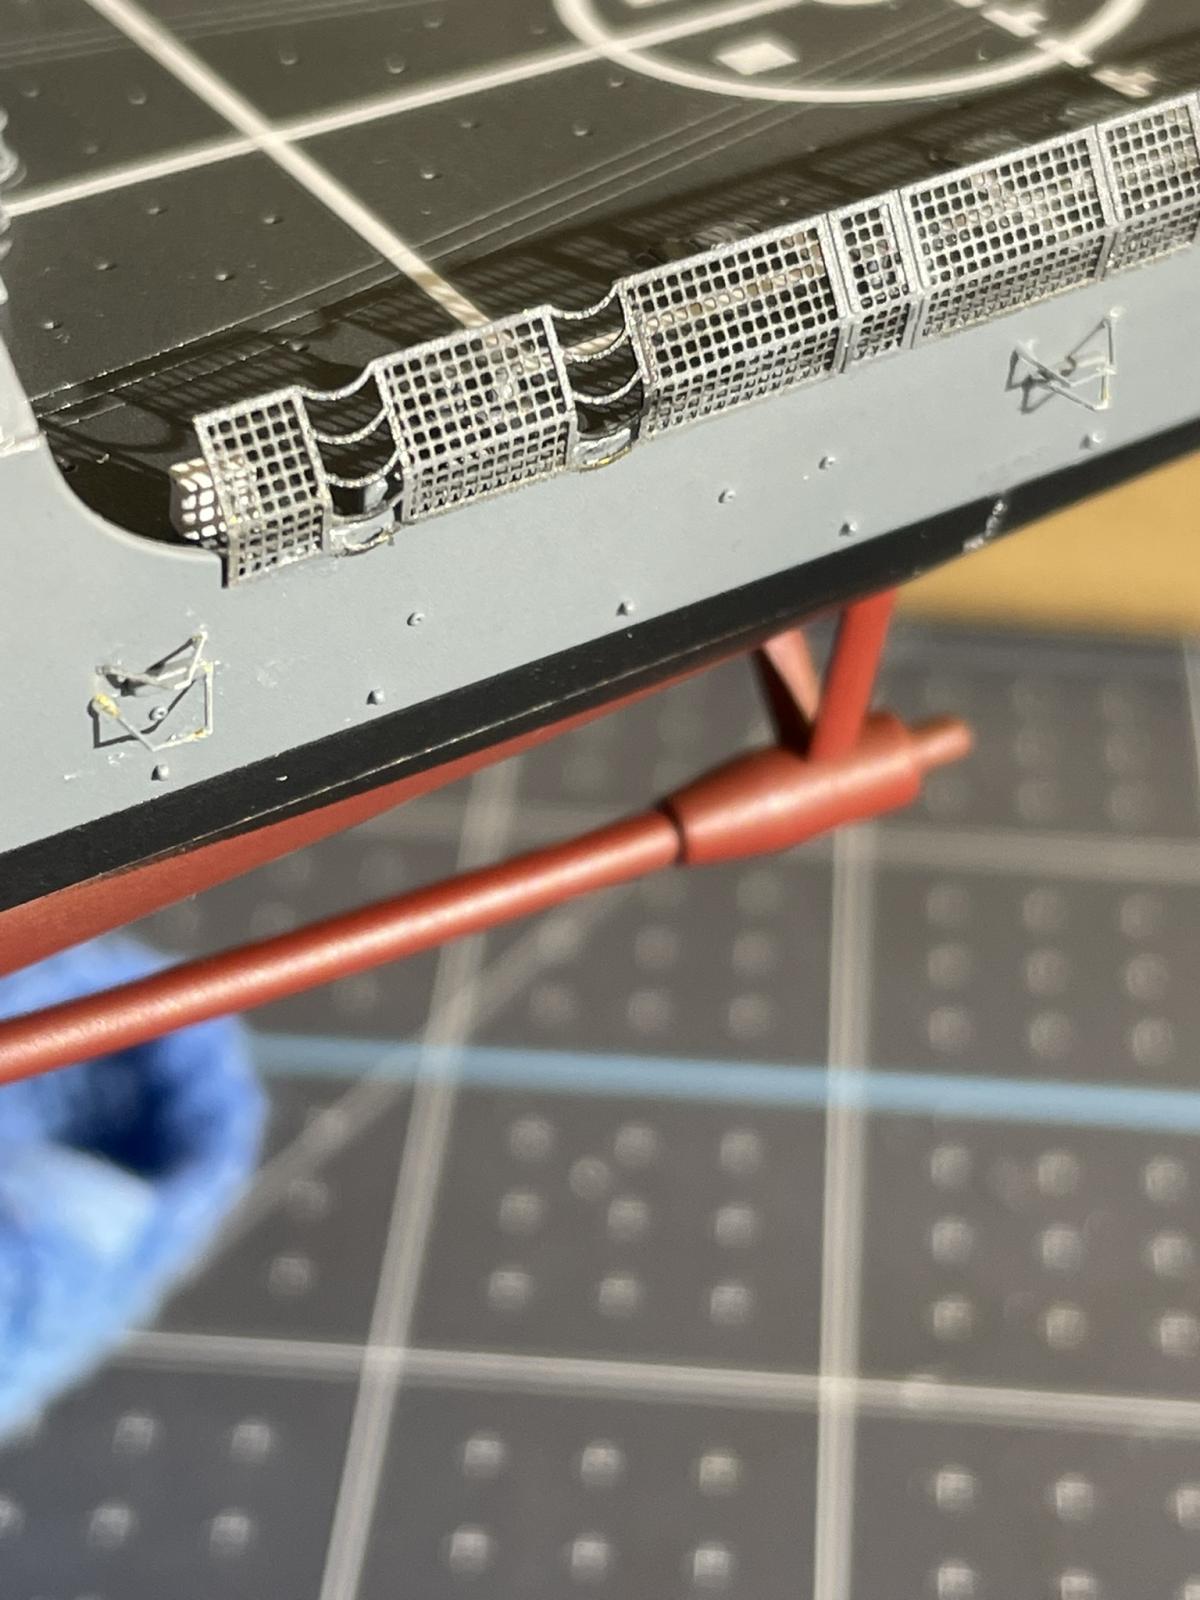
The base kit of injection molded parts also includes a single photo etch fret for the helicopter, ladders, a few hatches, antennas, plus the netting surround for the helicopter landing pad. It also has a metal chain for the anchor. The upgrade set includes all of the 3-D printed components, metal gun barrels, metal radomes, extensive deck masks, and two PE frets with ancillary parts and full railings for the ship.
Let’s jump into the build itself…
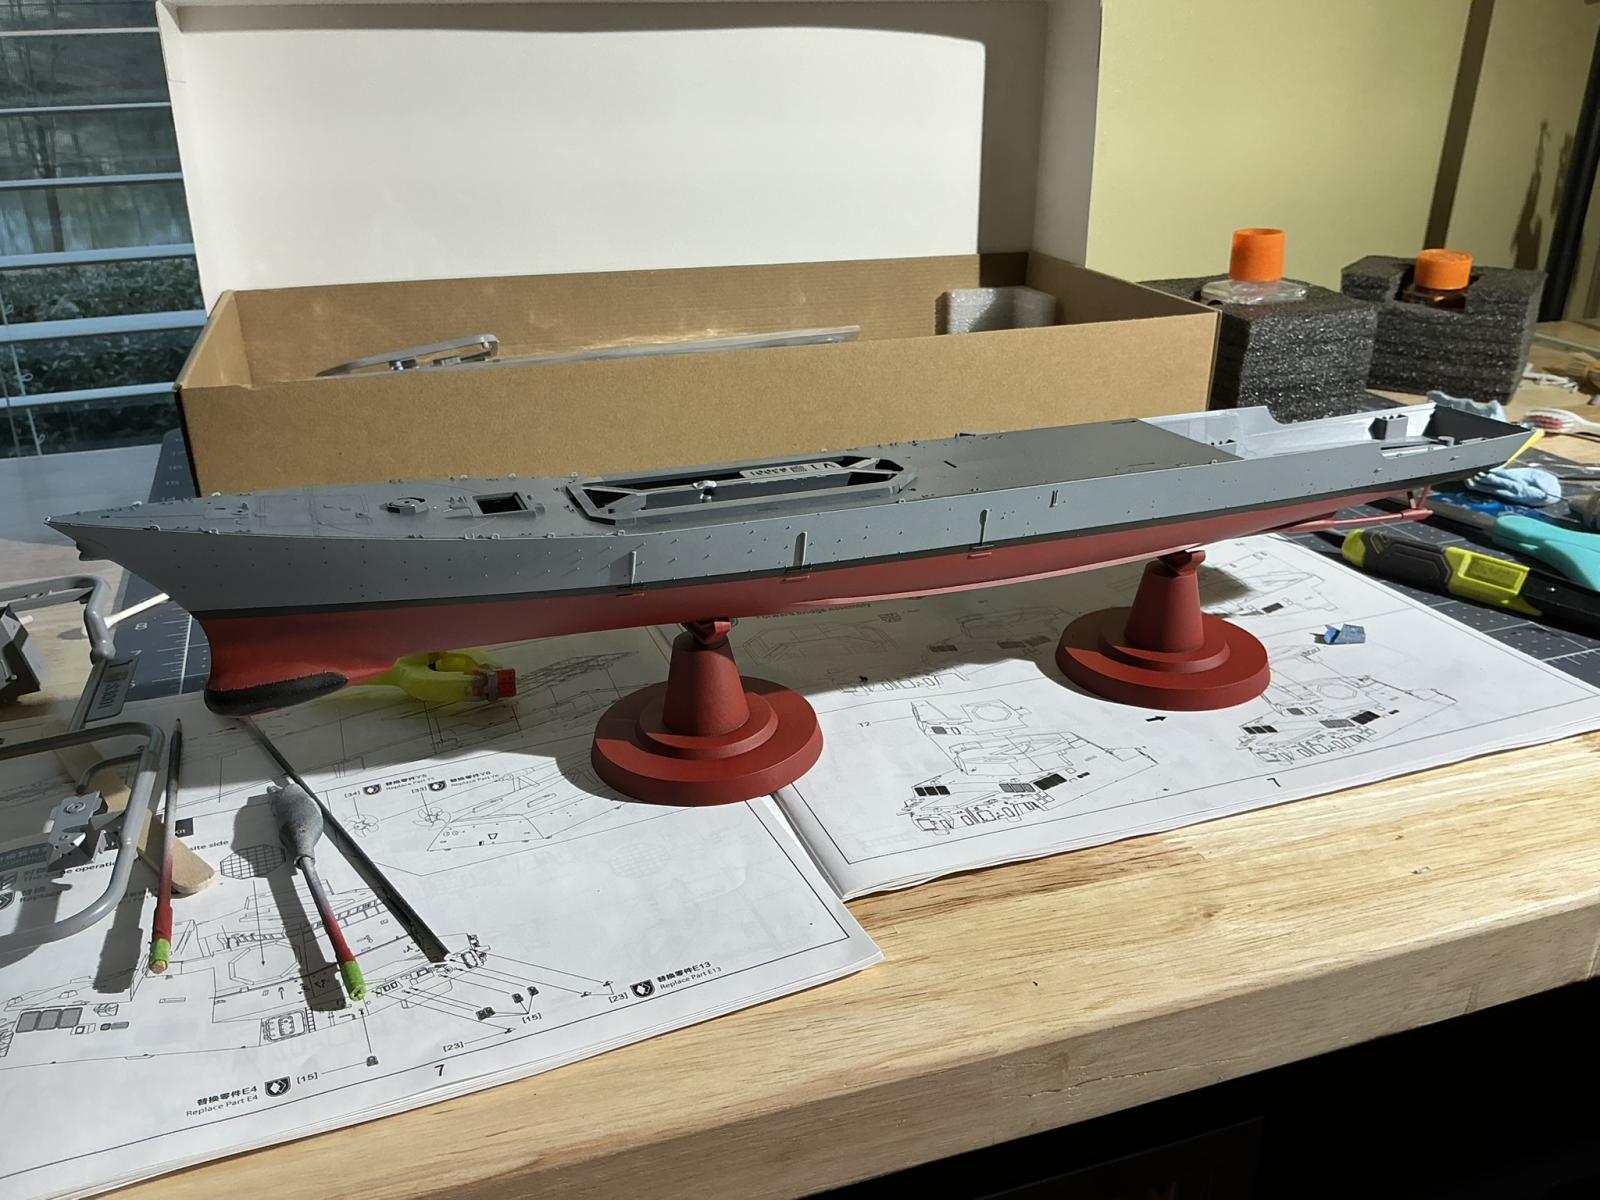
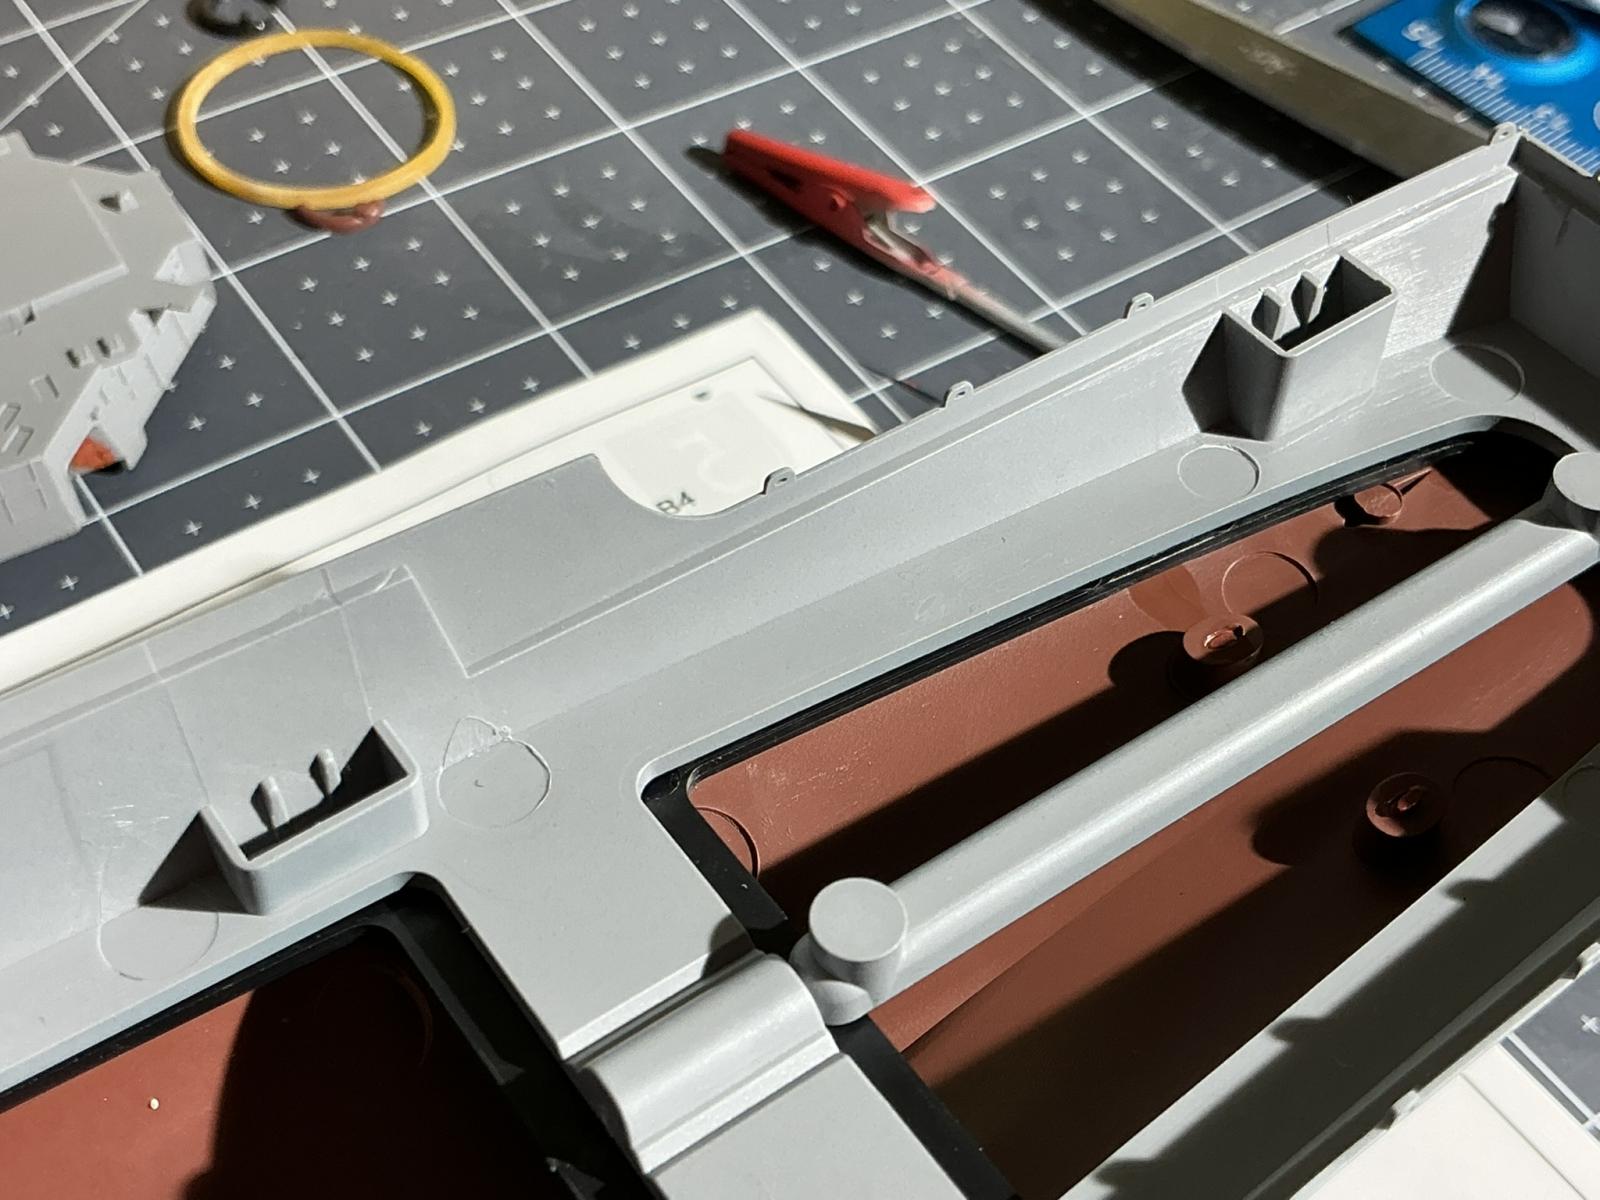
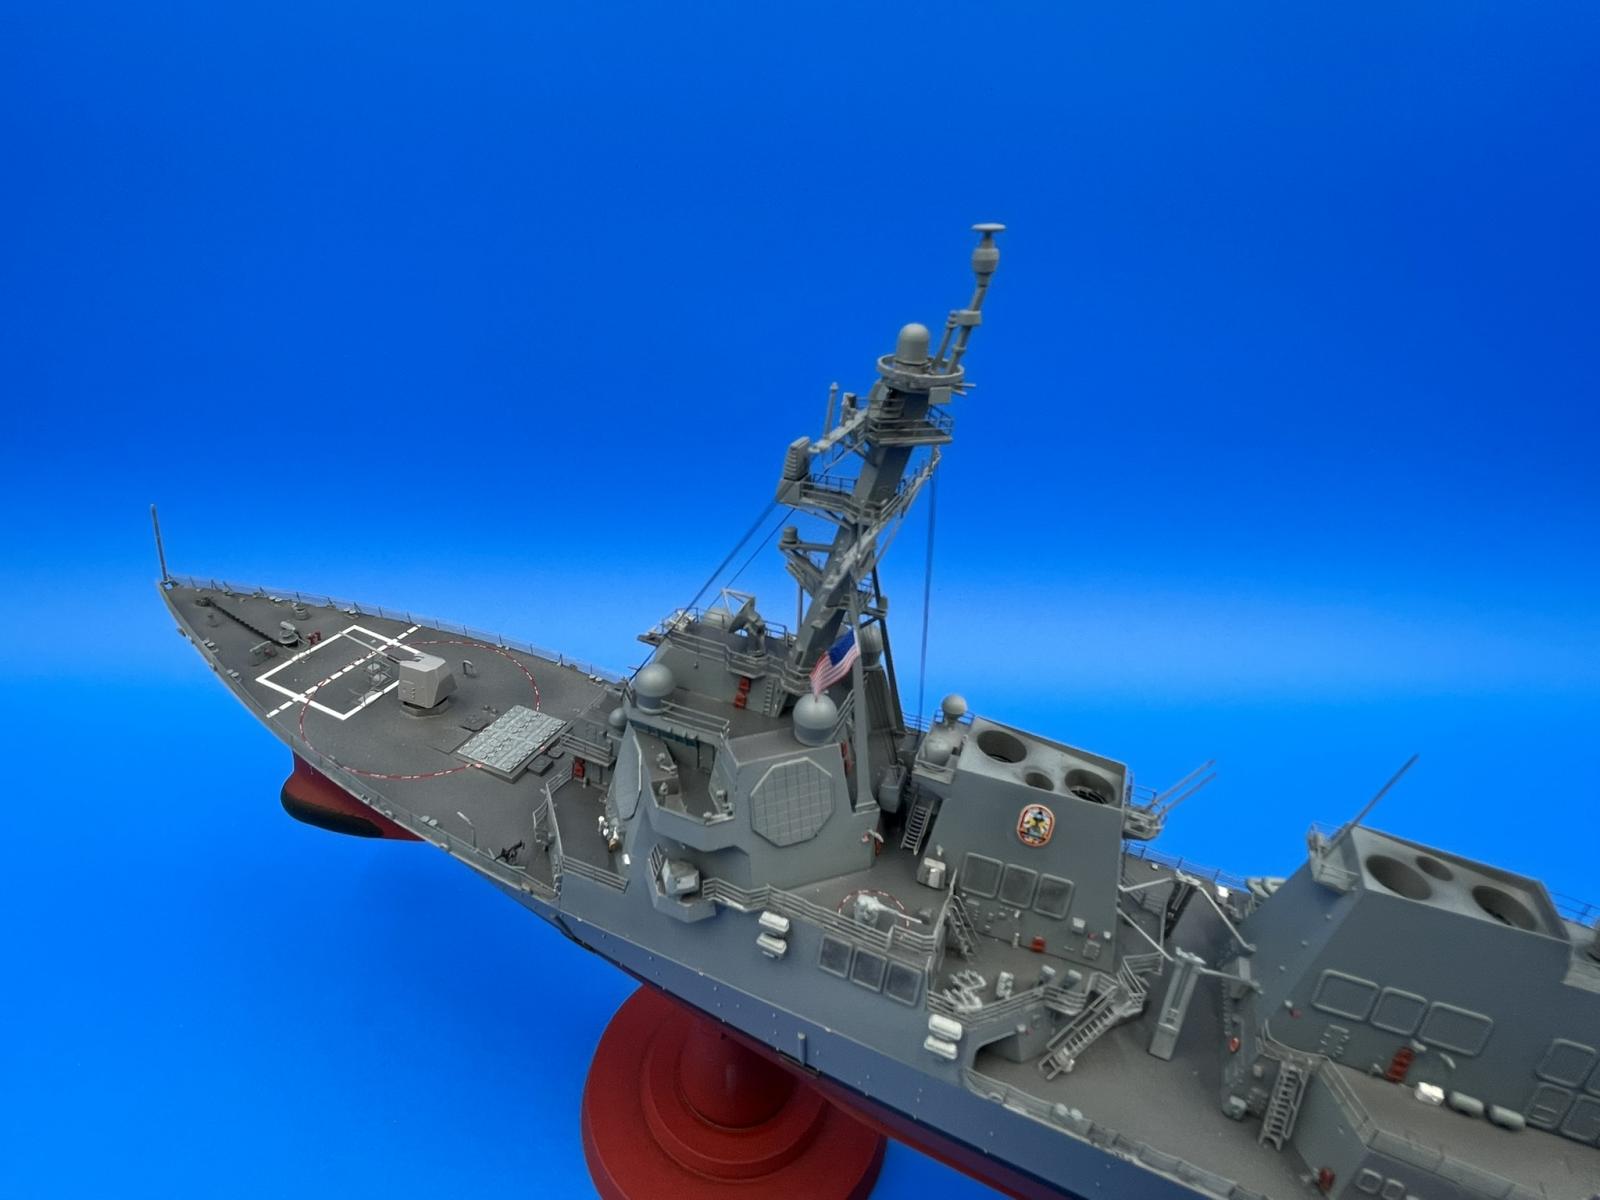
The hull is in three pieces and has a unique assembly method. These large clips that they use for locking each section of the hull together make it so that you can keep glue completely away from the visible edges of the model. I was most excited about this method as even dry fitting the pieces together, it was hard to tell that there was a seam. One critical watch out for the modeler is the bow of the main deck. Beacon uses a loop on the boot-strap section of the hull to protect the tip. I mistakenly cut off the prow of the hull, on the main bow section, initially thinking that it was another protector for the tip. Just a silly mistake on my part as when you look at the pictures, you can obviously tell the way the bow is designed on Jack Lucas, that no cuts should be made.
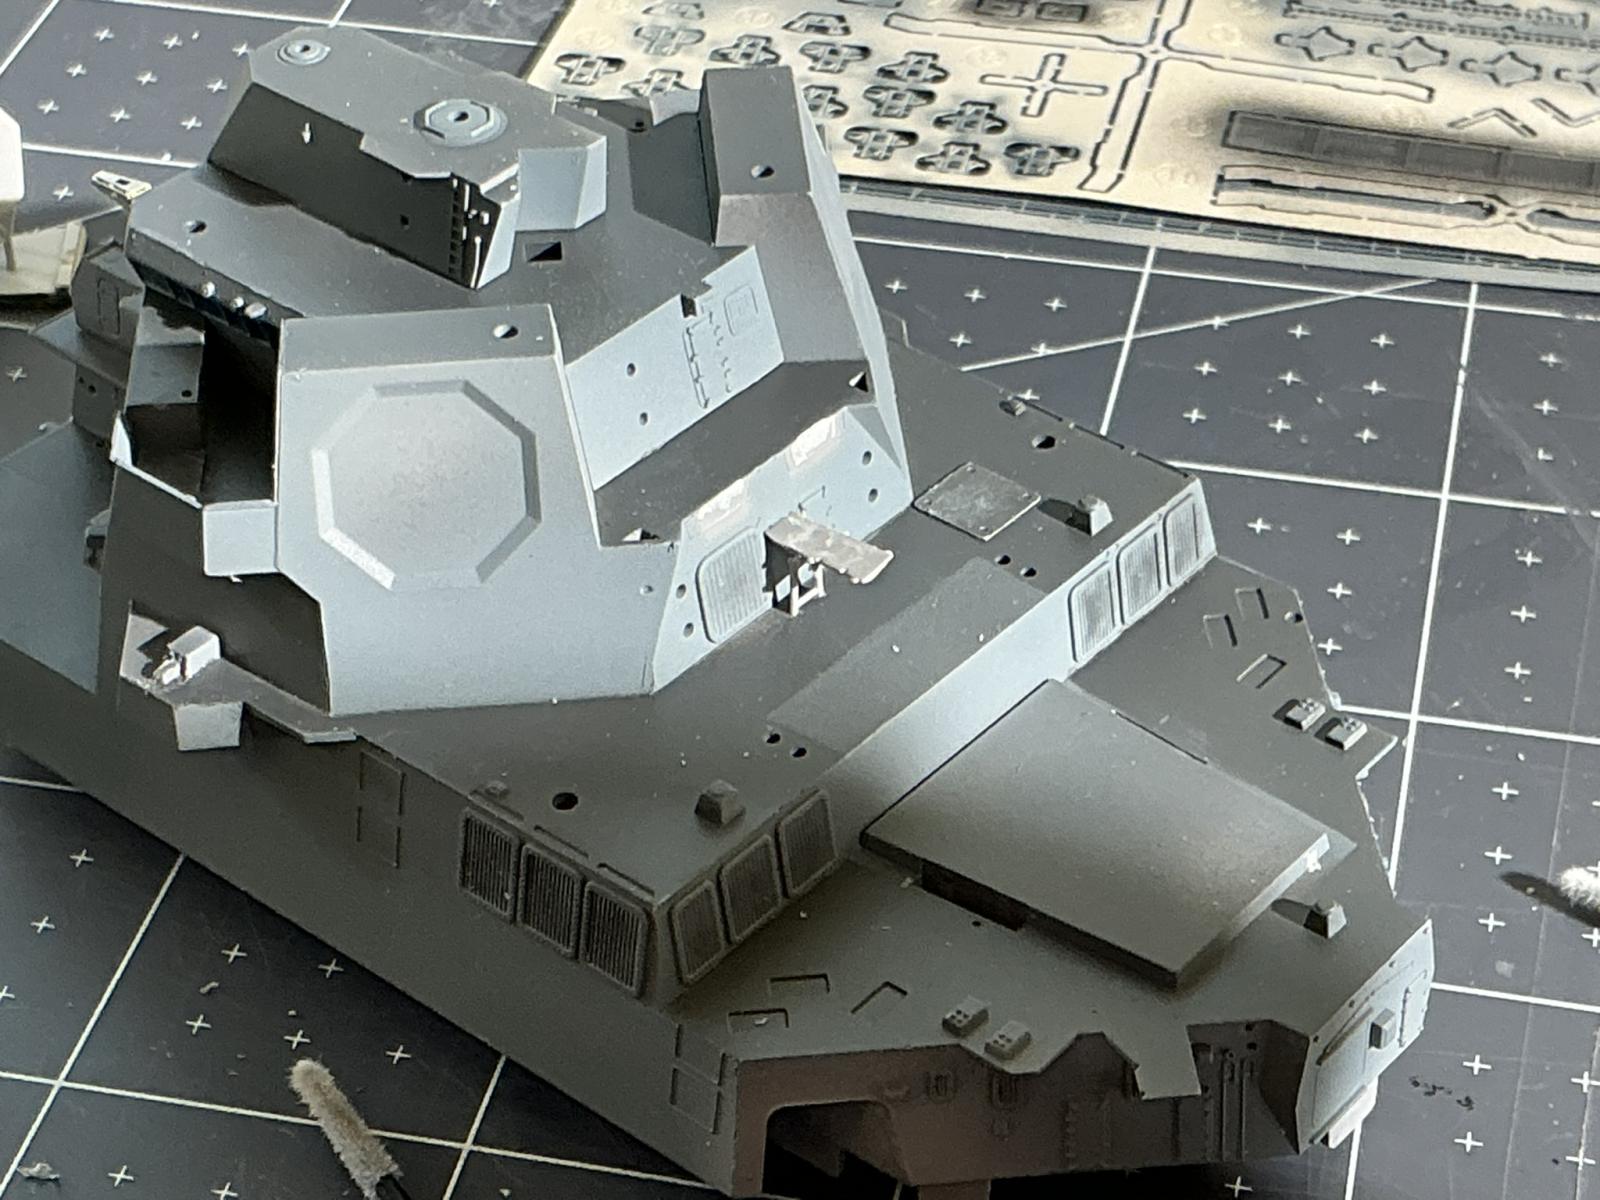
The super structure goes together cleanly with no seams between parts that need to be filled with putty. I did opt to assemble this differently than the instructions. I didn’t want to have the entire super structure assembled and then place it on the deck. This is a personal preference, I’m always afraid there will be gaps formed because the length of the super structure doesn’t allow for any flexibility. Beacon Hobby includes a very nice set of masks for the deck. All these small openings for hatches and miscellaneous deck equipment lined up very well. The only issue I had was with mask 6, as it appears they designed the cuts on the mask from the 2-D picture however, this is a three-dimensional part at two different levels and so I had to cut the mask up into pieces in order to get it to fit. The other thing I would change about how I assembled the ship would’ve been to hold off installing the binoculars on the bridge level. I not only ended up having the 3-D printed parts break, but then later even the injection molded plastic parts got knocked off. This experience led to me waiting on a number of parts, such as the cameras that go along the superstructure sides, until the very end of the build. Another lesson learned for me would be to pre-drill holes in part B16 before installing it on the mast. The upgrade kit has two resin cone shaped antennas, part number 19, that are very hard to lock in place without a locating hole. Lastly, deck part A3 and it’s support part J40 do not fit without a little fine work with your number 11 blade. This part is tough to start with because it ends up sitting between two sections of the superstructure.
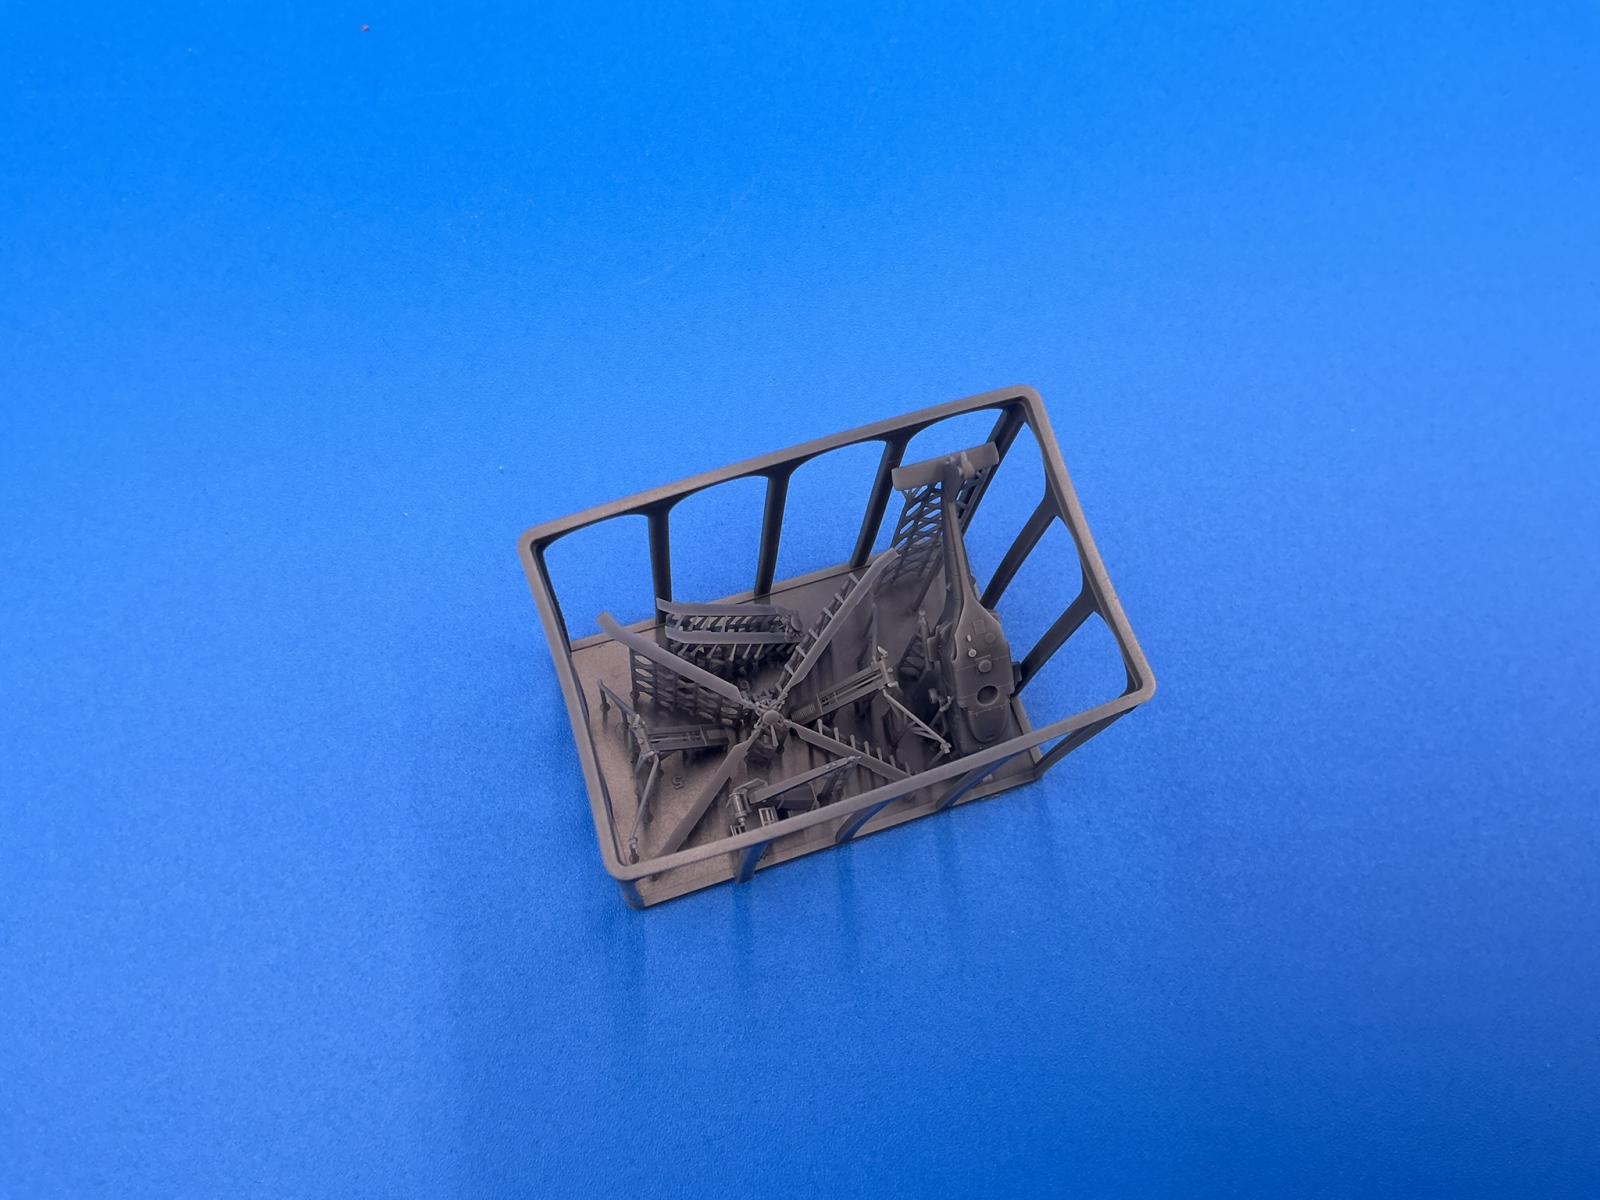
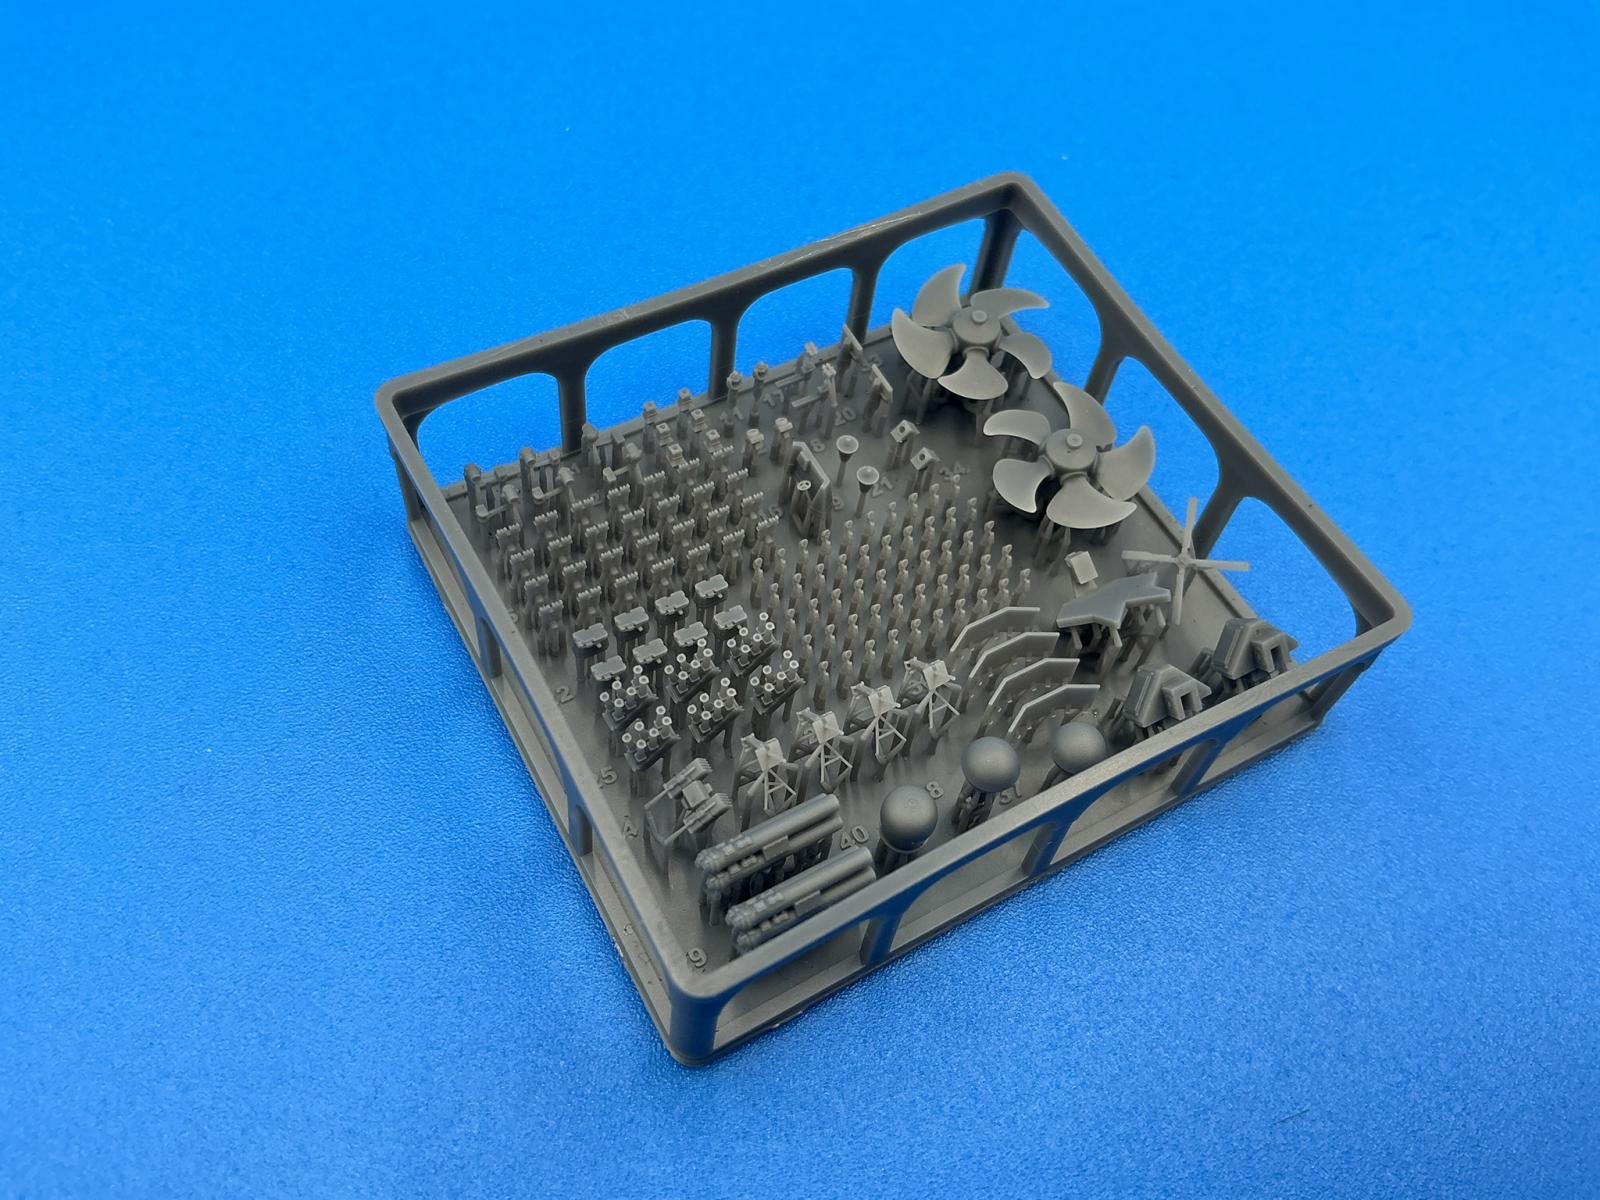
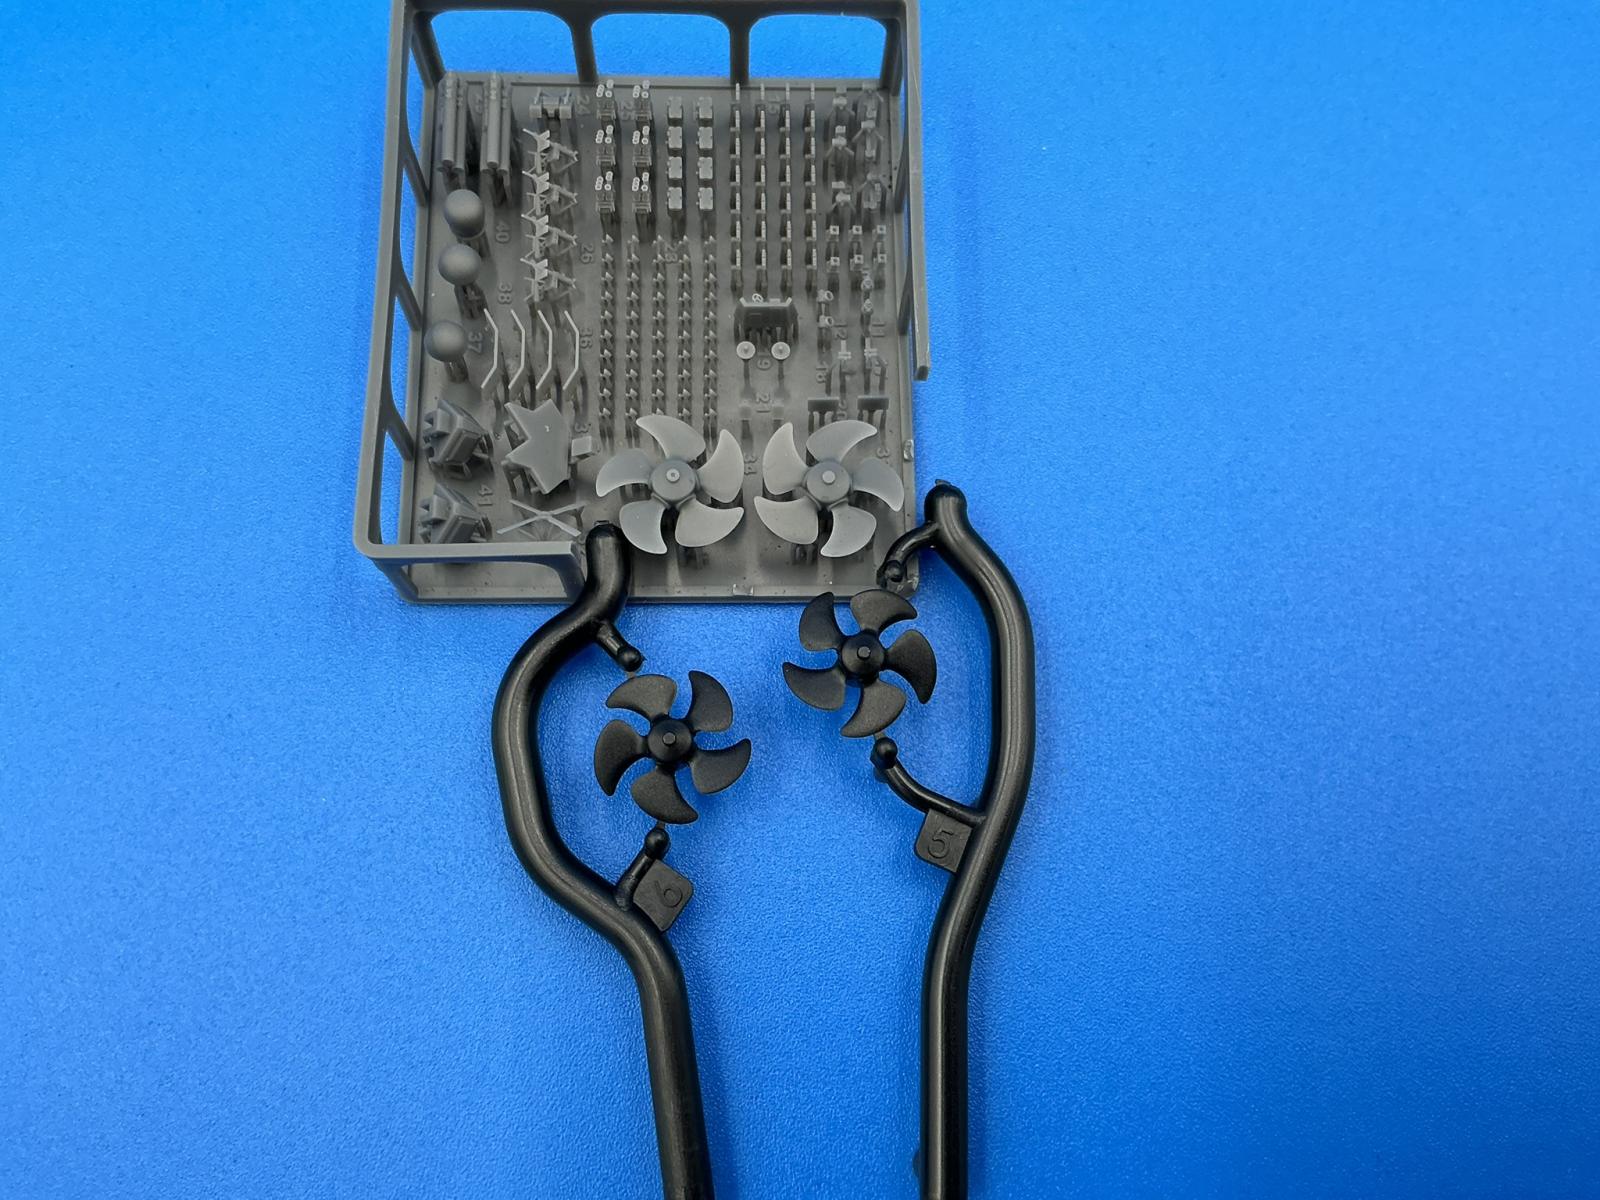
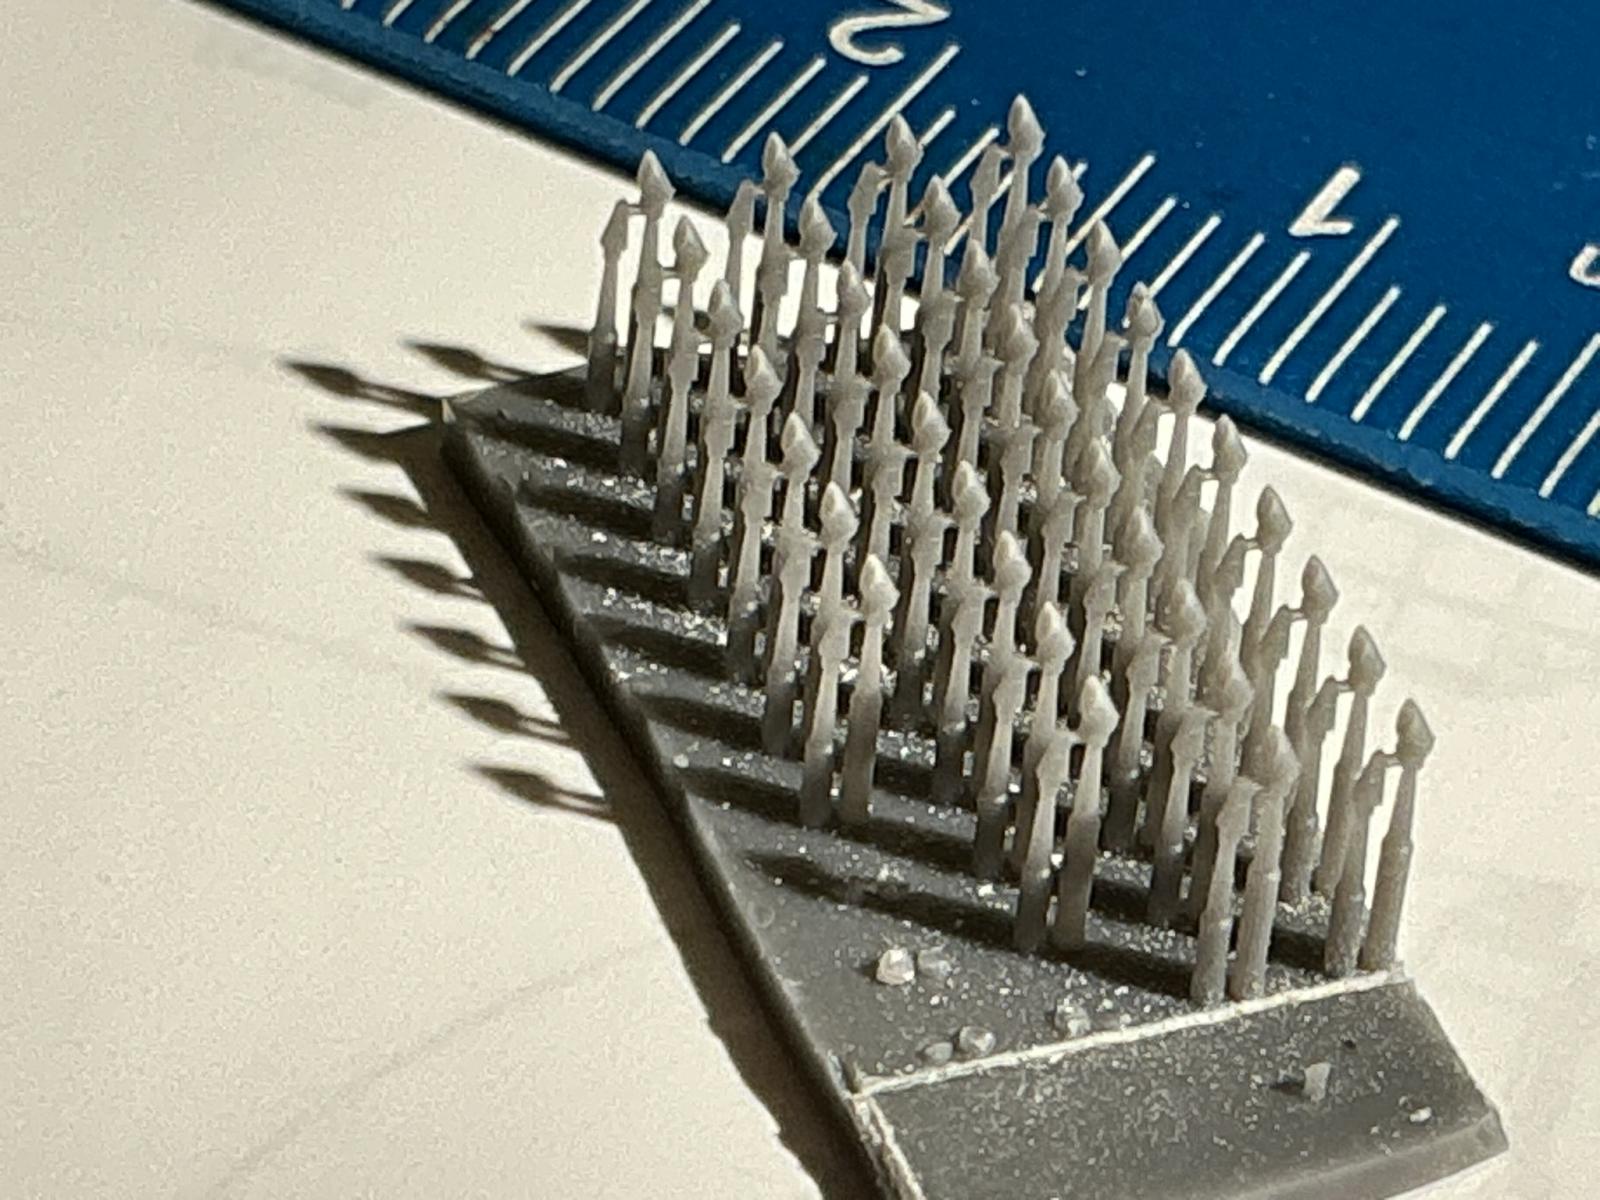
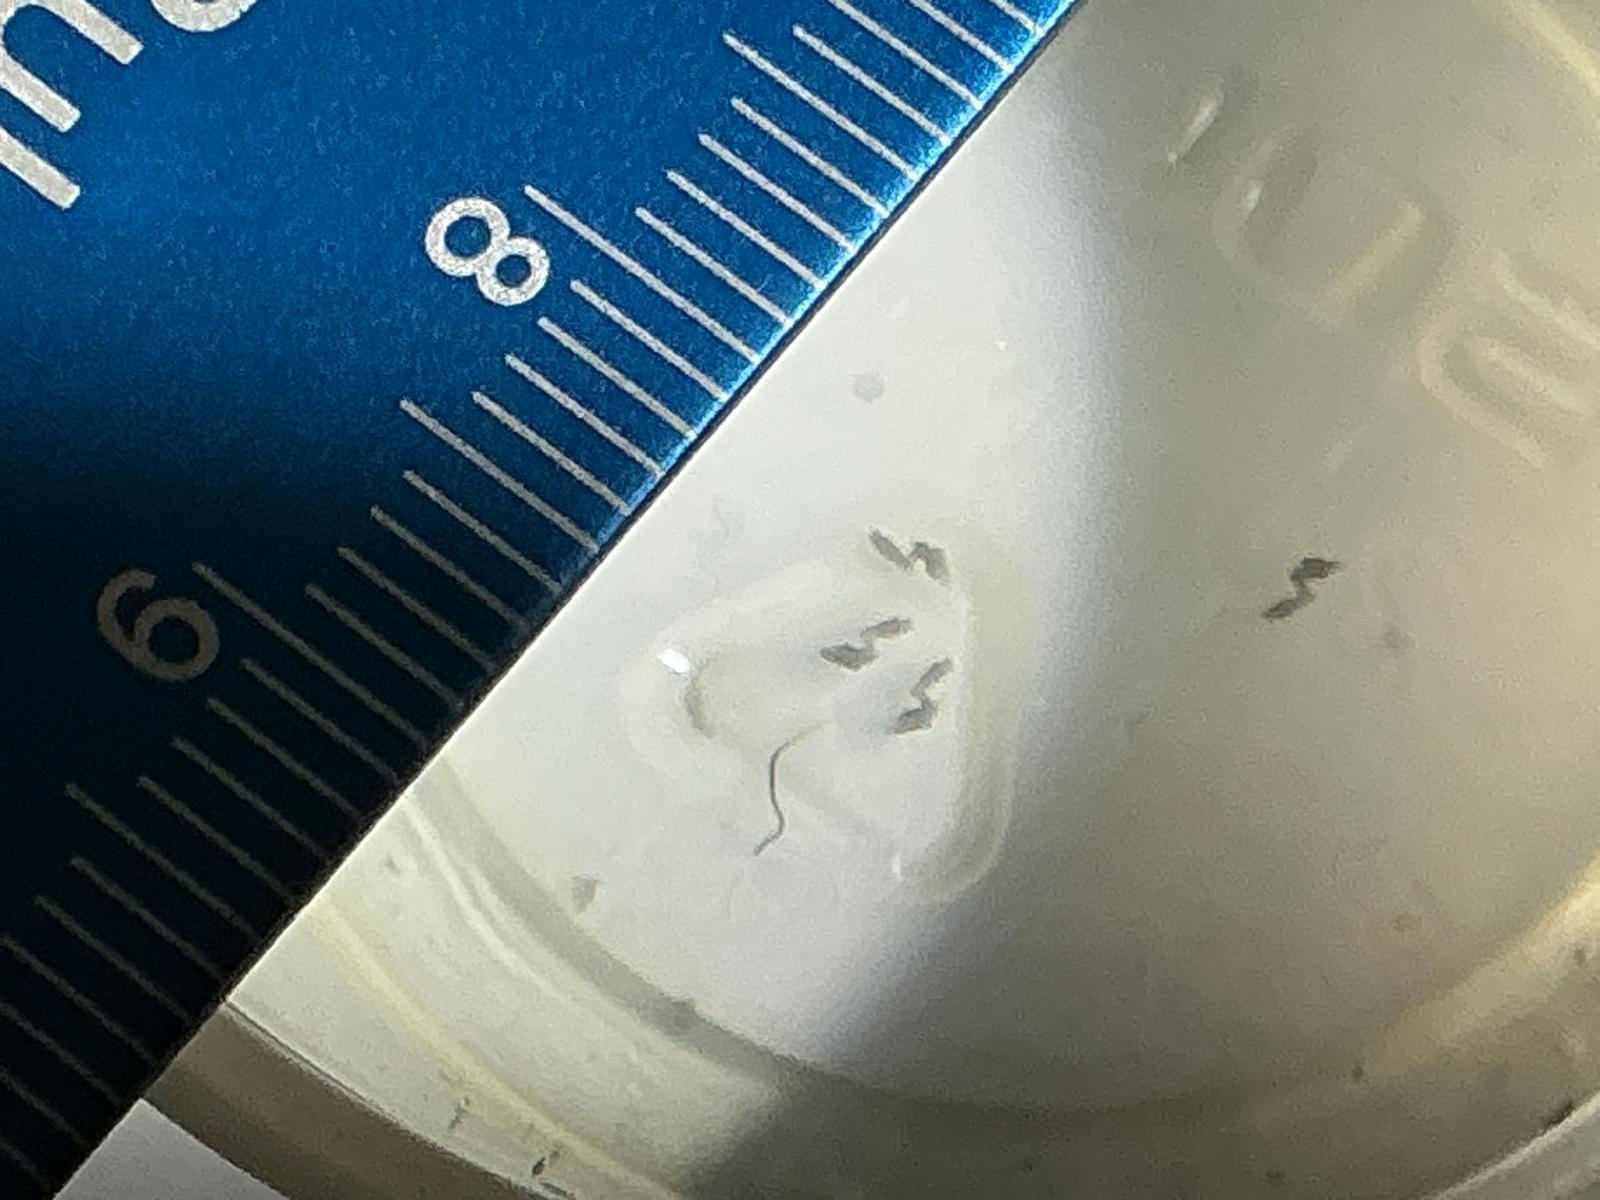
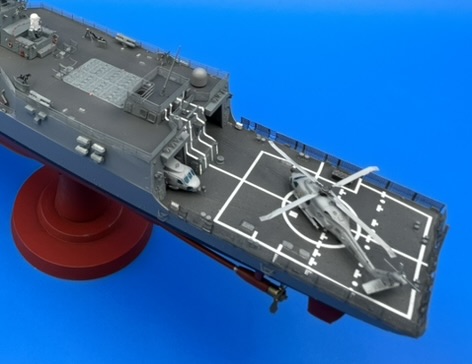
I would say that every 3-D printed part from the upgrade kit was a marked improvement over the kit plastic. I do think they made smart choices on which pieces to upgrade; for instance, the cameras that go around the superstructure, the 25 mm deck guns, and especially the radar antennas. I was successfully able to remove every 3-D part without brittle sections of the part breaking when removing from the supports. I was very happy with this as that can be one of the biggest struggles with 3-D parts. I will say the print with the helicopter on it is a bit crowded so be extra careful removing each part. One nice-to-have for future reference would be if they had printed another 10 of the cameras for the hull. These pieces are infinitesimally small and very easily break or ping to infinity off your tweezers. I mixed and matched kit plastic parts to replace the five 3-D printed parts that either broke or were lost. The other benefit of the 3-D printed parts is that the injection molded screws are the wrong orientation. The 3-D printed parts have a corrected orientation for the screws and so those are definitely the ones you will want to use. Having an injection molded helicopter and a 3-D printed helicopter enhances the display of the model. I opted to use both resin rotors; the folded set of rotors to place one helicopter in the hanger and then be able to display the second helicopter on the deck. Both are very well detailed and look good painted and decaled. My favorite element of the 3-D printed parts is the hand wheel inside the deck house for the winch. The level of detail they achieved with this is just incredible.
The two additional photo etch frets that come with the upgrade kit definitely enhance the model. The full set of railings are really critical for a finished ship model at this level. Deck plate, antennas, and ships bell frames were a significant enhancement to injection molded parts. Again, I believe Beacon has chosen key parts to include in the upgrade kit that are just another step above what can be done with plastic. The one thing that I did believe was still a little out of scale in photoetch were the two wings that sit above either side of the bridge. They still just look a little too big compared to all the photos I have of the ship. The instructions for the railing and PE part folds worked out better than the average that I have experienced from other manufacturers. There are one or two folds that are just tough to figure out based on the orientation. Beacon has included a number of callouts that show how parts fit from different angles like a top view versus a side view. Very helpful.
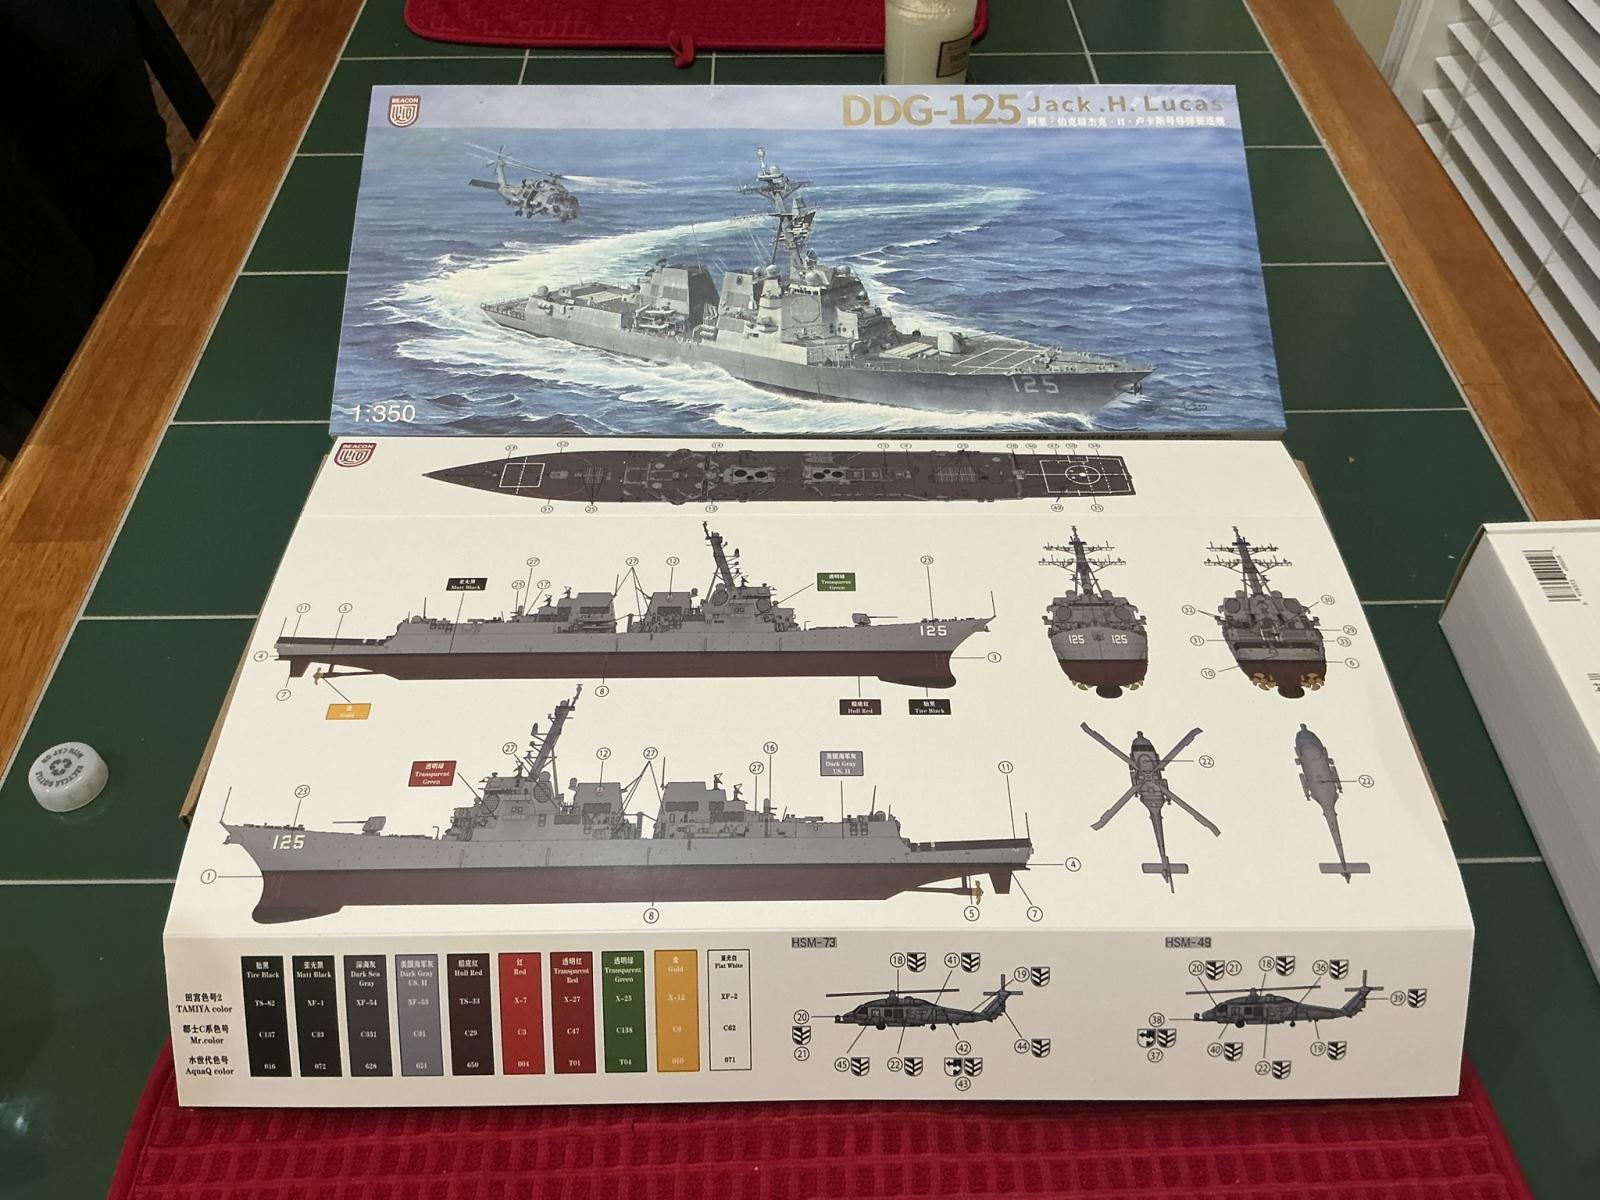
The decals laid down nicely. I was able to place everything cleanly without them folding up on themselves. They are just a little bit thick and so you will notice that they are proud of the surface. I laid down just an extra flat coat around them and it leveled out nicely. All the decals that you need for the ship are present, plus 2 air group markings for the helo in the base kit so when purchasing the upgrade kit you are all set to decal the resin helo as well.
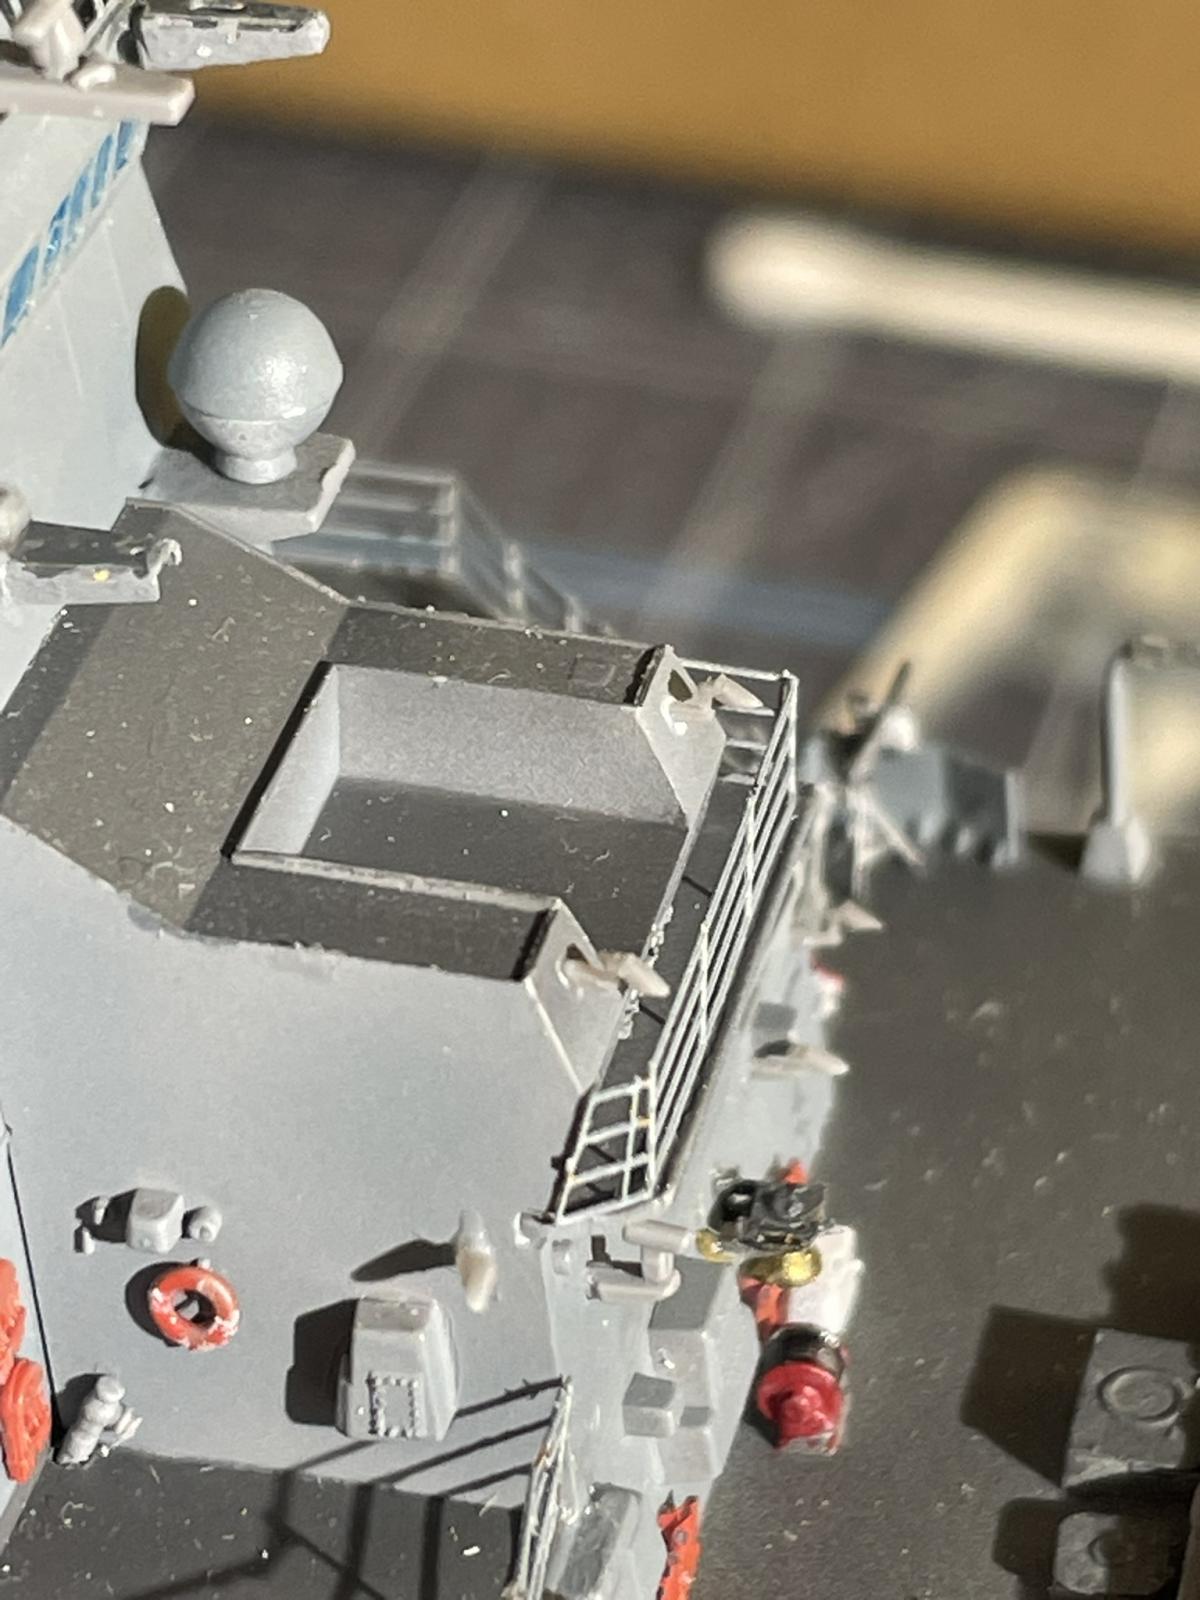
Metal parts all worked out great. A surprise for me were the metal radomes. Used to these at best being 3D printed, I was curious as to the value of metal. Turns out it’s in how the paint looks on them. Very smooth, and the golf ball shape just looks better. Gun barrels look and install fine, no issues. There is enough chain for a dropped anchor or to have the anchor raised and chain stoppers installed.
This ship will look great built just out of the box or with the full upgrade kit from Beacon Hobby! I felt like the number of parts really focused on adding details to the kit and not additional parts just to create complicated subassemblies. The kit shows very well as a result of the novel way they designed attachment points between hull sections and super structure, creating the opportunity to completely eliminate glue marks at seams. I thoroughly enjoyed this build over the last two months.
Many thanks to Beacon Hobby, Neerland Hobby and IPMS for not only offering the base kit, but also the upgrade kit as an opportunity to show what a manufacturer can do when they create their own multimedia options.

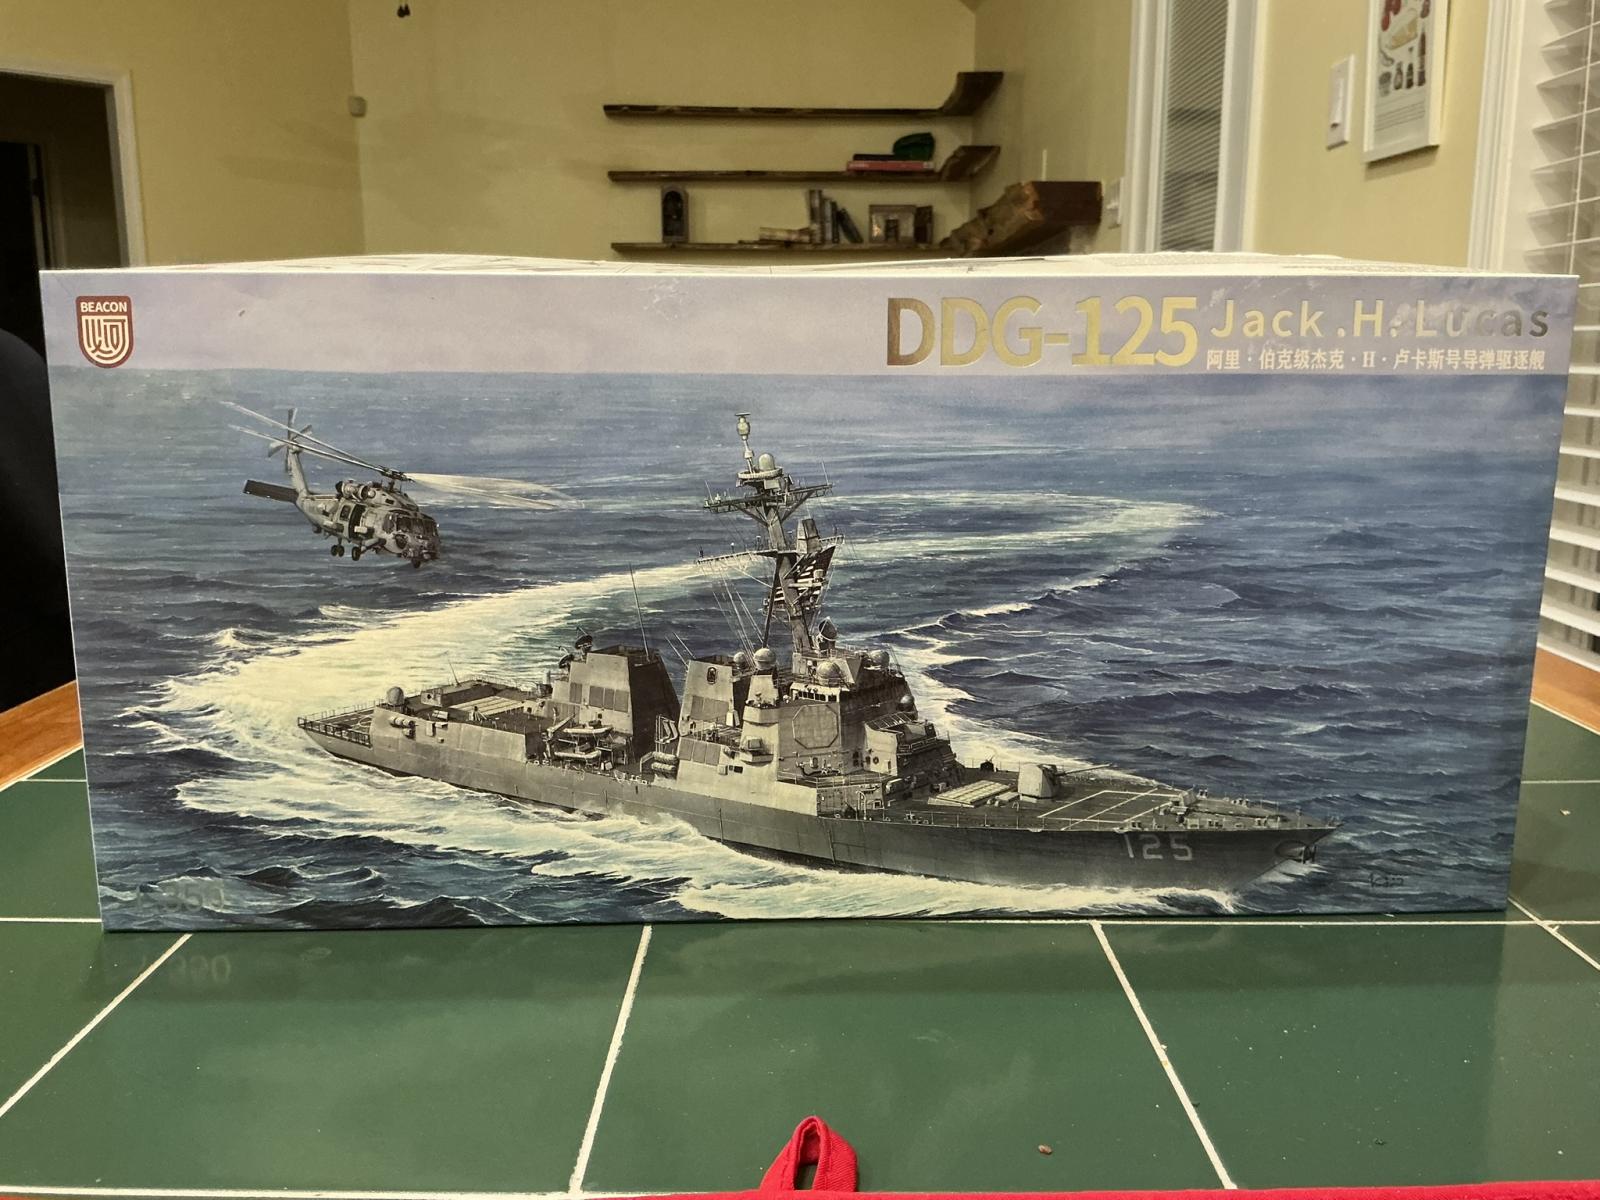
Package
Kit and Detail Set

Kit and Detail Set
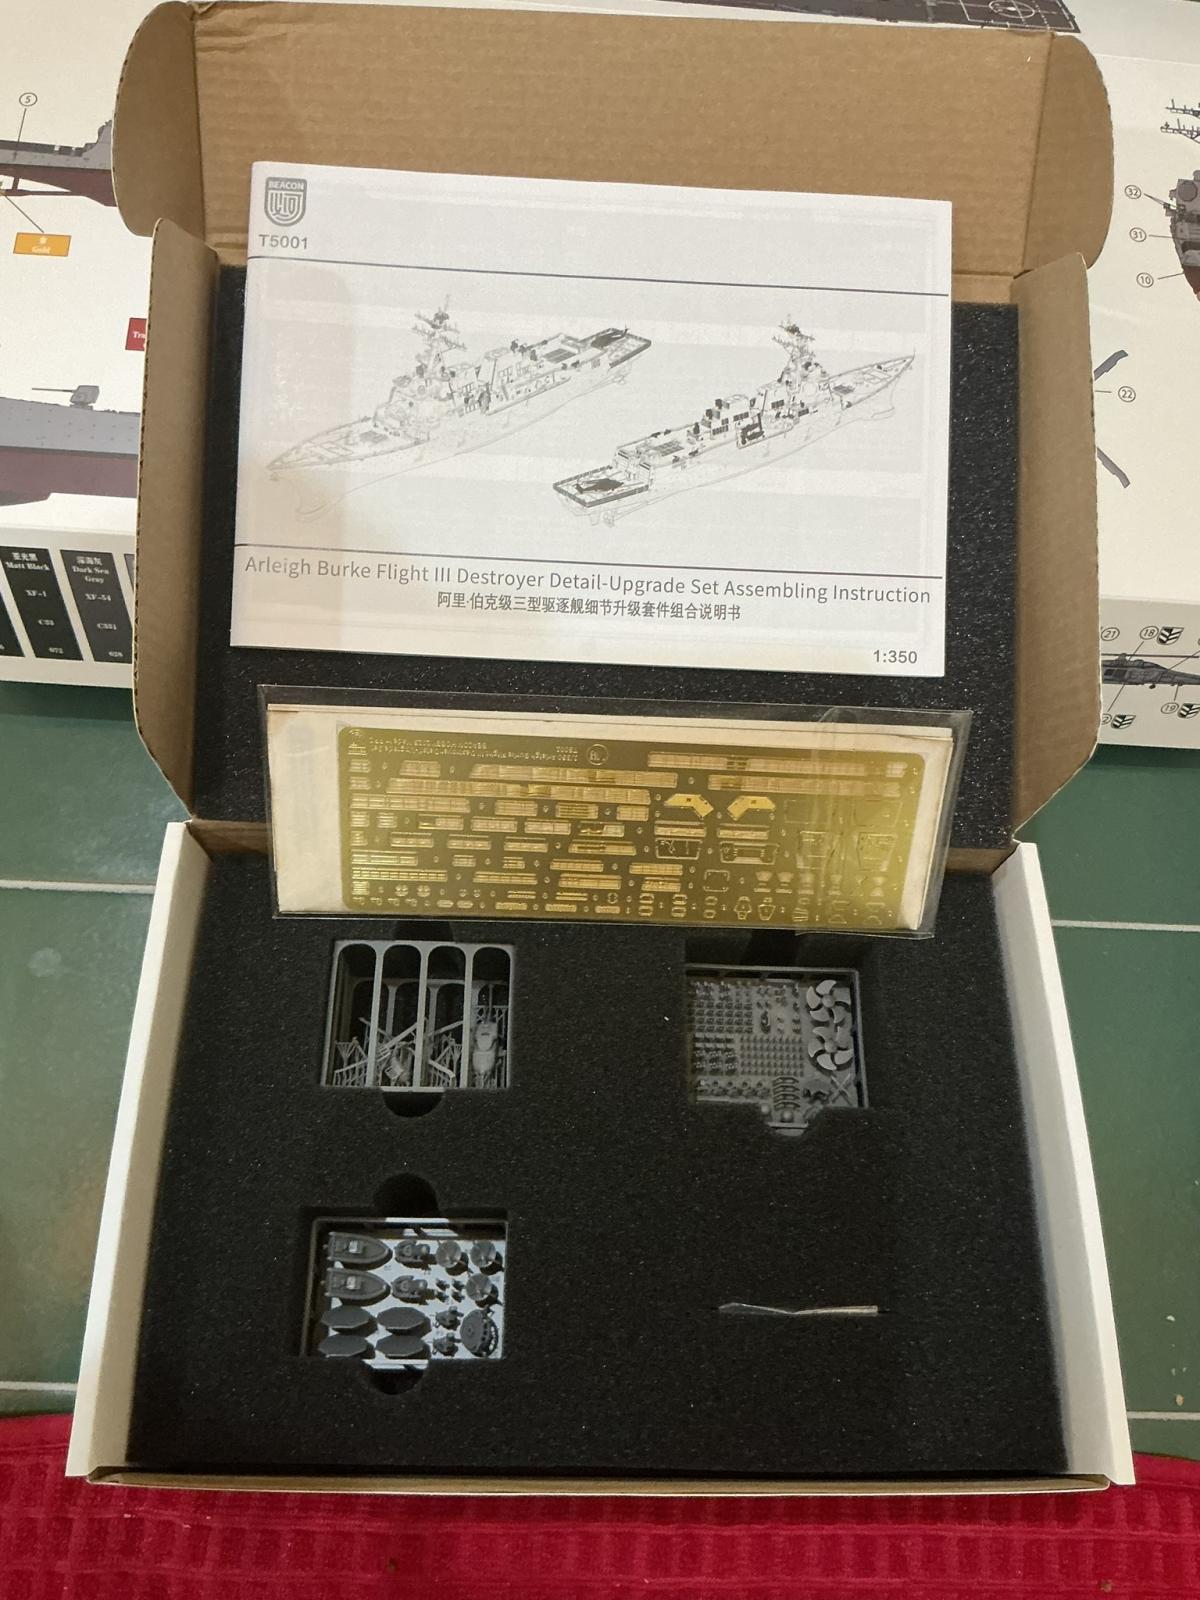
Detail Set Close up
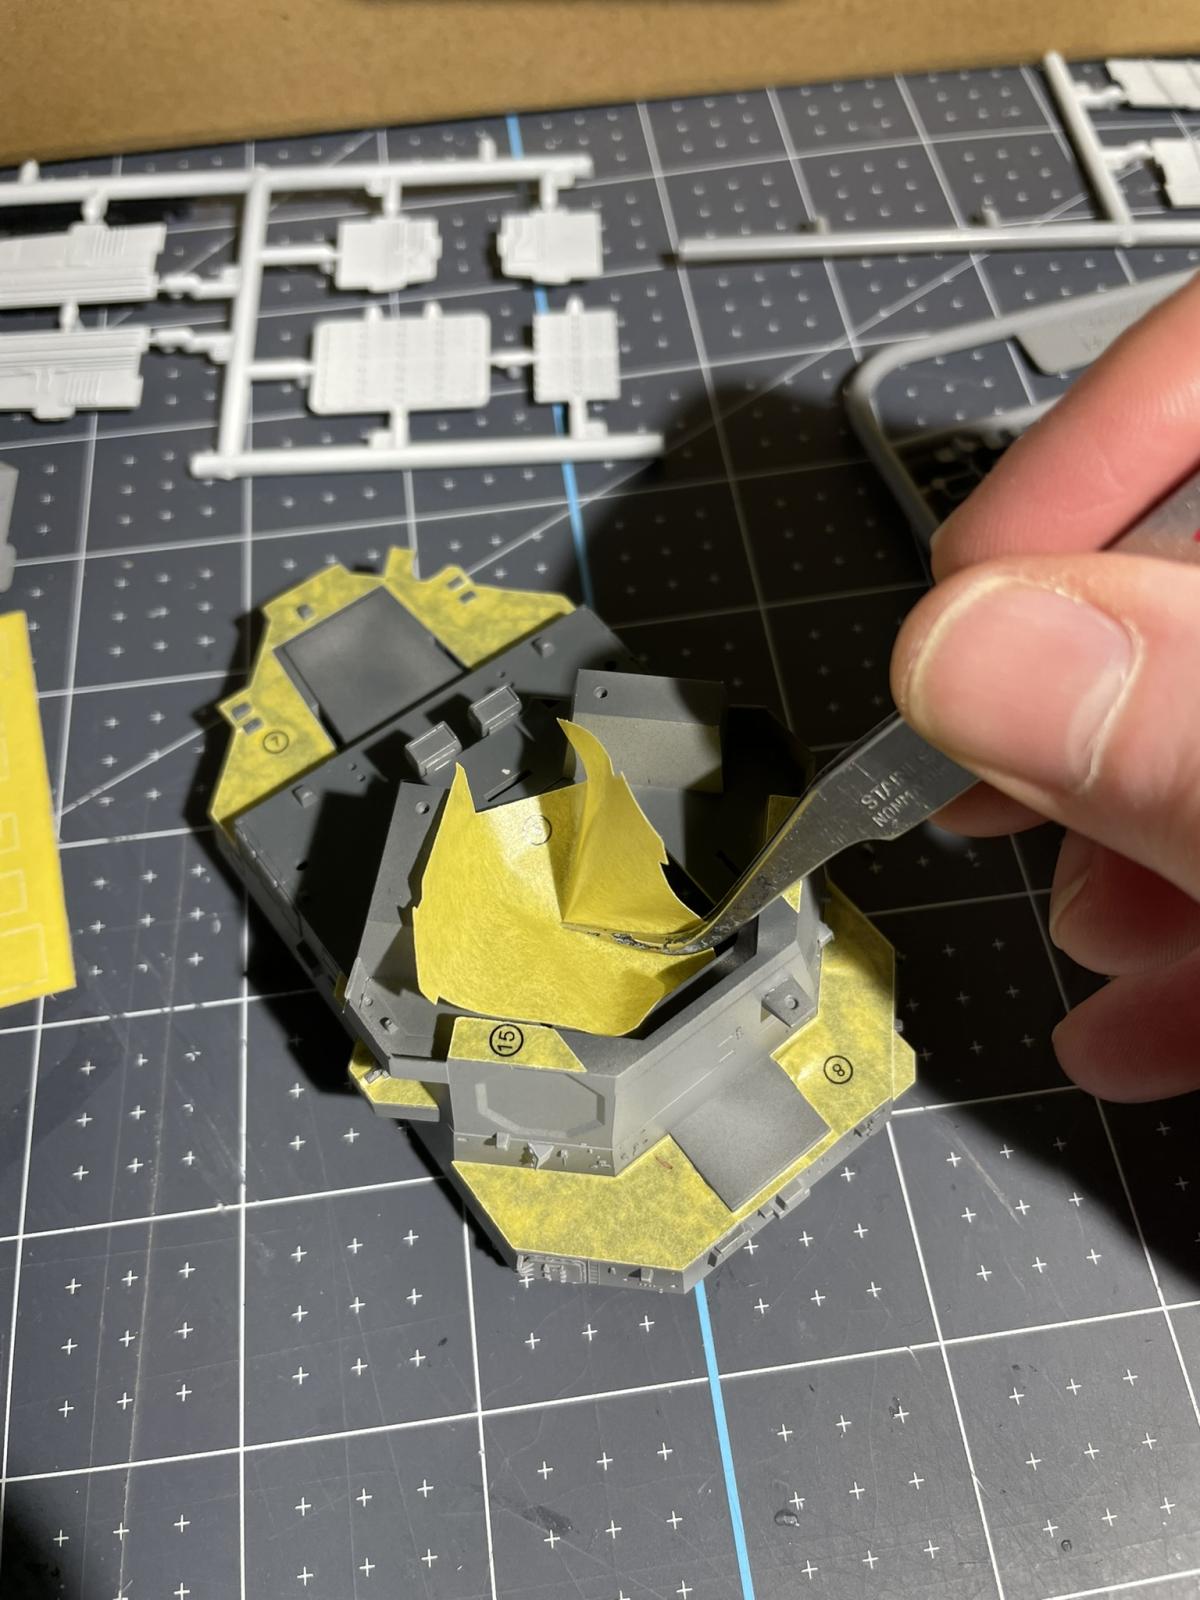
Masking

More Masking
Prepping Parts
3D Printed Parts

3D Printed Parts
3D Printed Parts
3D Printed Parts
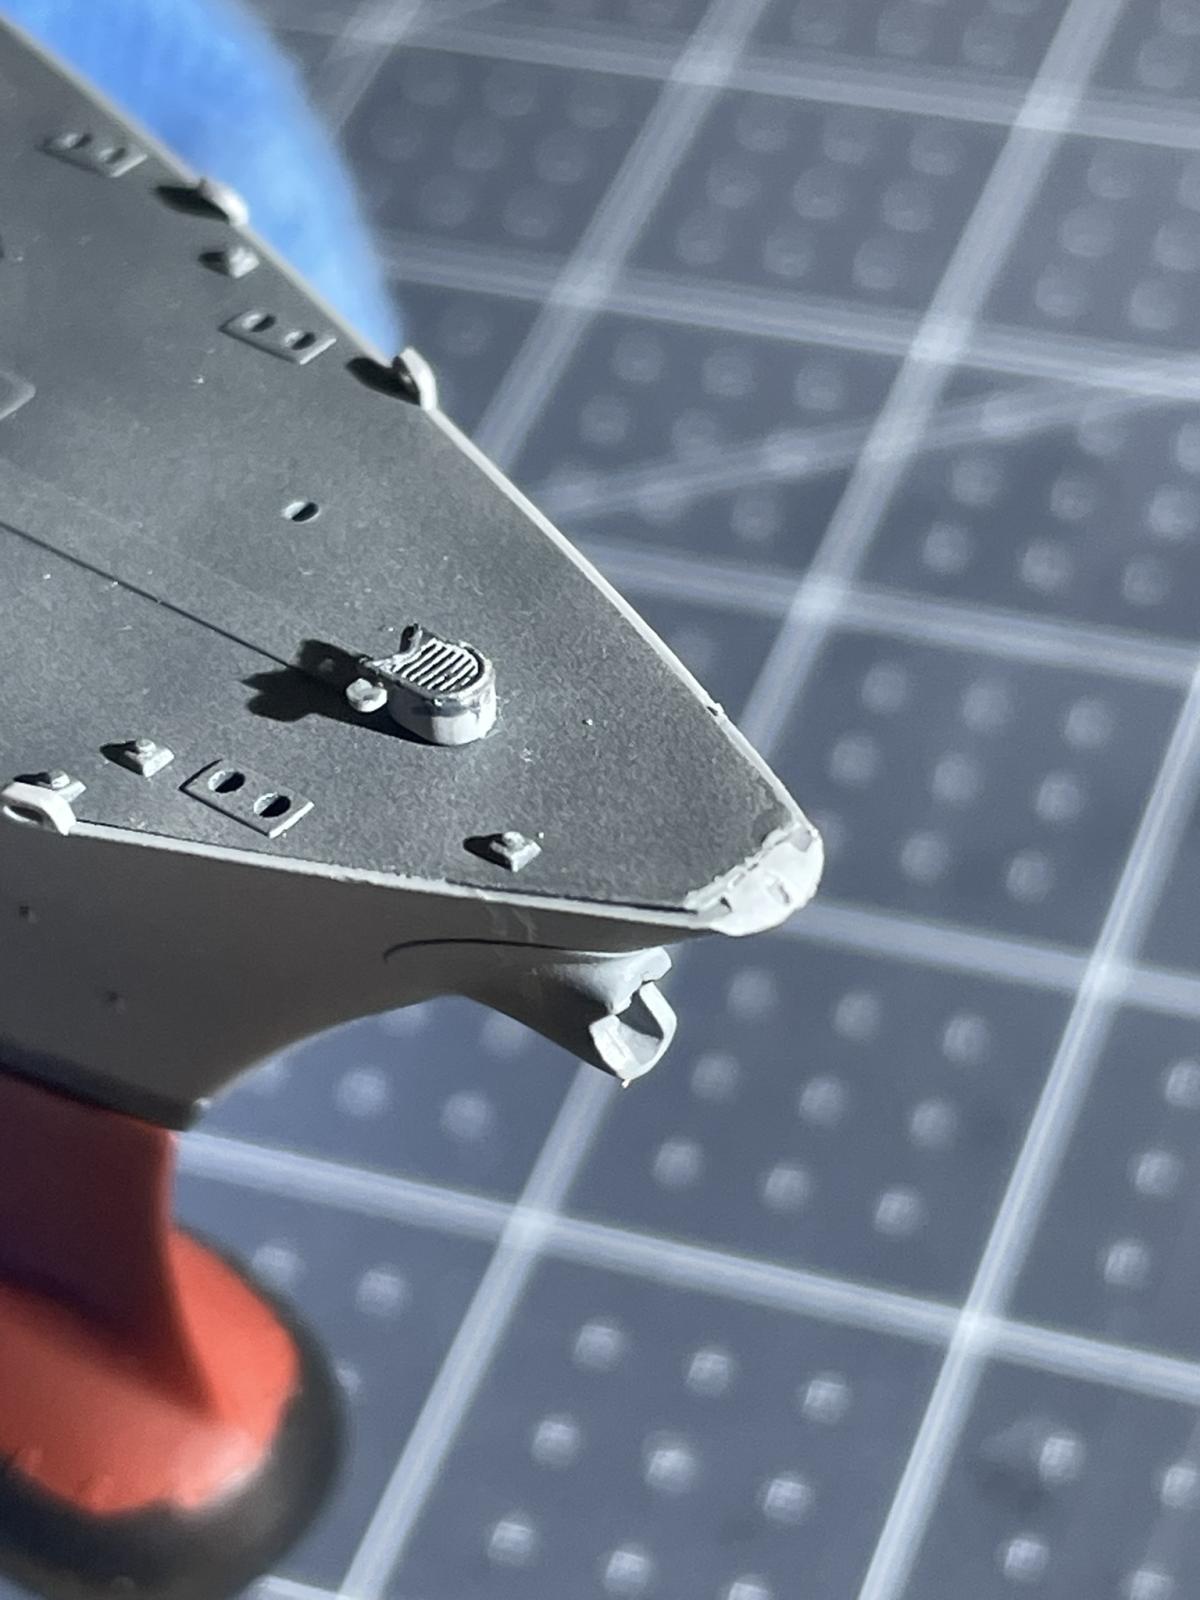
Bow Close up
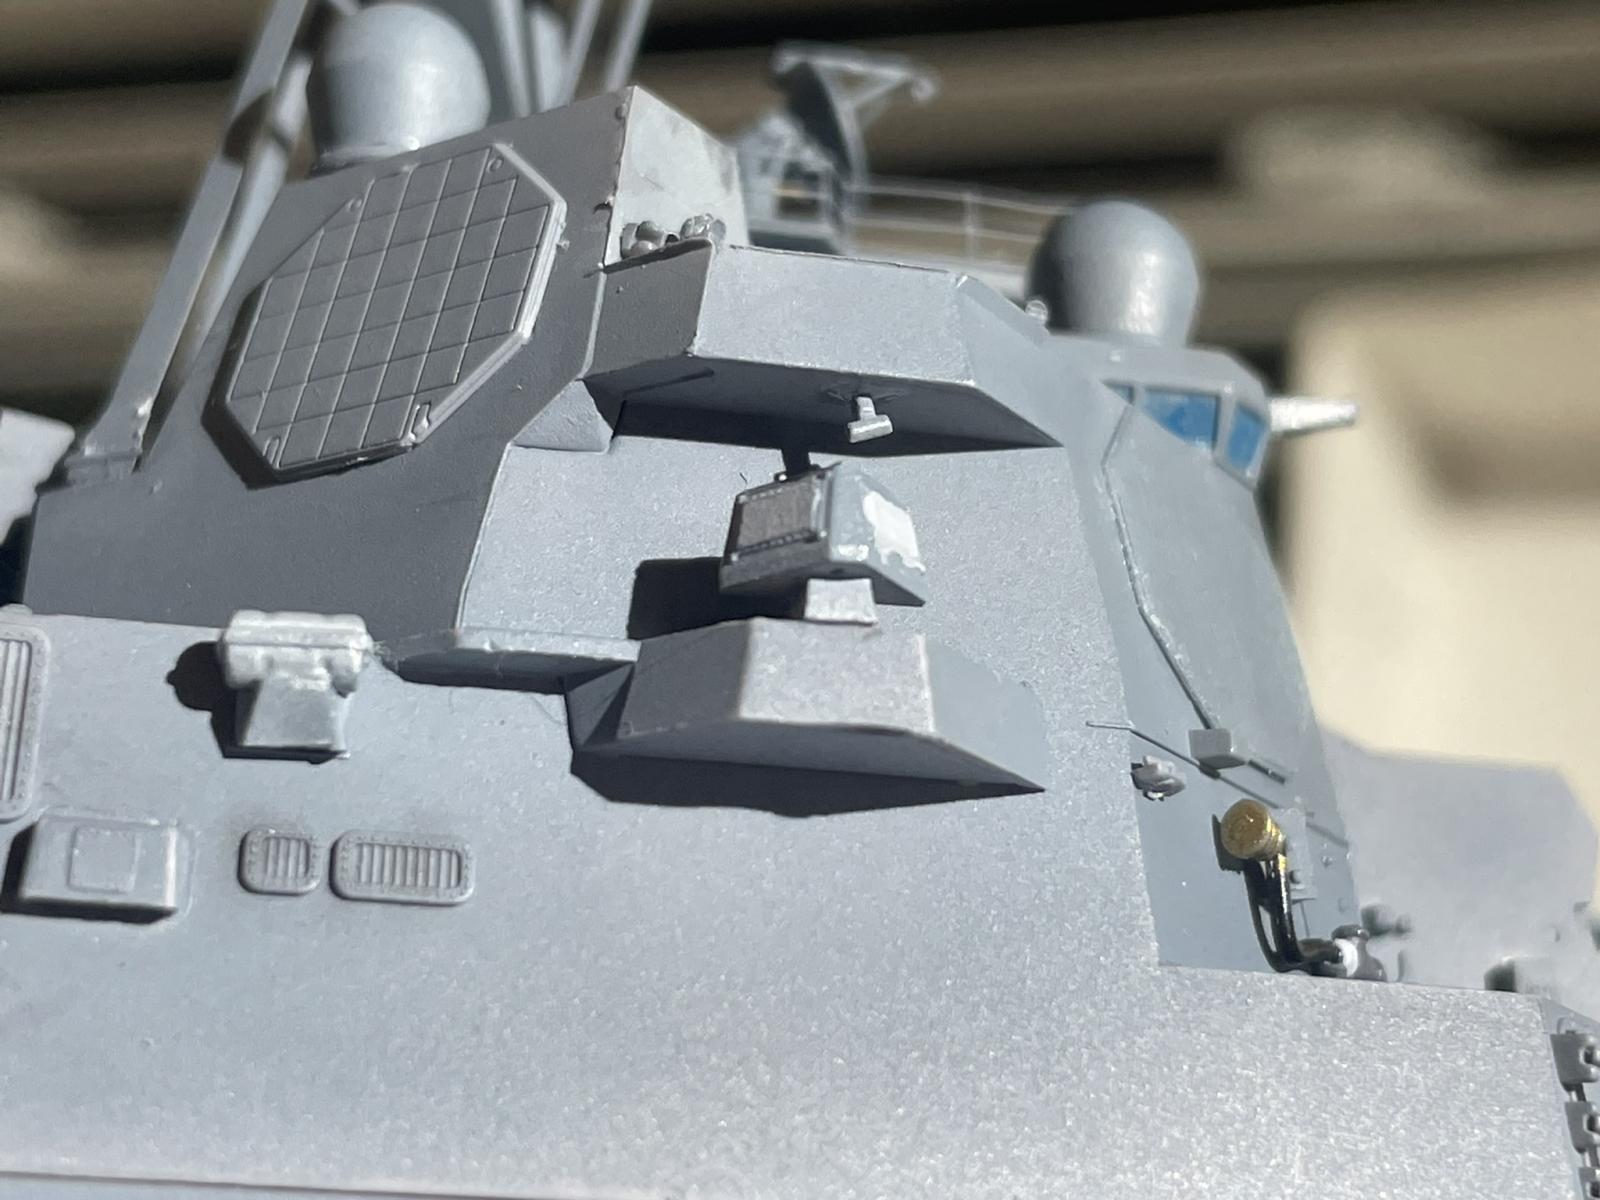
Main Bridge close Up
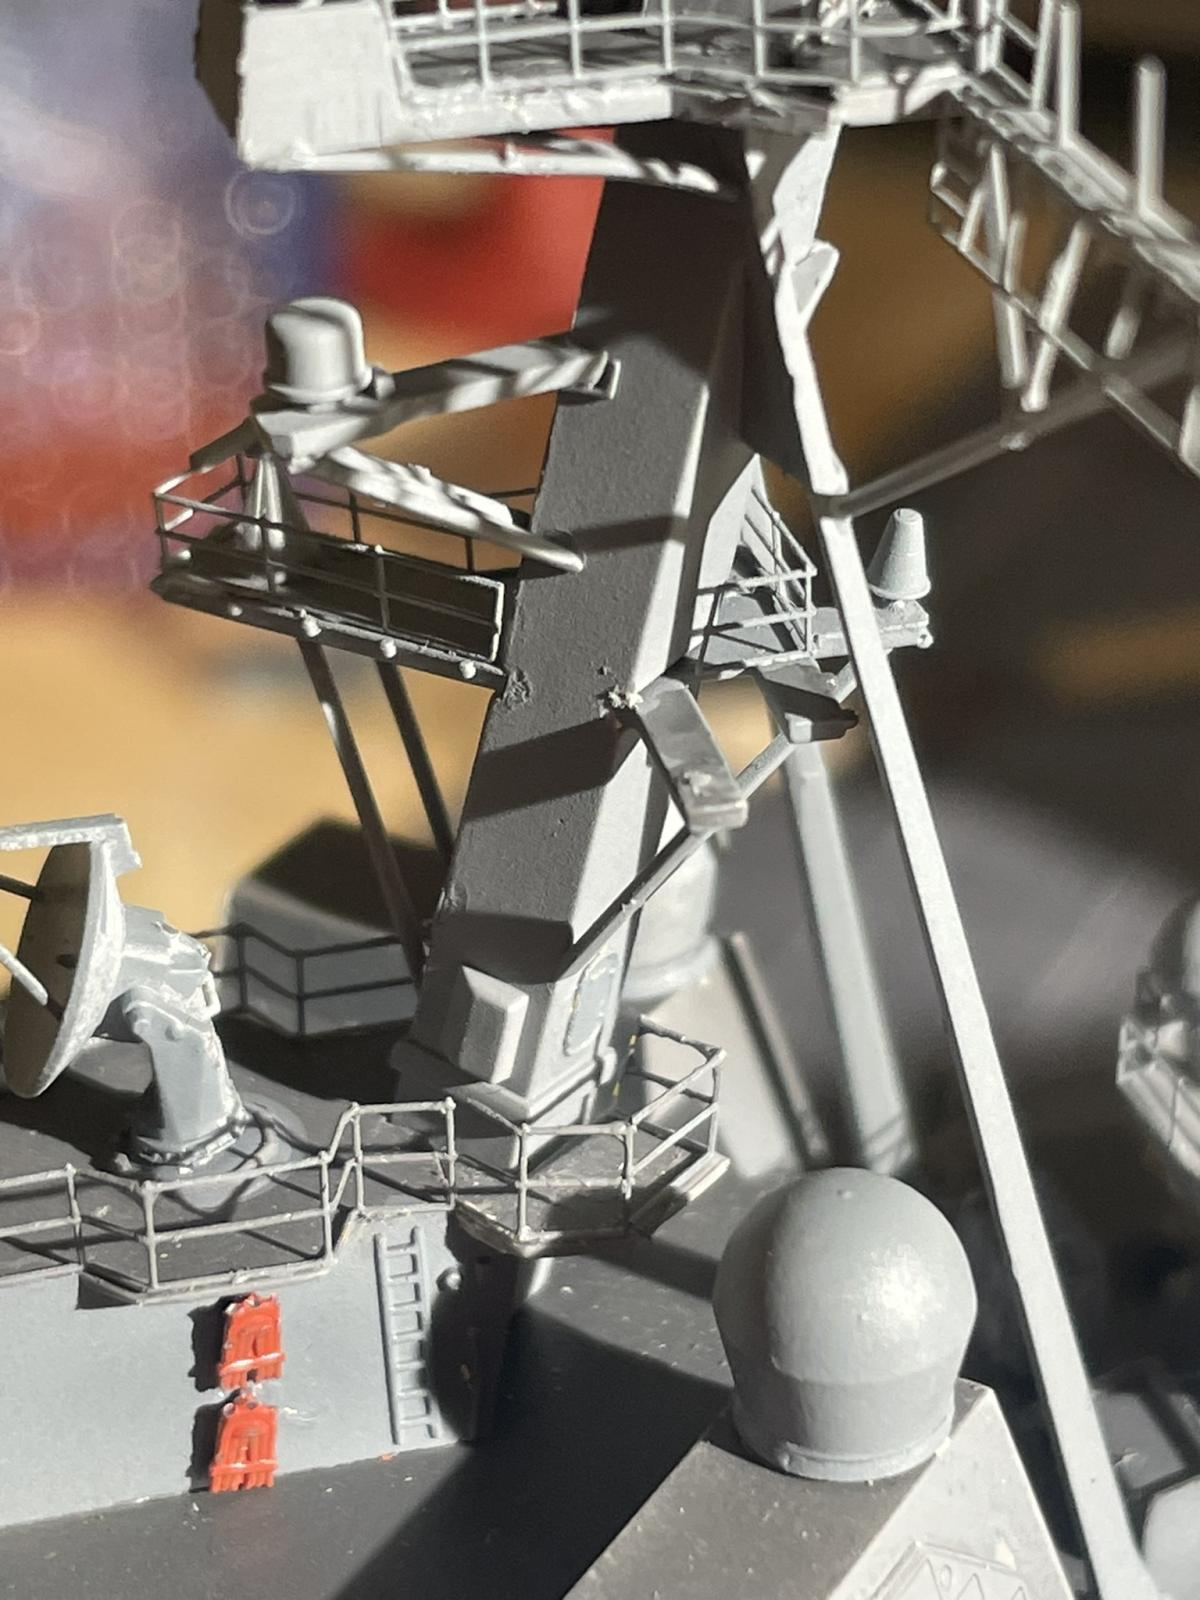
Antennaes and the Like Close Up
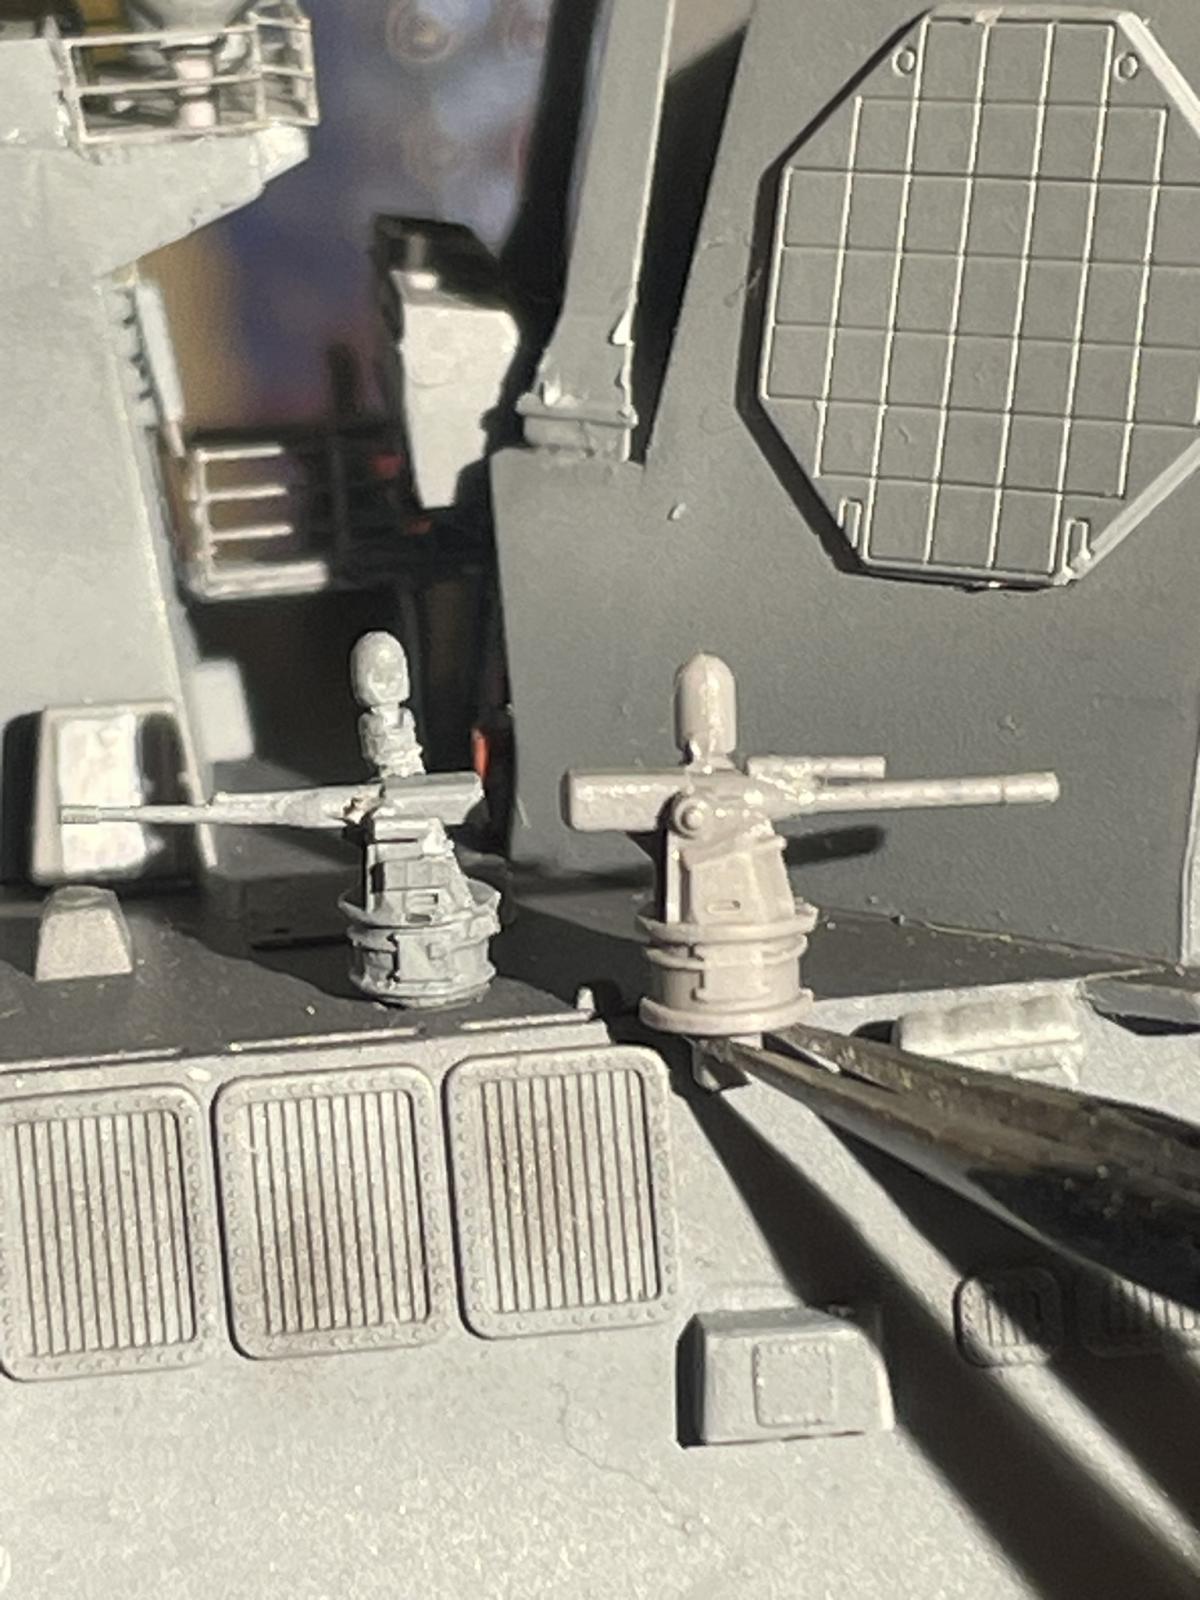
Gun Close Up
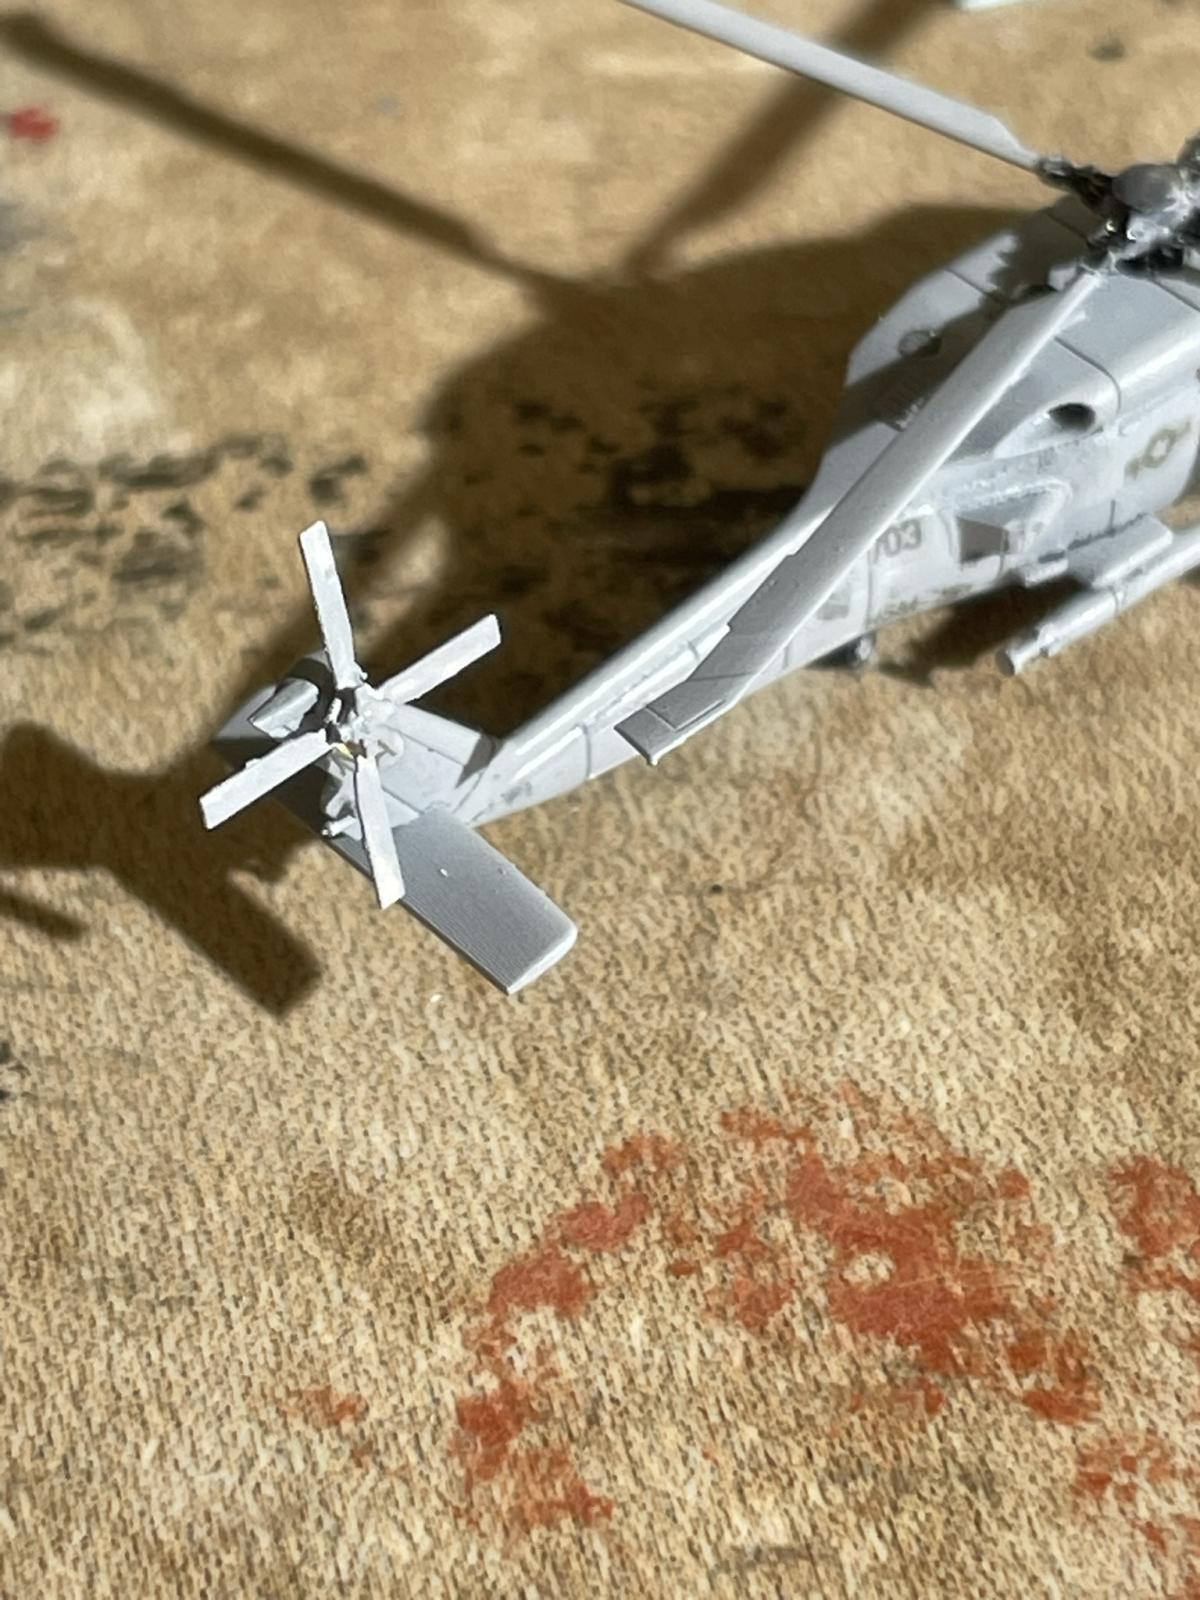
Helo Close Up
Assembly
Details
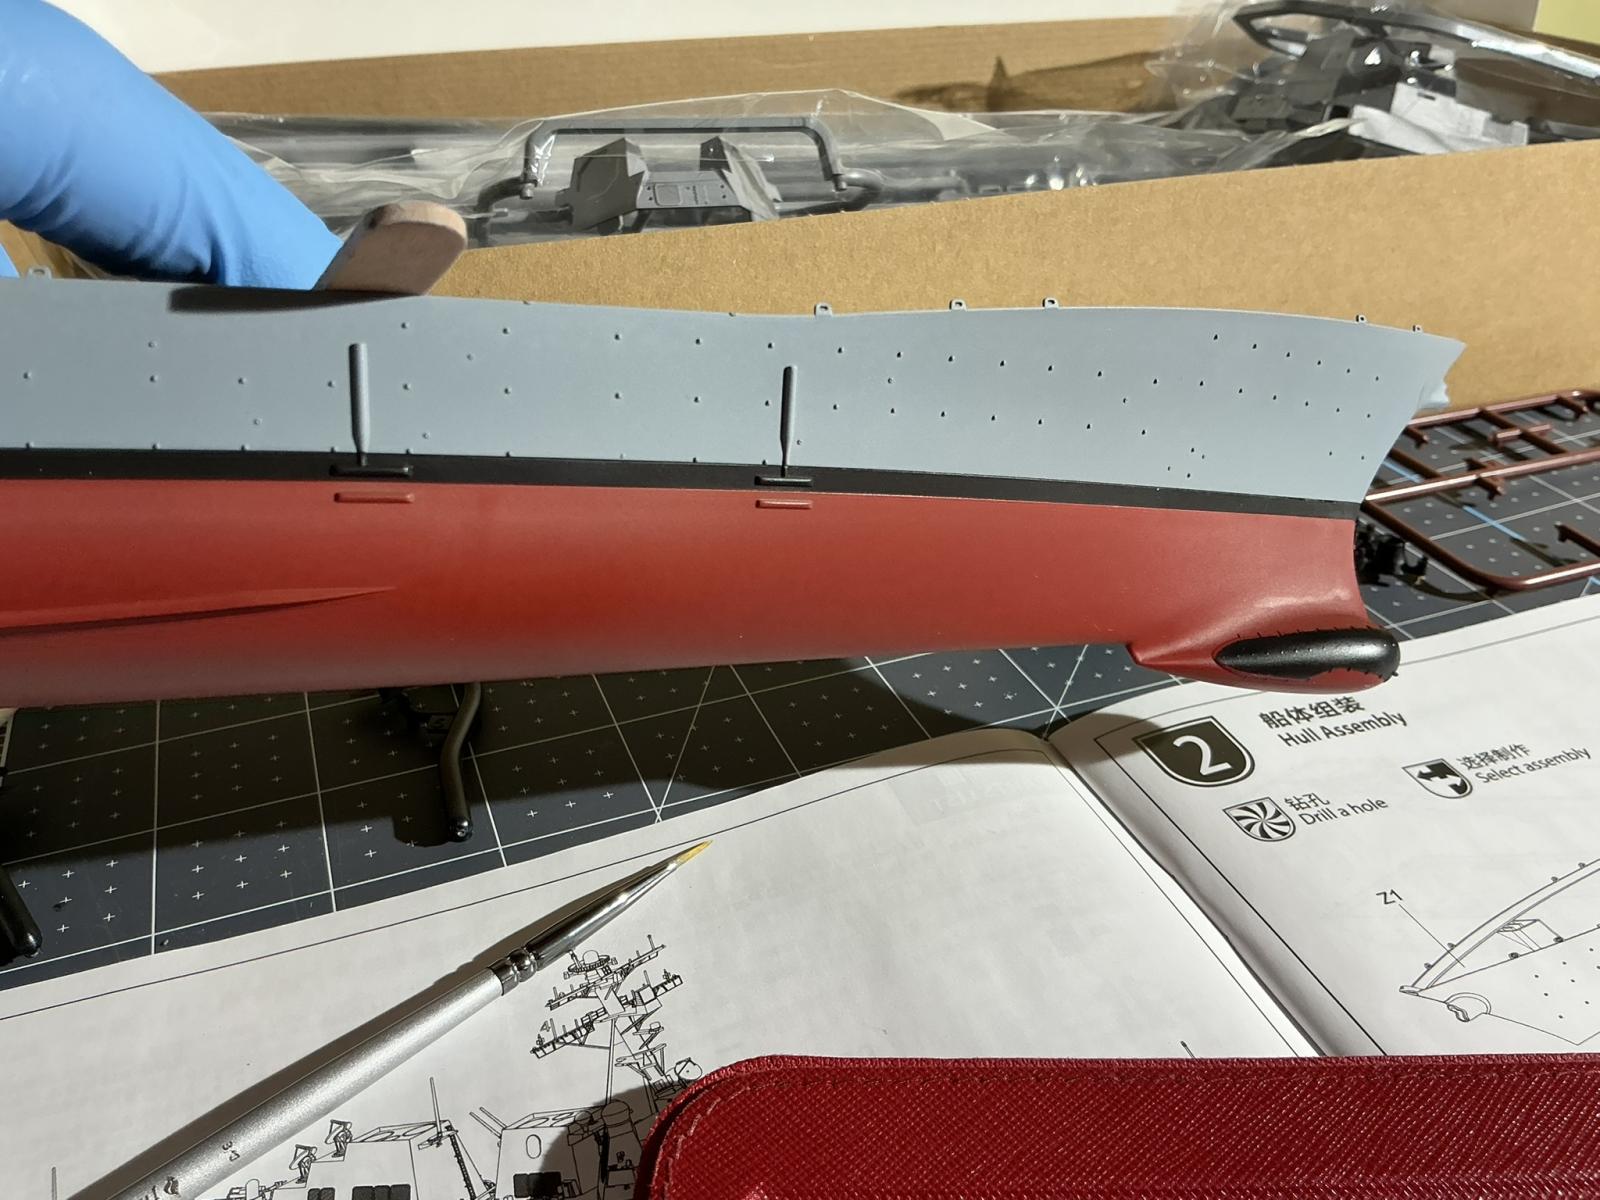
Bow Bottom
Hull getting Complete
Close up
3D Printed Parts
Parts Size
Bridge
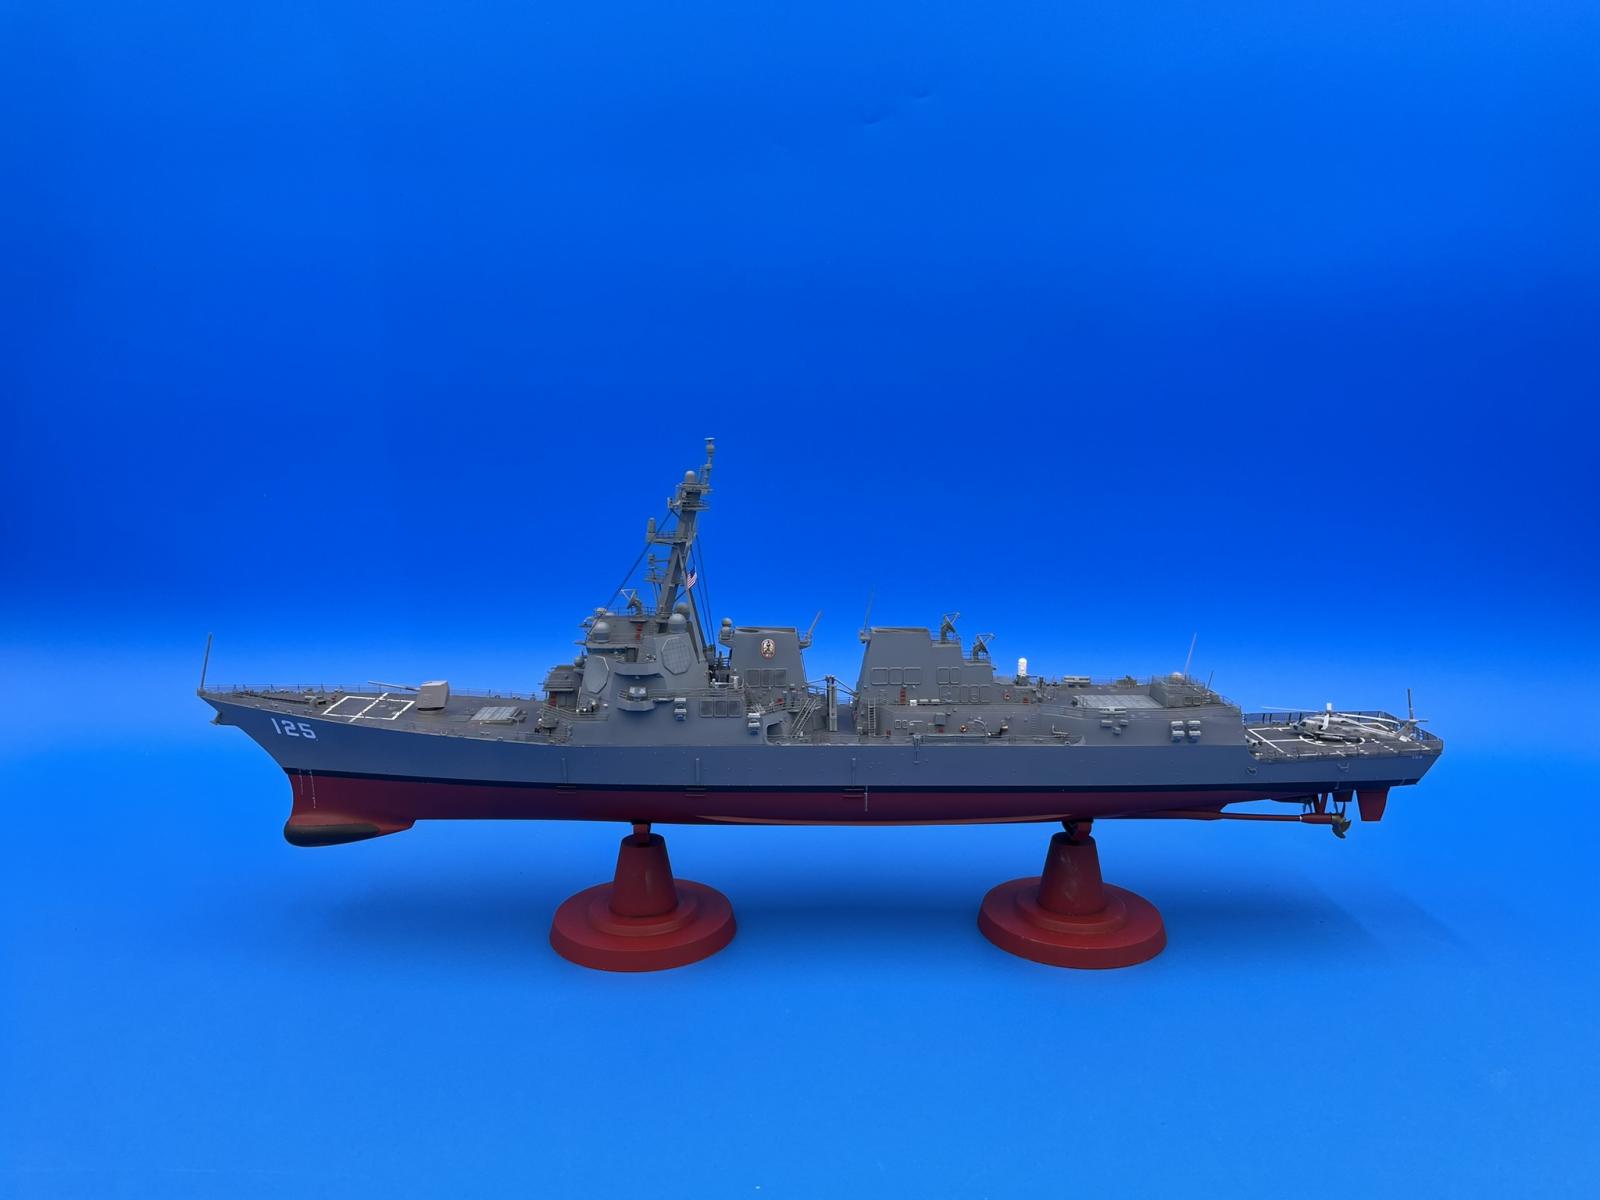
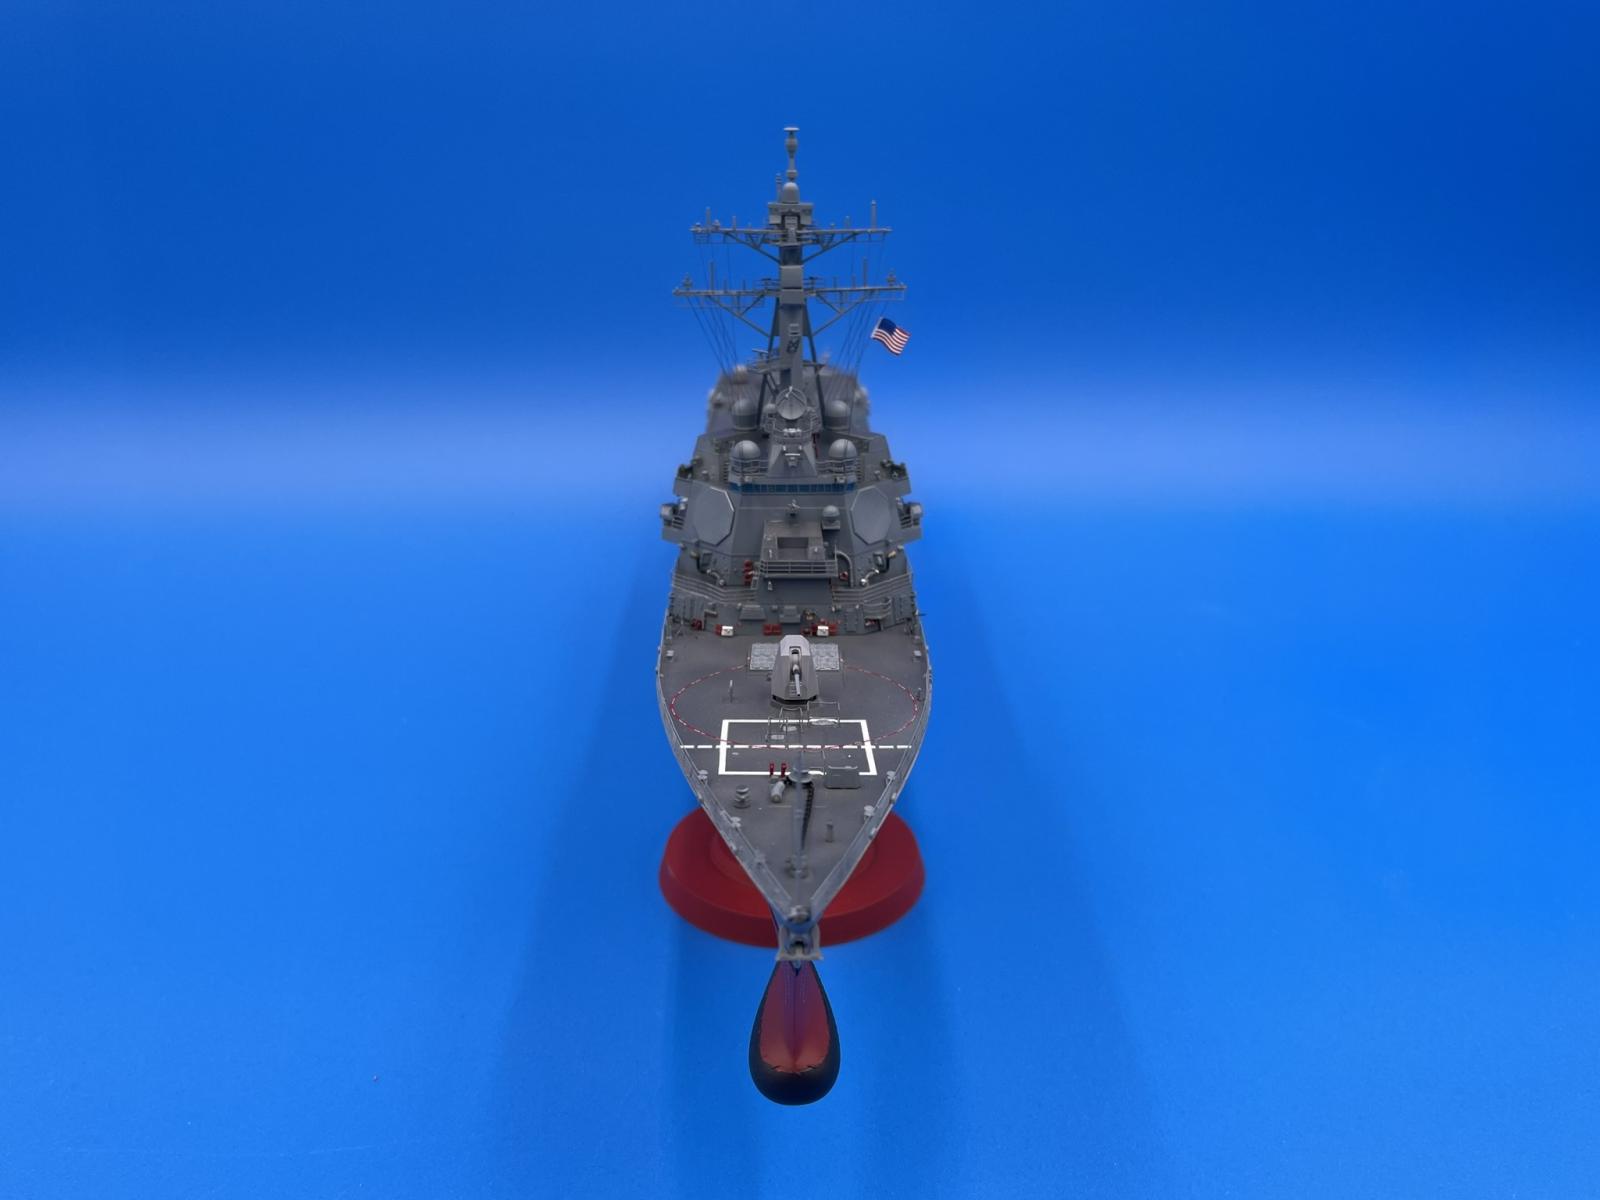
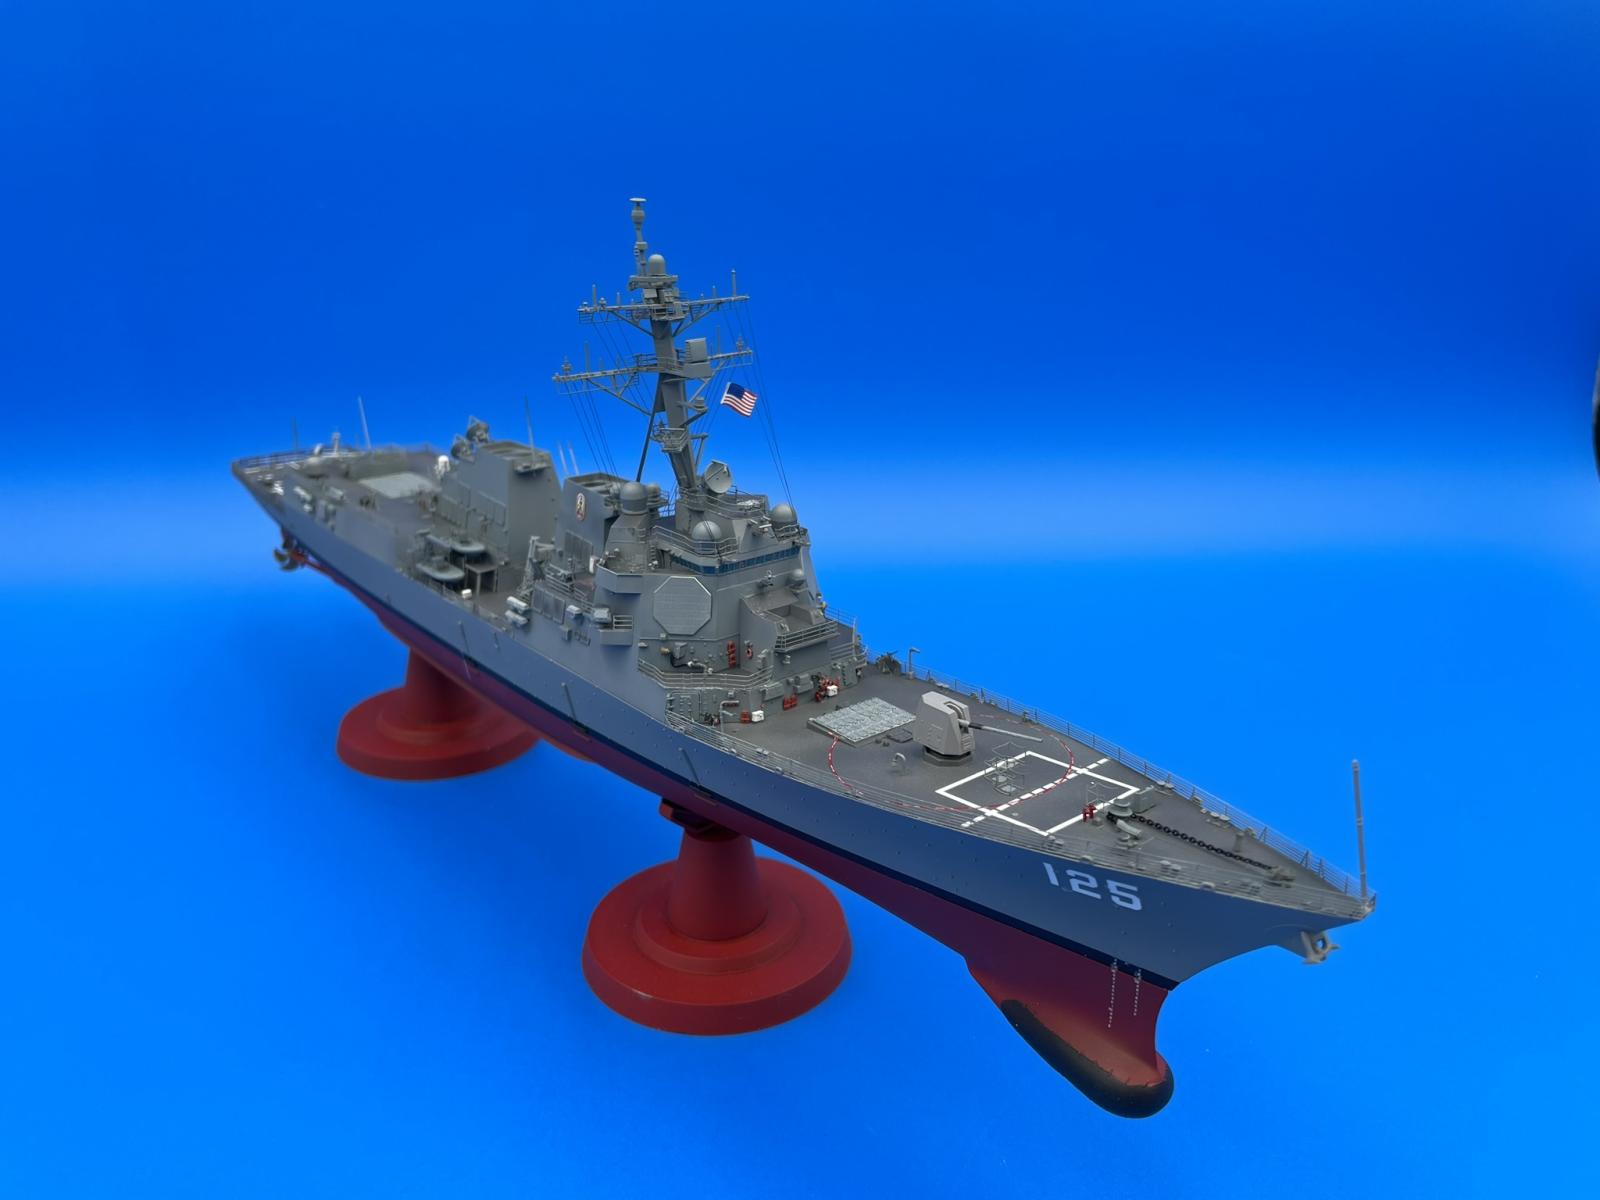
Finished

Finished
Finished
Finished
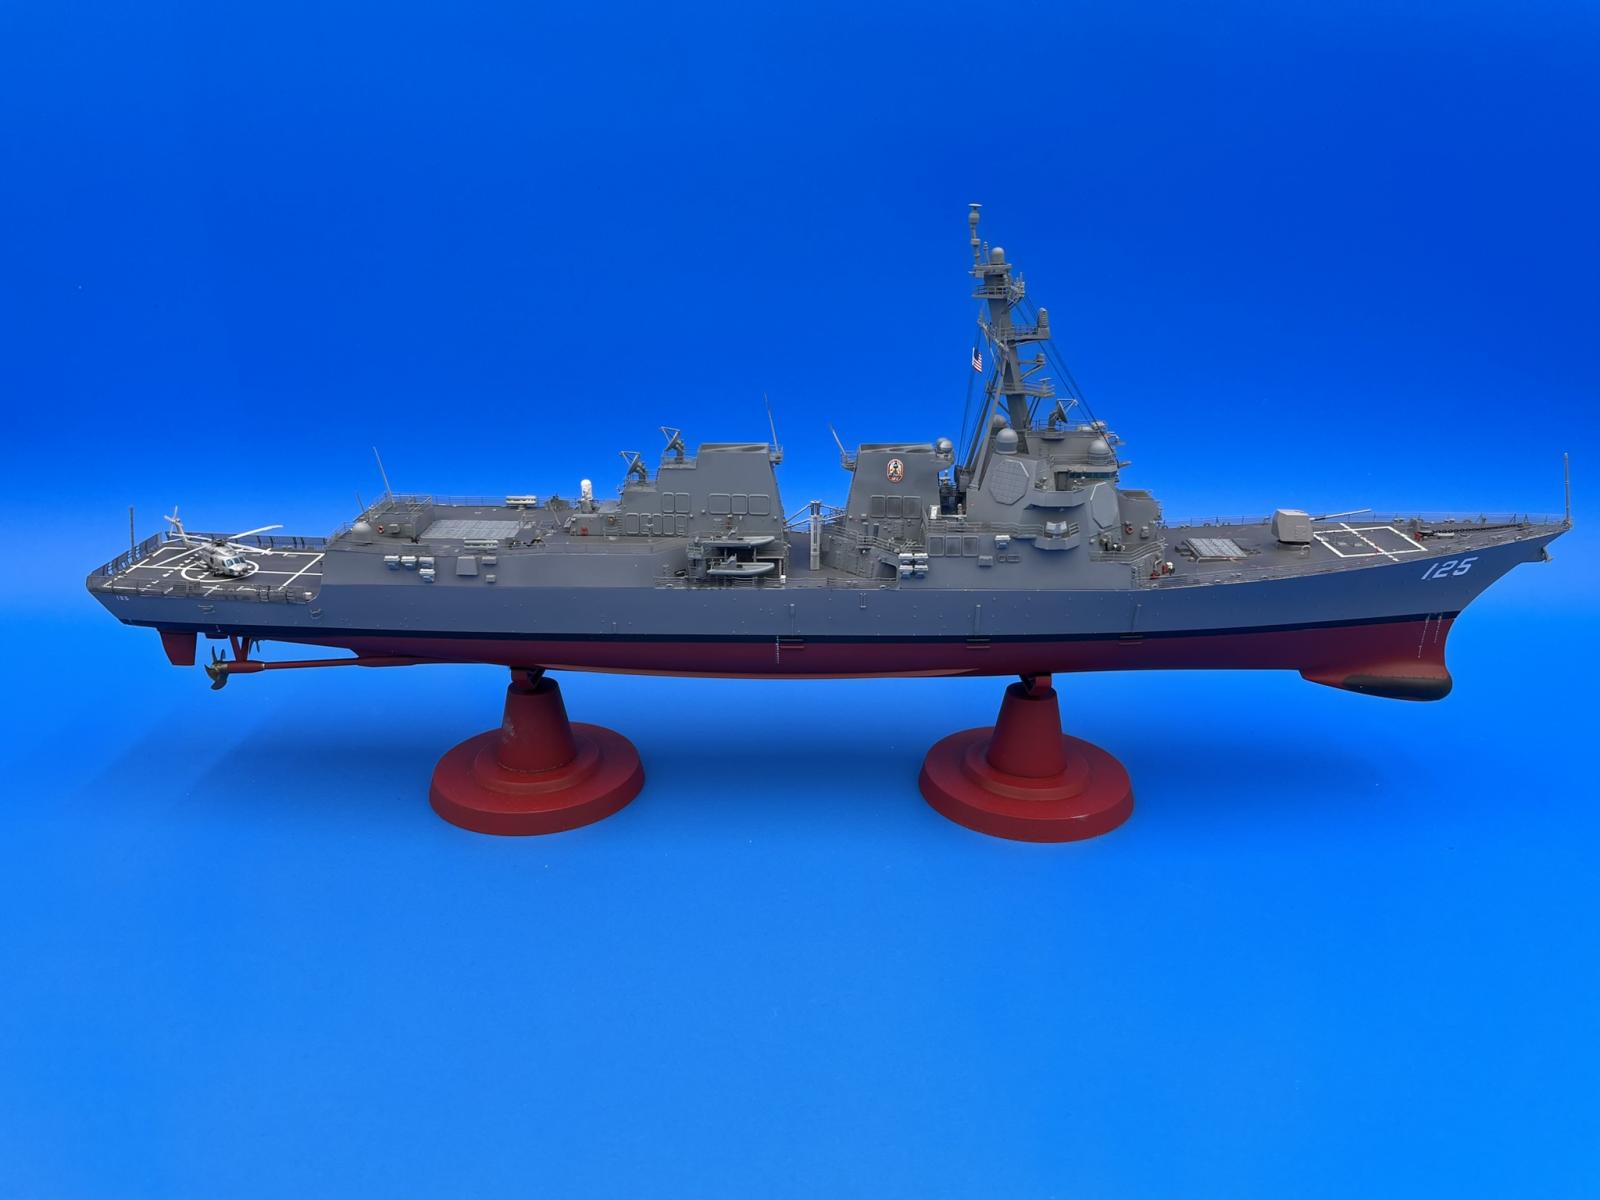
Finished
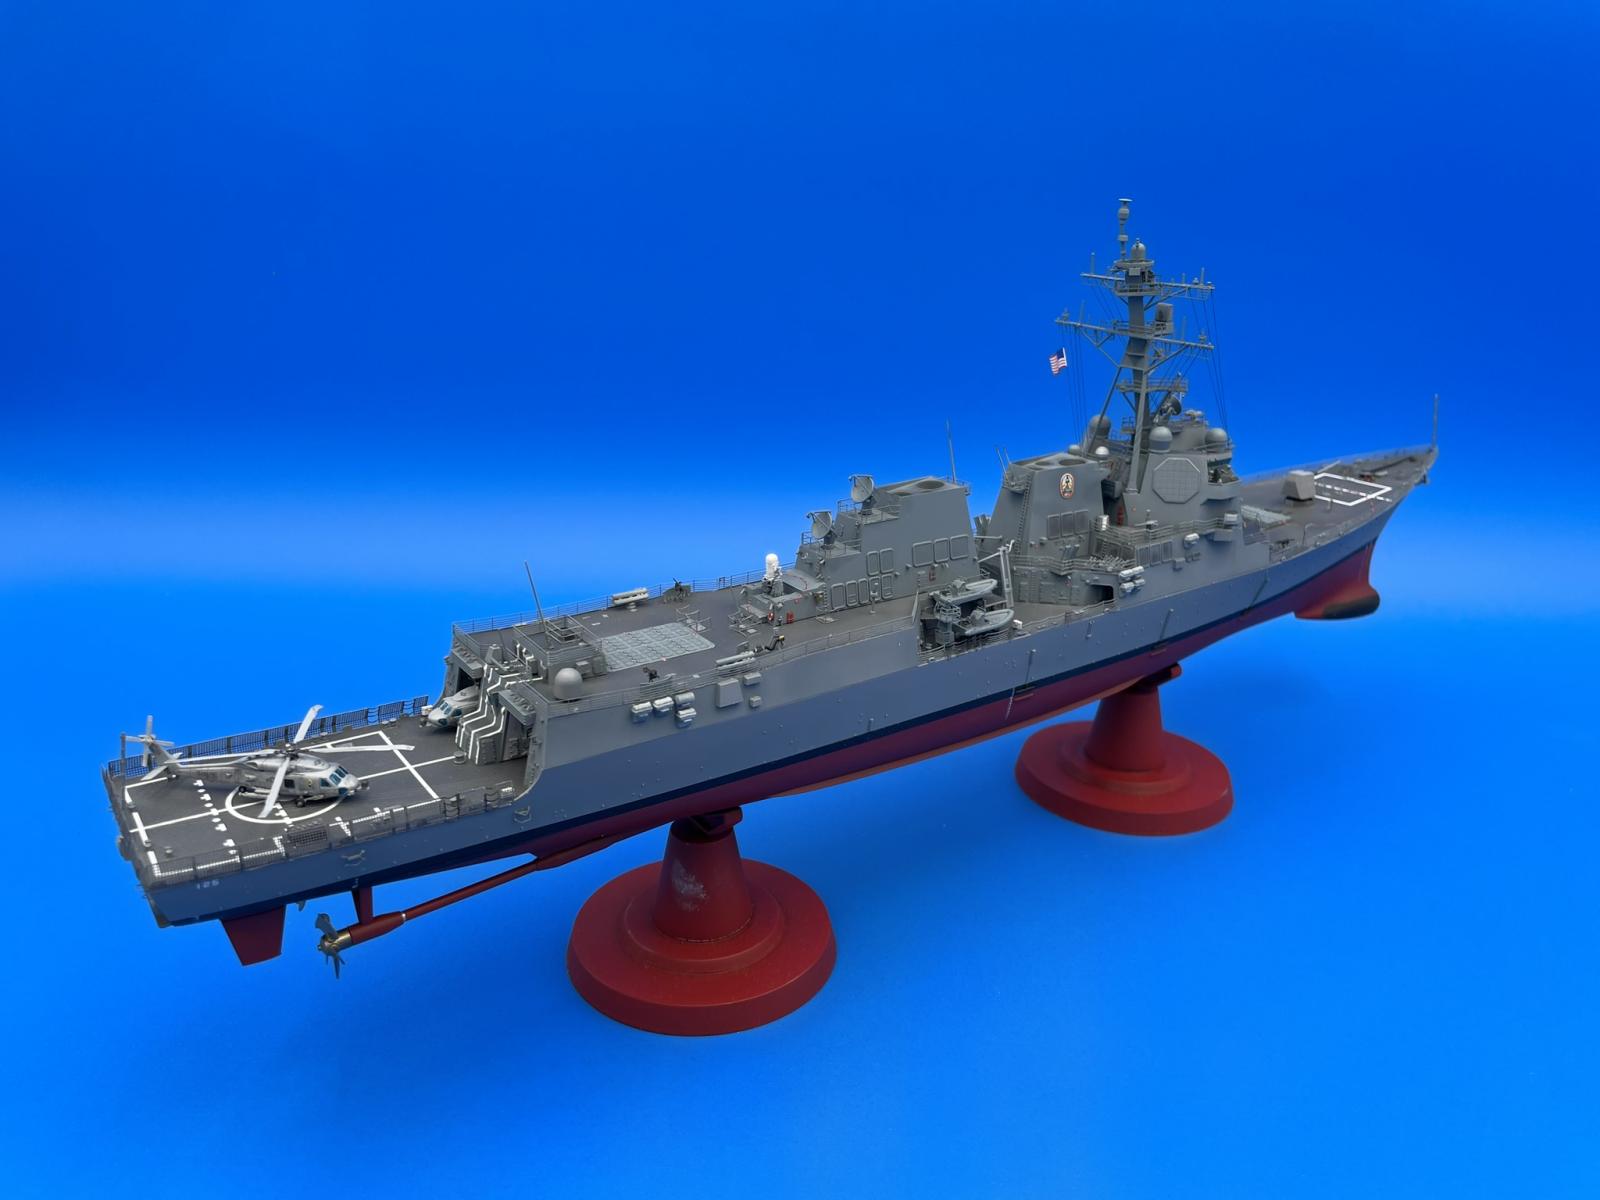
Finished
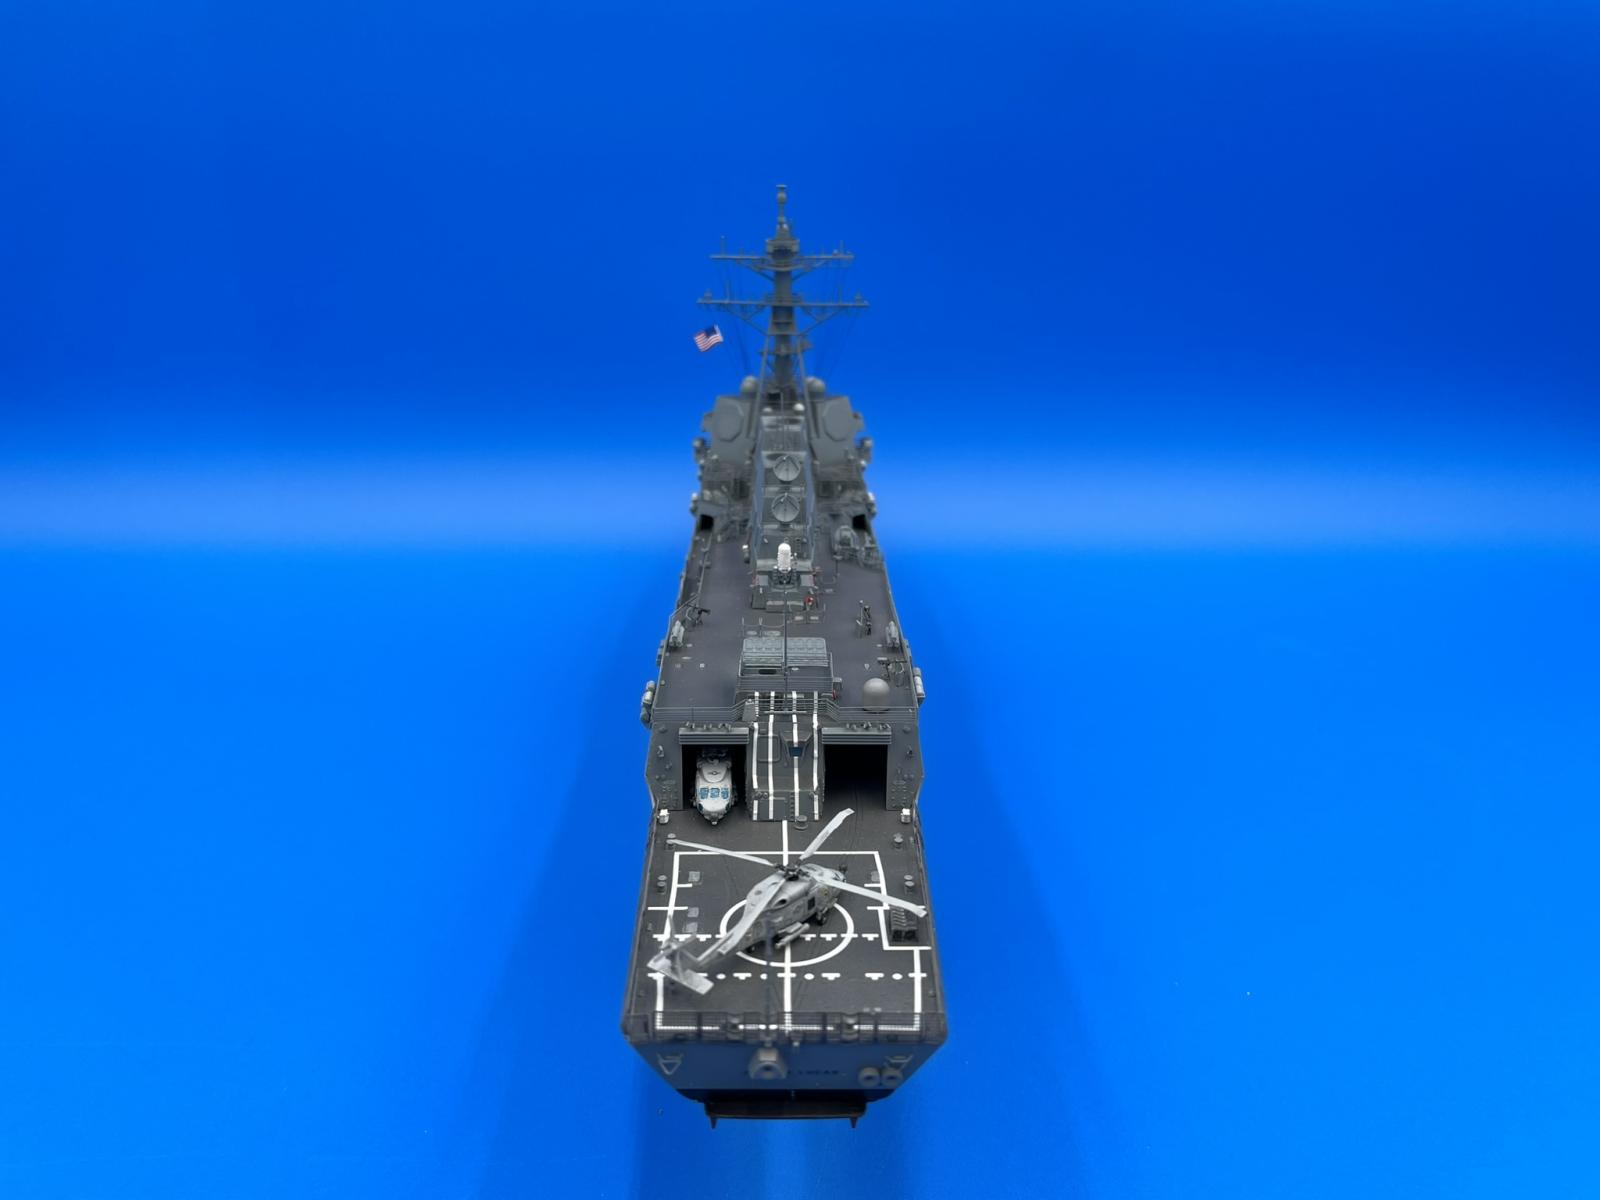
Finished
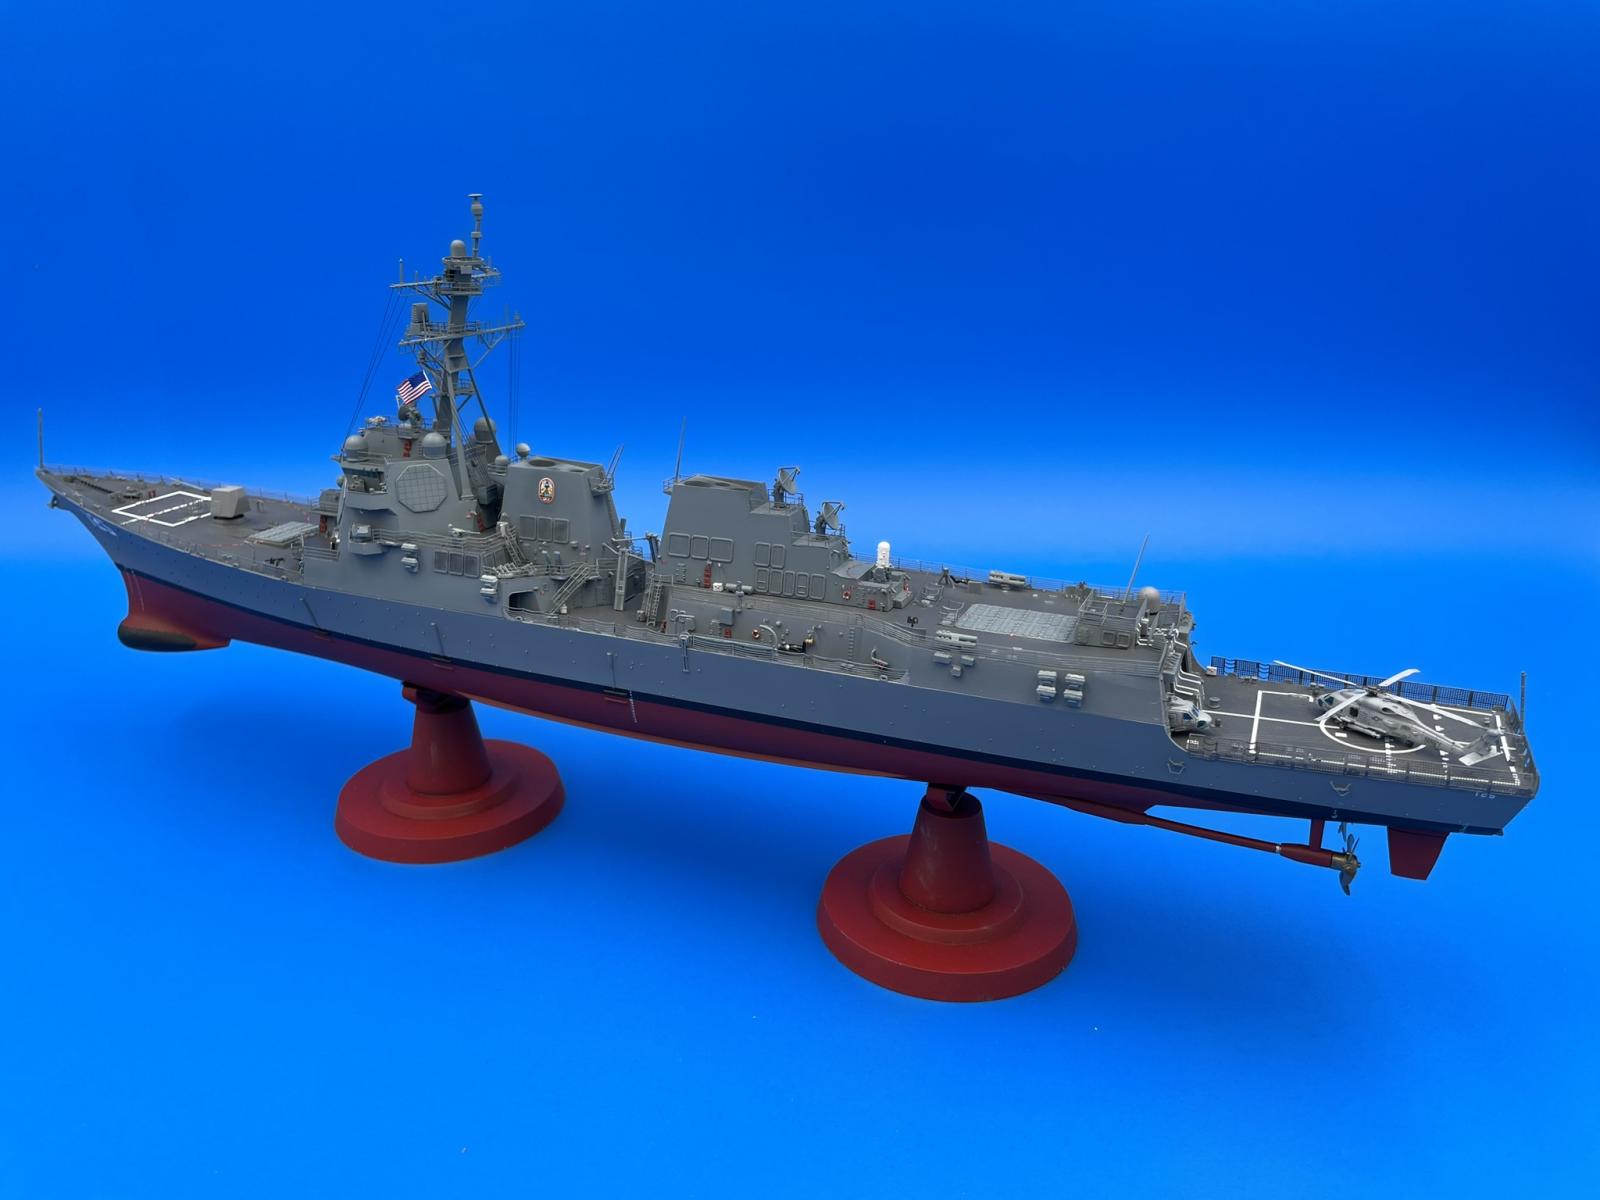
Finished
Finished
Finished
Reviewer Bio
Chris Vandegrift

When Chris isn't modeling he's restoring old cars or doing home remodeling in his spare time. Both have helped improve his modeling. "Having learned to paint cars, quite a few of those techniques apply to priming and painting my models," he says. Chris used to build aircraft exclusively, but has expanded into ships, science fiction, armor and cars. A member of multiple IPMS clubs in Ohio including Akron's Ed Kinney Chapter, Wright Field and Cincinnati Scale Modelers, Chris started building models when he was about 7. Chris lives in Cincinnati Ohio; a Mechanical Engineer by trade, he's the head of Operations and Engineering for a company that makes pumps. He's been married to his wife Jane for 30 years; they have four kids ranging from 20 to 34.
Comments
Add new comment
This site is protected by reCAPTCHA and the Google Privacy Policy and Terms of Service apply.
Similar Reviews