
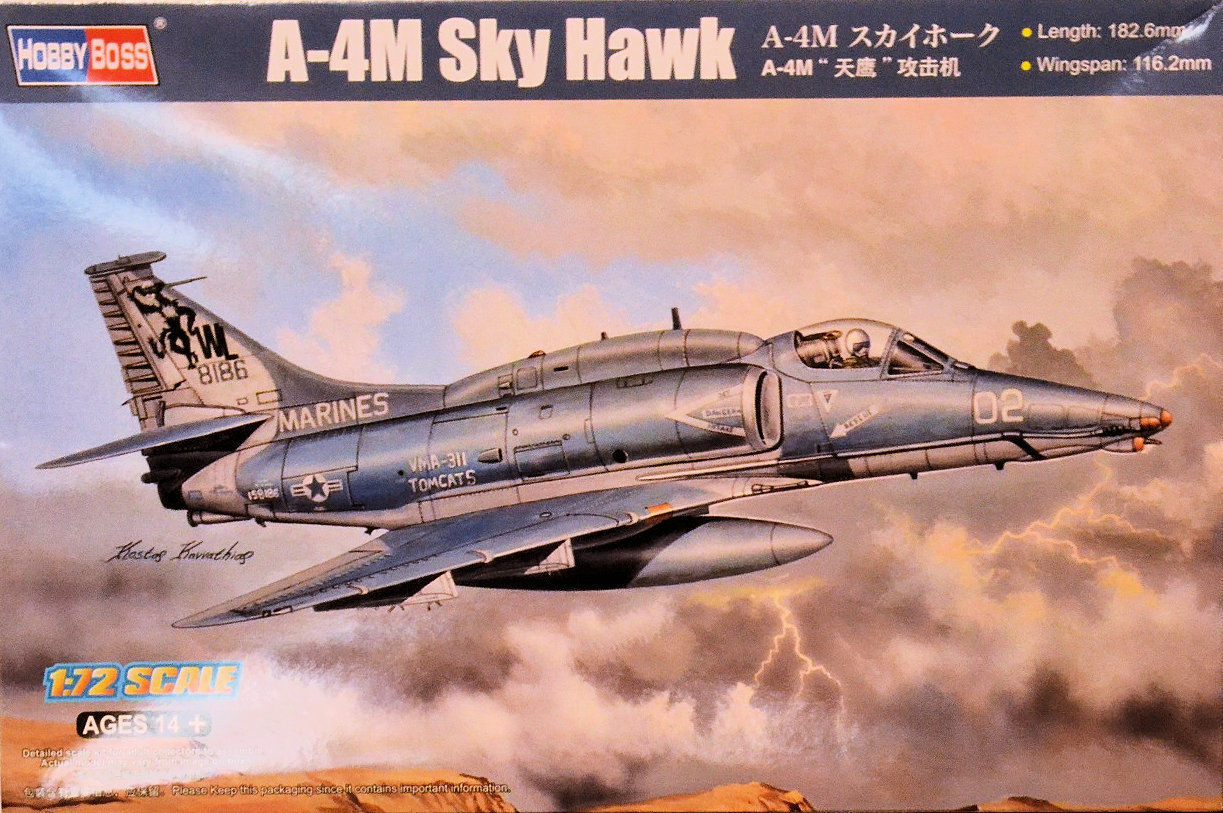
A-4M Skyhawk
A new kit from HobbyBoss this year is the A-4M Skyhawk with new parts, specific for the “M” version. Previously released HobbyBoss kits are the A-4E & F in 72nd scale.
In the Box
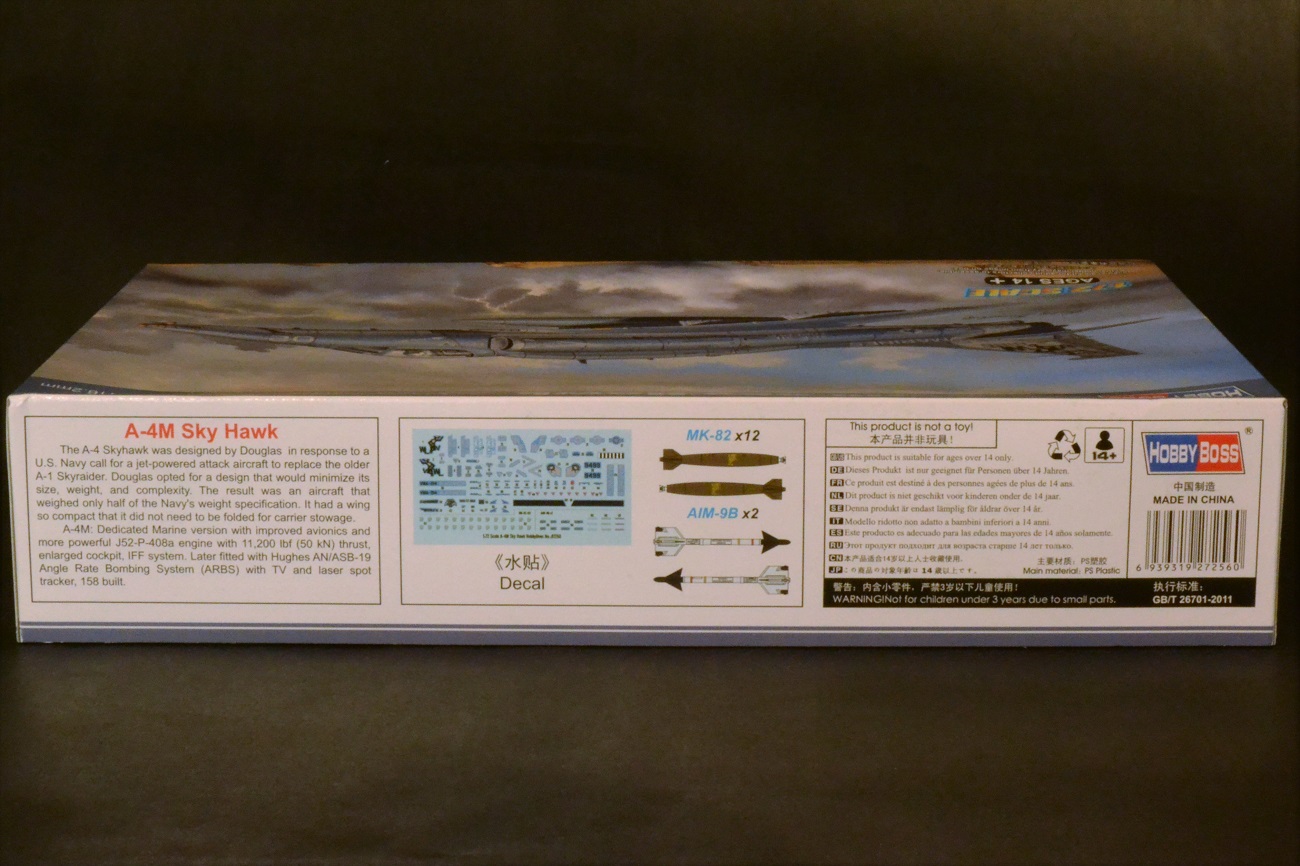
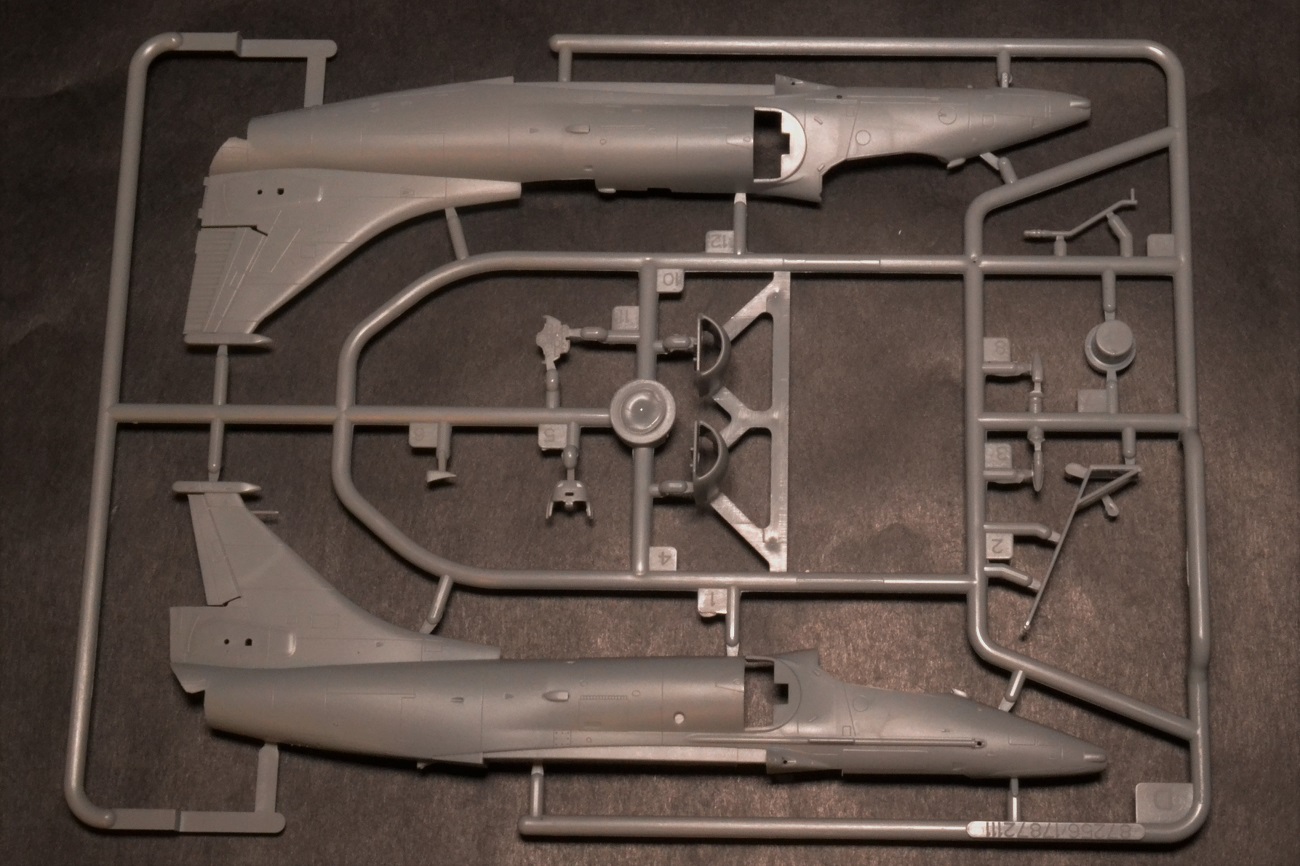
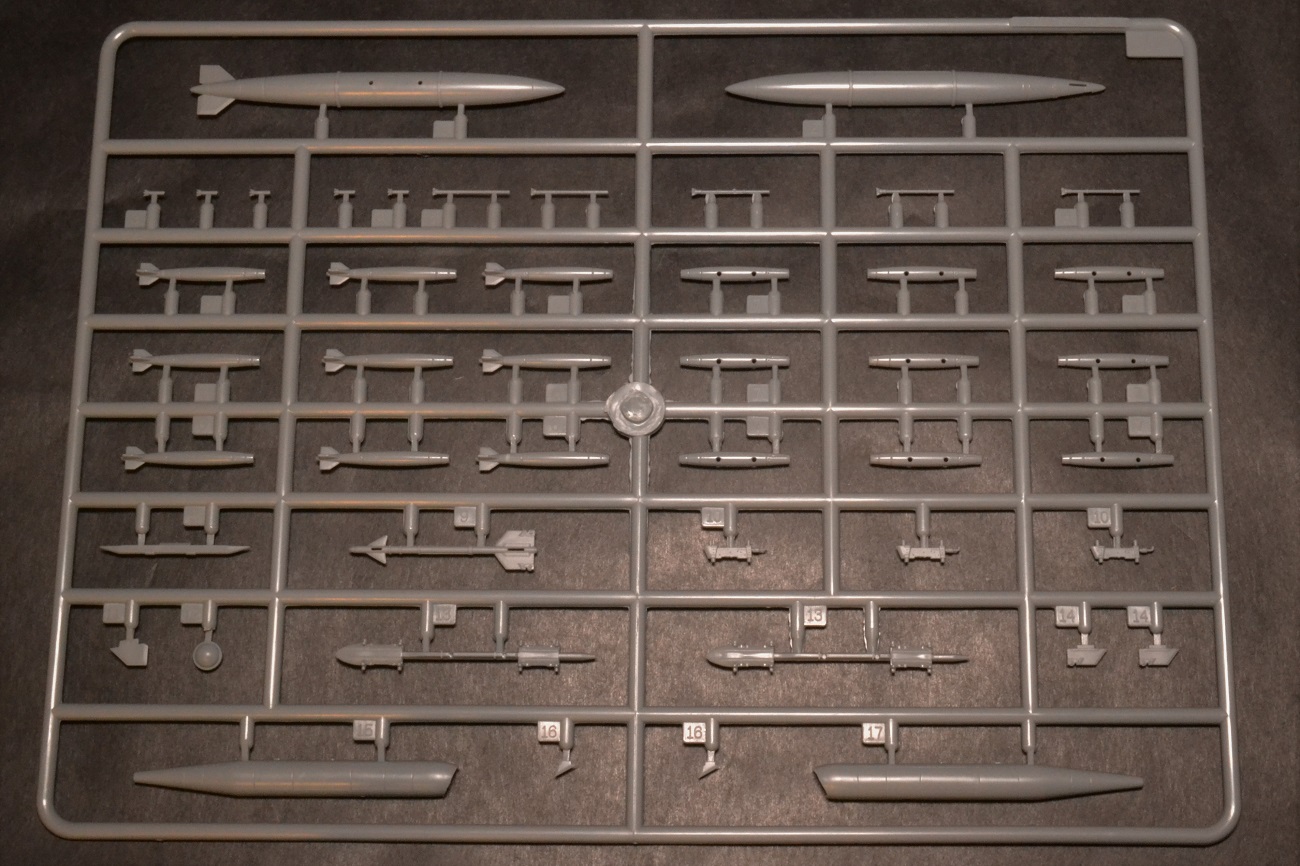
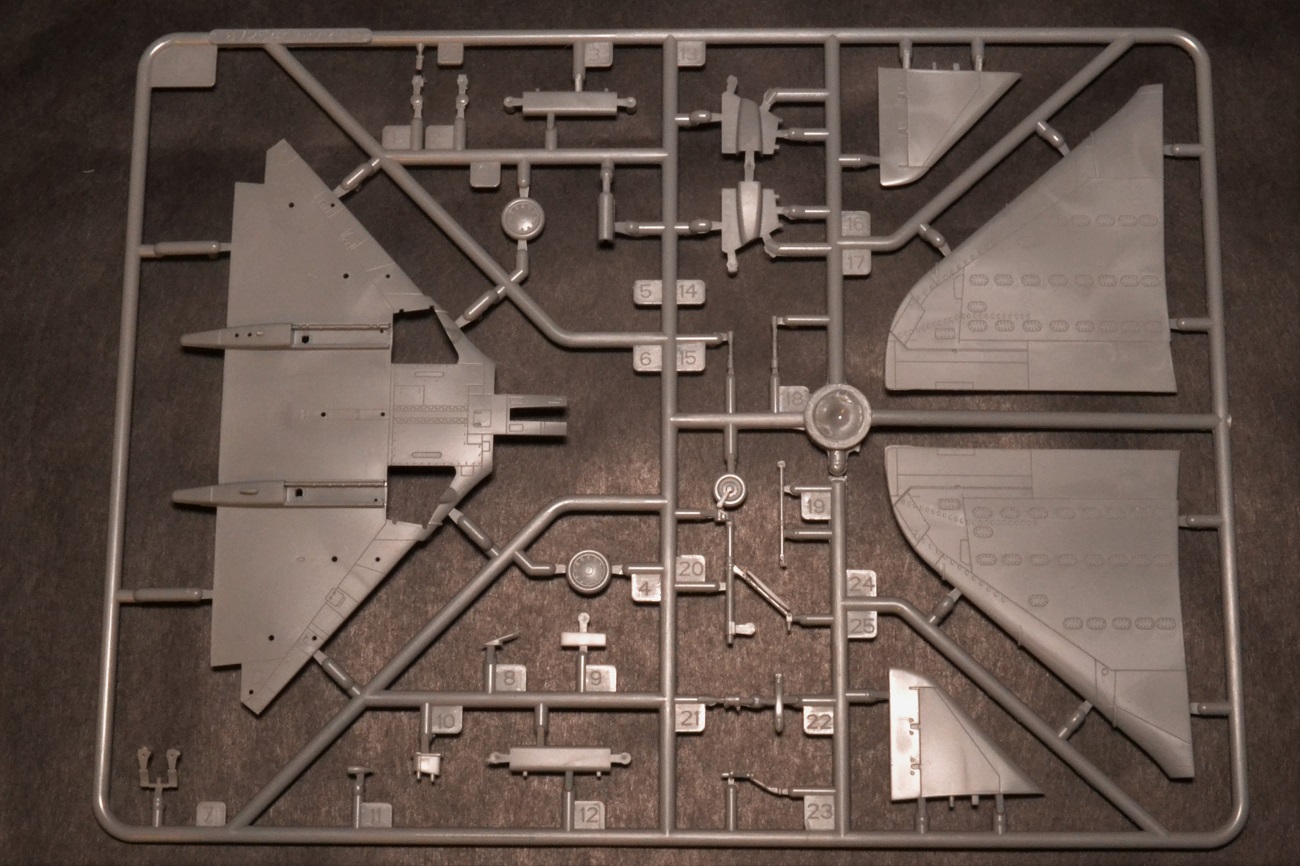
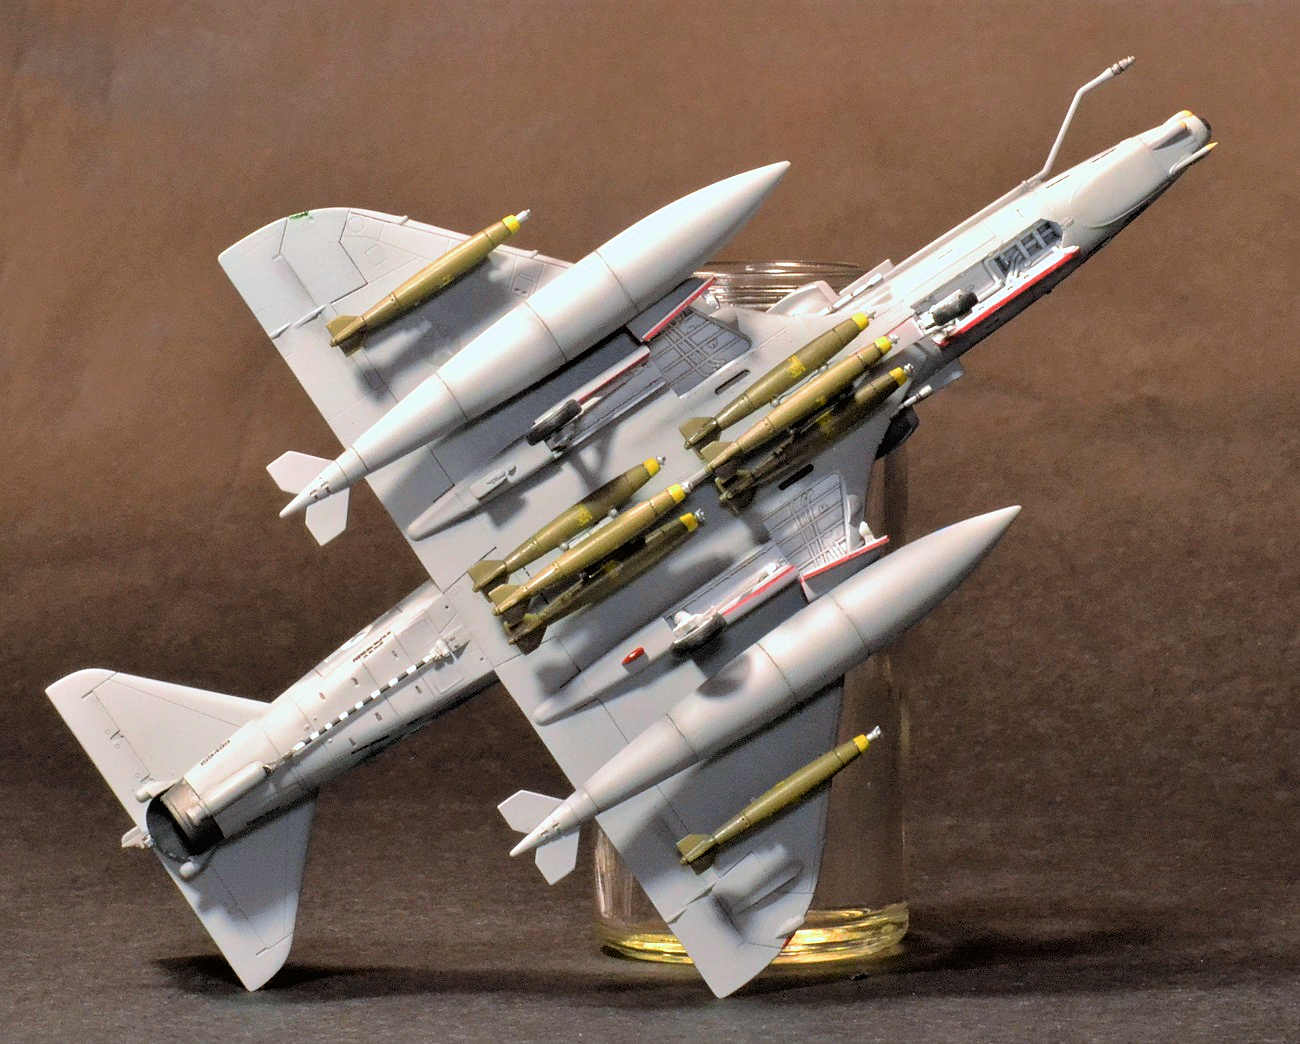
This kit comes with 6 sprues with two (2) brand new ones that are different from previous A-4 kits (A-4E & F versions). New sprues are D and F. Remolded/Common sprues are B, C & G (2X). The plastic is molded in light gray and the sprues are individually wrapped in clear bags. Parts count is over 160 pieces. Most of the parts come from the ordnance sprue, G, which has 45 pieces, each (90 total).
Instructions are formatted in a simple booklet format stapled down the center and has 8 steps.
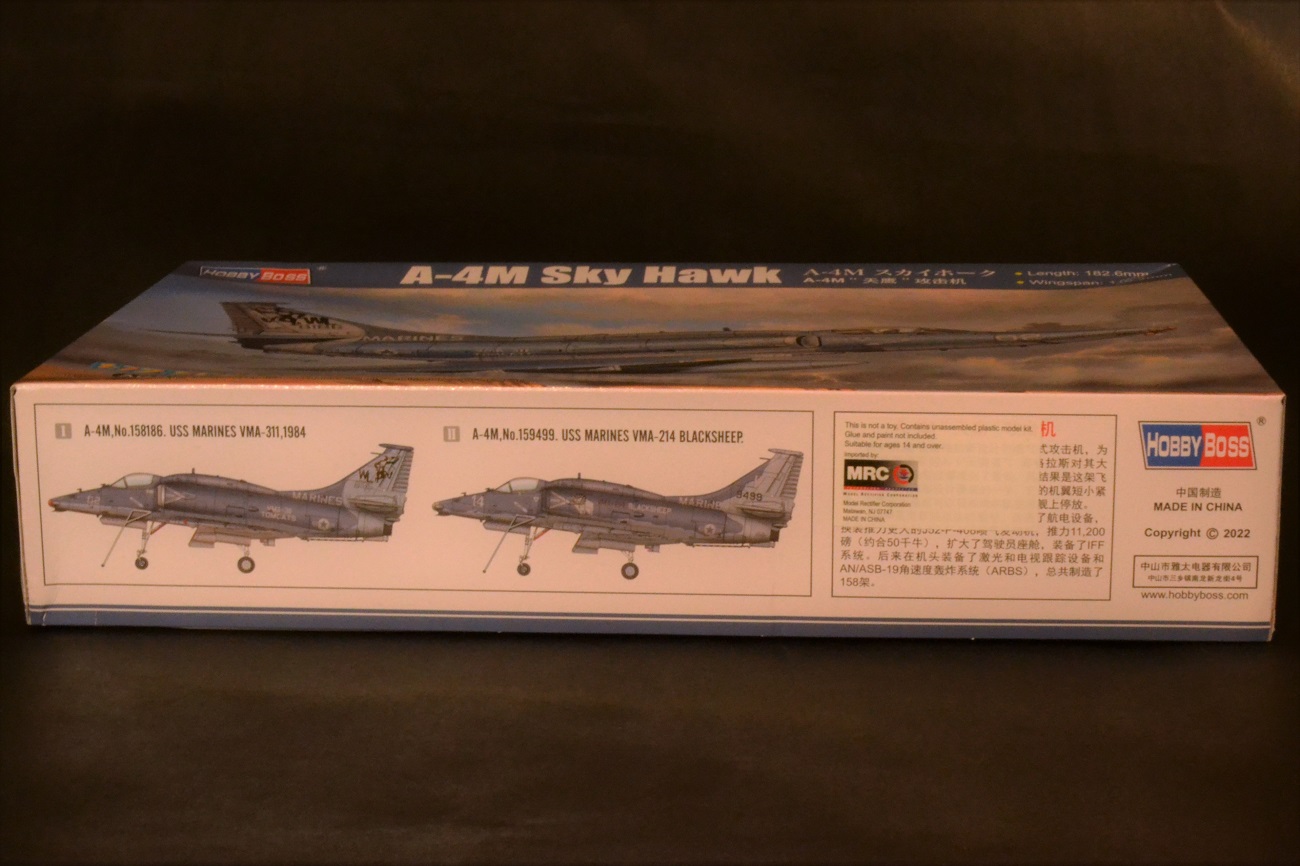
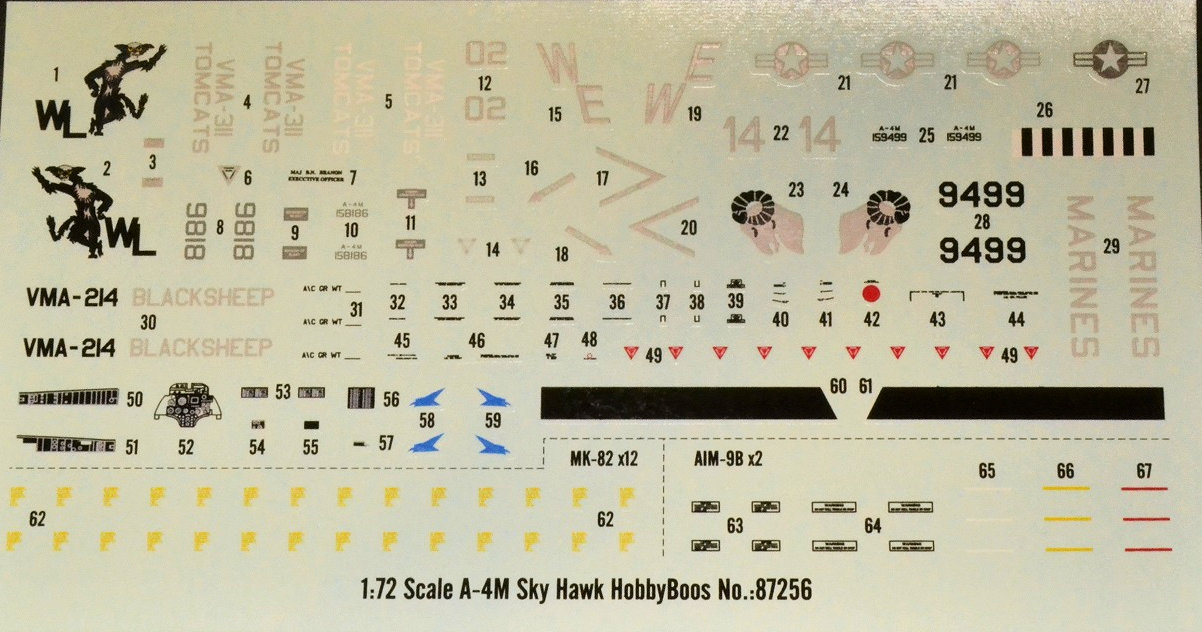
Decals represent Low-Vis markings for the following:
- VMA-311 Tomcats (No. 158186) 1984
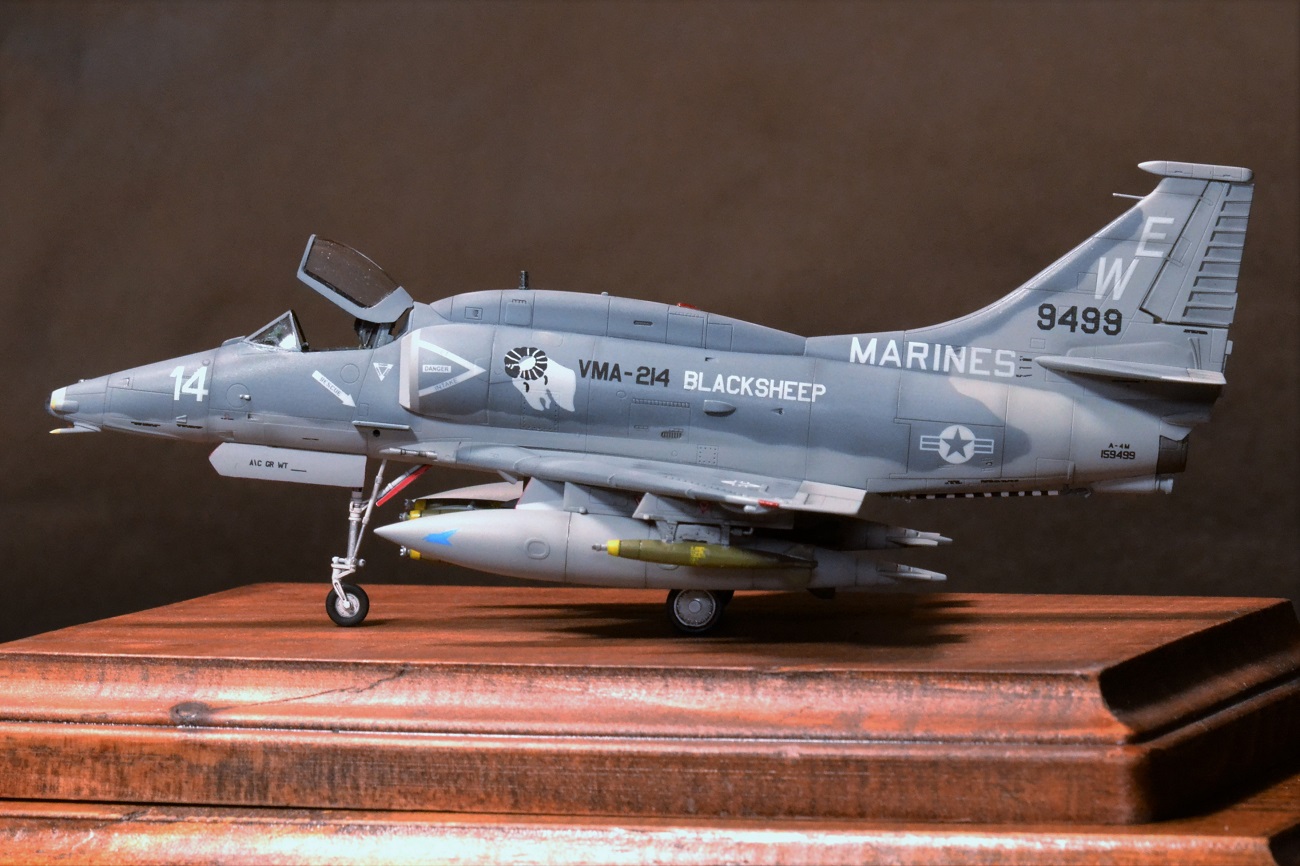
- VMA-214 Blacksheep (No. 159499)
Upon inspection of the parts, the wing leading edge slats and aft flaps are molded into the wing. The fuselage side airbrakes are also molded in. The surface detail is recessed and comparable to other contemporary 72nd scale kits. However, some panel lines are missing when you do a check-fit of the fuselage parts (RHS nose line forward of the windscreen for example). There is some minor flash on the wing trailing edges but light sanding will take care of this. On the bottom wing half, holes are already opened for pylon installation. The landing gear wheel wells are very detailed with molded in plumbing. This is a very nice surprise.
For a 72nd scale kit, there are some very small sized parts and care must be taken when releasing them from the sprue. The tail hook, refueling boom and nose landing gear are thin and fragile. More care must be taken as to not damage these parts. I recommended high end precision side-cutters or a razor saw.
Construction
This is single media, basic kit - box stock build using only what comes in the kit.
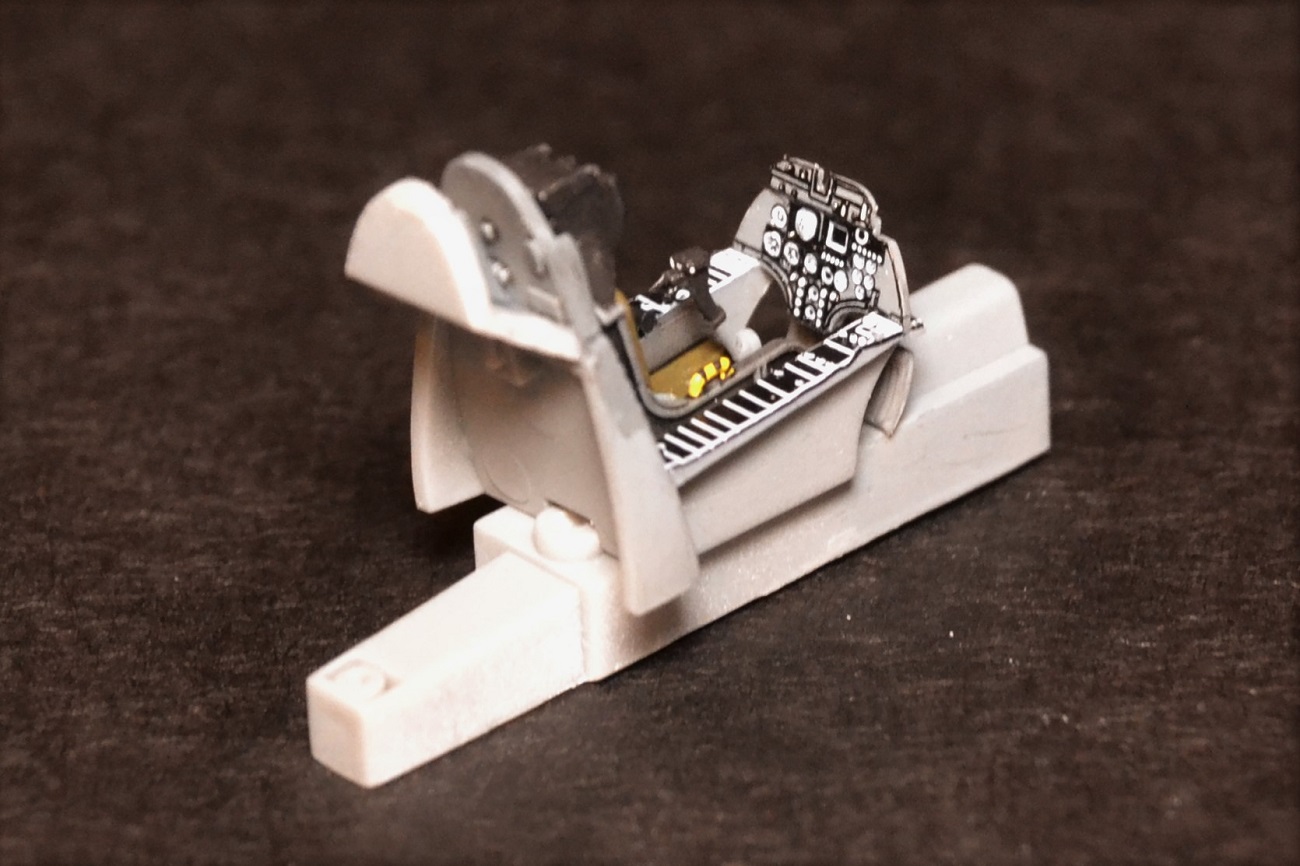
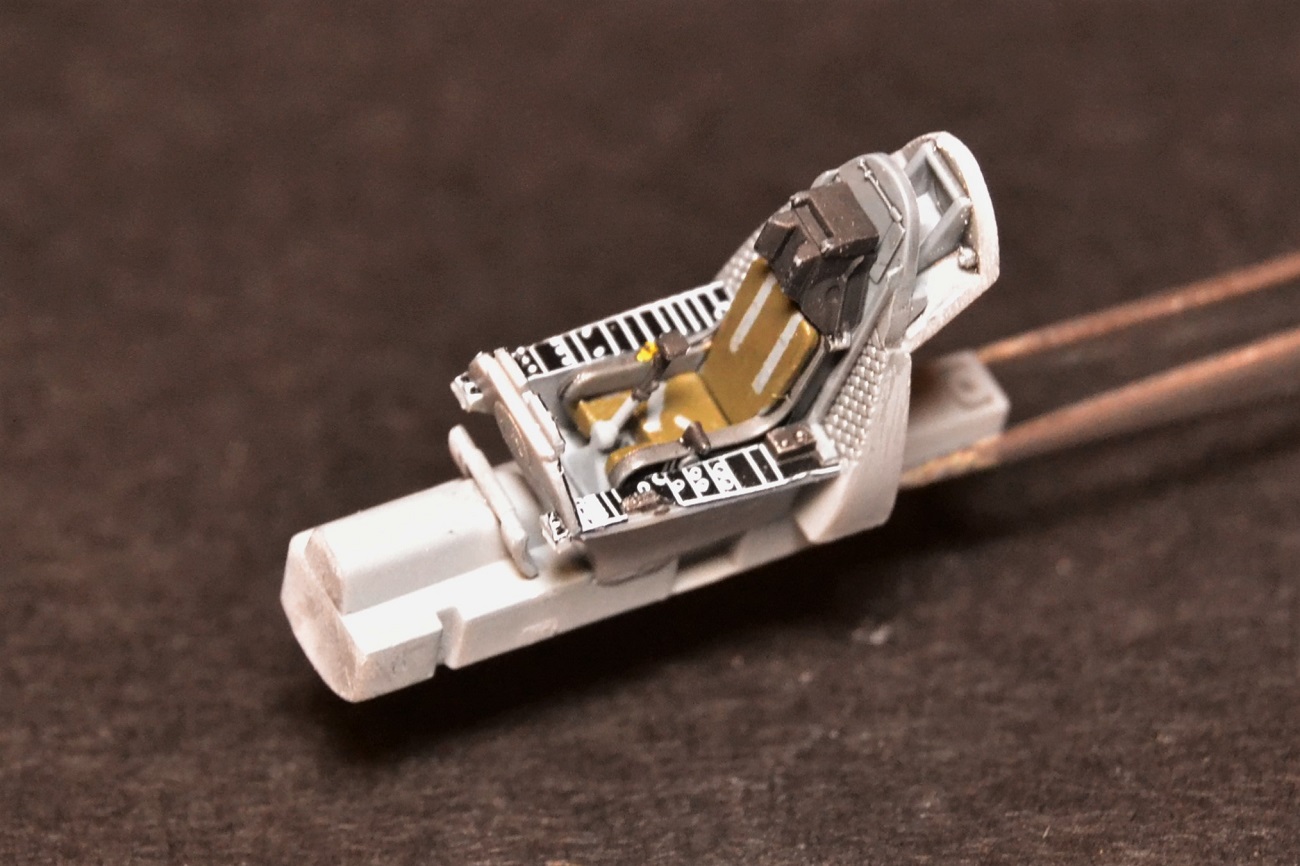
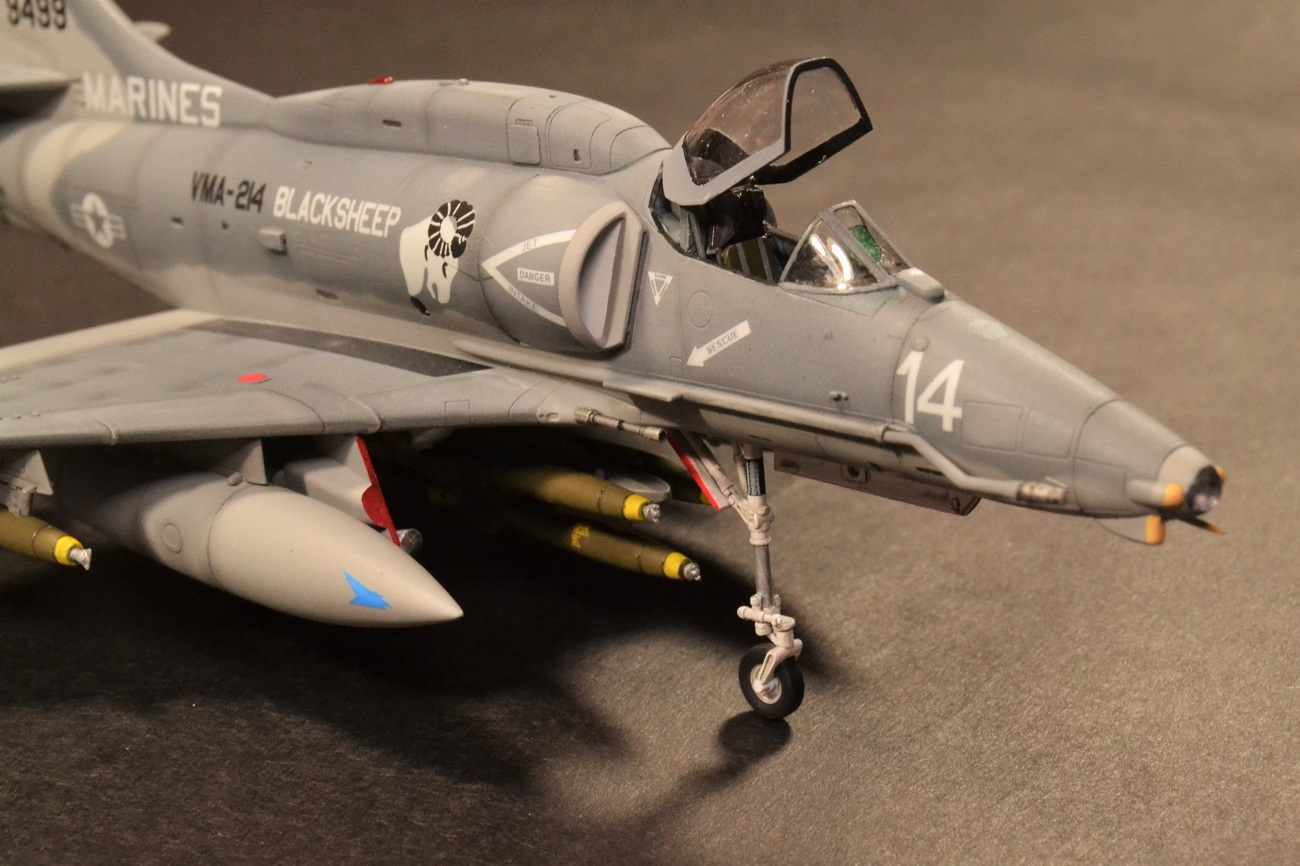
Assembly starts in the cockpit. One item of note is the instruction have you install the yoke backwards. Just flip this around 180 degrees and all will be fine. For the instrument and side cockpit panels I used the kit decals. Prior to dipping them in water I cut off all the extra perimeter clear decal film and made relief cuts in the side panel decals to fit around some raised panel areas. With the use of MicroSol, they conformed very well over the raised surface of the panels and a perfect match on the forward instrument panel. The clear HUD part is painted with Tamiya Clear Green prior to installation.
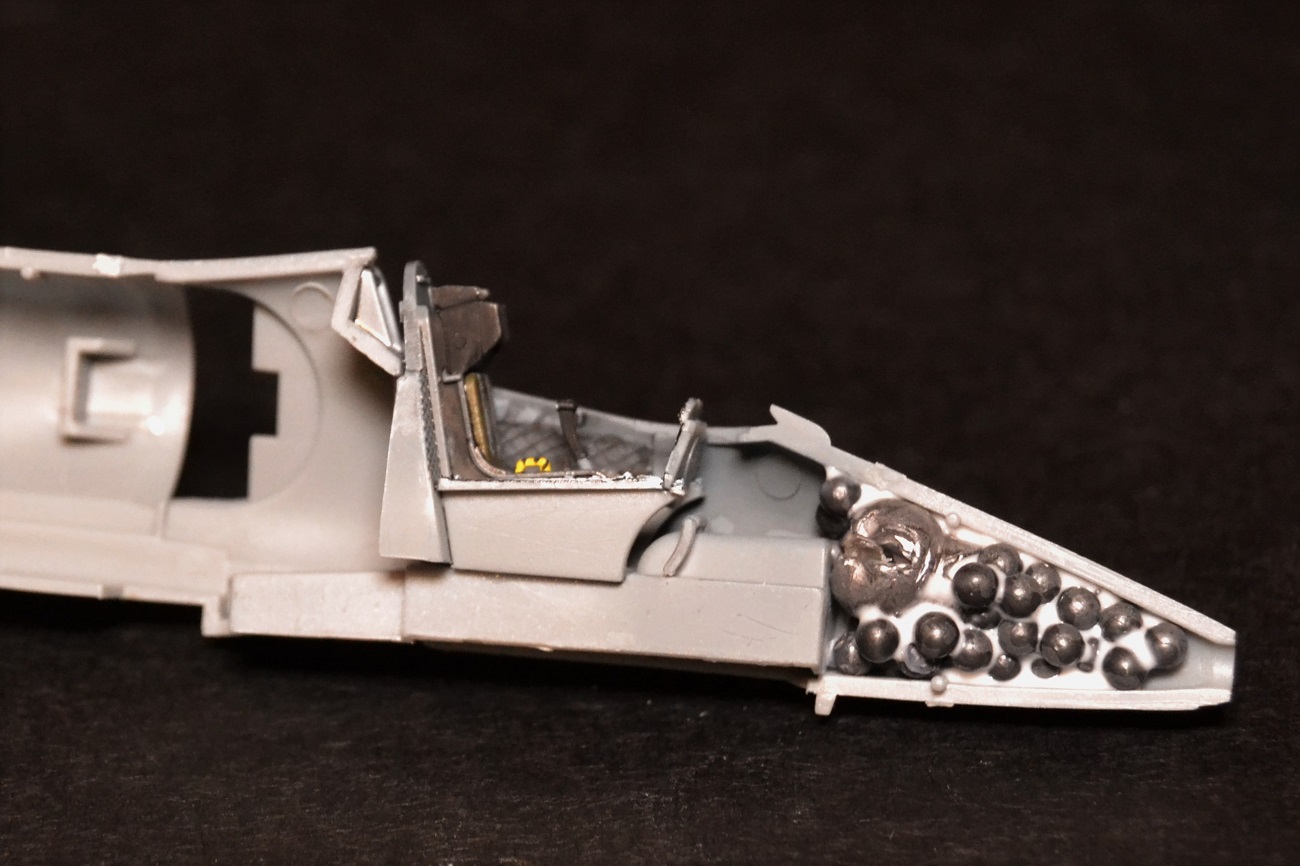
A-4 kits are notorious for being tail sitters. I added lead weight to the nose area using PVA glue (Elmer’s White School glue) to bond them in place.
Some light sanding is needed around the cockpit outer side structure to allow the fuselage halves to be assembled together. Unfortunately, once you install the intakes, you can’t see the engine fan blades since the inboard trunking of the intakes are long and shield this view.
One problem I did run into while assembling the fuselage halves was the mismatch of the tail vertical stabilizer top radome fairing. The RHS was about 0.5mm too tall. I used a razor saw to cut off the RHS radome and did a little sanding to get the radomes to match up. Not a huge effort but necessary to make the tail mate up flush before the glue dries.
From there the assembly is standard for an airplane kit. Assemble the wing halves and attach to the fuselage. The avionics hump on the top covers a lot of the centerline seam which eliminates putty and sanding in this area.
One of the biggest surprises are the horizontal stabilizers. The airfoil “bump” is molded correctly and is located on the underside (as it should). To make sure you install this correctly, the aligning pins are “keyed” to only go on one side, thus making it less likely for installation errors.
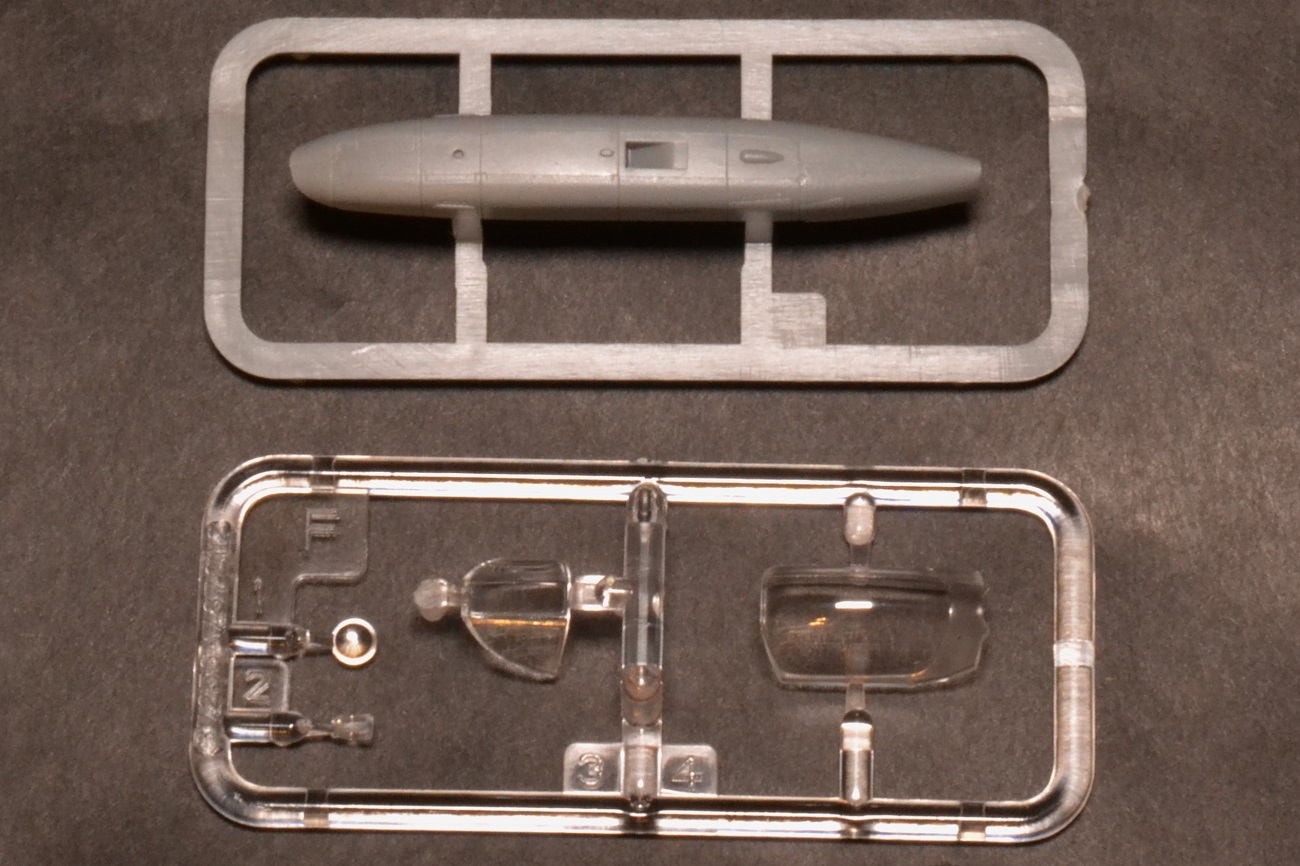
Clear cockpit canopy parts are well molded and transparent. These were given a coat of Future to protect it from any CA fumes and add more clarity.
For painting, I recommend looking at your references. I followed the kits painting guide and the contrast between the two grays was rather stark. So, I lightened the darker gray with a very thinned light grey to lessen the contrast using an airbrush.
For the markings I chose the decals that represent VMA-214 Blacksheep. The kit decals in my boxing had good registry. However, there is some excess clear film around the perimeter of some so trimming may be necessary to reduce the chance of silvering. The decals react well to MicroSol and conformed around complex surfaces with no issues.
The ordnance is a bit of a question mark (Sprue G). The Mk. 82 bomb installation holes seem to be off center and don’t allow the bombs to sit in line with the mounting racks or pylons. This can be remedied by elongating the holes to one side by about 1 mm using a small drill bit BEFORE gluing the sides together.
Conclusions
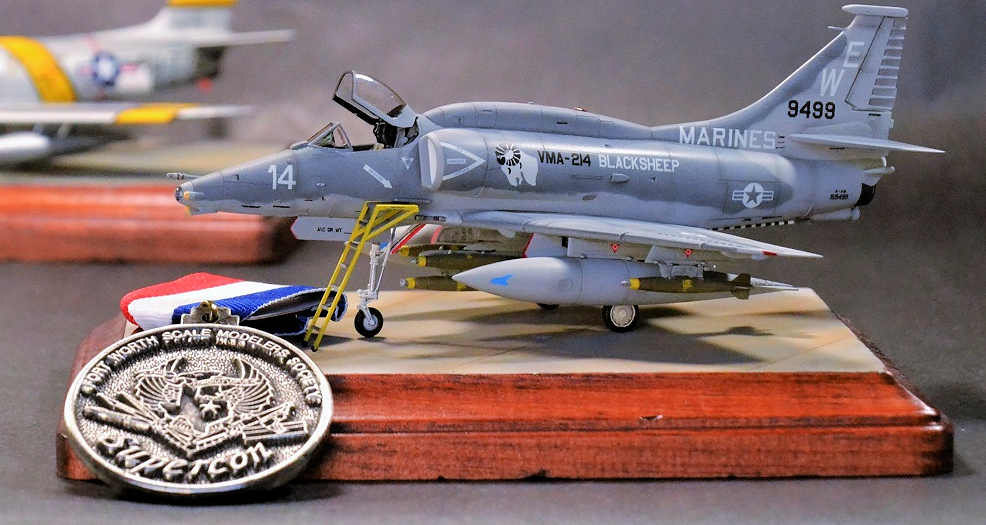
This is a very nice kit from HobbyBoss even with its small quirks. From start to finish it took me 3 weeks to complete. I recommend this kit to every level of builder. Those who may get frustrated with small and fragile parts may have some reservations.


Comments
Add new comment
This site is protected by reCAPTCHA and the Google Privacy Policy and Terms of Service apply.
Similar Reviews