
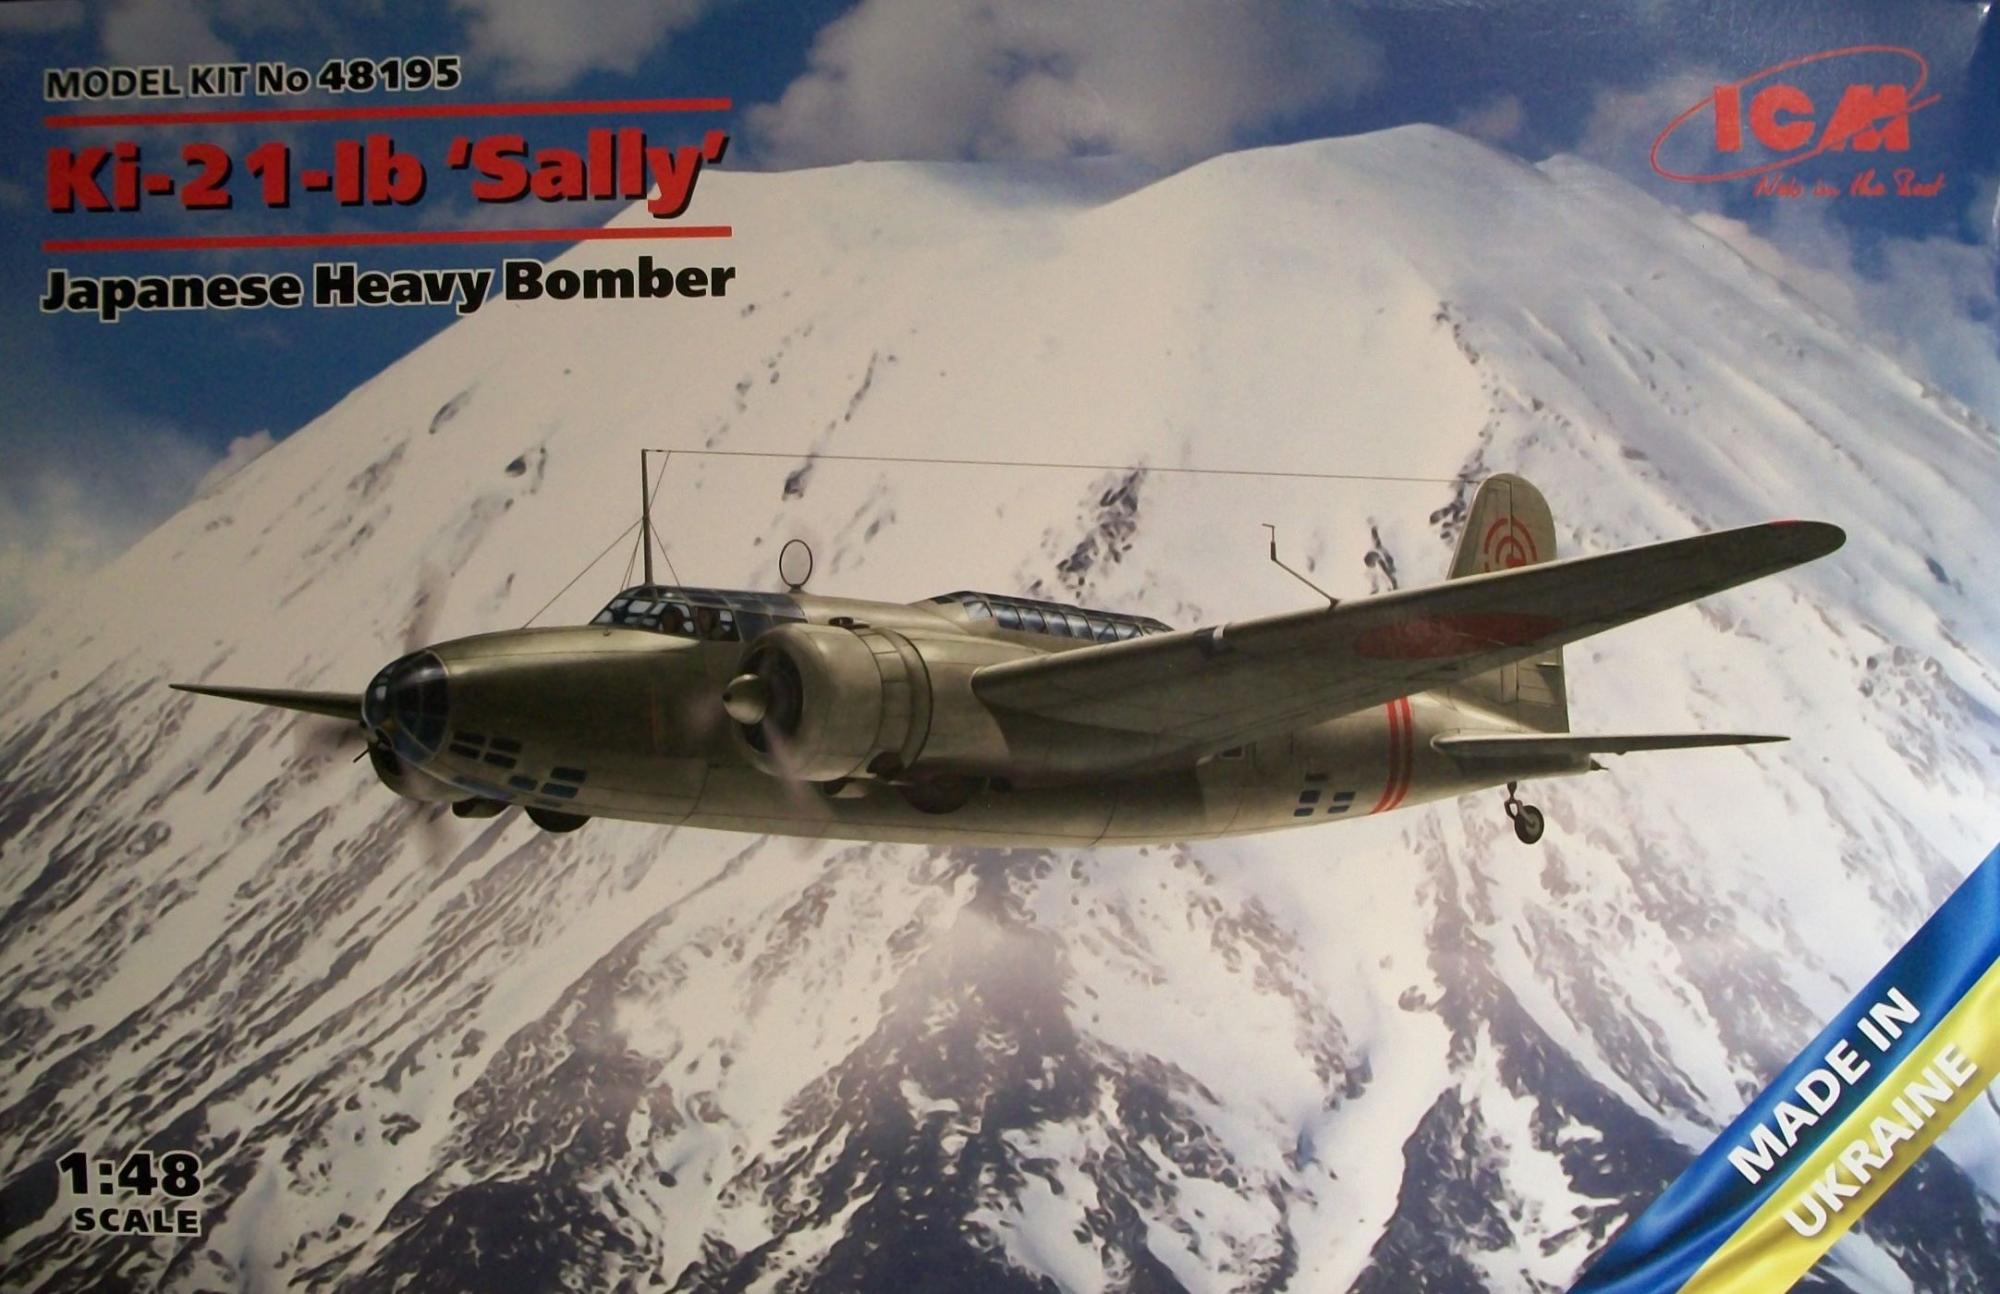
Ki-21-Ib "Sally" Japanese Heavy Bomber
ICM has provided this great new release for review, in 1/48 scale model of the Ki-21-Ib Sally Japanese Heavy Bomber from the early years of WWII. The Sally first flew in late 1936 and went into production in 1938 with both Mitsubishi who designed it and Nakajima. This version is the second production version and was widely used over China and for bomber crew training in Japan.
- Six light gray sprues
- One clear sprue
- One decal sheet
- One instruction guide
The detail quality is excellent in every way with this kit.
The assembly is quick and easy.
The assembly starts with left hand side of the main fuselage. There are few ejector pin marks that should be filled/cleaned up on both halves of the fuselage.
Stages 1 to 7 are the assembly of the interior parts to the left fuselage. There is one option to select at stage 2 for the window open or closed for the side mounted machine gun. No issues were found in these stages.
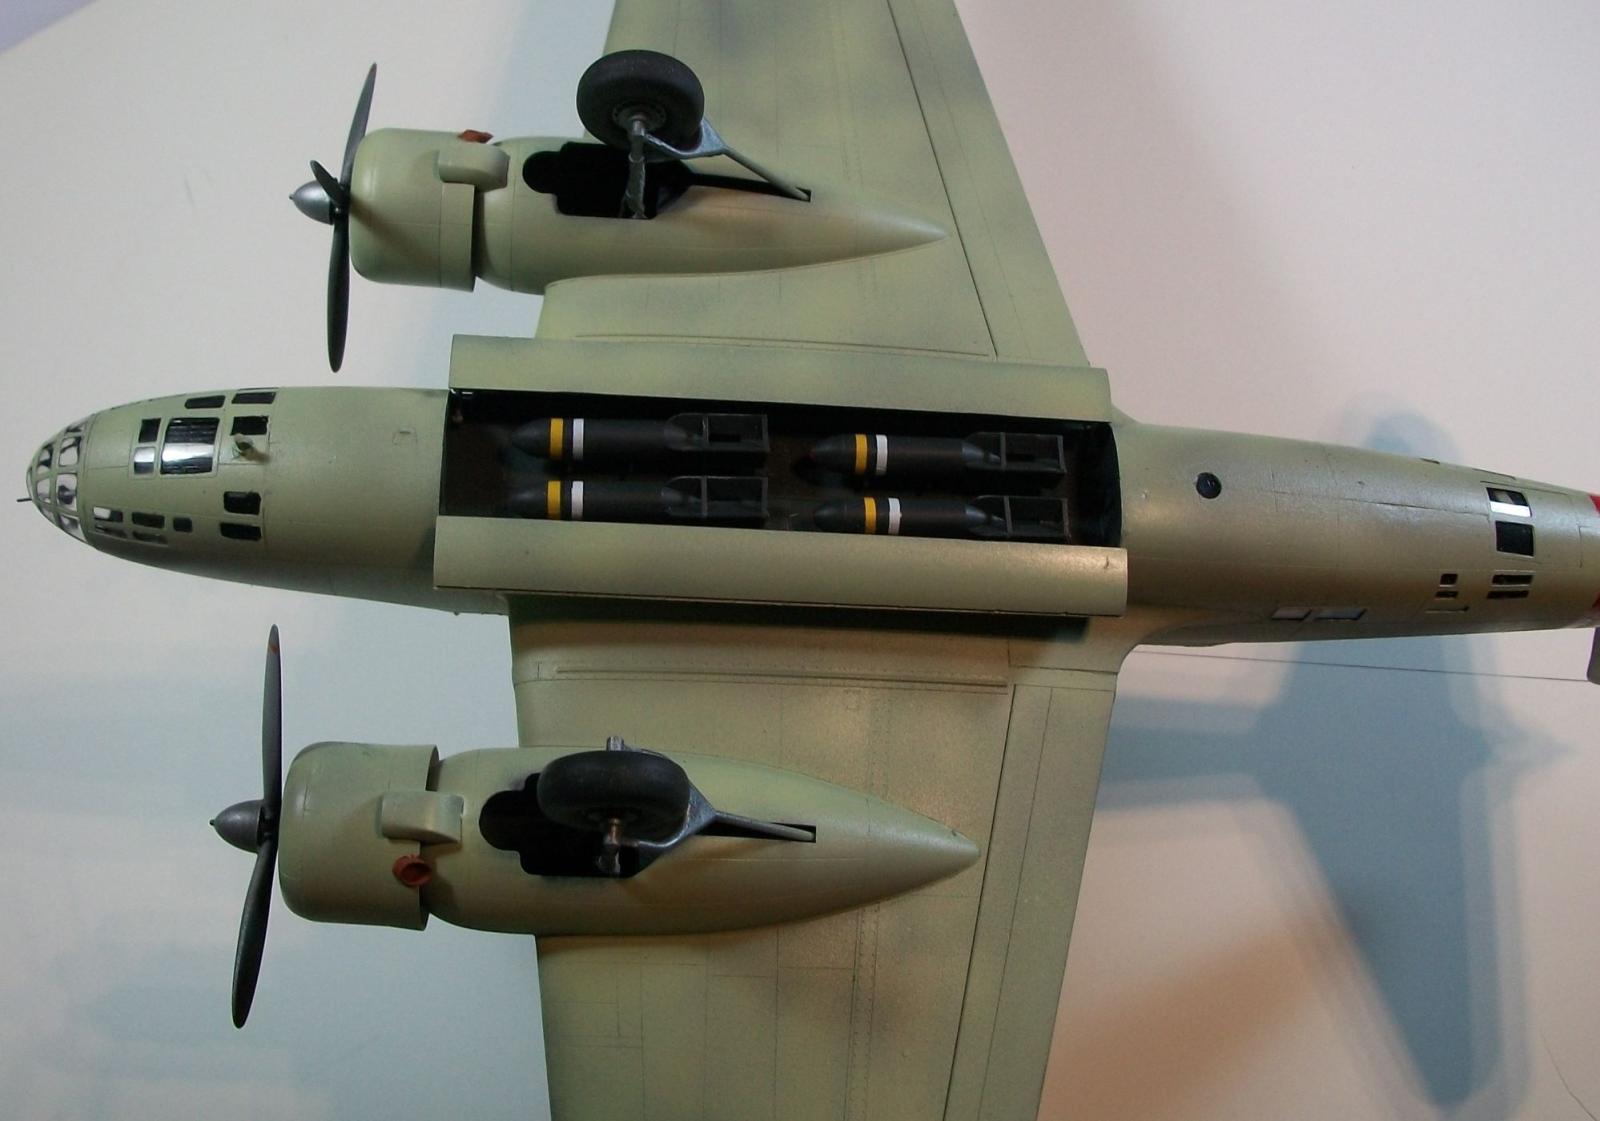
Stages 8 to 13 at are assembly of the bomb bay, which when together very well.
Stages 14 to 26 are the cockpit and main interior. The only issue I had was there are no seat belts included and that would have been a good addition to such a great kit. Also, there are two fuel tanks included but the furthest aft one will not be visible and can be left out.
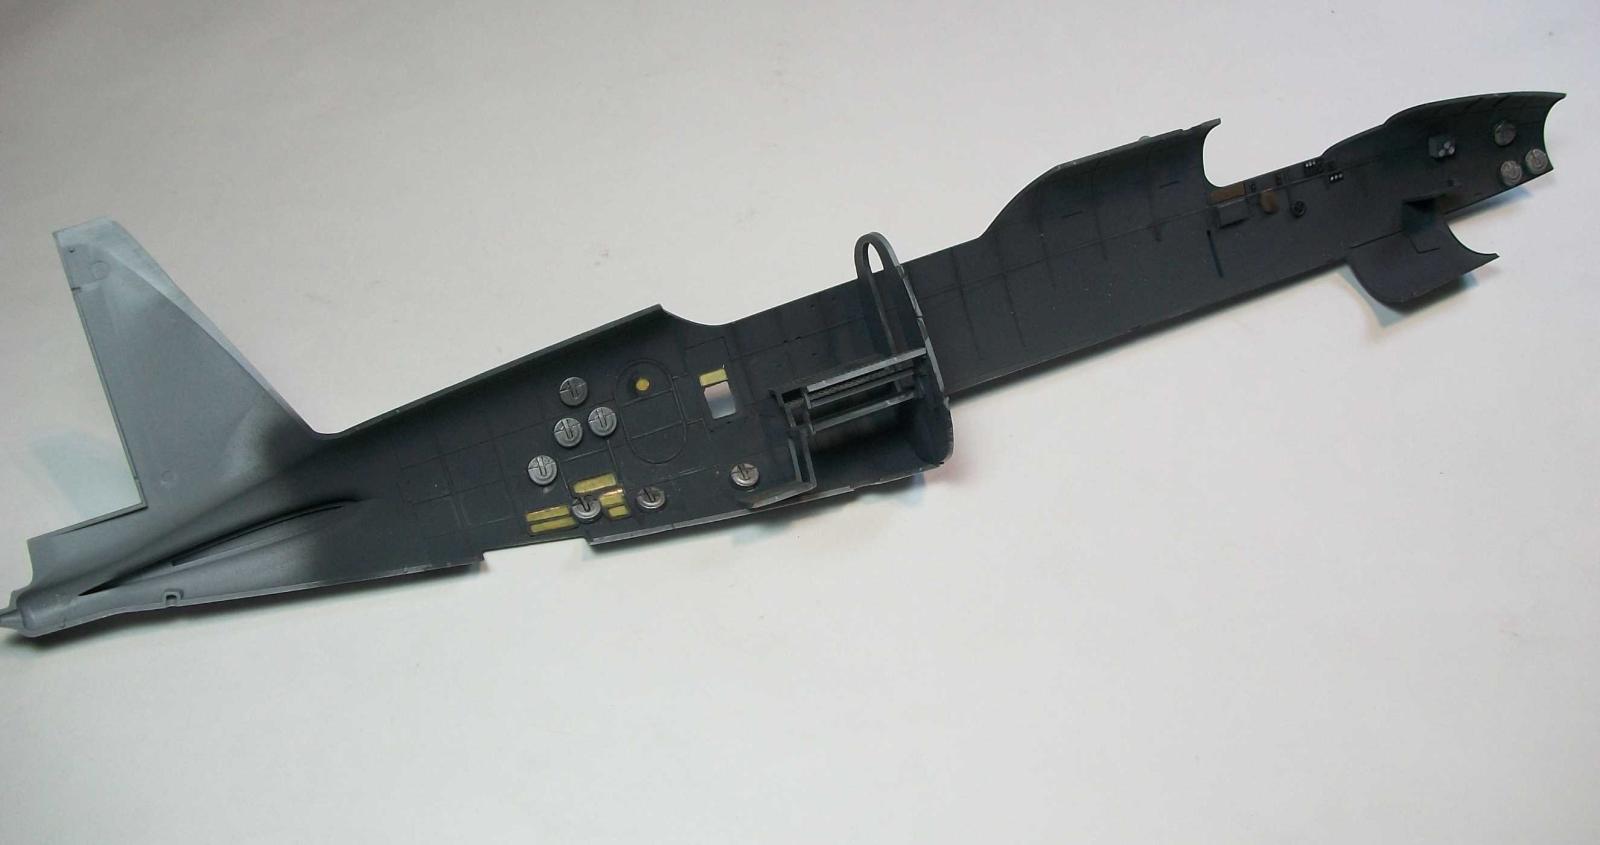
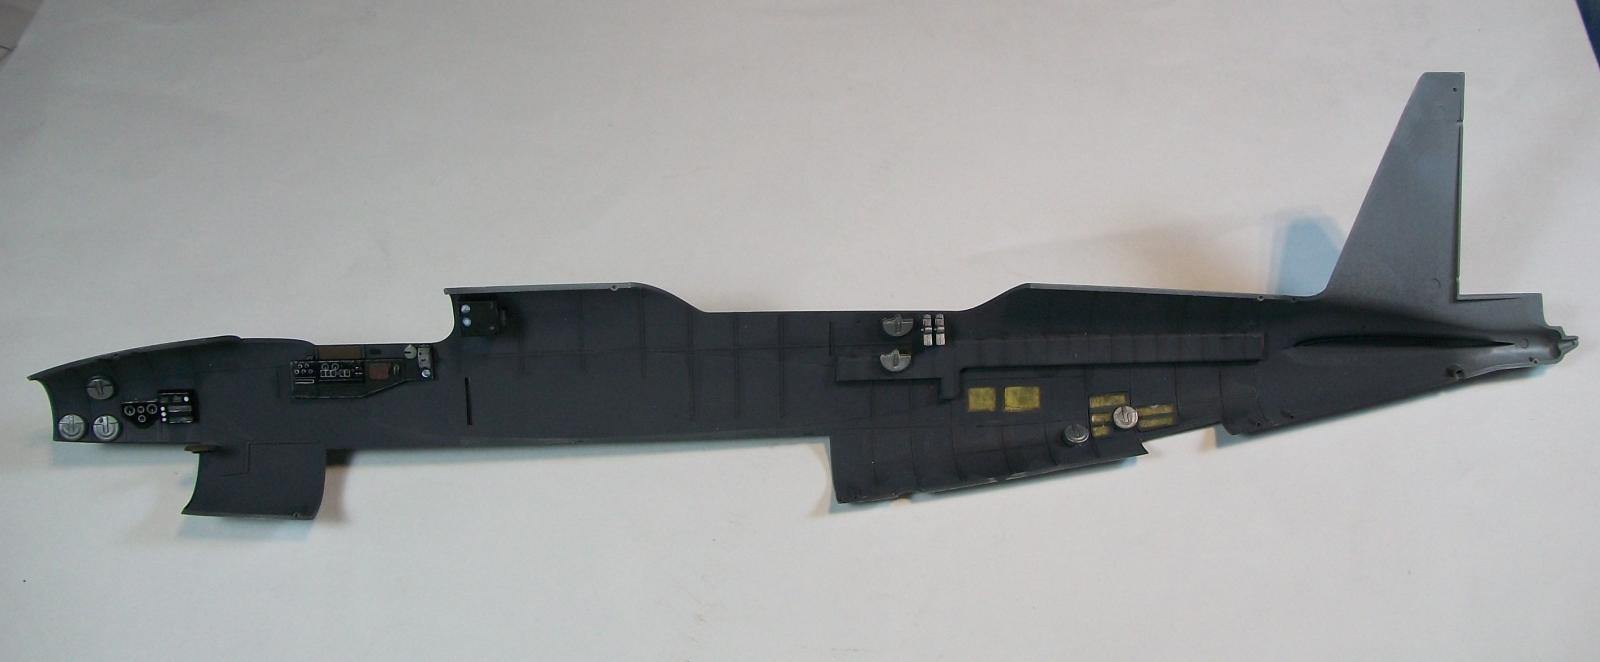
Stages 27 to 53 is the right side of the fuselage and then assembly of both halves. One point to note is that at stage 28 you do need to ensure you mount the E6 parts before you the E7 parts due to access. At this stage you can select the bomb bay open or closed, I went with open. At stage 53 I did find the G8 canopy needed filling/sanding to ensure a good fit. Everything else is easy and quick to assembly with no issues.
Stages 54 to 67 is the tail and wing assemblies and installation. This was easy and seamless. I did need some minor filling at the main wing joins but minimal.
Stages 68 to 75 is the landing gear assembly and installation. You do need to be careful with the parts E34 and E10 as the break very easily as I found out on both.
Stages 76 to 93 are the final assembly of the engines, cowlings and installation.
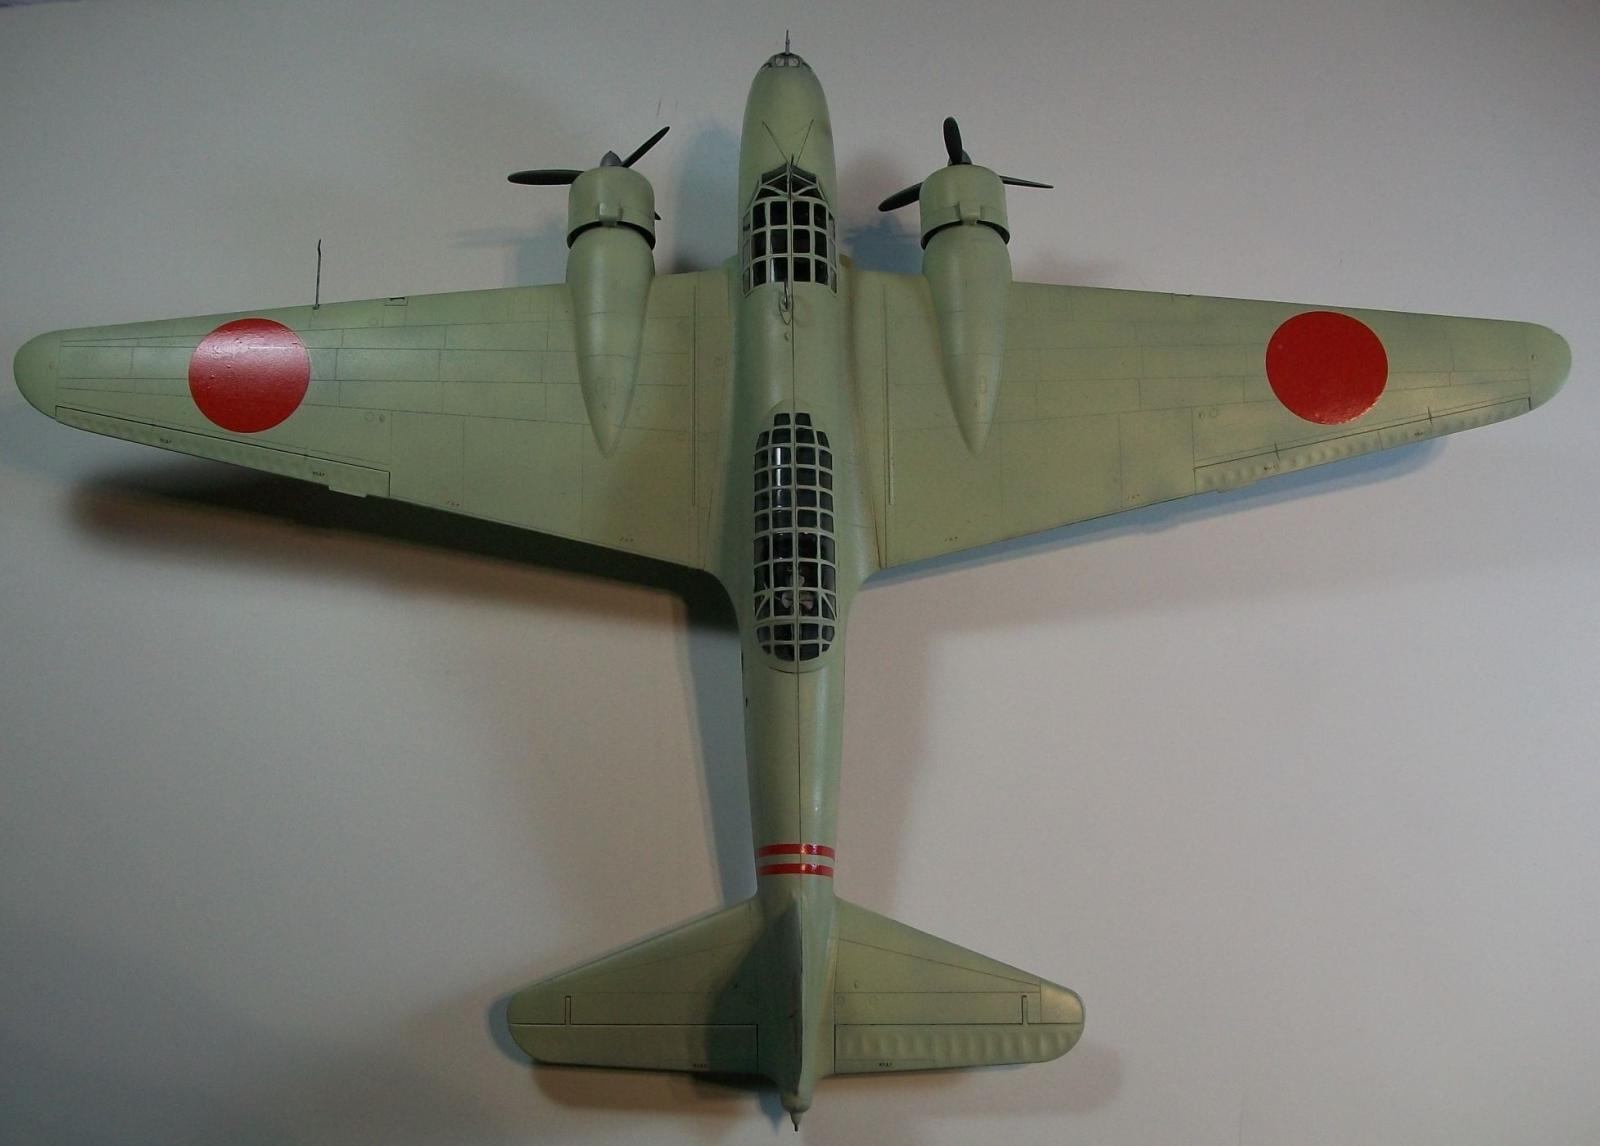
Then its painting and decals. I choose the third scheme that matched the box art.
This is an awesome kit and I really enjoy building it. It’s a very nice addition to the WWII Japanese aircraft subjects.
Thanks go to ICM for providing this kit to review and IPMS USA for allowing me to review it for them.
Interior
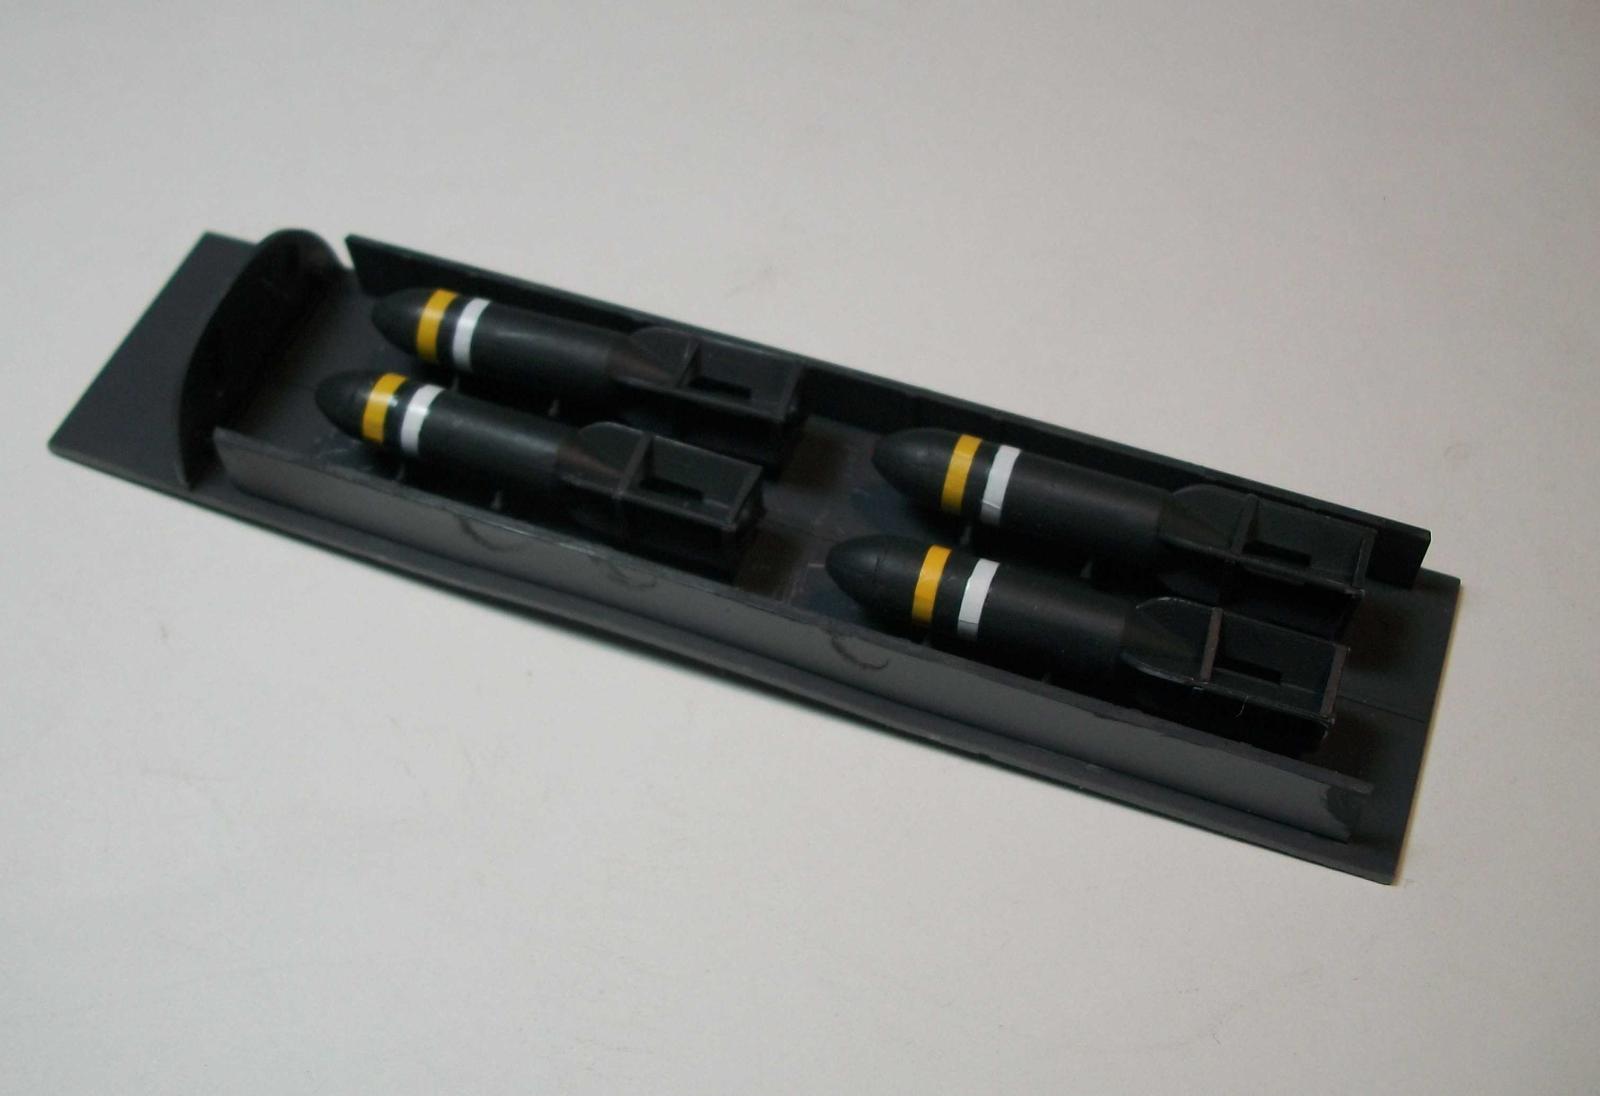
Bomb bay
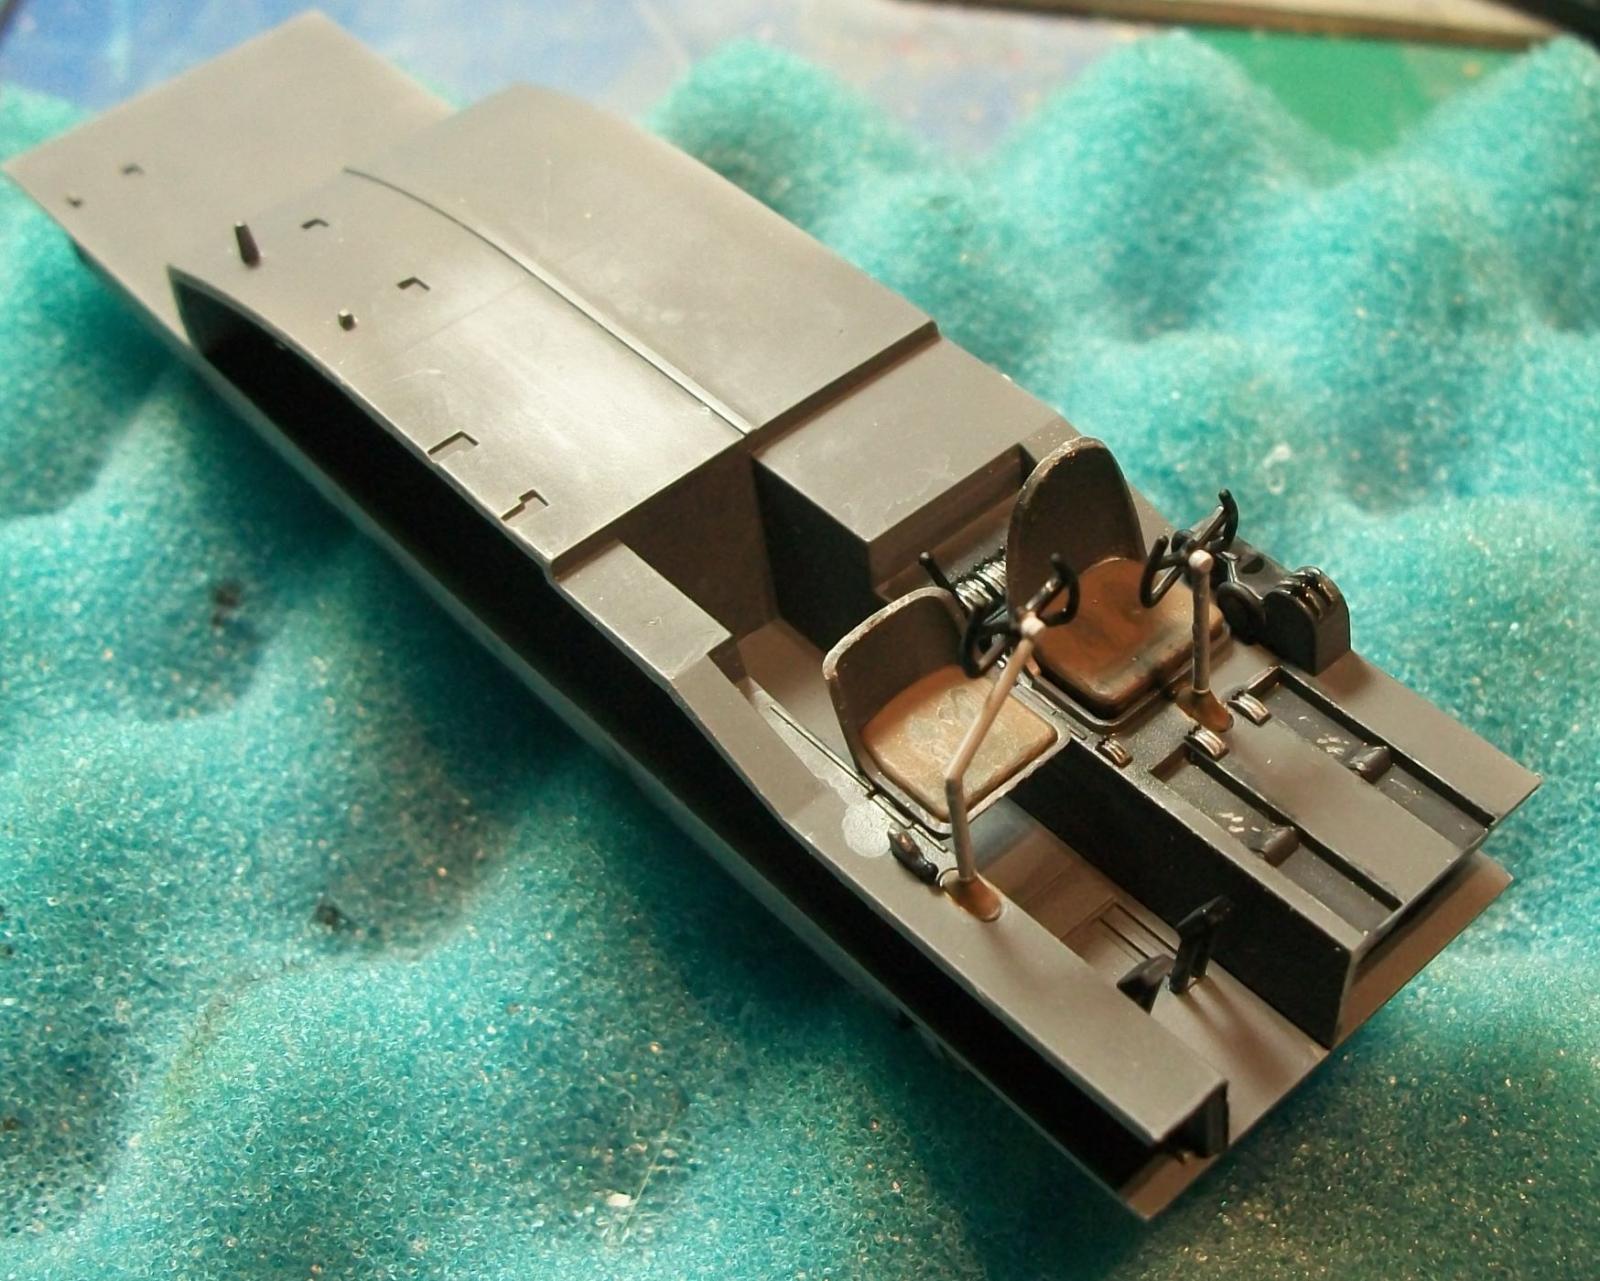
Cockpit
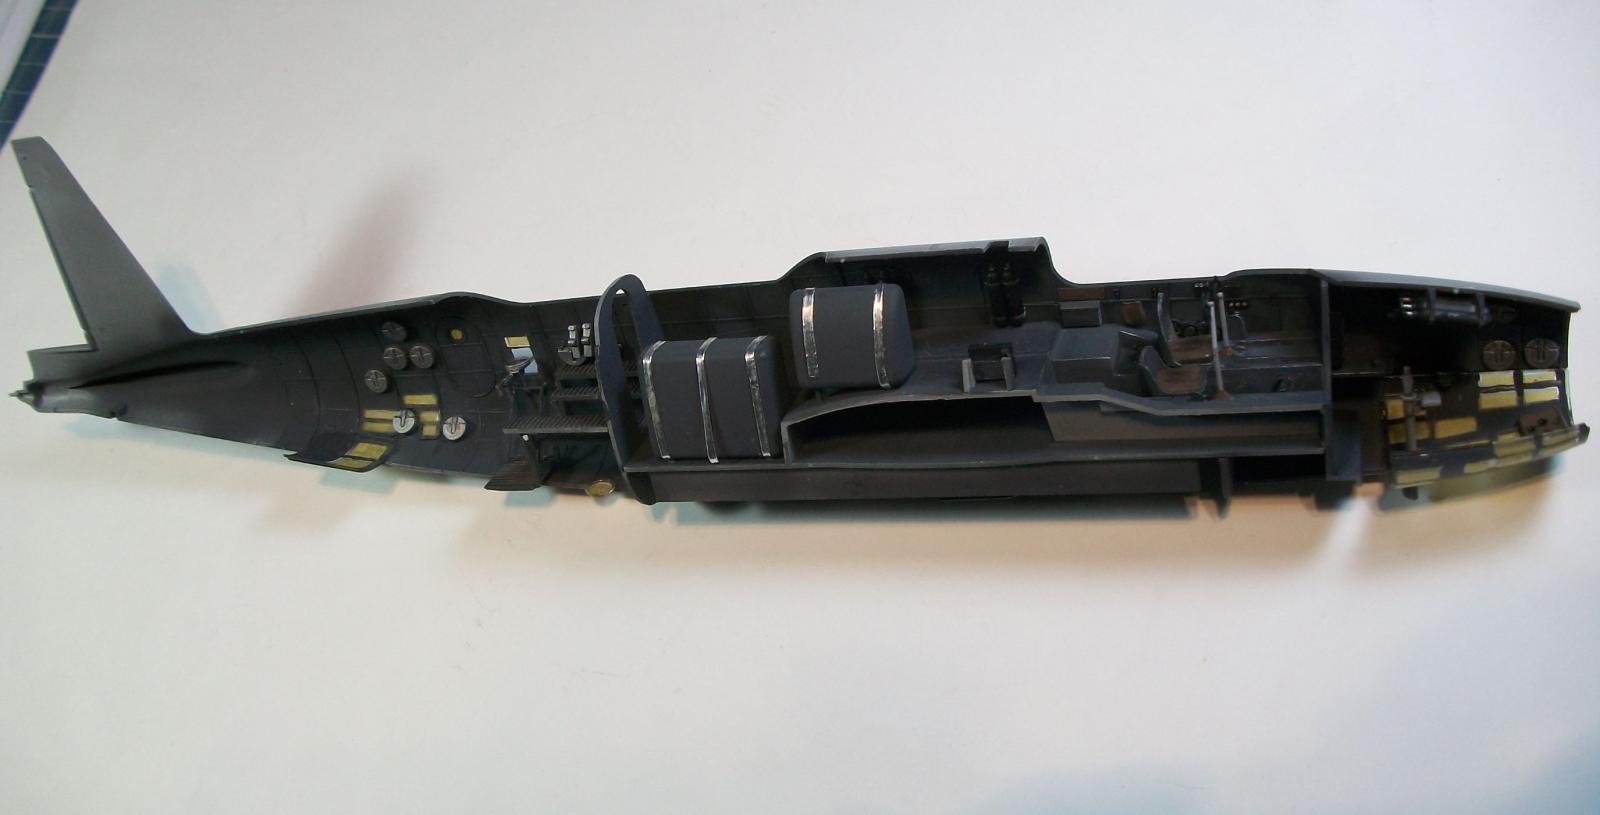
Interior
Interior
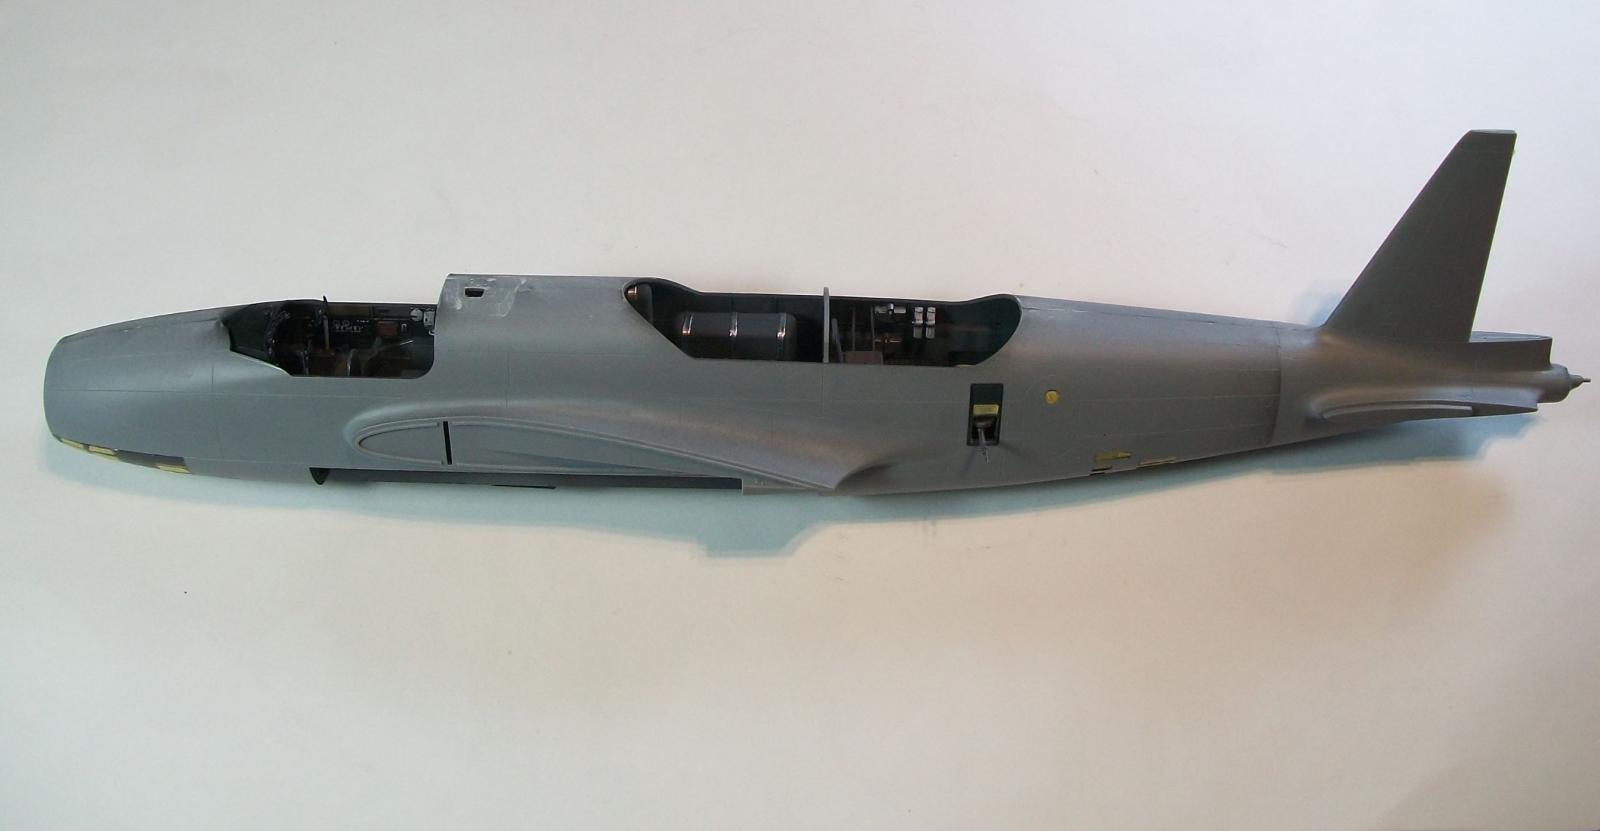
Closed fuselage
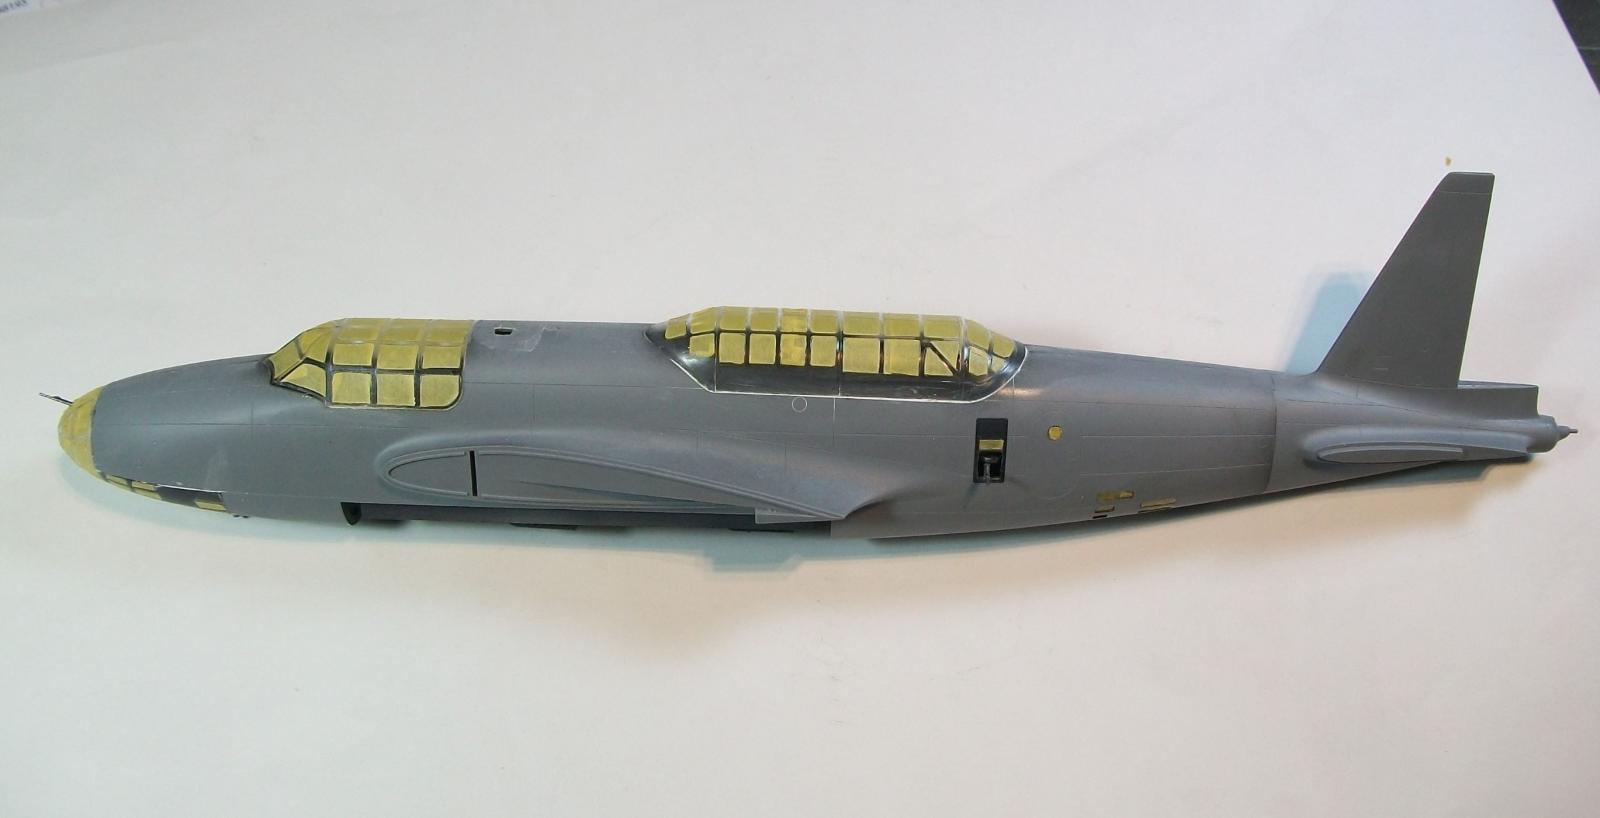
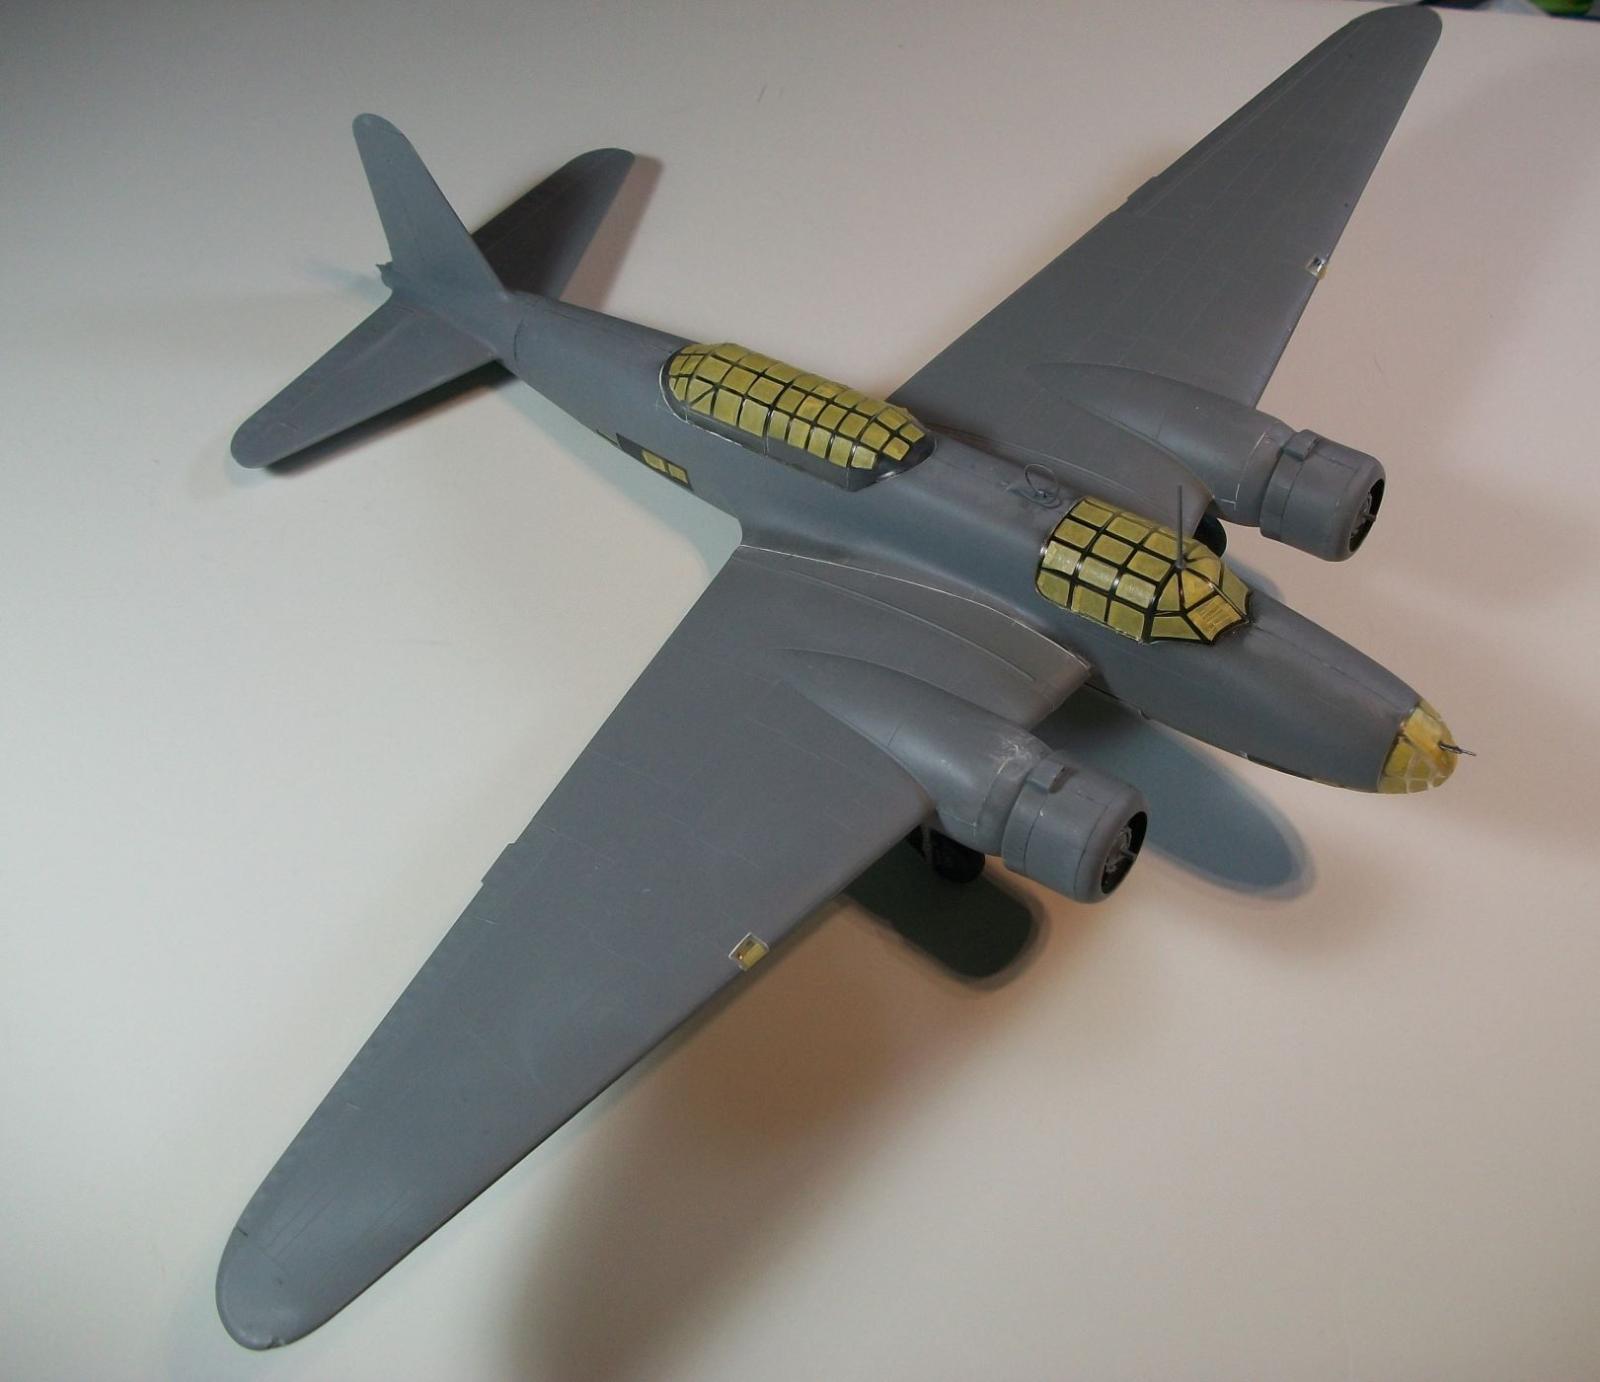
Fuselage closed and masked
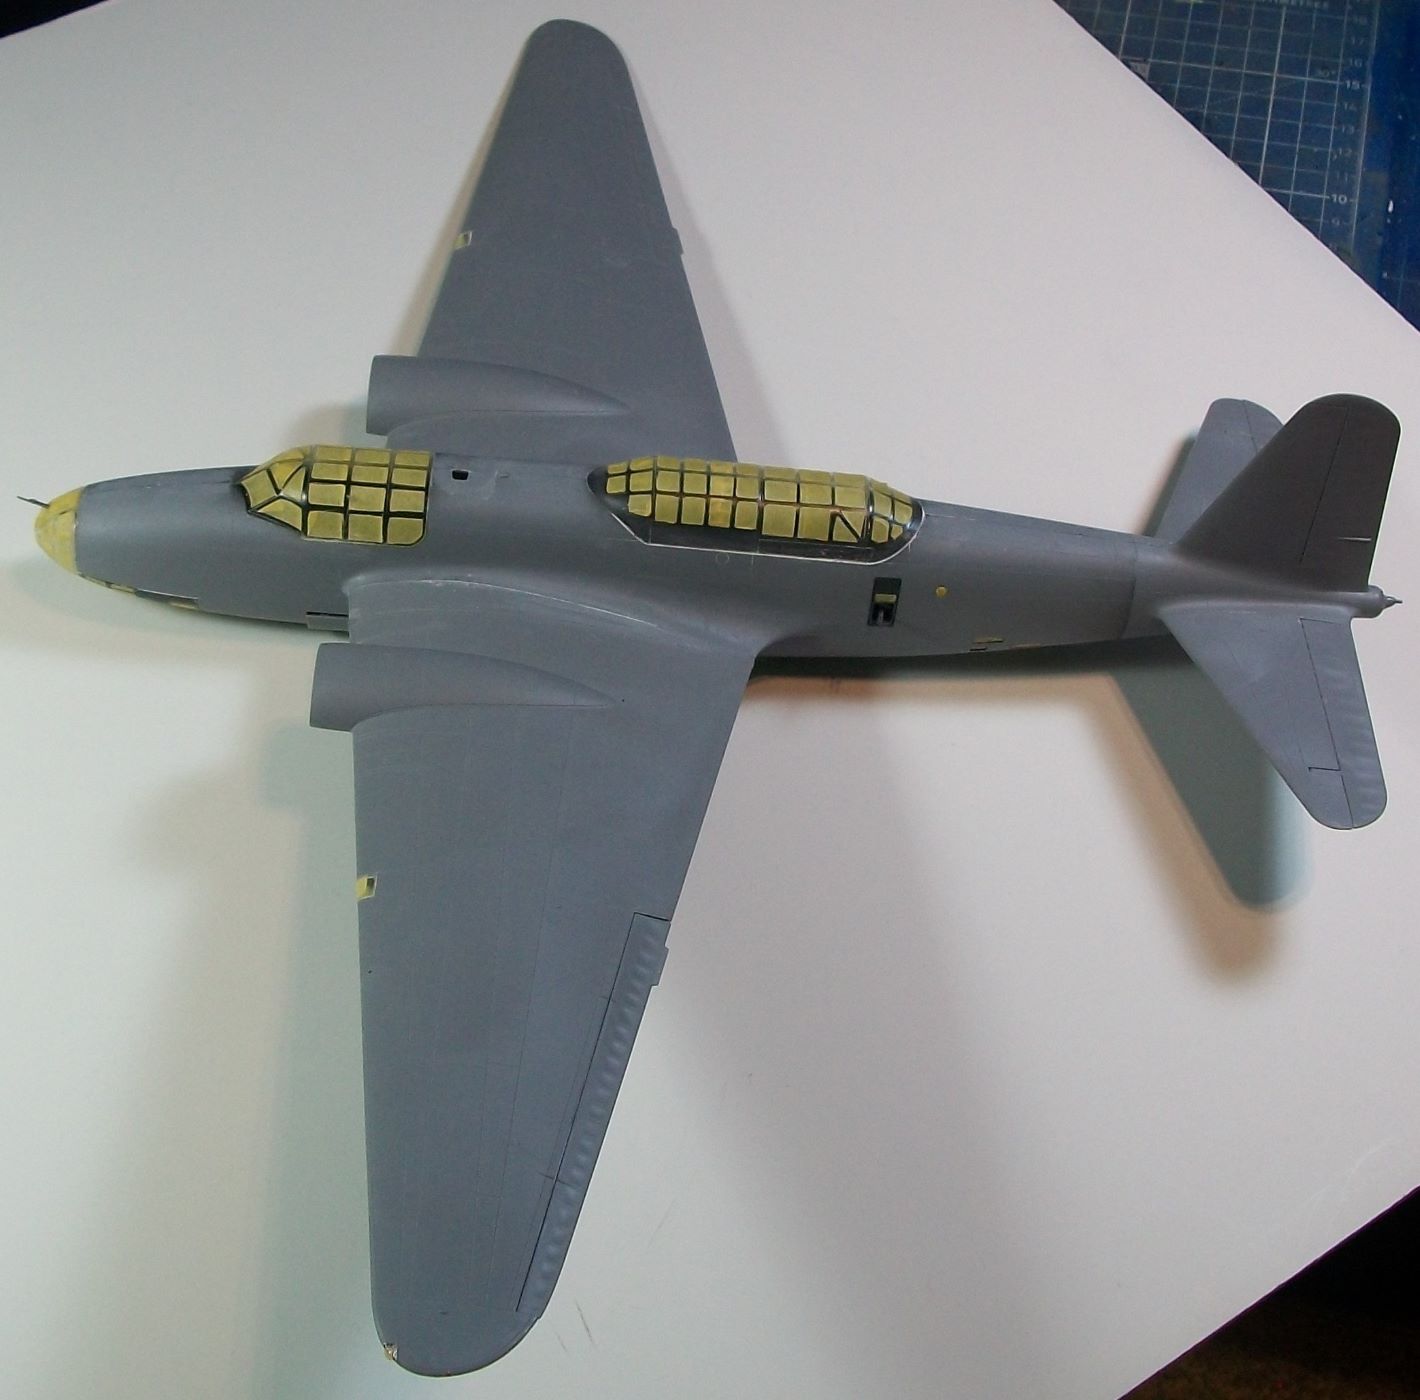
Final steps before priming/painting
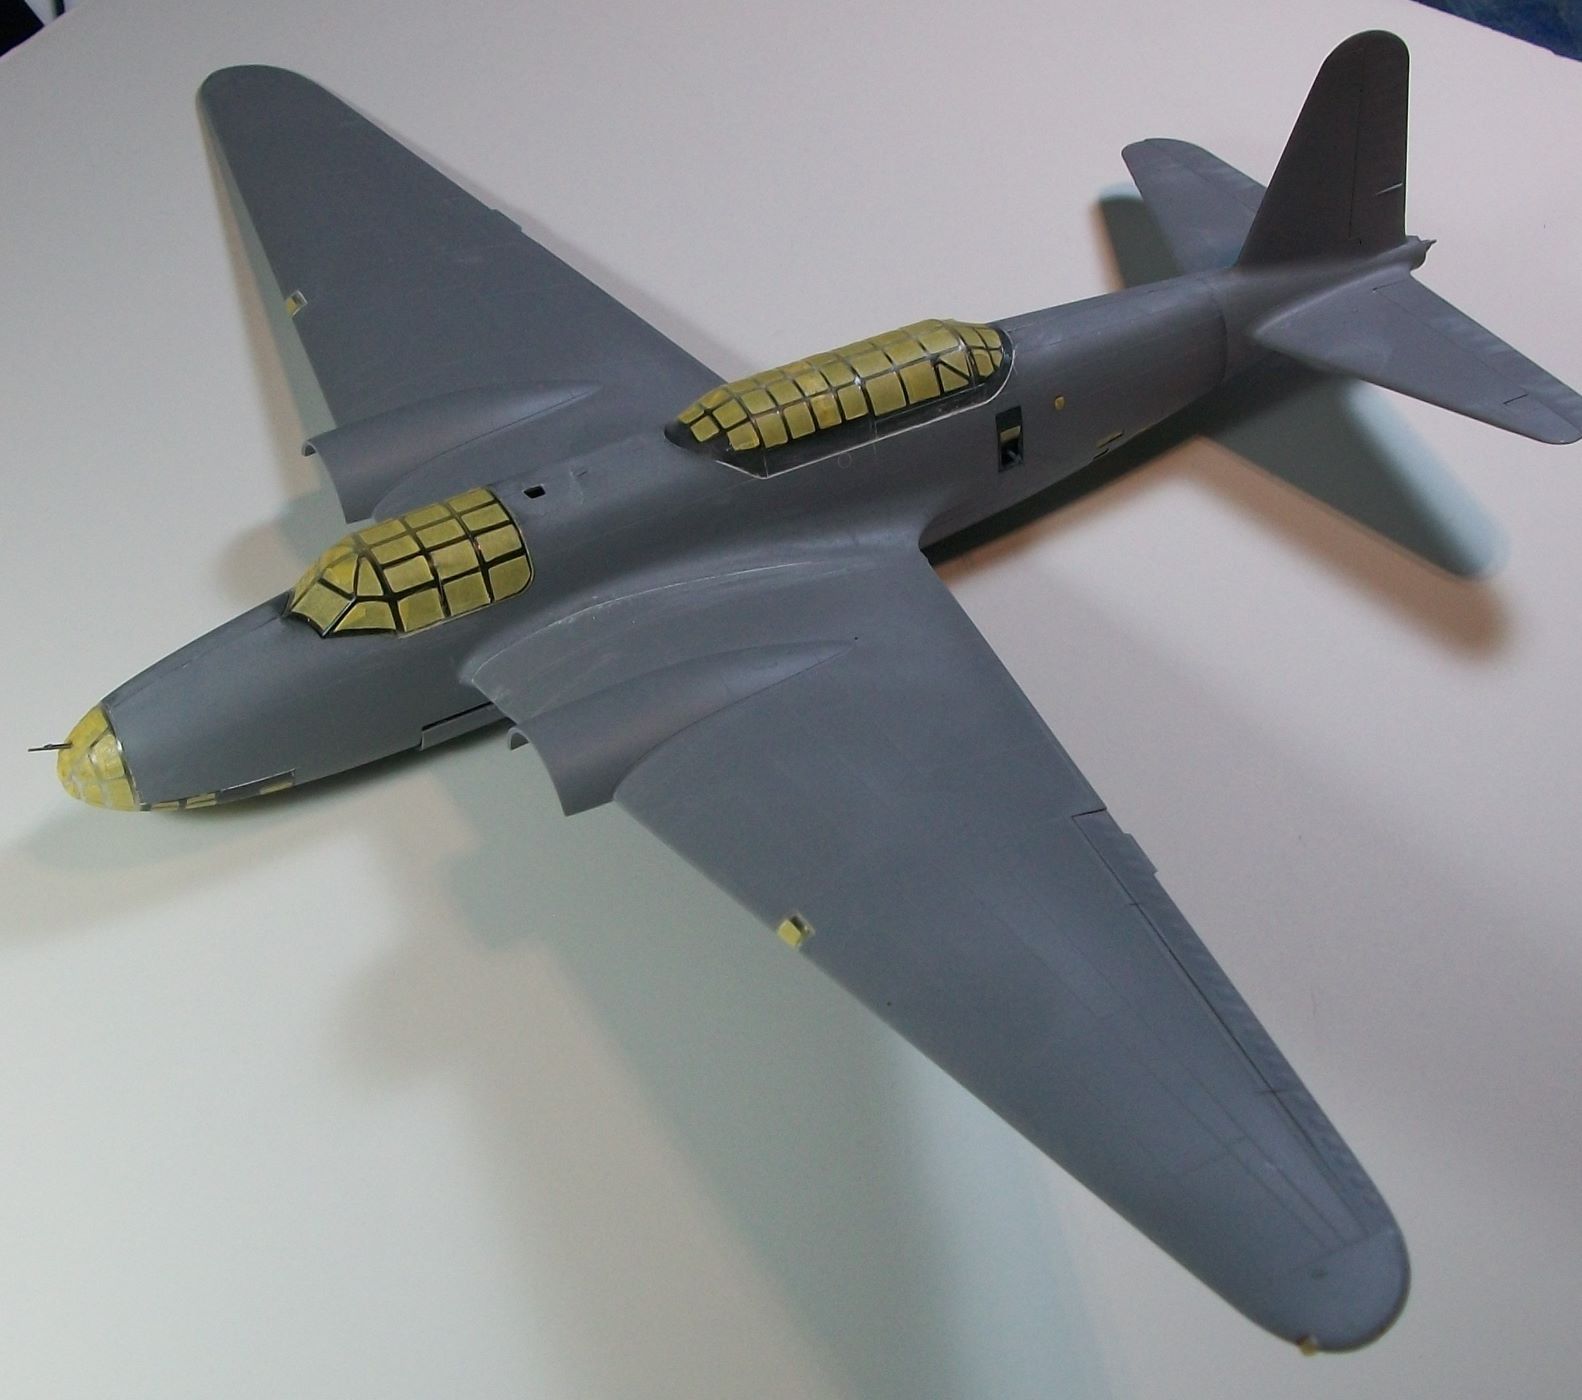
Final steps before priming/painting
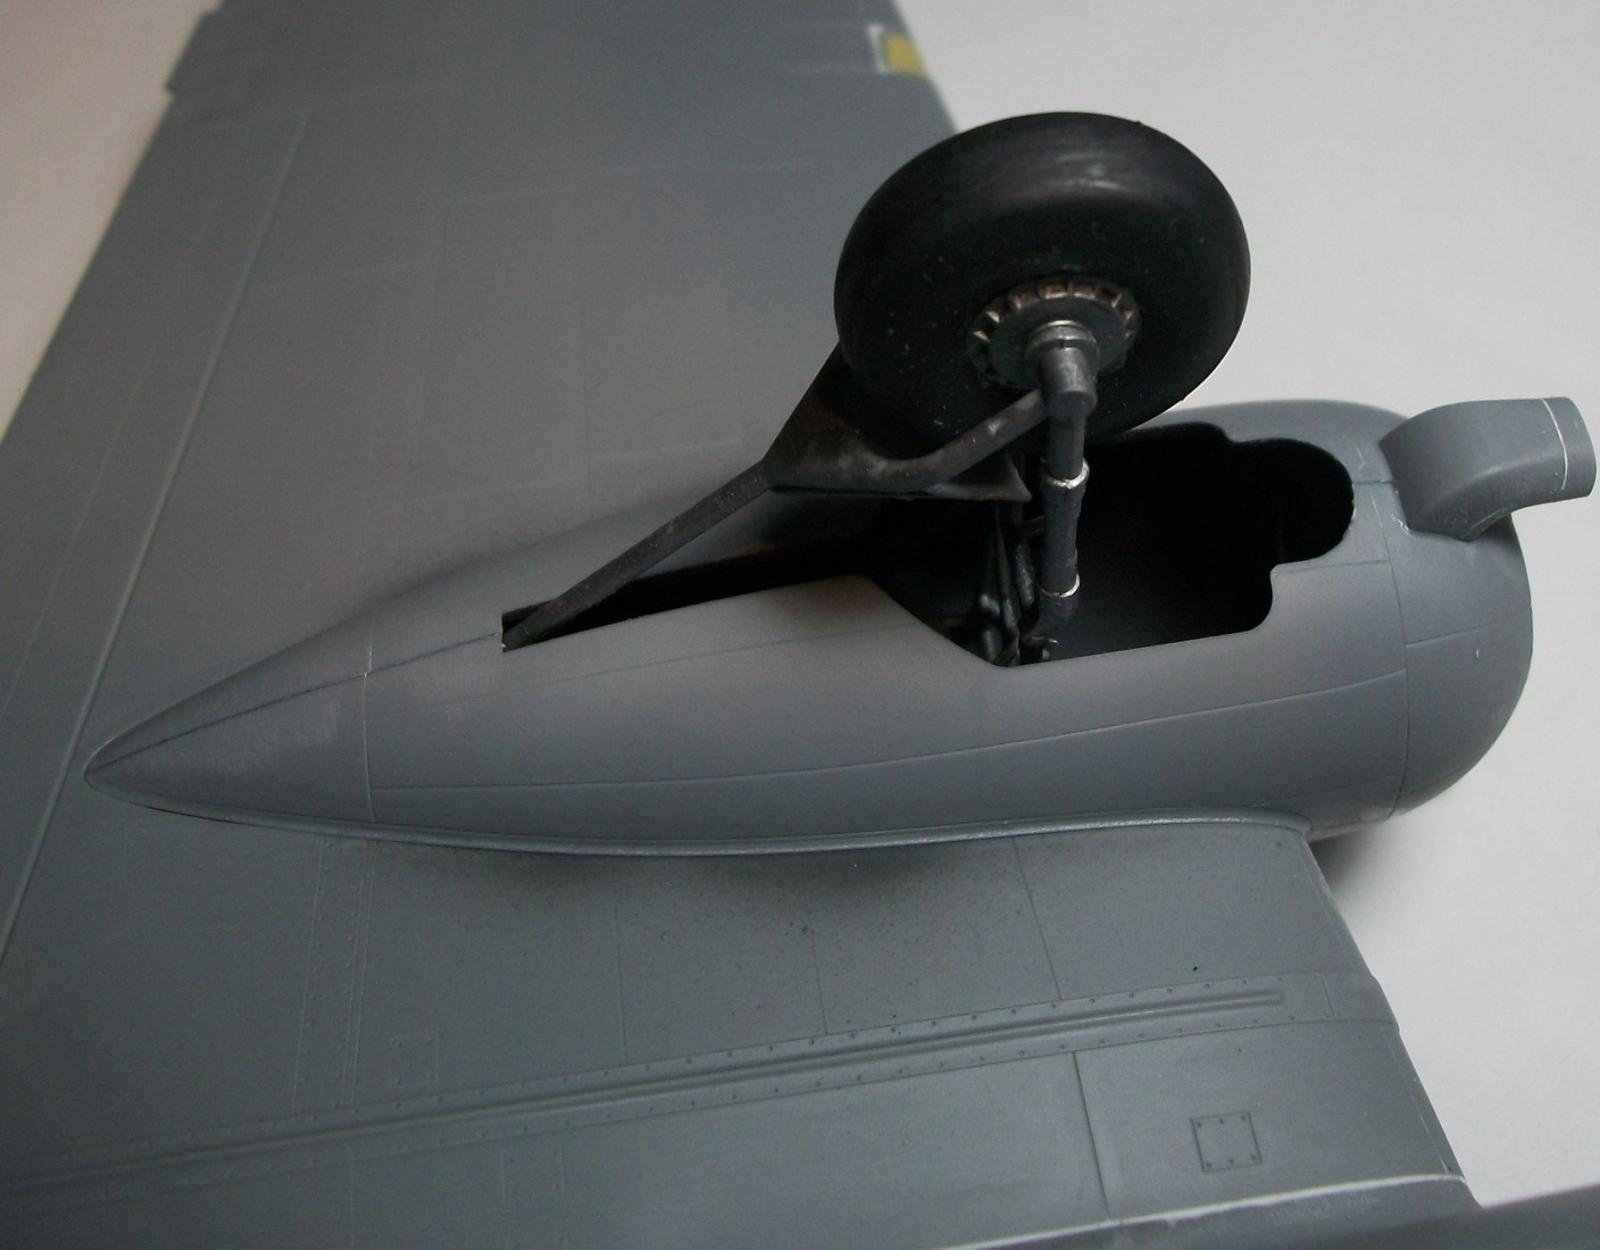
Main landing gear
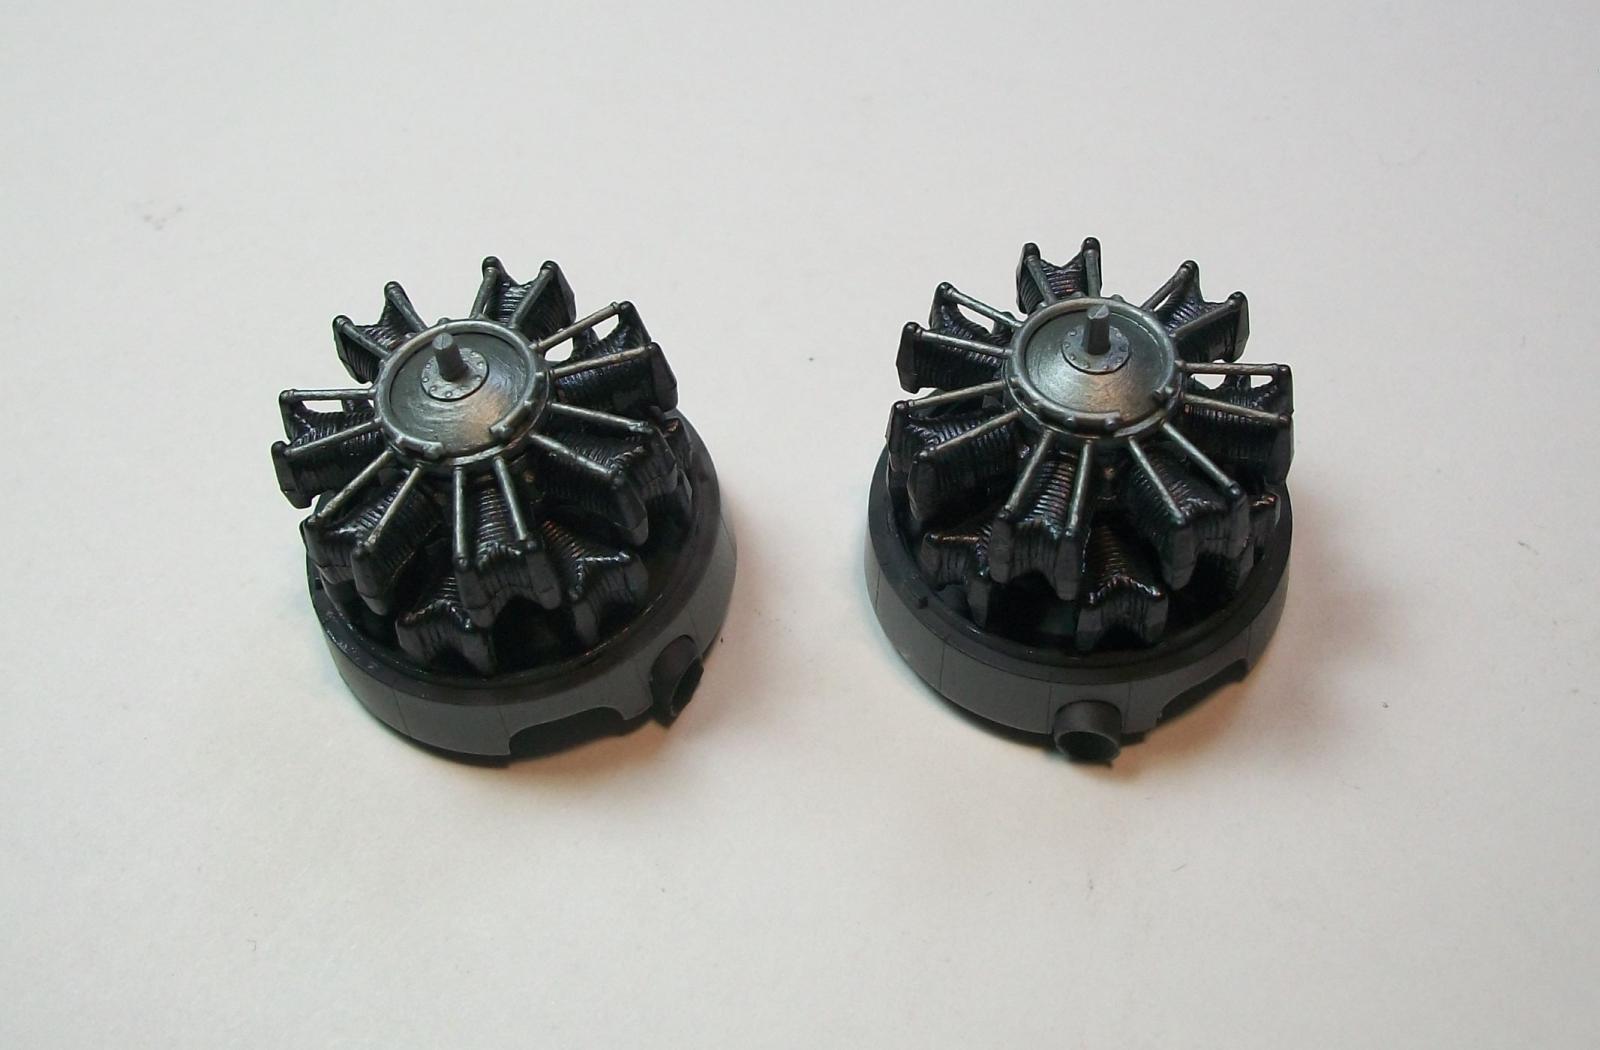
Radial engines
Final step before priming/painting
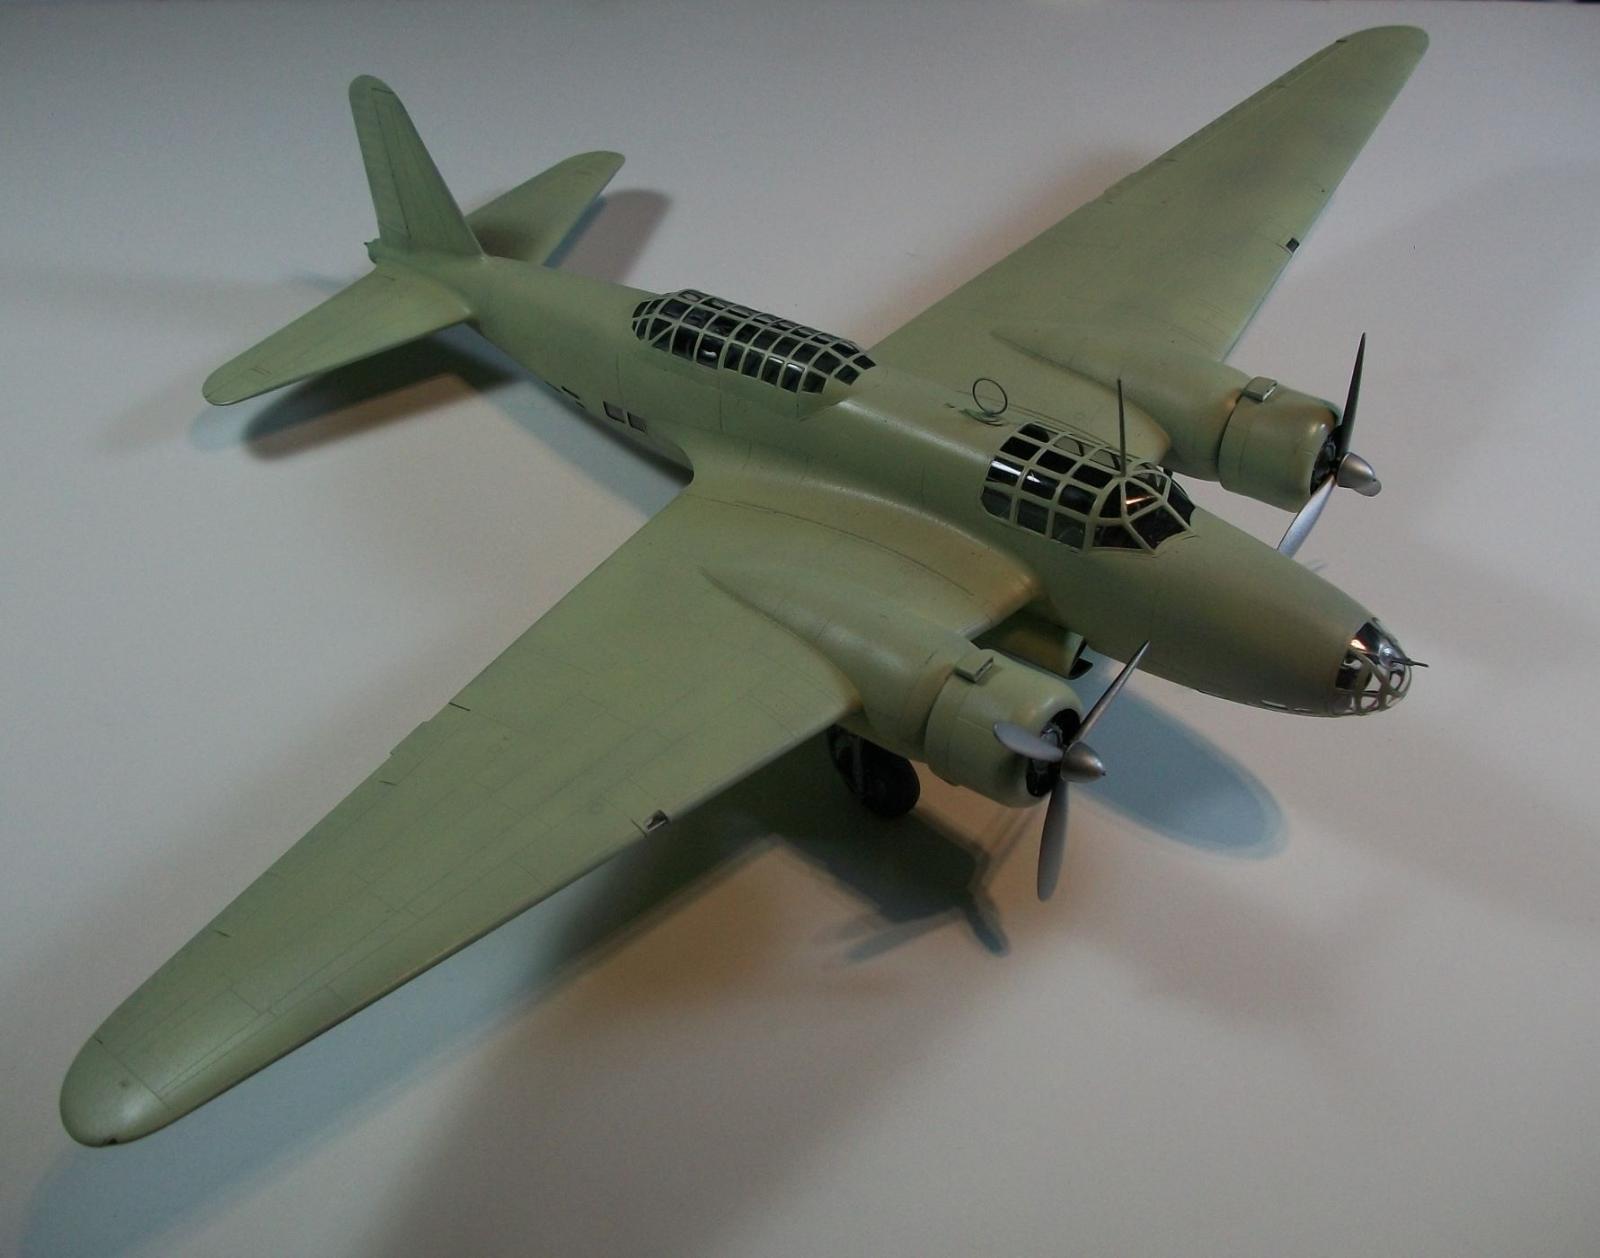
Painted
Painted
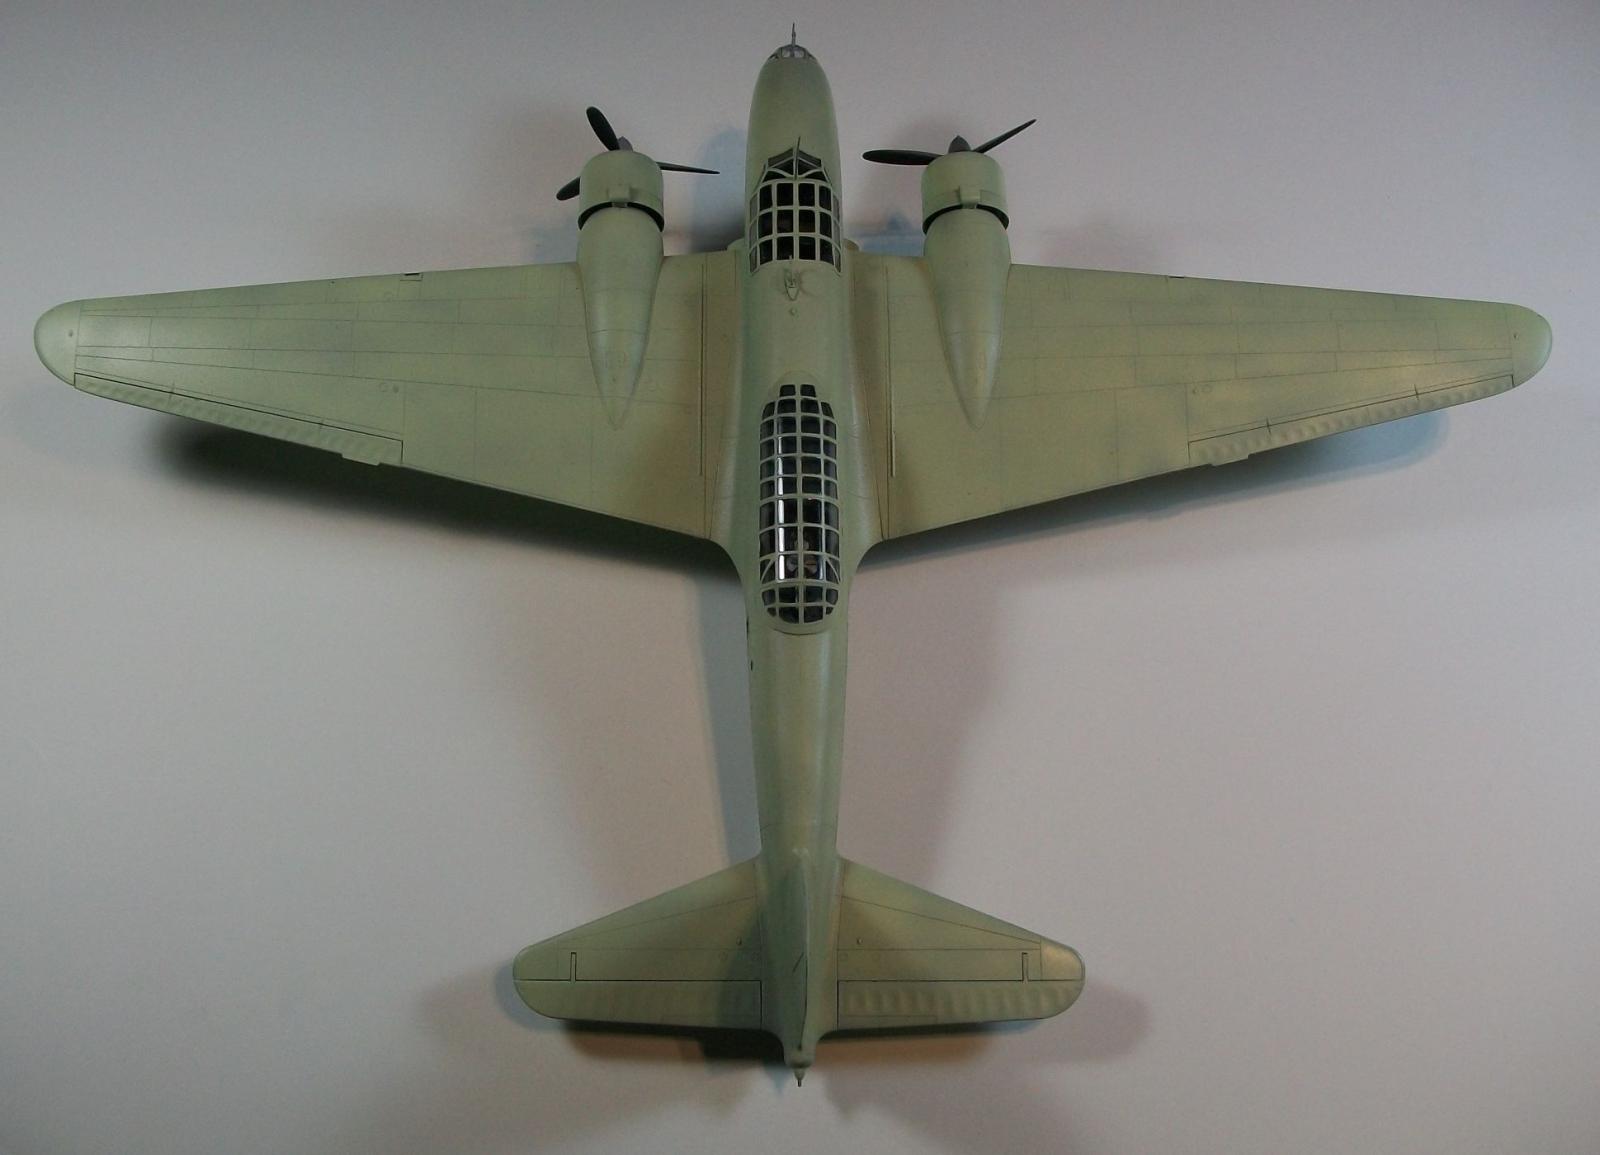
Final (from top)

Final (from starboard above)
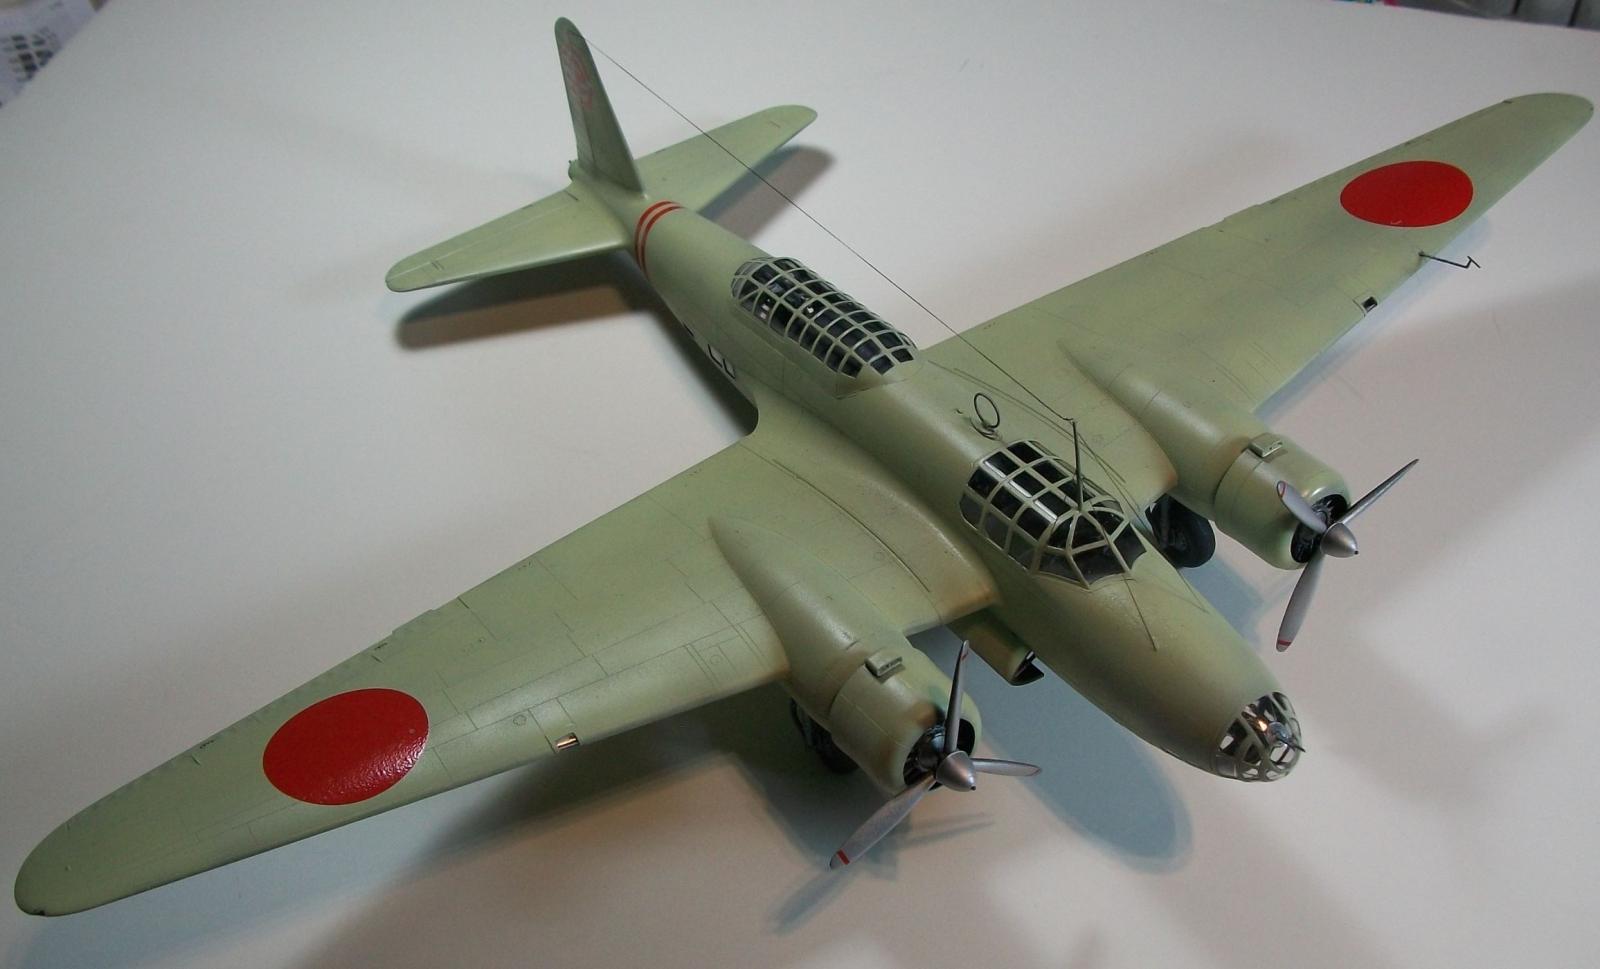
Final (from starboard above)

Final (from port above)
Comments
Add new comment
This site is protected by reCAPTCHA and the Google Privacy Policy and Terms of Service apply.
Similar Reviews