
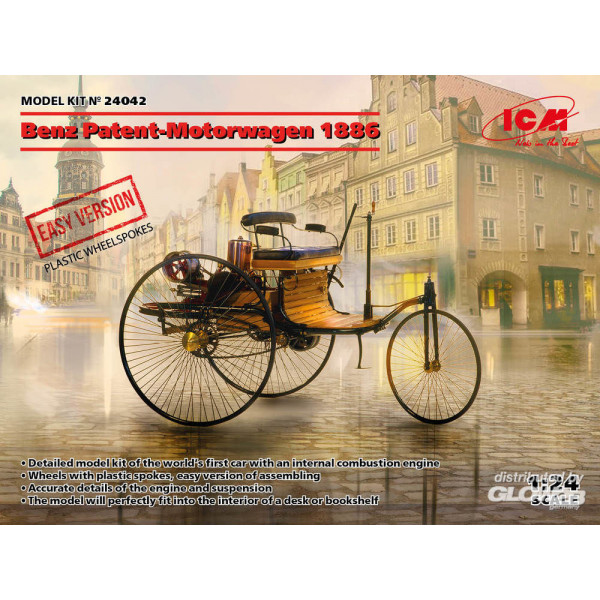
1886 Benz Patent-Motorwagen, Easy Version
While most Americans might believe otherwise, the first production automobile was built in Germany in 1886 by Karl Benz (of Mercedes Benz fame). The Benz Patent-Motorwagen was built in very small numbers between 1886 and 1893. ICM first released a kit of this vehicle in 2020, with photo-etch parts for the wheels and and drive chains. This year they released an “easy” version of the kit that replaces the photo-etch parts with plastic versions at a significantly lower cost.
The kit comes in ICM’s sturdy thick cardboard box and consists of several sprues of parts in a soft gray plastic. The softness of the plastic is good, because it means that the many small, delicate parts tend to bend rather than break.
The parts had almost no flash and very few mold lines. This is fortunate, because filing or trimming off excess plastic is almost impossible on many of the parts due to their small size and fragile nature.
This would be a good time to mention that I have built other ICM kits in the past, and they are universally well-engineered and well-molded. This kit is no exception.
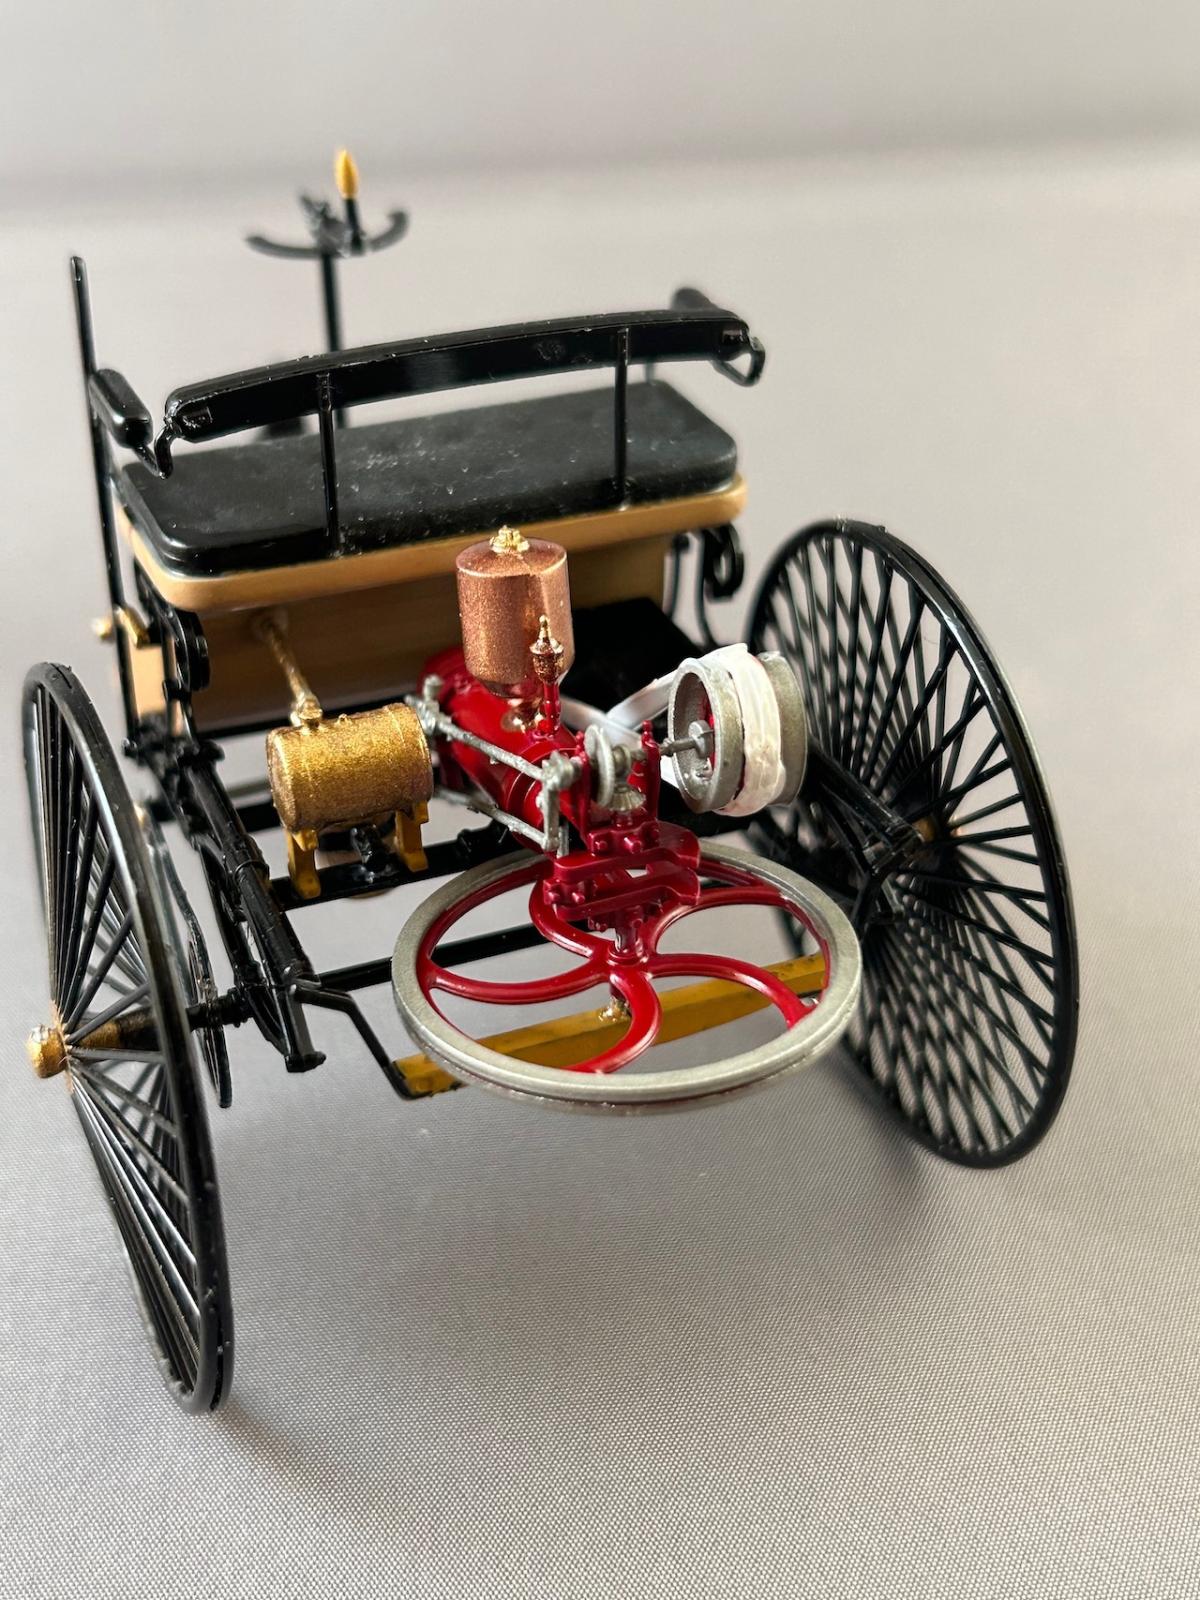
Miniscule details are well-molded, and nearly every piece has well-defined attachment points. Pins fit into holes, brackets fit into slots, and nearly everything lines up exactly as it should. I did end up drilling out a few holes, but this was mainly due to paint buildup rather than poor engineering of the kit.
The instruction booklet breaks the assembly process down into 51 steps, with clear line drawings that include painting suggestions. Reference images I found online didn’t always agree with these recommendations, so modified them to suit my own taste.
This easy version contains an additional sheet of instructions that show the assembly steps for the plastic pieces that replace the photo-etch ones of the original kit. It took me a while to figure out where some of these steps fit into the original instructions; some additional explanation would have been helpful, but after staring at things for a bit I managed to work it out.
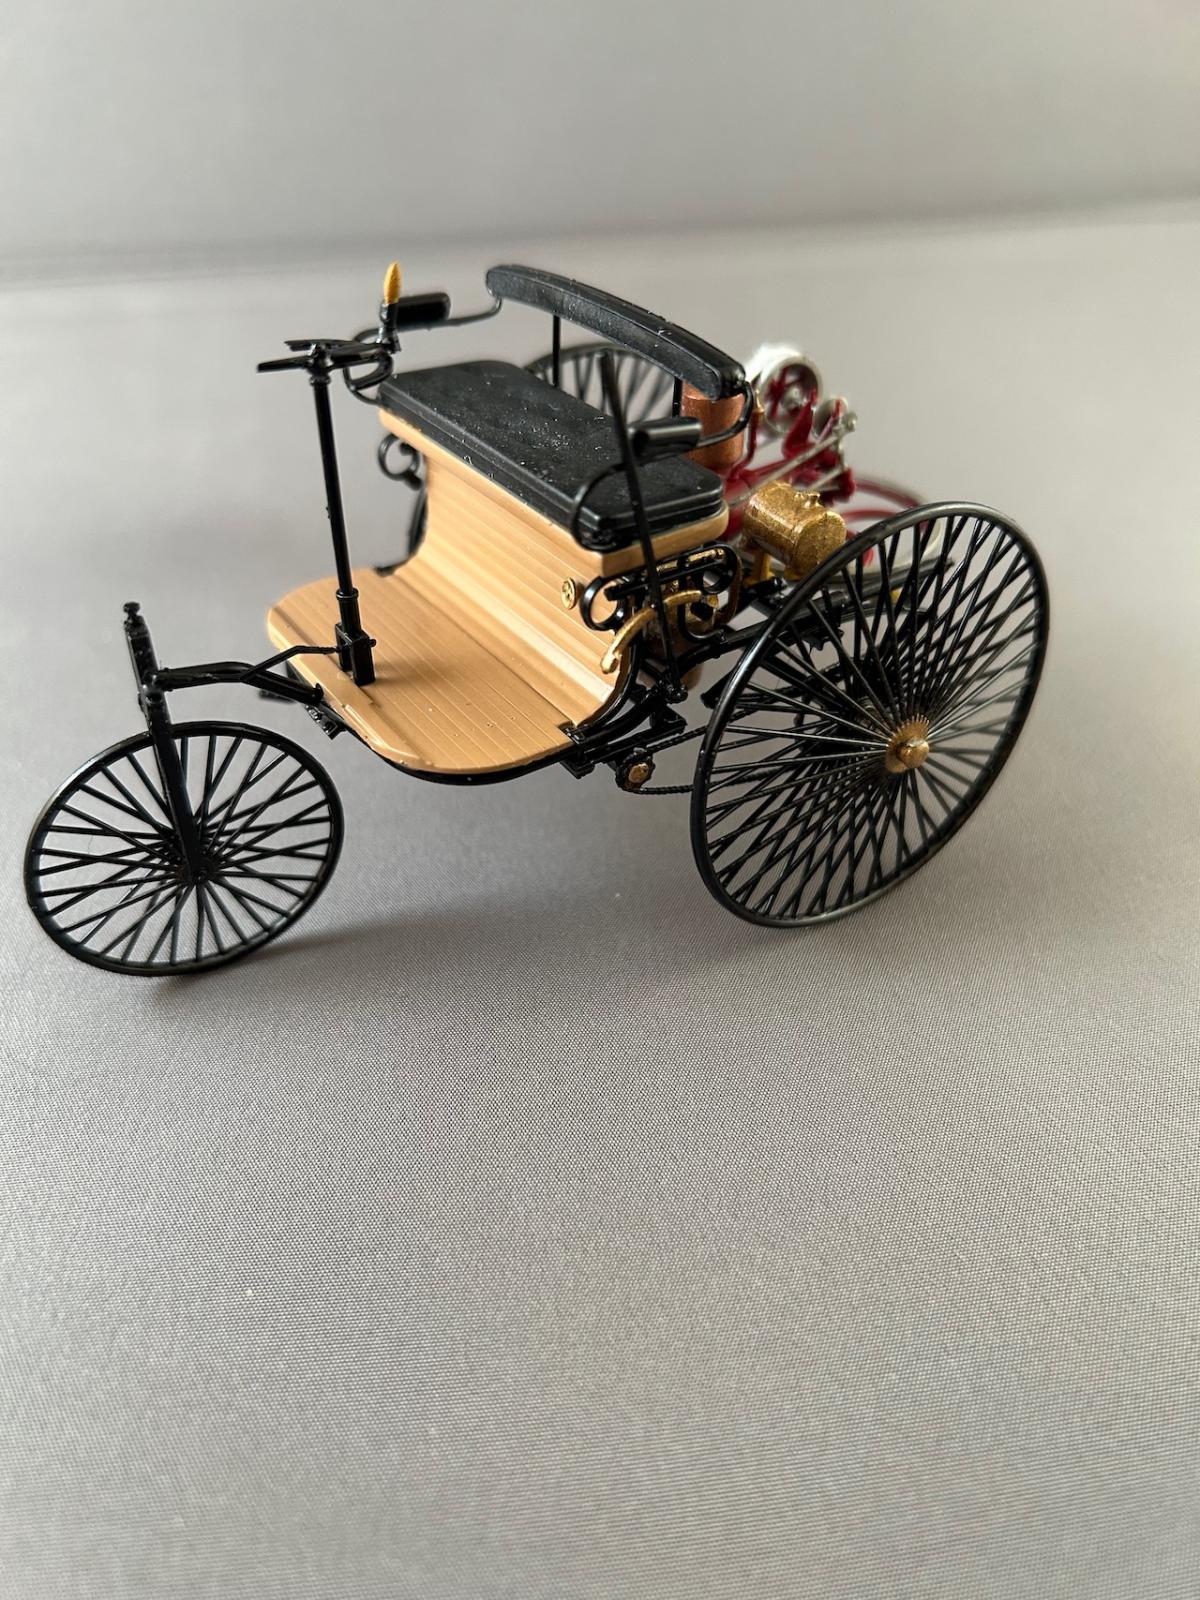
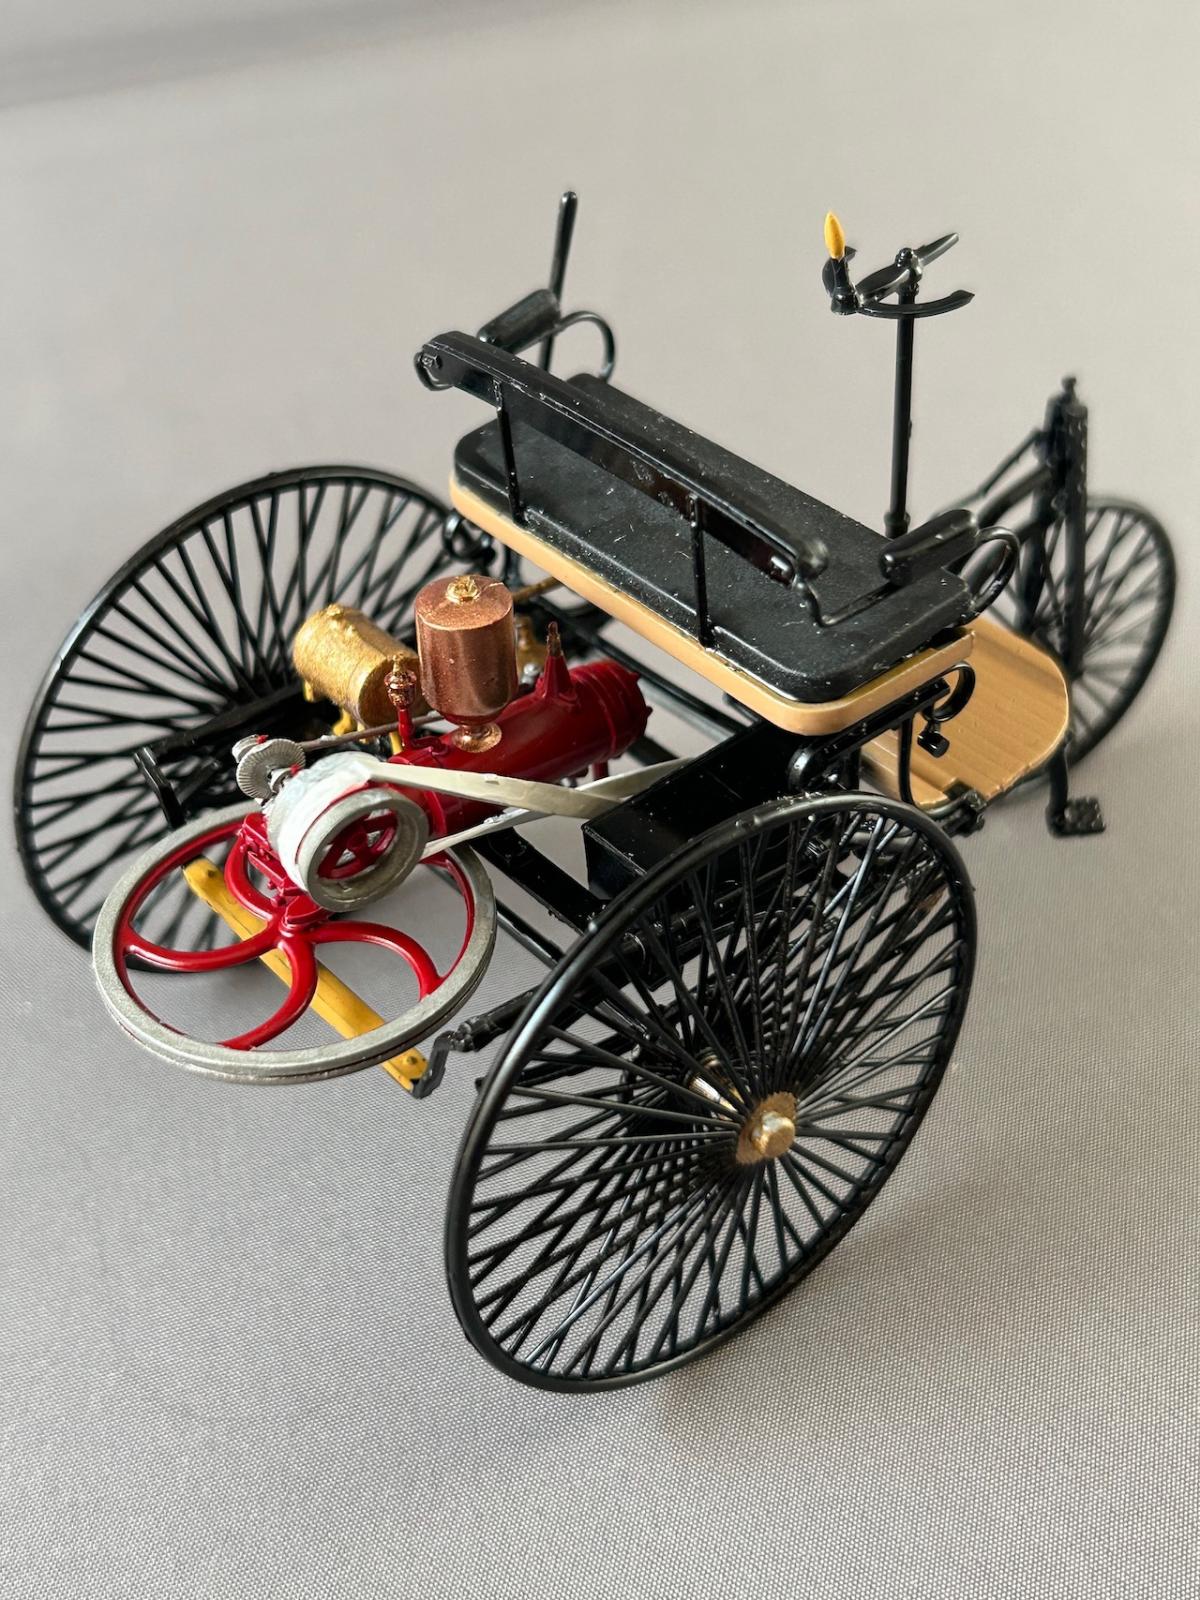
As I do with most kits, I identified assemblies that would be painted the same color and built those before painting them. This included the multi-piece frame, the engine block, the trunk (or tool box?), and a few other odds and ends. I opted to paint the wheels before assembling them as I wanted to paint the inner hubs a different color than the spokes.
Once everything was painted, the remaining assembly took several weeks. This was because I could usually only assemble a couple of pieces in one sitting before needing to let them sit overnight for the glue to dry. Assembling the wheels alone took several days as it took a couple of tries to get the wheel halves to clamp together all the way around and dry with no gaps. But in the end my patience paid off and I was rewarded with a model where everything lined up properly and held together well.
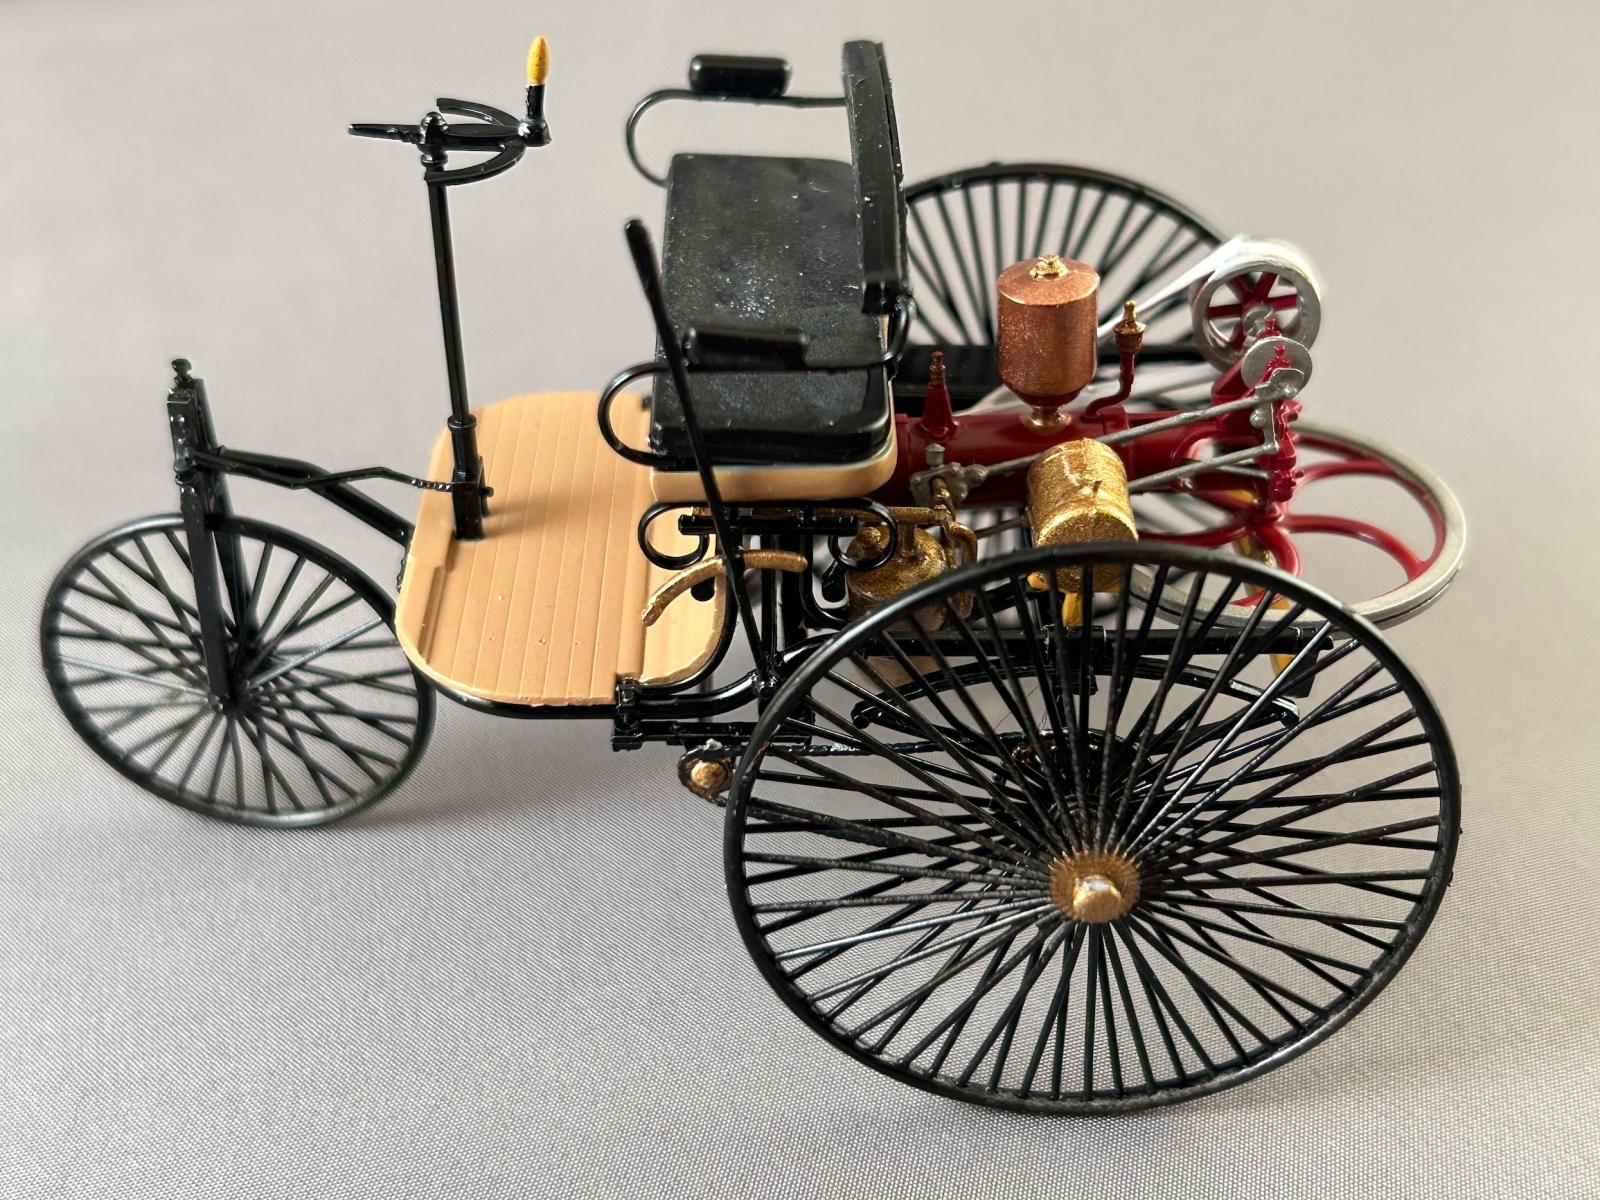
I would recommend a couple of deviations from the instructions. In step 11, part A55 is attached to the back of the floorboard after the floorboard has been installed on the chassis. I would recommend that it be installed in step 8 instead, where it is far easier to access. Similarly, steps 15 and 16 have you assembling a gear assembly and attaching it to the back of the engine block after the block is installed in the frame; it would be easier to attach it to the block before it is attached to the frame. The same could be said for the drive belt pulley in steps 18 and 19; attaching it to that same gear assembly would be easier before the engine was installed. And finally, I assembled the seat (steps 30 and 31) and attached it to the seat frame (part A27) before attaching the seat frame to the chassis (step 29).
All in all, I was quite pleased with engineering and effort that went into producing this kit, and I was quite pleased with finished product. But don’t let the name fool you: this kit is NOT “easy”. The omission of the photo-etch parts makes it less expensive, but the plastic replacements for those parts present their own challenges in addition to the challenges presented by the rest of the kit. I would recommend this kit only to experienced modelers based on the sheer number of small and delicate pieces. It is a challenge to build, but the result makes it worth that challenge.
Many thanks to ICM for the opportunity to build this kit!
Comments
Add new comment
This site is protected by reCAPTCHA and the Google Privacy Policy and Terms of Service apply.
Similar Reviews