
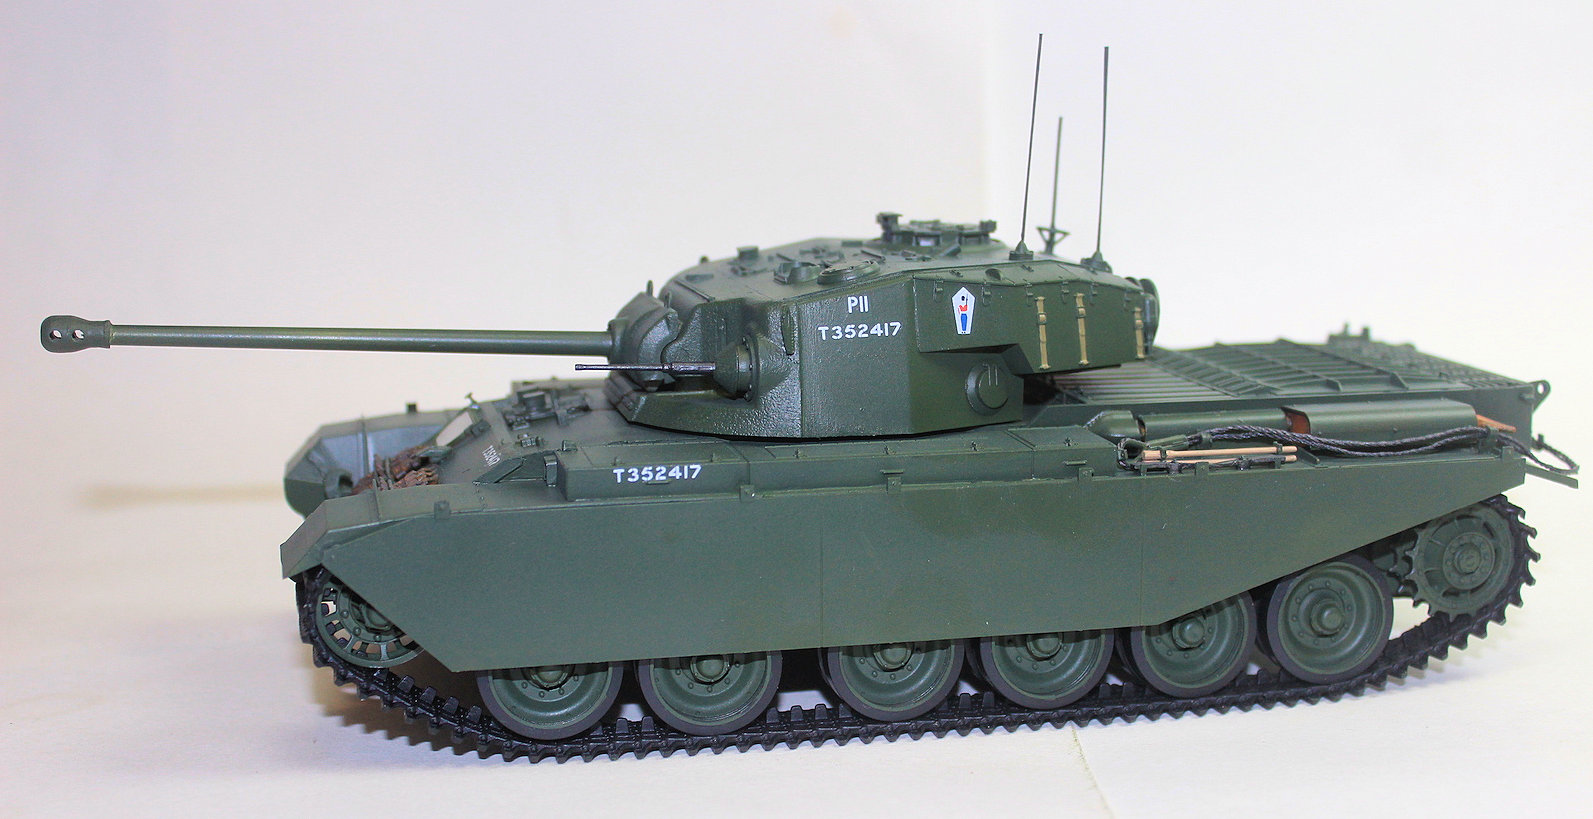
British Army Centurion Mk 1 Main Battle Tank
In late 1943 the British Cabinet of War submitted a request for a new cruiser tank that could counter the threat of the German 88mm cannon. This tank was to be named the A41 and by May of 1944 20 preproduction A41s had rolled off the production line. This vehicle was also called the Centurion Mk 1 and in April of 1945, six of these new tanks were deployed to Germany for field trials. Unfortunately, this was too late for these vehicles to see active service but the Centurion, in a number of different versions, formed the backbone of the British Cold War main battle tank core. This new release from AFV club adapts their base Centurion kit, first released in 2006, to cover this very first preproduction version of this important tank.
I actually reviewed a previous version of this kit for IPMS and here is the link for the review. Many of my comments from that review do apply here as well.
The instructions are classic AFV club. They are clearly printed on heavy gloss paper with clear callouts. All of the parts are well molded in a heavy green plastic and there are a large number of vinyl parts included for tires. Included in this new boxing are 10 sprues of green plastic, 2 clear sprues, a separate lower hull, vinyl tracks, small decal sheet, string for the tow cables, 2 sprues of poly caps, 6 brass springs and a turned aluminum barrel. Going through the instructions you will notice that some of the design choices are a little old fashion. Specially, when assembling the suspension bogies in the first step the instructions call for you to melt pin heads with a heated piece of metal.
The first few steps of the assembly are for the running gear. The bogies are a pretty straight forward design that includes a very nice brass spring to be sandwiched between all of the parts in each bogie. I did have a bit of trouble with the fit of E17 to E19 and E18 to E17. There is a pretty heavy seam a crossed the top of all six bogies. However chances are that this will be hidden by the side skirts in most cases. The kit provides a nice set of separate rubber tires for all road wheels but you will still have to paint these as there is a molded inner rim on each tire. This can be difficult with the soft rubber tires, as they tend to deform and paint has a hard time adhering to them. Also, all of the kits road wheels, drive sprockets and idler wheels are attached using rubber washers and there are a couple of issues with them. First for the road wheels, the instructions call for you to use R1 to hold them on but this is too small to fit over the pins that the wheels need to slide on to. The drive sprockets are swapped with the ones for the idler wheels, the washers for both should be swapped.
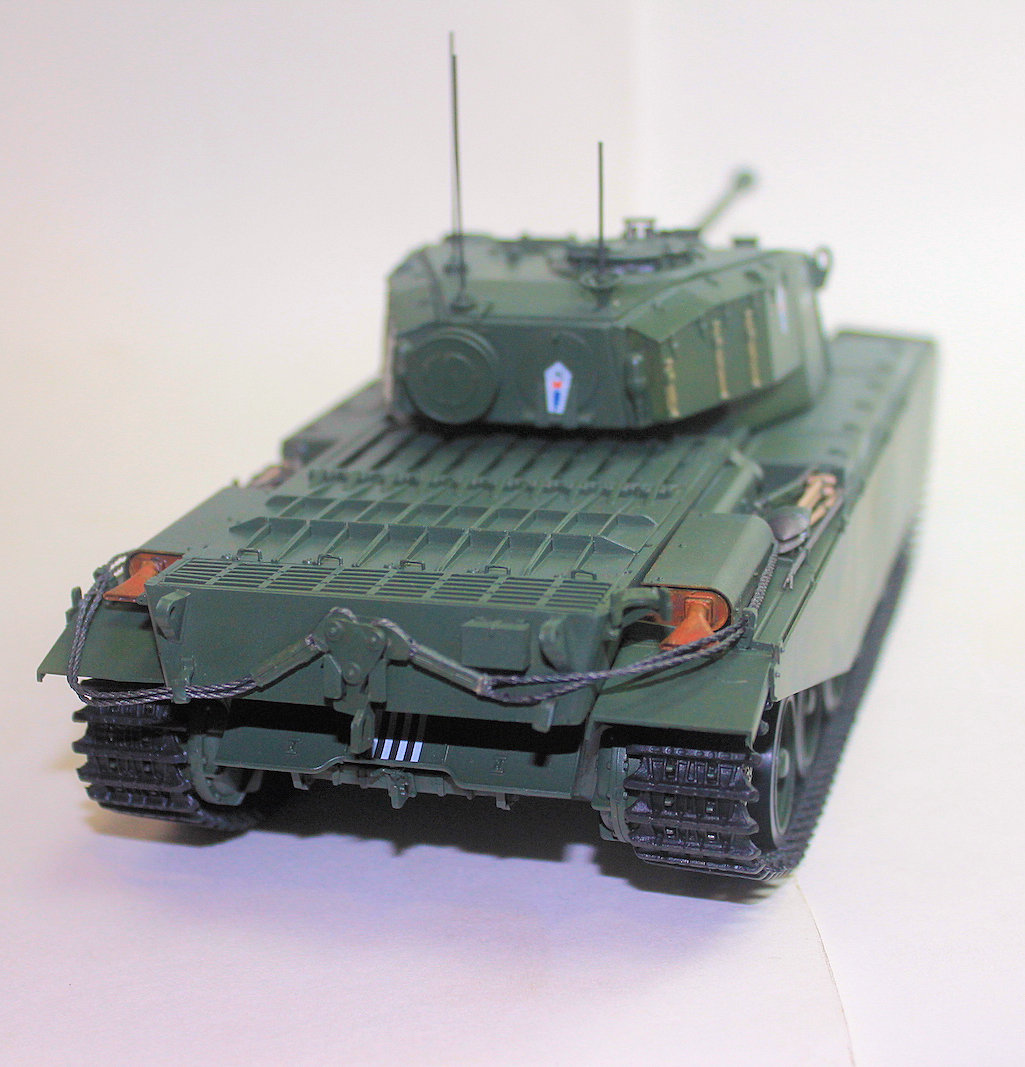
The assembly of the hull is extremely straight forward and for the most part went very smoothly. Just be careful when installing the tiny handles to the upper part of the engine deck, these are extremely easy to knock off, loose or misplace with installing or later in the build. I did not have any real fit issues when assembling the hull but there are a couple things that I want to highlight. First, the rear part for the hull, O7, has a number of ejection pin marks on the outer surface of the part. These were very easy to deal with using a flat jewelers file but they will need to be sanded/filled as they are visible on the finished kit. I also had some minor fit issues with parts W6/W9/O14 and the rear part of the hull. Nothing that wasn’t easy to correct with a little filler but the fit here wasn’t perfect. Also when adding the parts for the upper hull deck, O1/C34/O31, there were some minor fit issues between these parts and with the rest of the hull. Again this was easy to correct with a little Mr Surfacer.
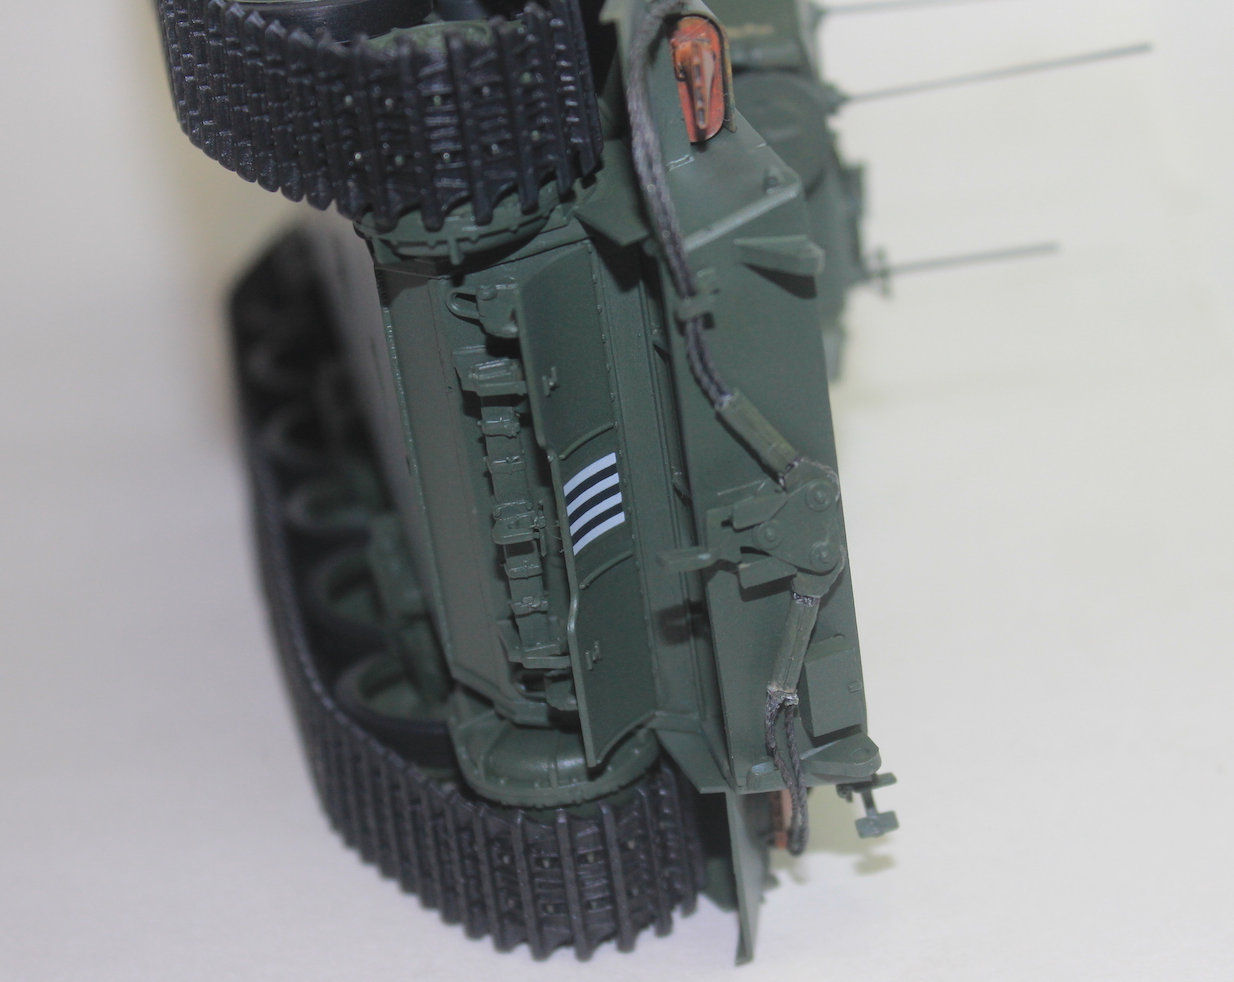
Finishing up with the hull assembly, the tracks are an older style of rubber tracks that do not respond to modeling glue. This means that you will need to use super glue or met the pins. The detail on the tracks is pretty good considering but they are a pain to glue and paint really does not want to stick to them. I had no issues with the majority of the parts added in Steps 11 - 14, this covers the build out of the storage boxes and the tools. I left the tools off until after final painting but the boxes fit well and the subassemblies fit well to the hull. I did have some minor issues with the assembly of the exhausts on both sides. The fit of parts H22/23 are pretty vague and I ended up having to remove their locator pins to improve the fit. Also I had some odd issues that with parts B21/22, while installing the exhausts after final painting, it seemed like these parts might be swapped in the instructions. They are nearly identical so just take care when building the exhausts. The side skirts are a pretty impressive molding. Mine were perfectly straight with no warping.
I skipped adding most of the detail parts in Steps 15 - 20 until after the final painting but there are a couple things that I would like to highlight here. First in Step 15, the instructions call for 9cm for both cables and I found this to be much too short. The actual cable length should be closer to 10cm and thankfully the kit does provide extra string to allow for this. In Step 19, Parts 15/16 both have sink marks on the outside of the parts that will need to be removed. A flat jewelers file worked well for this as well. The kit includes some nicely molded separate tracks for Step 20, unfortunately these tracks all have sink marks on the flat part of the racks which will need to be removed. Also the brackets for these tracks, Parts B26, are very fiddly and the fit to the hull is a little rough. They will probably need clean up with Mr Surfacer.
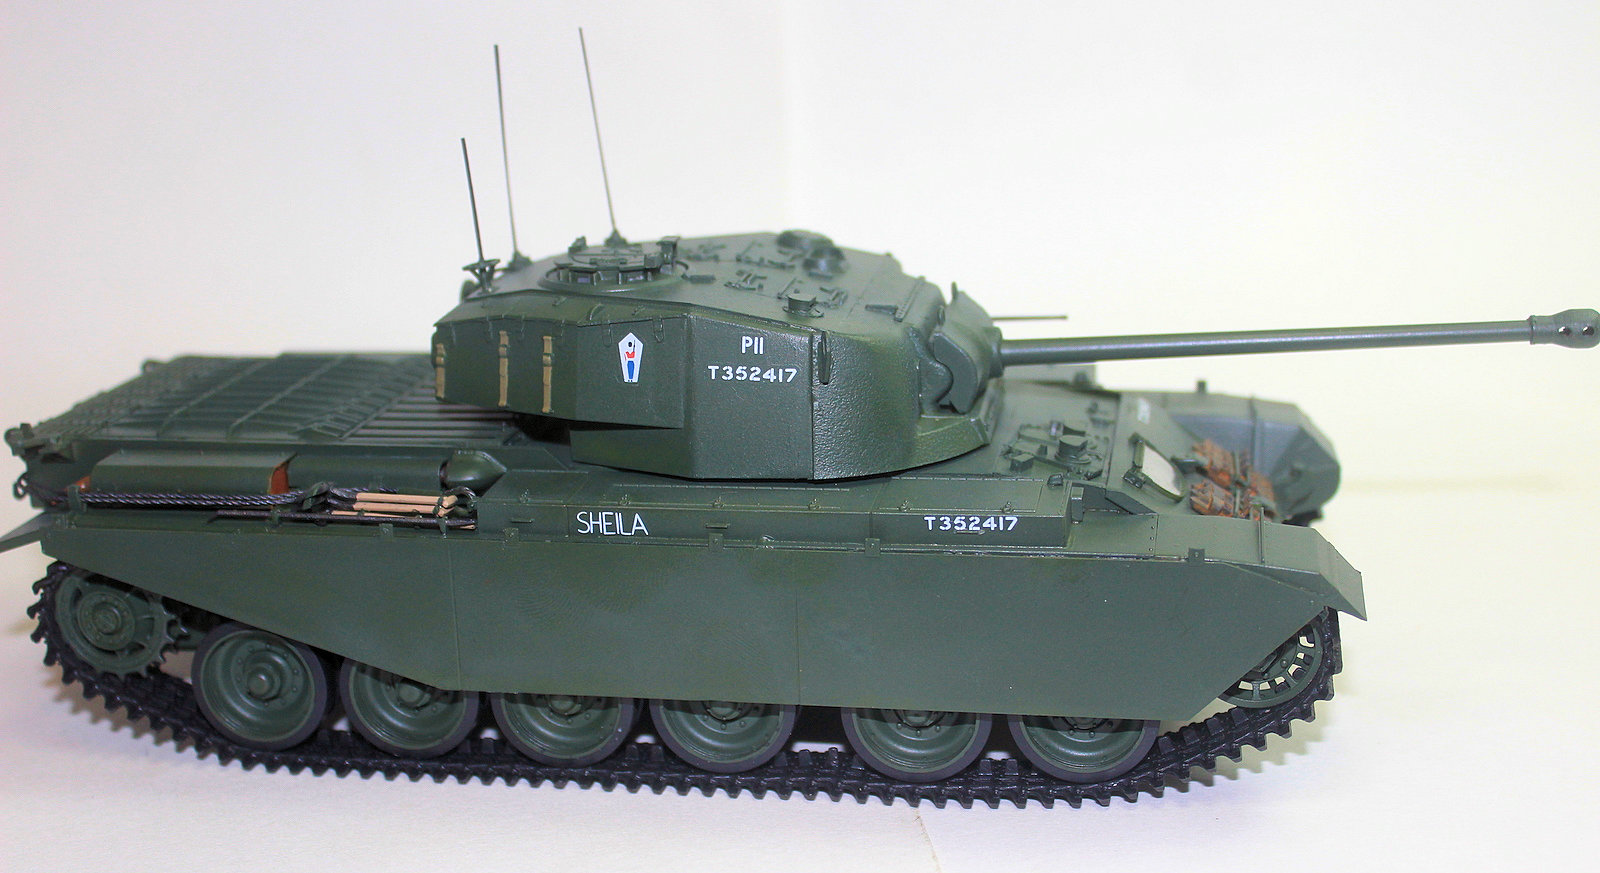
Moving on to the turret, this is completely new from the last kit that I built. The turned metal barrel is an extremely nice addition and overall the fit of the turret is great. I had no major issues with fit, but there were some minor seams that needed clean up around some of the major parts. The storage boxes on the sides of the turret required very minor filling at the front edges but nothing serious. I did have one fit issue with Q36 on the left storage box, this part interferes with the Q28/29 assembly that is installed in Step 26. In Step 30 and 31, there are two sets of options for this kit that are called out clearly. In Step 30, you will need to choose the coaxial cannon based on your preferred version and in Step 31 if you chose to build the Mass Produced version you will need to add the smoke launchers which although shown in the instructions, ARE NOT included in nthe kit so you will have to go aftermarket or get the missing I sprue. The last part of the turret is adding the antennas with stretched sprue. I always leave this for the very last step after decaling and paining.
The final part of the build is the painting and decaling. This kit provides decals for 5 vehicles. There are two preproduction and three mass produced vehicles that are covered. All vehicles are in the same overall British green scheme but there is no information provided on manufactures or a paint number, the only information provided is “Dark Green No. 24 B.S. 381”. I used a custom mix of a 1:1 ratio of Tamiya Olive Green and Tamiya NATO green. All of the decals performed well and left no noticeable carrier film or silvering issues. The only issue was that a single decal on the option that I had chosen, Option A for the preproduction vehicle, was not called out in the instructions. On the right side of the turret a single decal callout for 15 is missing but the decal is shown.
The last part is to install the side skirts, tracks, tools and exhausts. I mentioned most of the issues with these parts already. But I did want to mention that the location for some on the tools is a little vague, especially with the cables taking up the same space. Refer to your references if you have any questions.
Overall this is a great kit. It builds up quickly and for the most part fits really well. There are some errors in the instructions and a few very minor fit issues. But nothing that a modeler with a couple of kits under their belts can’t handle. Highly recommend for anyone with a little experience and an interest in early Cold War armor. My thanks to AFV Club and IPMS for giving me the opportunity to review this kit.


Comments
Smoke Launchers
You mention in the review that if you choose the Mass Produced version you will need to add the smoke launchers. These are detailed in the instructions as I49/50 and I6 to I11. However there is no sprue I in the box, nor is one shown in the parts list in my kit, reference AF35308. Were these available in your kit, or did you miss their absence as you built the pre-production version?
Good question
It clearly calls for them in the instructions so unless they are mislabeled. I am not sure but can ask the buiulder
Dave
Good catch
Spoke with the reviewer and he did not find them in this version of the kit so I amended the review. Thanks for the catch
IPMS USA
Response from AFV via Bachmann
I have had confirmation from AFV, that the I sprue is only used on a MK 1 on the Japanese market.
Your kit is complete and you can ignore any reference to sprue I.
I hope this clarifies things
Kind Regards
Nicola
Nicola Cooper
The problem is that I cannot find any after market part for the smoke launchers - any ideas?
Add new comment
This site is protected by reCAPTCHA and the Google Privacy Policy and Terms of Service apply.
Similar Reviews