
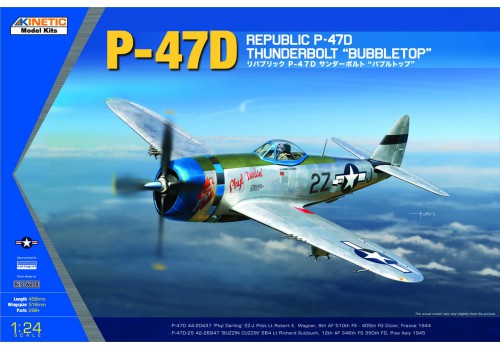
Republic P-47D Thunderbolt "Bubbletop"
Christmas came early this year for me when I received the email that this beastie was available for review. I am incredibly thankful to Kinetic Models for providing this kit for review and to the review corps higher-ups for trusting someone brand new to the group for having faith in me to not only build this thing, but in a timely manner to boot. It is a re-kitting of the Vintage Fighter Series kit released in 2008. I won’t say the ride was completely smooth…but it was a fun ride regardless.
The kit consists of eight sprues with 258 parts in gray plastic, twelve parts in clear plastic, two vinyl tires for the main gear wheels, and a gorgeous decal sheet representing two schemes. I would love to say the instructions are equal to the task, but there are some rough spots. To begin with, the parts map does not match the actual sprues at all- so you need to take extreme care when locating the parts you need. Early on, I will say I spent more time searching the sprues for the parts I needed than I did actually building. The drawings on the parts map helped, but you have to ignore the letters. Also, care is needed with assembly as there are times when attachments aren’t made clear, and when they are, the sides are often mislabeled. Nothing horrible to overcome, but you need to be patient.
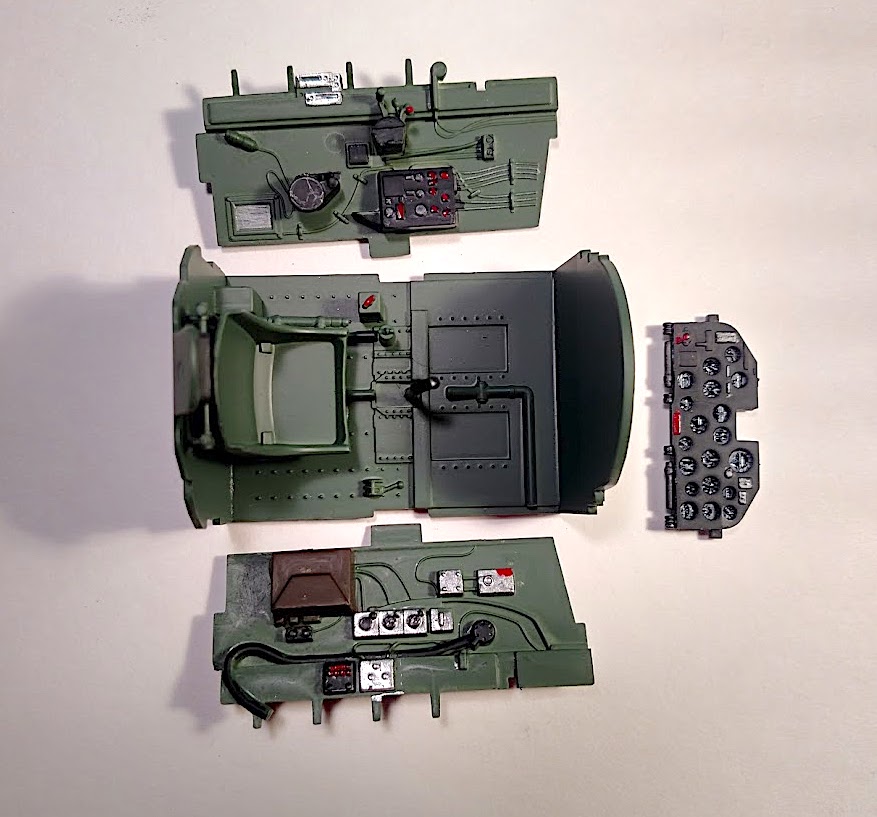
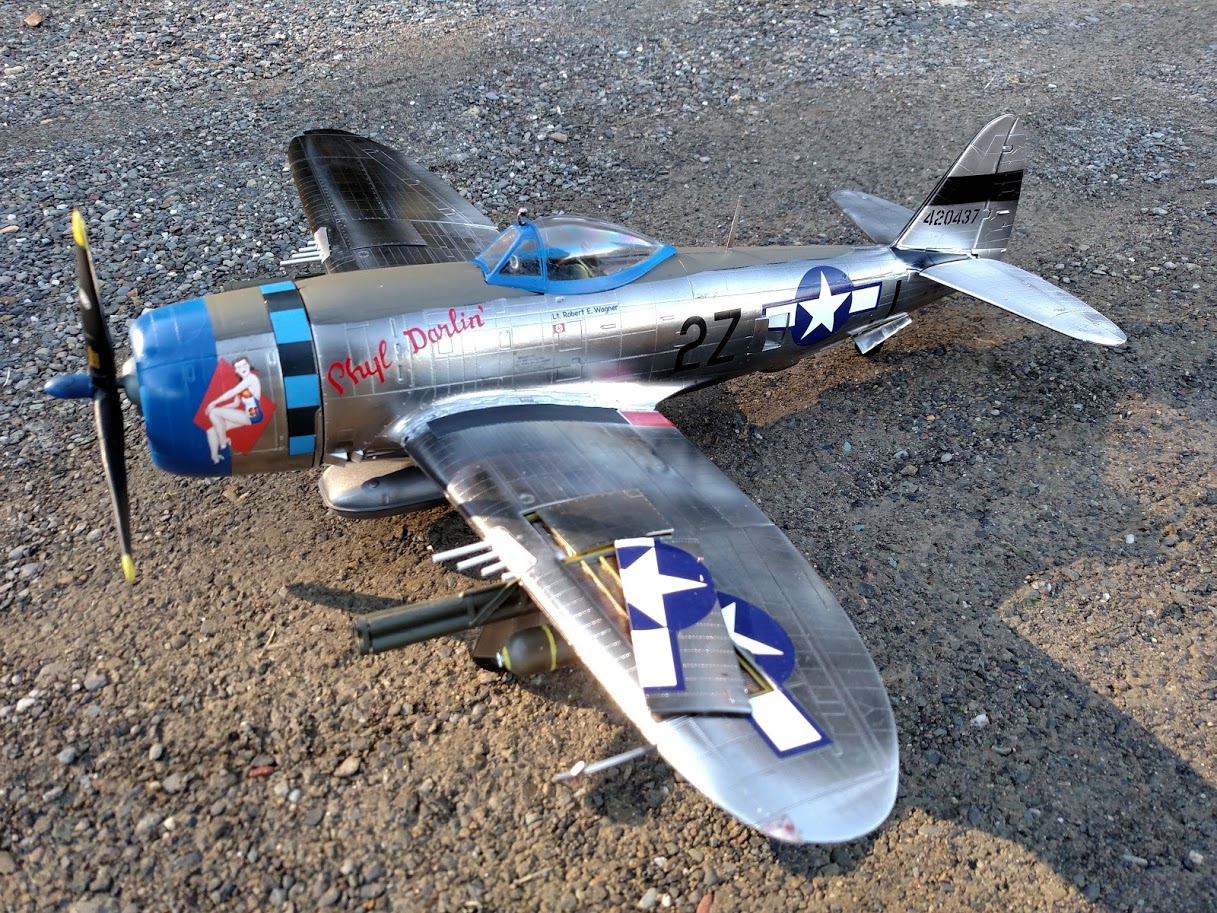
Step 1 is involved in building up the cockpit tub. You have the option of either the smooth or corrugated floor. The instructions don’t specify which to use, so I did some research. The corrugated floor was used up to the D-25 series, and the smooth floor was used afterwards. There are two schemes in the kit-44-20437 “Phyl Darling” which I found after some searching was a D-30. The other scheme, 42-26947 “Buzzin Cuzzin’” is listed in the instructions as a D-25. I chose to model Phyl Darling so I used the smooth floor.
The build-up of the cockpit was pretty straight-forward and there is a nice amount of detail to start with. However, considering the extreme scale, there are definite improvements that could be made to add details. You get a decal for the instrument panel gauges, but the lack of placards to help detail things is pretty glaring. One very big omission is for the seat-there are no belts provided. Considering again how large it is, the lack of them is pretty evident. Scalemates lists loads of great aftermarket details to add to the kit to fill in these blanks. There is also the option of three different gunsights to use so you will have to head to your references to see which one is appropriate. For mine, I used parts 110, 135, 166, and 167.
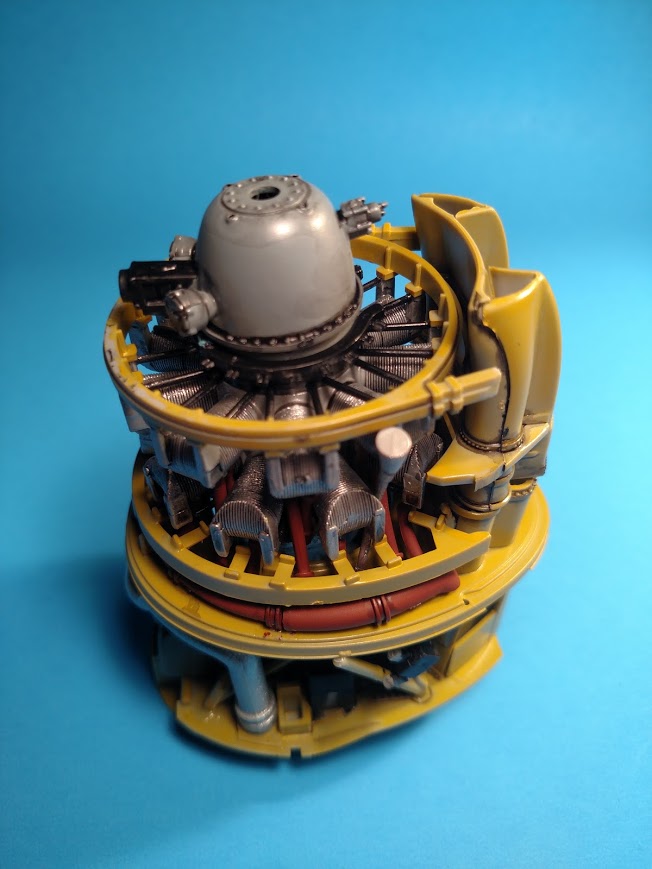
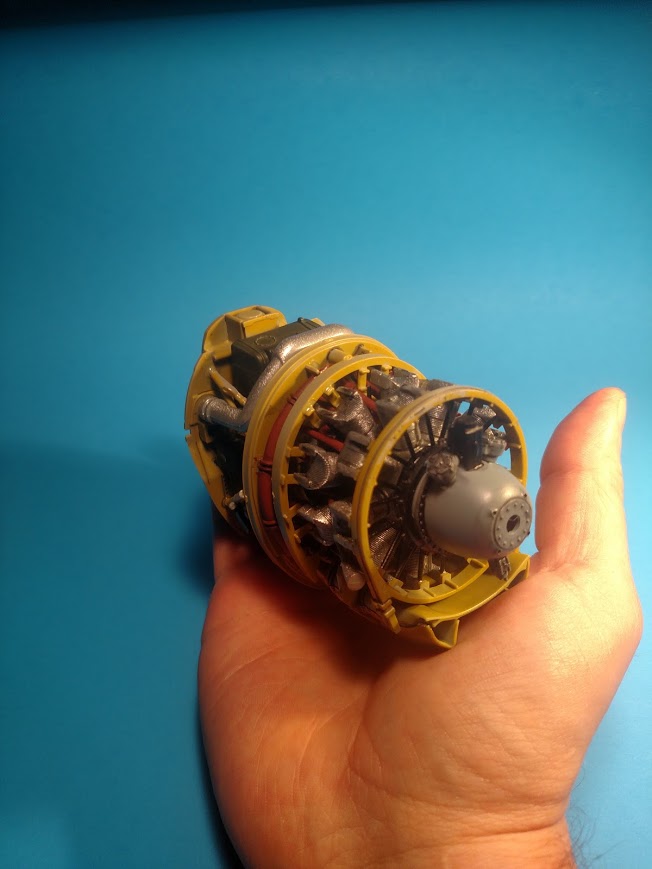
Step 2 and 3 are dedicated completely to the buildup of the engine and surrounding piping. It’s like a kit unto itself. My big issue here was that there aren’t definite attachment points for all the pipes and exhausts. I got out my pin vise and got busy and things held together much better than they would have otherwise. I’ve included a photo of this thing in my hand. It’s as big by itself as a 1/48 armor kit. Again, some placards here would really seal the deal. Step 3 concludes with the oil pan, fuel tank, and further brackets.
Step 4 inserts the cockpit tub and supercharger into the fuselage side prior to putting the two halves together. The two sides click into each other nicely. You then assemble four pieces of the cowling around the engine assembly before adding it to the fuselage. This part is a bit tricky and I had some uneven spots where things didn’t line up perfectly. There was a bit of a shelf on the last quarter piece. It could’ve been an error on my part but I was able to use some putty and get it sorted out. My least favorite part concluded this step-assembling the two piece turtle deck (parts 3 & 4) together before fitting it into the slots on the top side of the plane. I imagine this was done to accommodate the razorback version of this kit, but I would’ve preferred this all being part of the two fuselage halves instead, as it led to some unsightly gaps.
Step 5 assembles the turtle deck to the rudder, and then to the tabs on the top of the fuselage. The rear stabilizers, radiators, and clear parts are added at this point. I left the clear parts off at this point however to make things easier to paint.
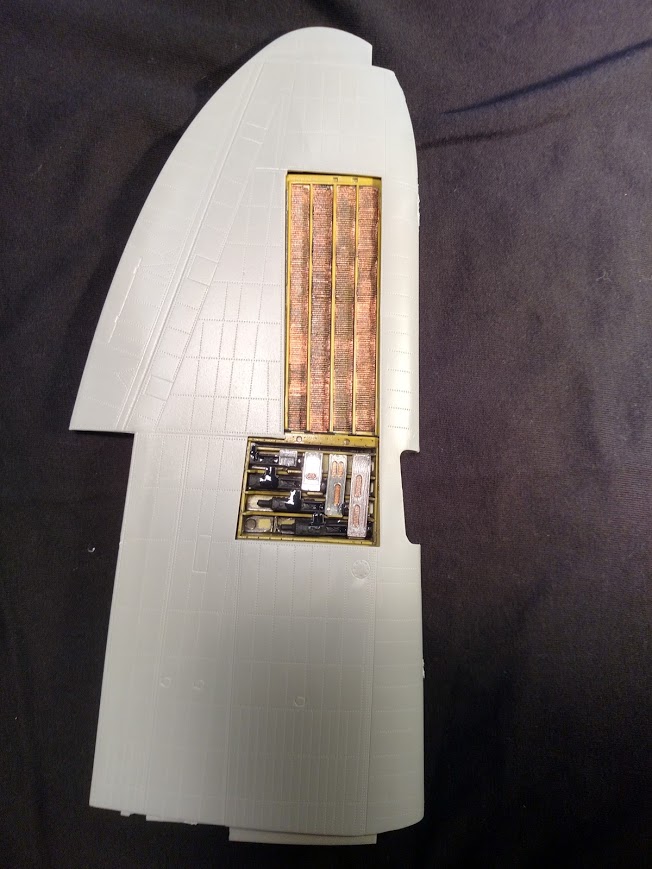
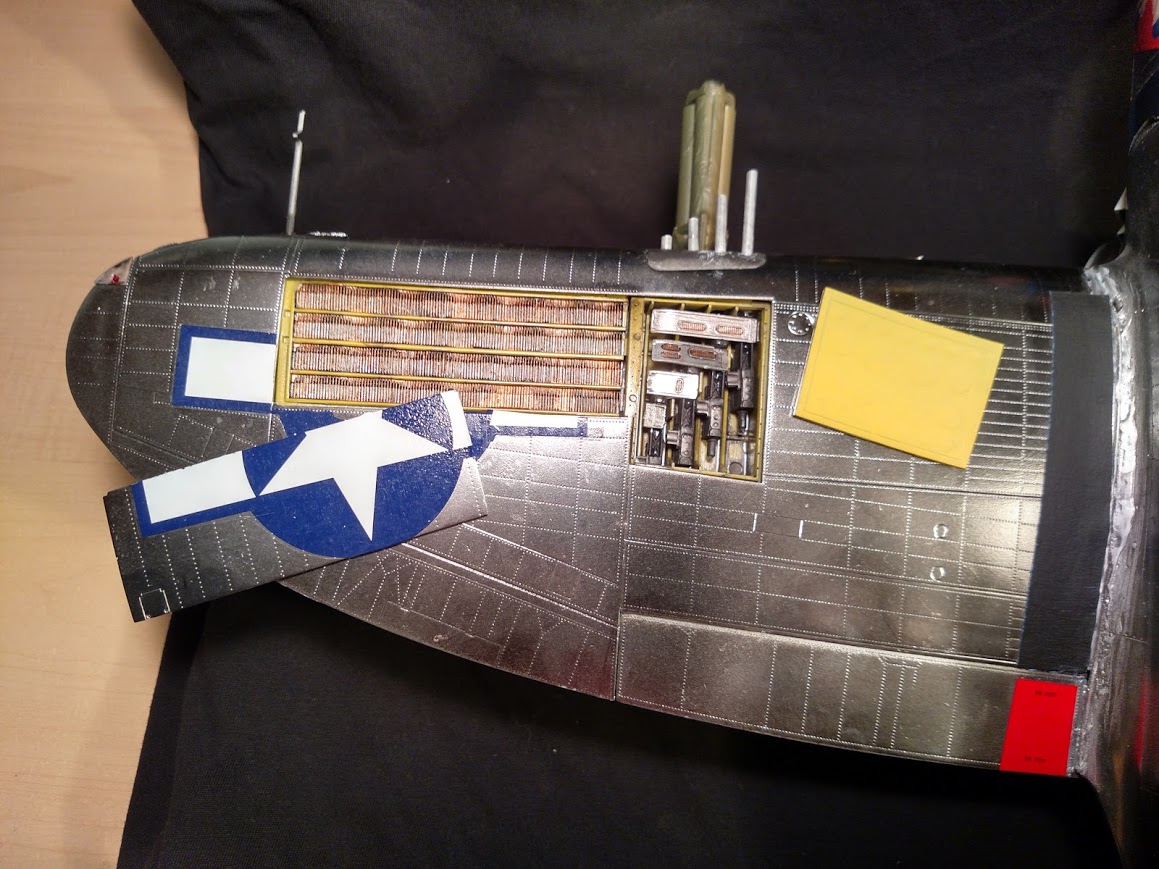
Steps 6 & 7 are all about the wings…except the sides are mislabeled on the instructions. Step 6 shouldbe for the right wing and step 7 for the left. There are three options of drop tanks- the fuselage mounted 200 gallon flat tank, wing mounted 150 gallon teardrop, or 108 gallon paper pressed tanks. I wanted a fully armed ground pounder, so I opted for the fuselage tank. The kit includes bombs and rocket tubes for the wings. Assembly of the rocket tubes requires some filling. If using the bombs, the assembly instructions are a bit confusing. You need to add the assembly to the rack comprised of parts 74 & 75. The wing panels for the machine guns are separate so you can display the guns in their trays, but care is needed as there are no definite attachment points. Also, the plastic parts representing the gun barrels are just rods of plastic with no details. I used them but added blast tubes made from aluminum tubing to extend them out of the wing. This is not included in the kit, but I felt I had to add the tubing considering how prominent these are to the profile of the Jug.
On the left wing, there is also an open panel to display the tray for the gun belts which is a nice detail. Attaching the main gear legs into the wings at this point is quite challenging as there is no true female end to insert them into. Considering how hefty this beast is when assembled, not having a strong assembly here can be catastrophic. I used CA glue and said my prayers.
Step 8 concludes assembly of the model with the addition of the wings, tail wheel assembly, and fuselage tank. The slots for the wings help with placement but are barely suitable for sustaining the join of the wing to the fuselage. The tail wheel assembly has no definite attachment point so take your time. The most frustrating part of this step is the propeller assembly. There are four choices of props- including a Hamilton Standard, a symmetrical Curtis Electric, and an asymmetrical paddle-blade. The instructions try to help sort these out, but I found them to be more confusing than helpful. My references helped me sort this out and the prop looks quite nice when done.
Painting and Finishing
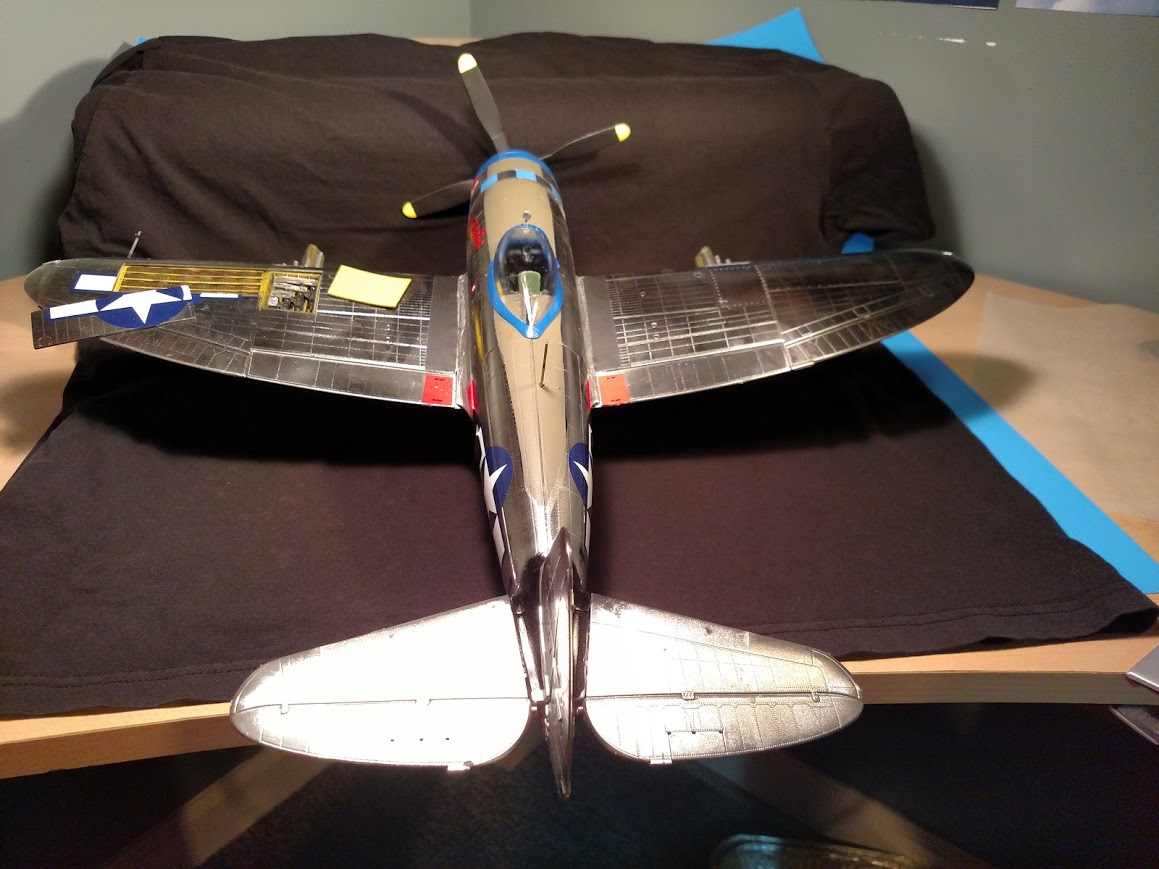
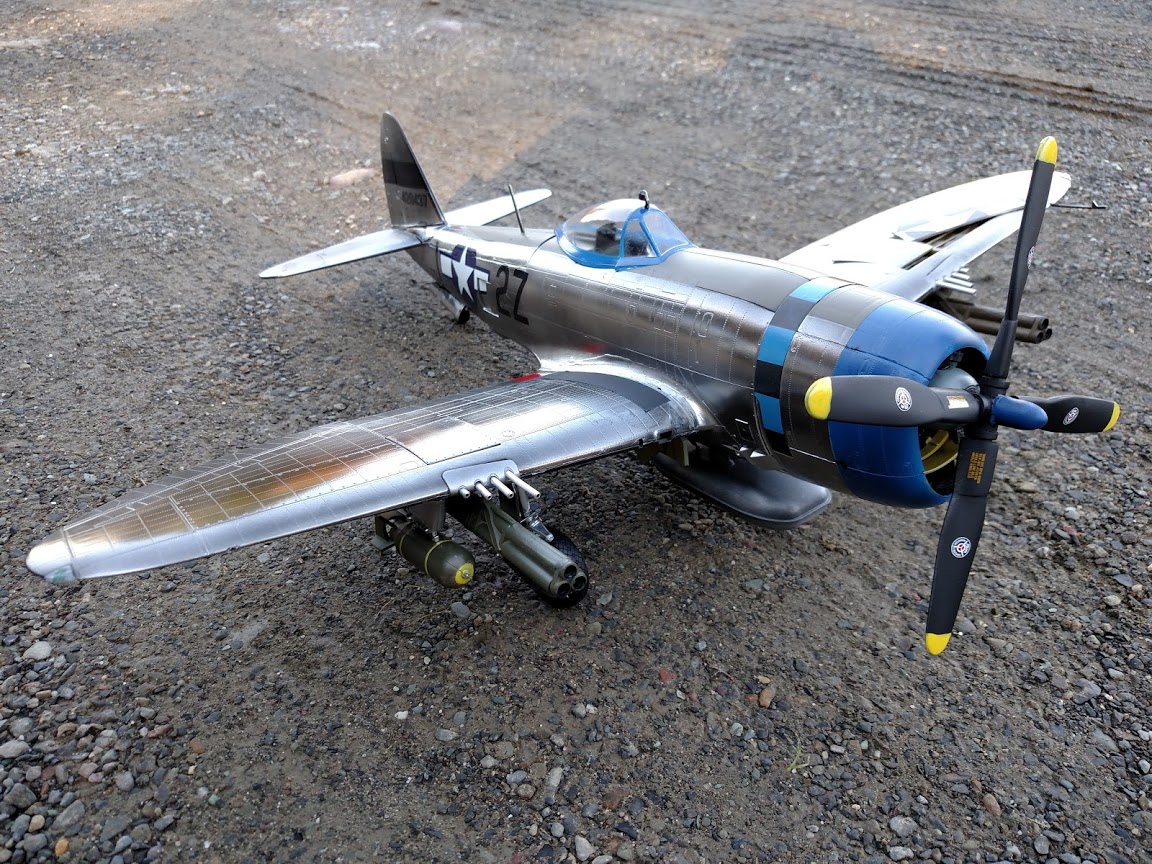
I knew I’d have to invest in some quality paints to pull off the natural metal finish in this kit. I’ve had great success with Alclad II Airframe Aluminum in the past so grabbed a few bottles online. I laid down a base coat of Tamiya spray can black, masked off the tail banding, and then sprayed the Alclad II with beautiful results. I used Vallejo Model Air French Blue for the canopy framing, prop hub, and cowling band, and olive drab for the topside. Decal schemes include:
- P-47D(-30) 44-20437 ‘Phyl Darling’ 2Z-J Pilot Lt. Robert E. Wagner, 9th AF 510th FS- 405th FG, St. Dizier, France 1944
- P-47D-25 42-26947 ‘BUZZIN CUZZIN’ 6B4 Lt. Richard Sulzbuch, 12th AF, 346th FS, 350th FG, Pisa, Italy 1945
I chose the former scheme-the Vargas-like nose art was too difficult to pass up. Decals went down very smoothly without any decal solutions as I was anxious about messing up the NMF. Some of the stencils are difficult to place as the instructions don’t reference them. Squadron and In Detail and Scale books to the rescue! I had to take this thing outside to get proper side views as it just wouldn’t fit my booth.
My sincere thanks to Kinetic and IPMS for the review sample.
References
- P-47 Thunderbolt in Detail & Scale, D&S Vol. 54, Bert Kinzey, Squadron/Signal Publications
- P-47 Thunderbolt - Walk Around No. 11, Lou Drendel, Squadron/Signal Publications


Comments
Beautiful job
Excellent review and beautiful build!
Add new comment
This site is protected by reCAPTCHA and the Google Privacy Policy and Terms of Service apply.
Similar Reviews