
Book Author(s)
Jose Fernandez
Published on
Company
Mushroom Model Publications - MMP Books
MSRP
$25.99
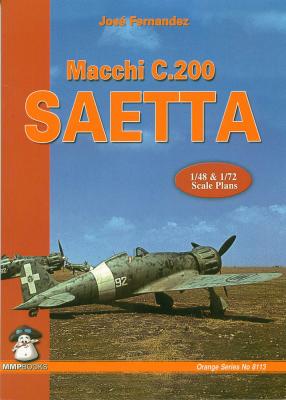
This book in the Orange Series from MMP describes the Italian WWII Macchi C.200 Saetta, or MC.200. The Saetta was a fighter aircraft built in Italy and flown by the Regia Aeronautica during WWII. The C.200 was well loved by its pilots for its excellent maneuverability, and the design was the basis for the later C.202 and C.205 fighters.
This excellent book covers all aspects of the MC.200’s design, development, and operational use of this fighter. Included within is a wealth of information for the plastic modeler, as well as the general aviation historian. All text in the book is in English.


