J.R. Sharp
Reviews By Author
|
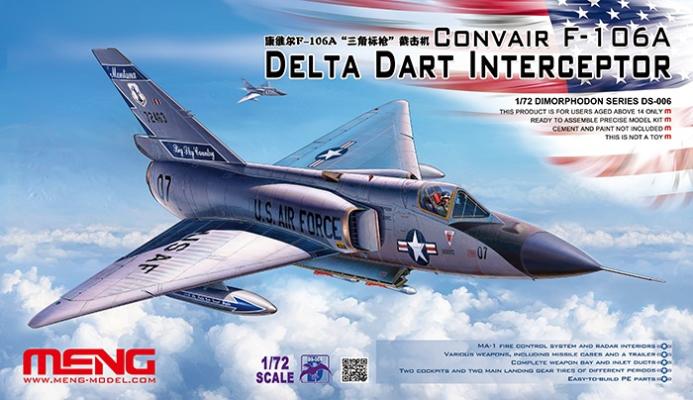
Convair F-106 Delta Dart InterceptorPublished:
Initial ImpressionsWith the popularity of the MENG F-102 kit, it was a given that a 106 would be coming down the pike soon. When it was announced, there was a lot of fanfare and anticipation in the new offering. Being a fan of the century series, it was also natural that I would pick one up to see what it offered. The 102 was far from a “perfect” build for me and I was hoping that MENG learned their lessons from the past and integrated improvements into the “six”. Upon inspecting the sprues I found a lot of improvements over the previous 102 offering. Cockpits had a much greater detail (molded in seatbelts, etc.) as well as parts to build both types of panel and ejection seats. A PE fret was added with some detail items, and a crew ladder. The radome was now an… more |
|
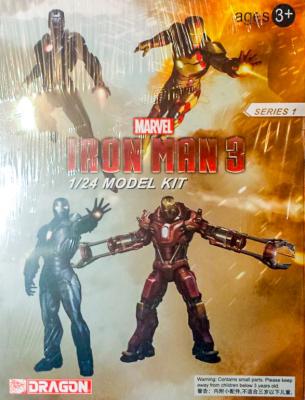
Iron Man 3 - Mark 16 - Black Stealth Suit "Nightclub"Published:
Being a huge Iron Man fan, when I saw the new Dragon 1/24 scale kits, I couldn’t wait to get my hands on them. The kit that I was able to get for this review is the Mark 16 “Nightclub” armor kit from Iron Man 3. Sadly, I have not had an opportunity to watch the movie, but I will say that being a fan of darker colors this is now my favorite set of armor worn by Iron Man. Opening the package, I was greeted with just a few parts: a head, two arms, two legs, two torso halves, and three base bits. This kit was gonna be insanely easy to build! All parts are injection molded. The arms are meant to be sandwiched in the torso, but you can trim them down to install/attach after painting. The plastic used is somewhat soft, which worked well for the slight gap I noticed on… more |
|
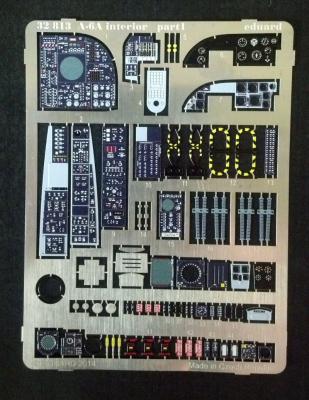
A-6A Interior Photoetch (2 Frets)Published:
This review is an expansion on my previously published review on the Eduard A-6A Intruder SA Interior kit posted (here). The 32813 version of this PE set adds a second fret of plain brass cockpit features in addition to the same fret as the 33134. Unlike the 33134 set, the additional fret is not painted or self-adhesive and features canopy frames, mirrors, rudder pedals and some of the details that lie behind the seats on the bulkheads. As with any Eduard sets, the work is top notch. If you are looking to add PE to you’re A-6A build, look into this set further as it contains more parts for a marginal increase in price. As always, thanks to Eduard and IPMS USA for the opportunity to review this sample. |
|
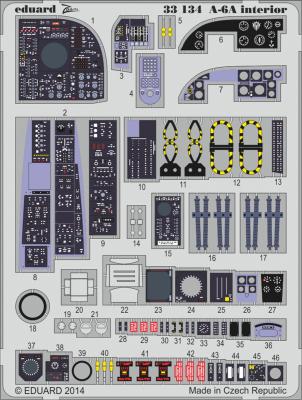
A-6A Interior S. A. PhotoetchPublished:
Having never built anything but “out of the box”, I was intrigued when I saw the availability for PE cockpit details for the Trumpeter A-6A. Having had the kit for a year, I stalled out very badly due to some poor build decisions on top of questionable engineering. I thought that getting these sets would potentially light my fire, so to speak. The stock A-6 cockpit as provided by the kit, is no slouch. It was fairly well detailed. Unfortunately for me, I had it completely assembled by the time I picked up the PE sets. This greatly increased the difficulty as there was no easy way to remove the detail on the existing. As nasty of a job as it was, it came through okay in my opinion. Now onto the parts. Not only was the fret I obtained the painted PE, but also self-… more |
|
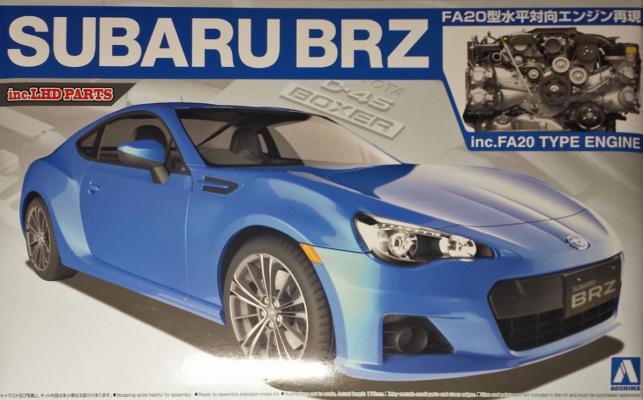
2012 Subaru "BRZ" with Full Engine DetailPublished:
IntroductionThe Subaru BRZ is a lightweight sports car that is a product of a special partnership between Toyota and Subaru. The result of this relationship has yielded 3 different nameplates; Toyota 86 (Japan), Subaru BRZ (Japan/US) and the Scion FR-S (US). Sporting a 2.0L “Boxer” engine producing 200hp, the “Toyobaru Twins” have been all the rage in the US driving market in 2013. Aoshima has capitalized on this demand by releasing several kits (and several more in 2014) of these wonderful vehicles. The KitThe kit itself consists of approximately 19 sprues of black, white, chrome and clear plastics. The body appears to be smooth and crisp, with no evidence of sink or injection marks on it’s exterior. The body does lack a nose and tail section as these are… more |
|
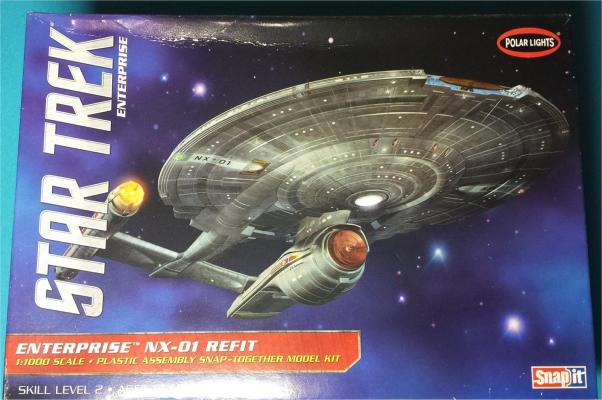
NX-01 RefitPublished:
IntroductionStar Trek: Enterprise was the last TV show from the Star Trek franchise. Based around the first “Warp 5” craft, the show highlights humanity’s first steps outside our solar system. As with many other Star Trek shows, the NX-01 Enterprise, was the starring ship. The ship was obviously not what many trekkies were expecting. Silver and lacking many of the things that were commonplace in Star Trek, it never filled the void or the expectations of the legions of fans. After the series was cancelled after 4 seasons, Doug Drexler went back and refitted the NX-01 to a more transitional piece between Enterprise and the Original Series’ NCC-1701 we all know of. The KitThe kit itself is very simple, consisting of approximately 5 sprues molded in clear and… more |
|
WatchtowerPublished:
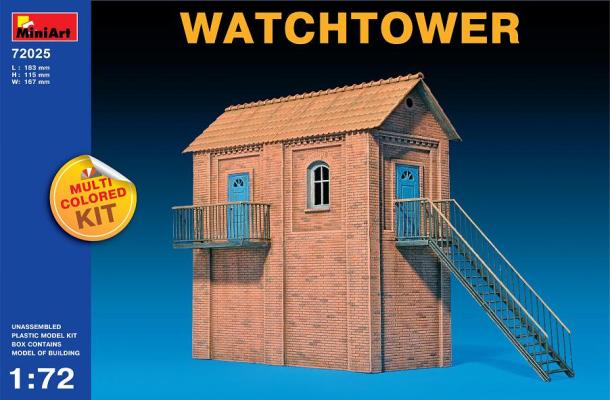
The KitThis kit is cleanly molded in the standard multicolored plastic offered by MiniArt. Using the same parts as with the other kits, there are no surprises; all parts are cleanly molded with crisp detail and free of flash. ConstructionAssembly was followed in the same manner as the Townhouse kit, building the corners first and then attaching the walls. Once again, I feel as if this is the preferred method for a better construction. All parts went together without issue on the main structure. Next, it was time to tackle my bane/failure from one of the previous kits…the stairs. I honestly cannot give a whole lot of complements to the stairs due to lack of alignment/attachment points for the entire assembly. I ended up just making the stairs look close to… more |
|
TownhousePublished:
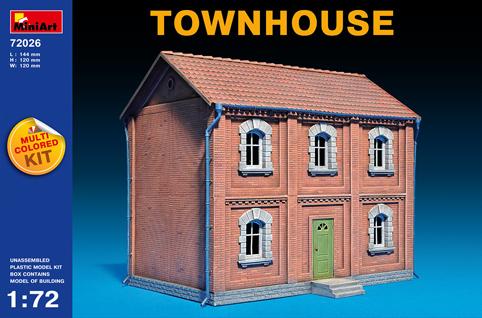
The KitThe kit is cleanly molded in 154 pieces of multi-colored plastic. These parts are the same parts used in constructing many of the other 1/72 offerings from MiniArt. No flash is apparent and detail is very crisp on all parts. A new part that I have not seen on this model was the introduction of a stone foundation. ConstructionAssembly of this kit was straight forward as all of the offerings before it. However, I took a different approach. On many of the other kits, I found that doing each wall with the end connectors tended to produce minor gaps at the corners. This time I decided to pre-build the corner assemblies and then add the walls. Also, I decided to paint parts separately before assembly. This approach offered a much cleaner look to the house… more |
|
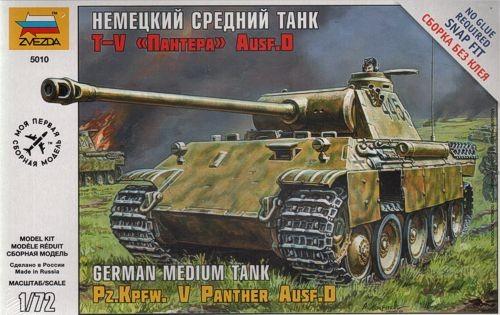
Panzerkampfw.V Panther Ausf.DPublished:
The KitNearly 100 injection molded parts in tan plastic plus 2 black plastic treads. All parts exhibit crisp detail and are flash free. The muzzle of the main gun is not slide-molded so will need to be drilled out. Being a snap kit, all parts had a number of locating pins. All of them fit together without modification. ConstructionI have never been a fan of snap kits. Usually fit is so tight on them that you are left with unsightly gaps and misfit parts. Fortunately, this kit is an exception to that rule. Everything fit together amazingly well. There were a few design issues that I questioned, mostly relating to the tracks. However, after looking at the directions, it was such a problem because I put the upper hull on before attaching the tracks. This in… more |
|
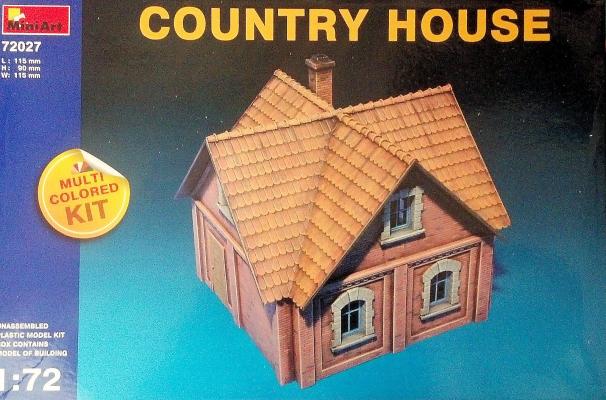
Country HousePublished:
The KitThe kit consists of 110 injection molded parts in the standard MiniArt colors; orange, maroon, black and white. All parts are relatively free of flash (some may have just a small bit around the attachment points) and are very crisp in detail. ConstructionAs with the kits before it, the Country House is very well made. Being a smaller kit, assembly should not take much longer than an hour or two. A few points worth mentioning on this kit centers around the roof. As with prior offerings, the thin roof pieces seem to have a slight bow to them. Given that all of these meet in the middle, there may be some considerable use of cement or CA to get them to remain. I was able to resolve this by tacking them with a little cement and then gap filling with CA… more |
